How sew the Placket & Cuff and insert the Sleeve into the Armhole
Transcript for the Video: Cool Shirt – Sleeve Placket , Cuff and Insertion
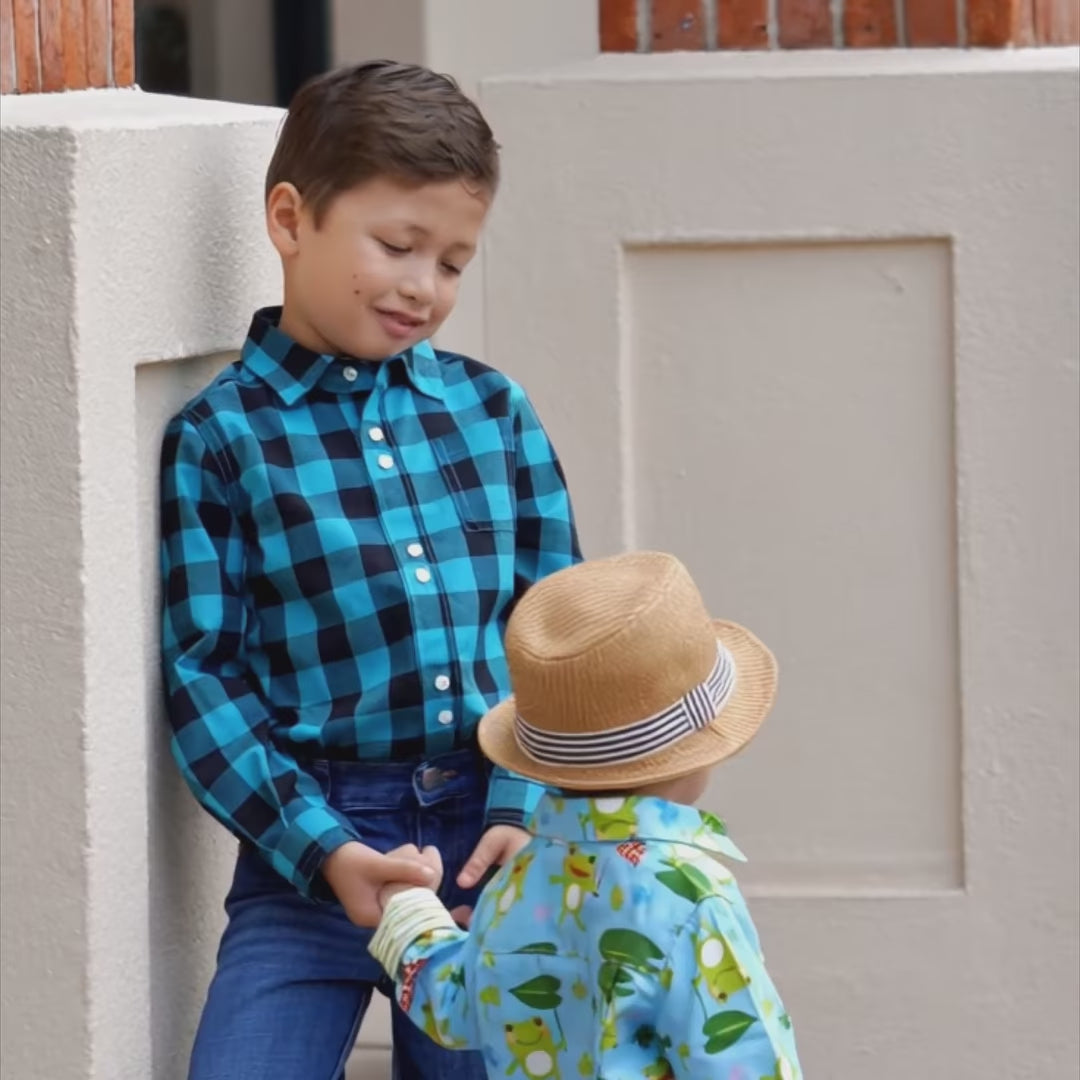
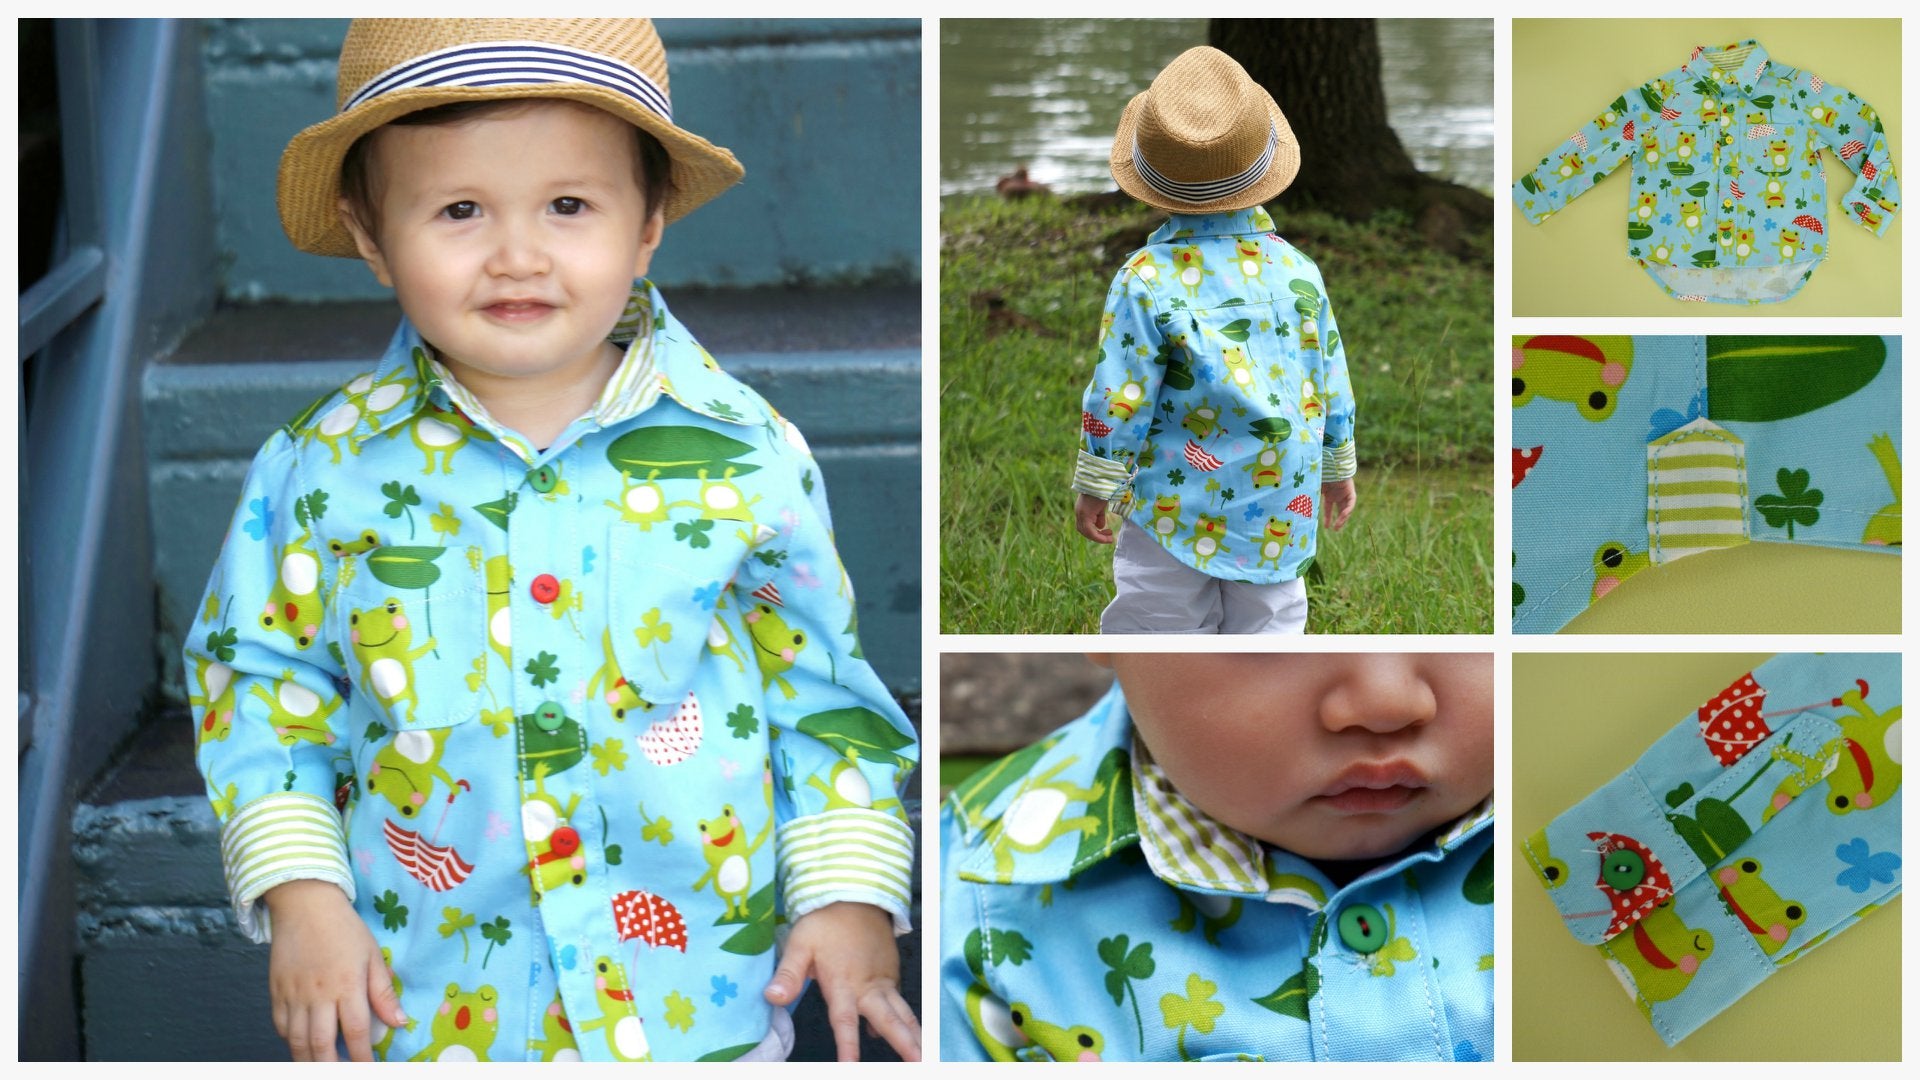
Now we are moving on to the sleeve, which is a part many people have been waiting for. It may look complicated at first, but the technique is actually very logical and not something to be afraid of.
With a good pattern and careful pressing, this step works really well.
Preparing the Sleeve Placket
For the sleeve placket, there is one long pattern piece that first needs to be cut in half.
After that, the edges are pressed in – at the top and along both sides. We are working with about 7 millimetres here, but anything between 5 millimetres and 1 centimetre is generally fine.
The exact width is not critical as long as it is neat and even.
Preparing the Cuff
For the cuff, trim the pattern back to the dotted line so the edge can fold over neatly.
Accuracy is important here because the cuff width needs to be exact. It is best to use the pattern piece as a guide rather than estimating.
The narrower strip has a little more flexibility, but the cuff itself should be prepared precisely.
Pressing and Shaping
Once the edges are pressed, place the pieces together and press them sharply.
The top edge can be straight, slightly angled, or at a 90-degree angle. That is simply a matter of preference.
The most important thing is that the edges are crisp and well pressed, using plenty of heat and steam.
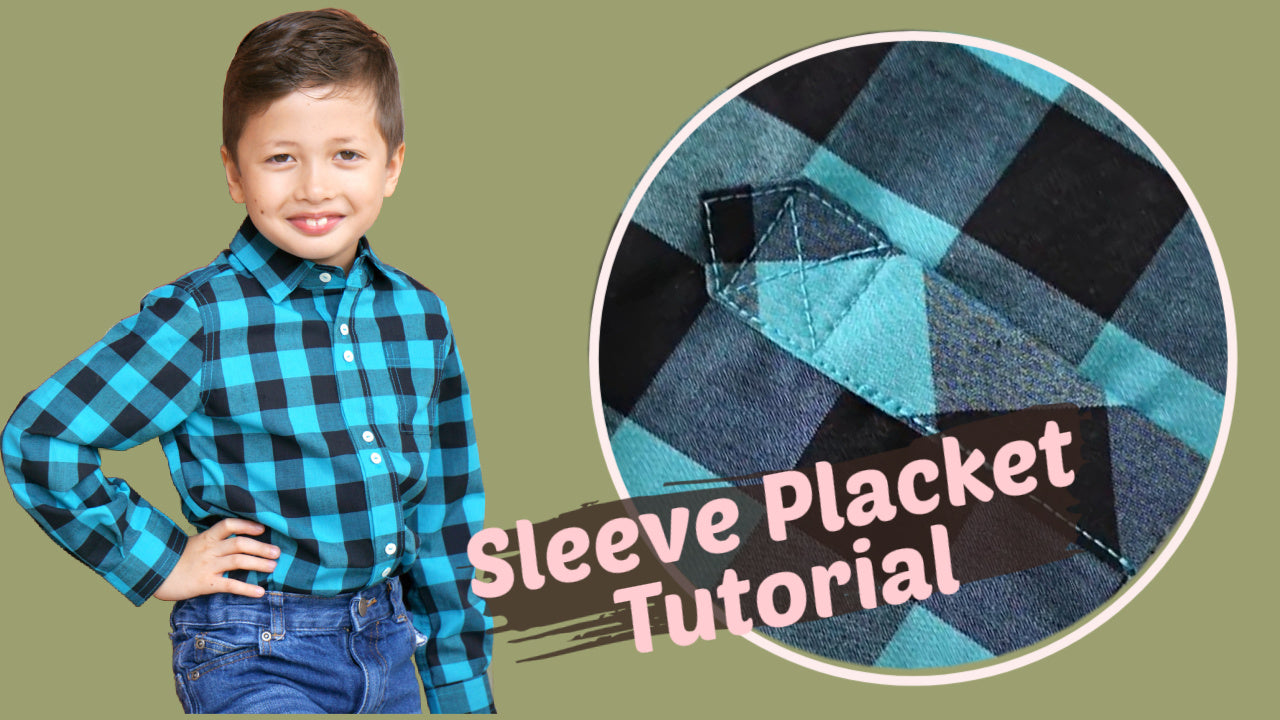
Attaching the Sleeve Placket
The narrow strip is placed underneath the shorter side of the sleeve slit, with the folded edge in place.
Everything is pinned, and the other side is folded over the top edge.
The placket is then topstitched securely, often using a triple stitch for extra durability.
Completing the Upper Placket Side
The other side is attached next.
The top edge does not need to be folded here because it will later be covered by the cuff, and folding it would only create unnecessary bulk.
This is also where you can see why the narrow strip really does need to stay narrow – when topstitching later, you do not want to accidentally catch the fabric underneath.
Topstitching and Finishing the Slit
The stitching is sewn along the edges, and at the top of the slit a small diagonal reinforcement is sewn across.
It is important to work slowly, keep the fabric layers flat, and always turn with the needle down.
This helps the placket lie flat and look neat.
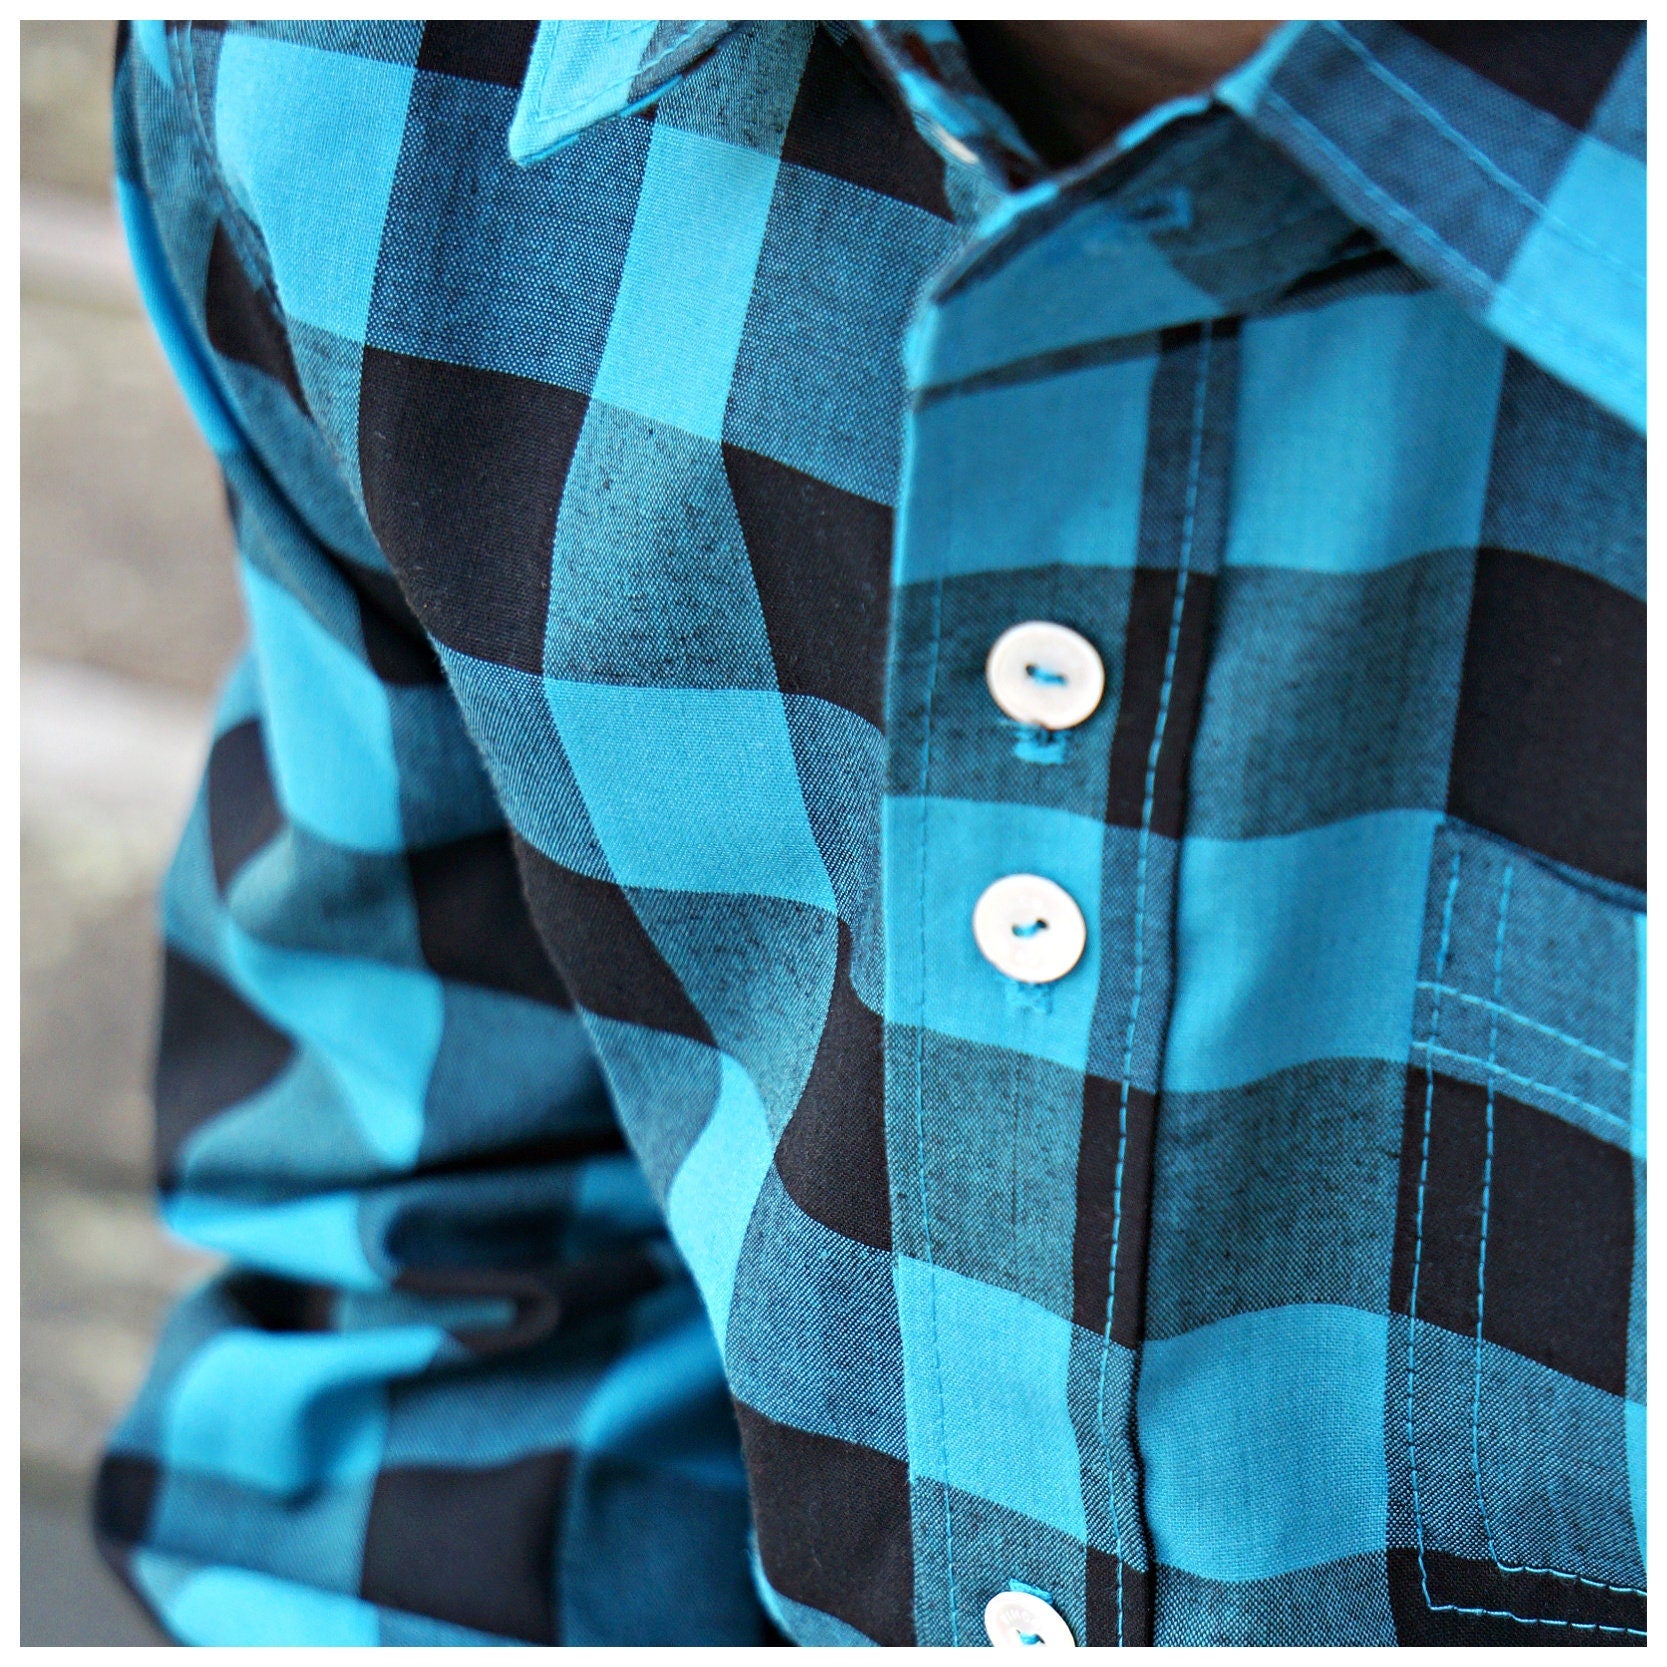
Checking the Finished Placket
If everything has been done correctly, the placket should look clean on the outside, and all the raw edges should be enclosed on the inside.
With a good pattern, this technique is actually much easier than it first appears.
Preparing the Sleeve Head
Now the sleeve is prepared.
A basting stitch is sewn around the top curve of the sleeve using the longest stitch length – not to gather it, but to help shape the sleeve cap.
Then the bobbin thread is gently pulled so the sleeve cap can ease into the armhole more smoothly.
Sleeve Markings
There are markings on the sleeve that match the markings on the armhole.
These notches help ensure the front and back are aligned correctly.
As you gain experience, you may find that you only need the notches rather than pinning everything in place.
Setting in the Sleeve
The sleeve is pinned carefully from notch to notch.
This step takes patience, especially with shaped sleeves, because they are designed to fit properly rather than simply hanging straight.
Work slowly and make sure the fabric lies flat.
Sewing the Sleeve
When sewing the sleeve in, work in small sections.
With the needle down, adjust the fabric as you go to prevent puckers or excess fabric from being caught.
The shoulder area especially needs careful attention so nothing is pulled past the seam line.
Finishing and Pressing
Once the sleeve is sewn in, the seam allowance is finished – either with an overlocker or another finishing stitch.
If needed, trim away a little excess fabric first.
Then press the seam allowance toward the shirt body.
This gives a professional finish and follows classic shirt-making construction.
Topstitching the Sleeve
The sleeve seam can then be topstitched.
Some people stitch into the sleeve, others prefer stitching toward the shirt. Here, the seam allowance is pressed toward the shirt and topstitched.
This usually gives the cleanest result.
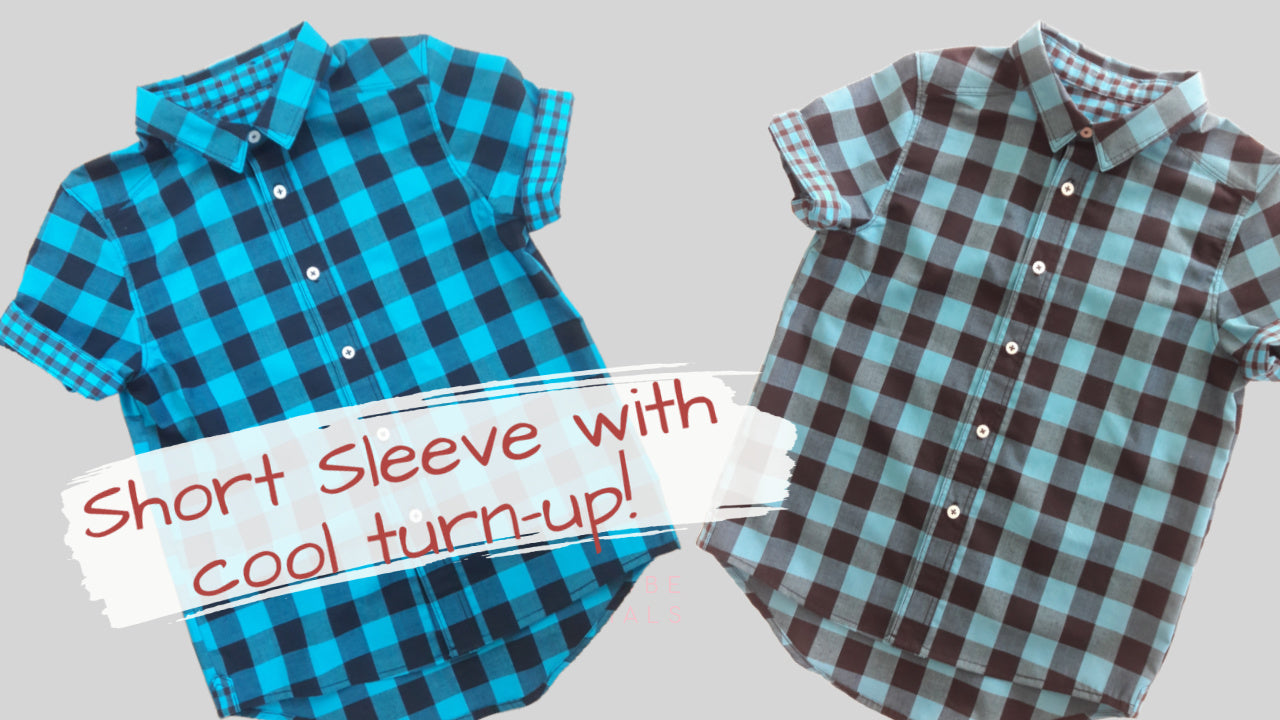
Closing the Sleeve
Now the sleeve is sewn closed along its length.
Pin from the cuff edge up to the underarm and sew with a 1 centimetre seam allowance.
Then finish the seam and trim if necessary.
Press the seam allowance toward the back and topstitch up to the underarm.
Attaching the Cuff
Now the cuff is attached to the sleeve.
The advantage here is that any slight difference in width can be adjusted through the pleat.
If the placket ended up a little wider or narrower, this is where it can be corrected.
The cuff is pinned all the way around, with extra pins at pleats and seam points.
Sewing the Outer Cuff
First, sew the outer side of the cuff in place.
This is done from the inside because it is much easier.
As you sew, rotate the sleeve gradually under the machine.
Finishing the Inner Cuff
Next, fold the inner cuff side over the seam.
Just like with the collar, position the inner layer so the original seam line is just barely covered.
Everything should be pressed very carefully beforehand.
Final Topstitching
Now the cuff is topstitched all the way around.
It helps to keep the shirt fabric facing upward so you can clearly see the visible edge.
Work slowly, remove pins as you go, and keep the stitching even.
Conclusion
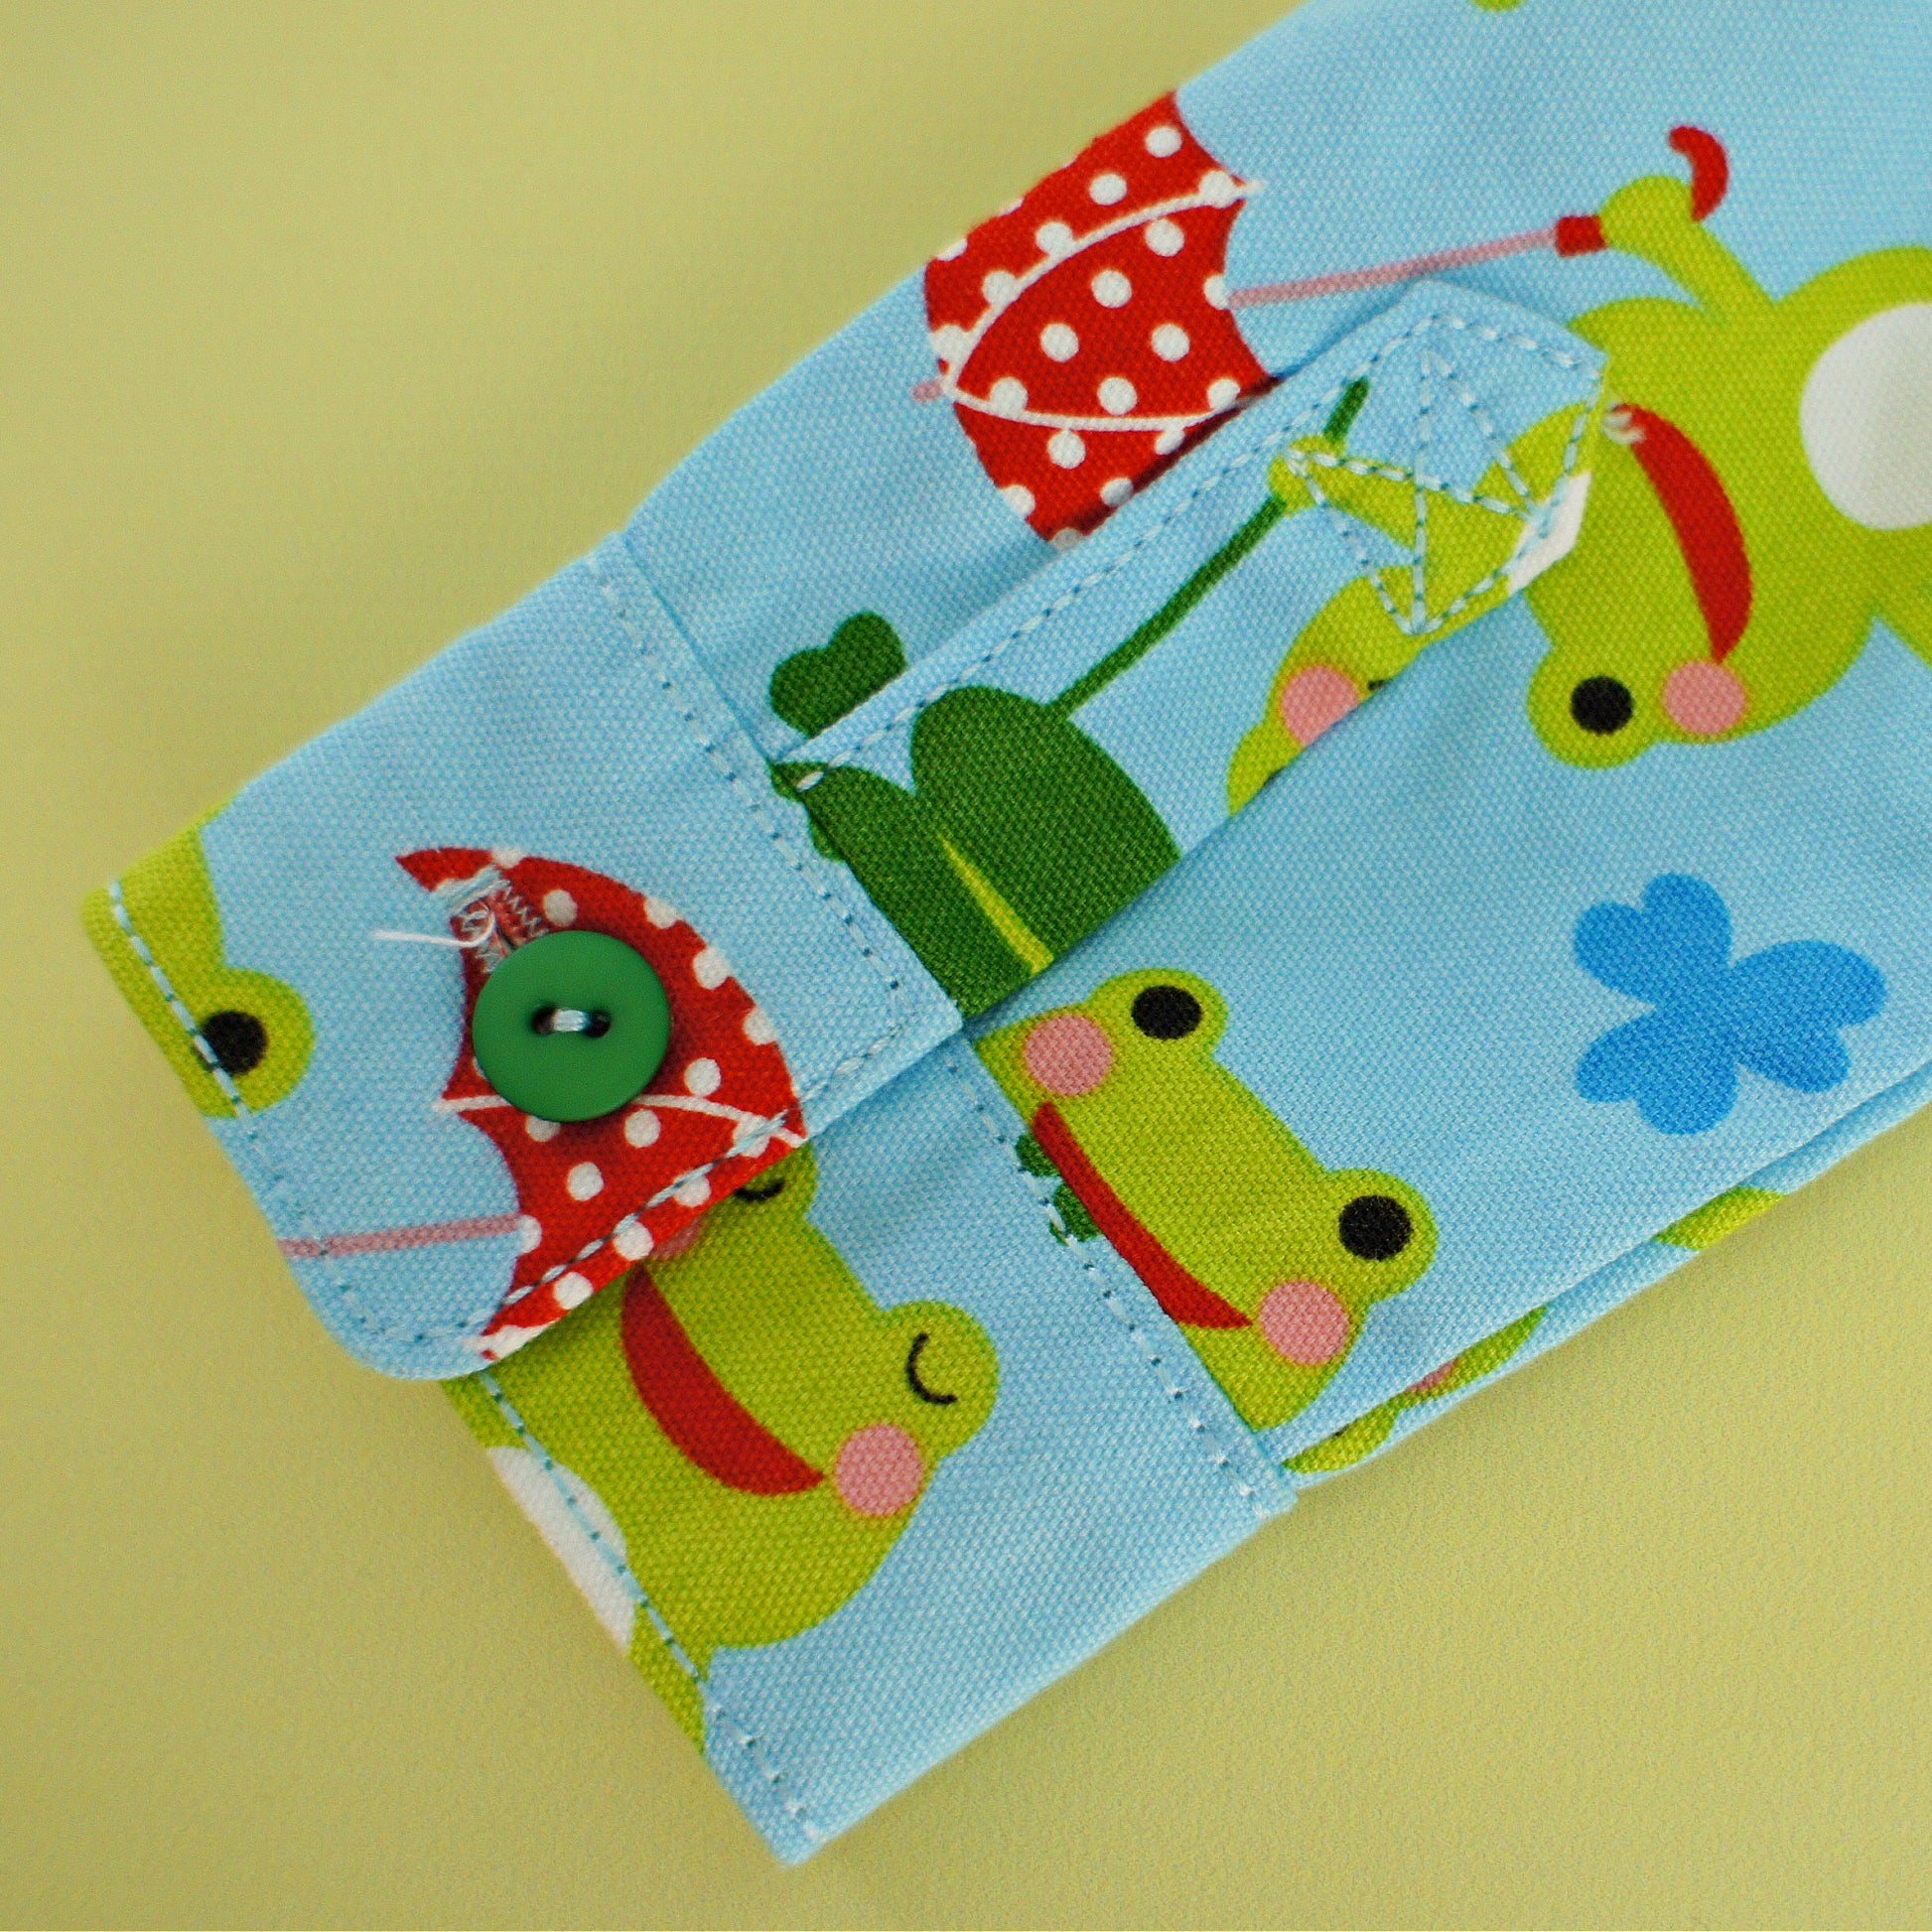
The cuff is now finished.
This step is not difficult – it is simply made up of several smaller steps that need to be done neatly and carefully.
Most importantly, keep pressing as you work. A professional result comes not only from the sewing machine, but just as much from the ironing board.