


COOL SHIRT
COOL SHIRT


Regular price
€6,95 EUR
Regular price
Sale price
€6,95 EUR
Unit price
per
Couldn't load pickup availability
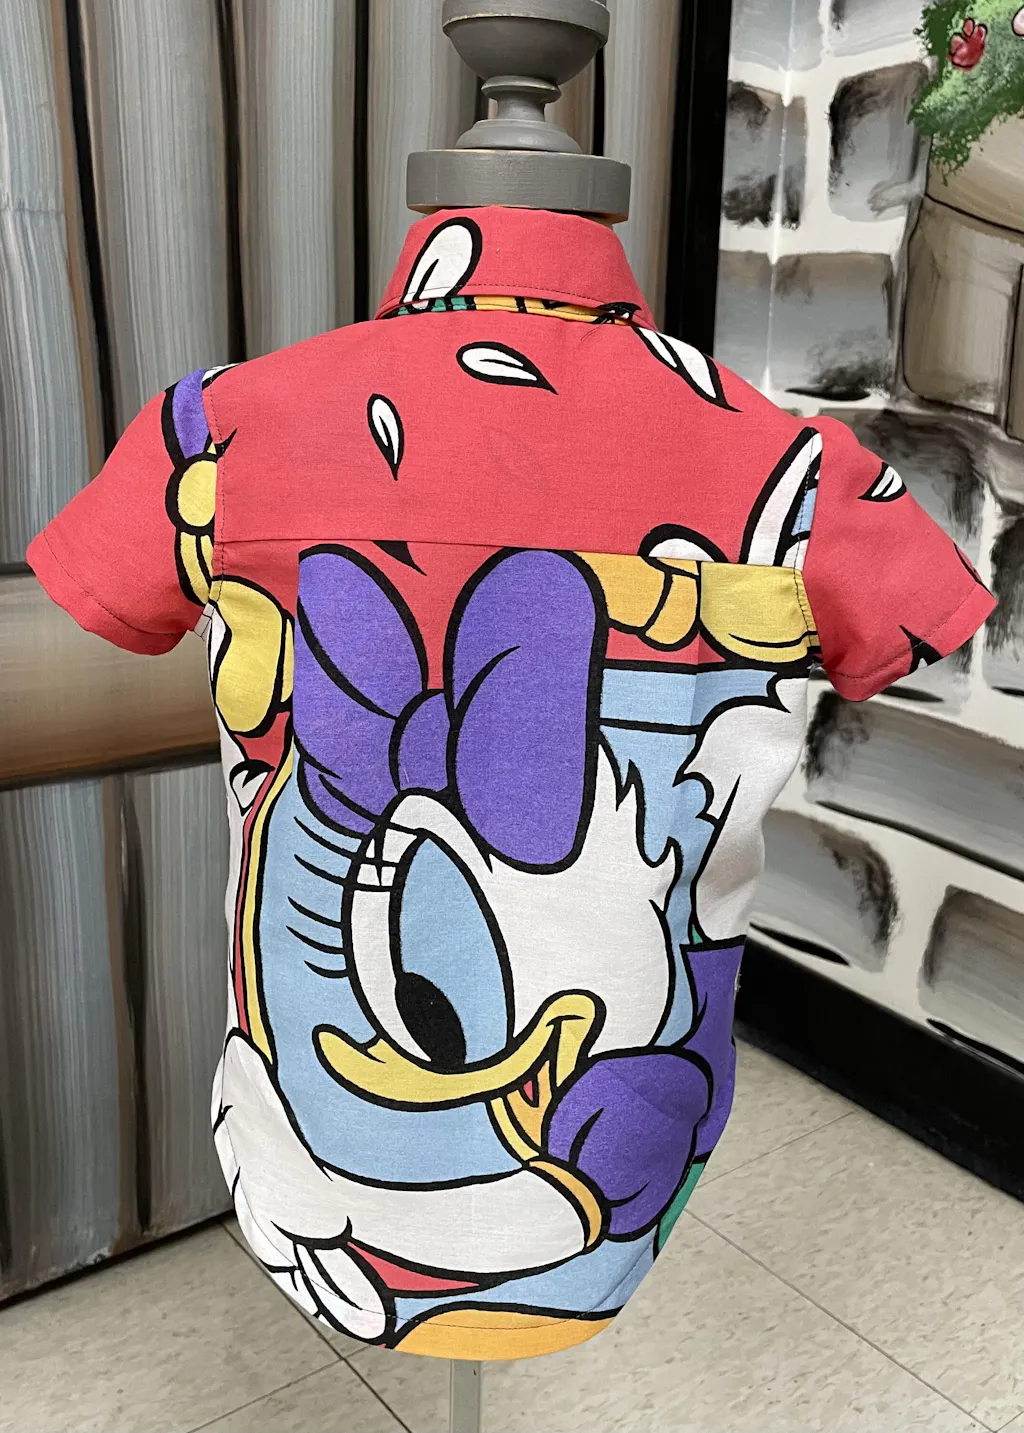
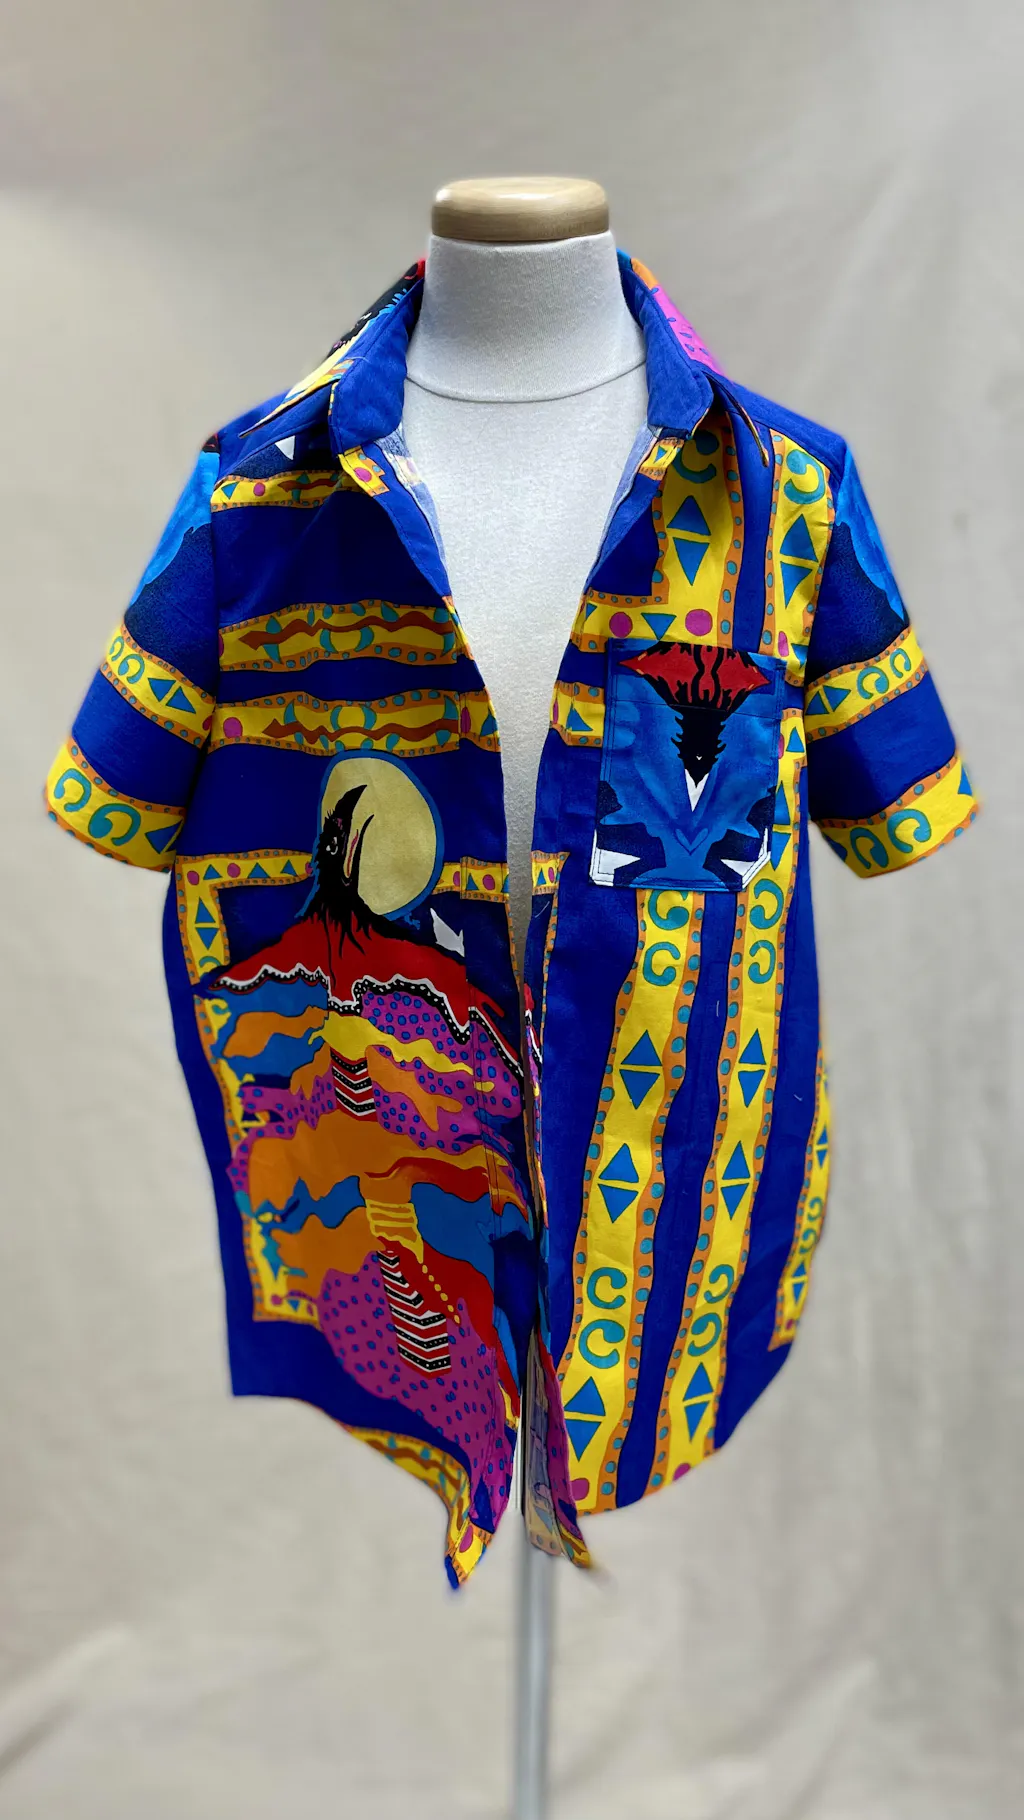
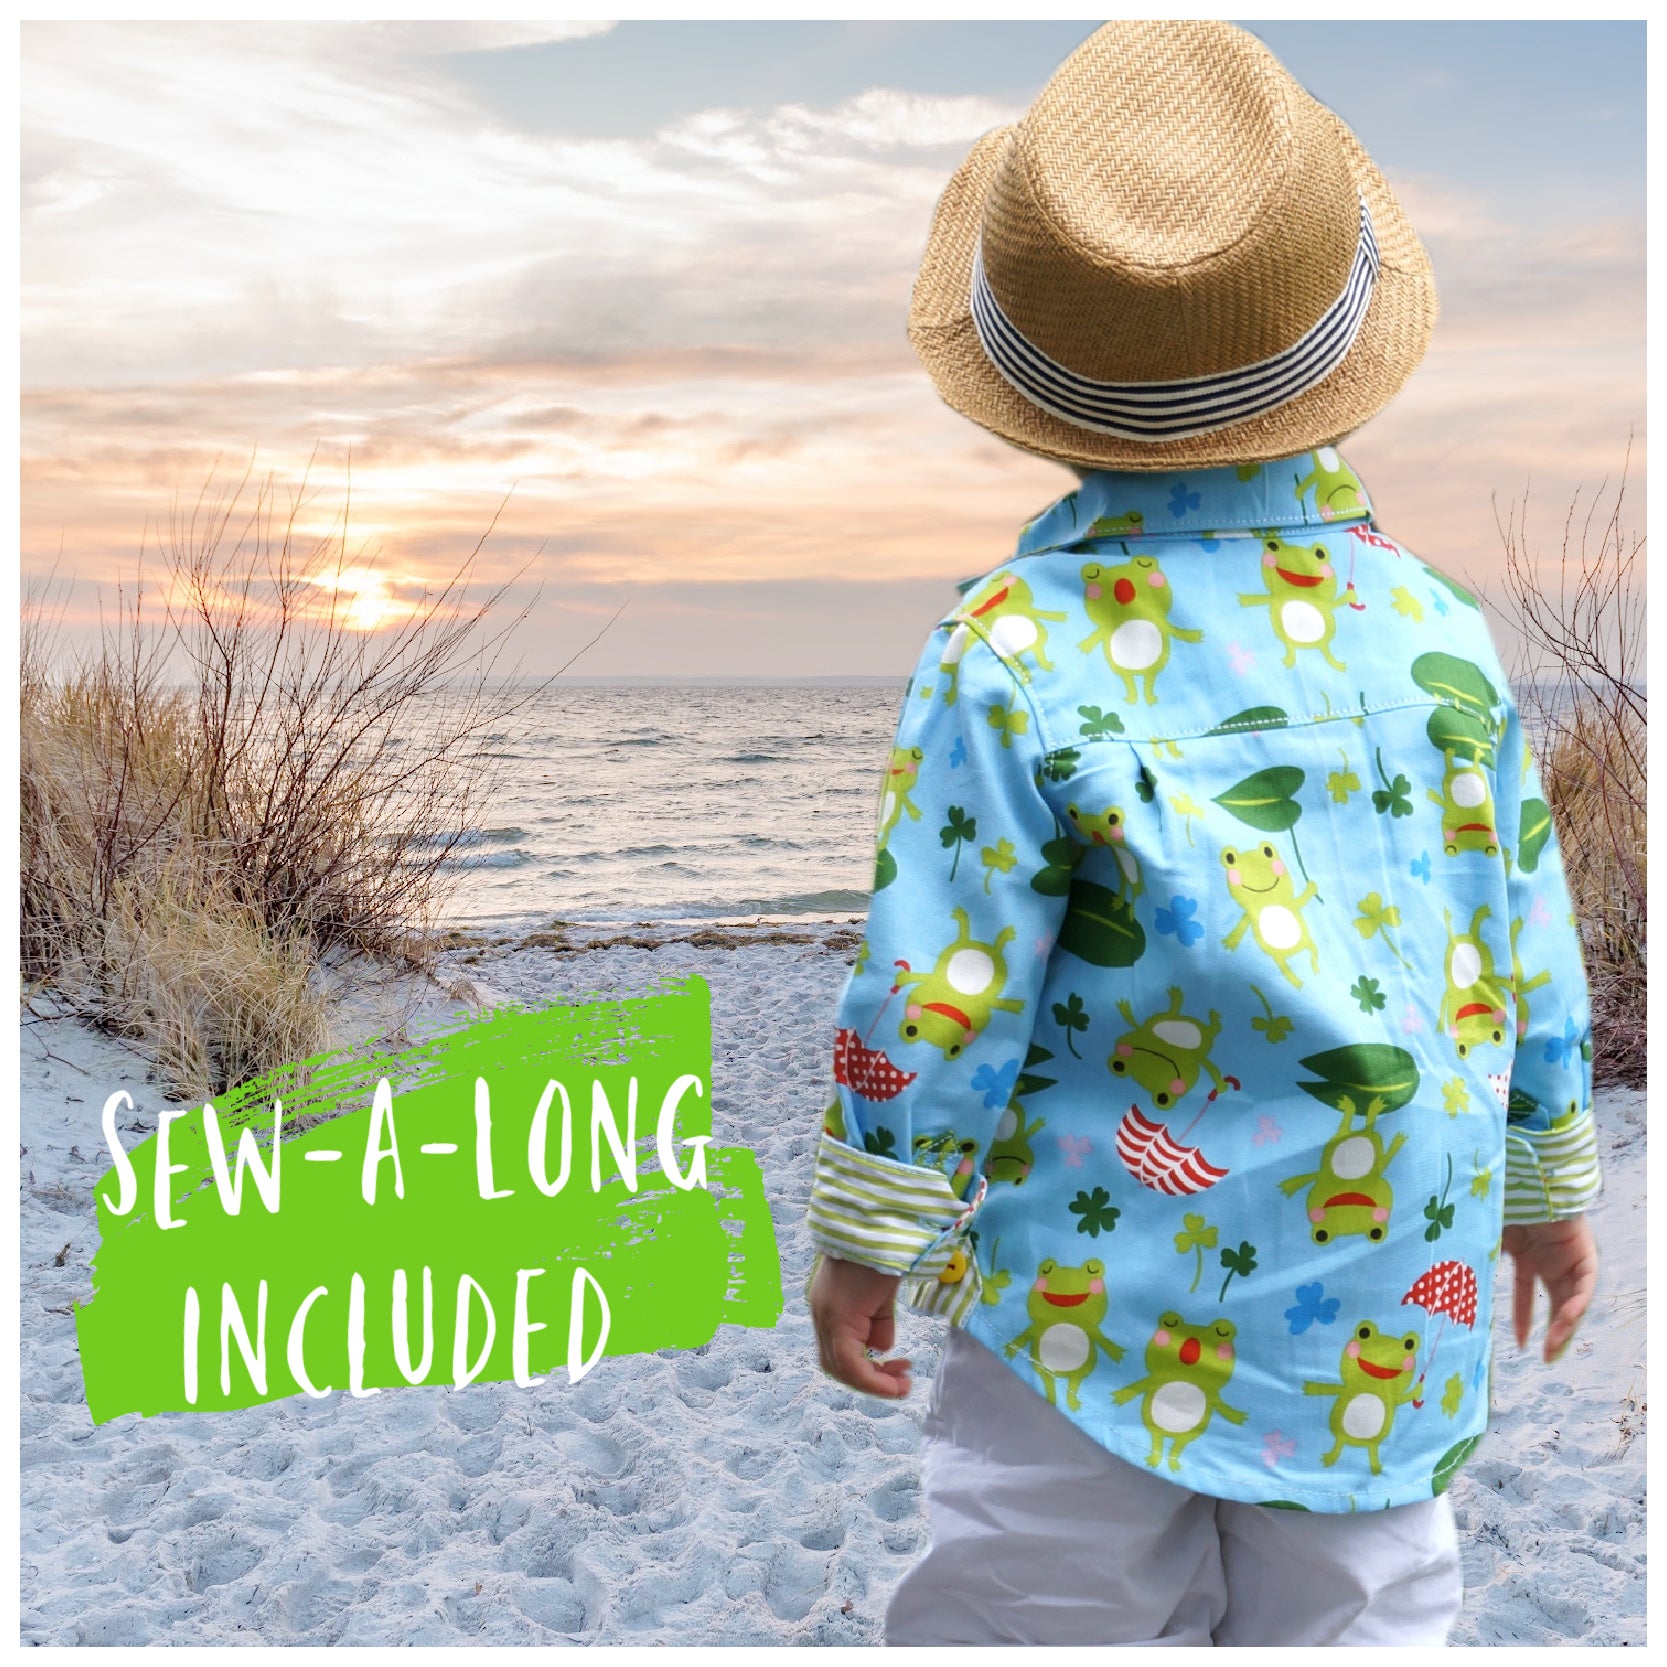
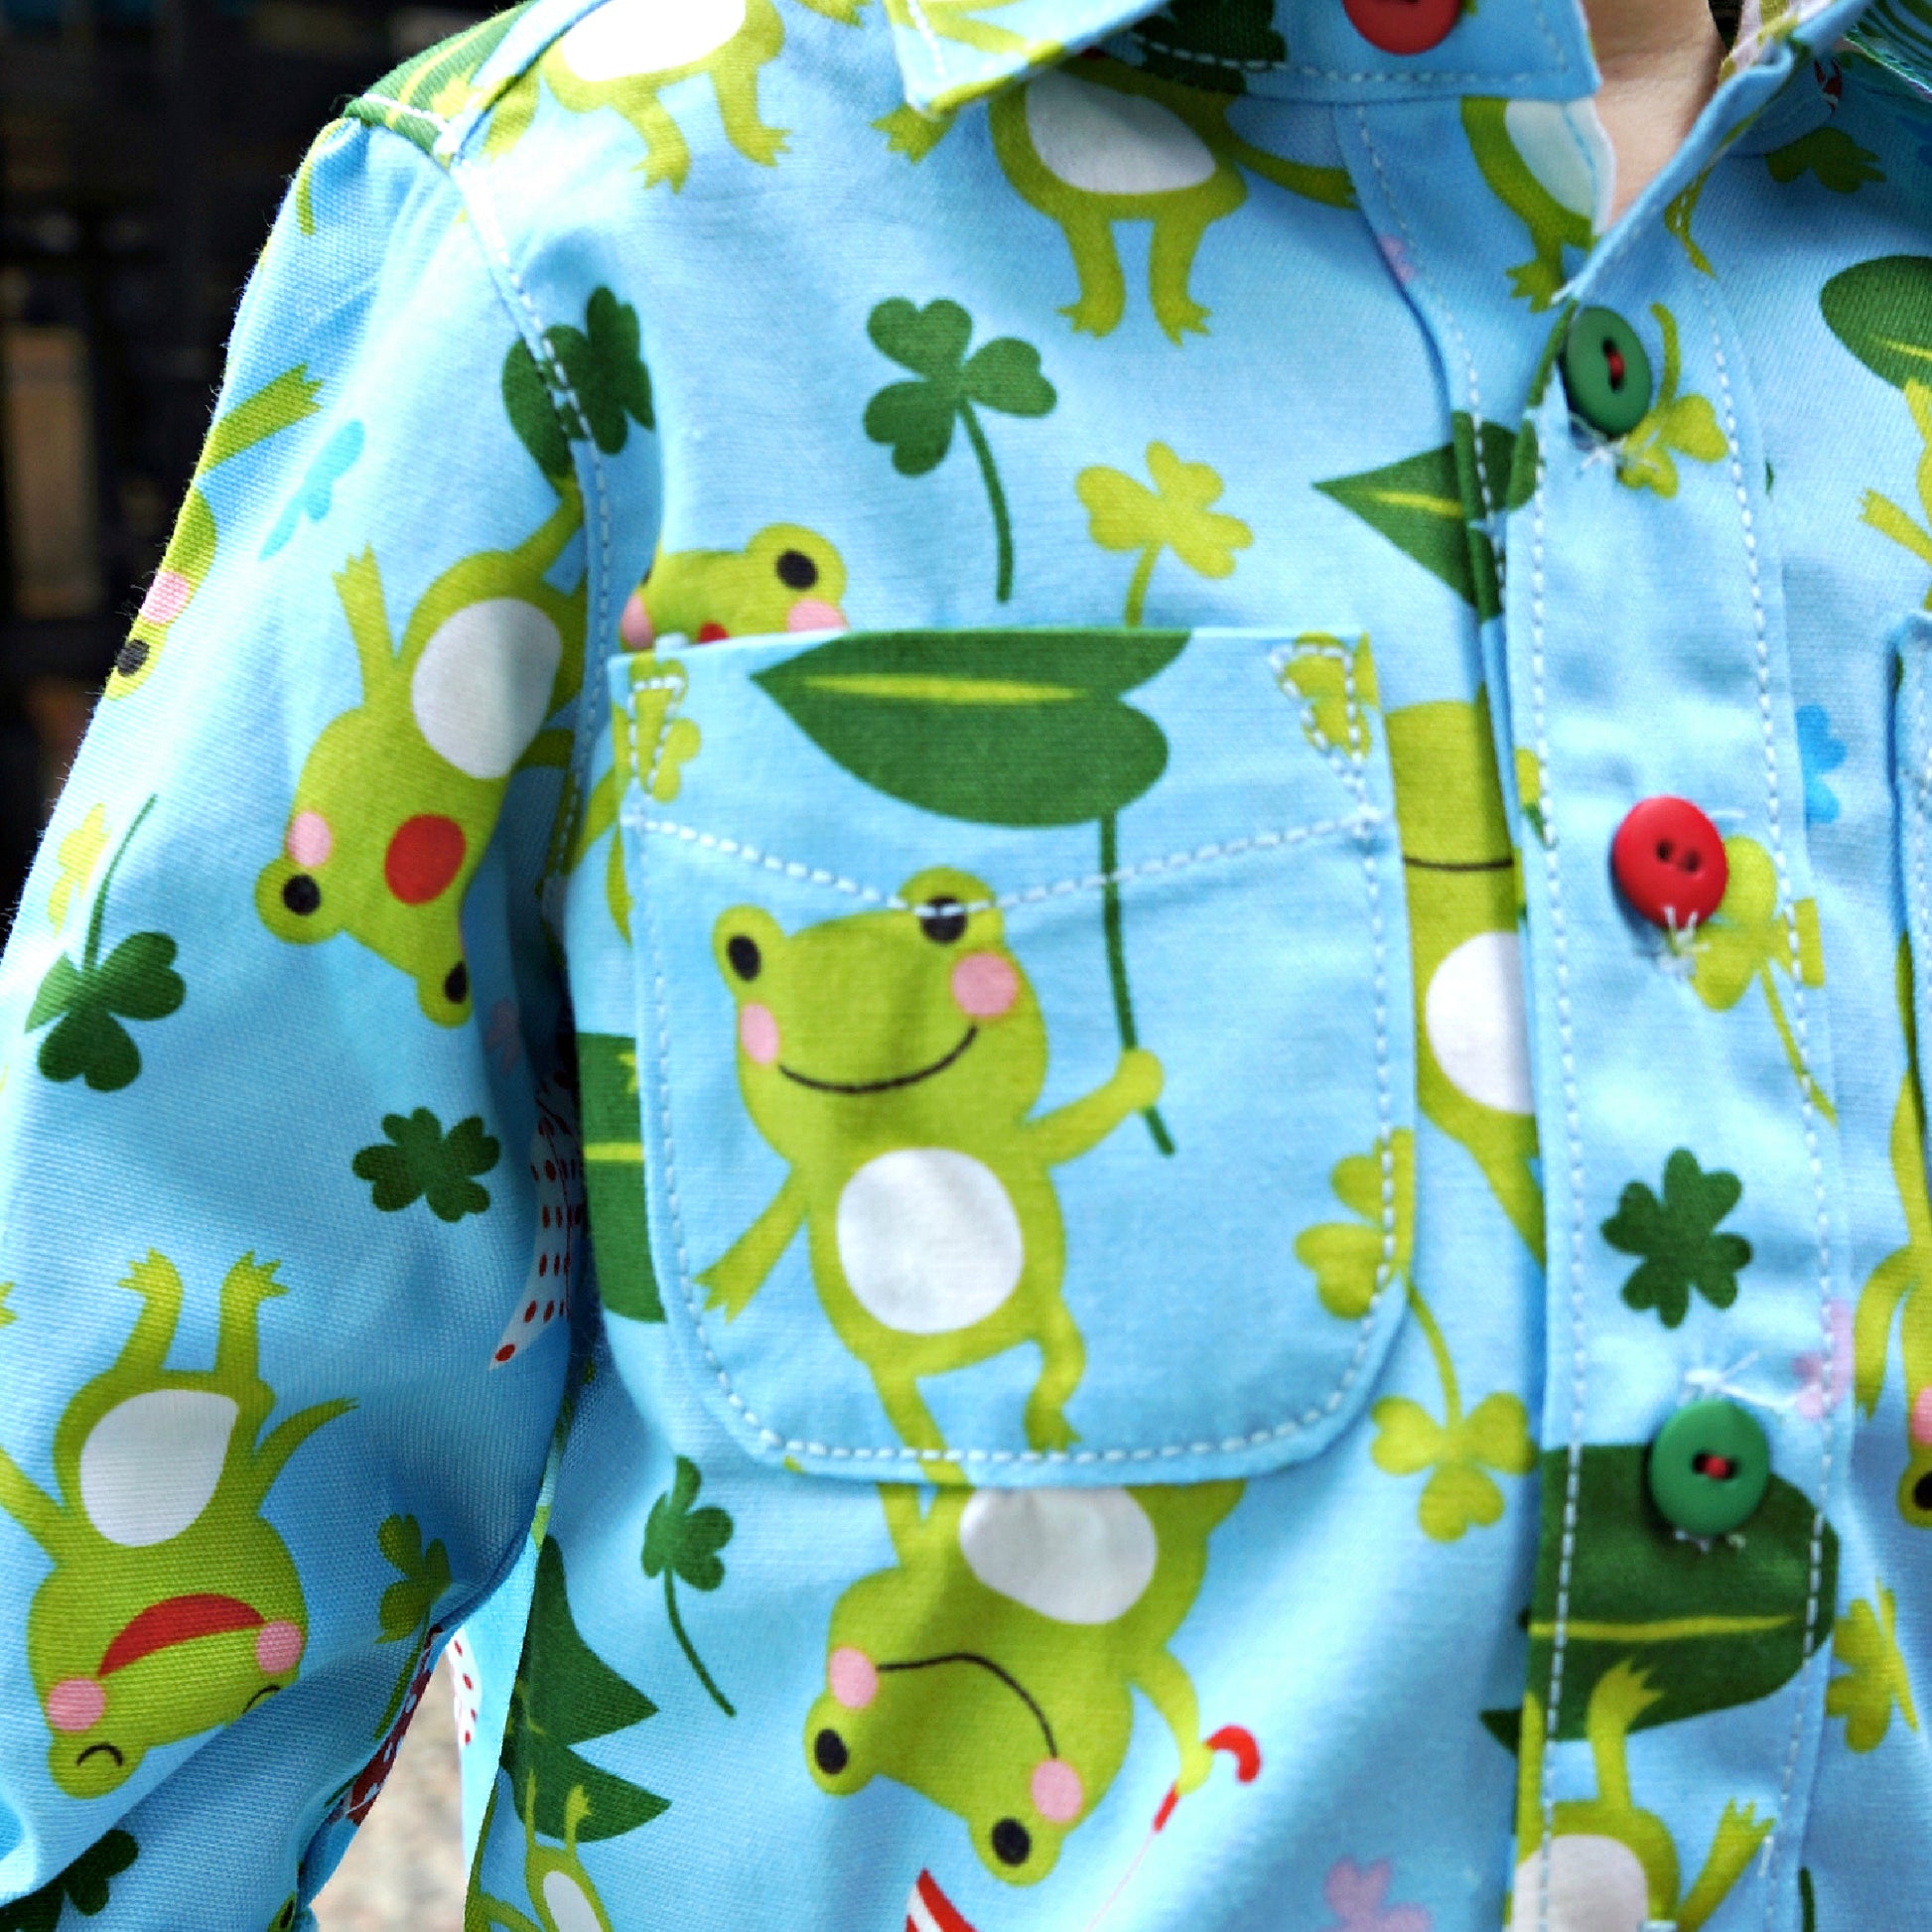
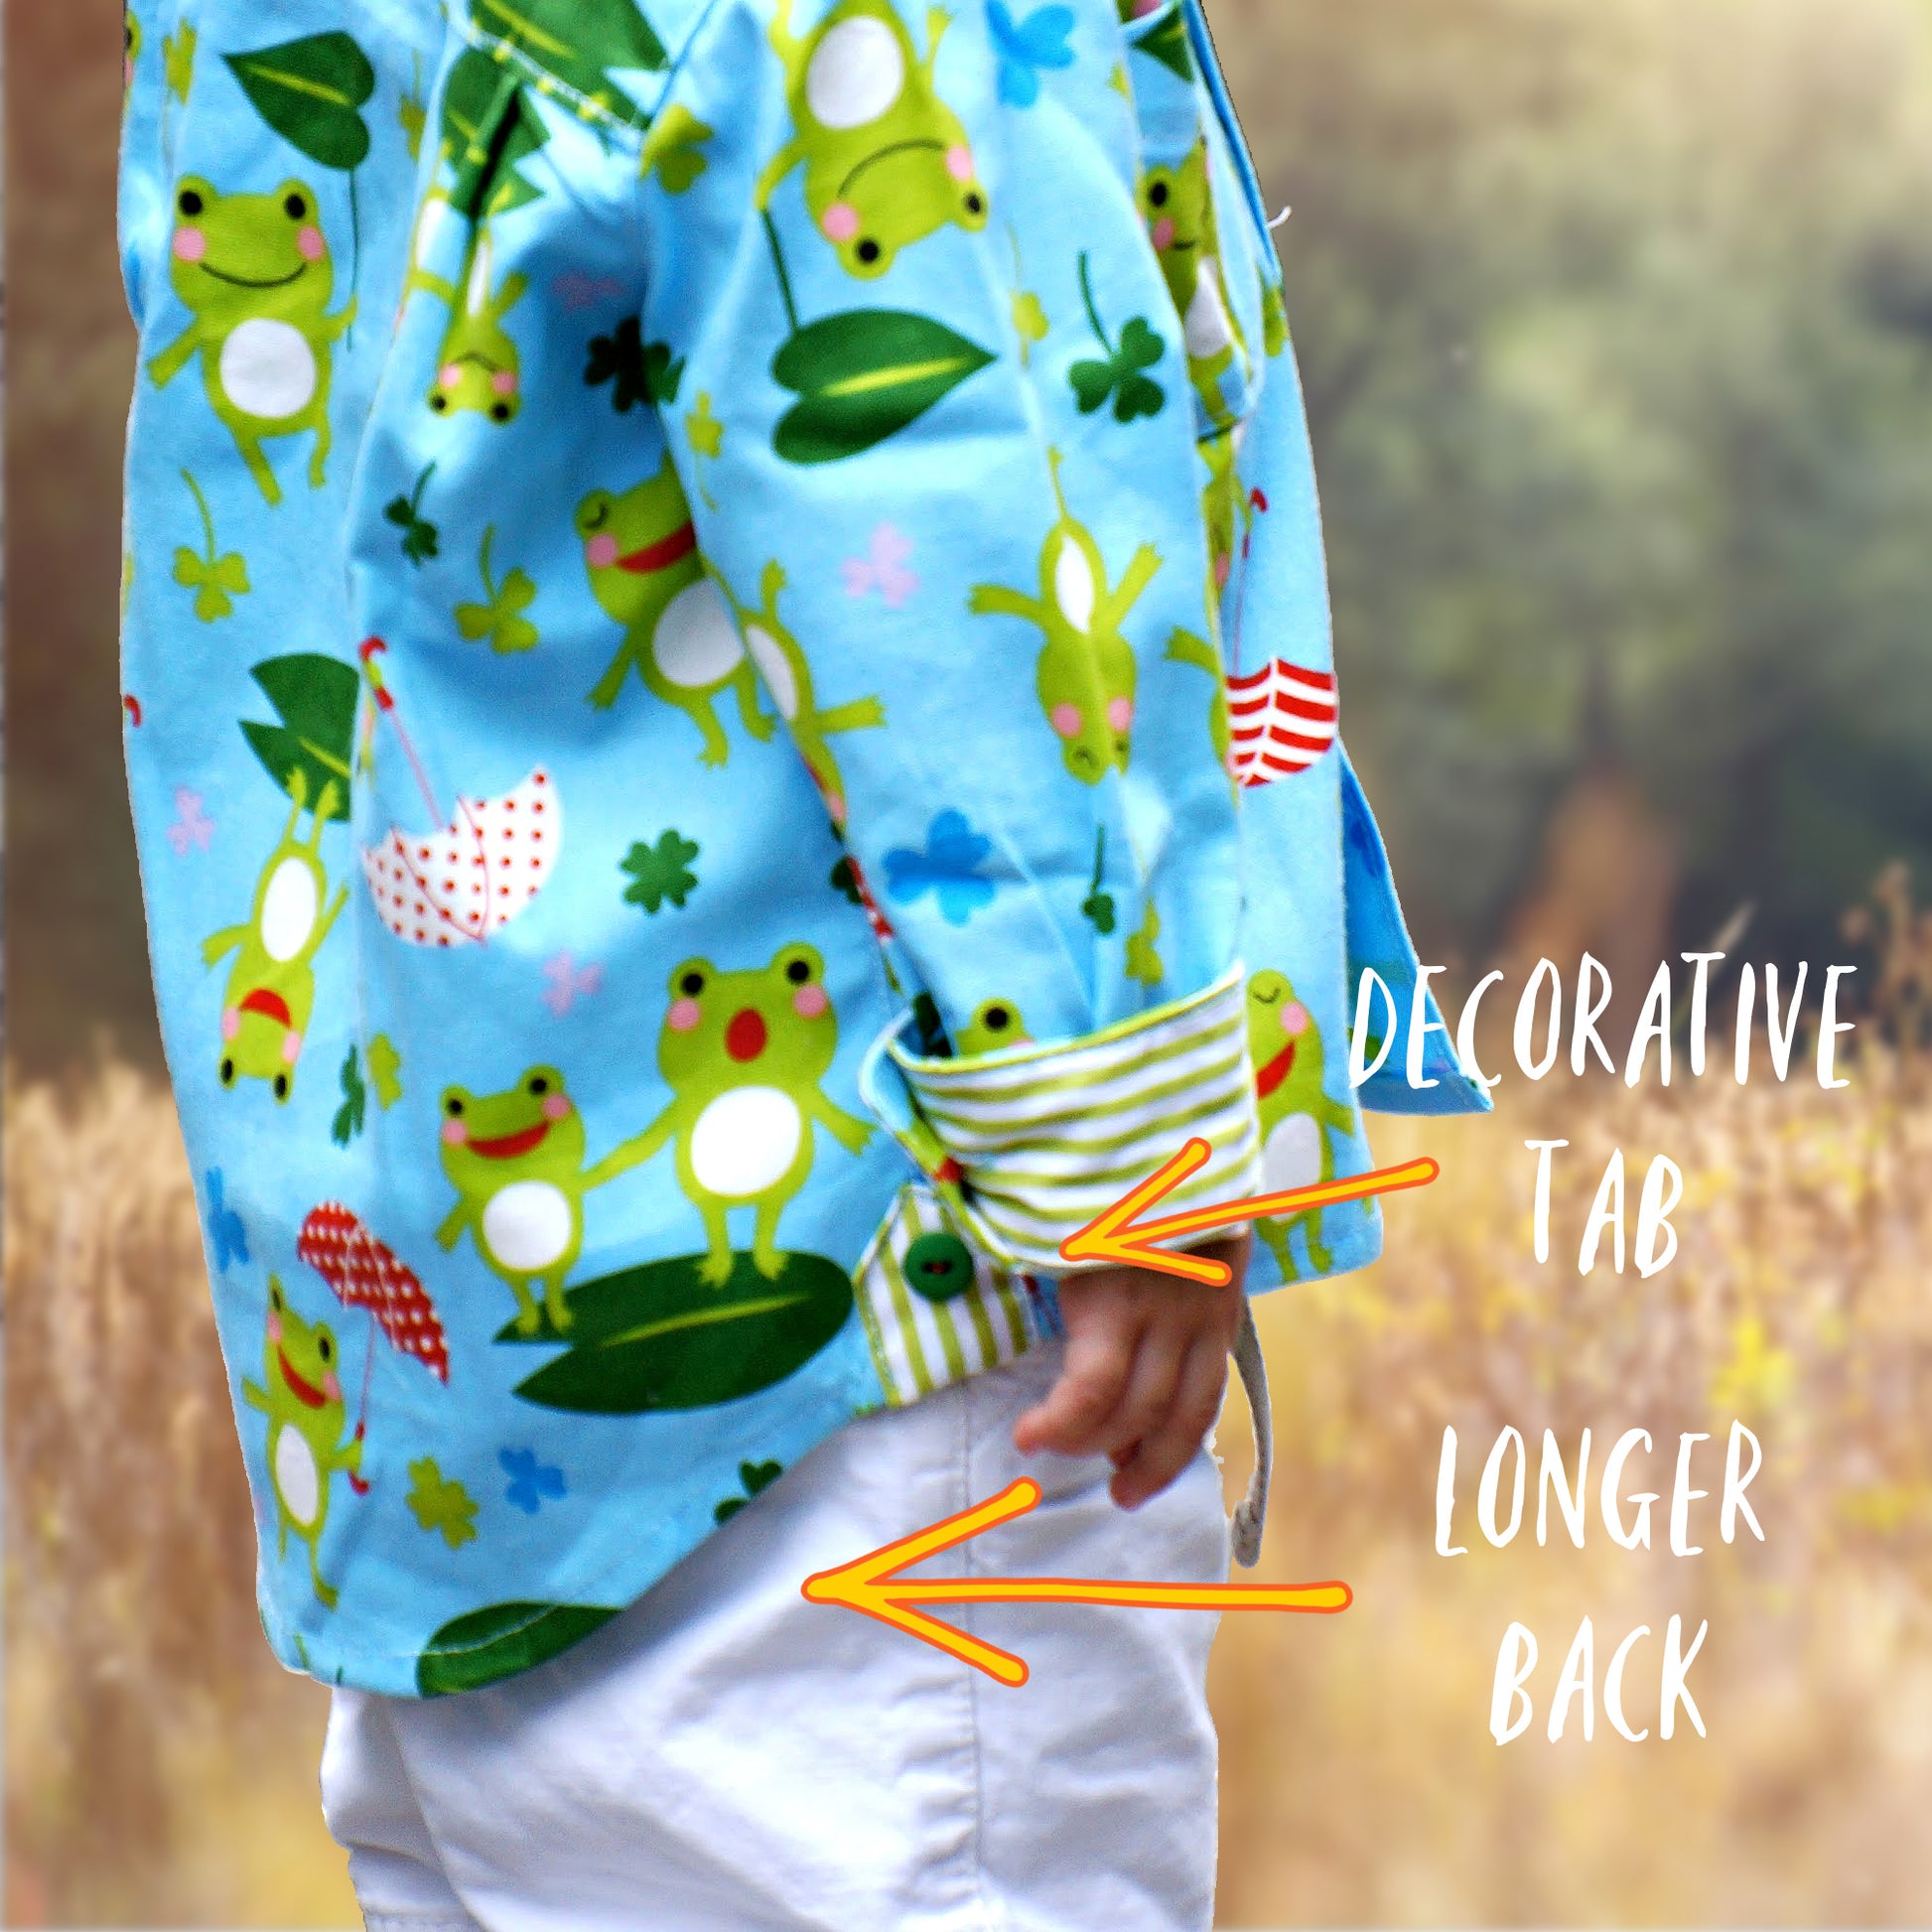
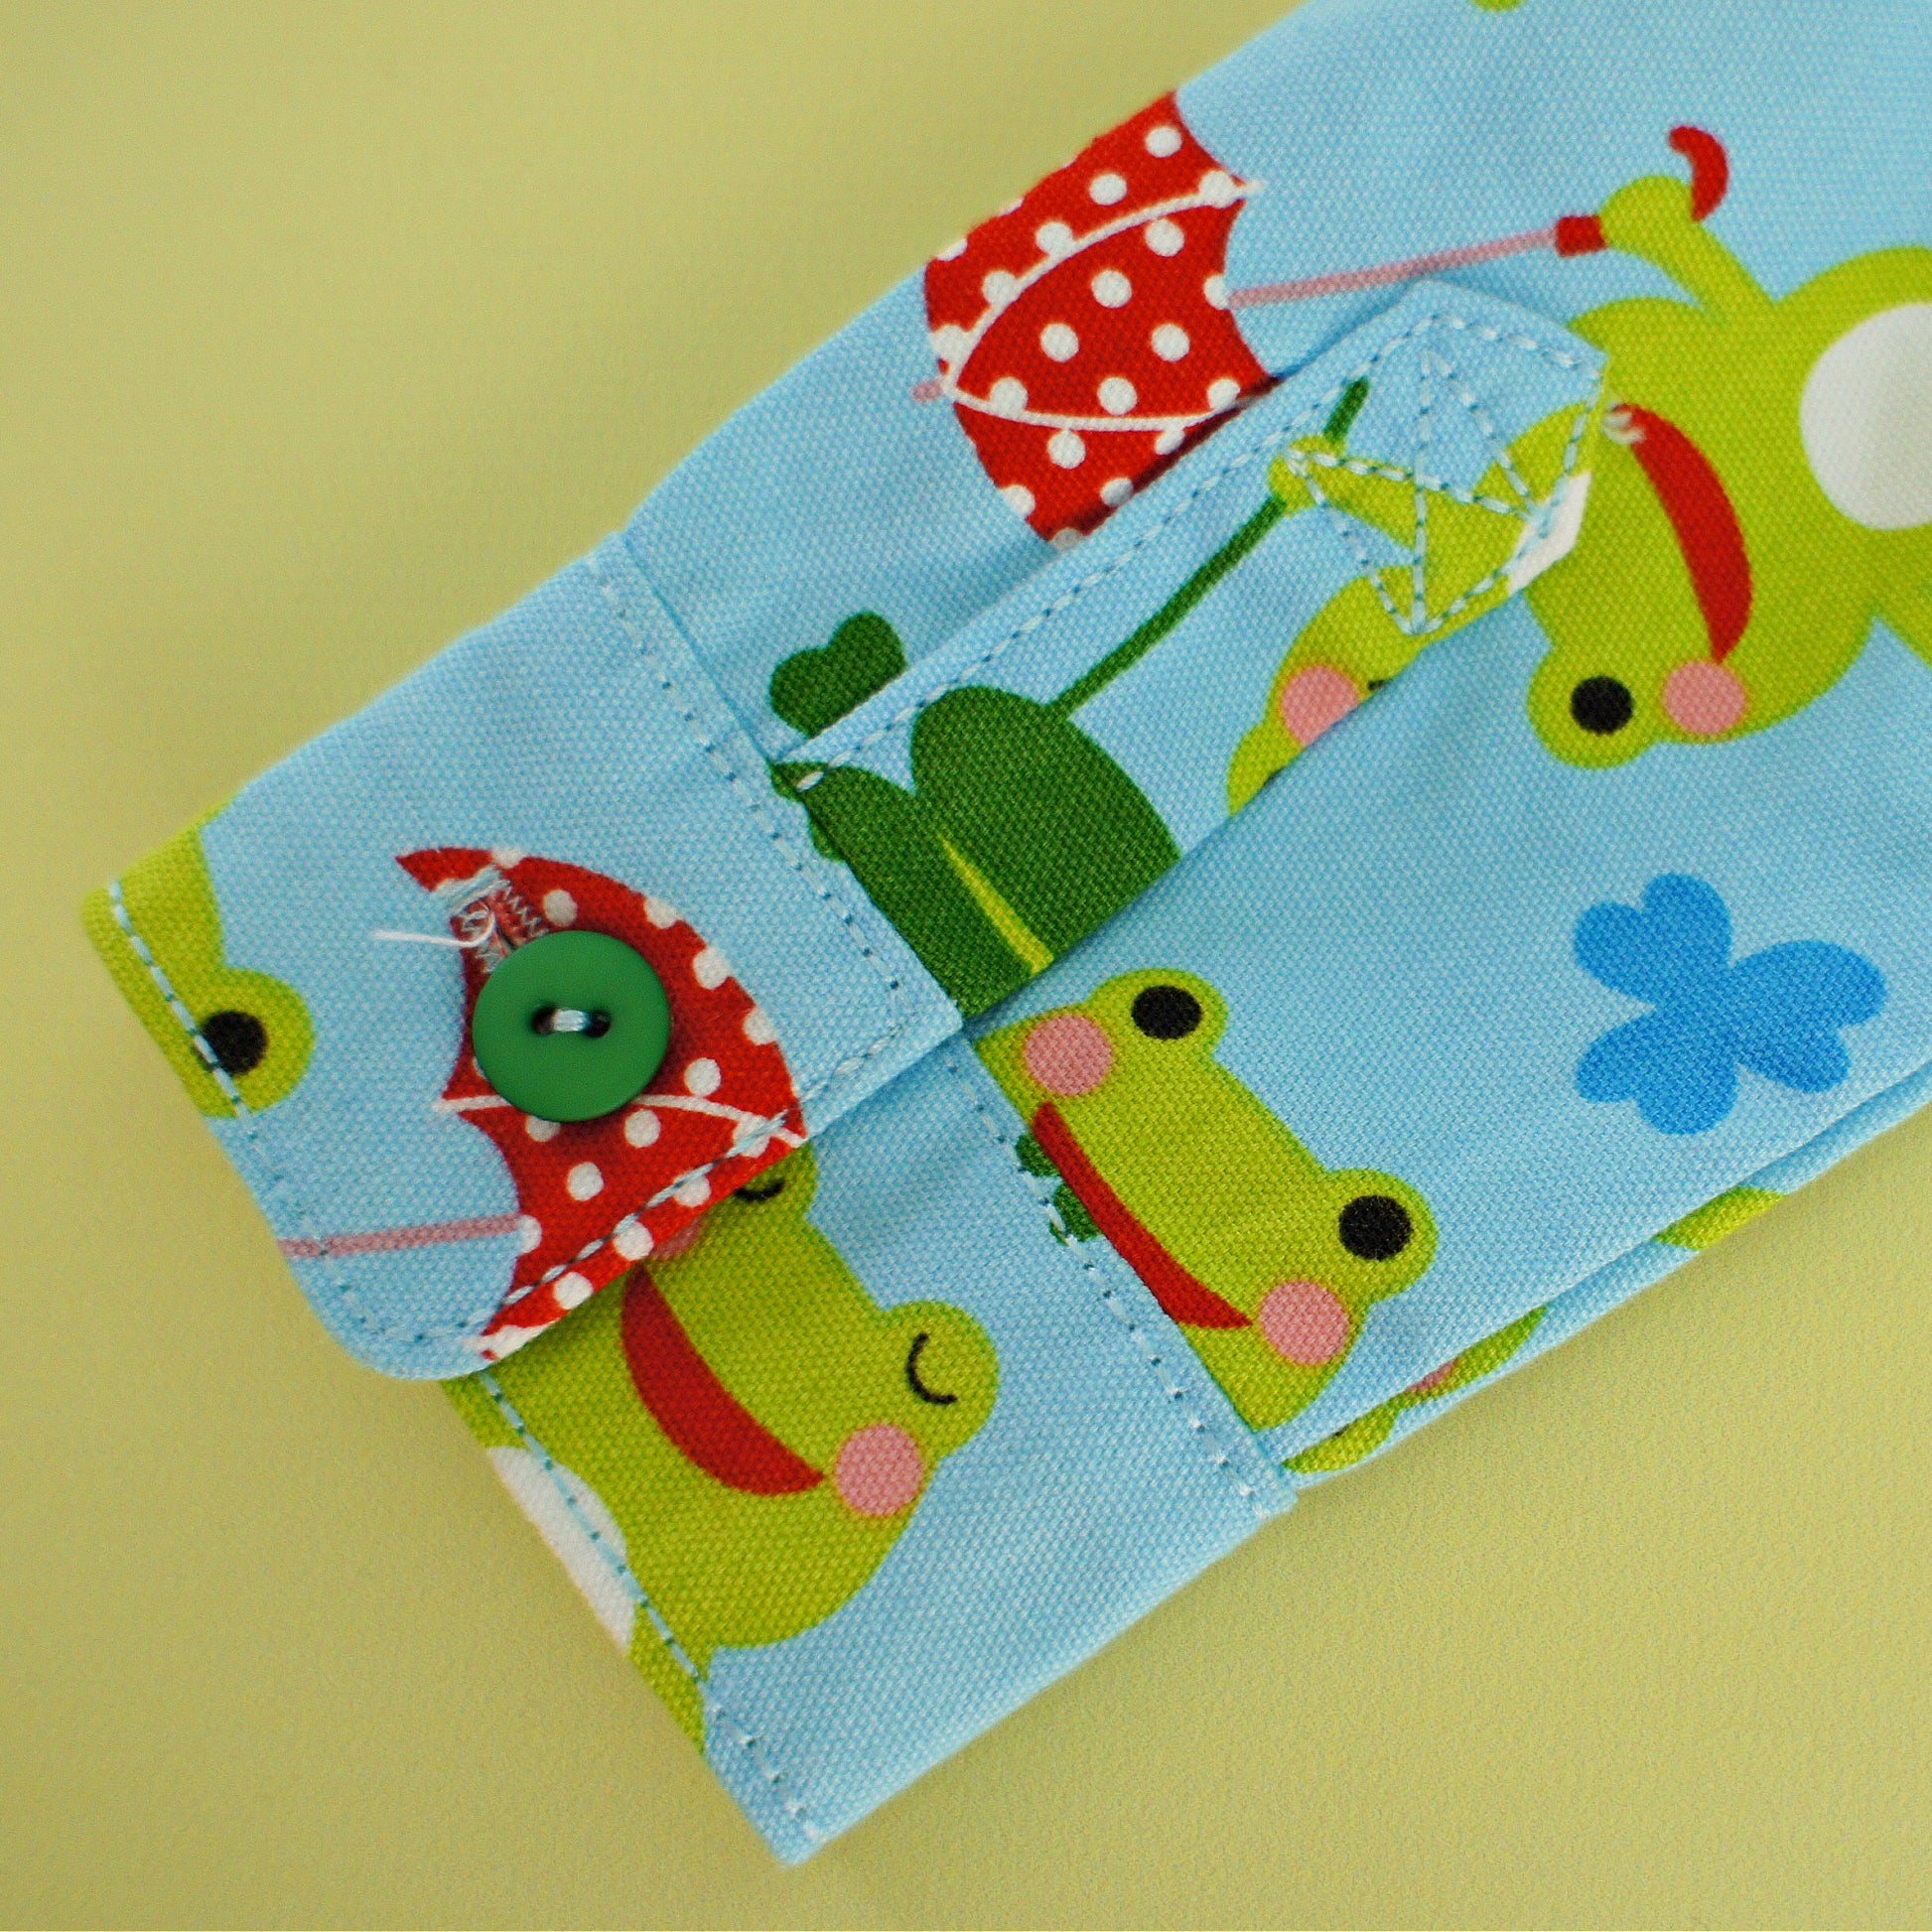
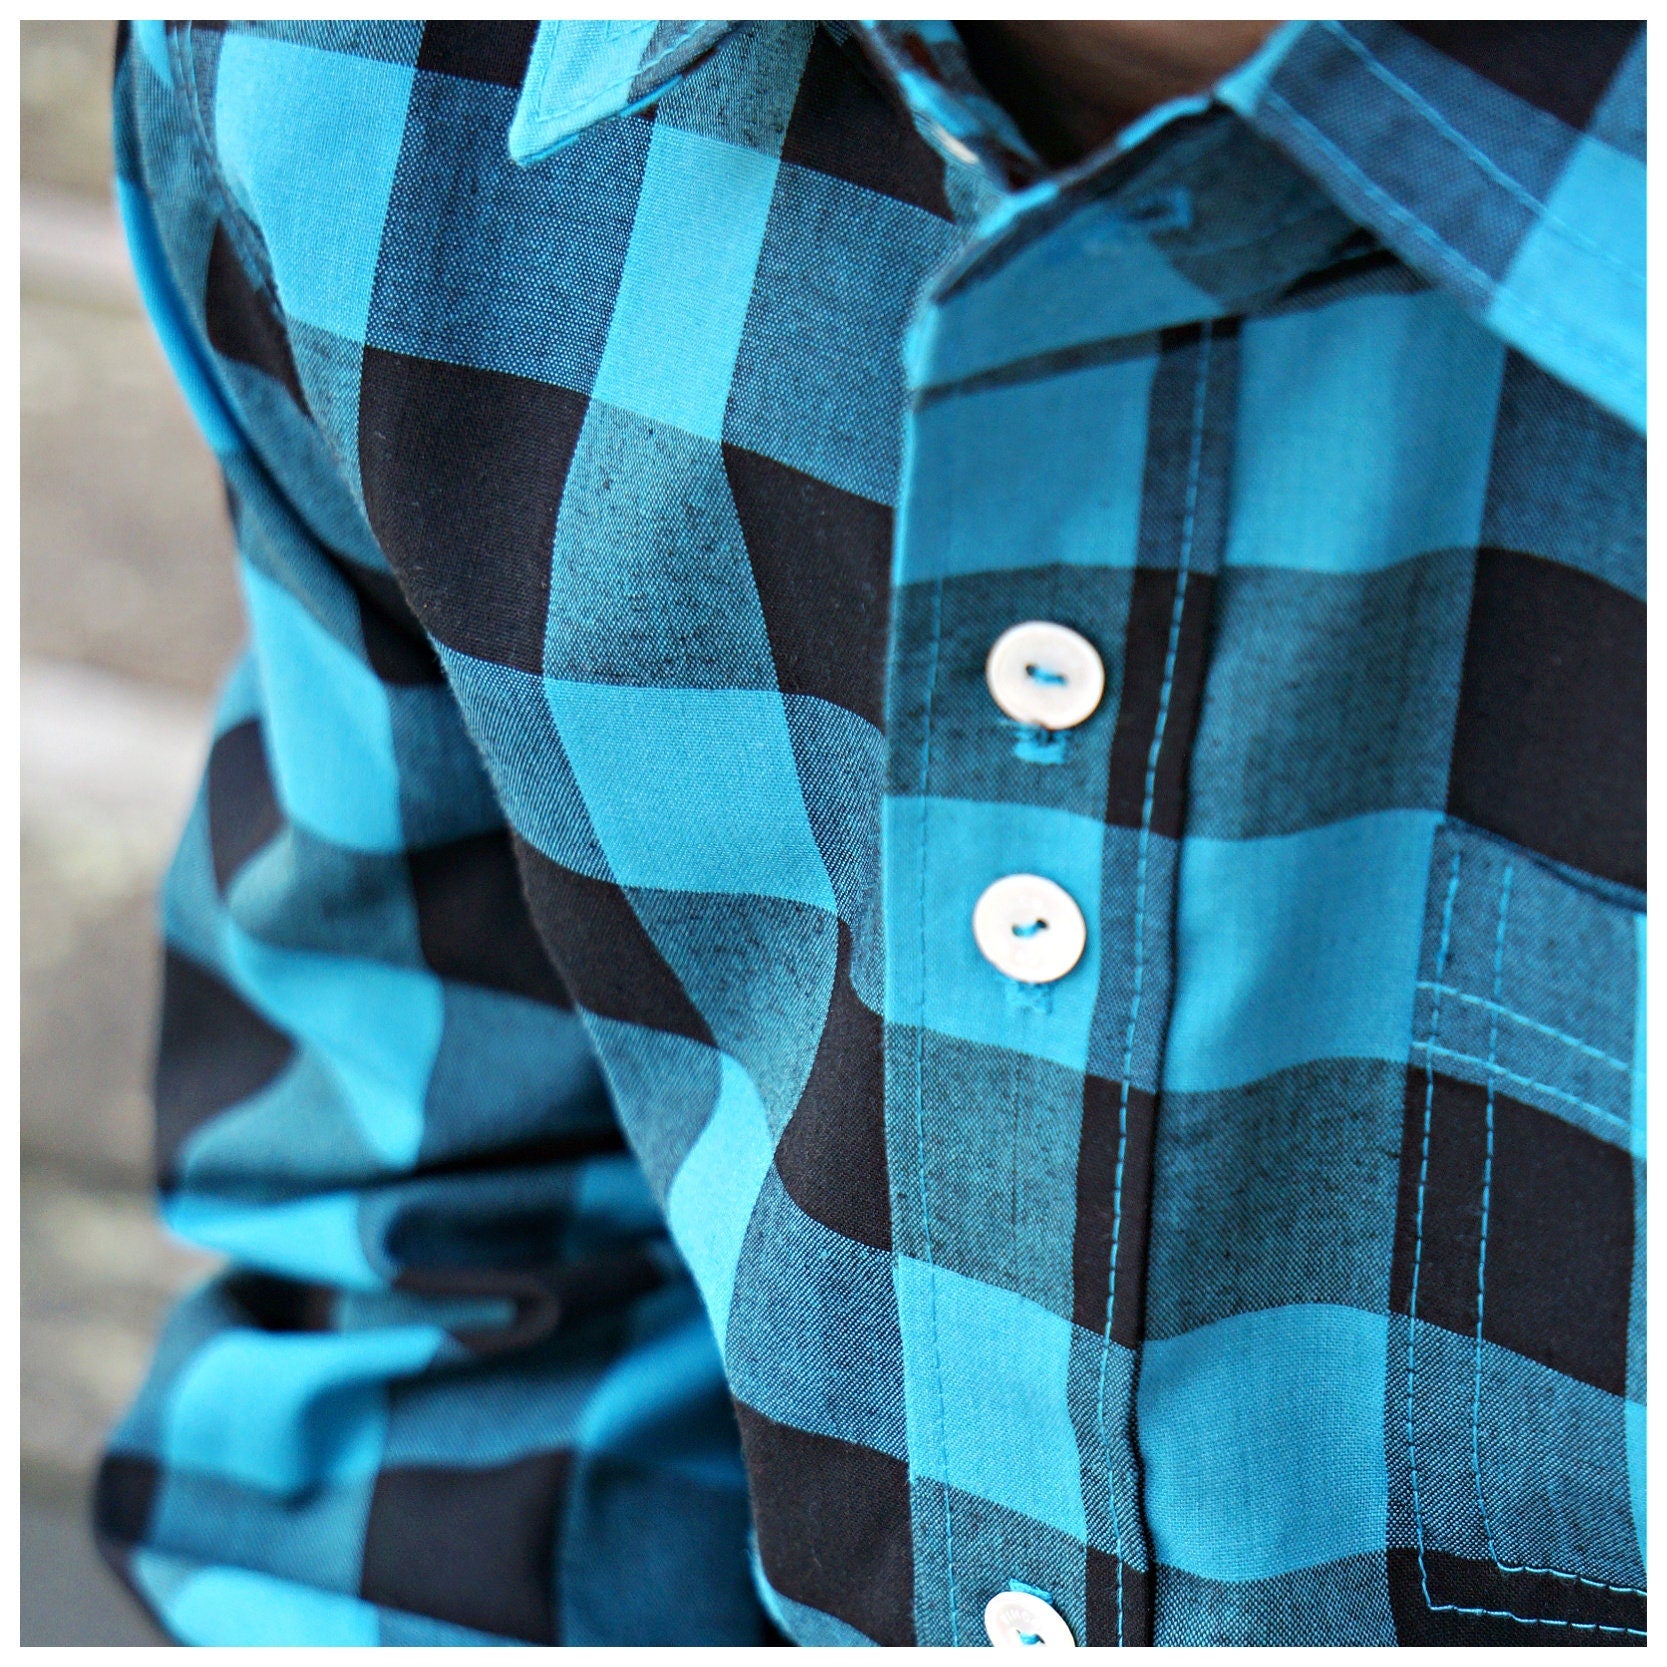
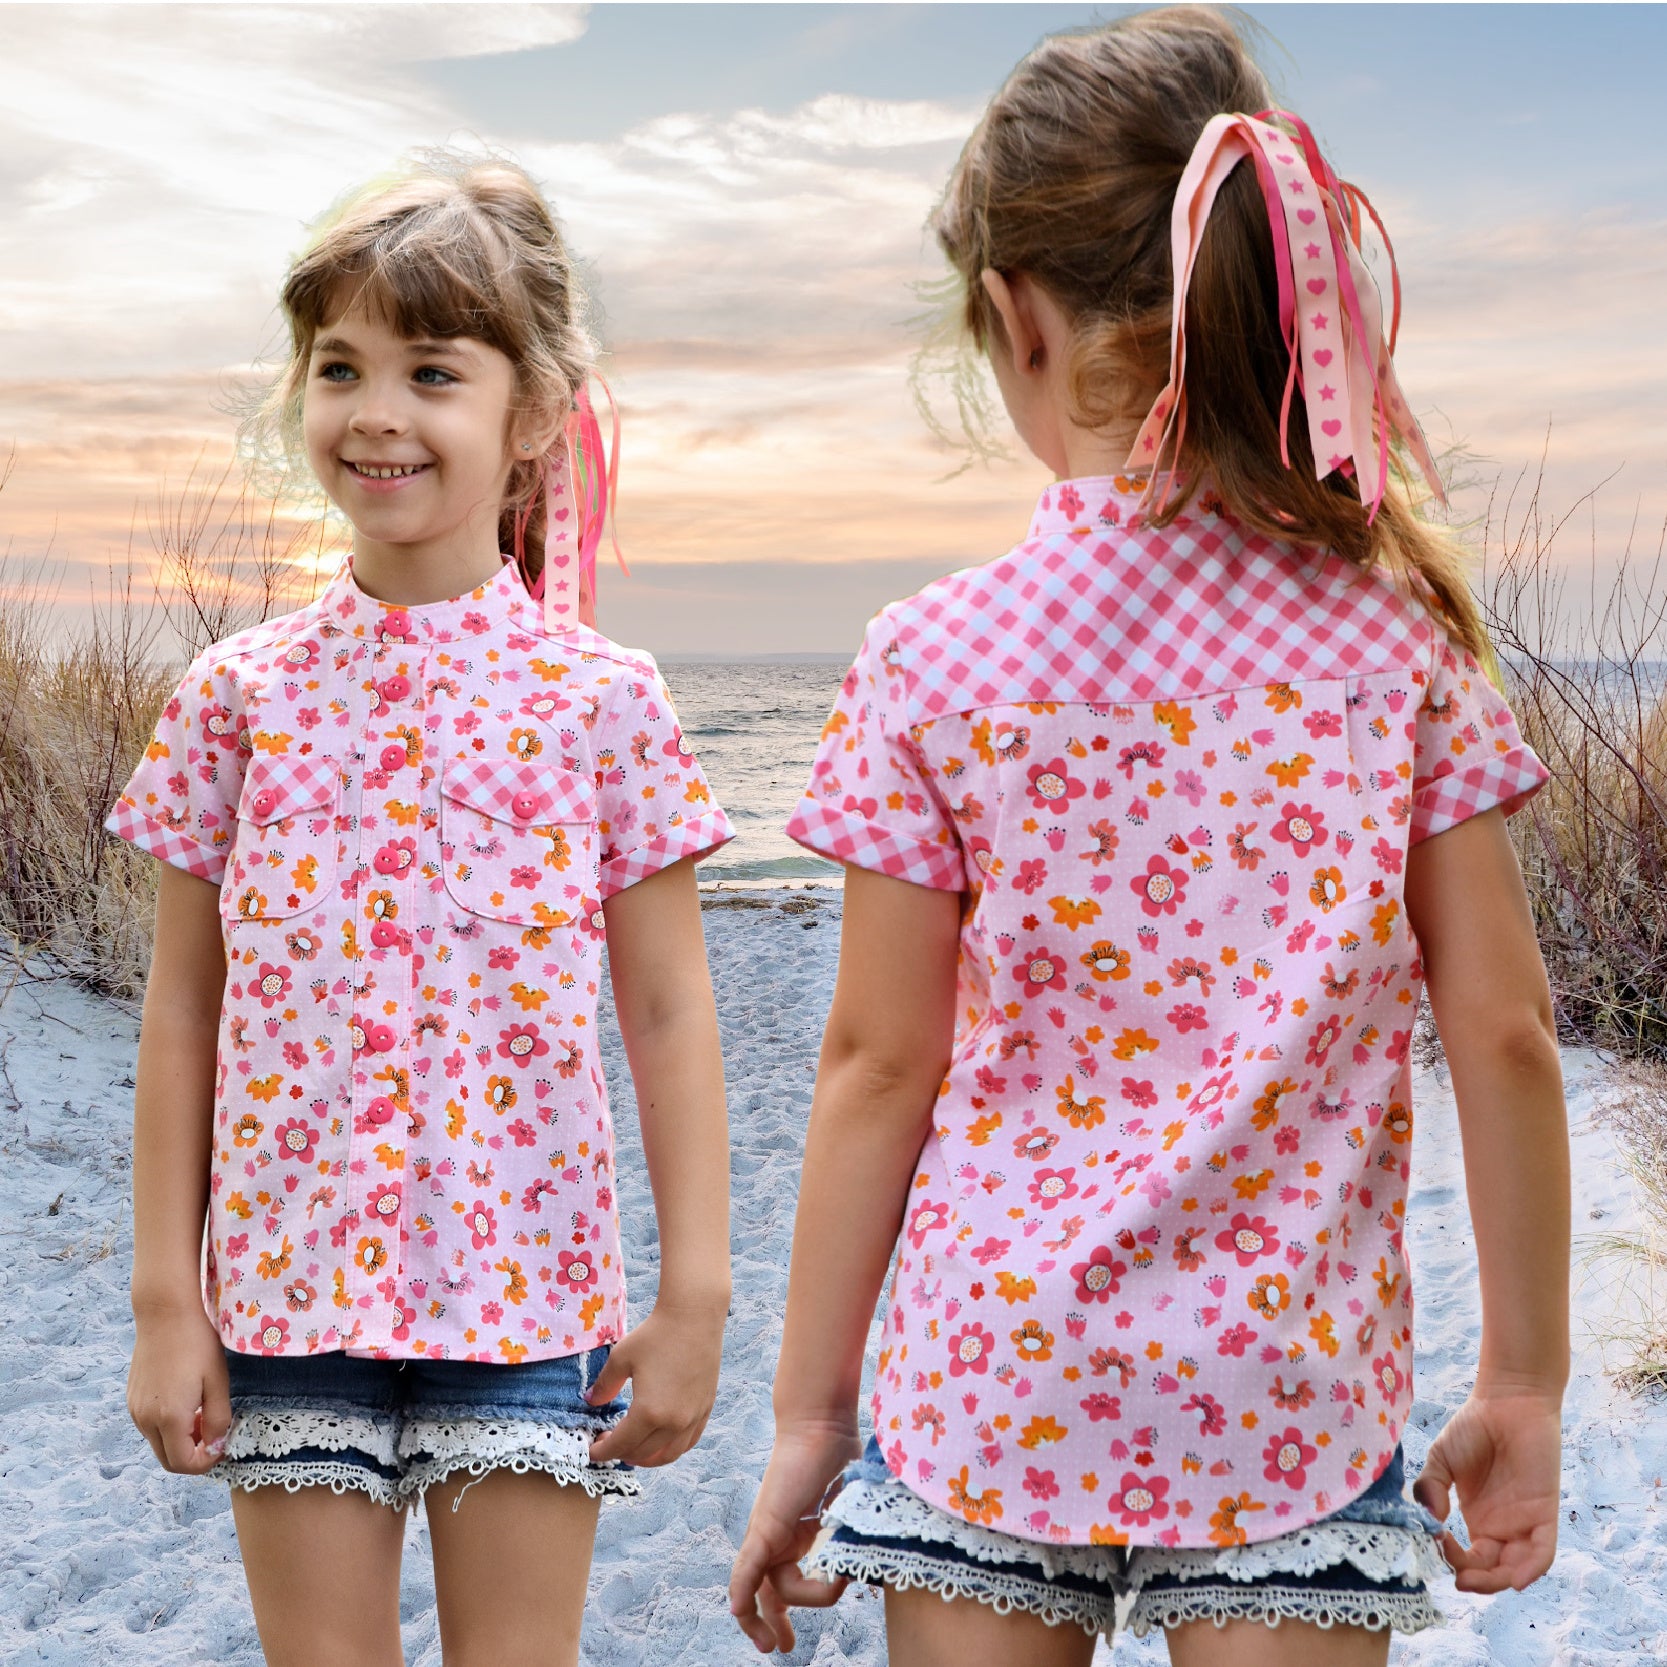
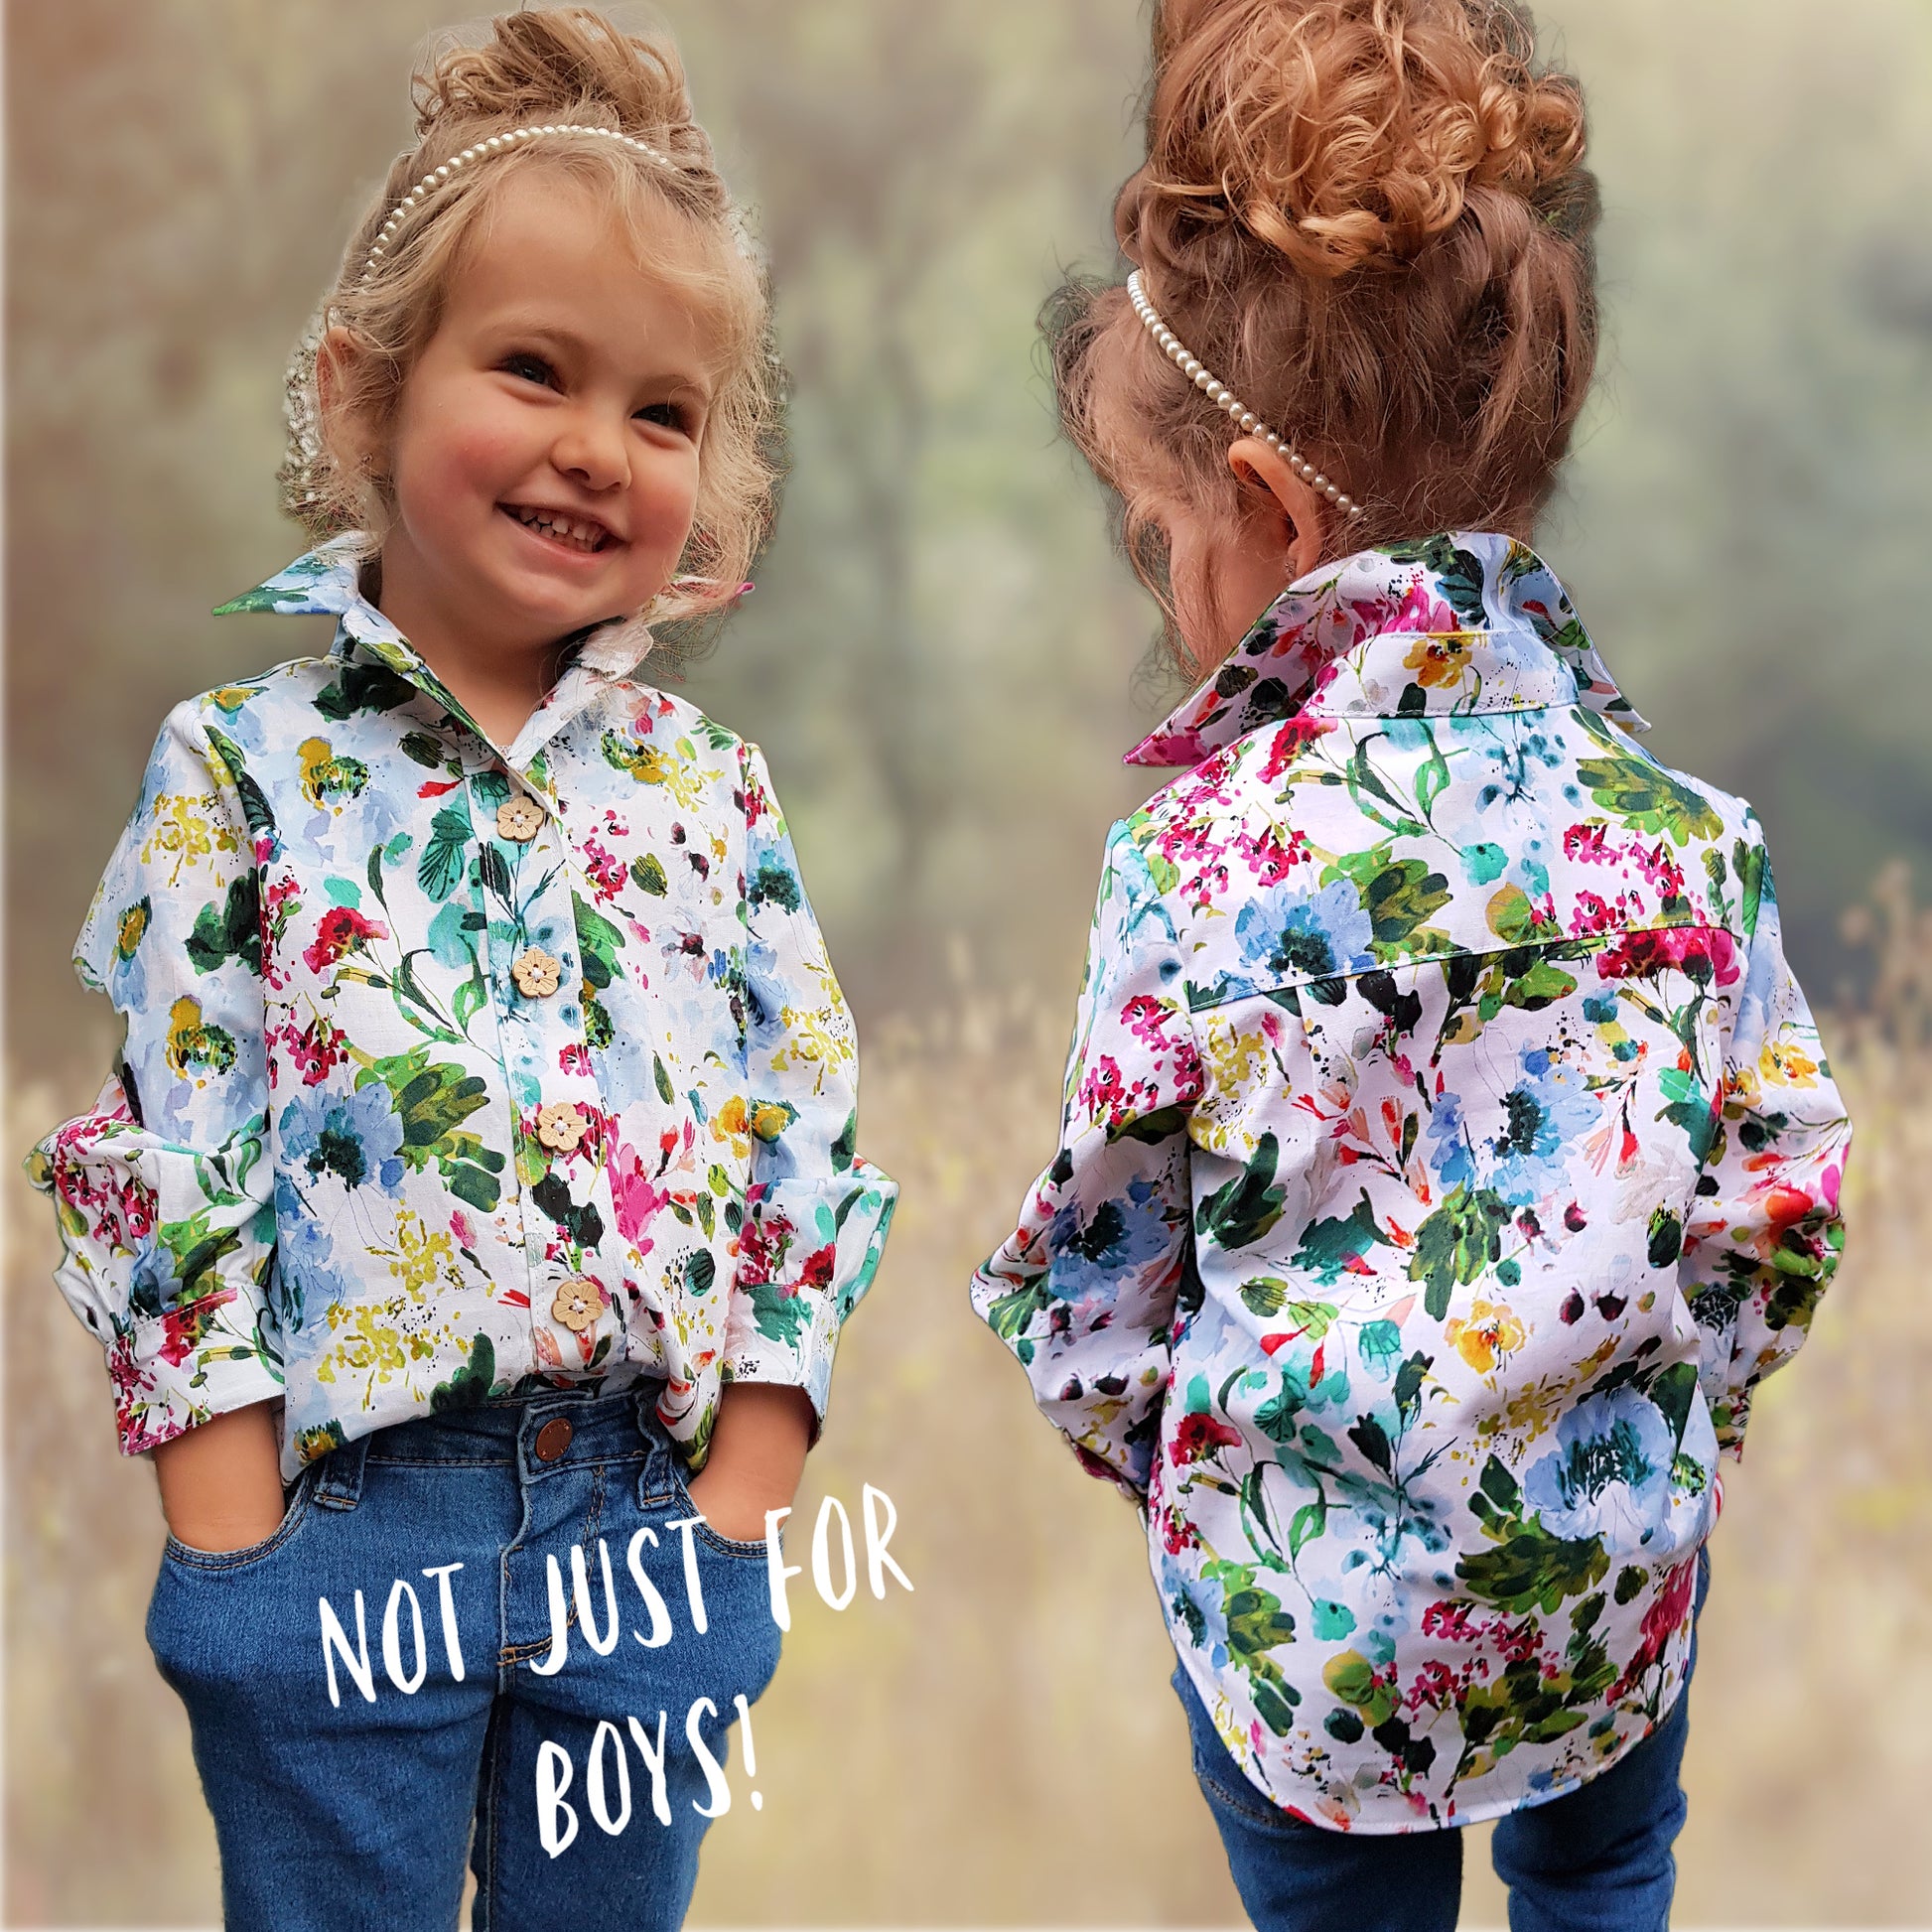
This classic boys shirt sewing pattern loves clean lines and a whisper of vintage charm. Designed as a smart button‑down for little gents, it features a tidy yoke and a crisp stand‑up collar. Choose long sleeves with cuffs for dressy days, or short sleeves rolled up for an easy 50ies style. A curved high–low hem and playful fashion tabs add a modern twist.
Perfect as a school uniform shirt or a relaxed weekend style in linen or checks, this pattern adapts beautifully to any wardrobe. And when you’re ready to sew, Marina’s video tutorials are waiting just below — scroll down and start sewing.
Pattern Download Includes
Pattern Download Includes
Design Options
Design Options
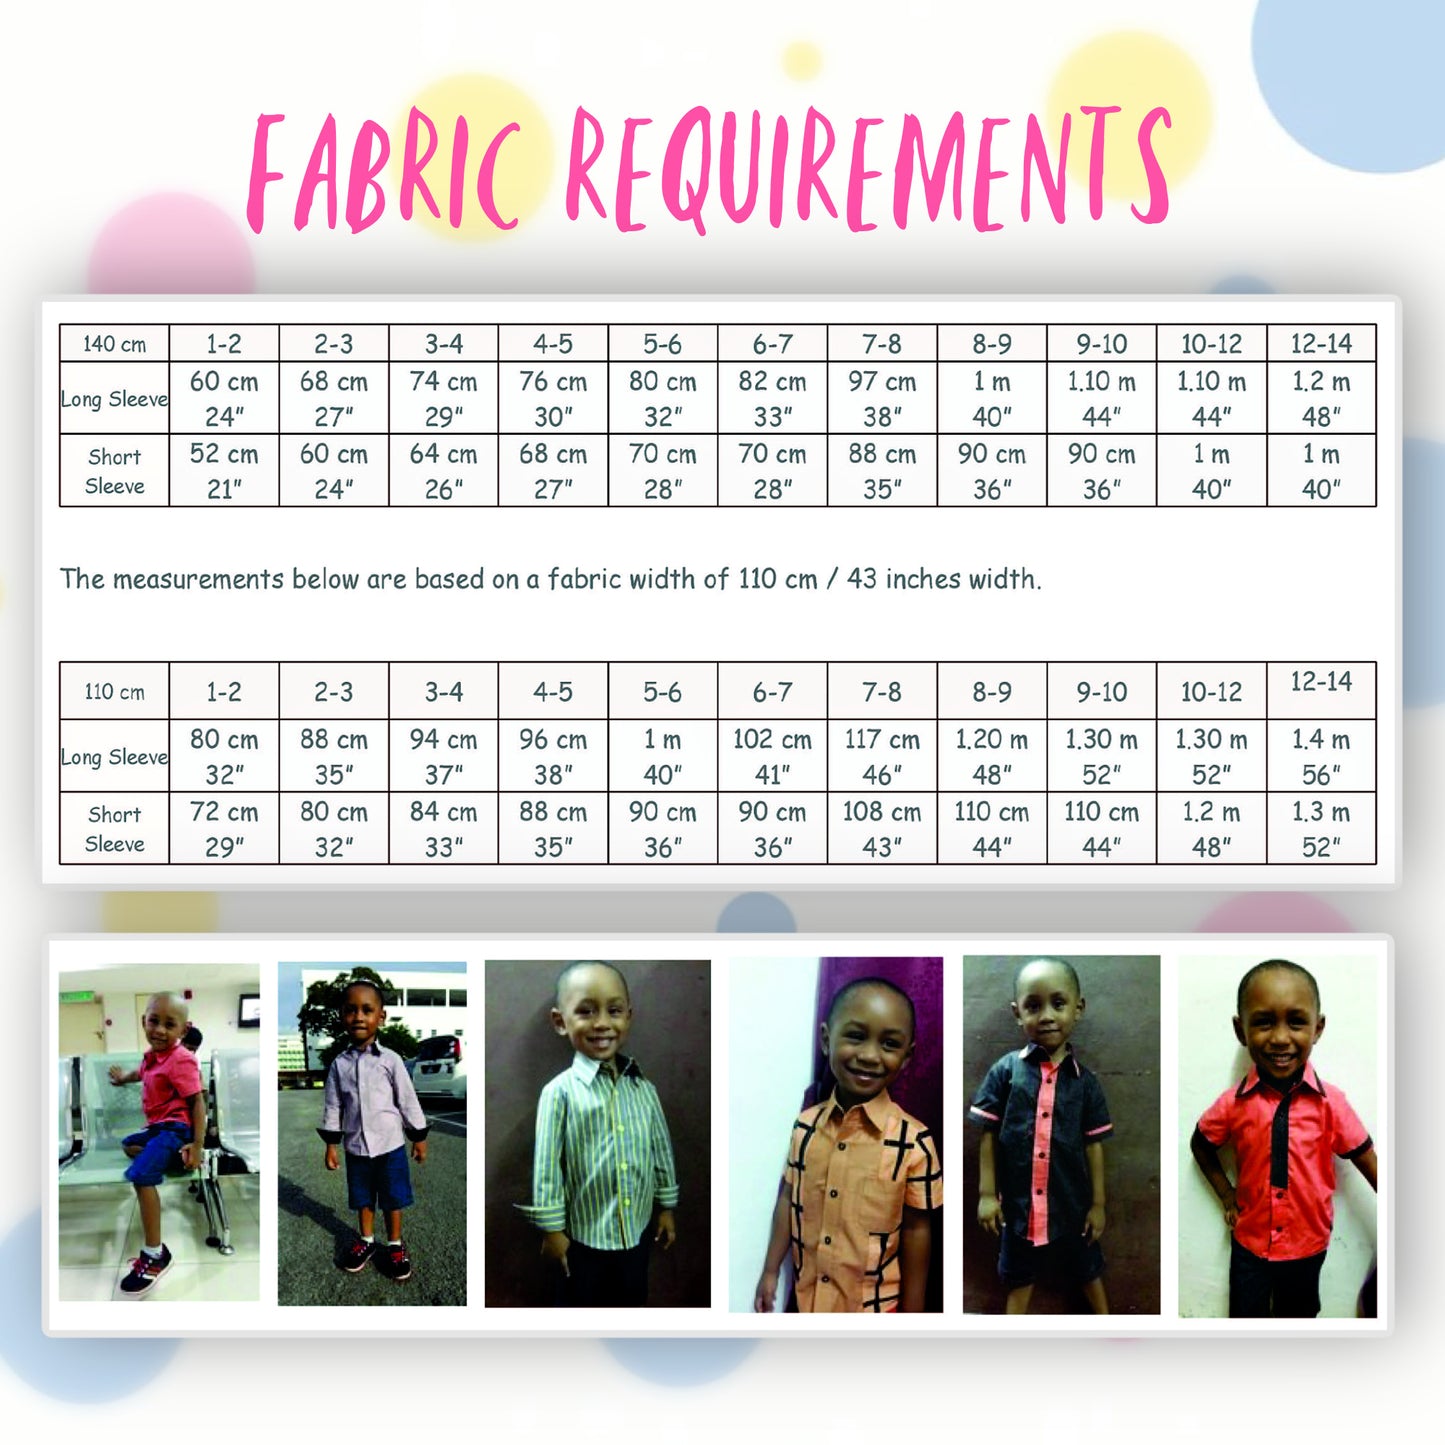
Fabric Requirements
Fabric Requirements
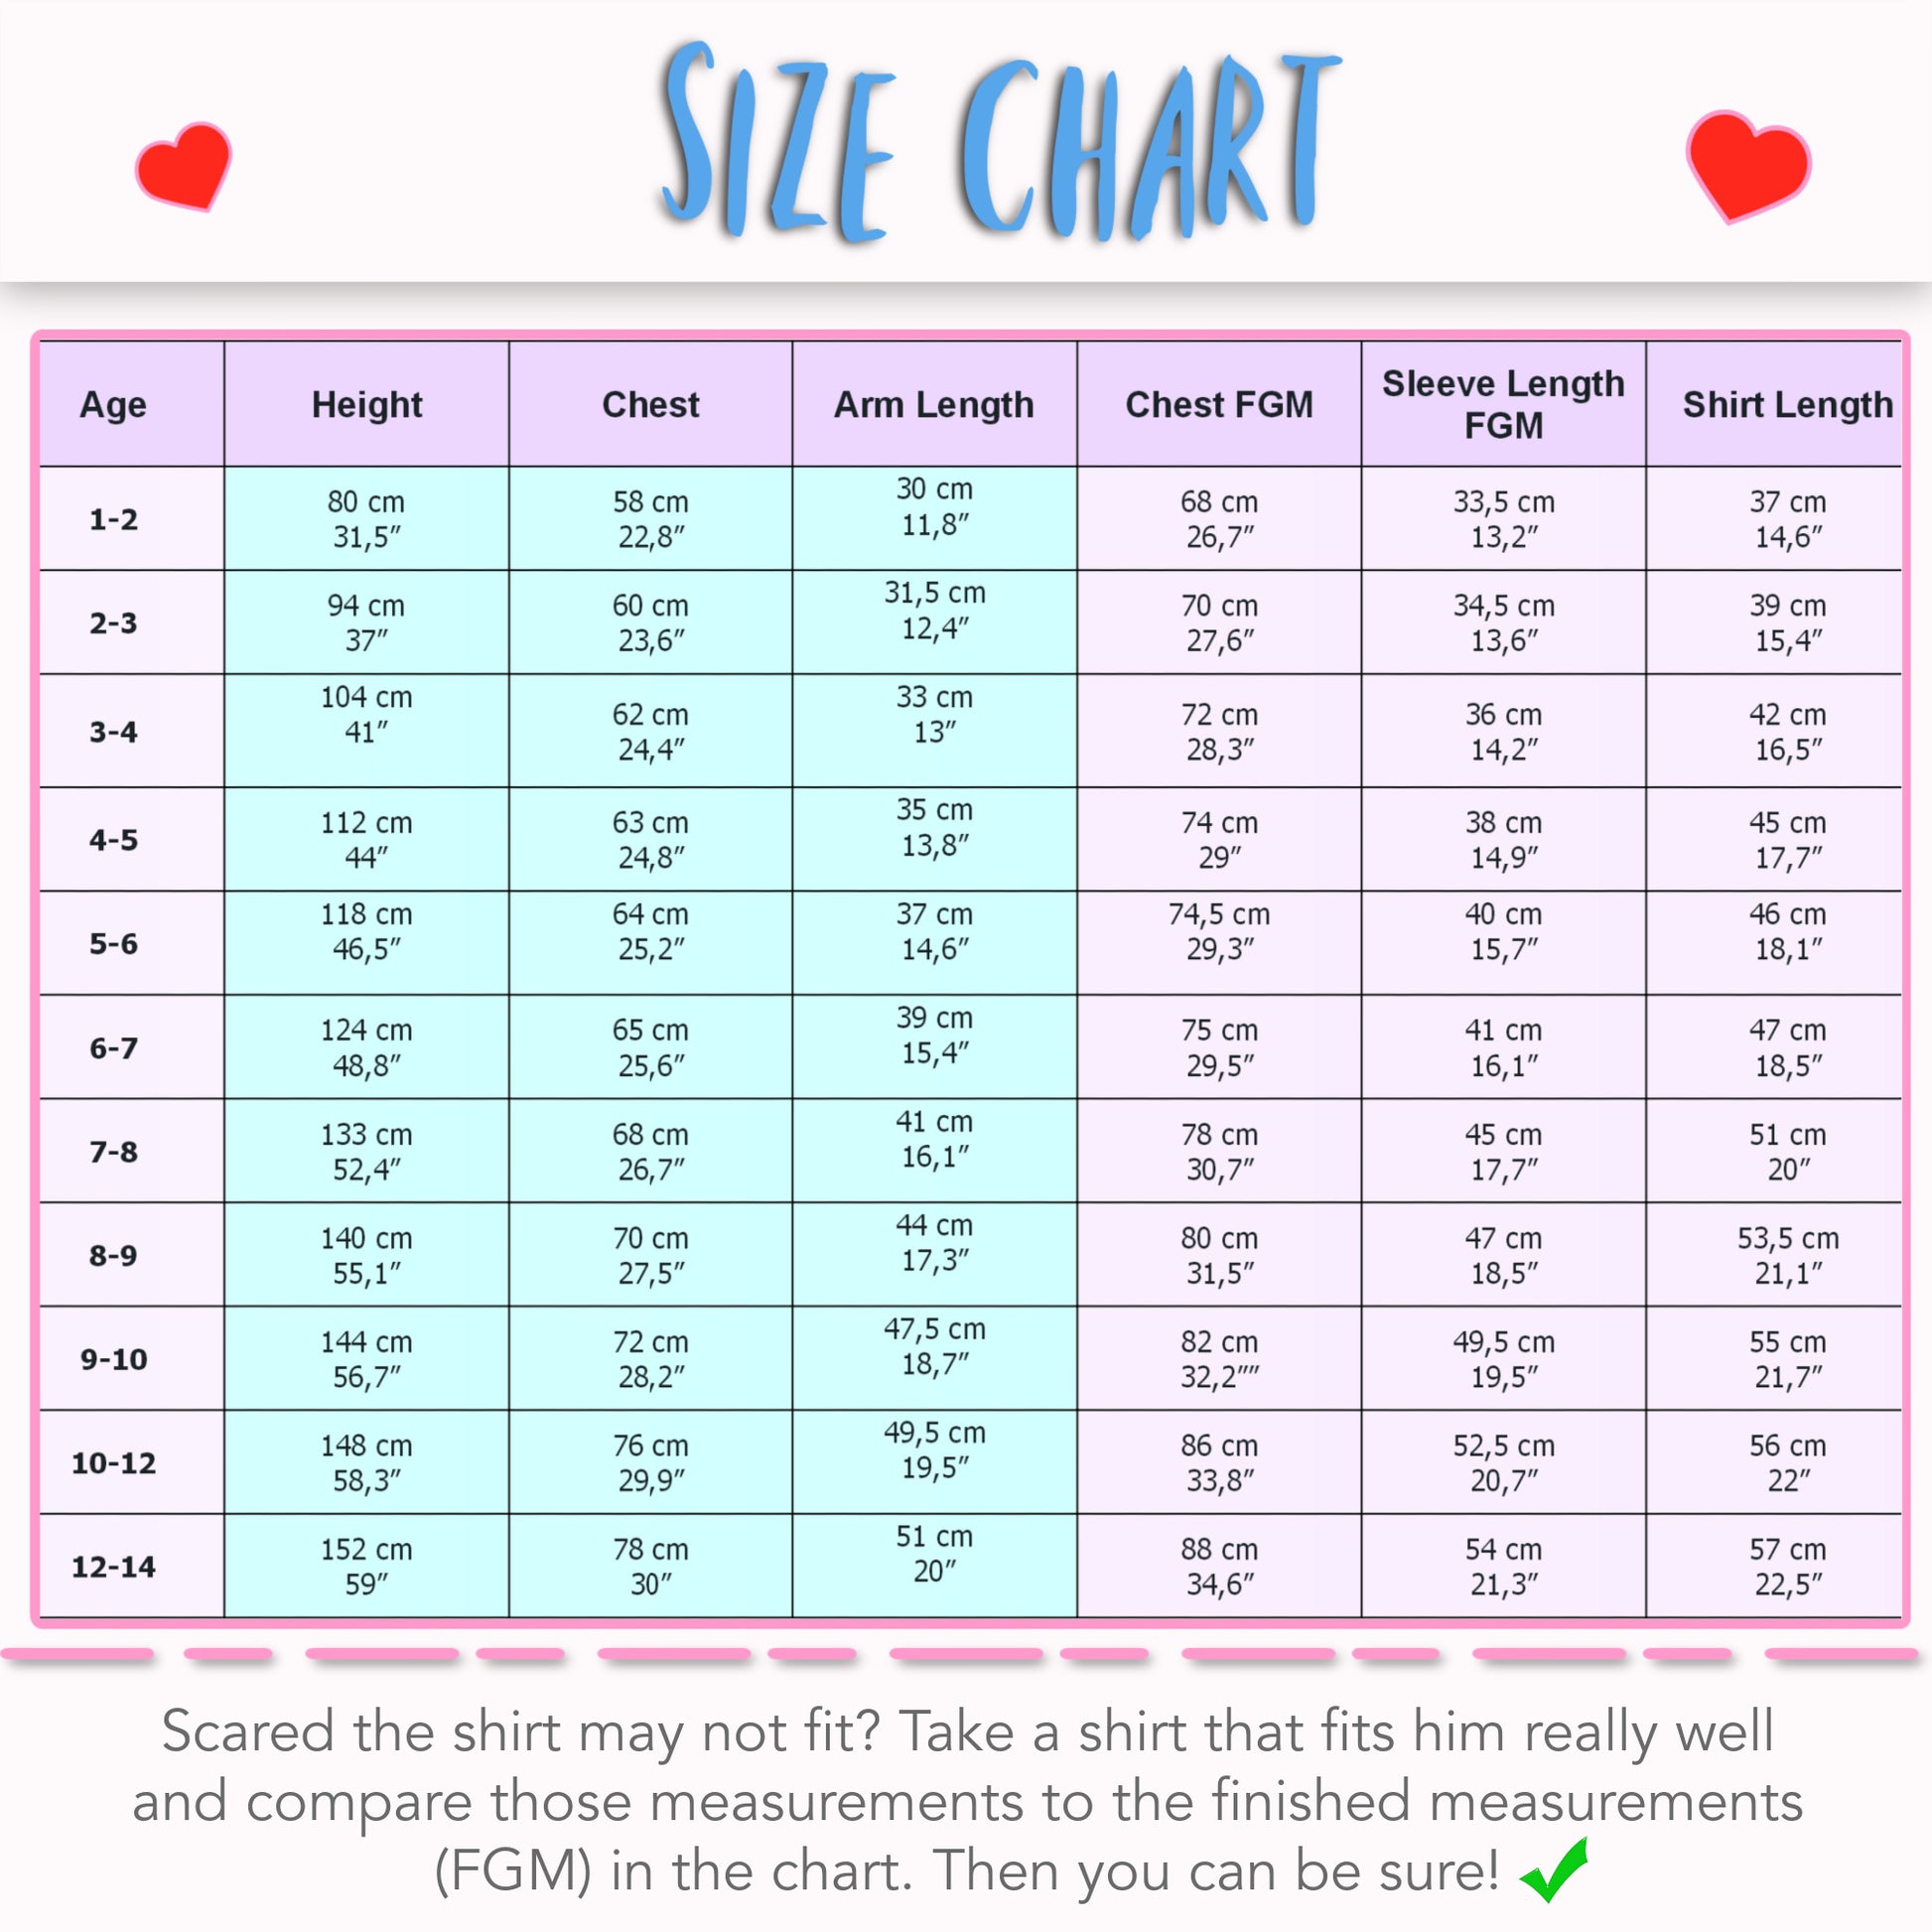
Available Sizes
Available Sizes
Please Read
Please Read


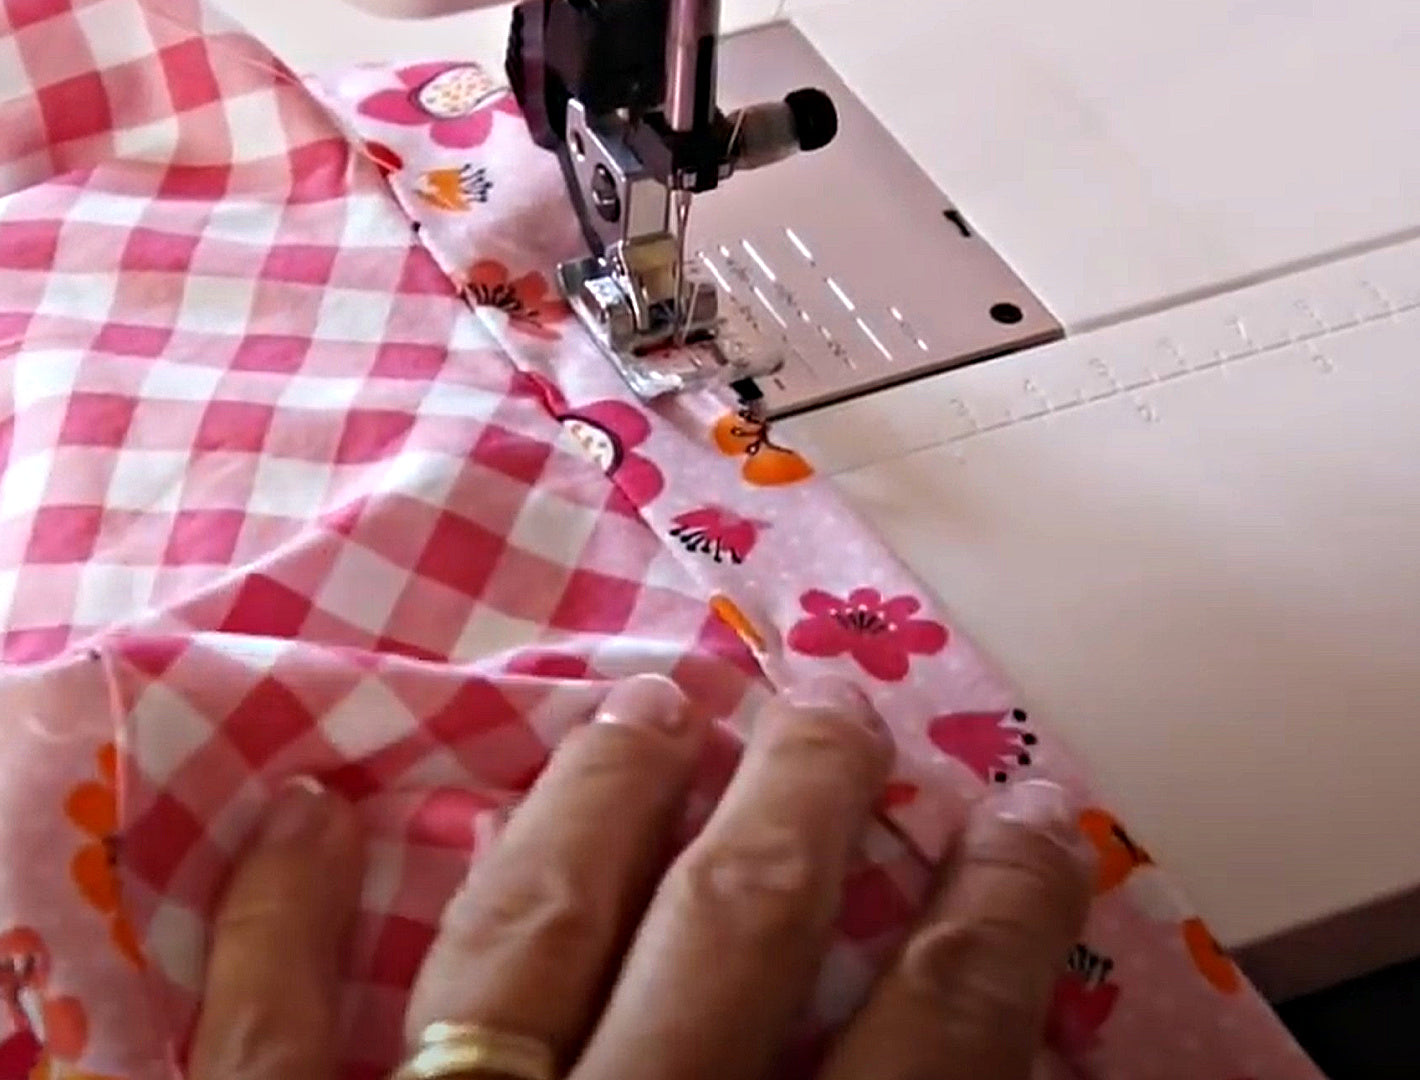
STEP-BY-STEP VIDEO TUTORIALS

THE SEWING PATTERN

BUTTON DOWN PLACKET

THE YOKE

SEWING THE PATCH POCKET

ATTACHING THE PATCH POCKET
OPTIONAL GRANDAD COLLAR

INSERTING THE SLEEVE

SHORT SLEEVES: SLEEVE TURN UP

LONG SLEEVES: PLACKET & CUFFS

SIDE SEAMS & HEM

THE BUTTONHOLES

ATTACHING METAL SNAP BUTTONS

ALL-IN-ONE TUTORIAL