All-In-One Video
Transcript for the video: Bobby Dazzler - All-in-One-Tutorial
Welcome and Overview
Welcome to the Bobby Dazzler dungarees.
I'm Marina from Frocks and Frolics and I'm going to teach you this course that hopefully you're going to enjoy very much.
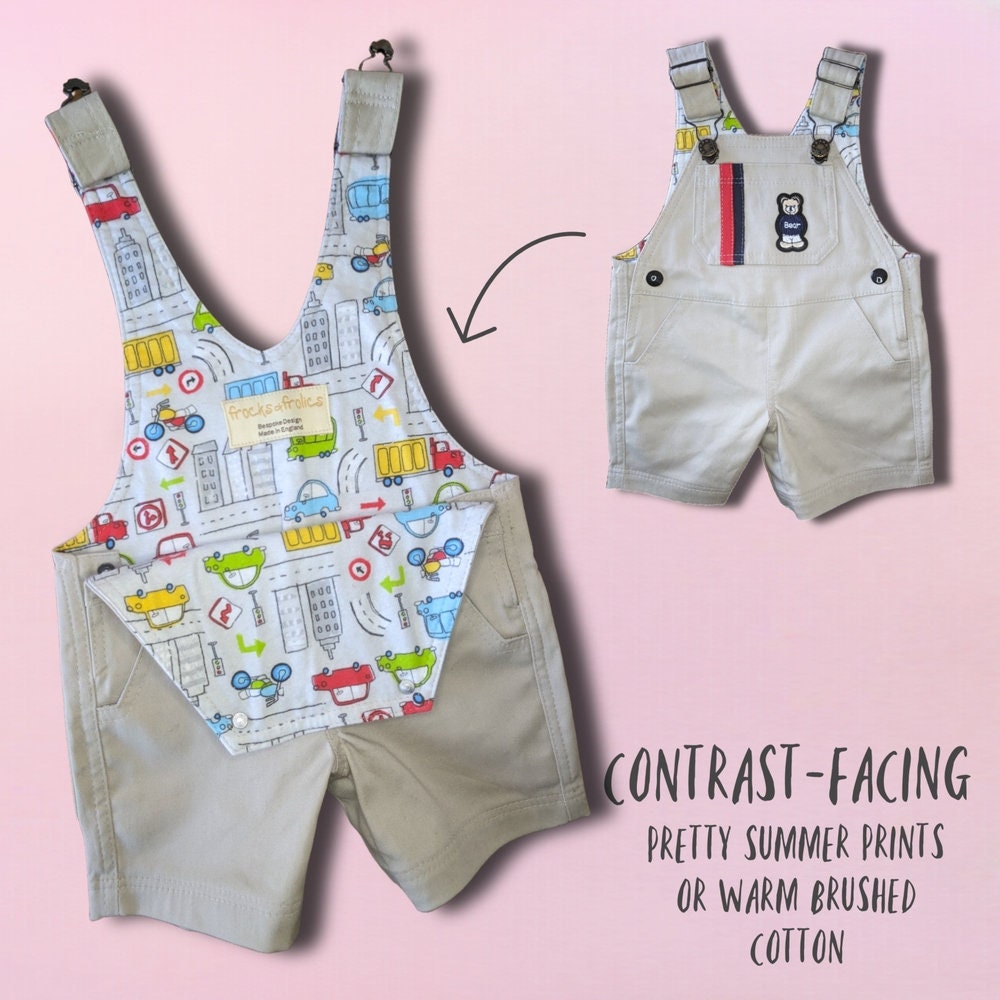
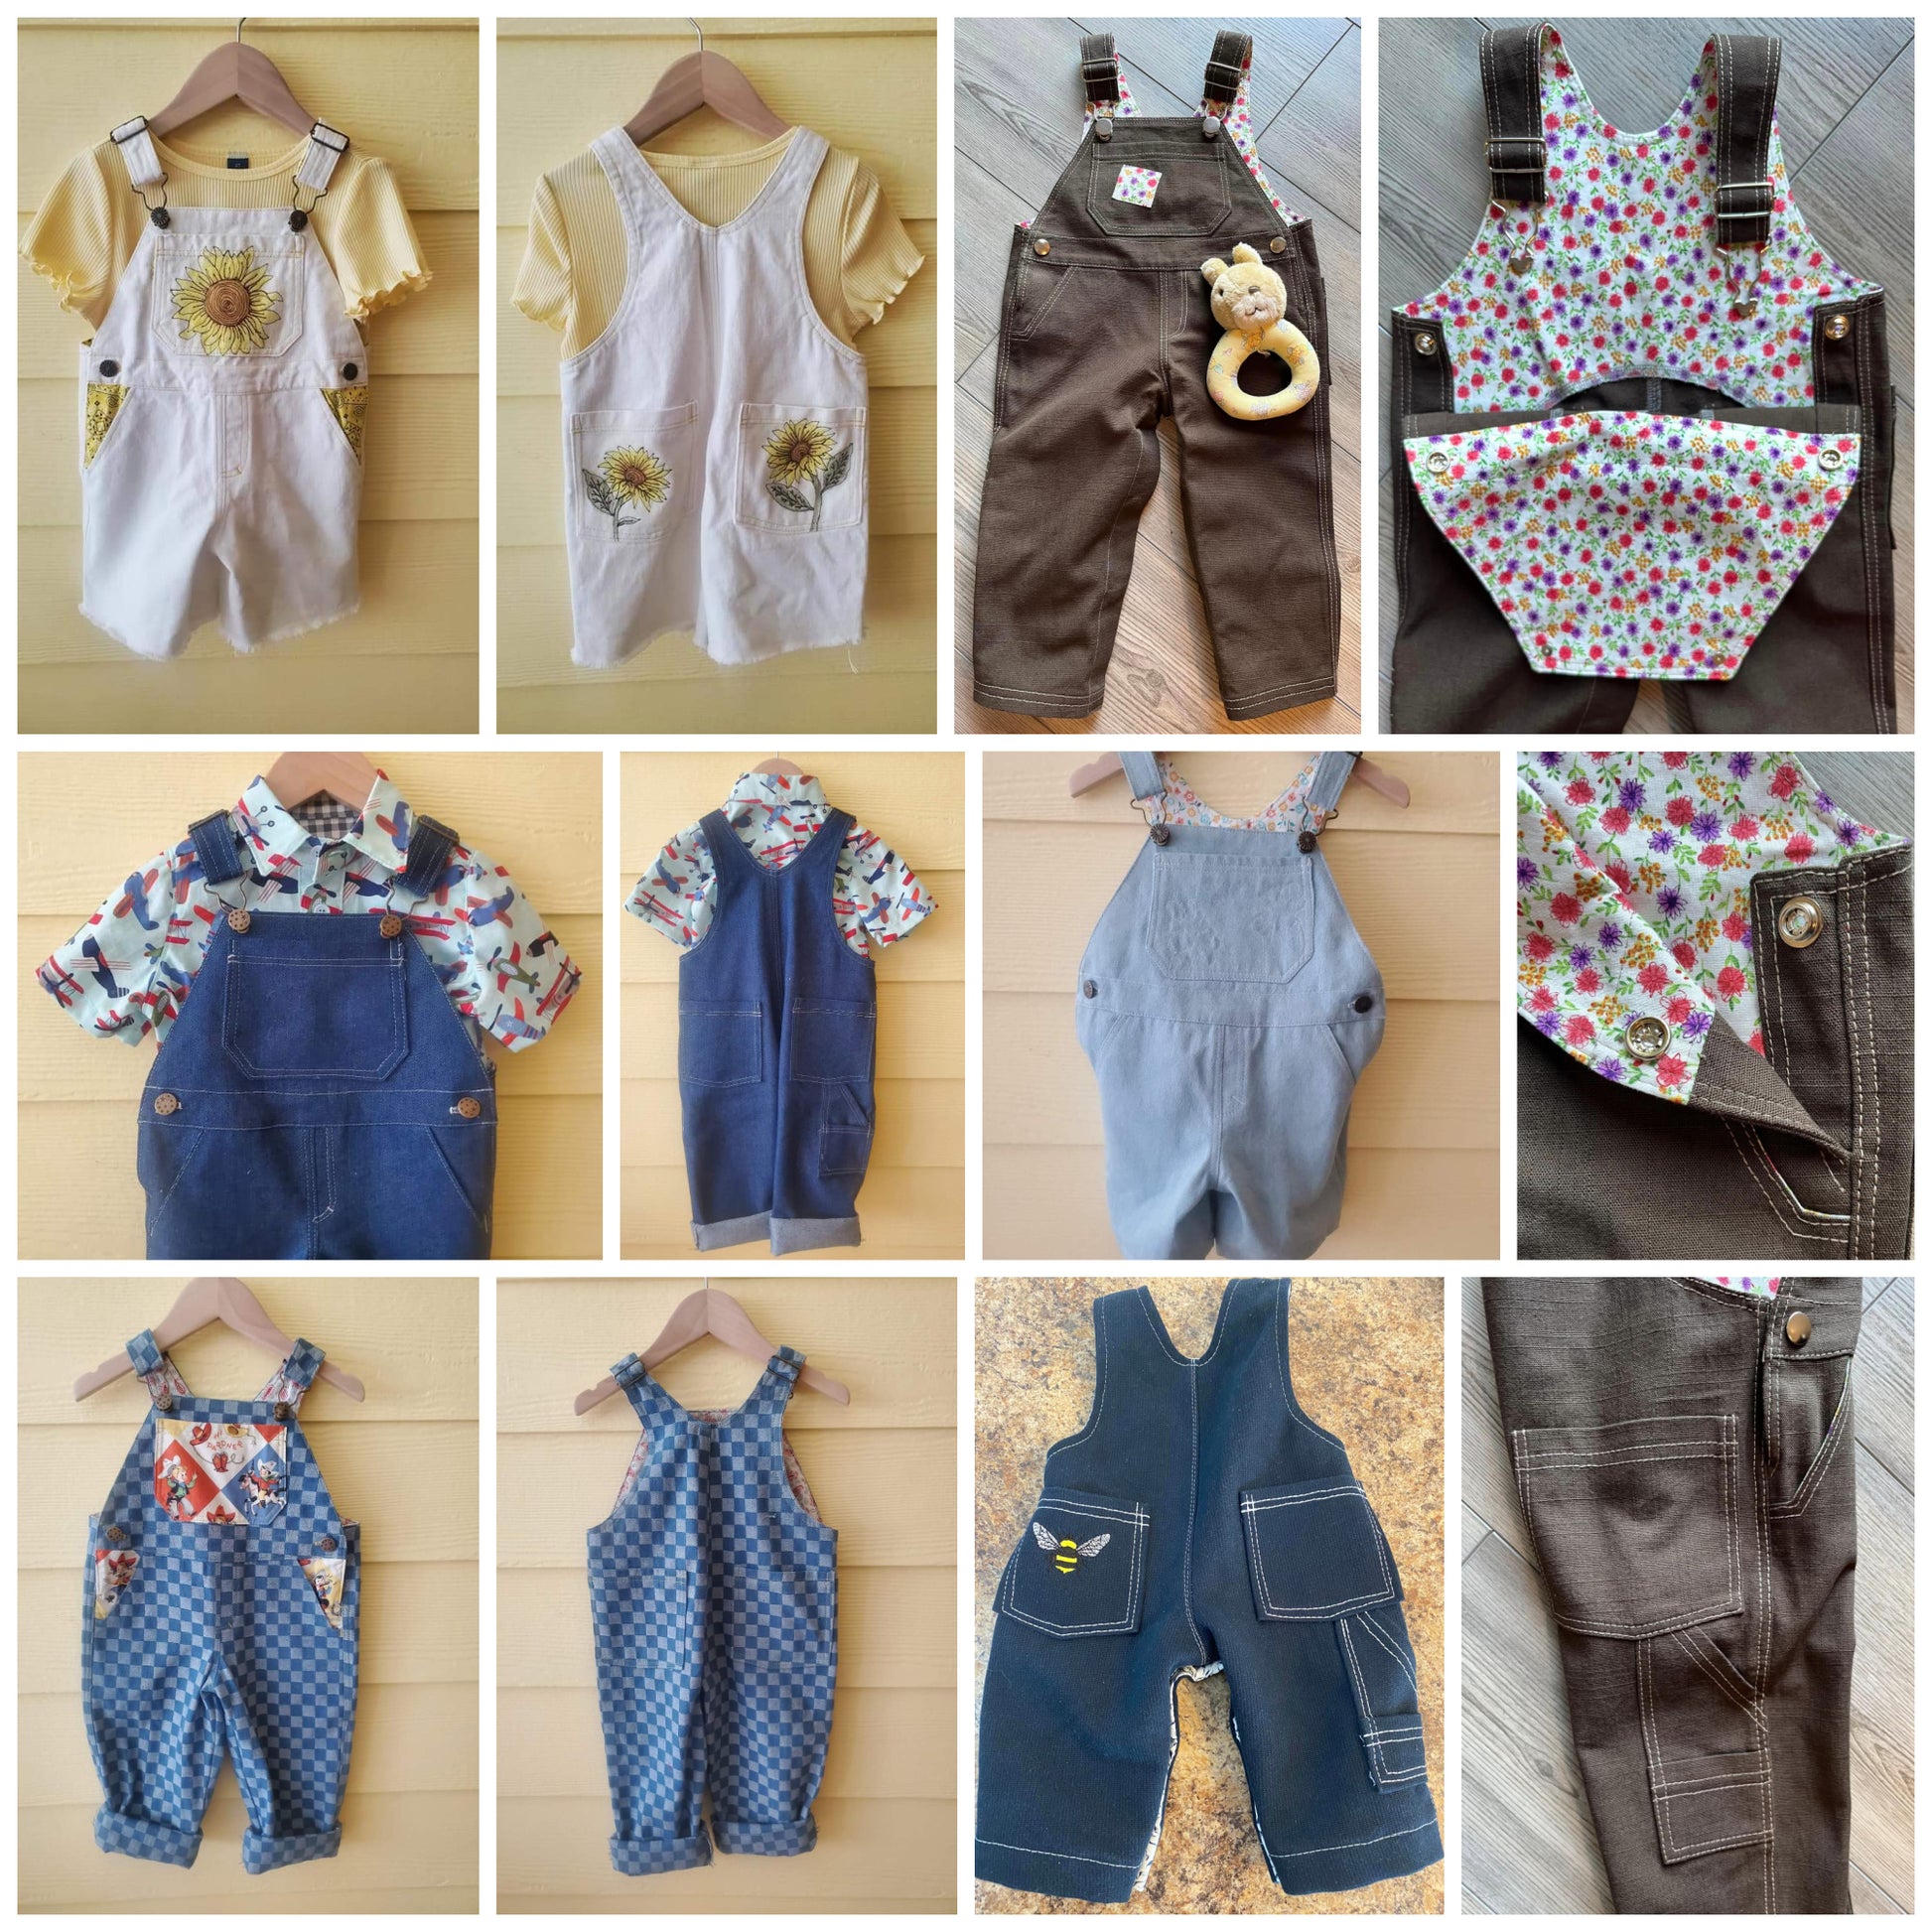
You can make the dungarees in three lengths: full length, ankle length, and short length.
Let’s have a quick look at the details now.
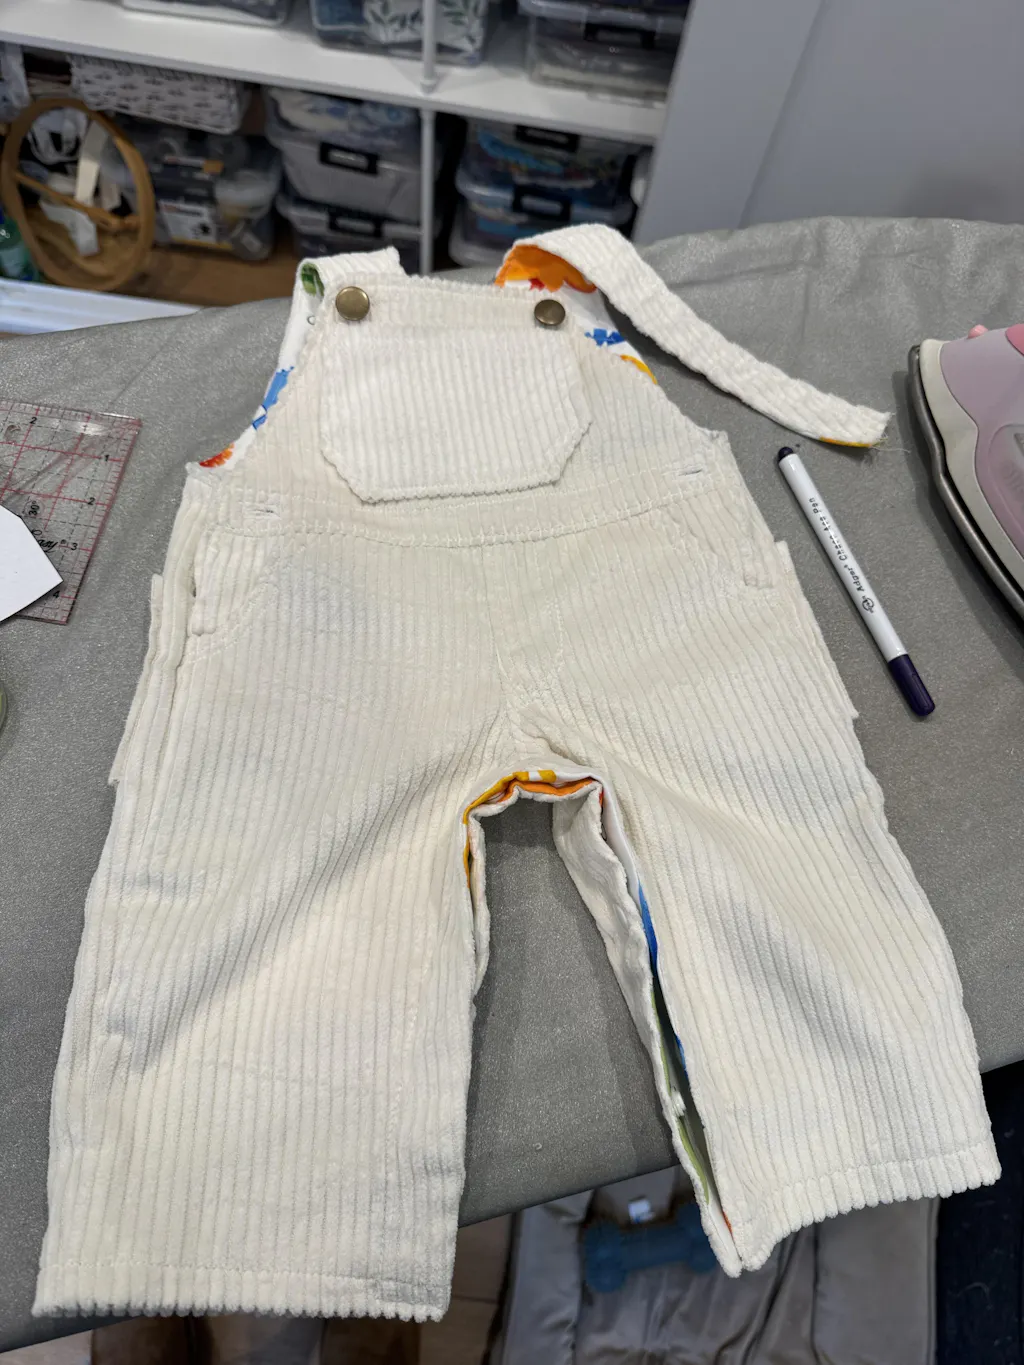
We have the little side pockets here, and then the other pockets you have just on the right side of the back pants. They are really full pockets — I mean, you can't really put anything in there, but they look very, very cute.
We’ve got those, and then we’ve got the classic patch pockets as well.
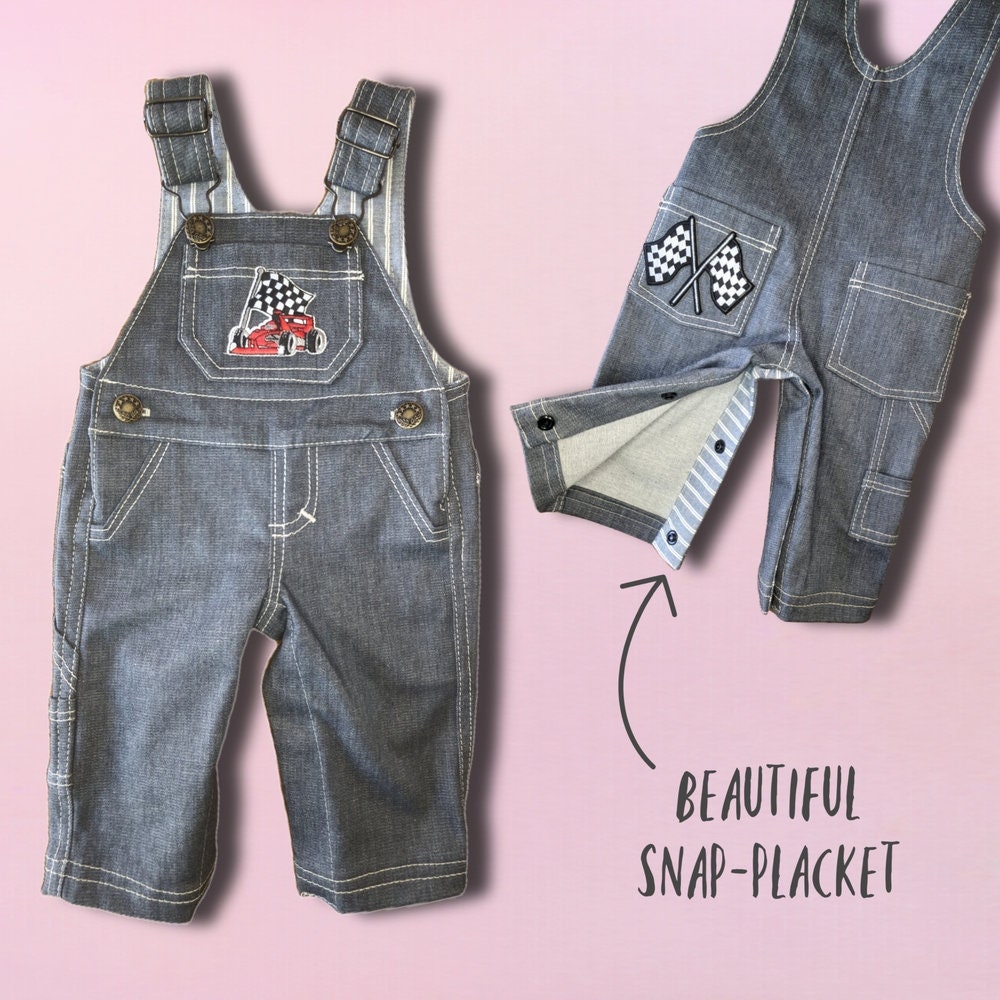
Then we have a full zip here.
One thing I quickly wanted to do is show you how beautiful the contrast fabric looks on the inside as well.
I'm going to open this up and we’re going to have a look on the inside.
Use your contrast fabric for the bib, for the back, and also of course in here for your snap placket.
And then in here, just have a quick look at this fabulous closure.
We have a back placket, we’ve got a shorter front placket, and when this is all put together it’s just the best closure.
What I’ve done here is make sure that everything is on the same height.
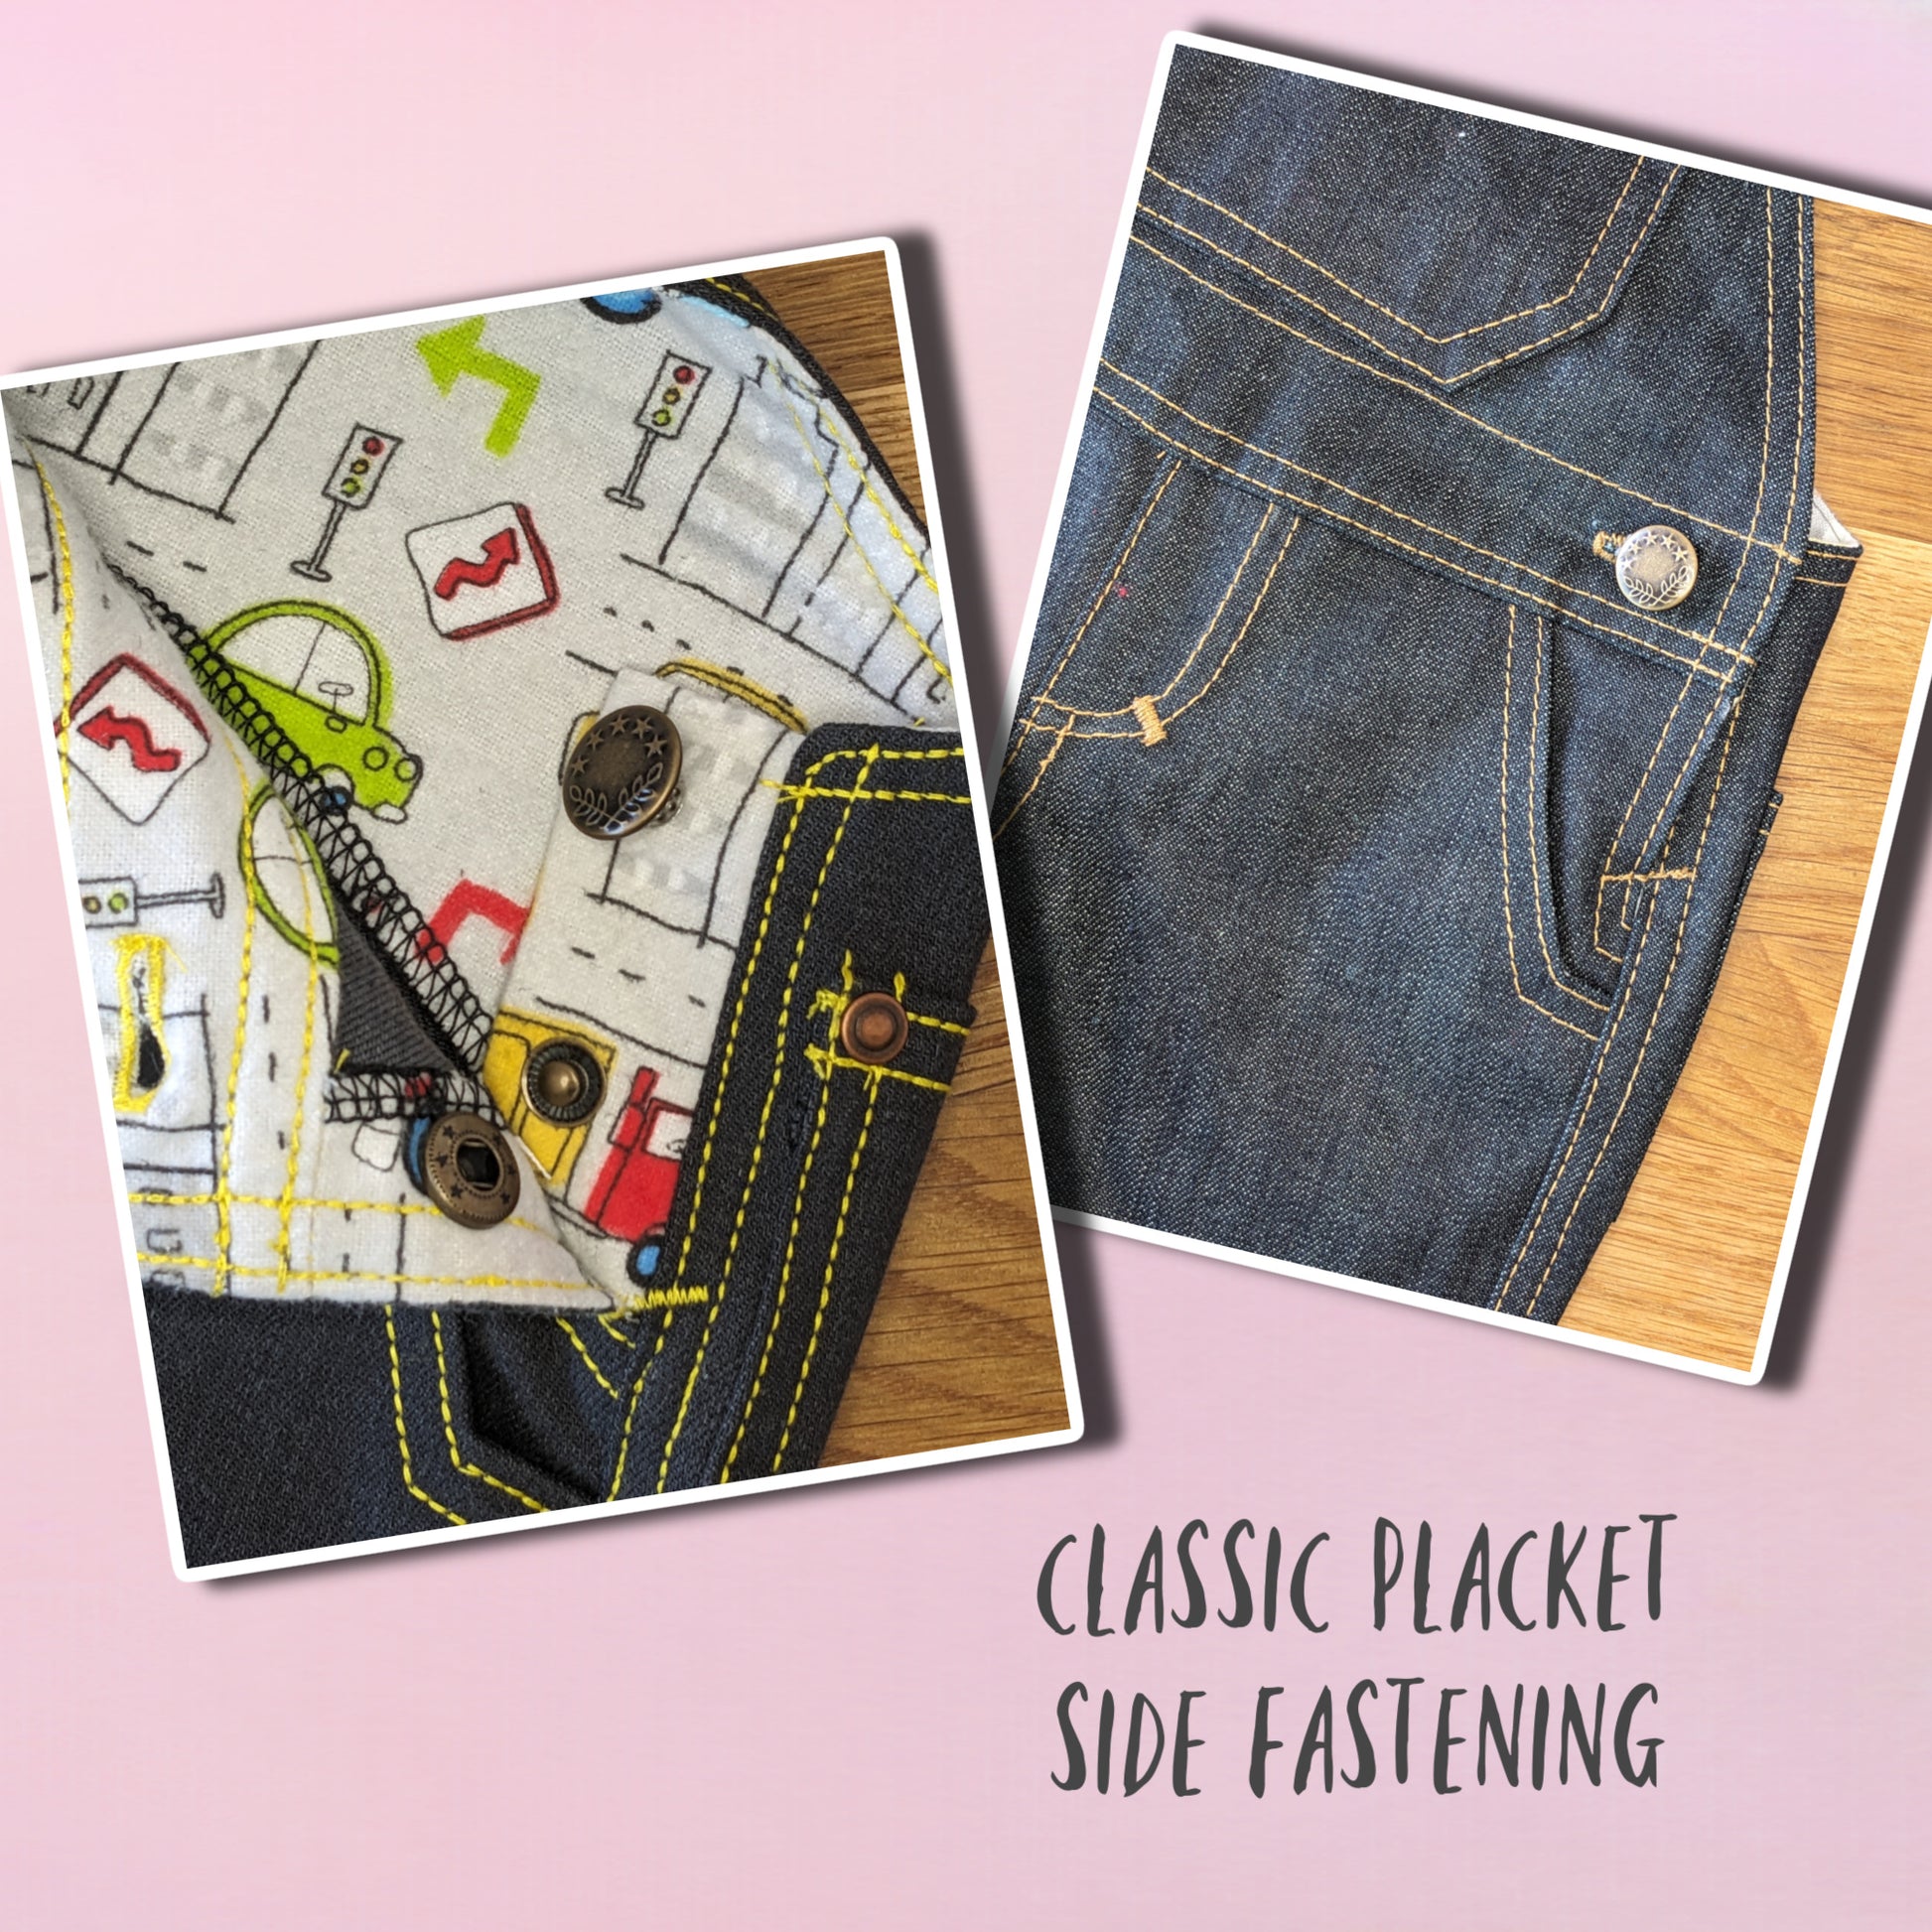
Snap Placket Closure
Hidden Snaps and Professional Finish
Let’s get started by having a look at the placket closure with the trusty snaps.
We are working this so that we see none of the snaps on the front, which I think is really nice.
They only go through the snap placket facing.
To do that, we have to interface that really well, but it makes it look way more professional.
You can also leave that snap placket off — I’ve done that in this example.
This is the size 6–9 months and I’ve got the ankle length.
It’s really nice for rolling up; I think it looks so, so cute.
It’s absolutely gorgeous.
Sewing Pattern Overview
Test Square, Printing, Seam Allowances
We can now go on to having a look at the sewing pattern in detail in the next chapter.
The first thing to do before you put it together with sellotape is to check your test square.
If it’s 2.5 in either direction, you can get started.
What I’ve noticed when printing in Adobe is that if you set it to “portrait,” it actually shrinks it a tiny bit.
So go to “Auto” and print at 100% or “actual size.”
The pattern does not need seam allowance added — it’s already included, and it’s 1 cm.
Some pieces have dashed lines — these are attachment lines.
They make it easier to overlap the pattern pieces when assembling the PDF.
The last page is your assembly plan, and it’s different for every size — smaller sizes need fewer pages.
Both the front and back come in three lengths:
- full length (winter or rolled up)
- ankle length (spring/summer)
- shorts (warm weather)
Cutting Out
Fabric Layout and Interfacing
Get your pins and scissors ready — we’re going to cut out.
Look at your cutting‑out plan.
Don’t let the German plan confuse you — cut exactly as shown.
We want to work efficiently so we don’t waste fabric.
We need:
- the front piece
- the two plackets
- two back pockets
- two front pockets
These are cut once from the top layer.
Pin everything on, making sure the grainline arrow is parallel to the fabric edge.
It’s best to cut from the left side so your scissors sit next to the paper.
Sometimes you cut from the other side because of space, but generally left‑side cutting is tidier.
Finally, cut your interfacing.
You need one of the facings — you can remove the seam allowance if you like.
If you’re making the dungarees without the snap placket closure, you only need:
- the facing
- the pocket lining
- the bib lining
You can leave out the plackets.
Everything’s cut out — we can start sewing.
Patch Pockets
Serging, Templates, Pressing
First, we’re going to serge around the edges of our pockets.
For the bib pocket, we go all the way around.
I go down the sides, around, and back up, then do the top separately because the corner is sharp.
We’ve created templates for the back pocket and the bib.
Cut away the seam allowance along the dashed line — this gives you a brilliant pressing template.
Fold the edges over the template and press.
Use a tailor’s clapper if you have one — it makes the edges crisp.
Check that both pockets match.
Topstitching Patch Pockets
Distances and Secondary Stitch Lines
Now we’re ready to topstitch.
Distances:
- lower back pocket: 1.2 cm
- patch pockets: 2.5 cm (or slightly less to ensure you catch the fold)
You can add a secondary stitch line — I use a marking on my presser foot, but you can use foot width or half a foot.
Once all pockets are stitched, we can apply them.
Applying the Pockets
Bib Pocket, Back Pockets, Lower Pockets
On the bib, I added a little racing car patch I found in Los Angeles — perfect for my new grandchild.
Cut out the pocket placement on the pattern, place the pocket into the gap, pin, and it’s perfectly positioned.
Do the same for the back.
For the lower pockets:
- the upper pocket is not folded at the bottom
- it slots into the lower pocket
- align with the side seam
- fold both pockets in by 1 cm
- pin
The top part of the lower pocket disappears under the patch pocket.
Topstitch the lower pockets first, then the upper.
Topstitching Tips
Avoiding Stuck Stitches and Achieving Clean Lines
When topstitching, pull the threads at the beginning so the machine doesn’t get stuck.
Mine did — constantly — and I kept forgetting.
Distance from the edge should be about 3 mm for denim.
Not too close like on a silk blouse, but not too far either.
Add your secondary stitch line foot‑width from the first.
Secure the side of the pocket so it doesn’t shift.
Move the top pocket out of the way when stitching the lower one.
If it’s not perfect — don’t worry.
Once the garment is finished, you won’t see the tiny imperfections.
Store‑bought jeans are often far less perfect.
Side Pockets
Pocket Lining, Corner Snip, Turning and Pressing
Now we’re going to sew our pocket and pocket lining to the front legs.
Place the lining right sides together with the front leg.
Pin and sew.
Make sure you’ve changed your thread — we don’t want topstitching thread here.
At the corner, reduce your stitch length to 1.5 so the fabric won’t fray when we snip into it.
Snip right to the stitching line — not halfway.
Turn and press to create a clean pocket opening.
Roll the seam out with your fingers until it sits exactly in the edge.
Topstitch all the way down.
Pull your threads at the beginning so it doesn’t get stuck.
Add a second line foot‑width from the first.
Sewing the Pocket Bag
Aligning, Pinning, Sewing, Serging
Change back to standard thread.
Align the upper edge and side seam of the pocket bag under the opening.
Pin vertically so you can sew over the pins.
Sew around the pocket bag — foot‑width seam allowance is fine.
Serg the edge from the visible side — in this case, the underside of the pocket.
Press everything nicely.
Sewing the Front Center
Curved Seam, Snaps Area, Topstitching
Place the front legs right sides together and pin along the curved center front.
Pins follow the stitching line — this helps you see mistakes early.
You cannot pivot this curve without lifting the presser foot.
Lift, turn, continue.
Serg the seam — pull with the right hand, push with the left so everything feeds evenly.
Press the seam toward the right leg.
Topstitch:
- first line: 2.5 cm from center front
- second line: foot‑width from the first
- third line: 5 cm down (approx. pocket opening length)
If your fabric drags, place paper underneath and tear it away afterward.
Add the little bar‑tack tab at the end — makes it look like real jeans.
Sewing the Bib
Attaching Bib, Plackets, Lining, Corners
Place the bib on top of the front trouser.
It may look like there’s too much bib — that’s because of the curve.
At the seam line, it fits perfectly.
Fold the plackets lengthwise and press.
Serg one short edge.
Pin the plackets to the bib lining, right sides together, fold facing inward.
Sew with 1 cm seam allowance.
Sew the bib to the front trouser.
Use your left hand to control the fabric so it doesn’t creep upward.
Press the seam flat.
Cut back the seam allowances — bib slightly shorter.
Press the lining and fold up the seam allowance.
Place lining and shell right sides together.
Pin from the waistline up and around.
Snip seam allowances where needed so layers don’t stack.
Mark the little corner for the closure.
Reduce stitch length to 1.5 at the corner.
Sew around.
Cut into the corner.
Turn and shape the corner with your nails.
Roll the seam into the edge and press with lots of steam.
Topstitch the bib edge with stitch length 4.
Topstitch the waistline — same distance as all other topstitching.
Add the faux waistband stitching line 3 cm above the waist.
Buttonholes
Marking, Machine Issues, Solutions
Mark the buttonhole between the two topstitching lines.
The button should not sit over the edge.
The stem should sit about 1.3 cm from the edge.
Mark both sides and the center.
Test your buttonhole length — some machines make them too long.
Most buttonhole systems work backward.
I set everything up — and the machine didn’t move.
It hammered in place because the seam allowance underneath was too thick.
I tried flipping it — no luck.
Tried adding fabric under the plastic side — still stuck.
Added more — still stuck.
Finally, I put the “bumper” under the metal side of the foot — and it worked.
“Hallelujah!”
Cut open the buttonhole carefully — not all the way at once.
Sewing the Back
Center Back, Serging, Topstitching
Sew the center back with 1 cm seam allowance.
Try to sew the curve without lifting the presser foot — use your left hand to turn the fabric.
Serg from the top side — it looks nicer.
Press to the left side.
Topstitch:
- first line: 2–3 mm
- second line: foot‑width
Pull the fabric apart slightly so no folds form.
Back Facing
Interfacing, Serging, Curves
Interface the facing.
Serg the lower edge, armhole, and neckline.
Sew around the curves — try not to lift the presser foot.
Reduce stitch length to 1.5 in tight curves.
Cut back seam allowances to about 3 mm.
Do not cut triangles like old commercial patterns.
Turn the straps with a safety pin.
Press the edges by rolling the seam outward.
Back Placket
Closing the Upper Edge
Sew the little back placket closed across the top.
The lower edge is already serged.
You can also finish and then serge — either way works.
Back Placket
Closing the Upper Edge
And the final thing now is we are going to do the little placket for the back.
We’re going to close it just across the top.
The lower end is already serged.
You could of course finish this part and then serge it afterward — that would also work.
It doesn’t have to be done earlier.
Preparing the Facing
Interfacing, Serging, and Attaching
Next, we’re going to prepare the facing.
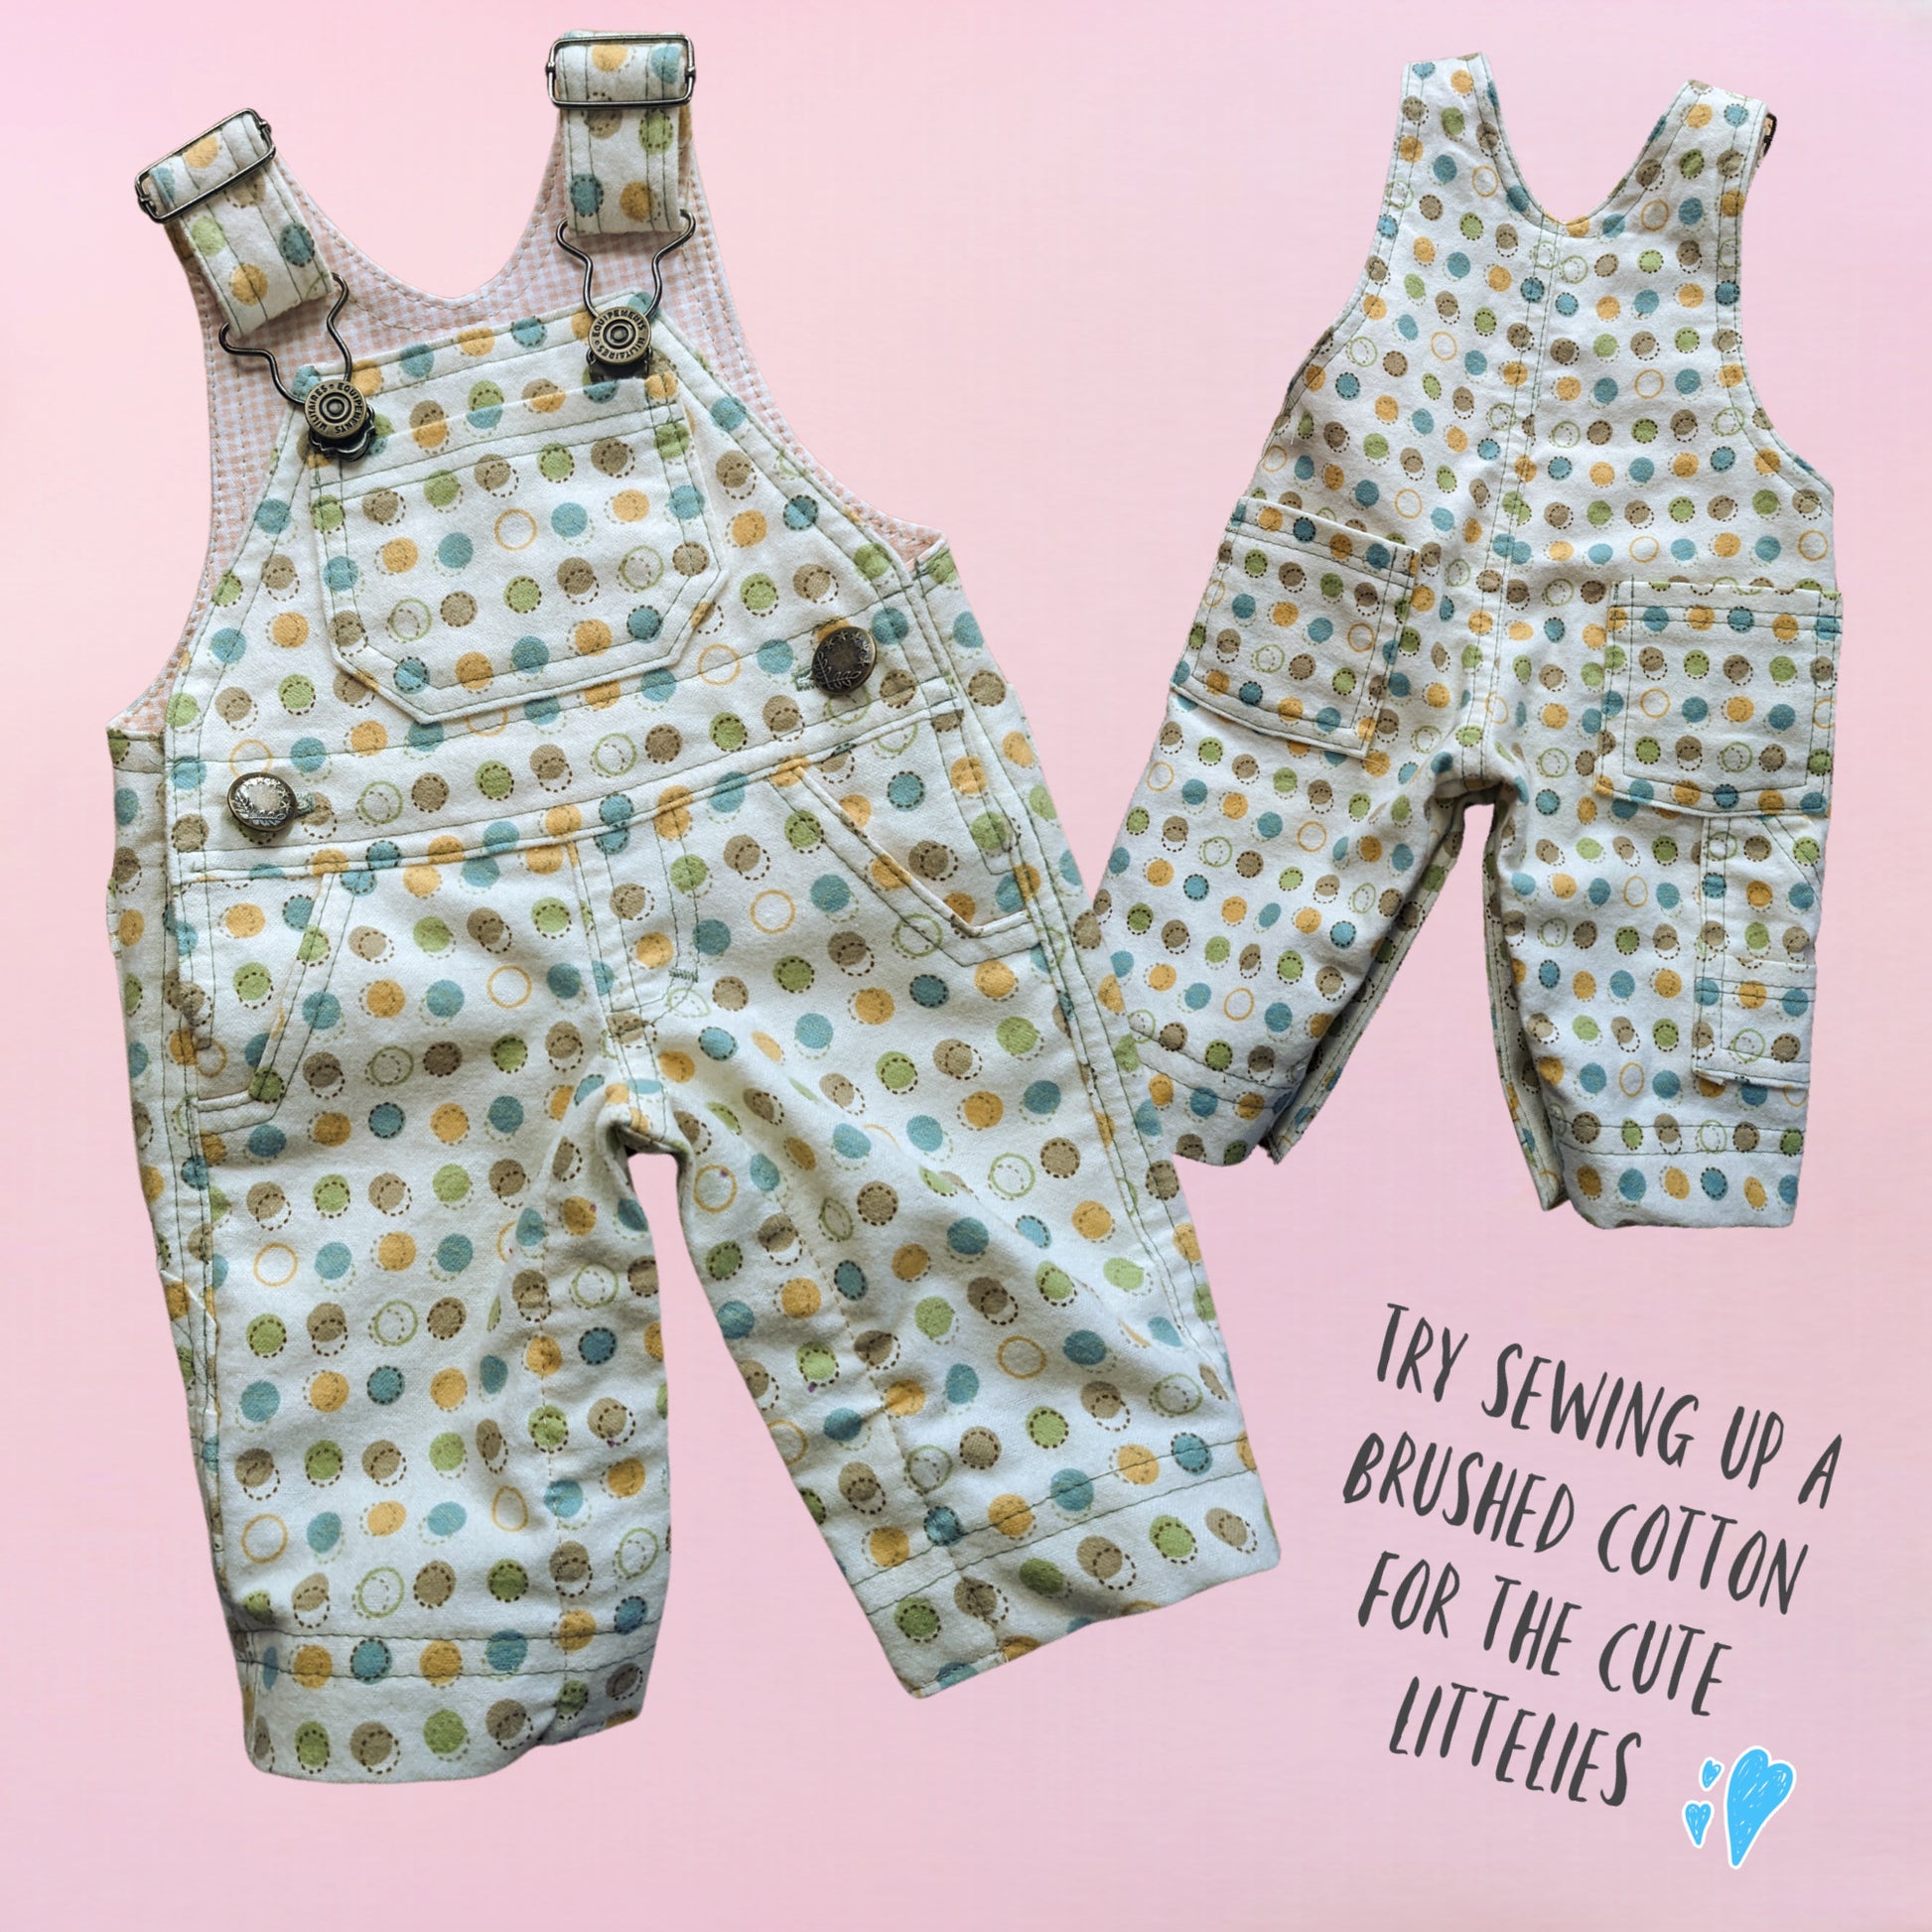
This needs to be interfaced because we want stability, especially when working with lighter cottons.
Iron the interfacing to the wrong side of the facing.
Then serge the lower edge, the armhole curve, and the neckline.
Place the facing right sides together with the back piece.
Pin all around the neckline and armholes.
Sew with a 1 cm seam allowance.
Try not to lift the presser foot when going around the curves — it gives a smoother, rounder stitching line.
At the tighter curves, reduce your stitch length to 1.5 so nothing frays when you clip into the seam allowance.
Trimming and Turning
Clean Curves and Crisp Edges
Trim the seam allowance back to about 3 mm.
Do not cut triangles like in old commercial patterns — it never looks good.
Clip only where the curve is very pronounced, such as the dip at the neckline.
Attach a safety pin to the top of the straps and pull them through to turn them right side out.
Roll the seam between your fingers until it sits right in the edge.
Press with lots of steam — denim can take the heat.
Attaching the Facing
Securing and Topstitching
Now we’re going to attach the facing to the back.
Pin the facing down along the edges.
Topstitch around the neckline and armholes with stitch length 4.
Pull the threads at the beginning so the machine doesn’t get stuck.
Make sure the distance from the edge matches the rest of your topstitching so everything looks even.
Hardware Installation
Buttons, Snaps, Sliders, and Buckles
Now we’re ready to install the hardware.
For the buttons, mark the placement carefully.
The button should not sit too close to the edge.
Measure 1.3 cm from the edge for the button stem.
Use an awl to open the fabric — don’t punch a hole, just spread the fibers.
Insert the tack from the back and place the button on top.
Hammer gently but firmly, keeping everything straight.
For the second button, repeat the process, making sure the height matches the first.
Next, we’re going to attach the sliders and buckles.
Thread the strap through the slider, then through the buckle, and back through the slider.
This can be fiddly, especially on small sizes.
Pull enough length through — at least 2 cm — so you can sew it securely.
Stitch back and forth several times.
This seam will never be seen, but it must hold.
Repeat for the second strap.
Final Assembly
Side Seams, Hemming, and Finishing Touches
Now we’re going to sew the side seams.
Place the front and back right sides together and sew with a 1 cm seam allowance.
Serg the seam and press it toward the back.
Hem the legs according to the length you chose:
- full length
- ankle length
- shorts
Turn up the hem, press, and stitch.
Final Press and Review
The Finished Bobby Dazzler
Give the entire dungaree a really good press.
Check all your topstitching, corners, and pockets.
Your Bobby Dazzler is now finished — and it looks absolutely gorgeous.
I hope you enjoyed sewing along with me.
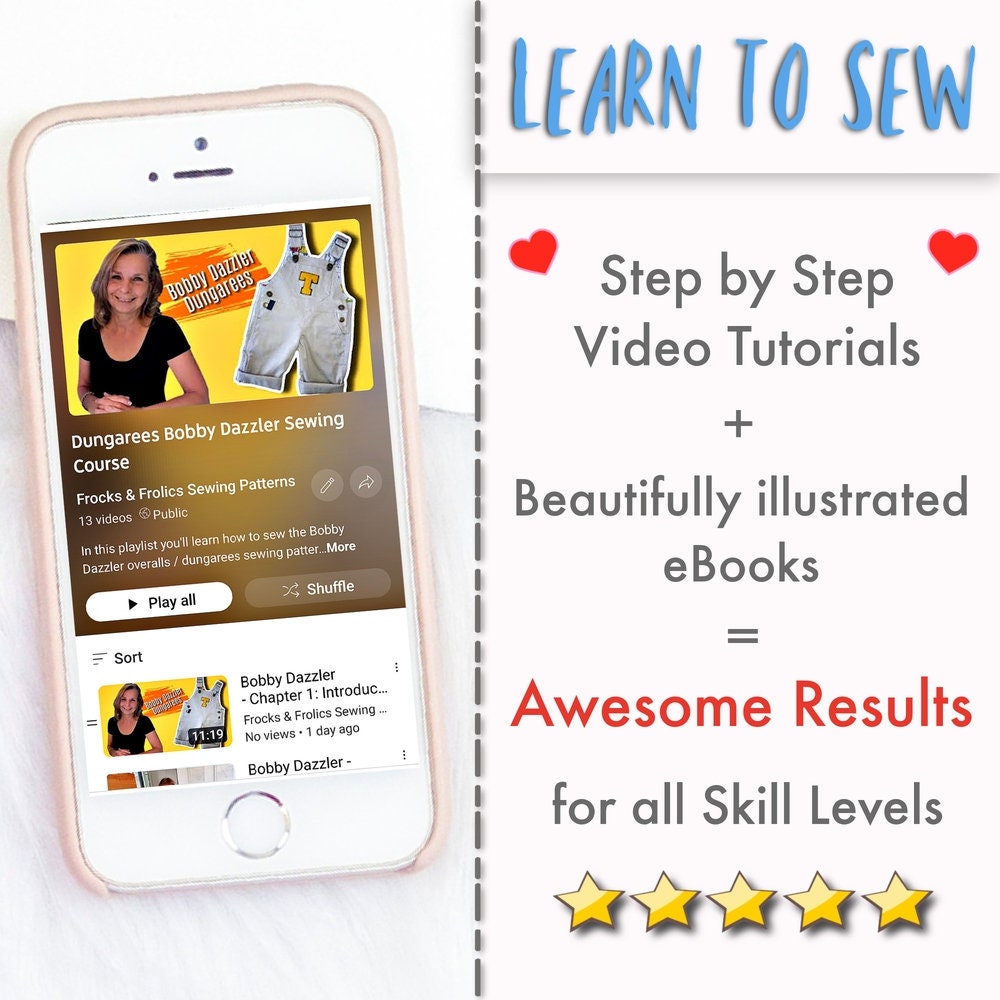
If you want to learn more about sewing, patterns, and techniques, visit my website and the Nähakademie — all videos are free.
I hope you’ll join me again for the next project.