How to sew a Baby Vest
Transcript for the video: Classic Vest - Step by Step Tutorial
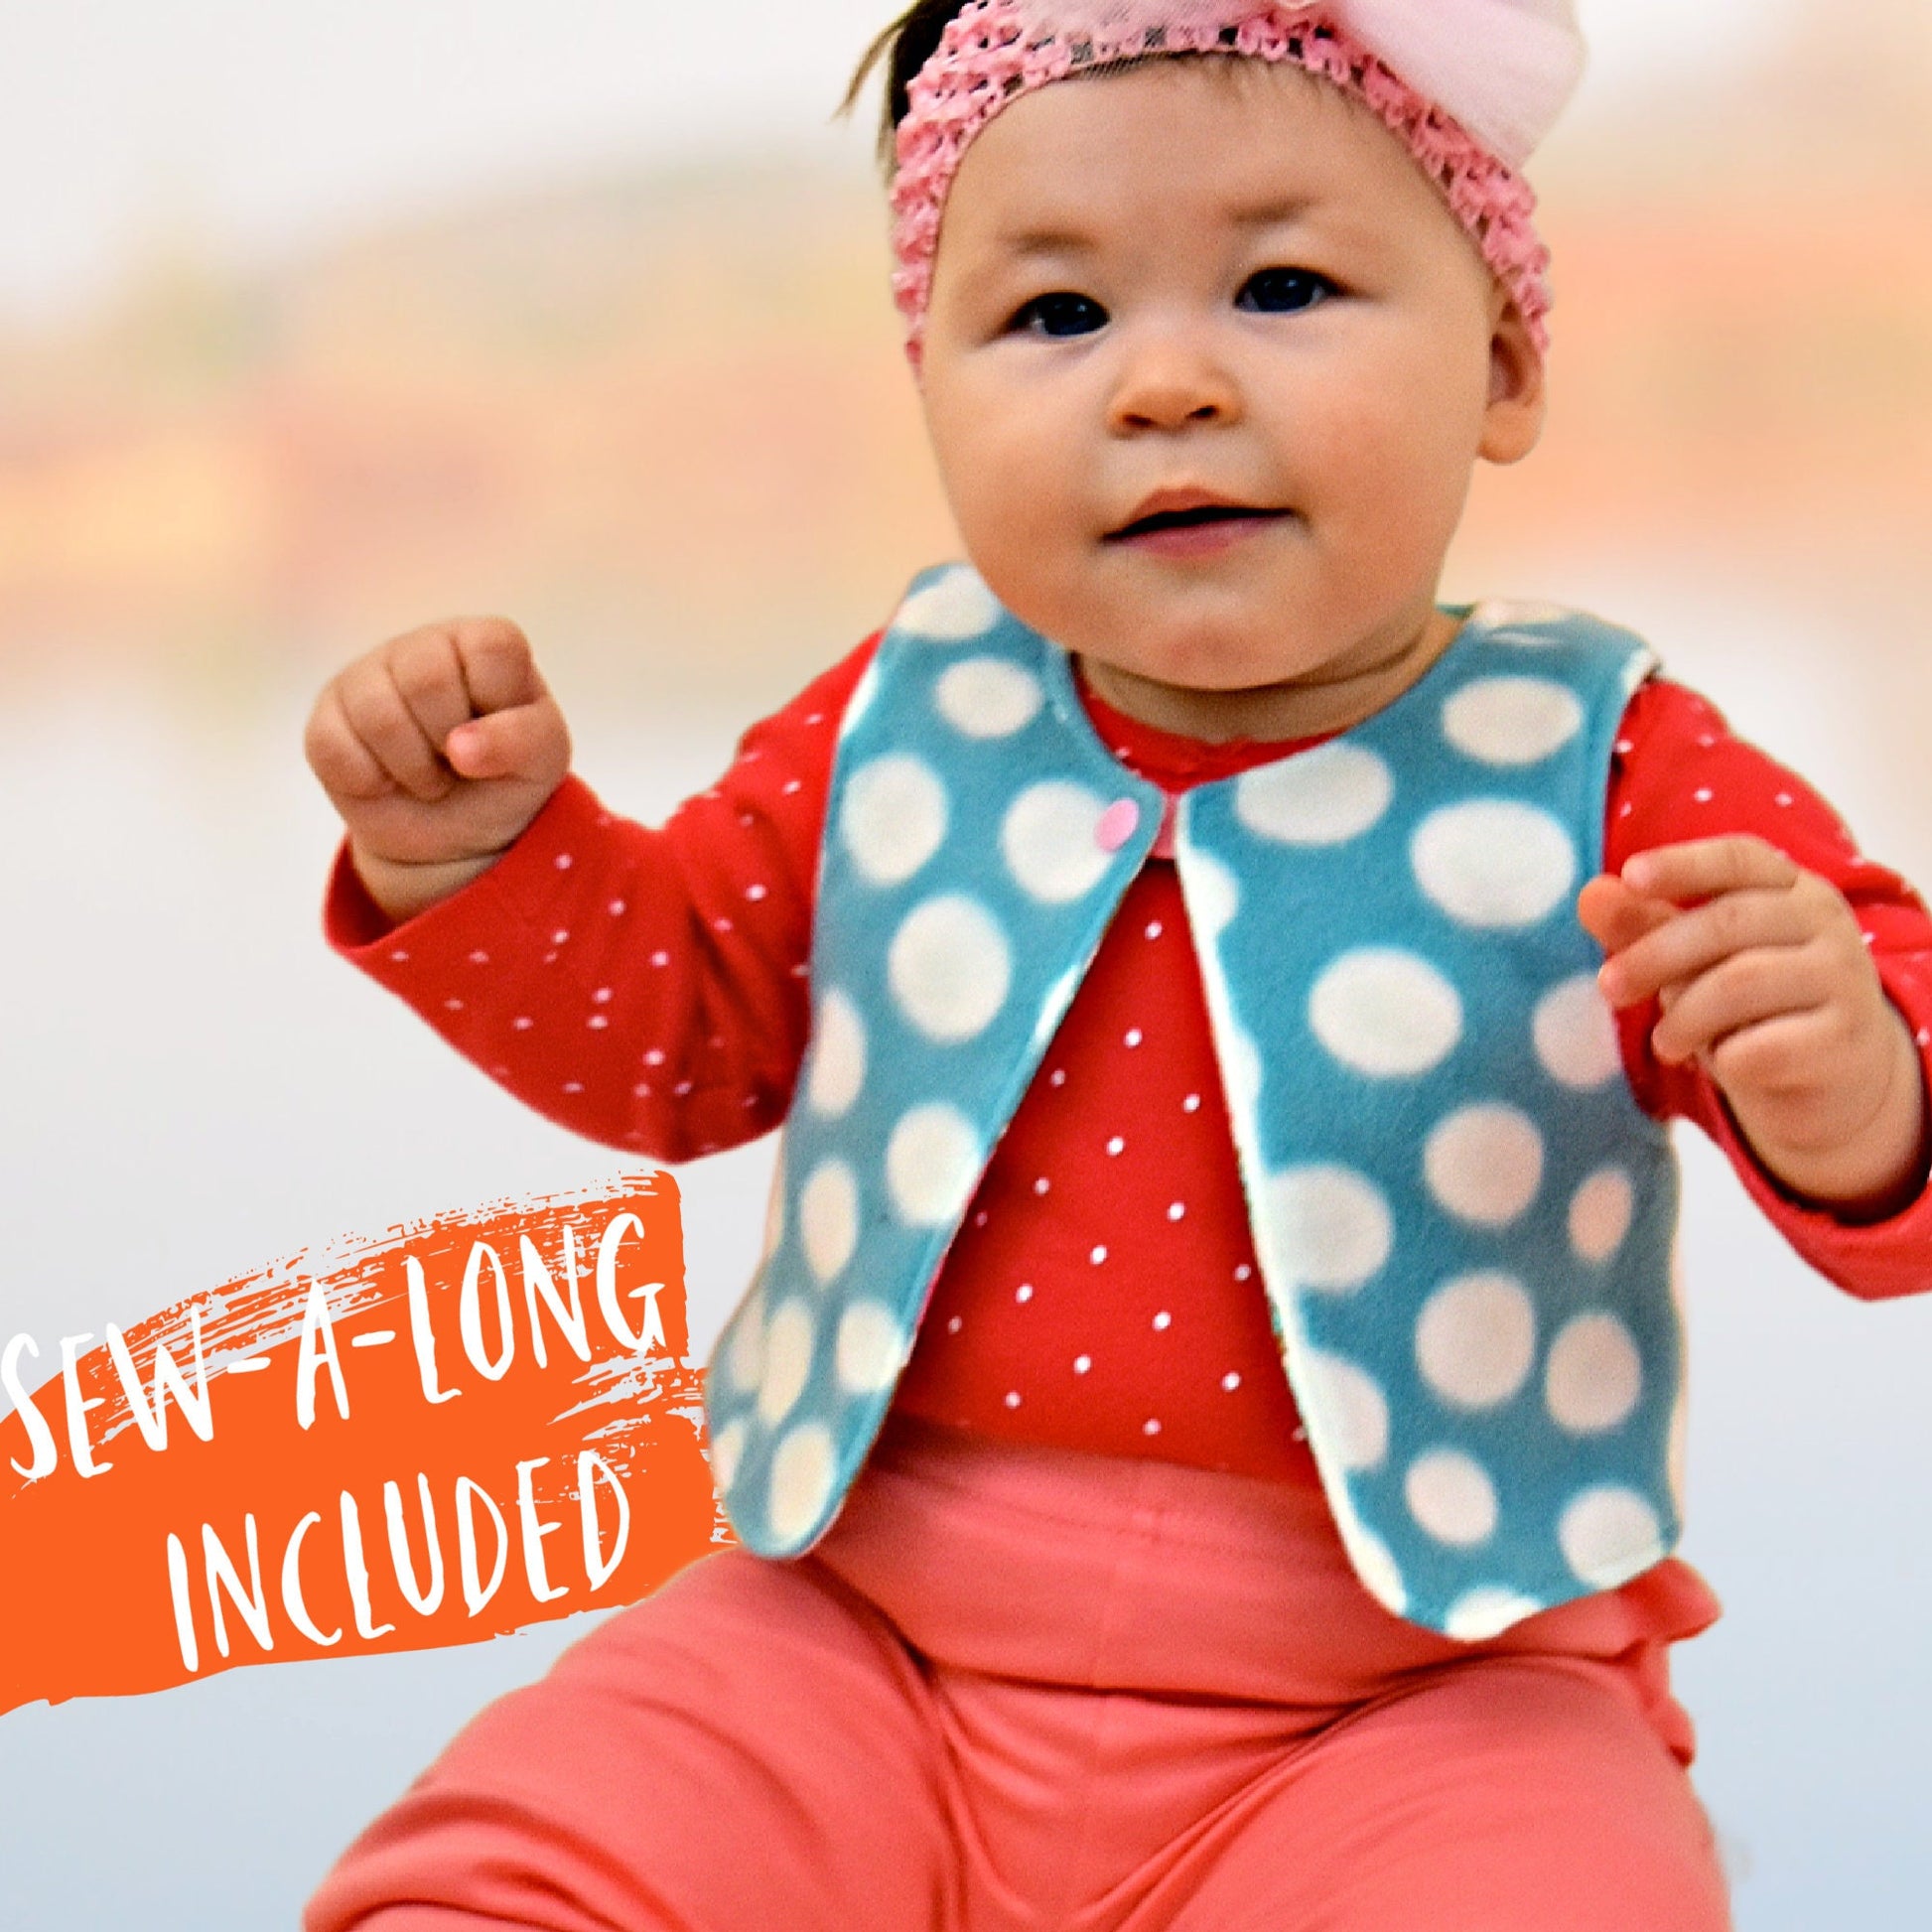
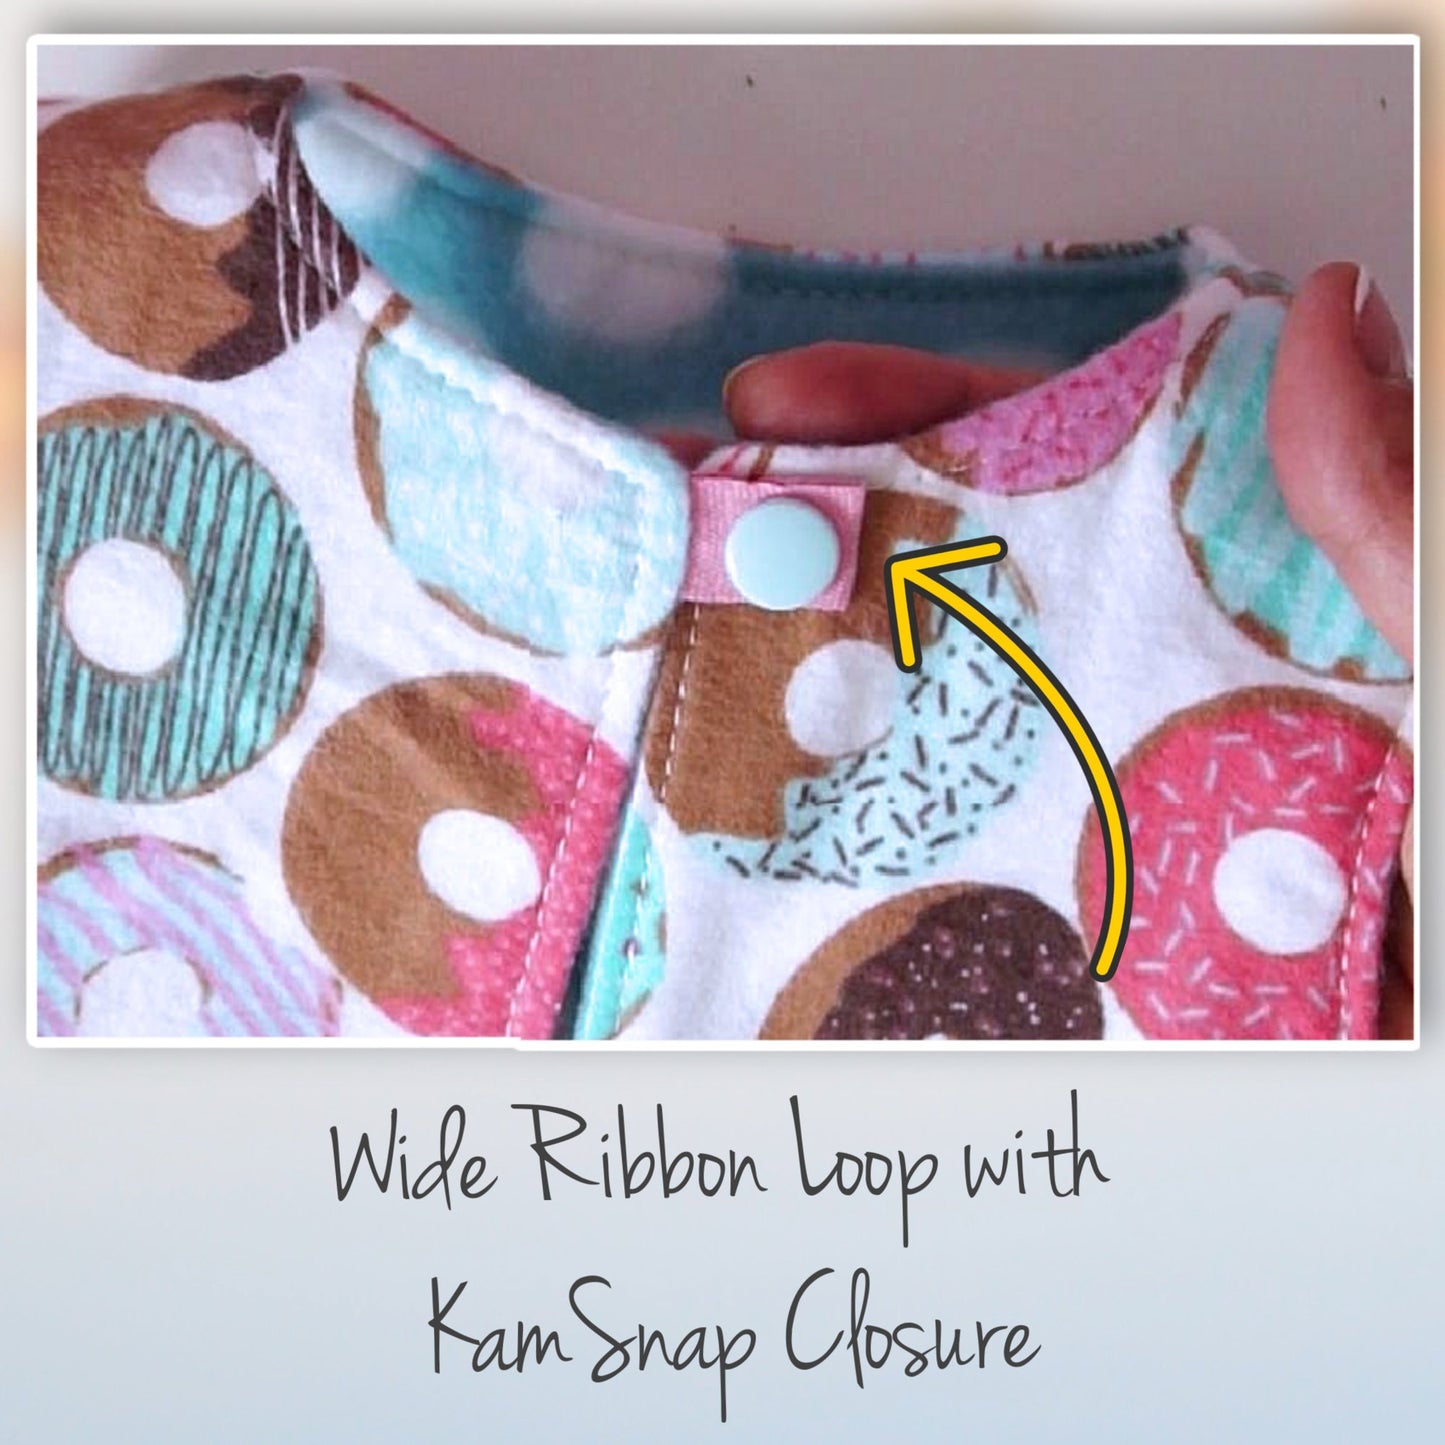
Hi everyone, this is Marina from Frocks and Frolics and I’m going to show you how to sew a classic vest. Here you can see it with a beautiful V-neck and shaggy fur, and your preteens will actually really, really like this. This pattern goes up to age 12 and starts at six months, and the example for that is here. It’s fully reversible and the closure is this beautiful little cam snap on top of a tab at the top. That’s how we fasten it. It’s super easy, very quickly made, and it will keep your toddler warm, and of course, your teen as well.
Now this here is made with a shaggy fur, and for that I’ve lined it again with some brushed cotton. At the end of the video, I’m going to show you a few tricks for that. Here you can see the beautiful clasp I’ve got, which is actually from Totally Buttons (Los Angeles), and the good news is they are online. I have got a link to this clasp in the video description.
One thing to remember when you’re doing shaggy fur on anything: you want to sellotape up the fur when you’re cutting out. I didn’t, and hence it looks a little bit like a bad haircut when you look closely. You can also just use a hook and eye to close it, of course.
Preparing the Pattern
Let’s get started with the little top. I’ve got a fleece here and a brushed cotton, and I think if you are a beginner sewer that is the ideal combination.
Of course, first of all, you want to print up your pattern. Make very sure you print it with Adobe Acrobat Reader. You can download that for free. In the instruction booklet it will have the link to that as well. The last page usually has an assembly plan so you can see how many pieces you need to put it together.
Make sure that your measurement is correct so you’ve got either an inch or five centimeters. Then, looking at the pattern, you can see that you have a slender and regular as well.
Cutting the Fabric
I think that when you’re cutting out, you want to make sure that you only fold over as much as you need to get out your pattern. If you haven’t got a direction of fabric, you can put them on like this, and you will use very little. In fact, you probably get two out.
So we need the back on the fold, and then we need the front twice in the lining and the shell fabric.
Sewing the Shoulder Seams
The first step for this is to put together the shoulder seams of the outer fabric, which is the shell, and the lining. Make sure that the right side is on the inside and the wrong side on the outside.
Then we’re going to close those shoulder seams. On the lining, it’s much easier to see here. You just flip it over, and I’m going to pin that as well. Then we’re taking it to the sewing machine, and we’re putting it together.
The seam allowance on my patterns is always one centimeter. When you’re sewing this, try to get into the habit of pushing the next part straight under it. It saves you a lot of thread in the long run, and if you’re using very expensive threads such as Gütermann, then you really don’t want to waste it.
Pressing and Attaching the Tab
Then you want to iron the seam apart to be addressed. Make sure it’s nice and flat. You could also top stitch at either side if you like.
When you take the tab, fold it over. You can either use your sewn tab or you use a little ribbon like I’ve done here. You put that onto the right side of your vest a little bit further than one centimeter over and in because that’s the seam allowance. I’m also going to fold it back a bit so I don’t accidentally catch it when I come along there and sew it all together.
Joining the Lining
Now you want to put the lining over the top. Make sure that the shoulder seams are on top of each other, so I’m going to use some pins to fix that. That will also keep the seam allowances from folding over.
In the front, we’re starting halfway down the front, and then we’ll sew all the way around. You want to pin that really well, so go all around here and finish halfway down the front. Then we’re going to close both armholes all the way around.
Sewing Curves and Corners
I haven’t used any stay tape for this, so the trick here is to push your fabric and never ever pull it. Push it towards the presser foot, and that way you don’t need stay tape.
If you are a beginner and likely to pull your fabric and have these horrendous armholes and stretched necklines, then please do use stay tape or stay stitch before you put it together.
Next, we’re doing the front here. We’re going halfway up from the front. Put your needle down as you get to the corner, that’s really important, lift the presser foot and turn all the way around. Do the same on the other side.
Clipping and Turning
Now we need to make sure that there’s no tension on all these seams because they’re coming in on themselves. So what you want to do is snip it. You could also cut the seam allowance back. I haven’t done that here. It’s not necessary.
If you’re using heavier fabric, you might want to cut it back in stages so you’ve got one seam allowance slightly shorter than the other.
Make sure you cut the seam allowance back here as well, so it’s nice and flat. That’s usually enough to get something like this right.
When it comes to the corner here, some people say just fold it over and turn it, but this would make it very thick. Because we’re going to have a cam snap there, you need to cut this back up really sharply, almost right to your seam, because otherwise it will interfere with your cam snap.
Turning the Vest
Then we’re pulling the front through the back, and I’m just going in with my fingers here. I grab the part of the front that’s farthest away, push that through with my fingers, and then I pull it.
For the smaller sizes, this is quite hard because obviously the shoulder isn’t very wide, so you need to give that a really good time, but it will come through.
Then we can give this all a good press.
Closing the Side Seams
The next step is to close your side seam. Put it in front of you, and the front goes up, and the back goes up. We’re closing this from one side to the other.
Again, the seam is pinned down so that it can’t fold over. It’s so simple. You’re really going to love making these. The second one shouldn’t take you much longer than about 30 to 40 minutes.
On one of the lining sides, I’m leaving a turning gap. If you’re topstitching it like me all the way around, you don’t really need to do that. You can leave the turning gap in the hem.
Closing the Hem
Then you also want to make sure that there’s no tension. We’re going to snip one of the seams and reduce the seam allowance here.
I had forgotten to iron the other side, so I had to iron that too. Then we’re going to iron it closed.
To do that, you want to put your thumb in there so none of the seam allowances can fold over. Then you hold it and take it to the ironing board and quickly press that.
Now all we have to do is close the hem. In order to do that, just start at the front. You need to poke it out a little bit again so that you can get in there better.
Topstitching
Now we’re going to top stitch the whole lot.
When you’re doing top stitching, it’s really important to extend your stitch length, especially if you’ve got a fairly basic machine which seems to be hammering in the same spot all the time. Make it quite long. Like 3.5 or even 4.
The distance from the edge of the vest to your stitching should also be a little bit wider. I think that looks really nice.
Then, when you’re coming around the curve, do a couple of stitches, lift the presser foot, and work your way around. Don’t try to do it in one go because it will not look as good.
Adding Cam Snaps
Next, we’re going to do the armholes and then put in our cam snaps.
First, you want to use your awl, and that goes all the way through. That’s the trick always.
Then we’re lifting off what we’re doing and putting our cam snaps in, and that way they will be in the correct position. Don’t be tempted to put one in and then try to put the other one in too much.
I’m actually using two colors, so it’s a contrast, which I think is also really nice.
Final Notes
A little word about the vest: if you make it with a V-neck and some furry fabric, if you want to make pom-poms, a pom-pom maker is certainly better than what I’m doing here. But if you want to do a braid like I did for it, then you need three pieces of wool hanging out there so that you can braid them together.
Make sure you put some sellotape over the end so it can’t come undone. That’s really important.
Well, I hope you enjoyed this video. This lovely vest is available from Frocks and Frolics, and if you’re wondering what the beautiful Magdalena is wearing underneath the vest, it’s of course, the Virginia tunic, which you can also get from Frocks and Frolics.
Thank you very much for watching. Bye for now.