


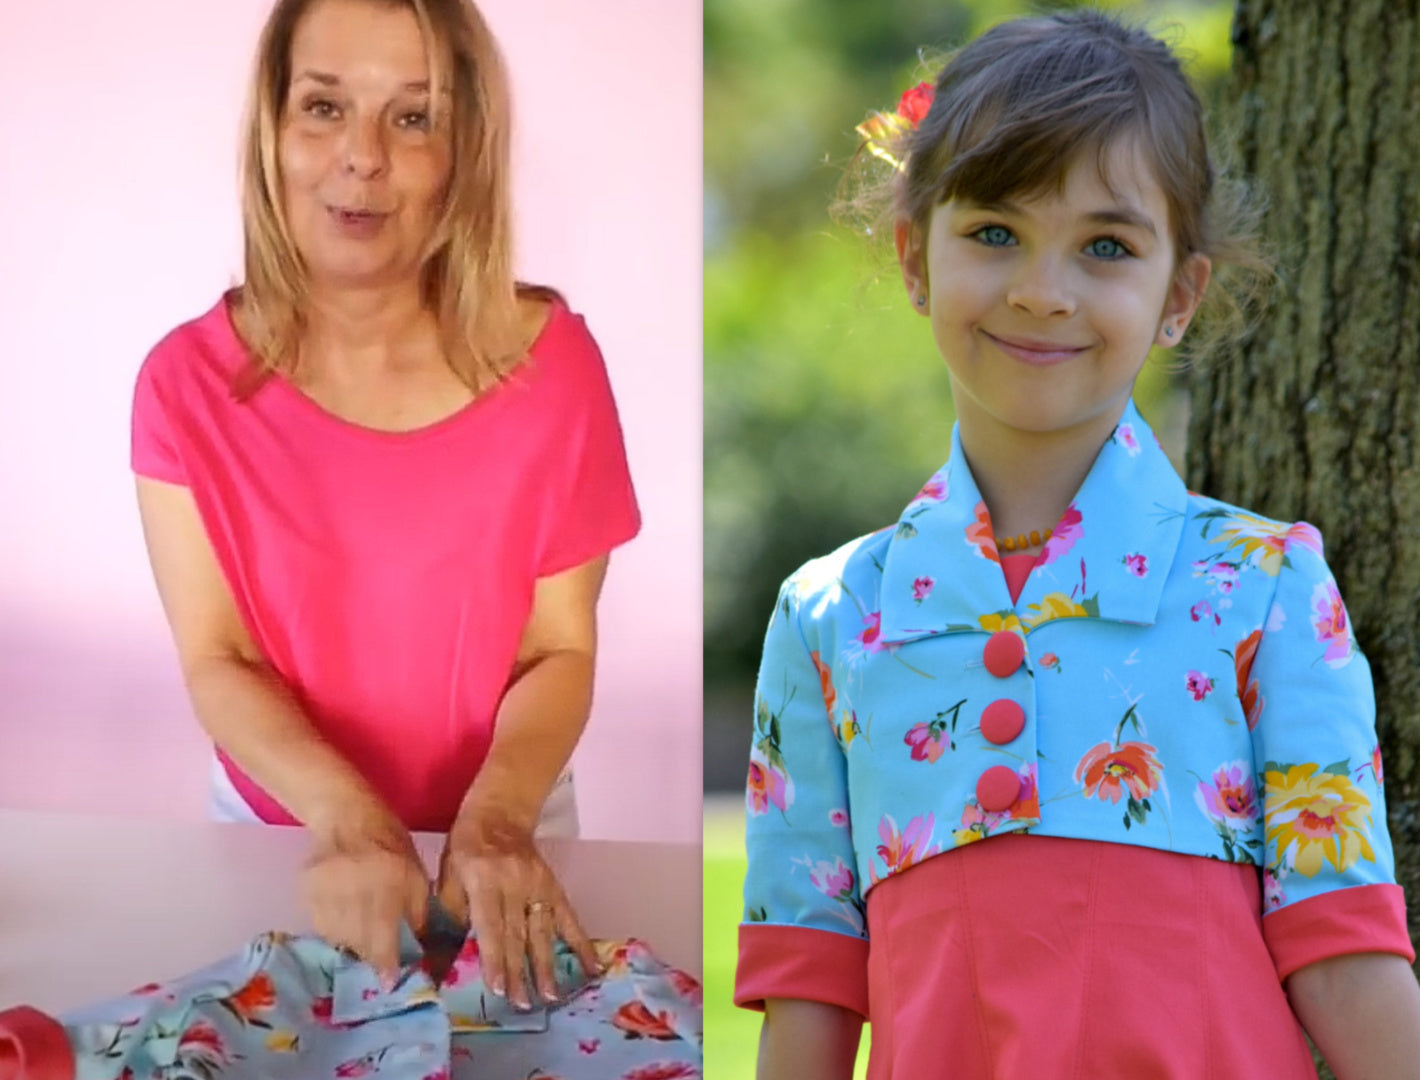
PARIS BOLERO JACKET
PARIS BOLERO JACKET


Regular price
$12.50 USD
Regular price
Sale price
$12.50 USD
Unit price
per
Couldn't load pickup availability
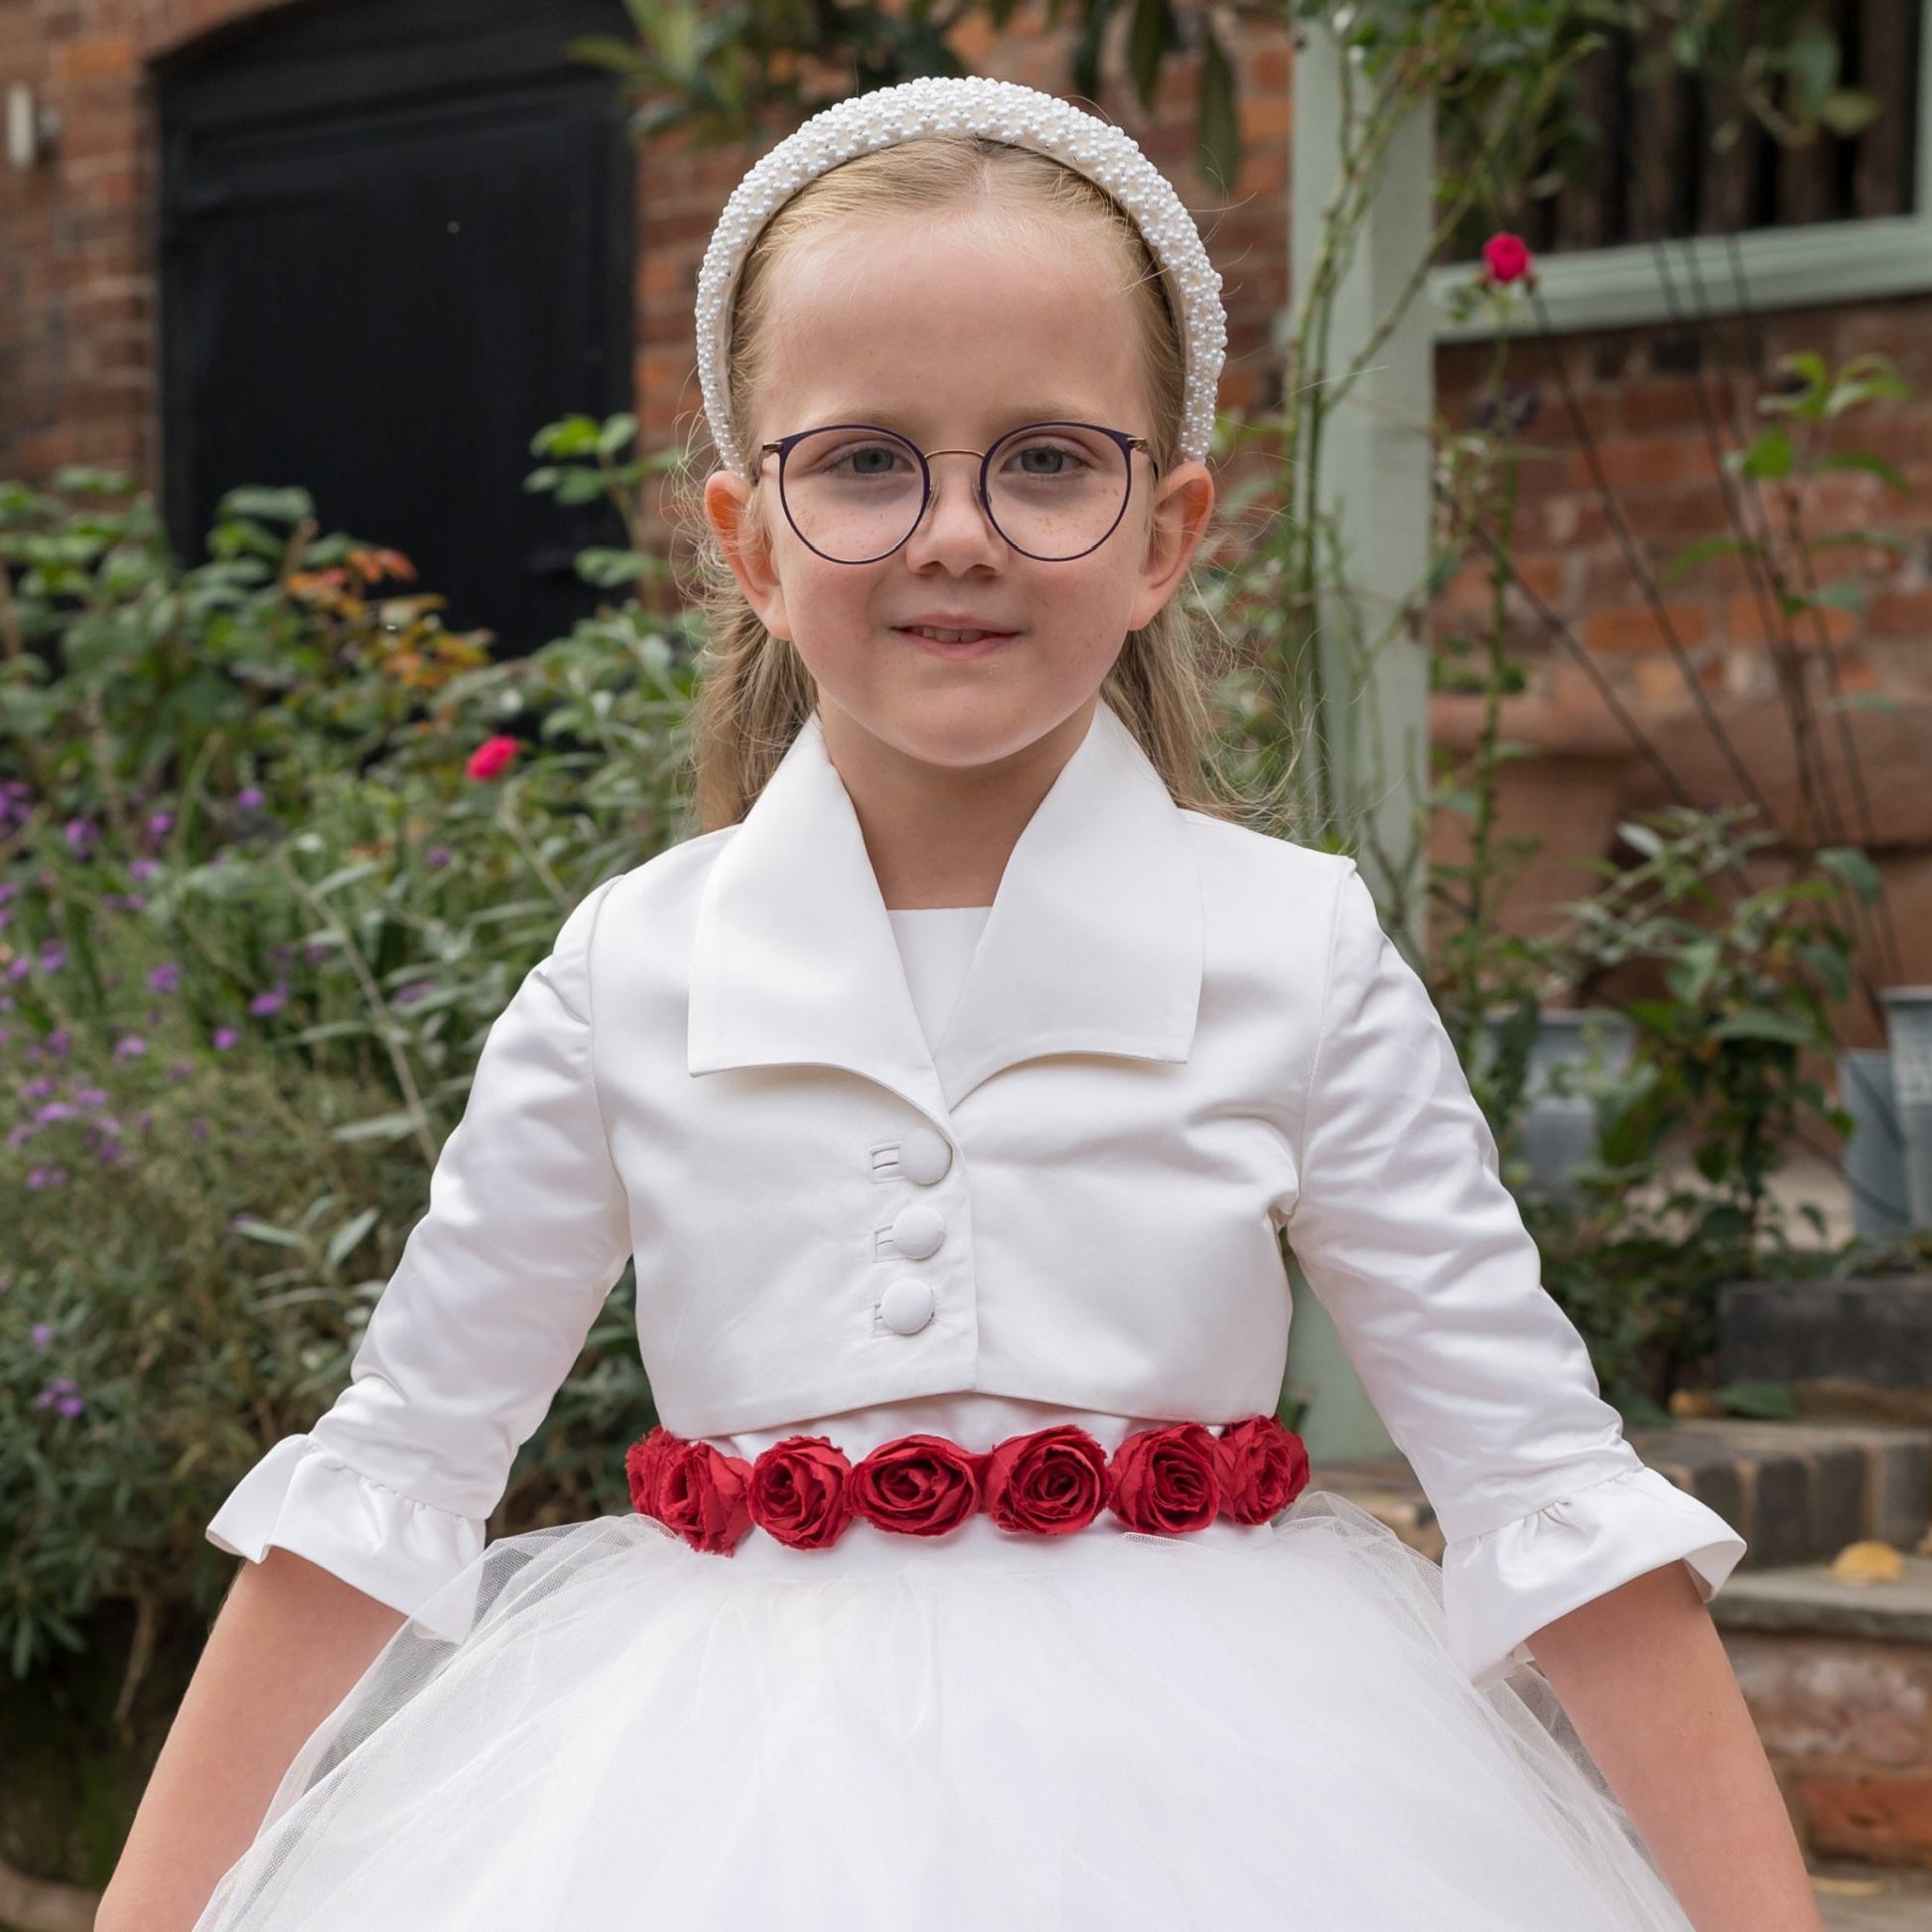
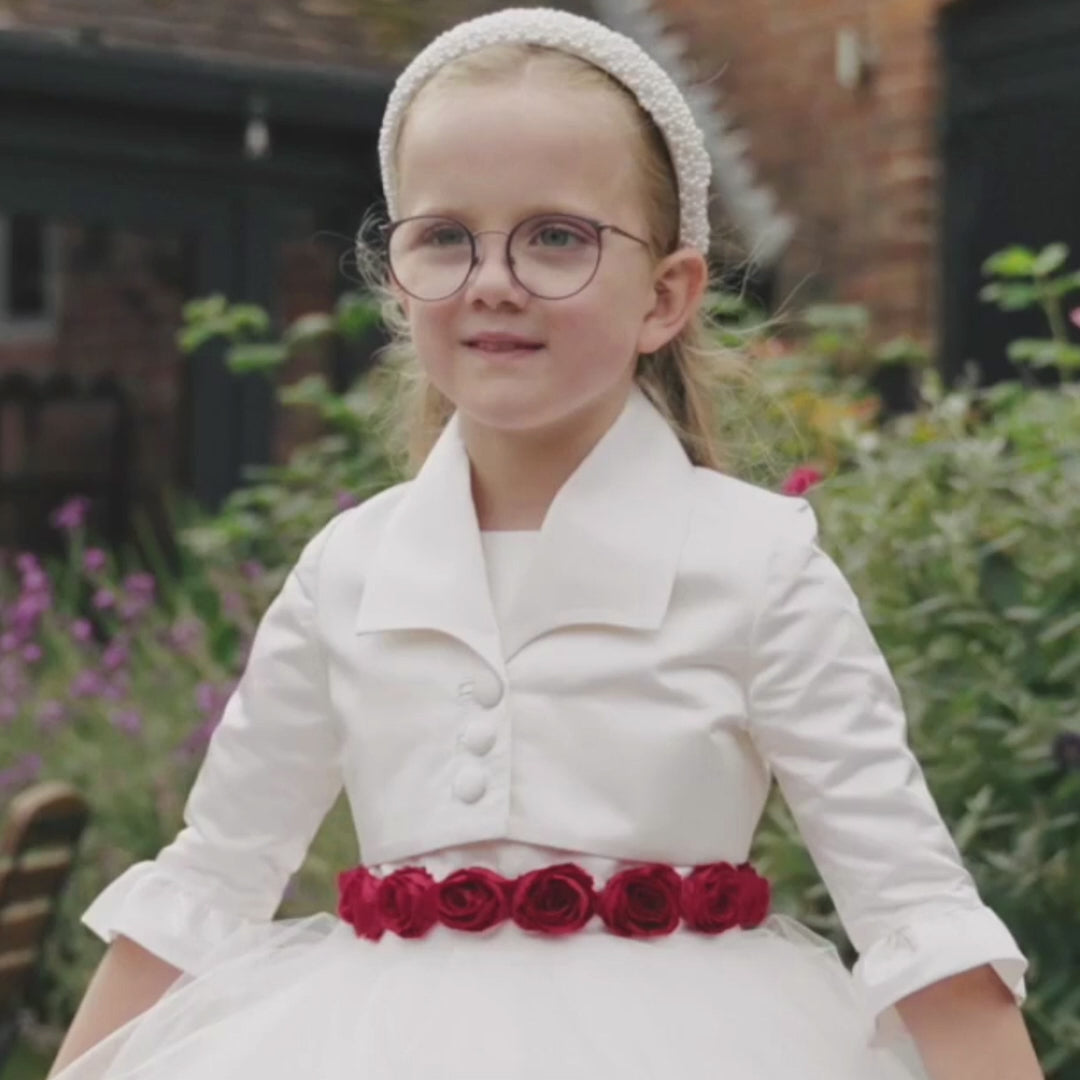
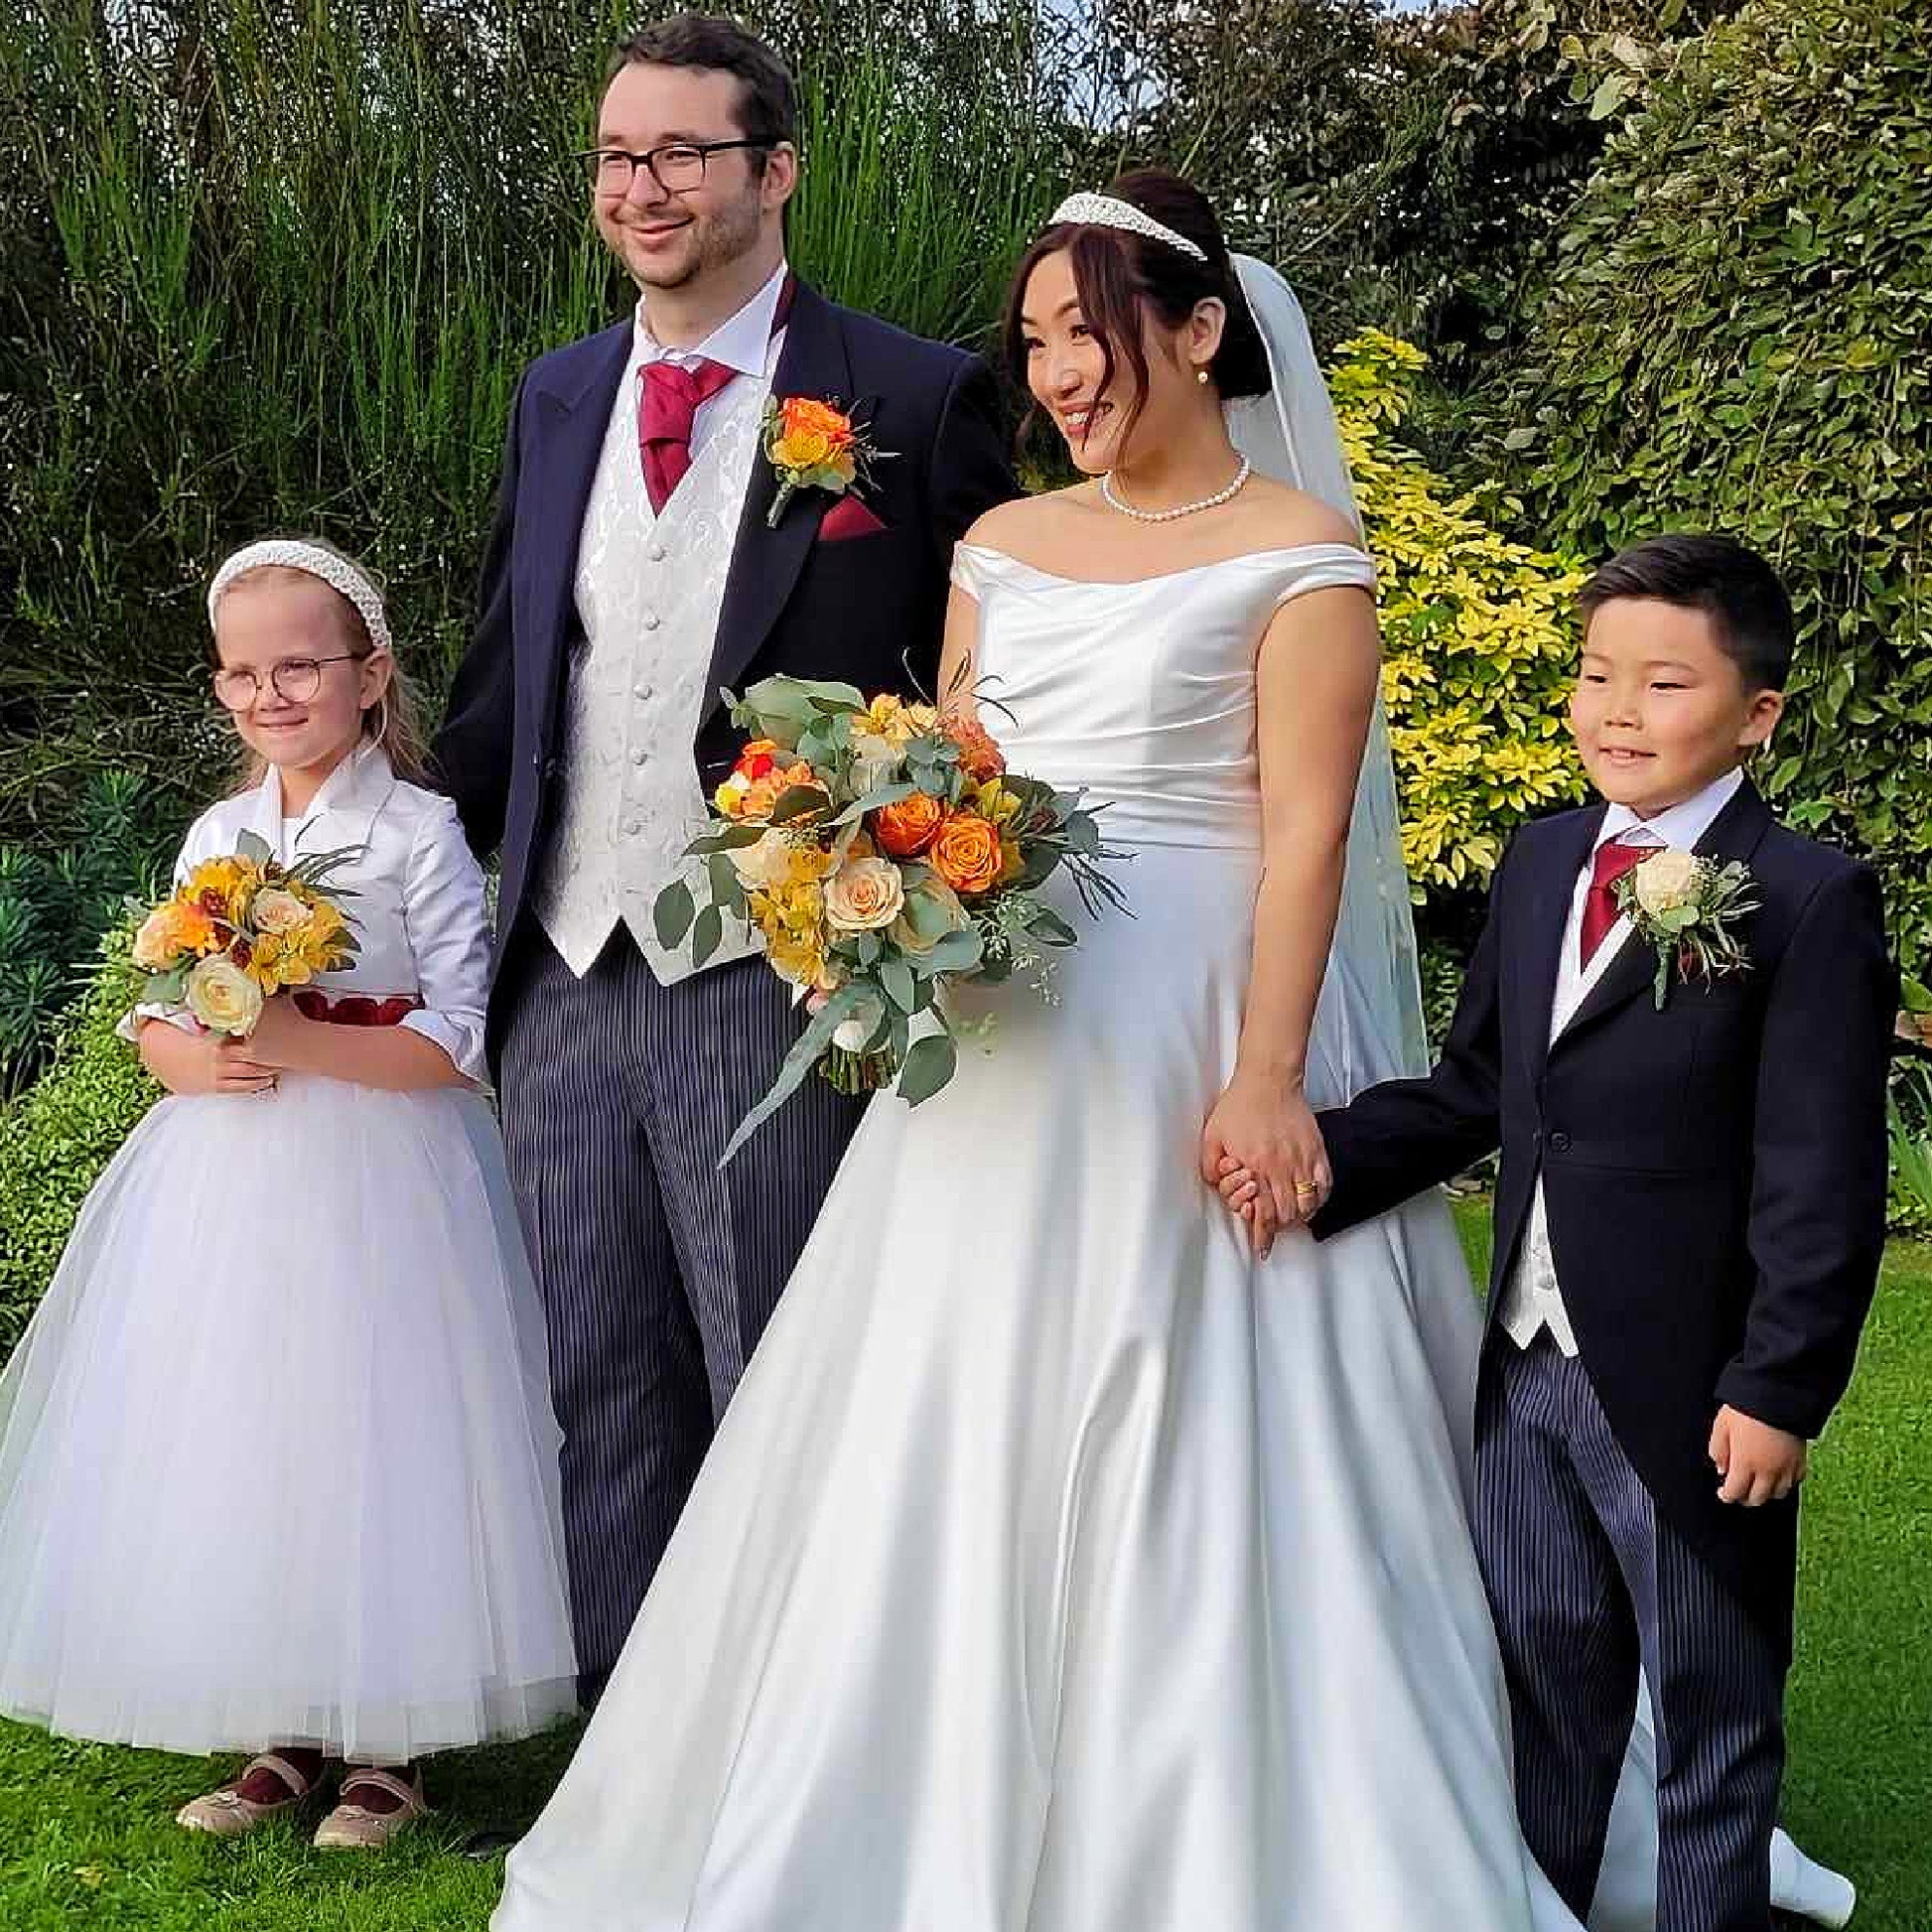
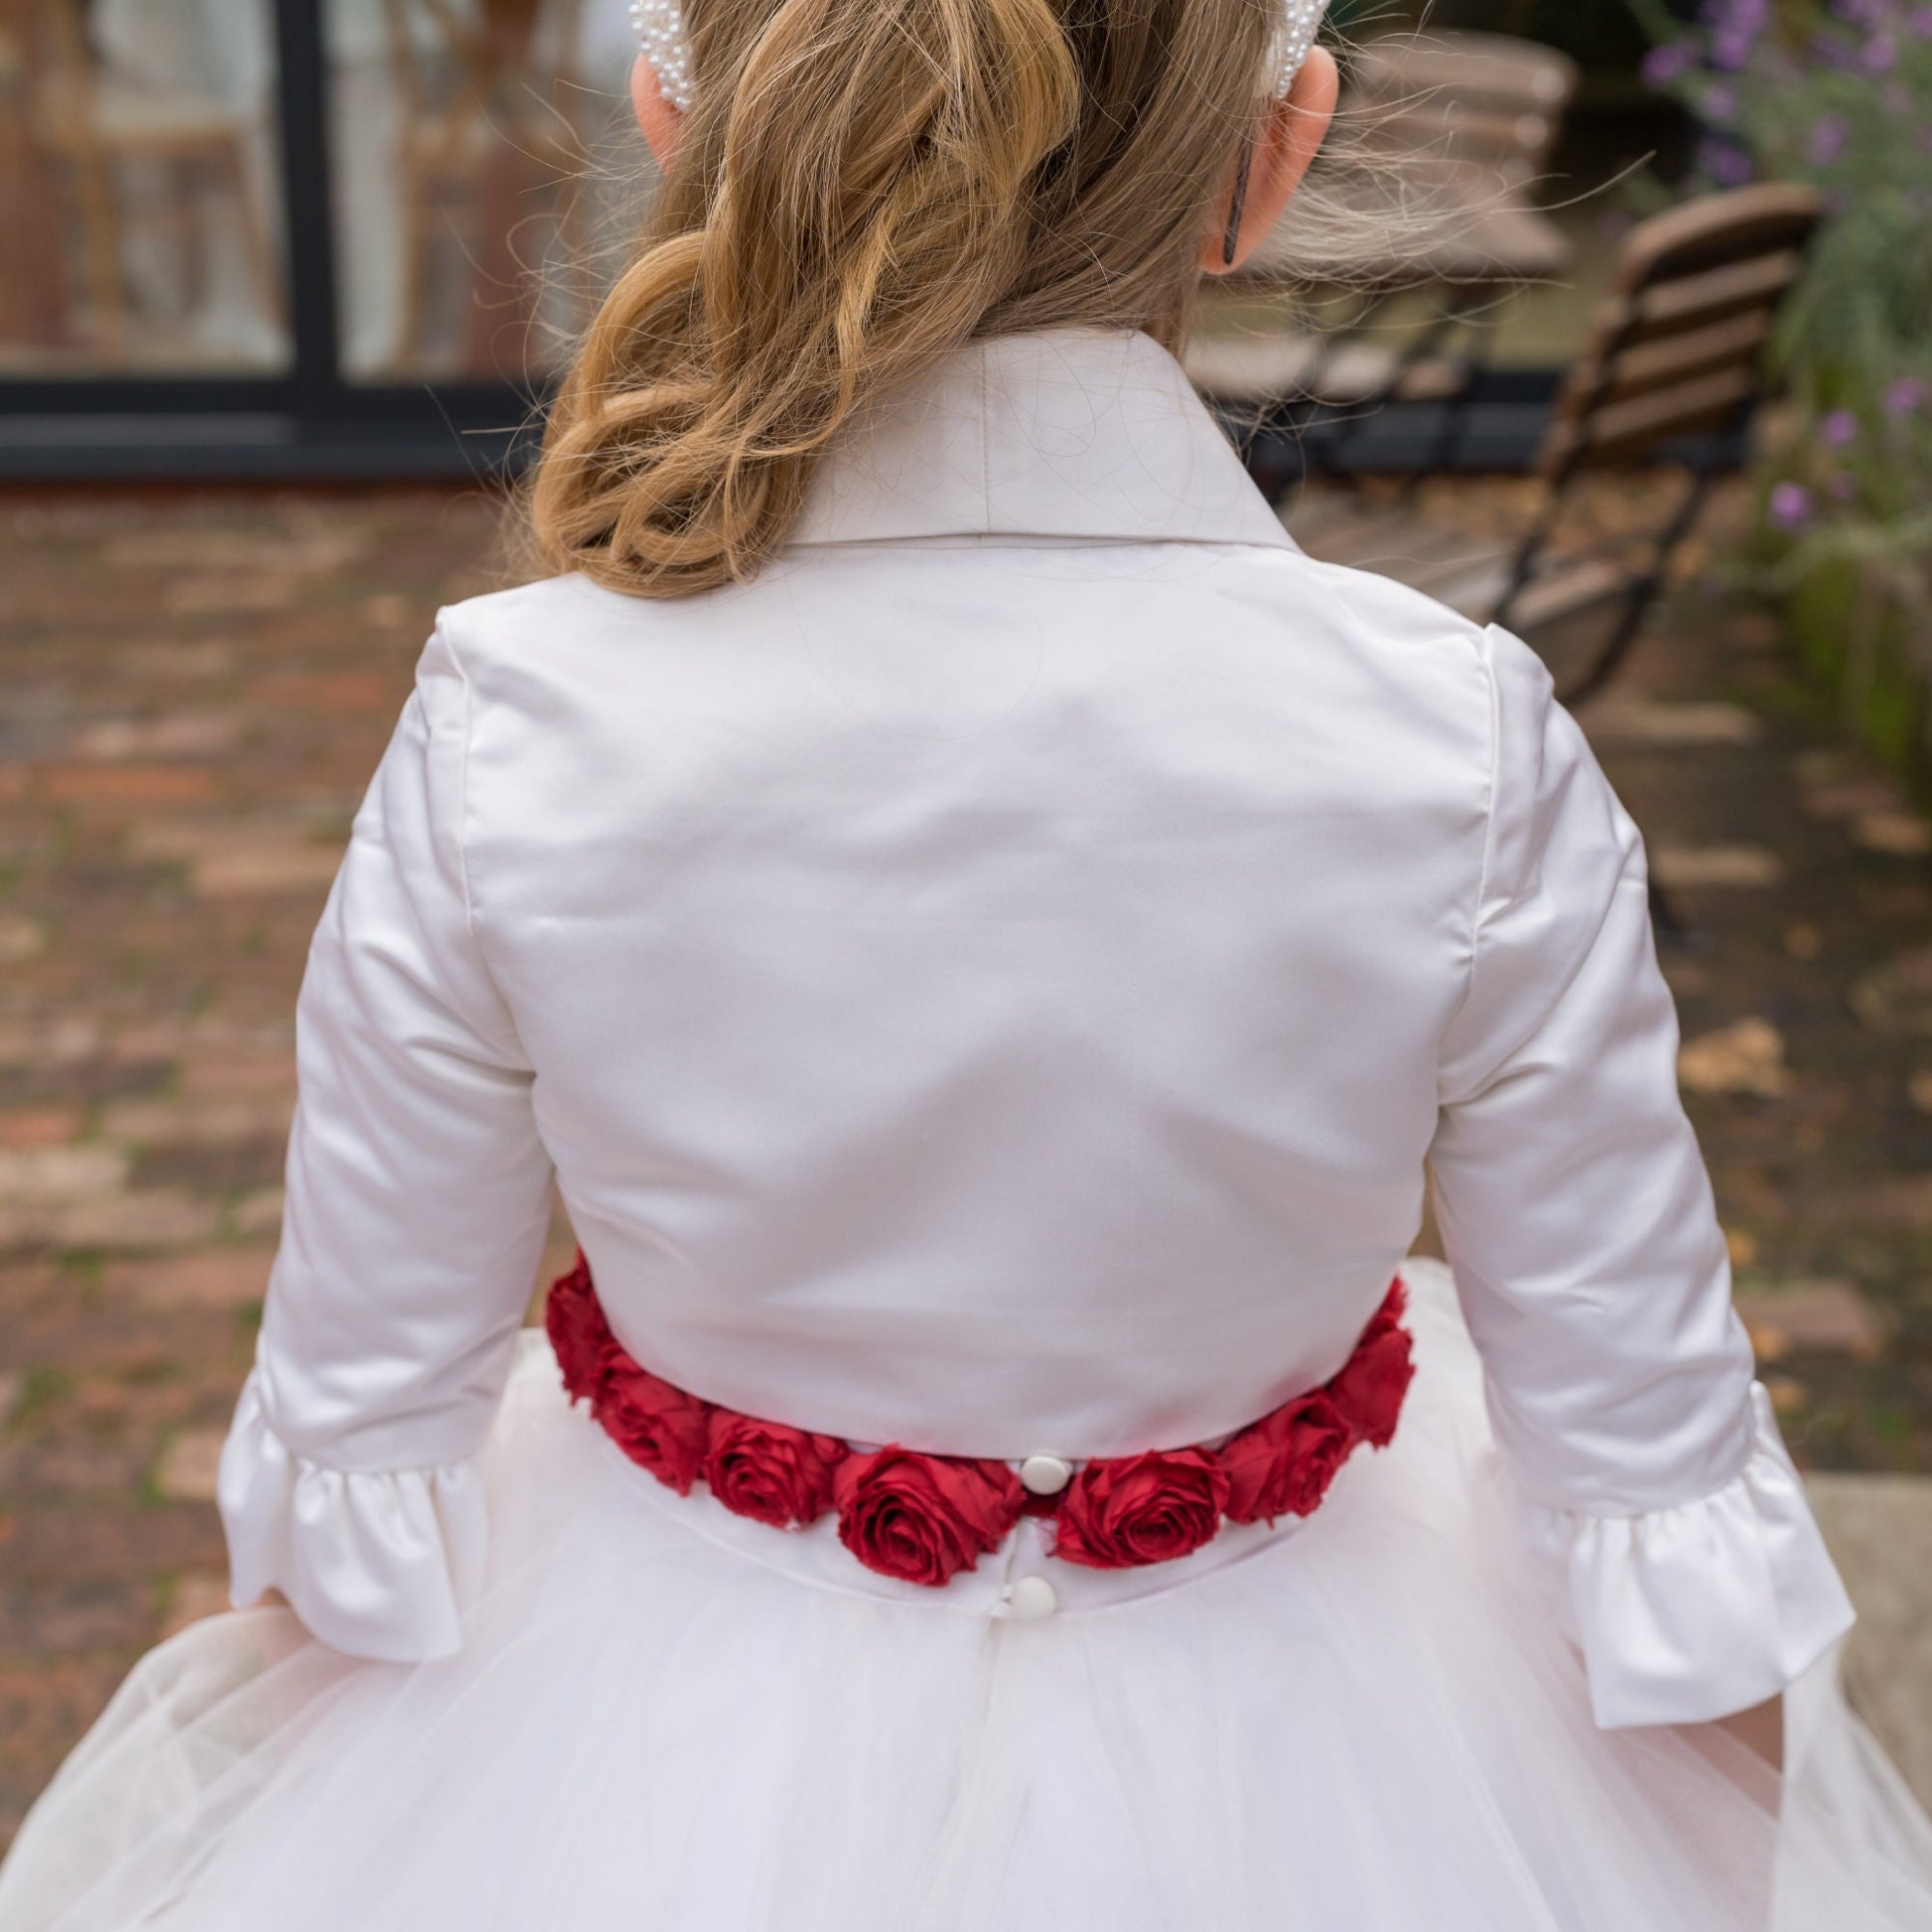
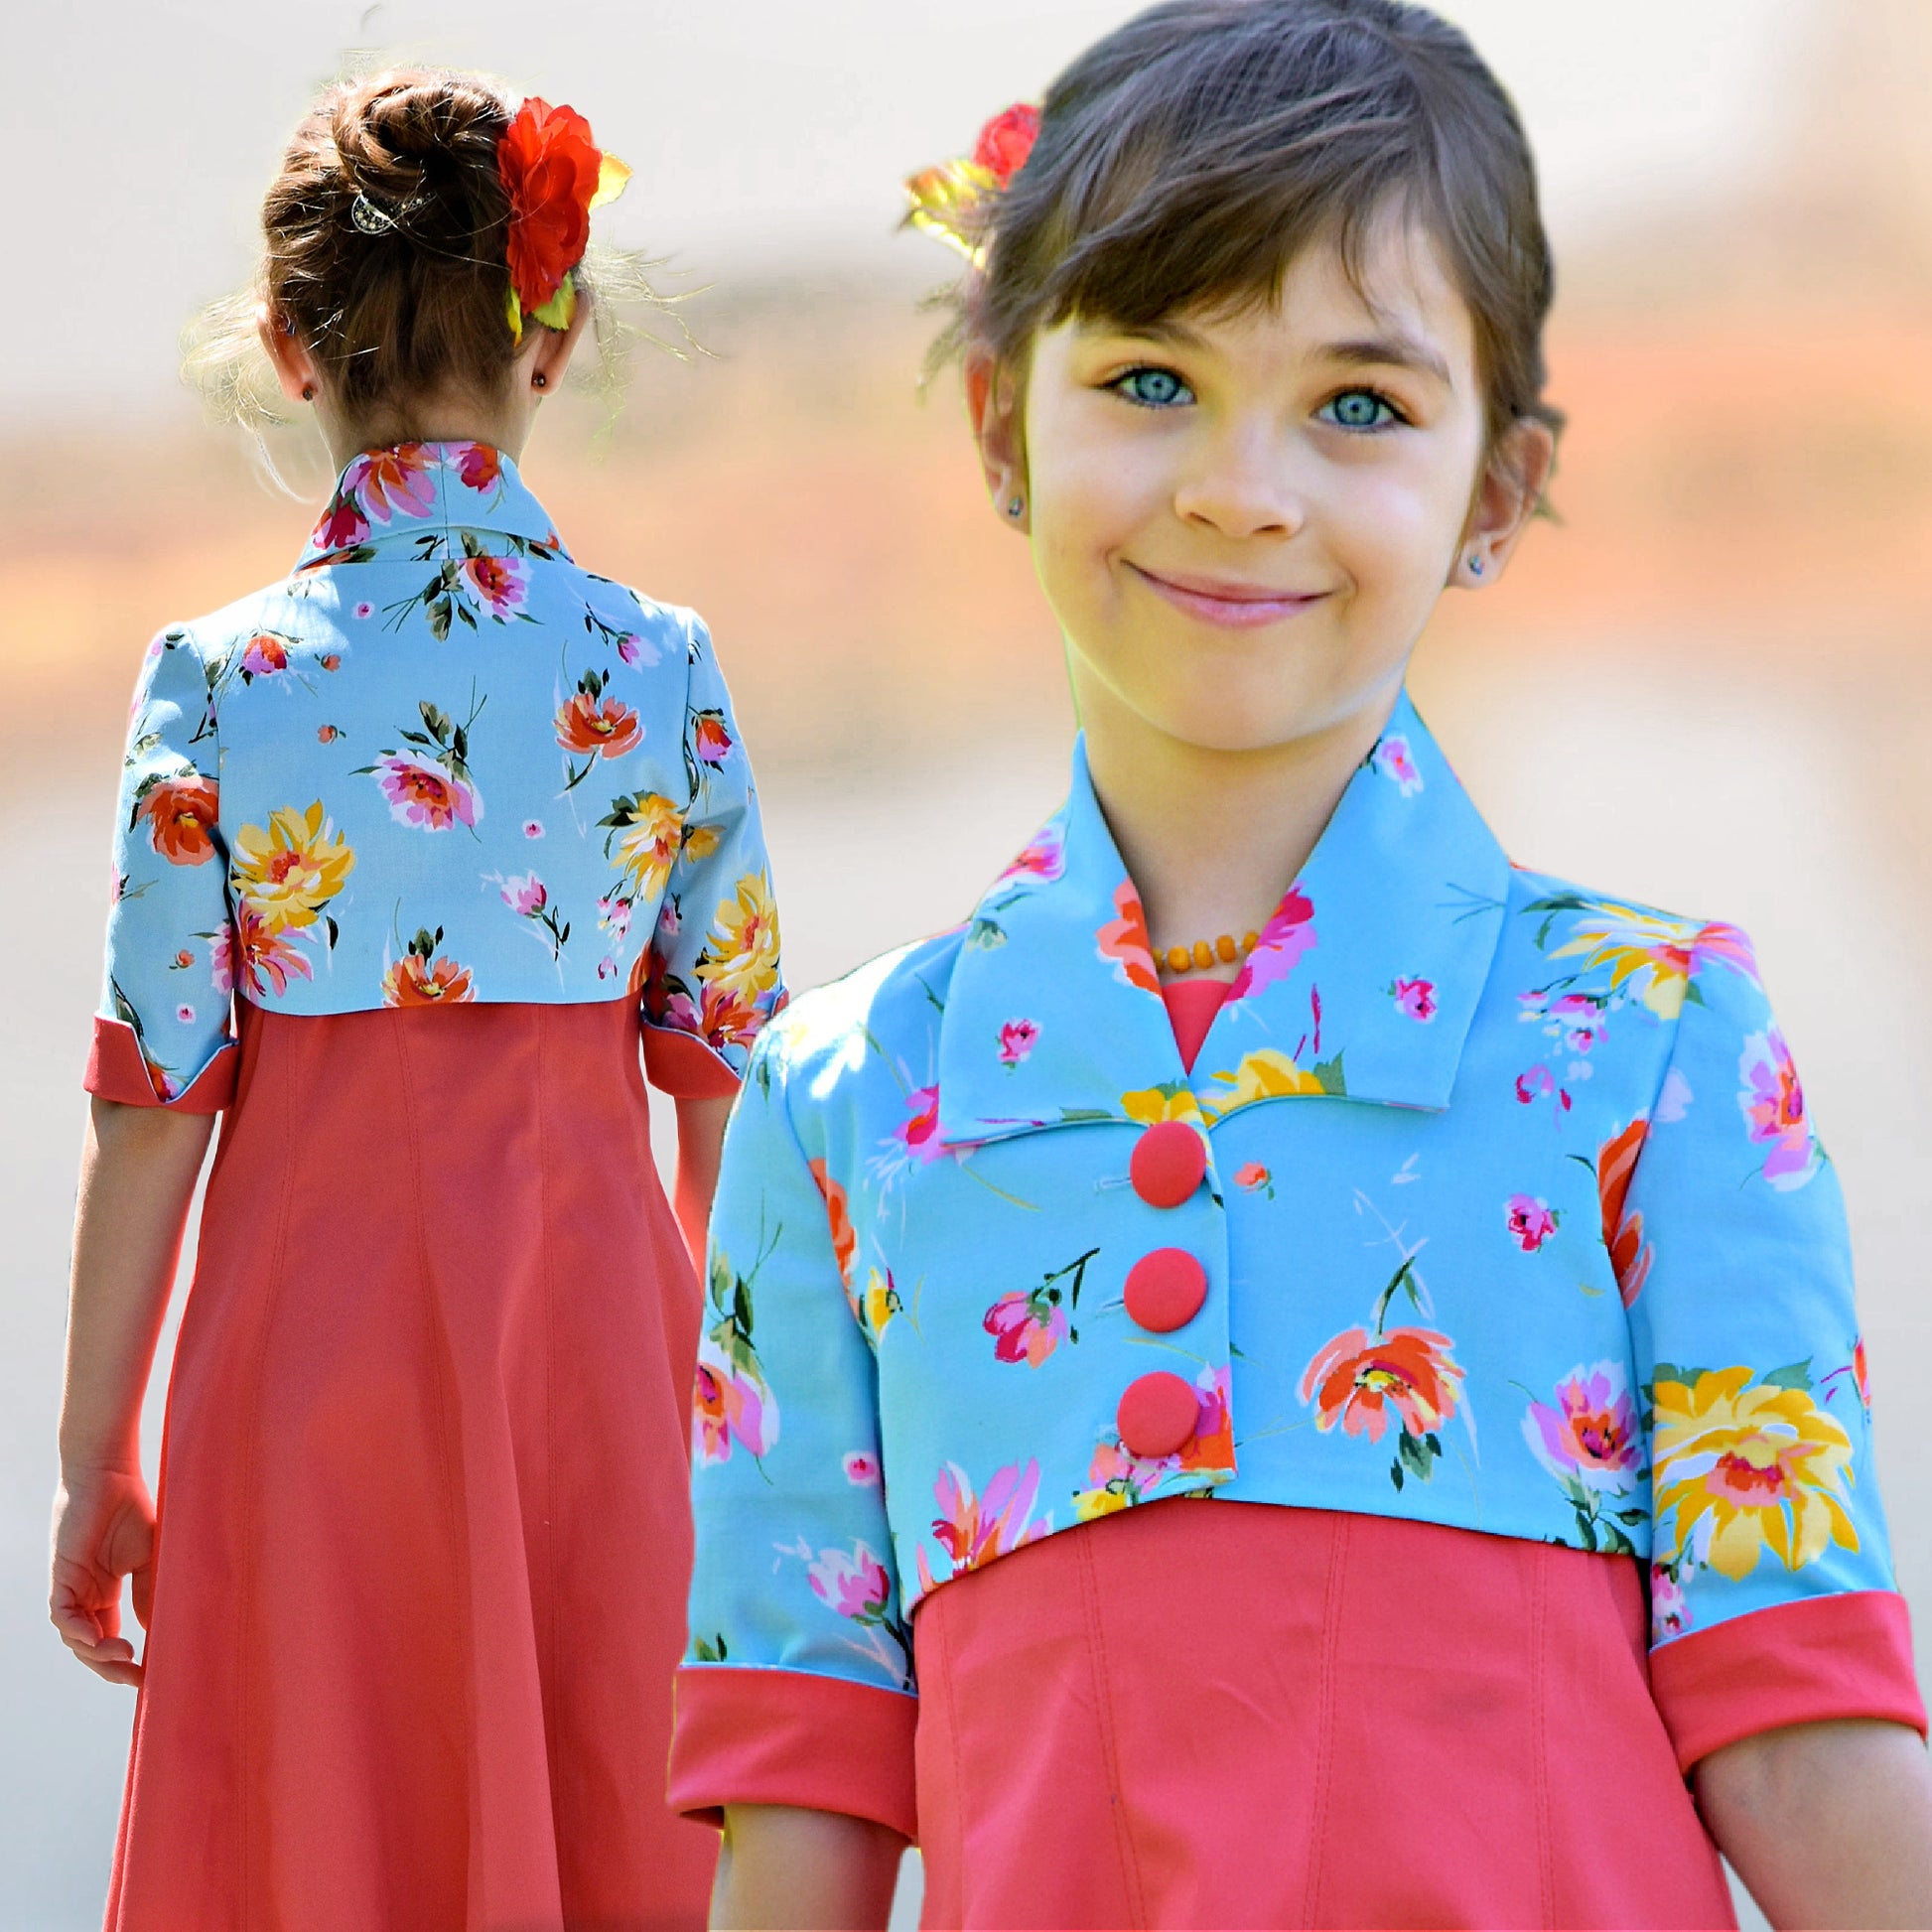
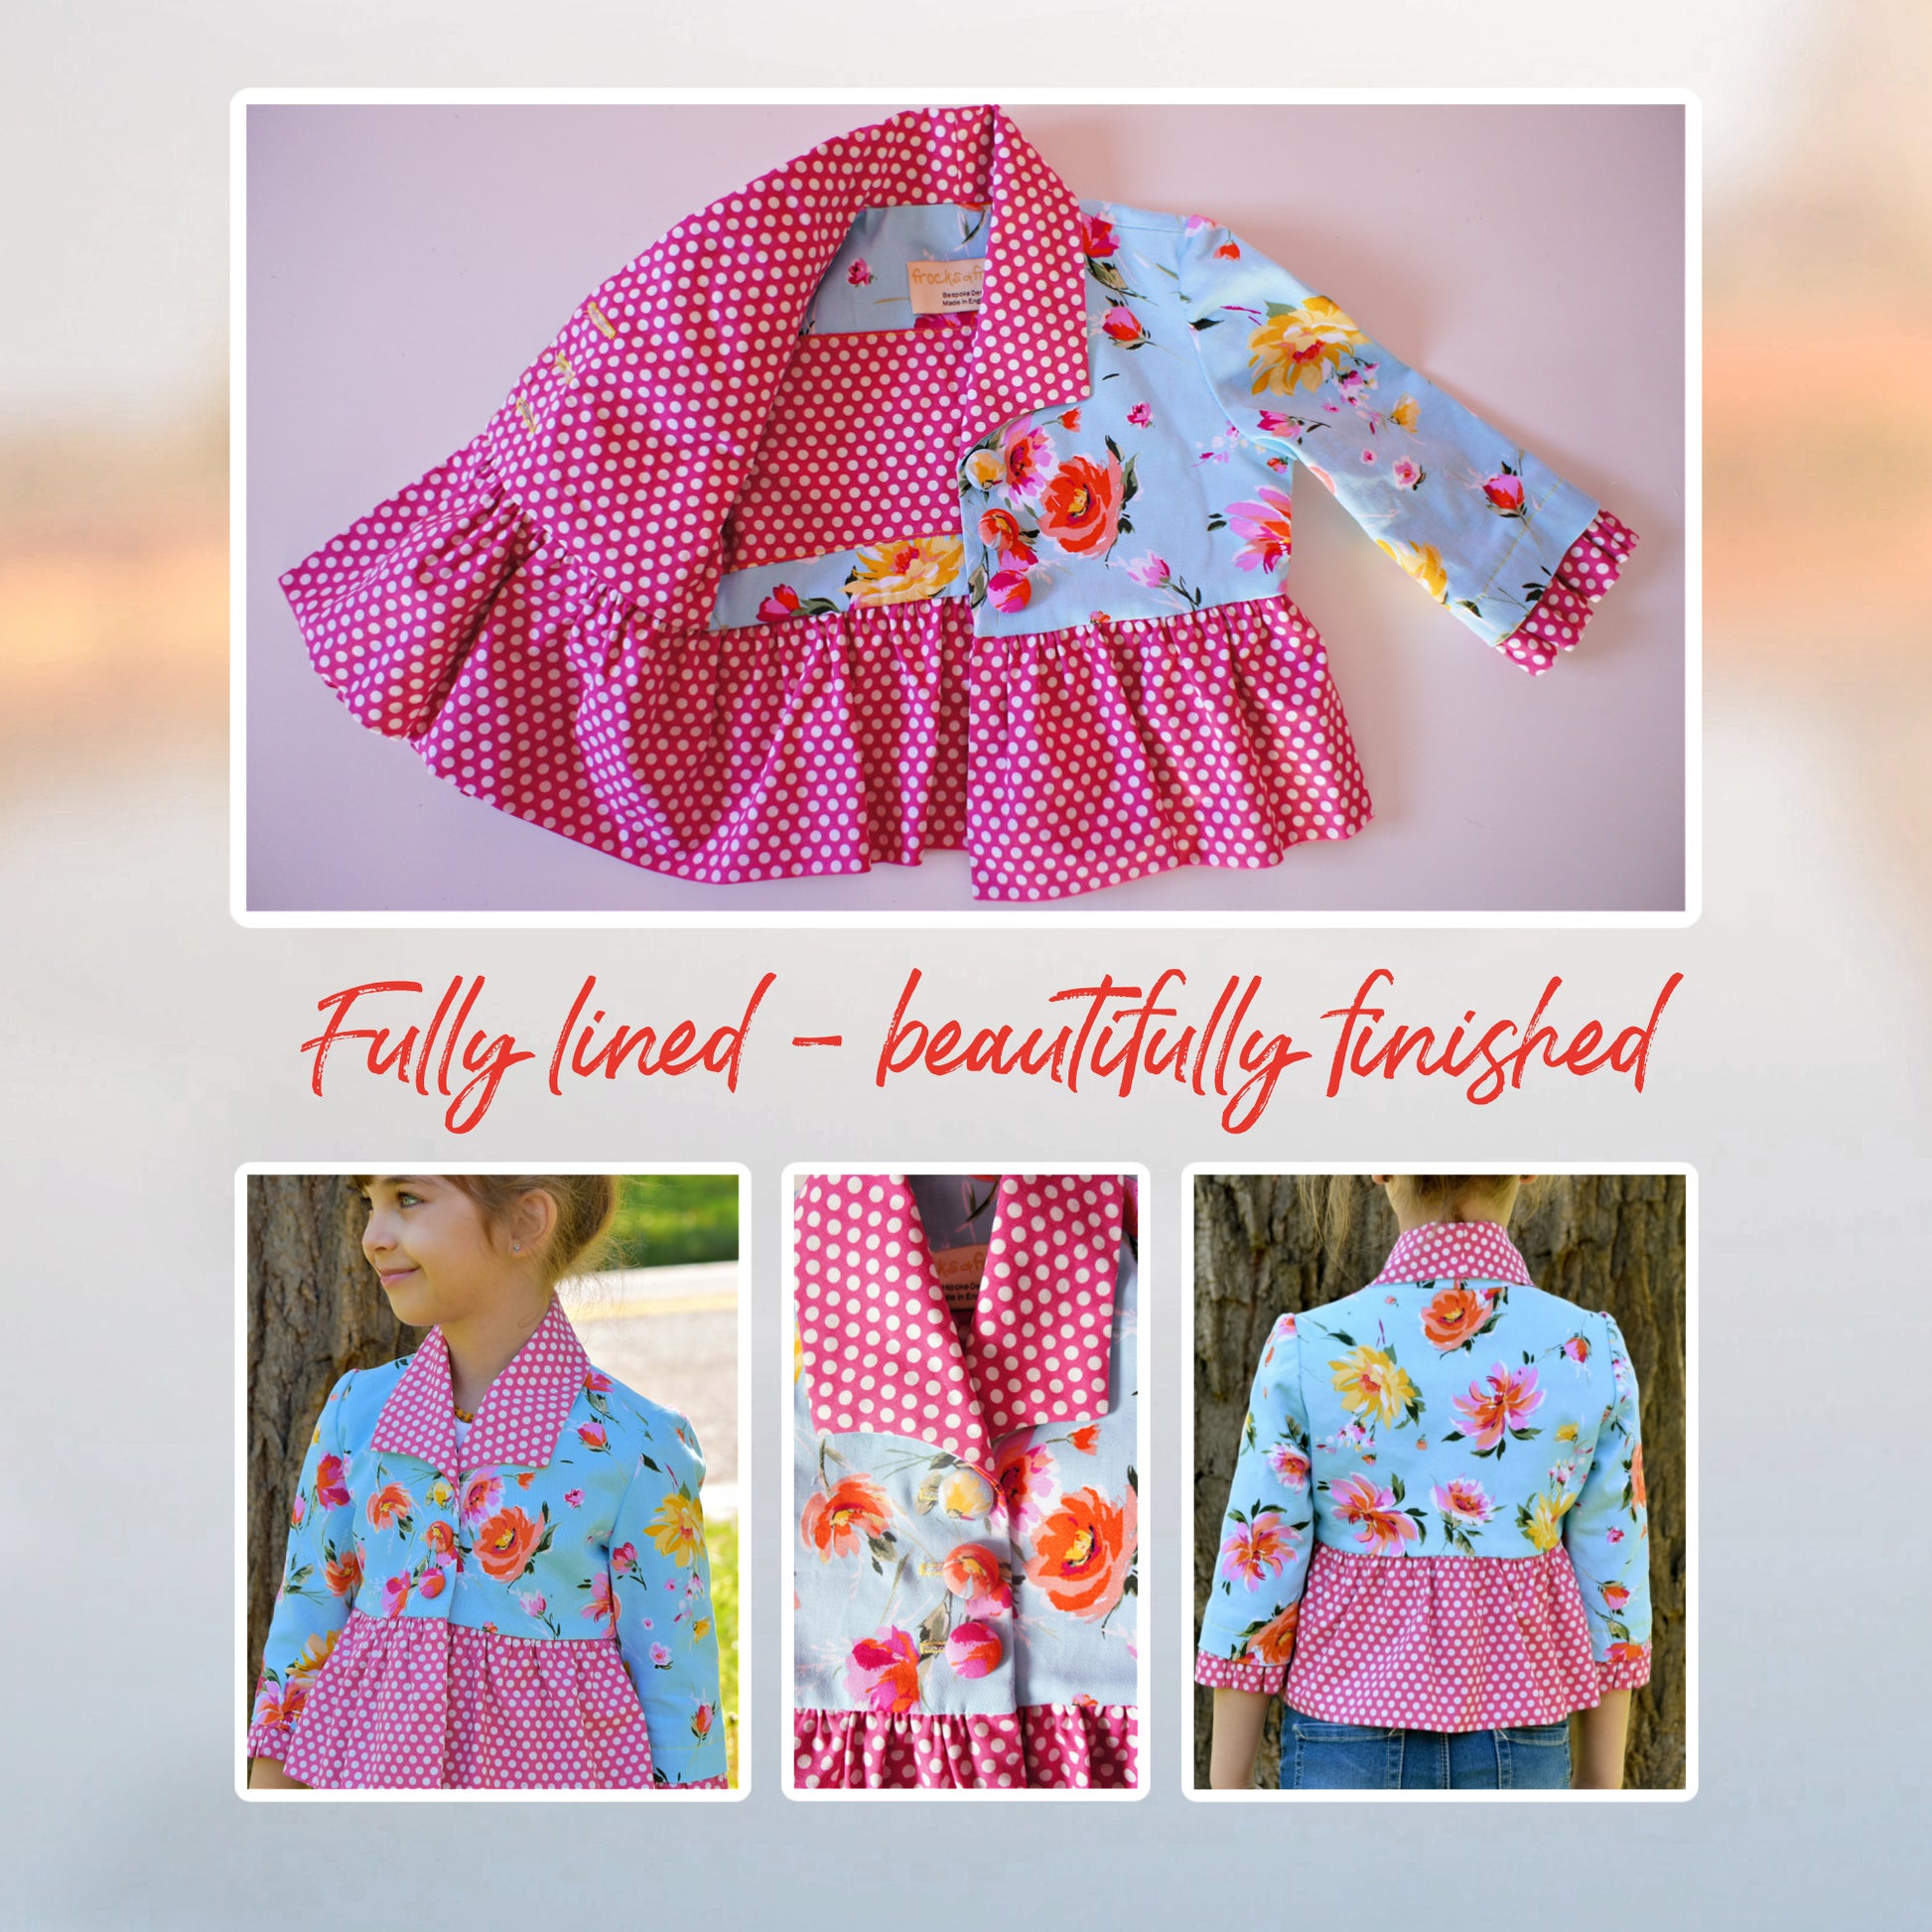
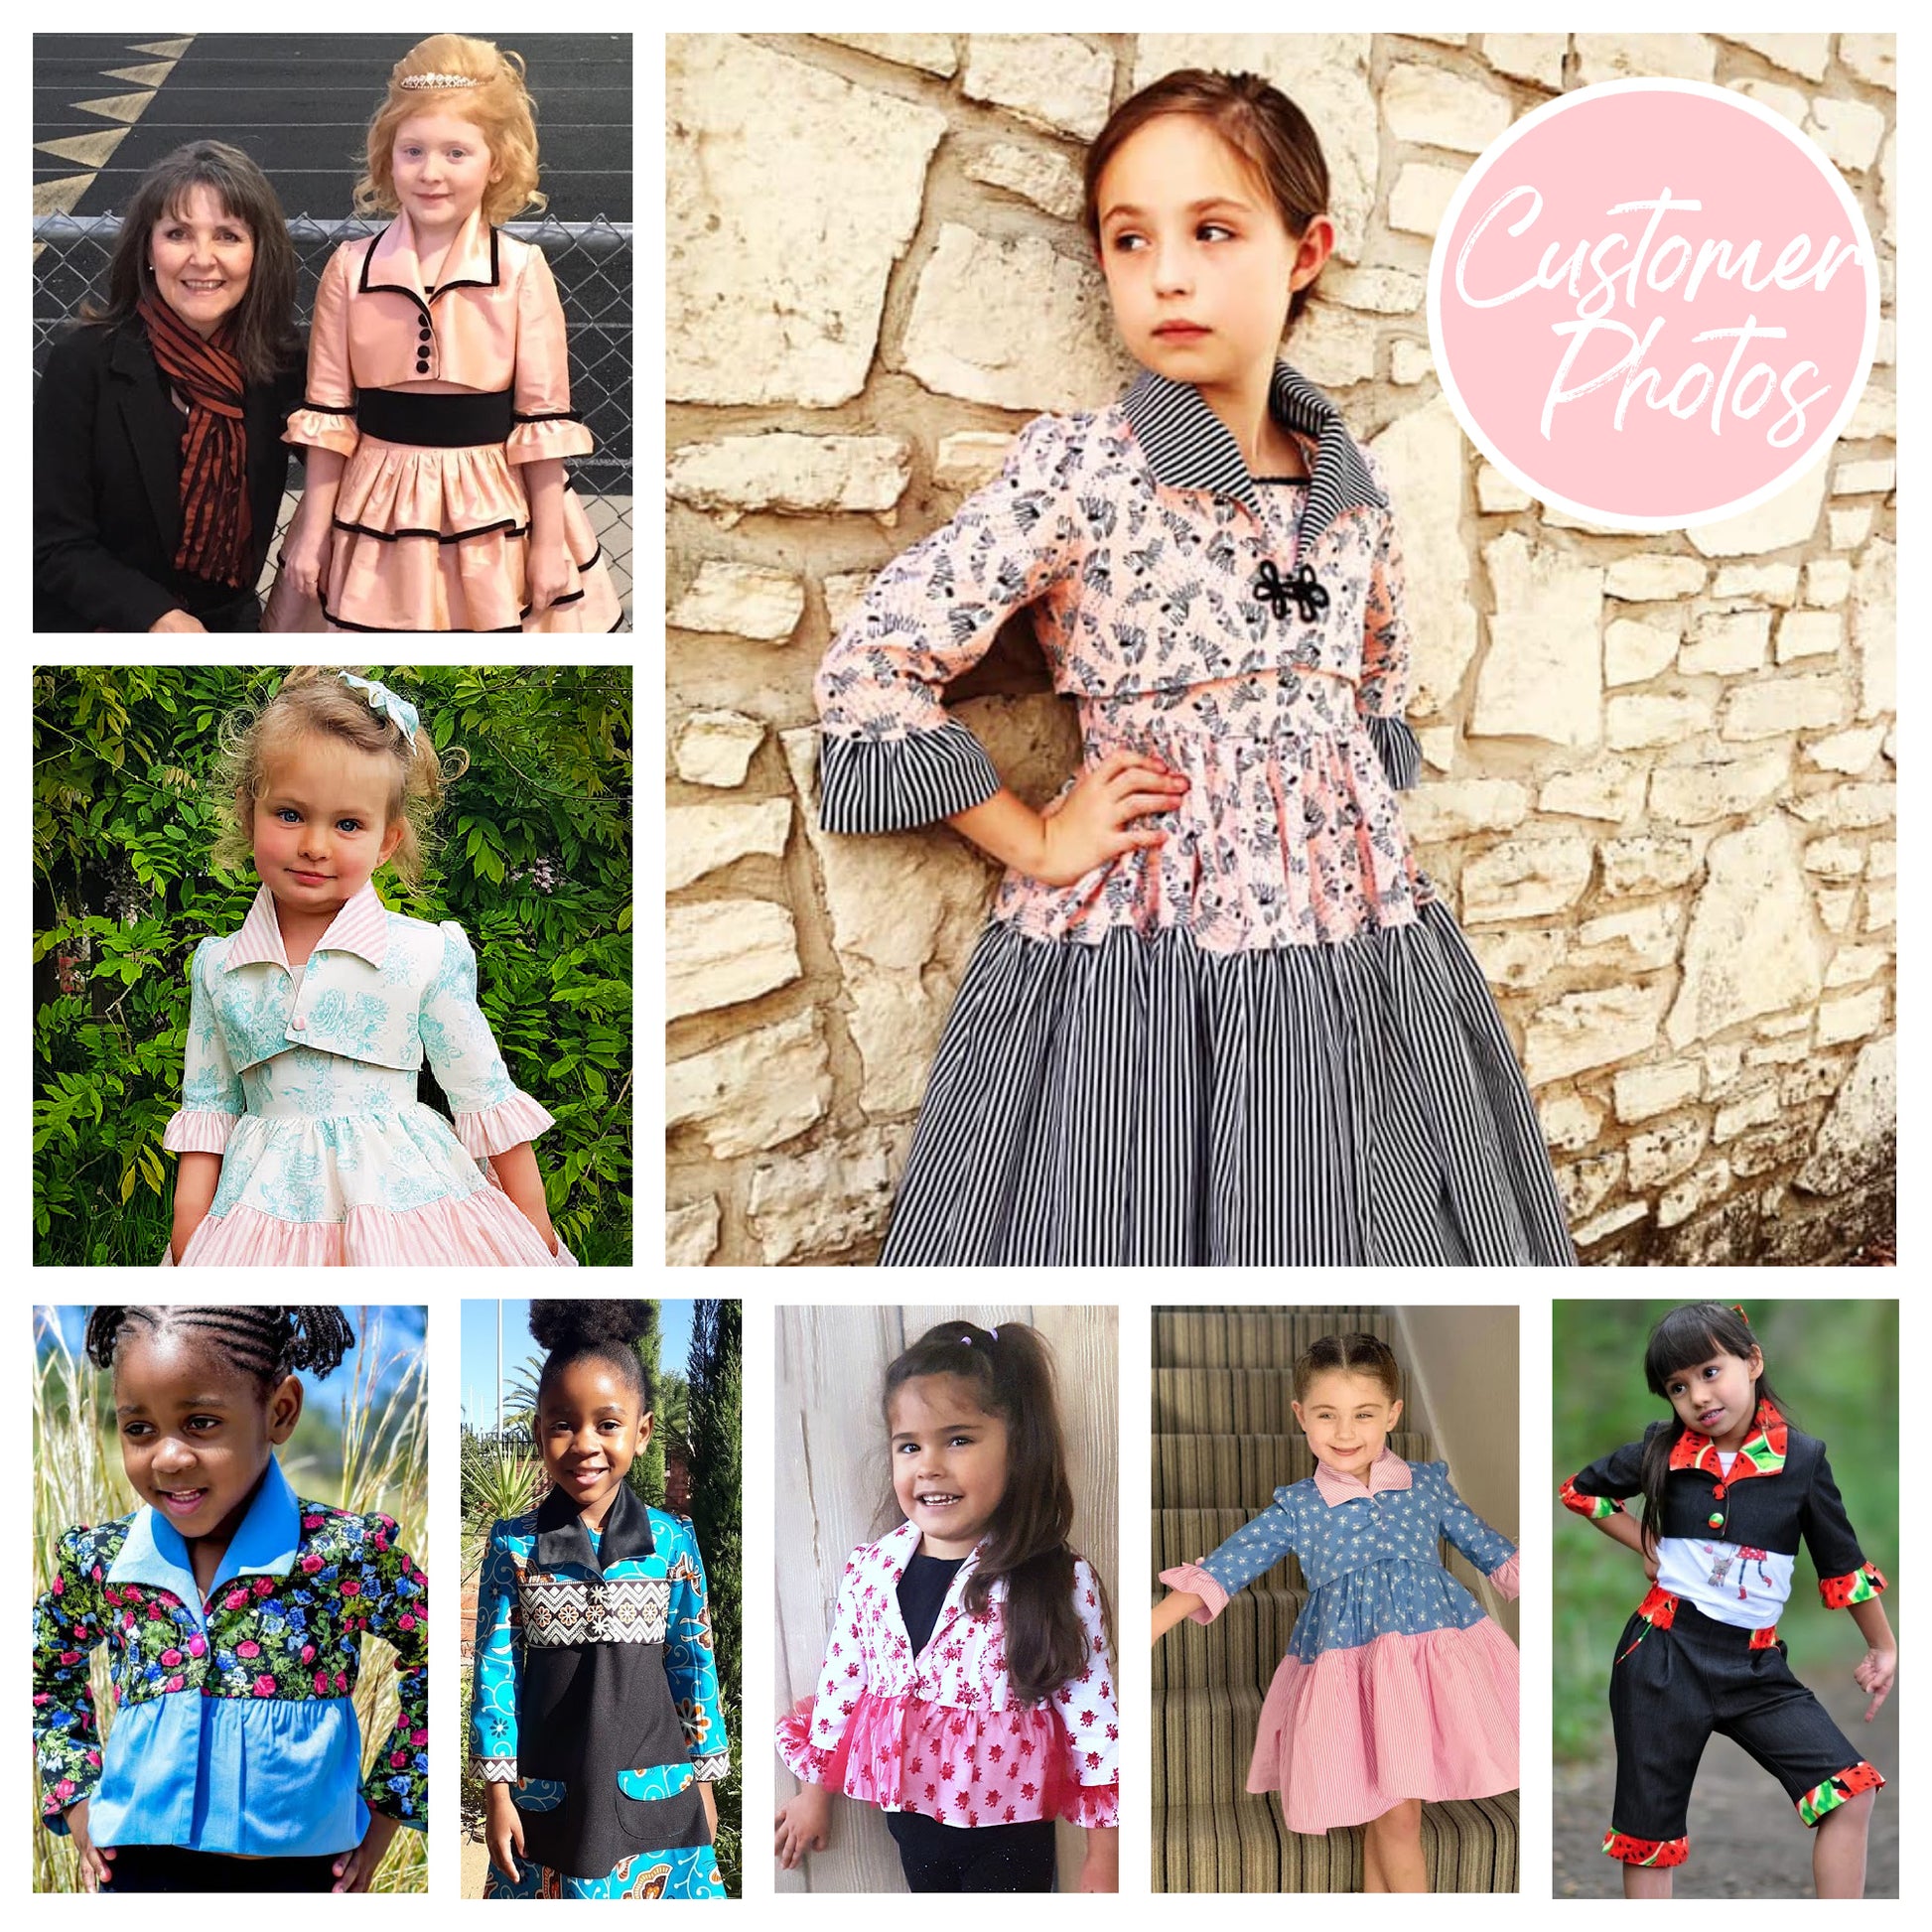
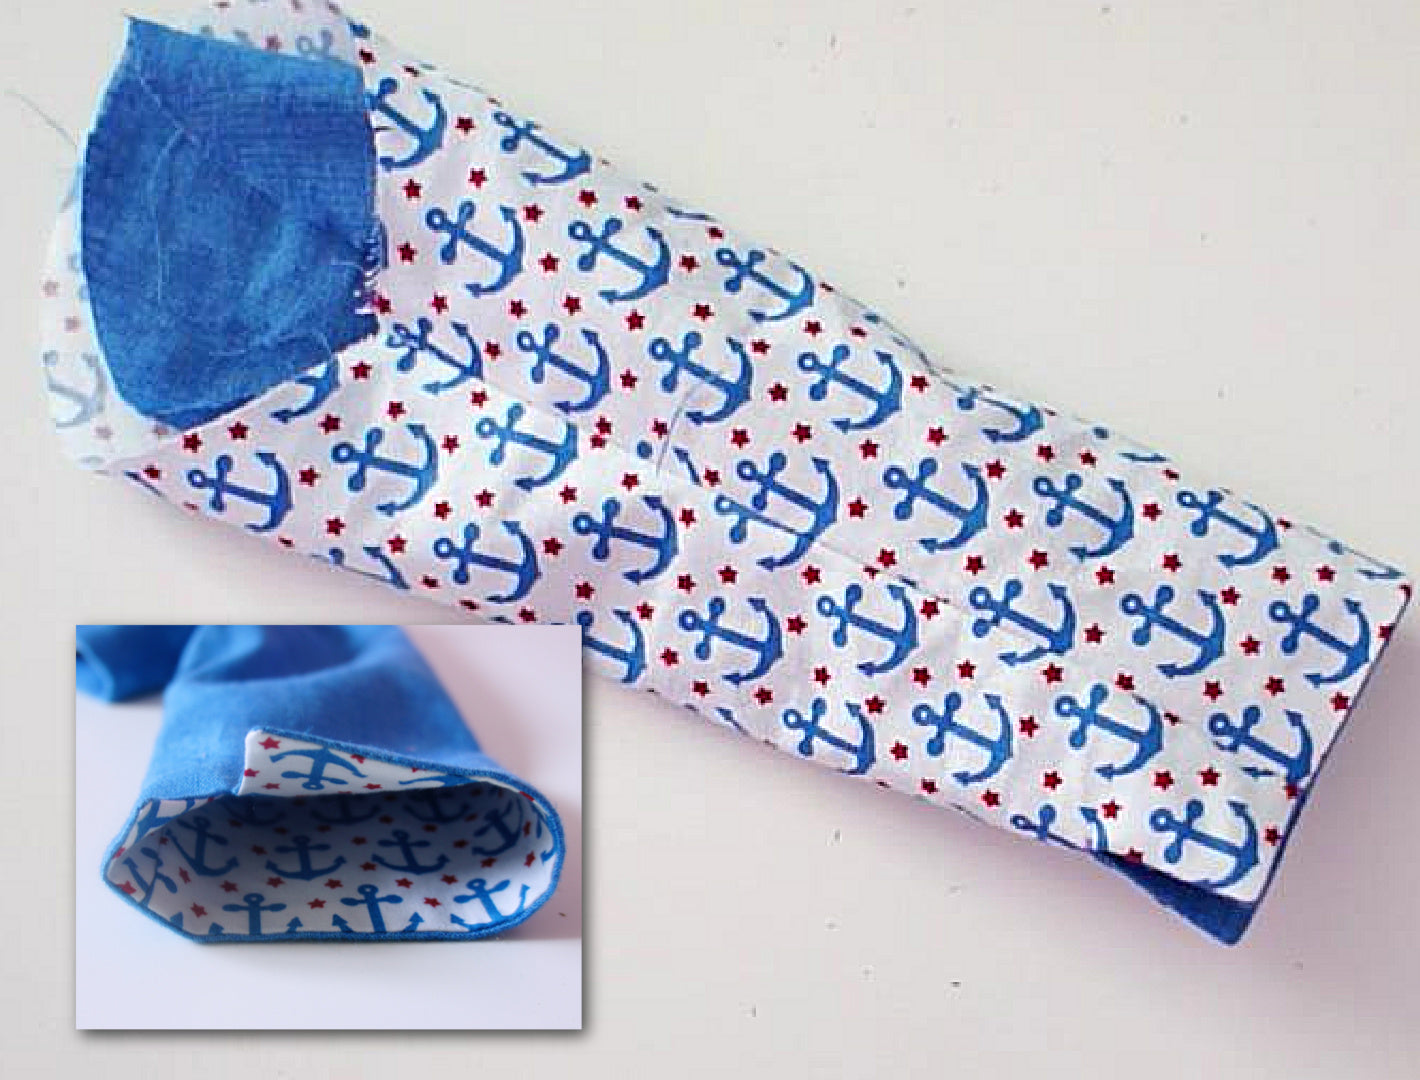
Paris is a charming girls bolero sewing pattern featuring a ¾ length sleeve with optional ruffle and beautiful shawl collar. It’s the perfect little layer for birthdays, weddings, or even school outfits with panache.
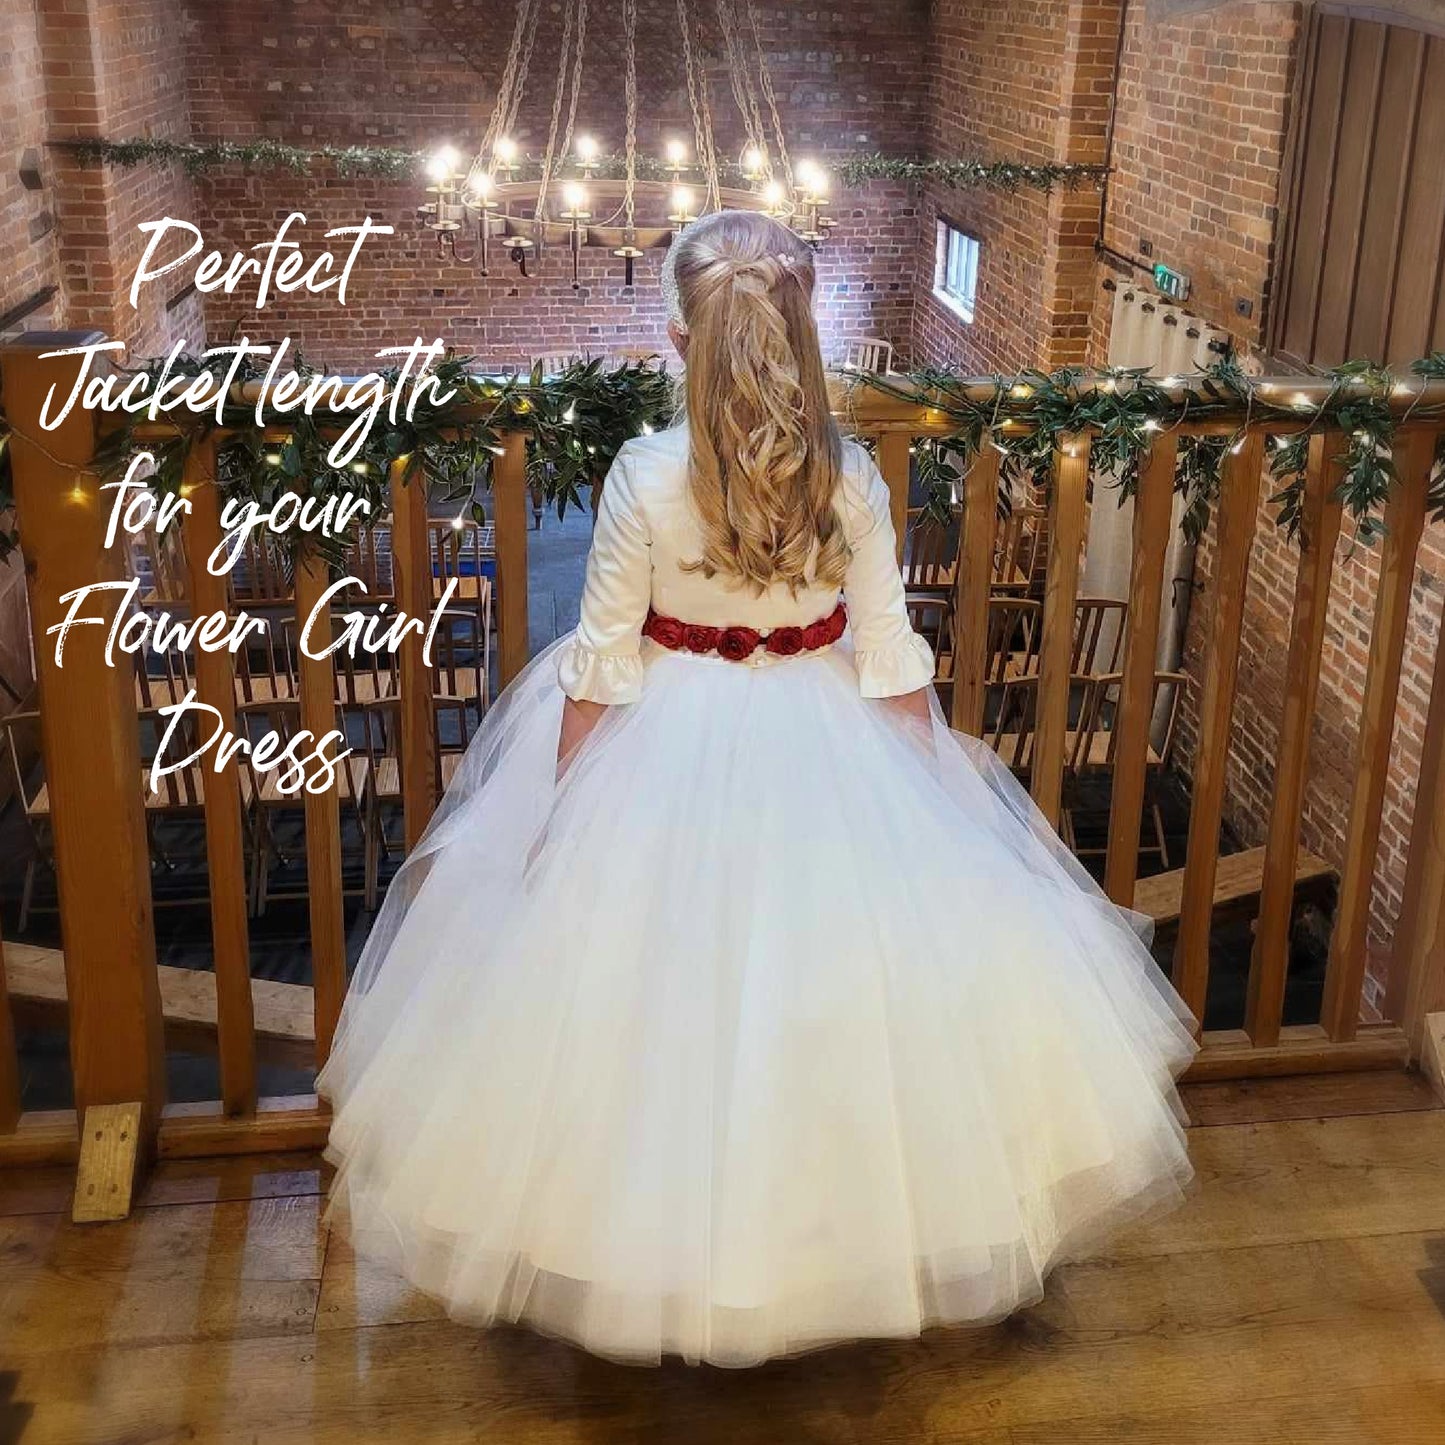
The cropped jacket slips easily over dresses and skirts as it ends just above the waist! It is fully lined, making it beautiful inside and out. It can be made out of bridal satins, taffeta, velvets or cozy wool to keep our girls warm and snug.
As always with Frocks & Frolics, Marina’s full video tutorial walks you through every step — just scroll down and start watching.
Pattern Download Includes
Pattern Download Includes
Design Options
Design Options
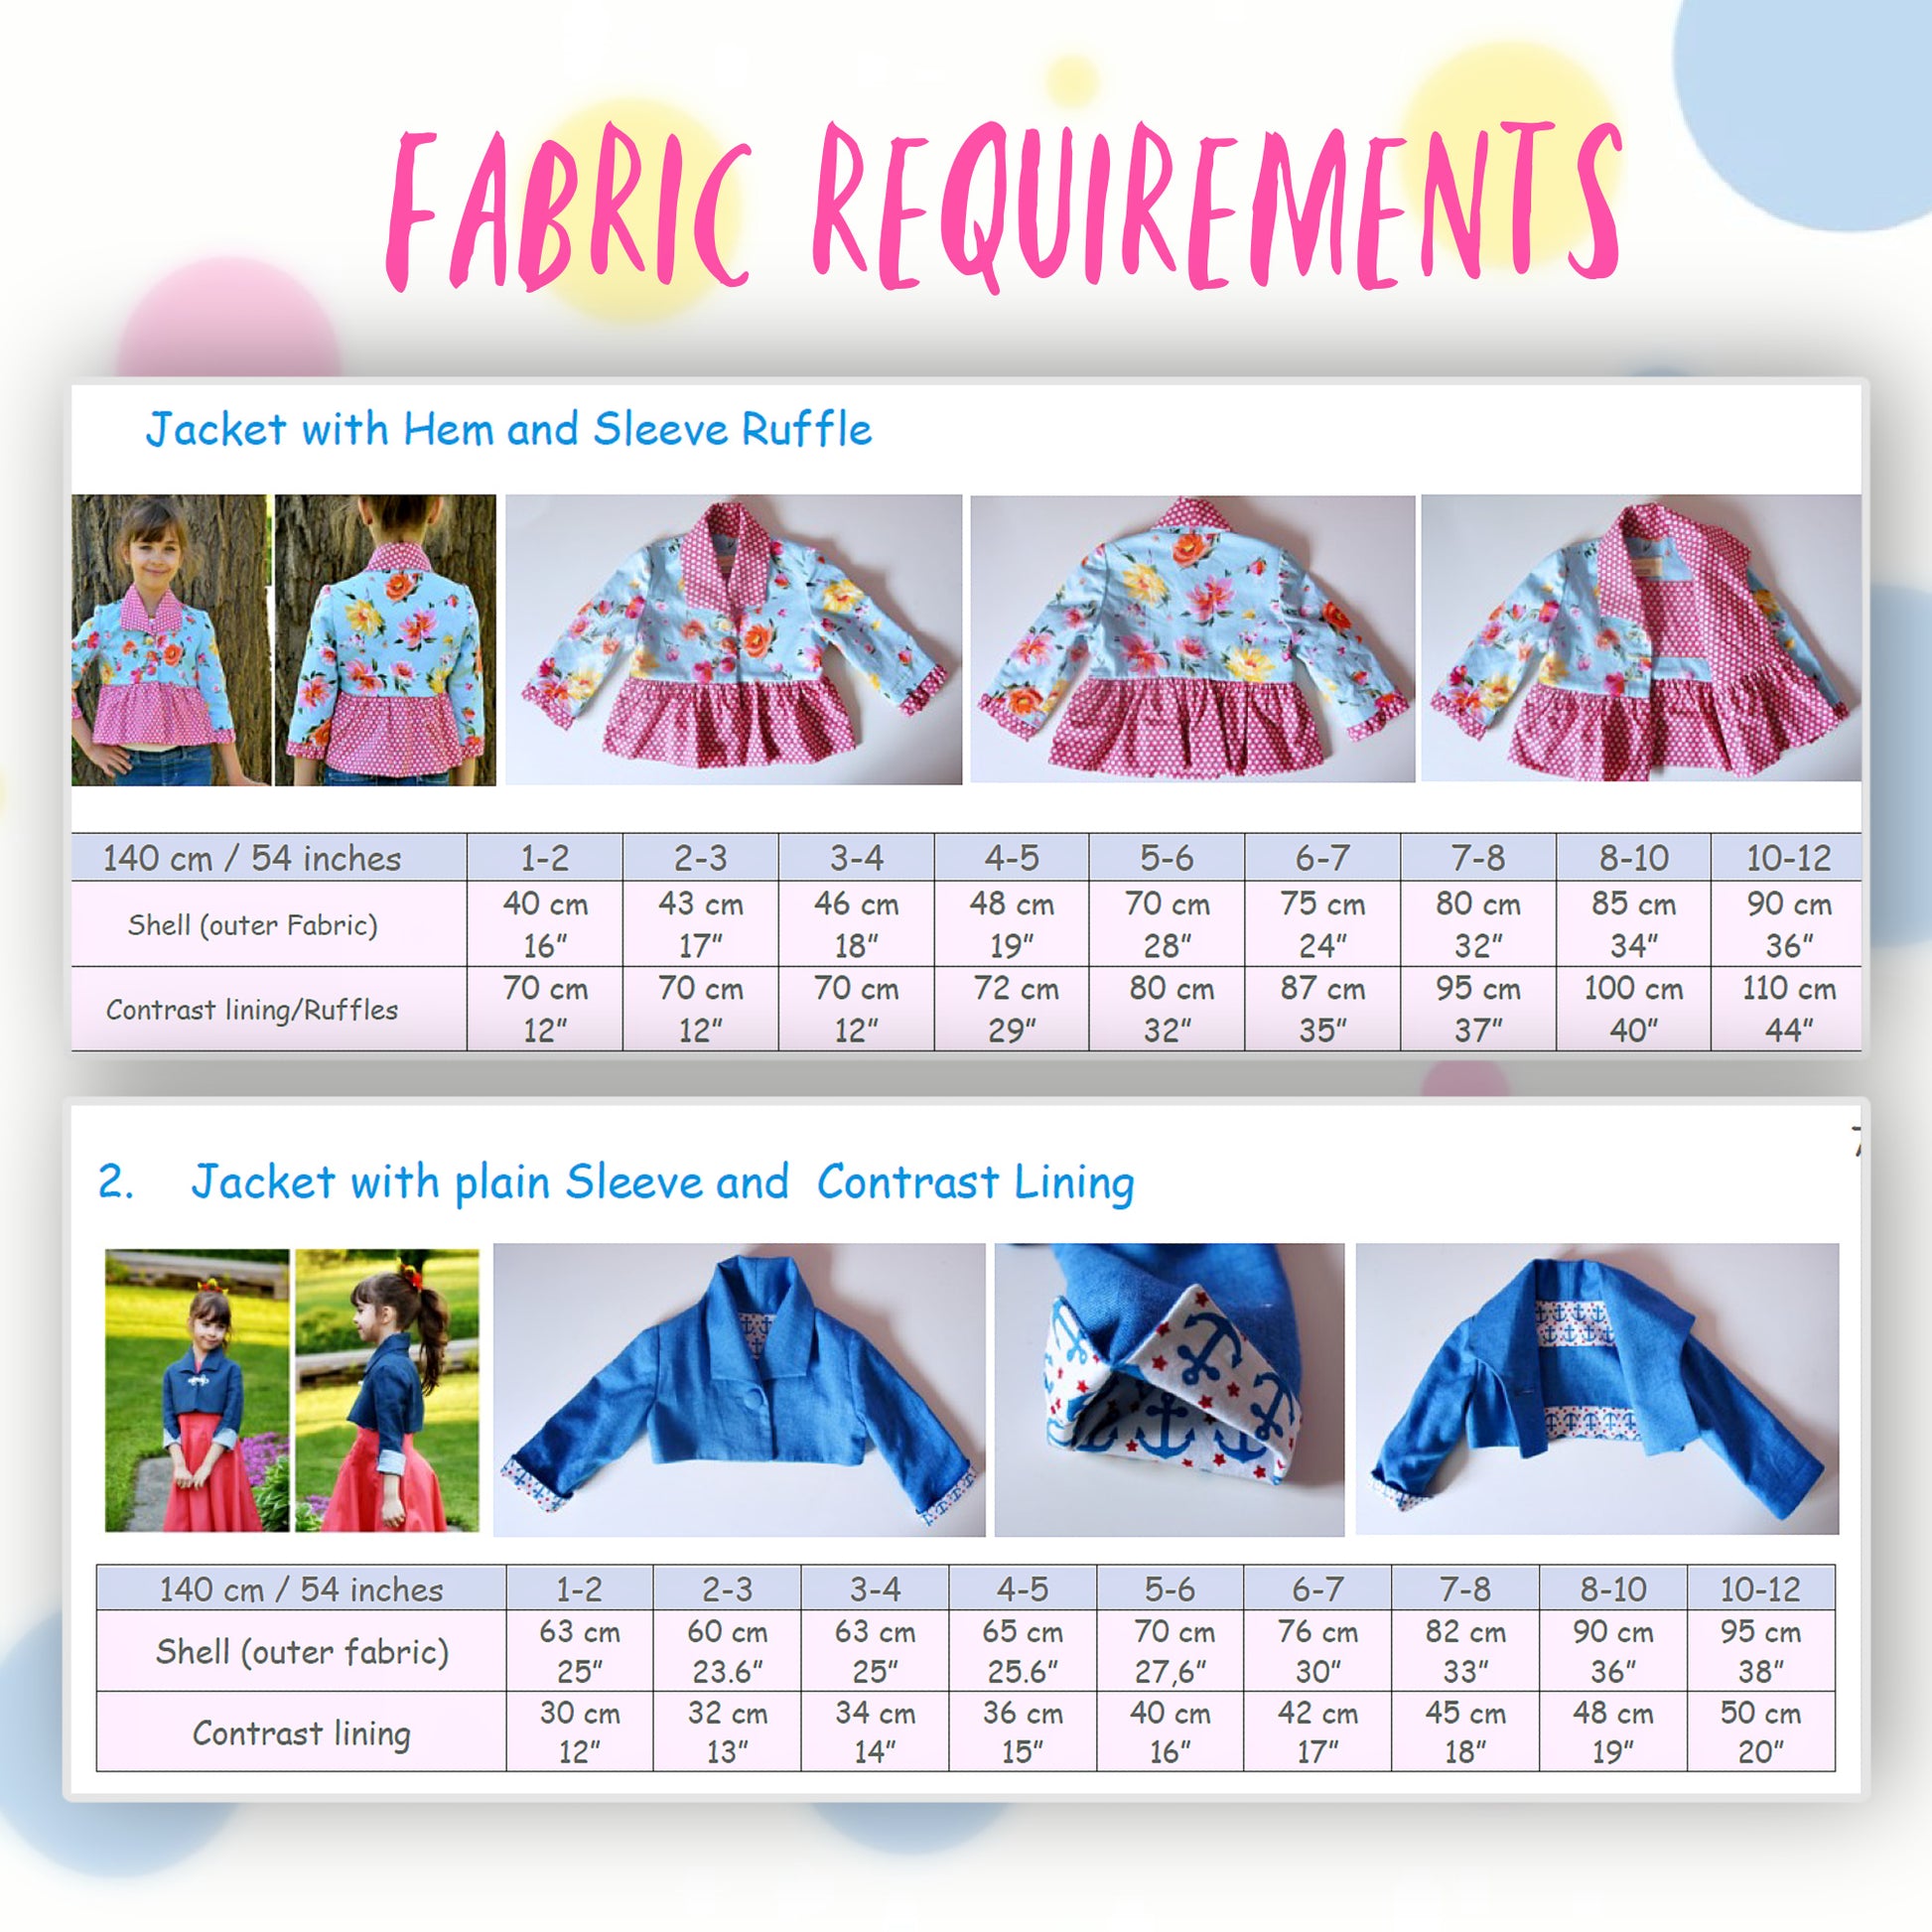
Fabric Requirements
Fabric Requirements
Available Sizes
Available Sizes
Please Read
Please Read


STEP-BY-STEP VIDEO TUTORIALS
INTRODUCTION TO THE PROJECT
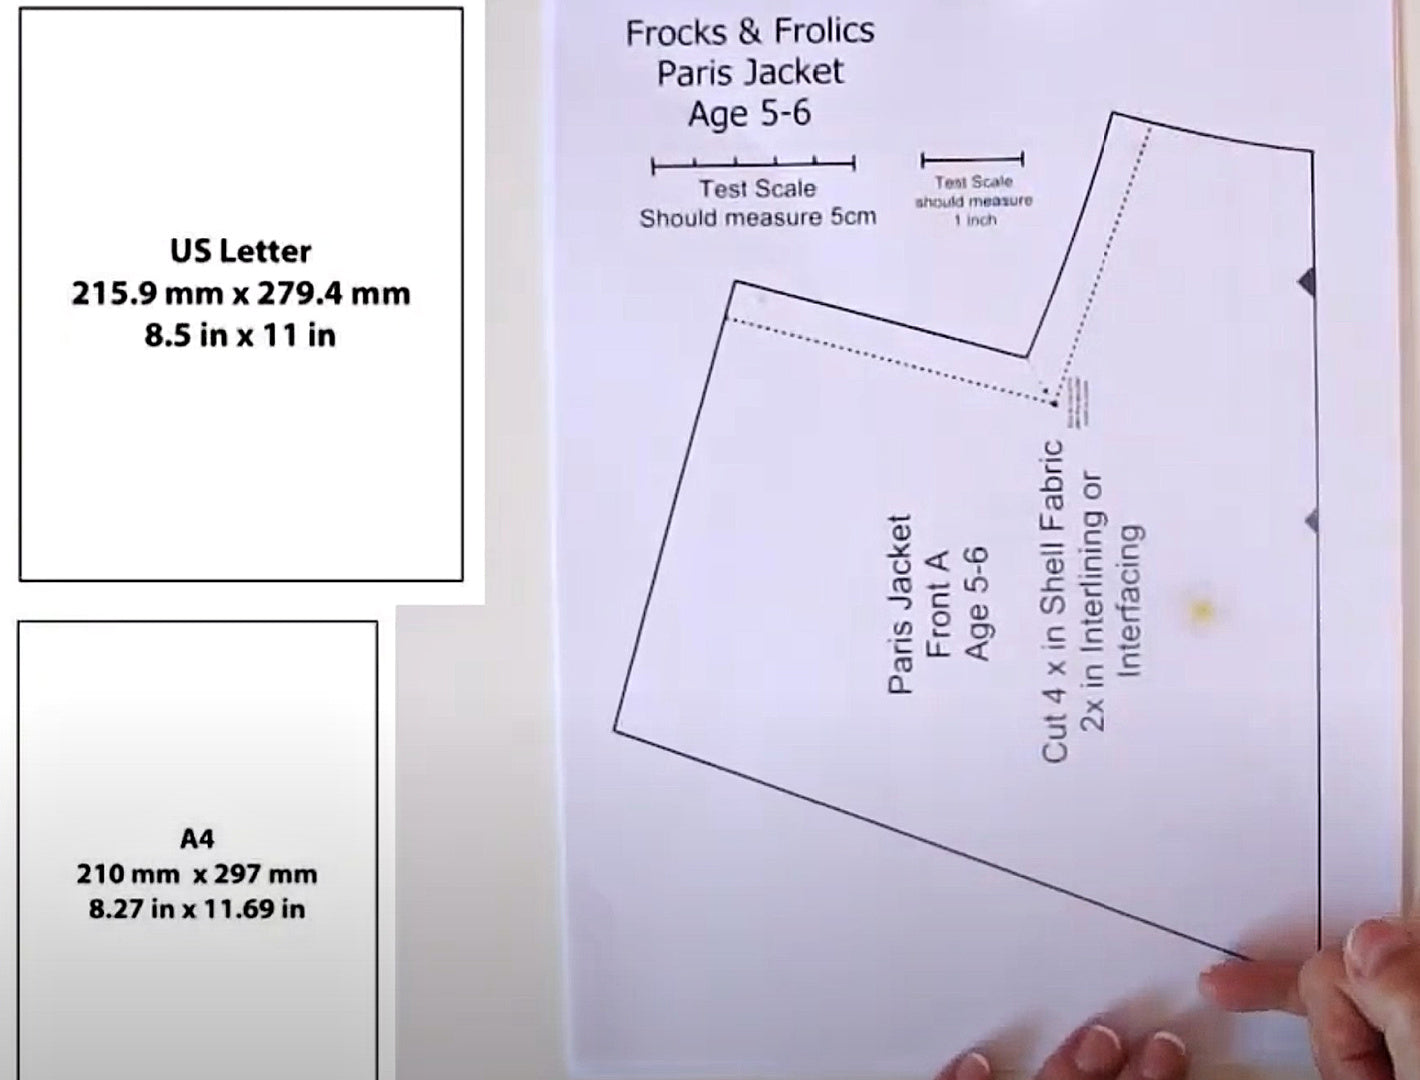
YOUR PATTERN
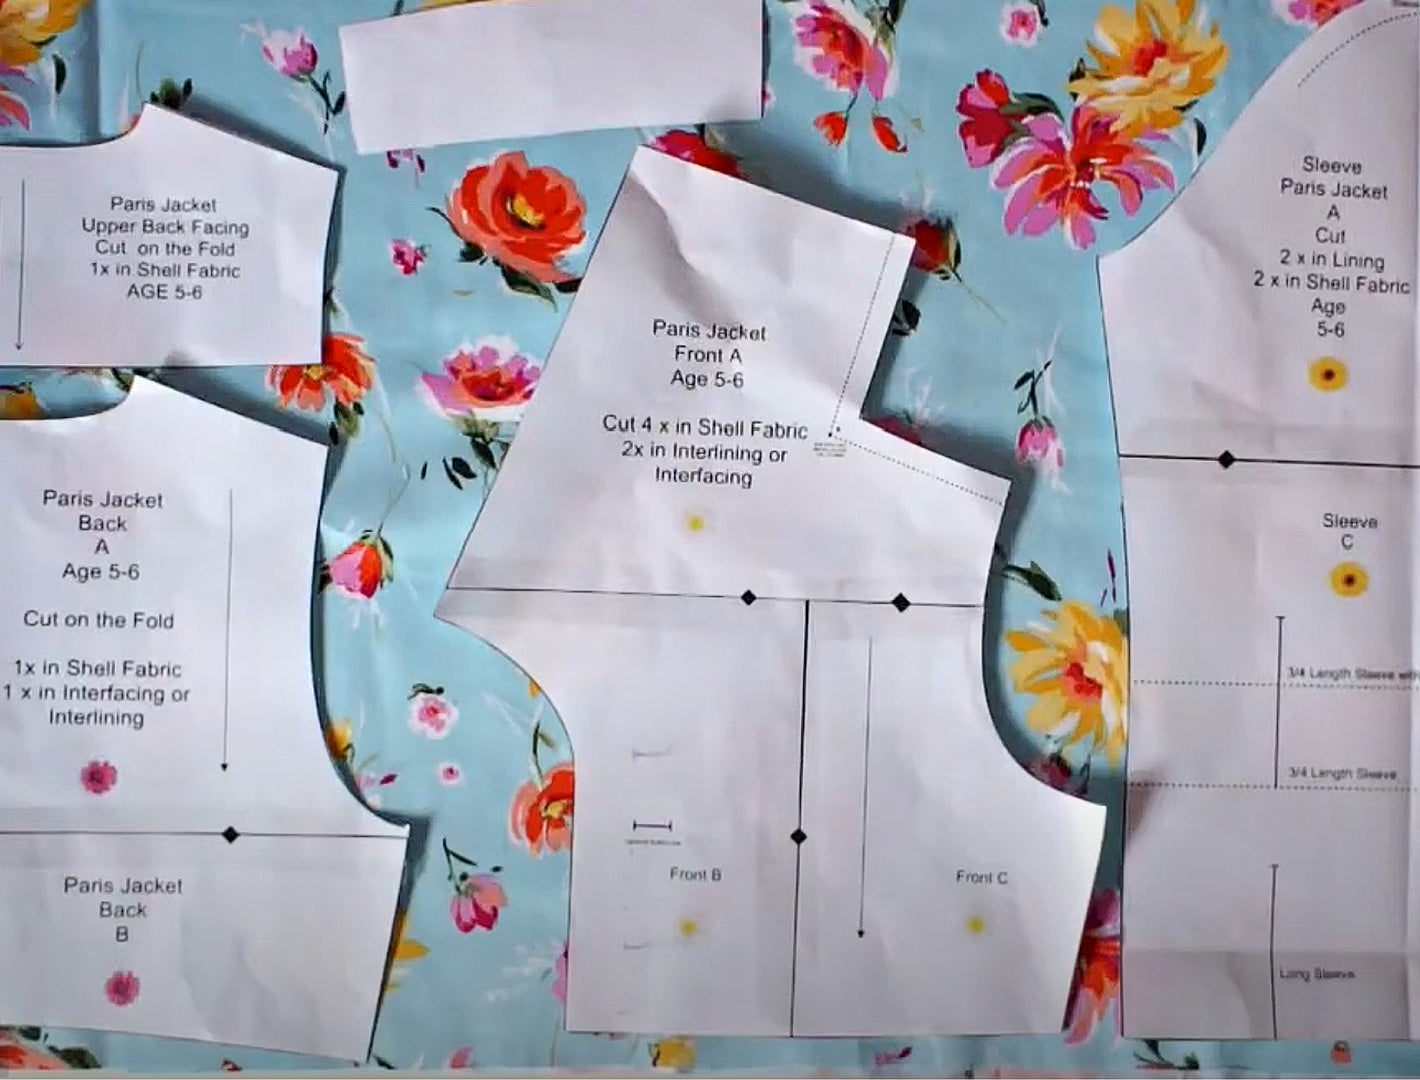
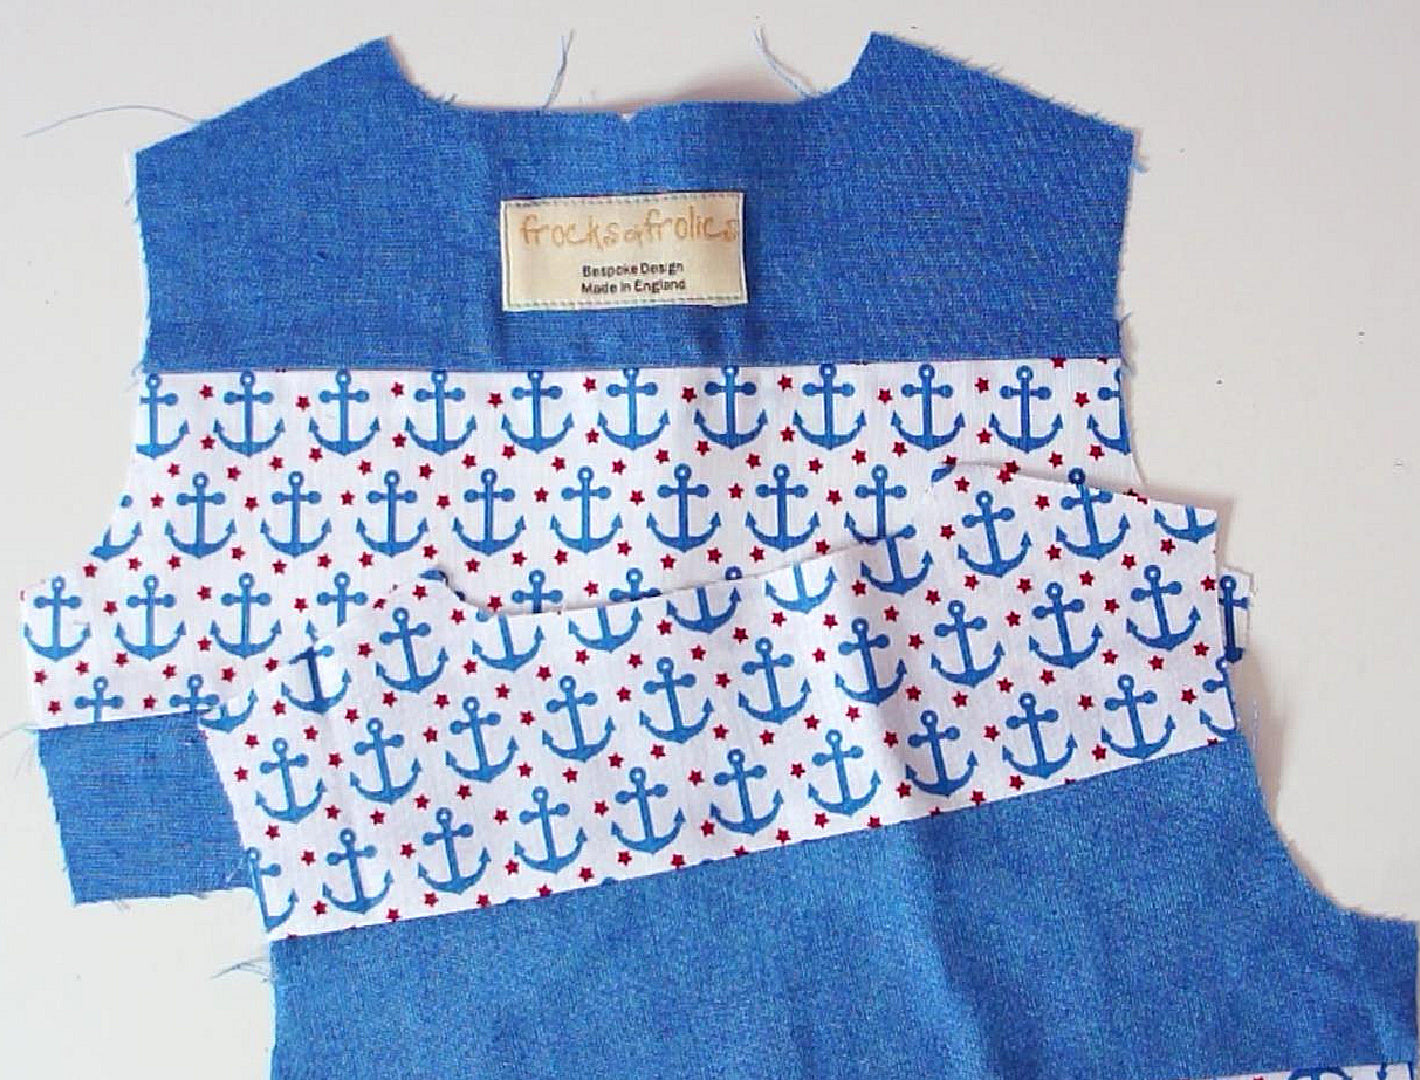
CUTTING OUT
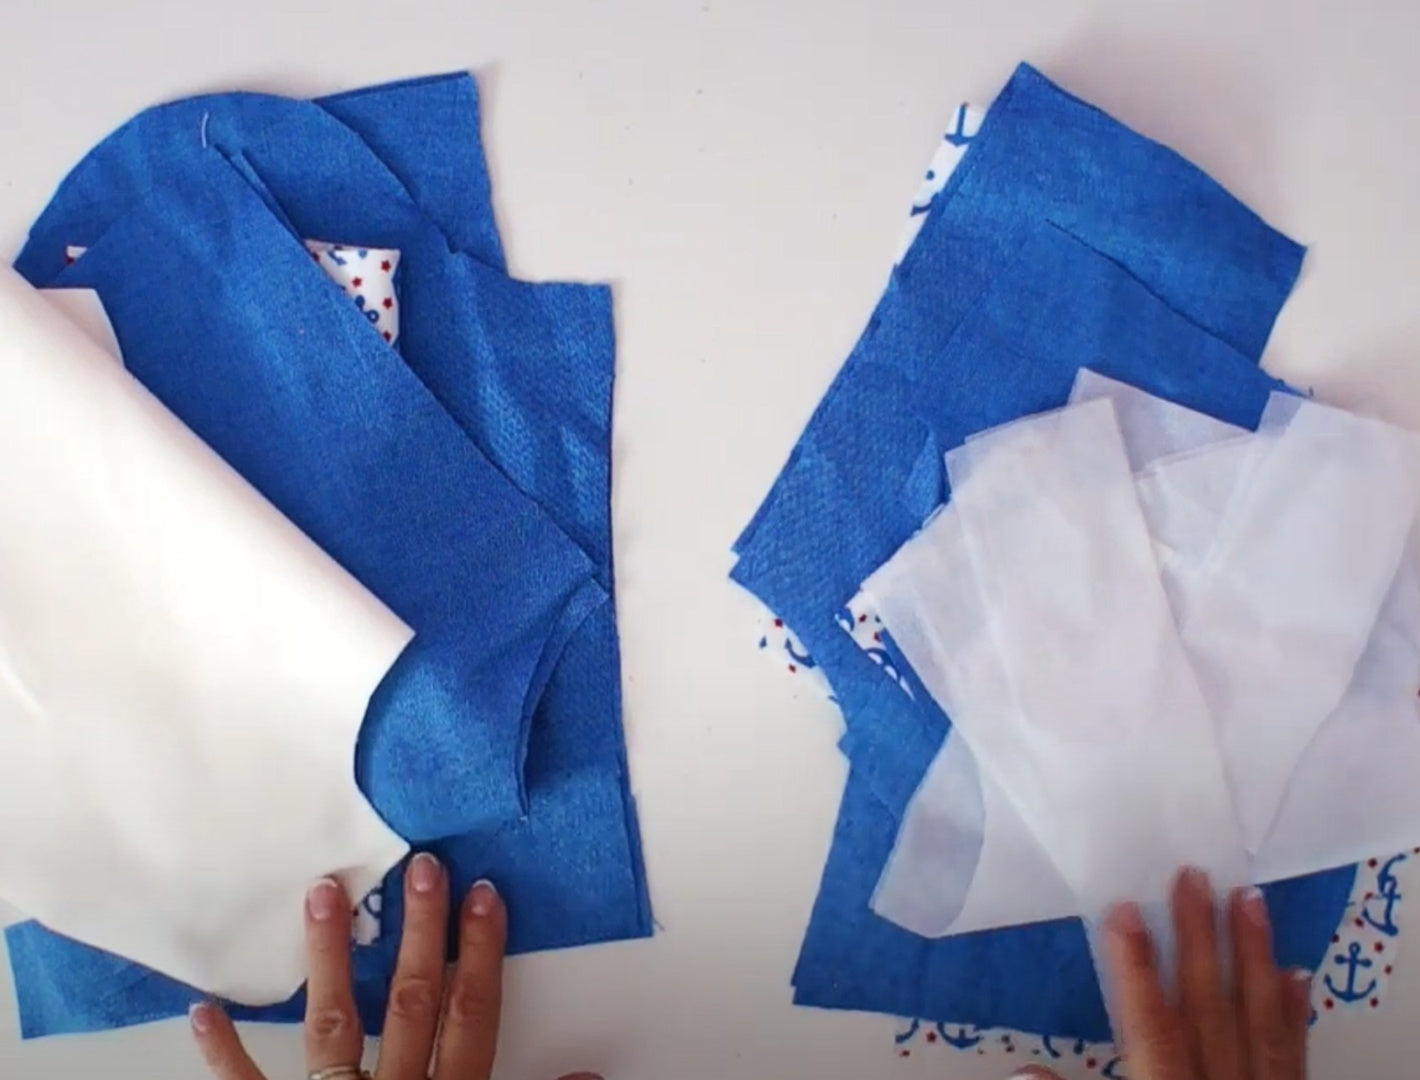
INTERFACING OR INTERLINING?

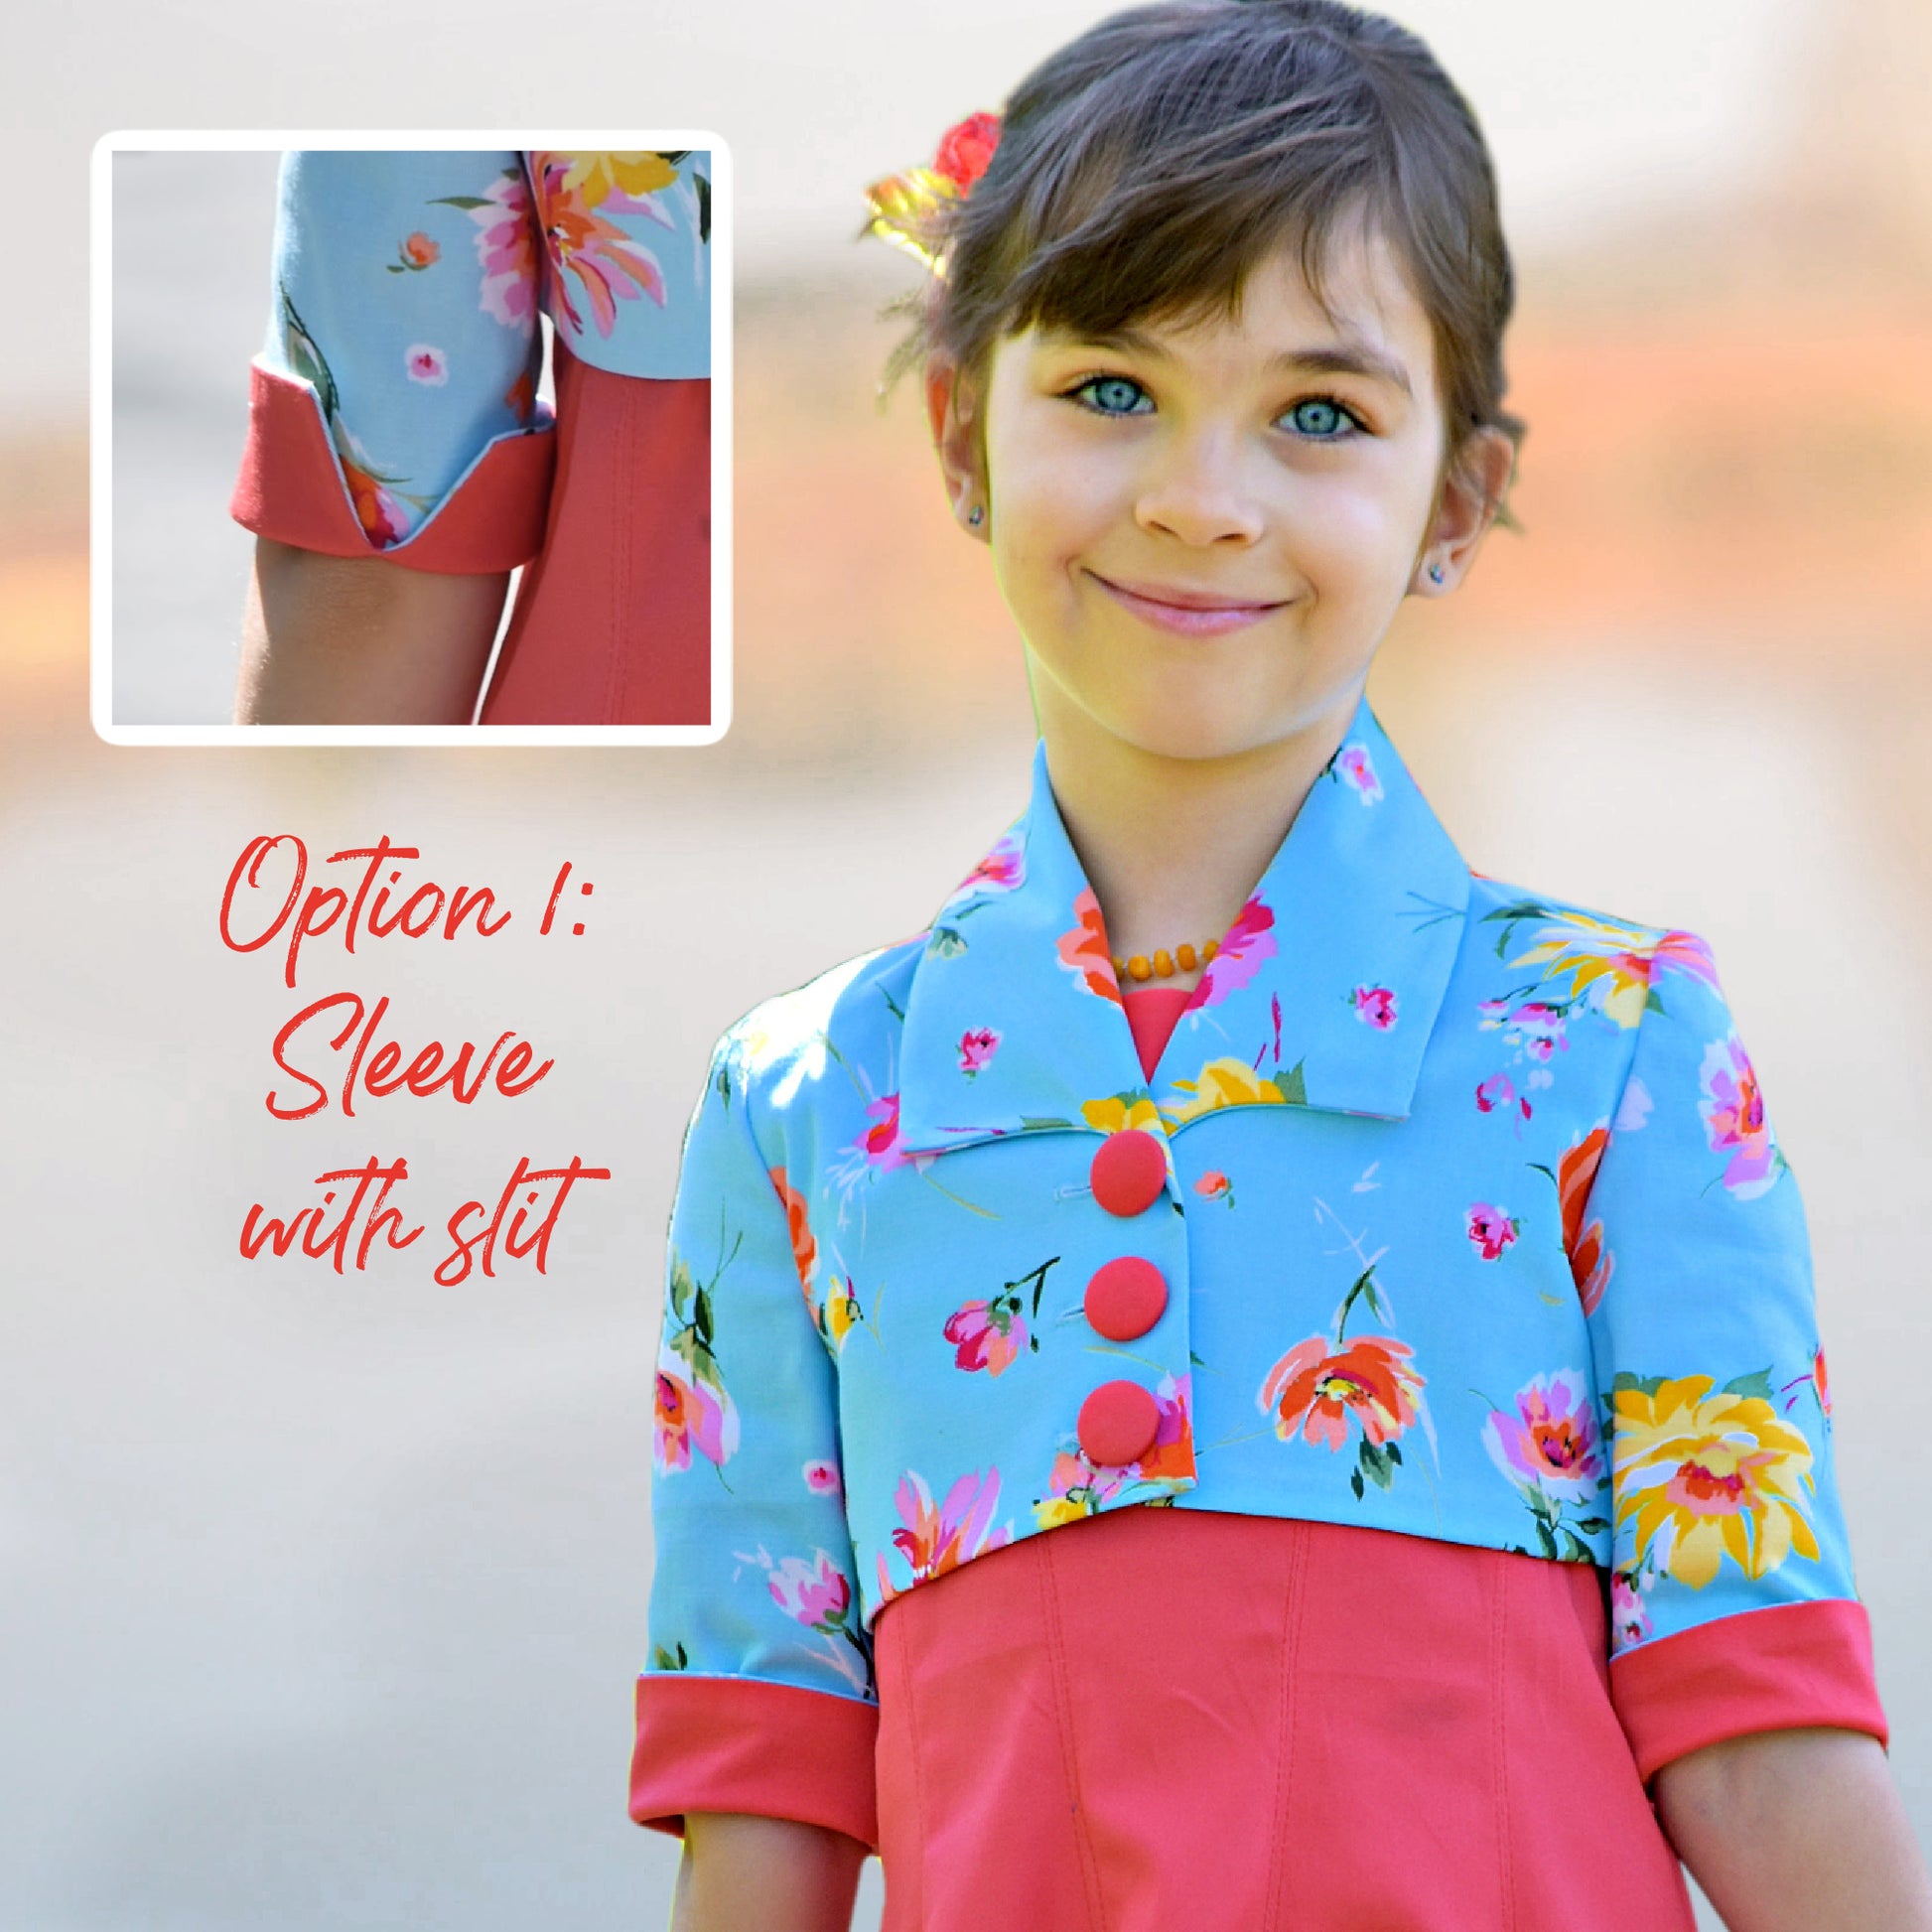
OPTION 1: LONG SLEEVE WITH SLIT
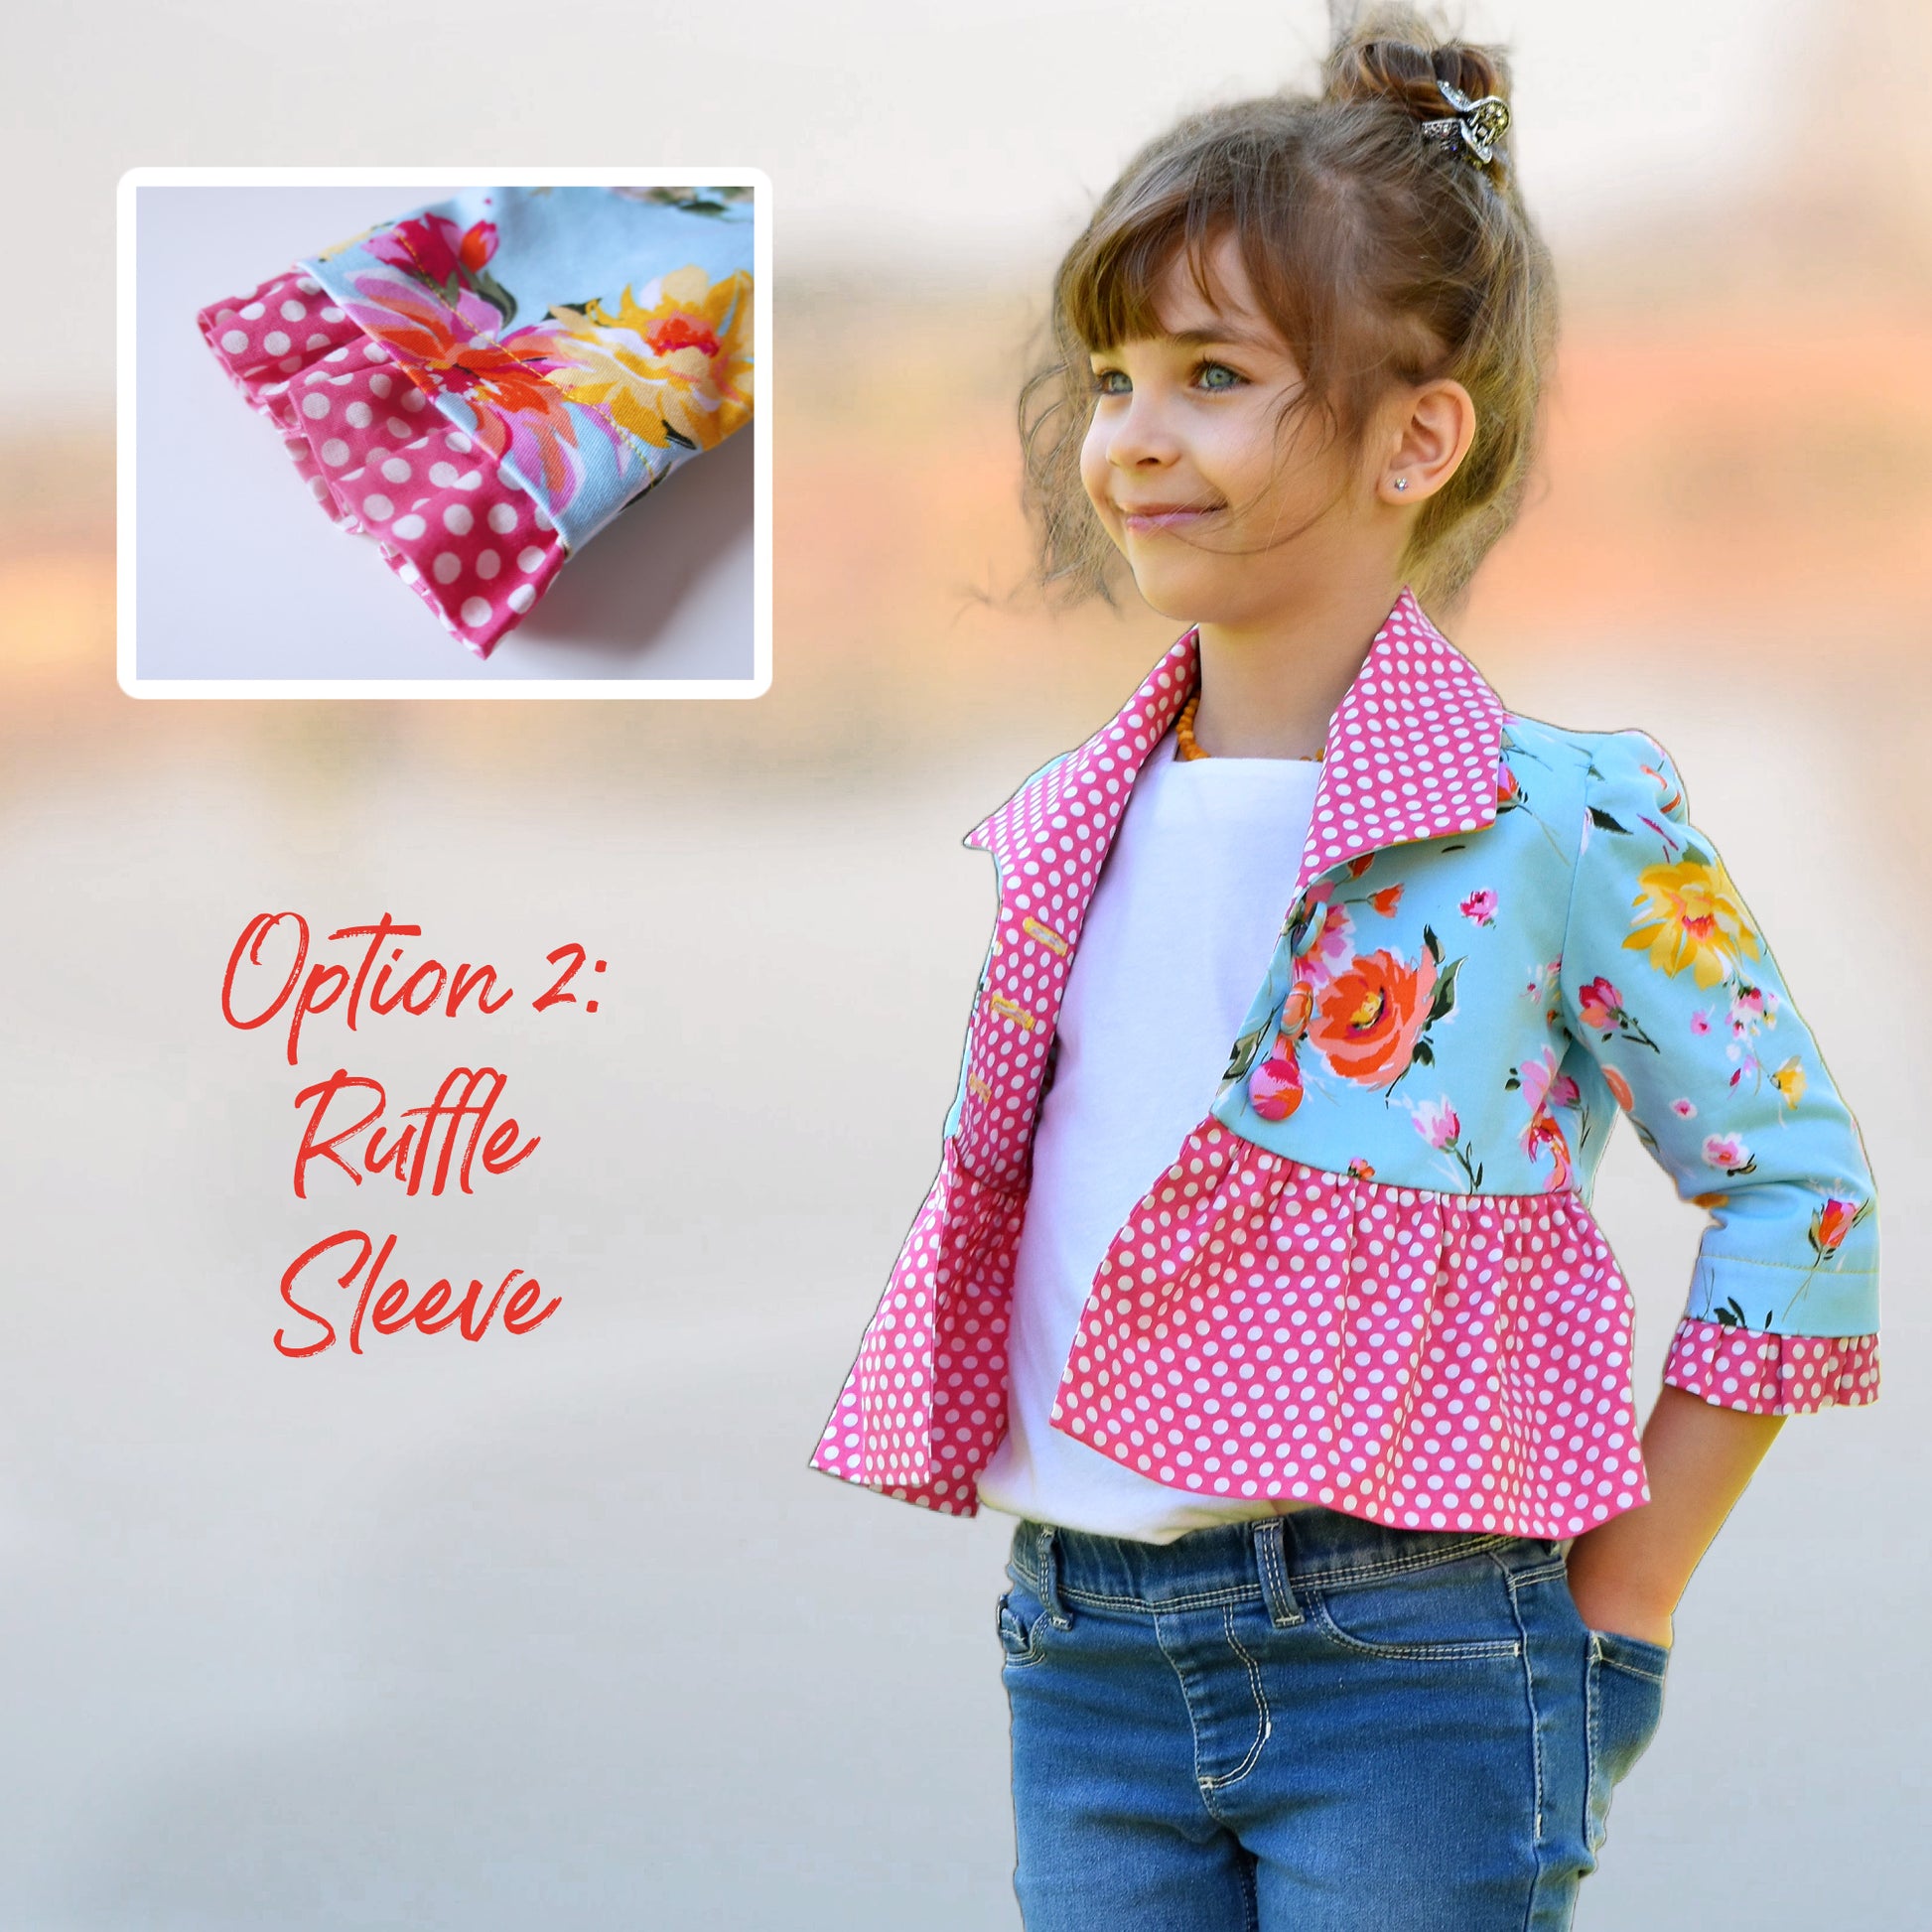
OPTION 2: 3/4 LENGTH SLEEVE WITH RUFFLE
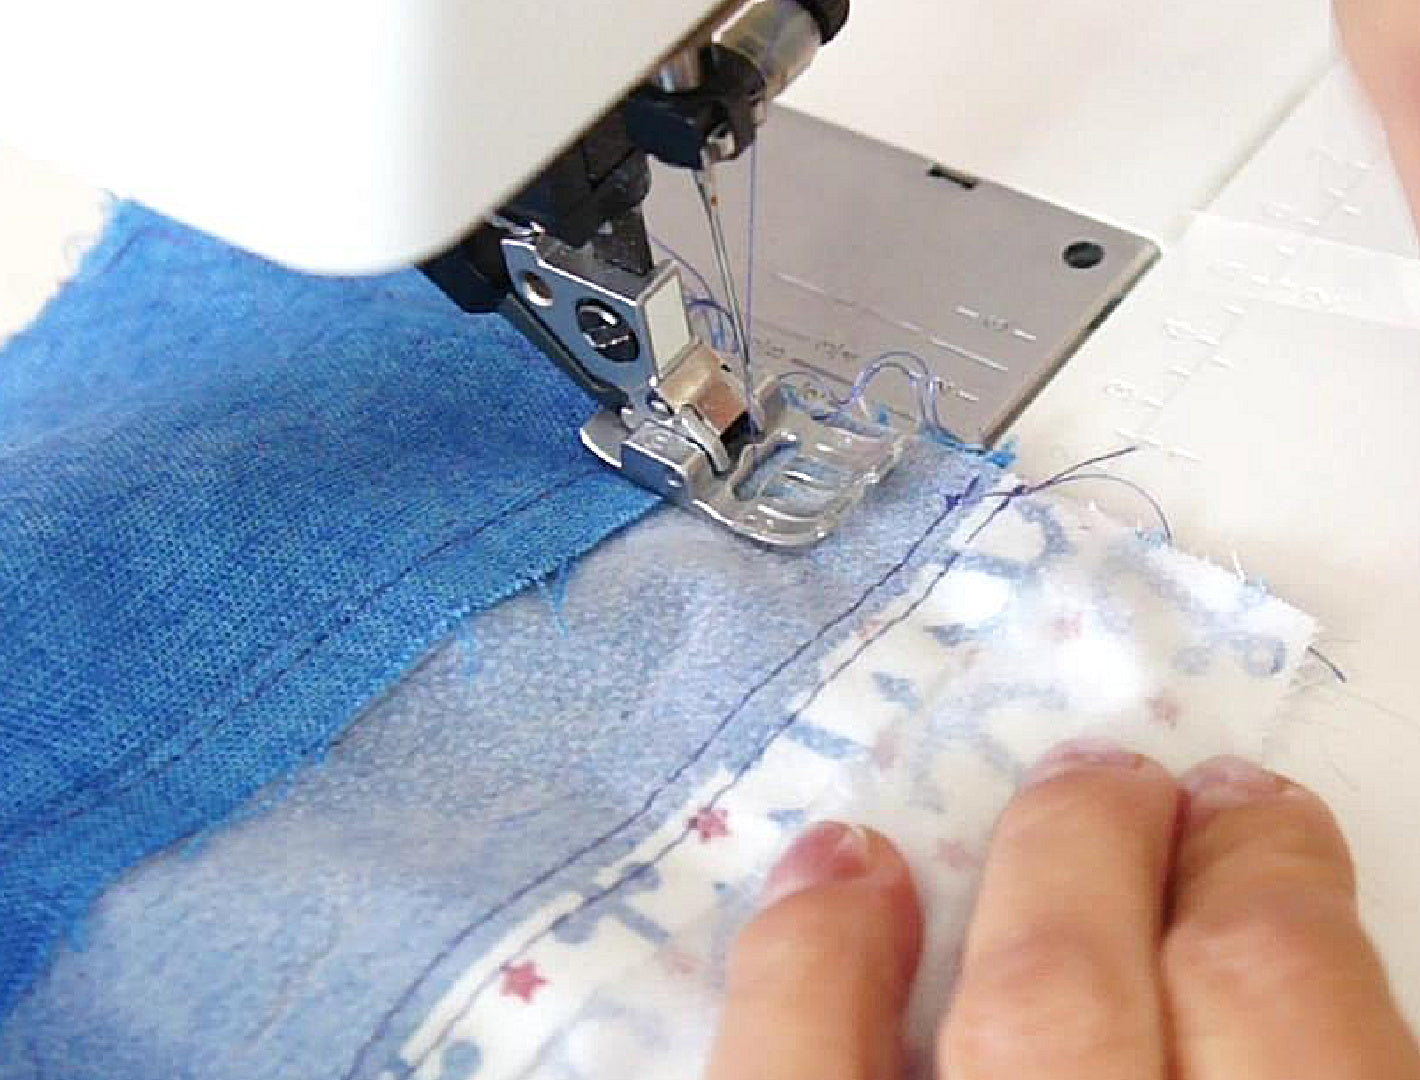
SEWING THE BACK LINING TOGETHER

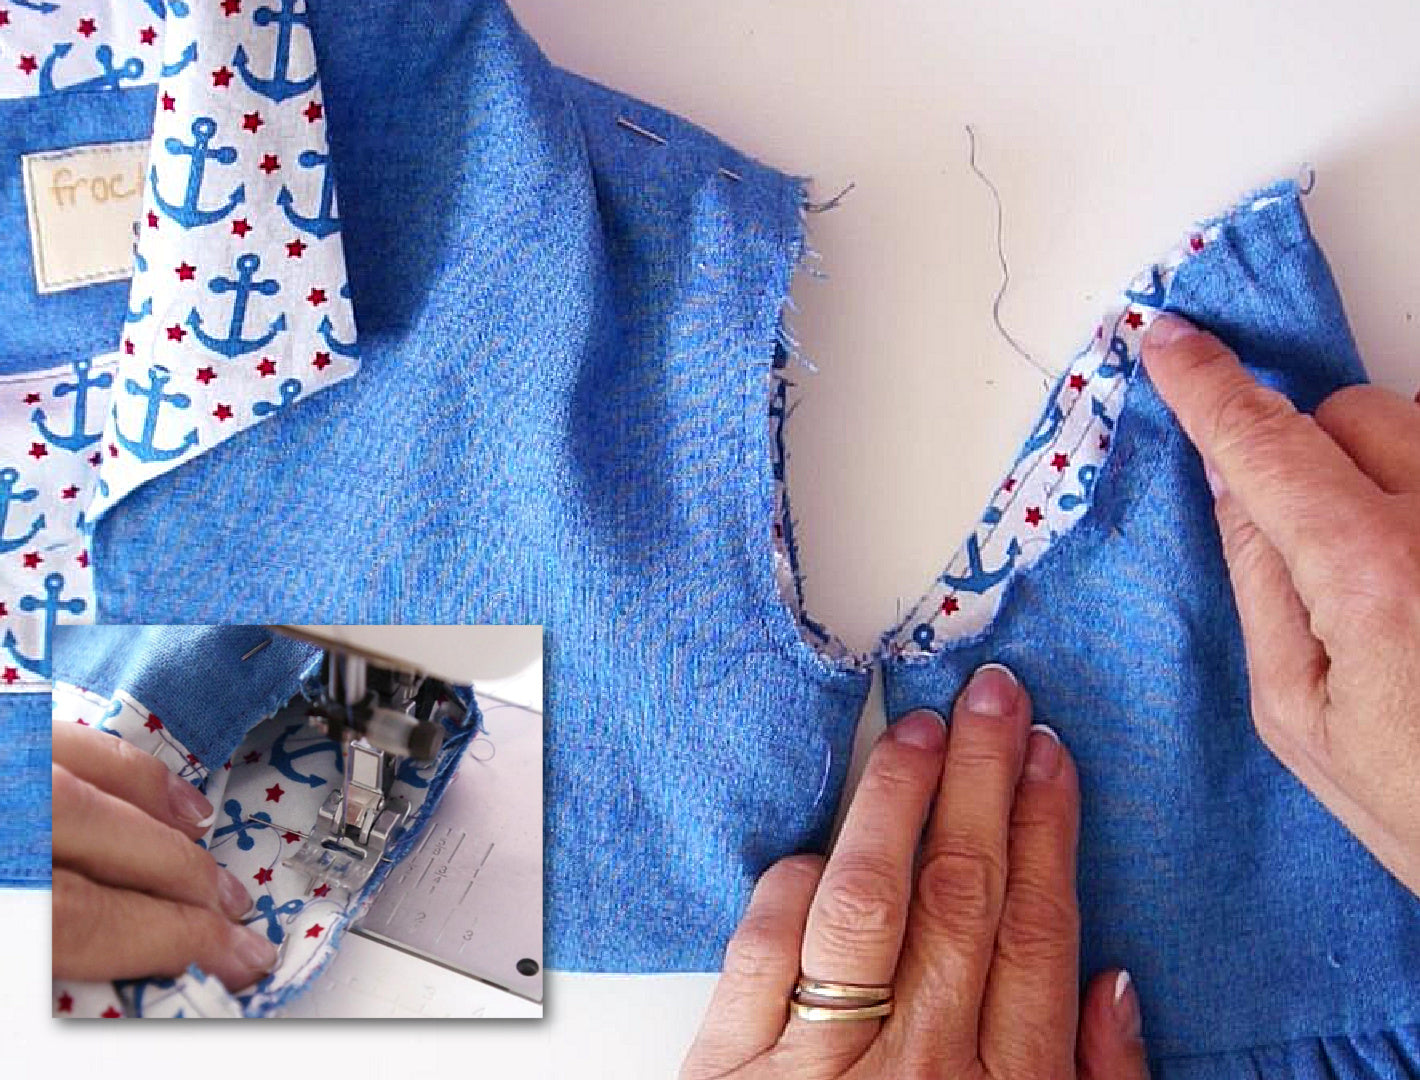
LINING THE FRONT
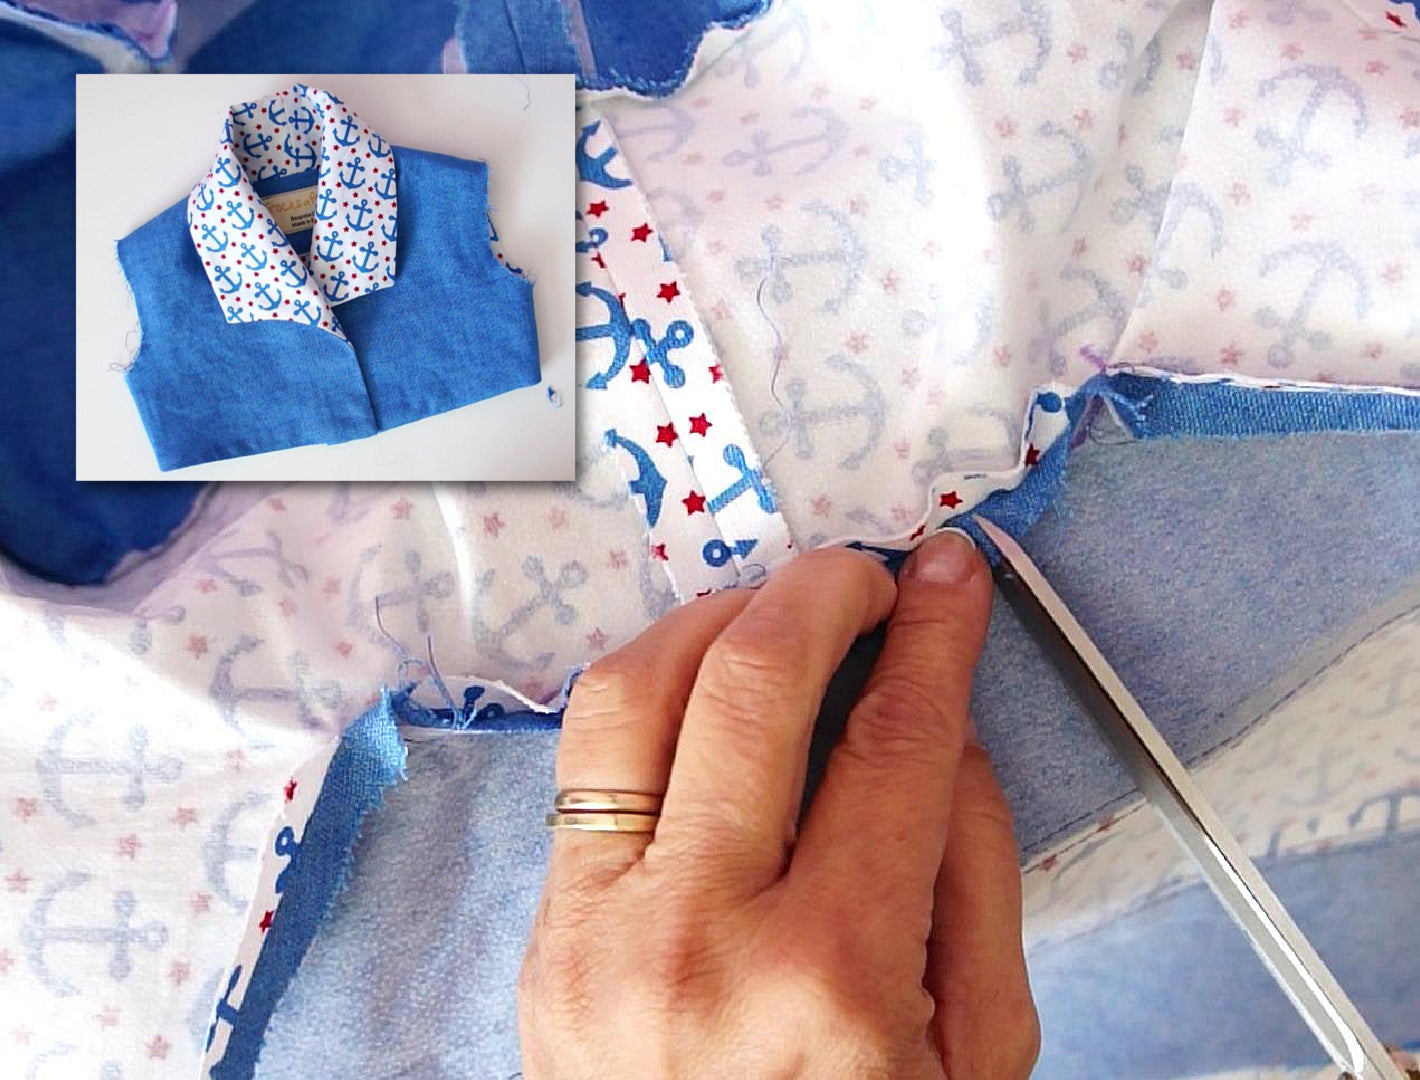
THE COLLAR
THE SIDE SEAMS & HEM
INSERTING THE SLEEVES
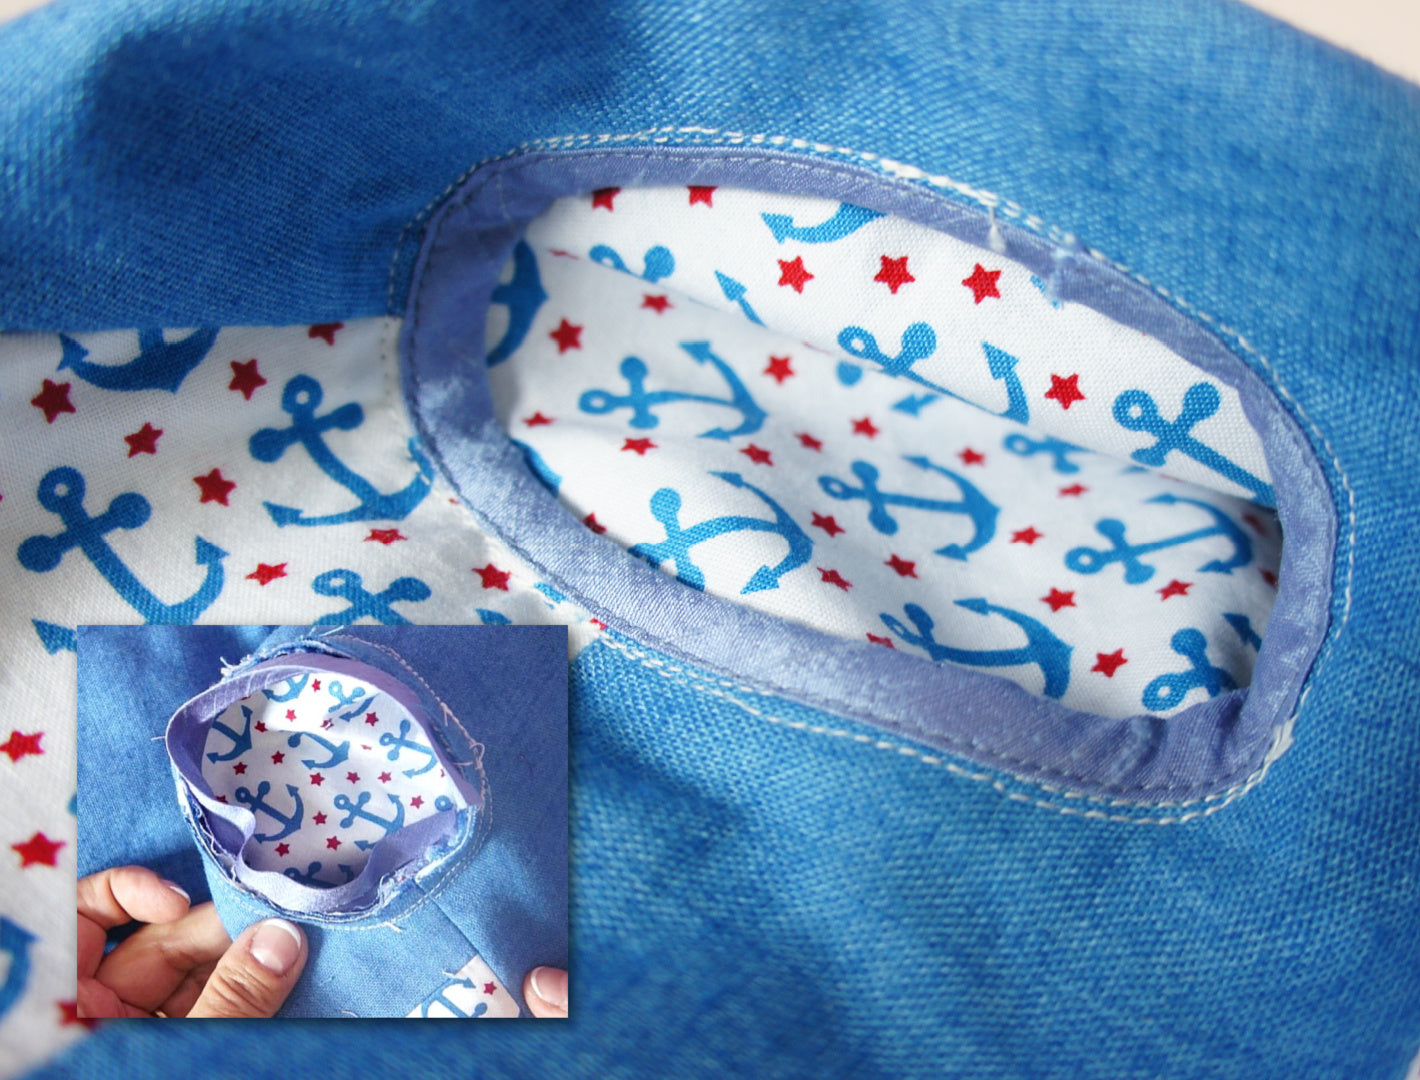
BINDING THE ARMHOLES (OPTIONAL)

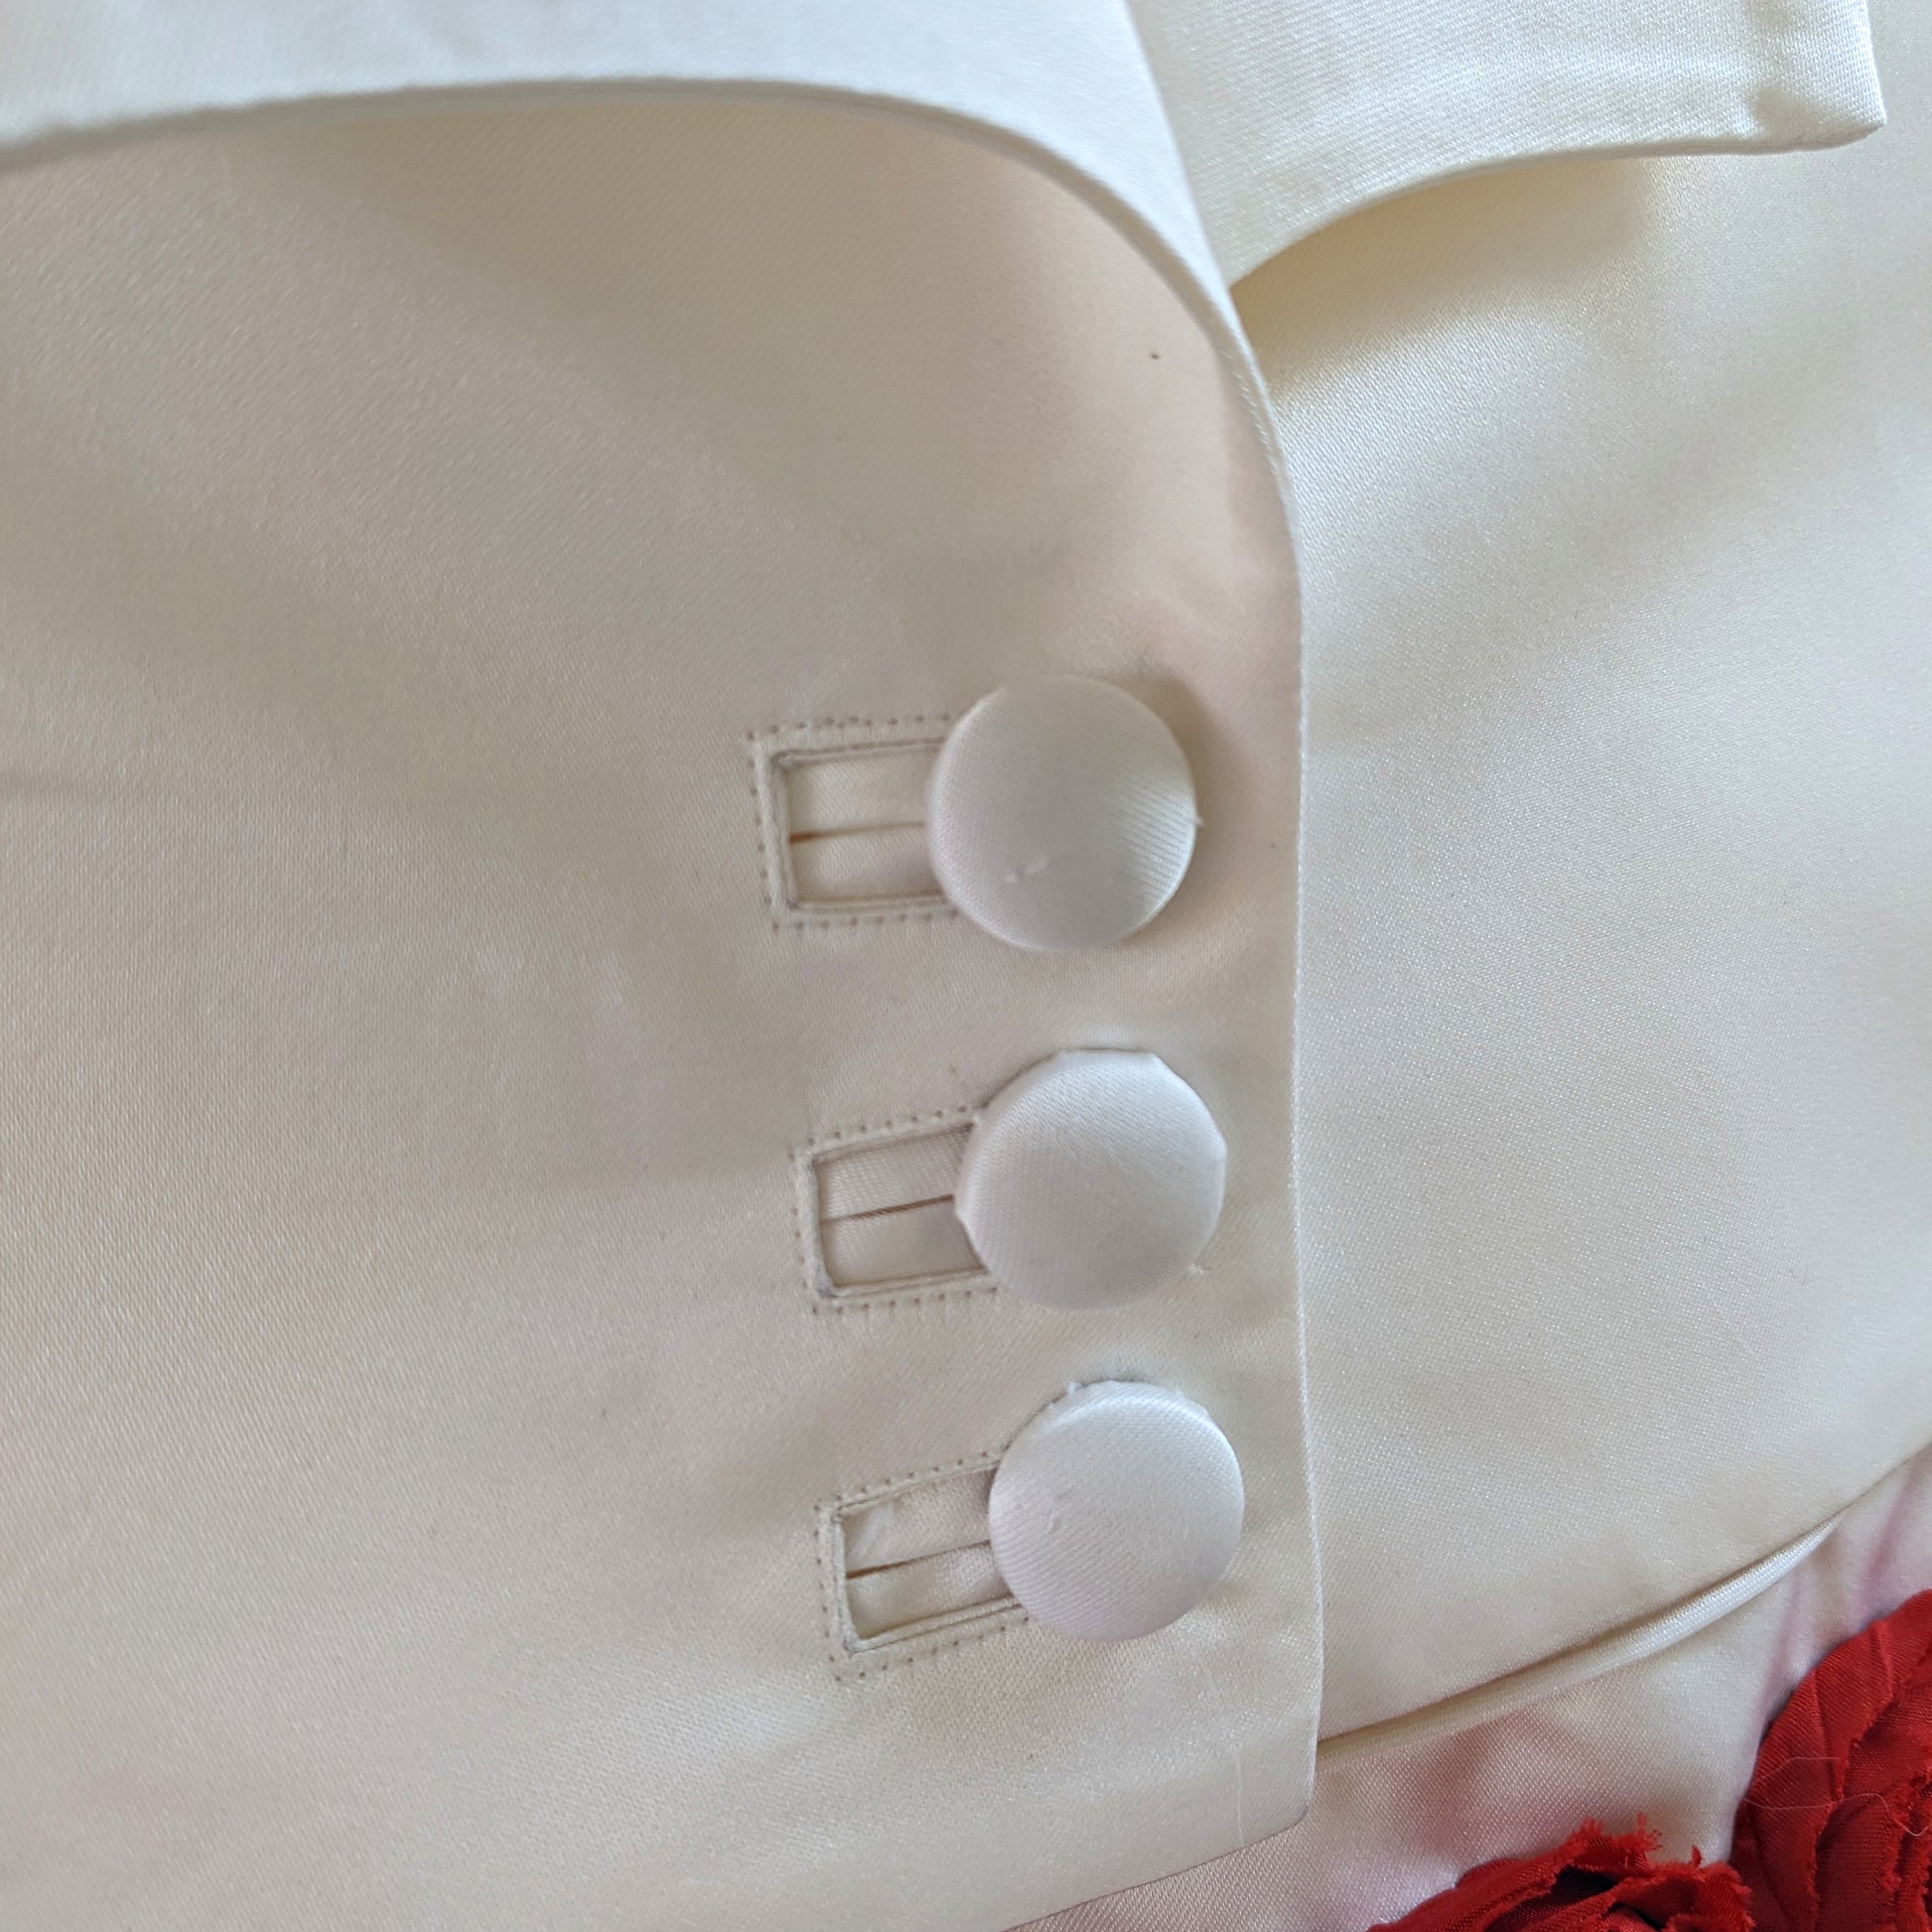
BUTTONHOLES
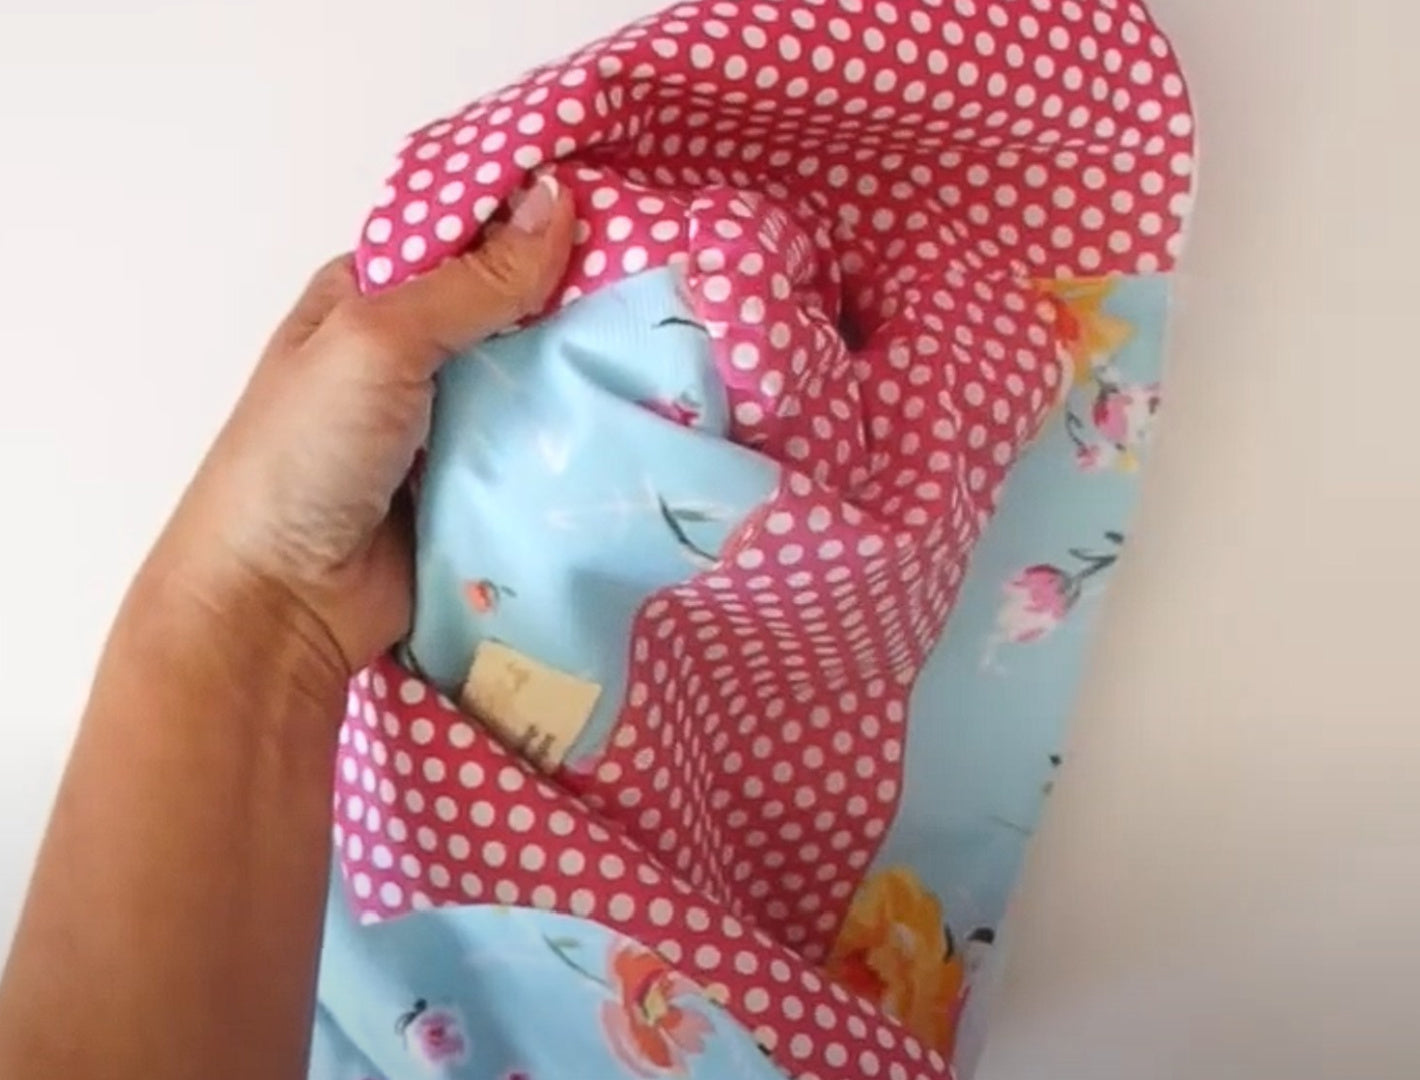
BONUS: LINED SLEEVES METHOD 2
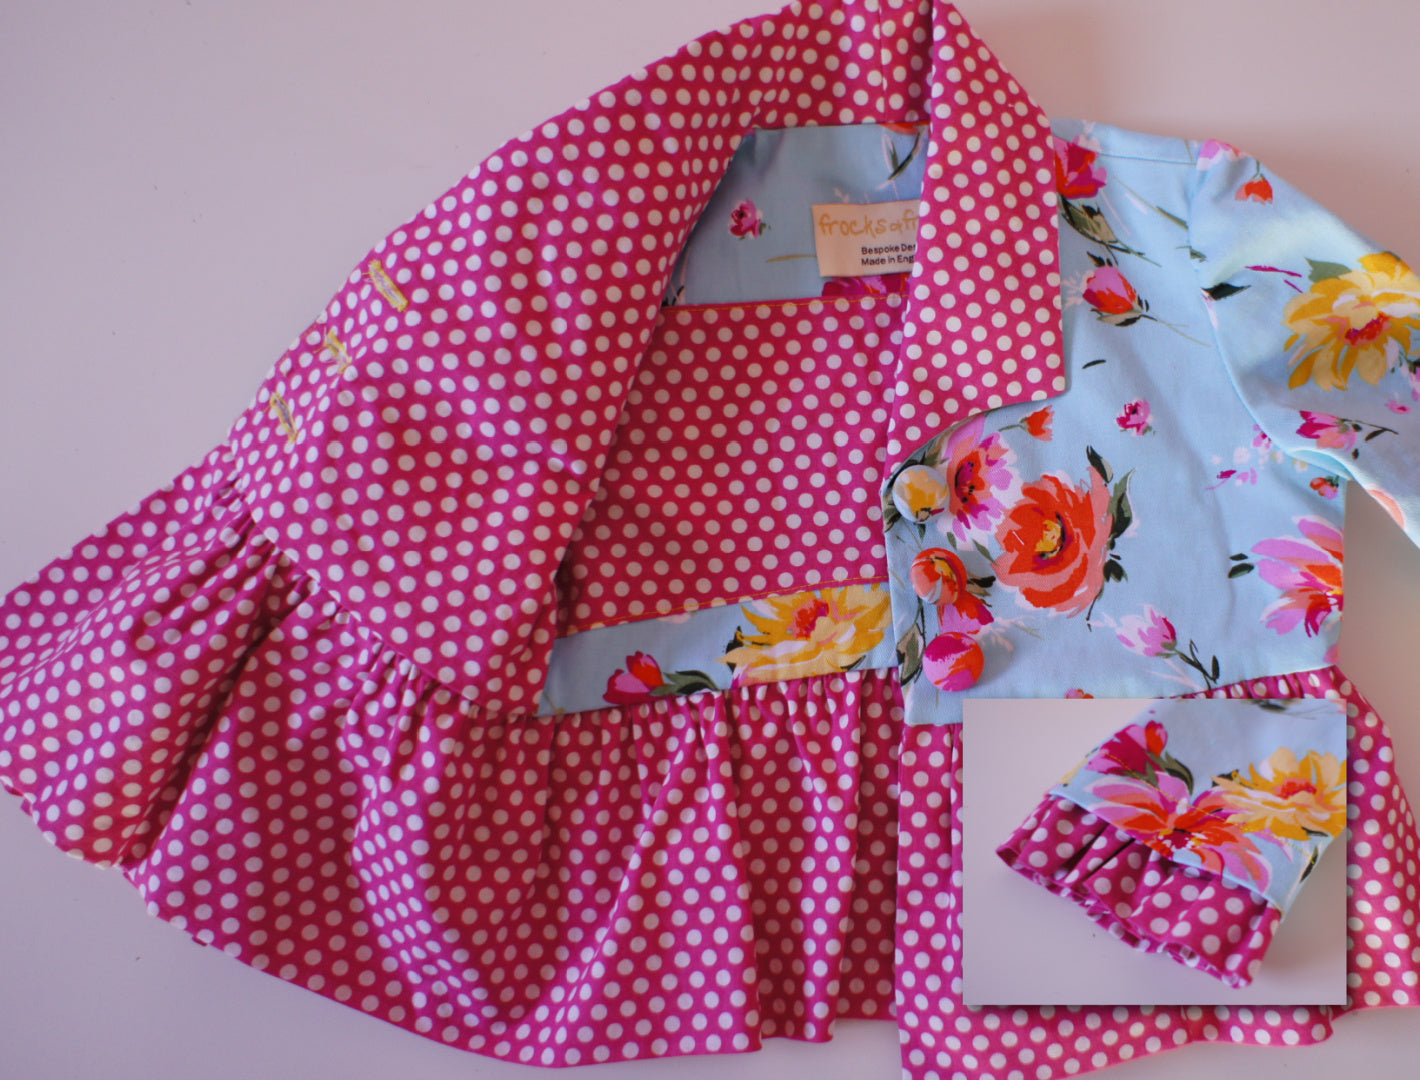
BONUS: ADDING A RUFFLE HEM

