


CONNIE BLOUSE
CONNIE BLOUSE


Regular price
$6.50 USD
Regular price
Sale price
$6.50 USD
Unit price
per
Couldn't load pickup availability
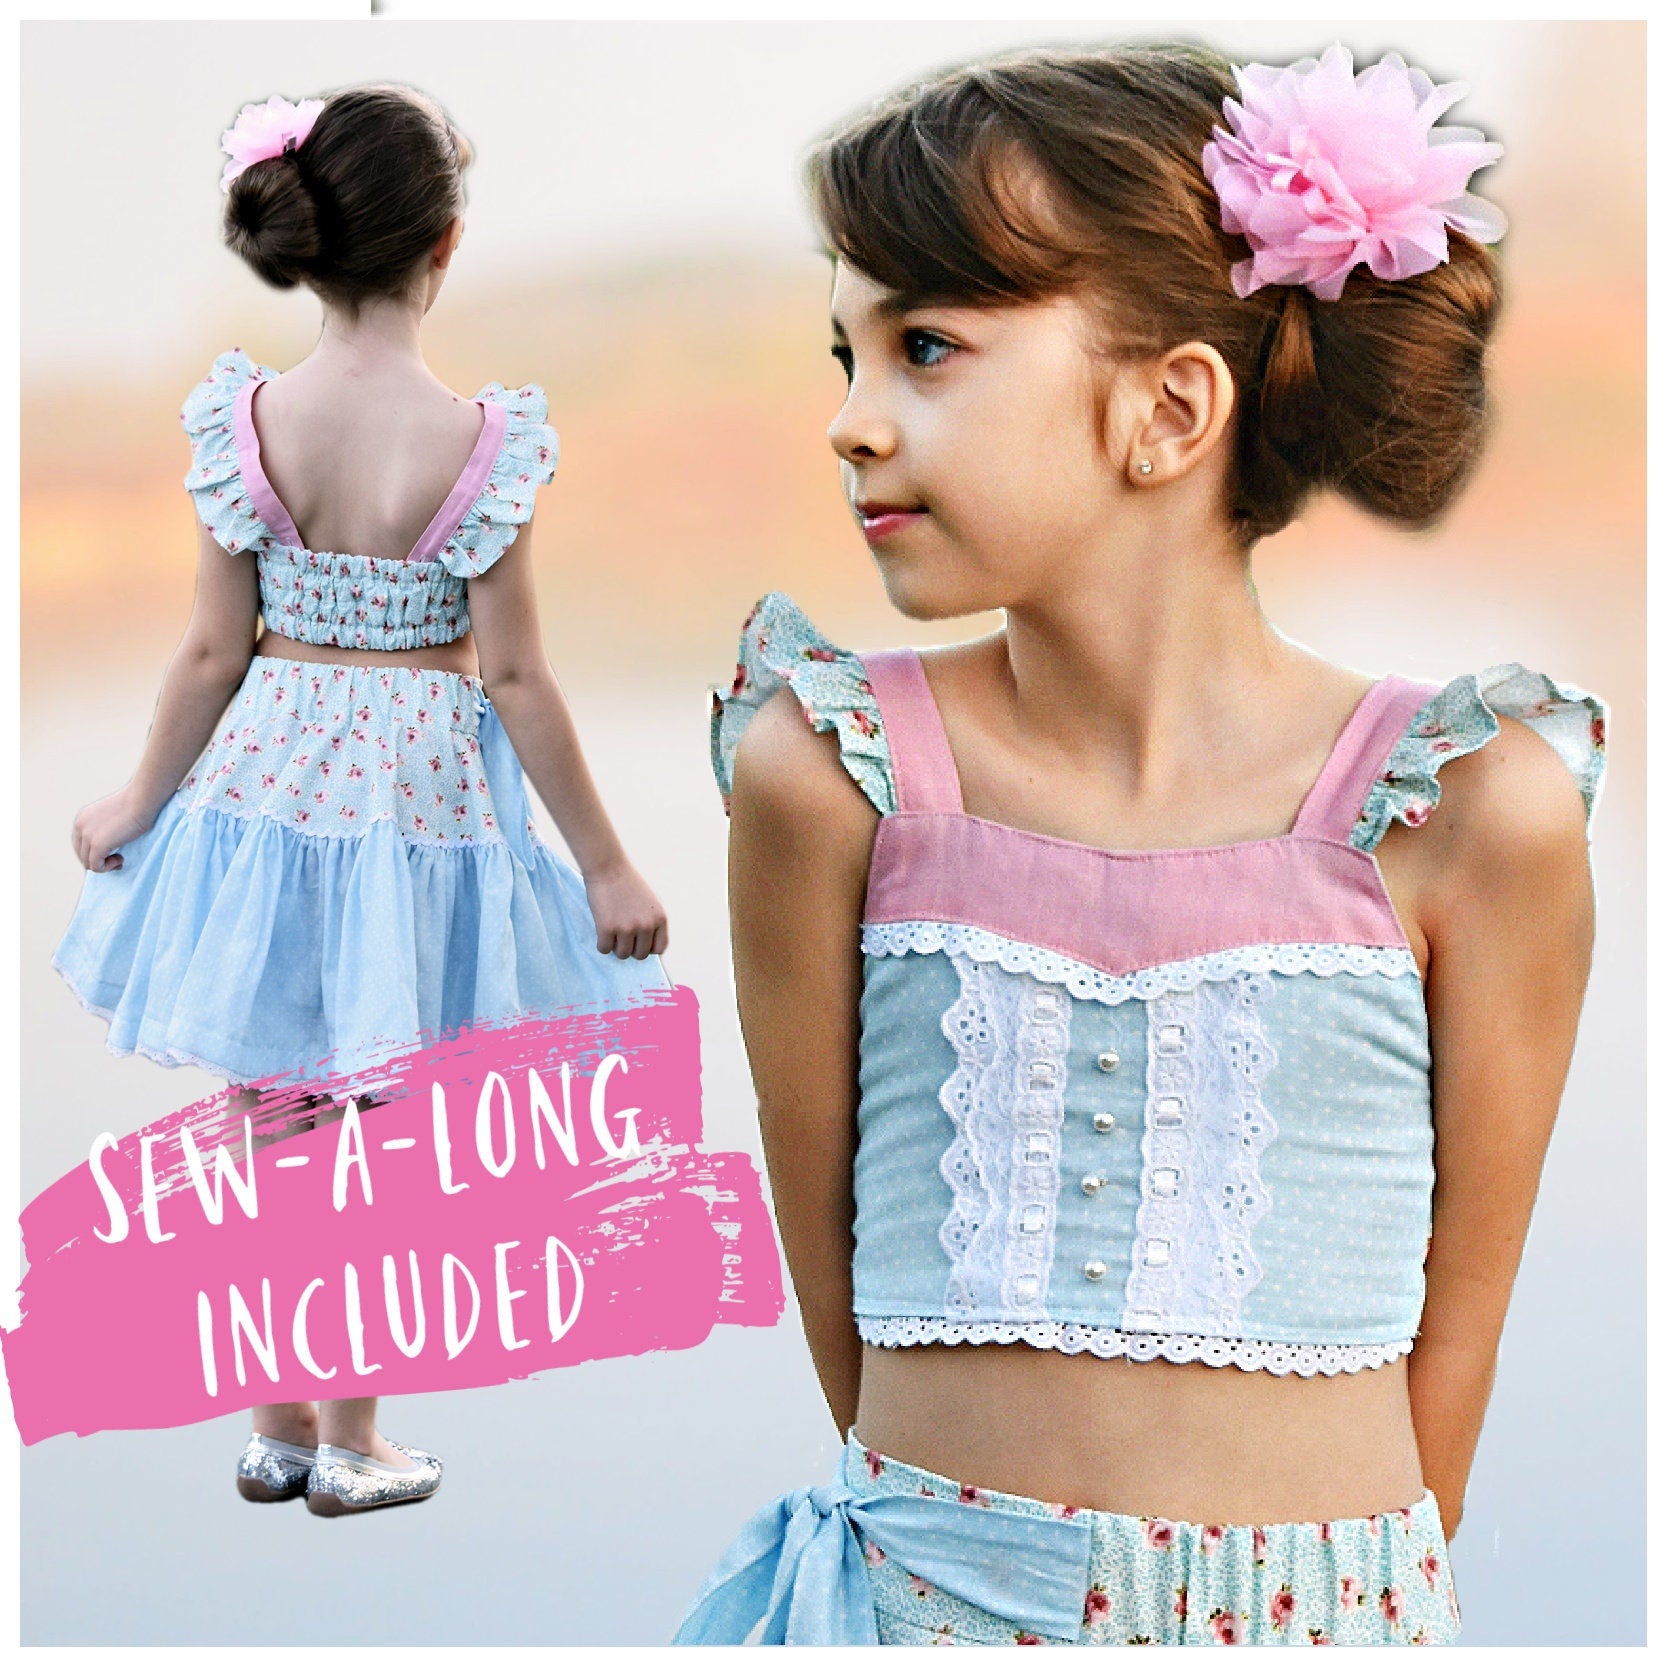
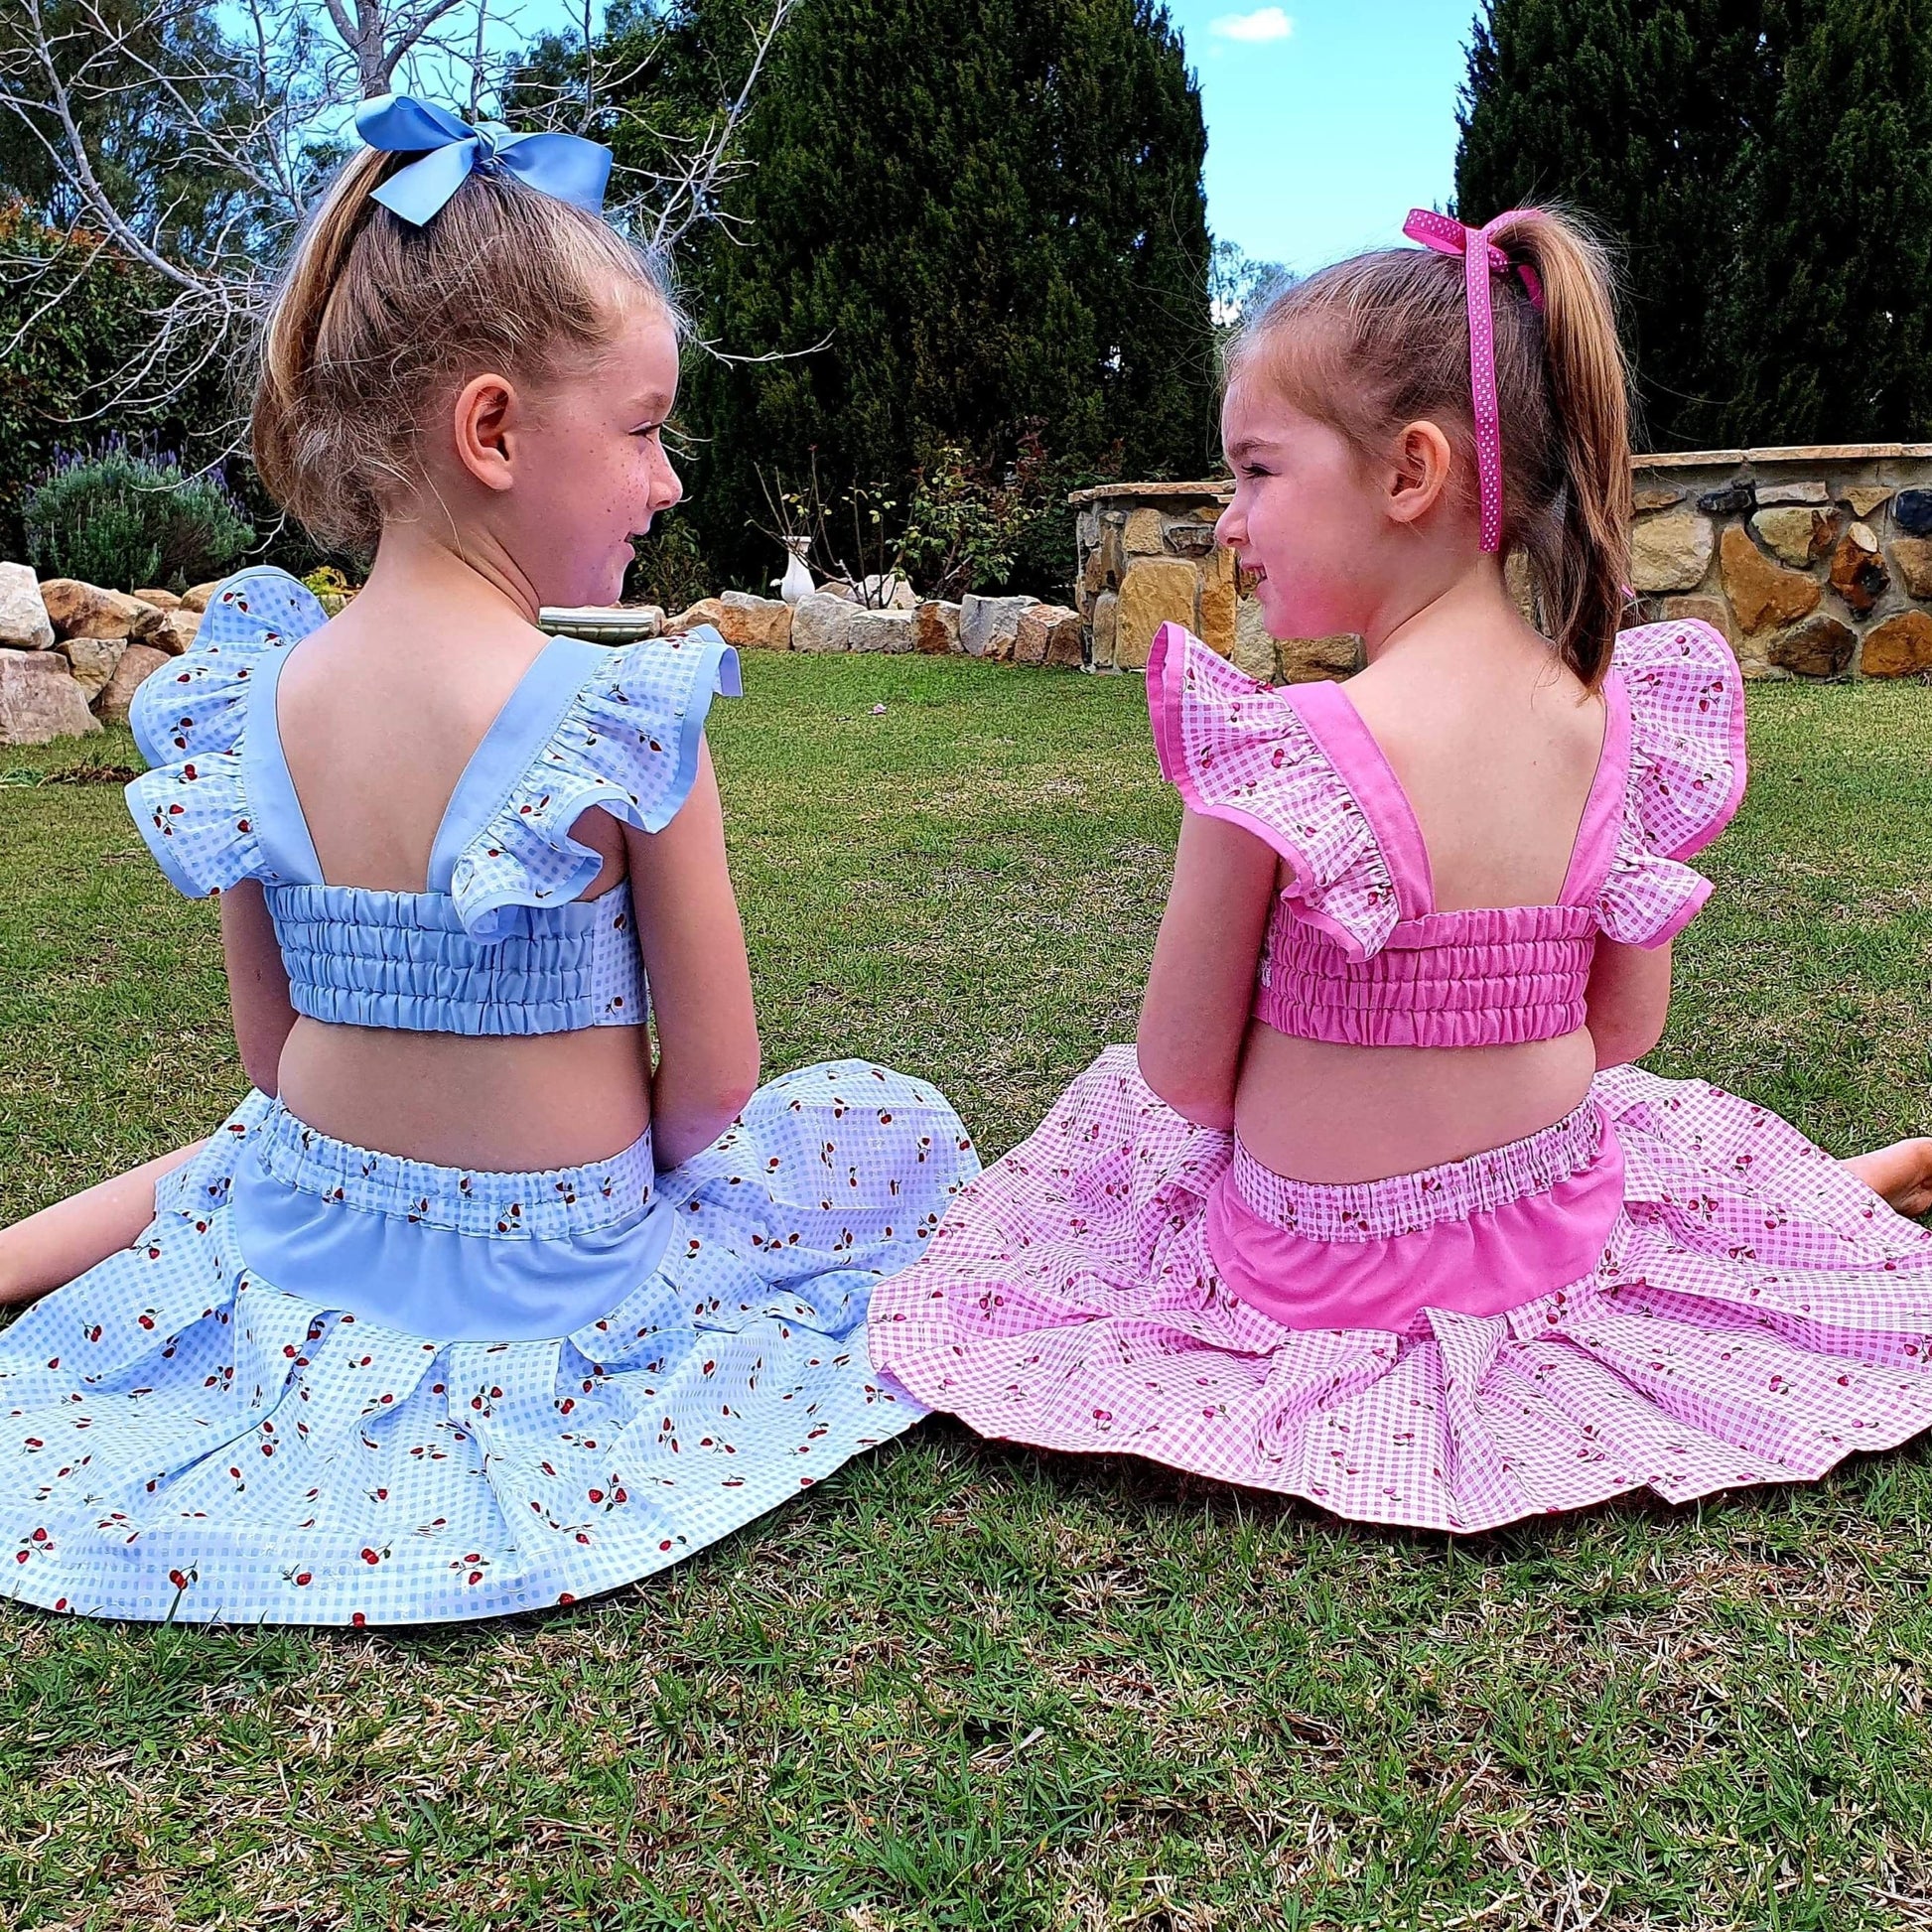
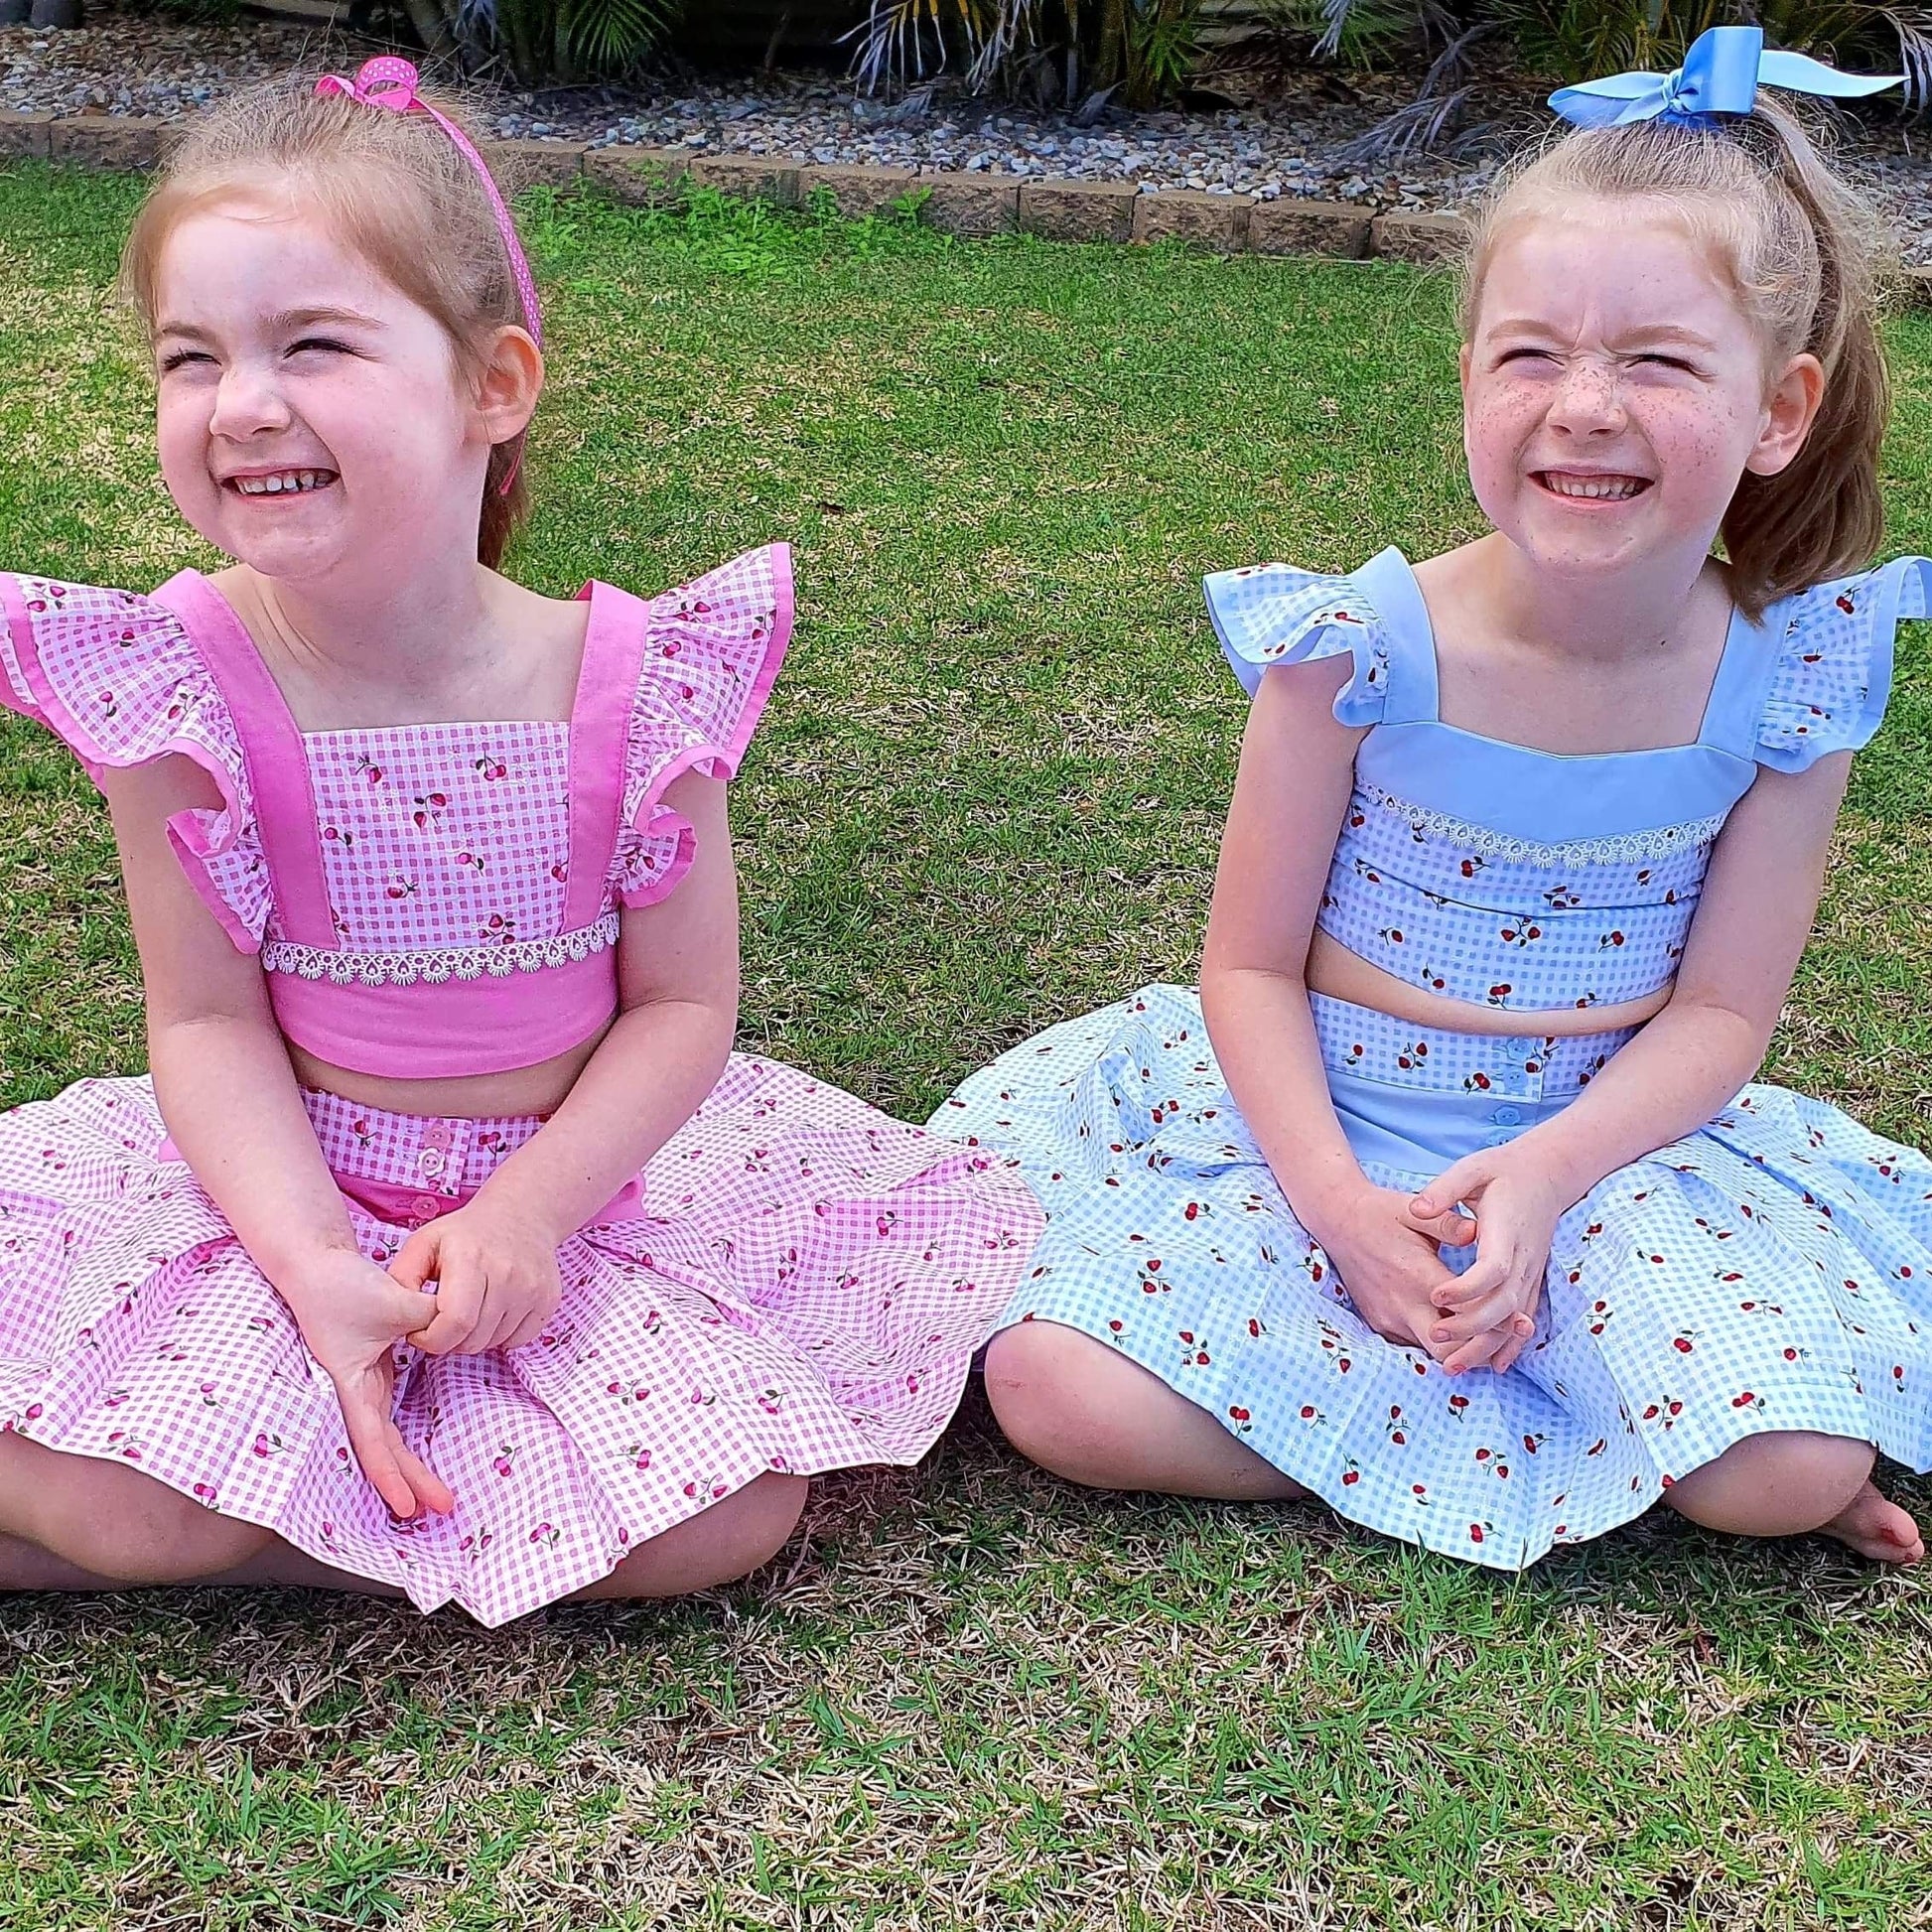
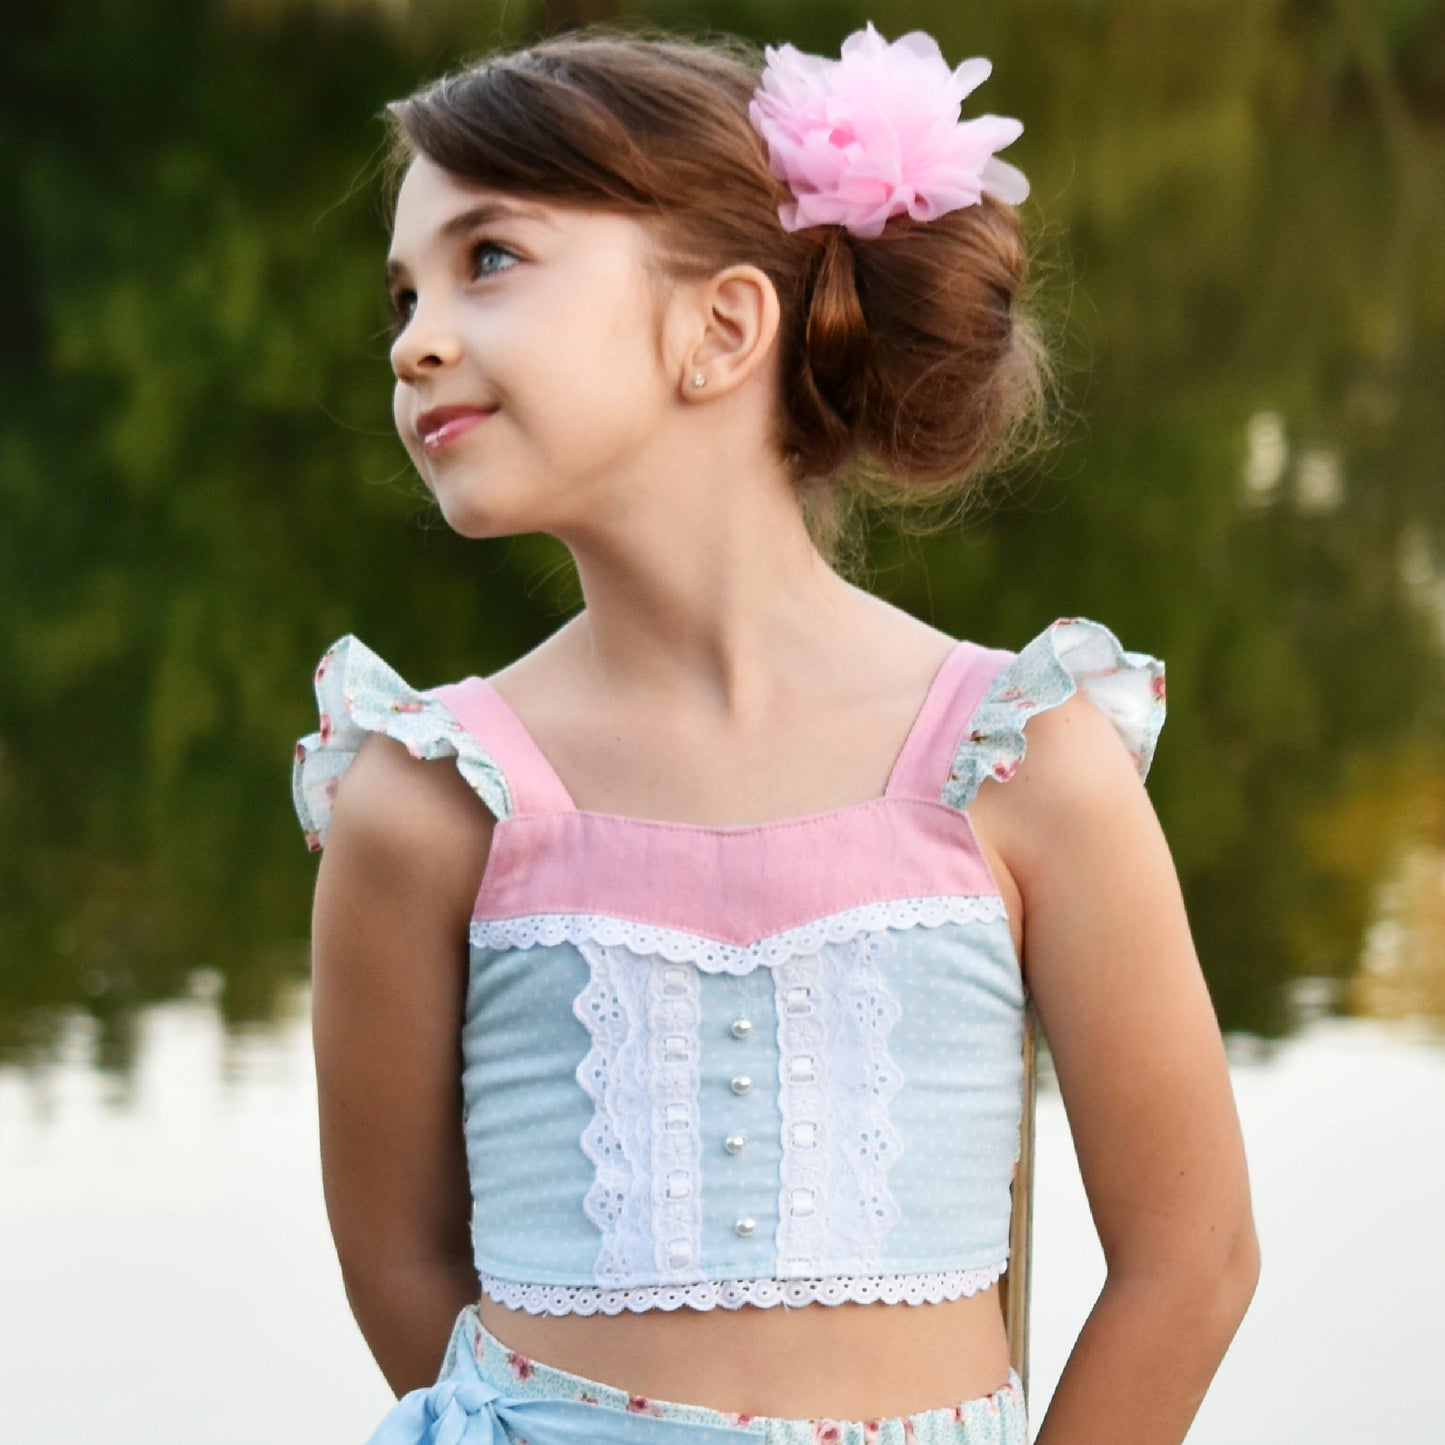
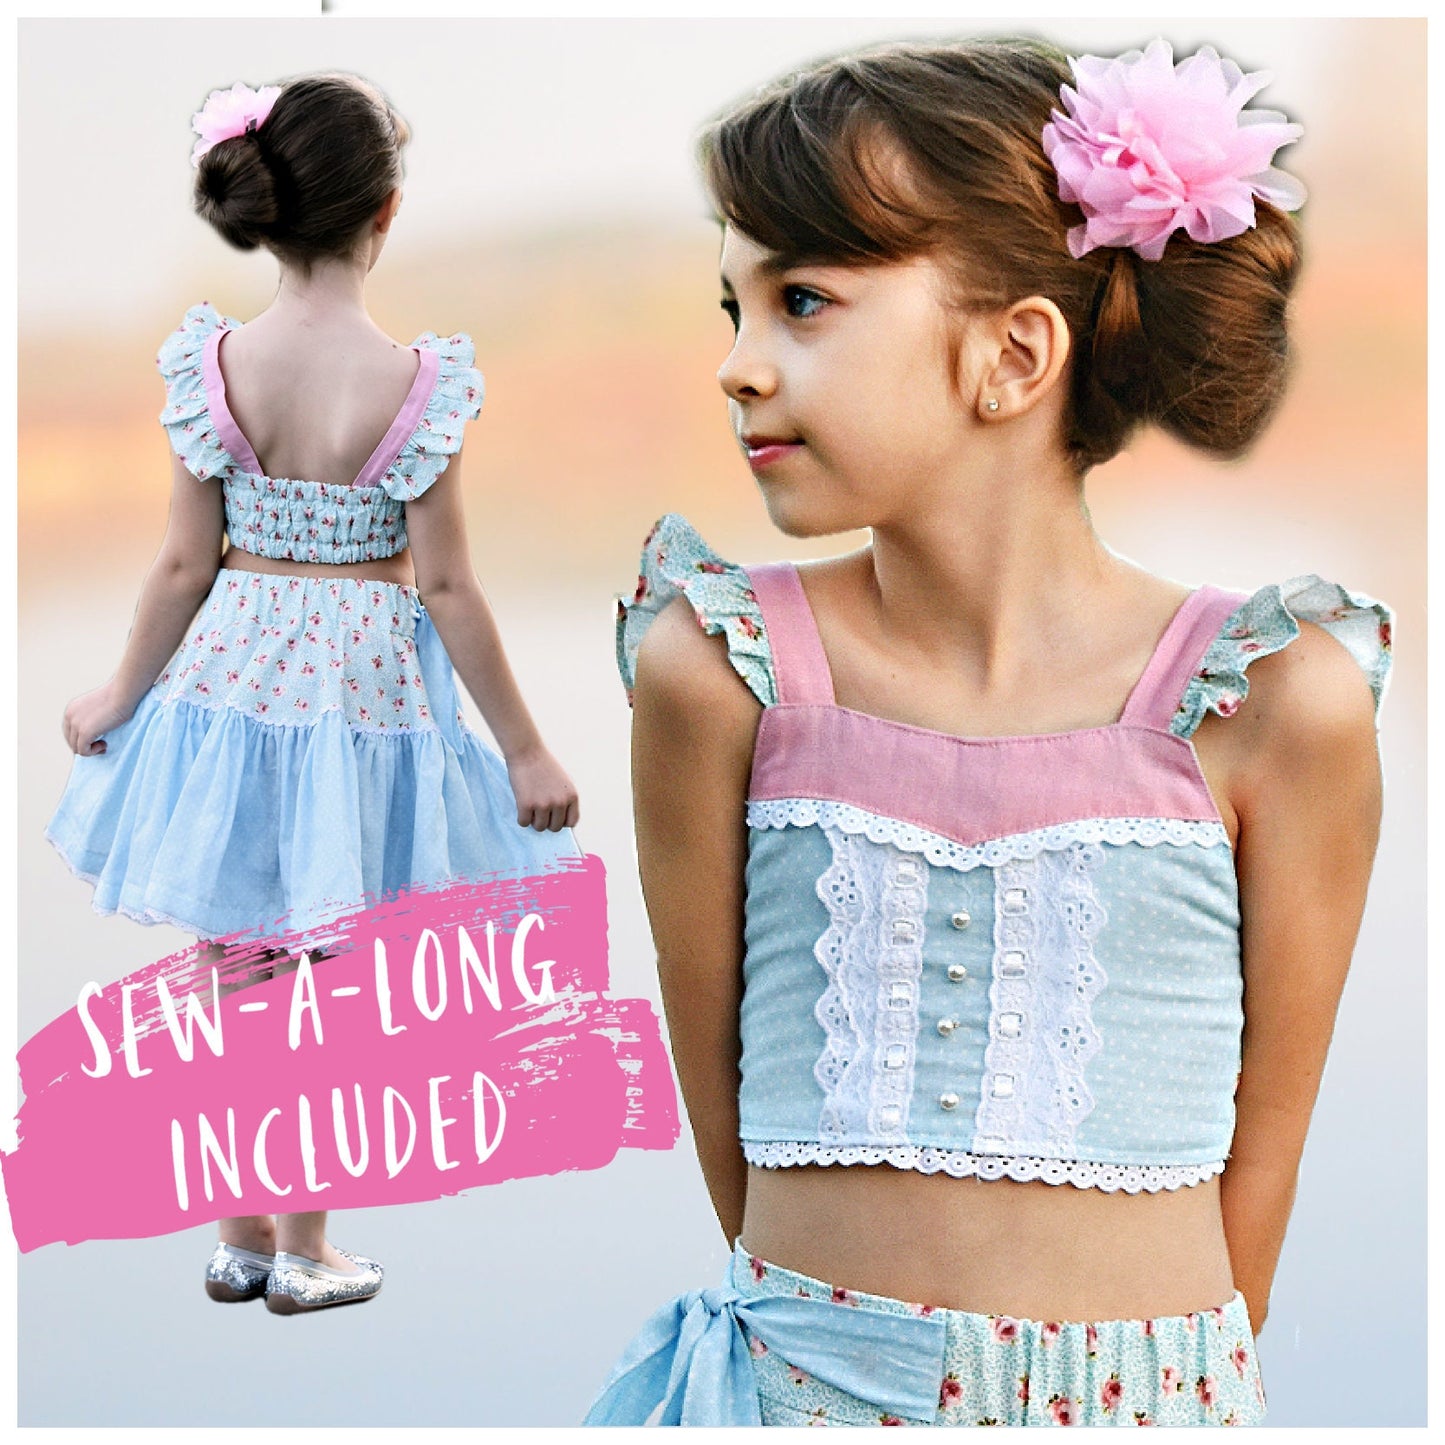
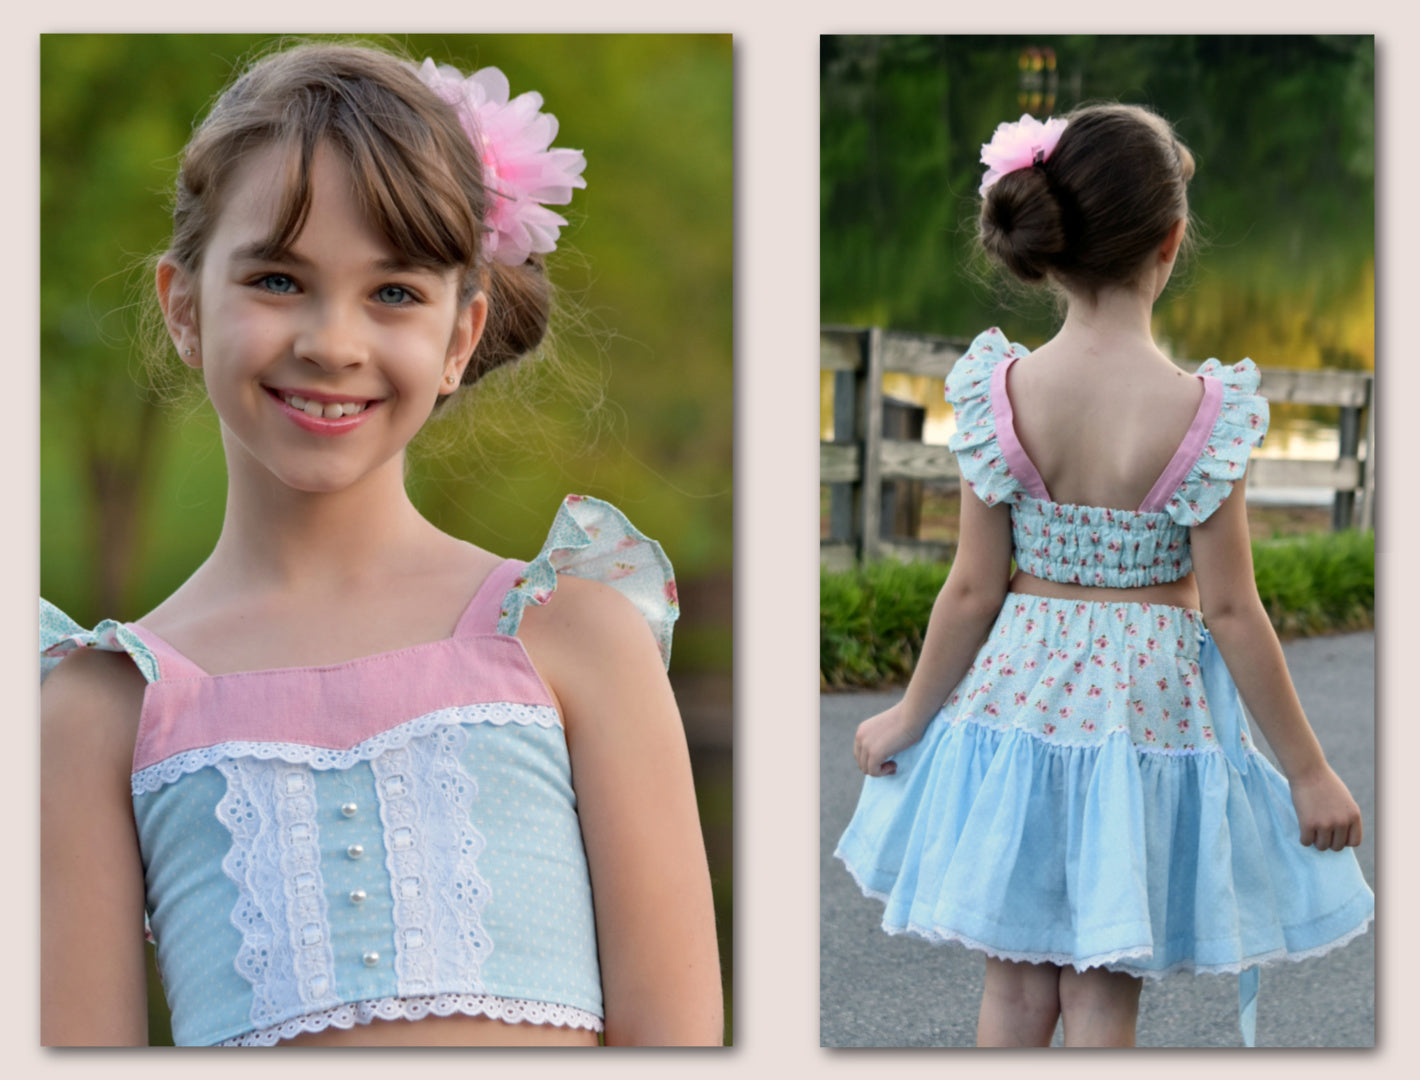
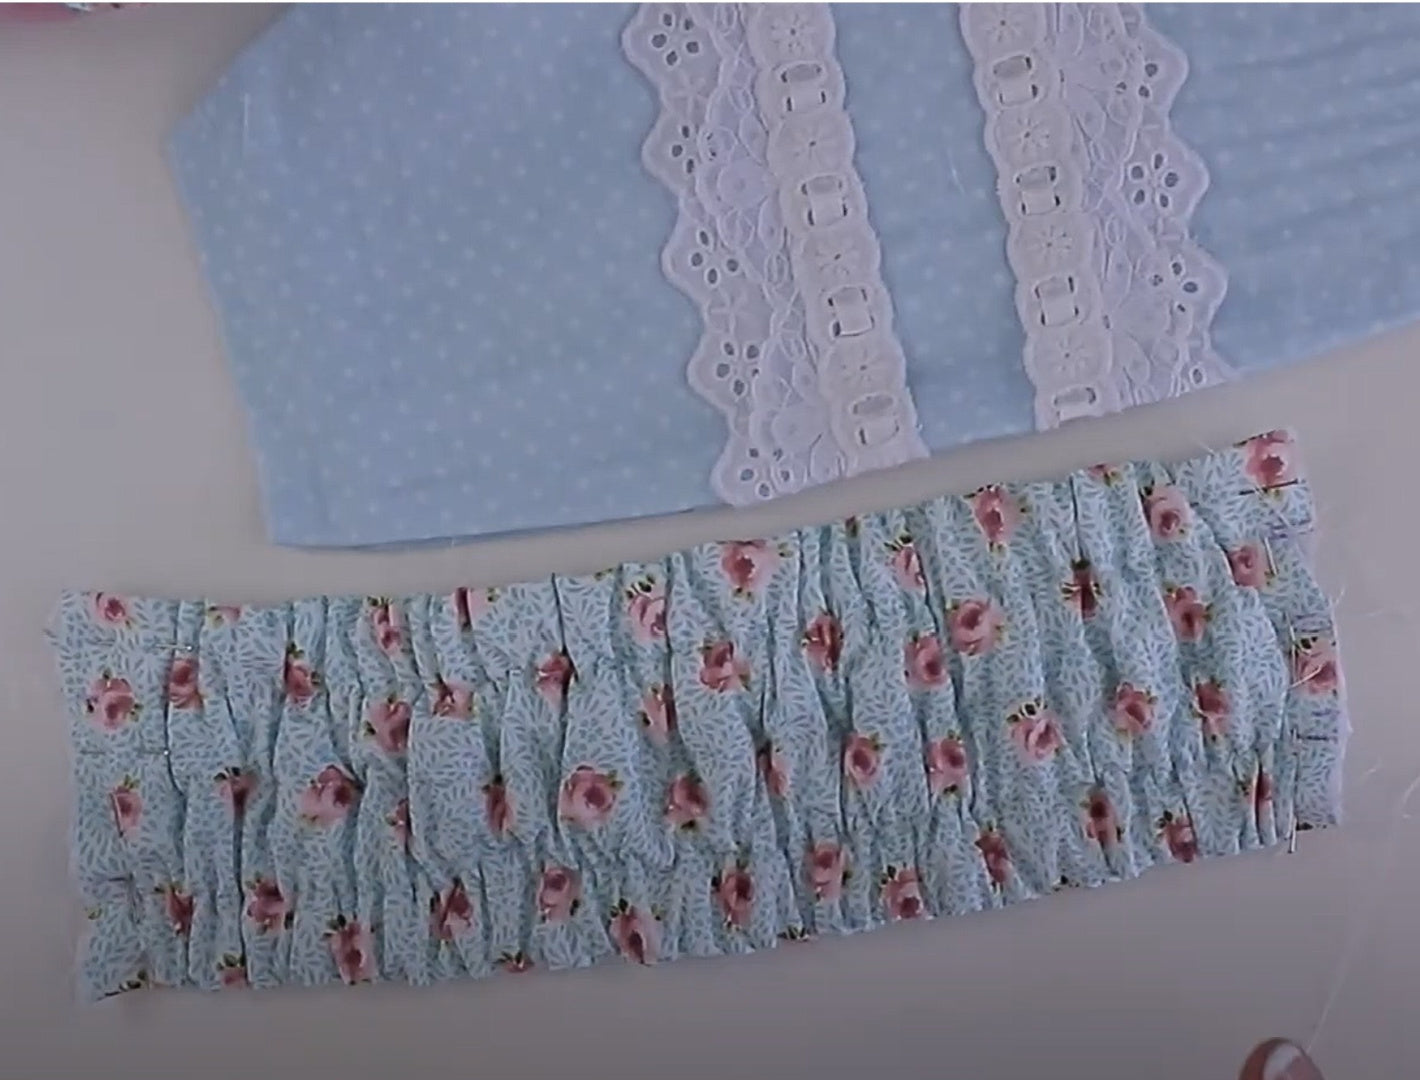
Connie is a sweet and simple blouse pattern that’s perfect for warm days and play. Complete with flutter sleeves and square neckline this really is the prettiest top. The elastic back panel is super easy to sew perfect for beginners.
If you like a bit of company while you sew, Marina has prepared a video sewing course for this cute baby girl top and gentle vintage charm. She will walk you through every step, just like a friend sitting beside you at the machine.
Pattern Download Includes
Pattern Download Includes
Design Options
Design Options
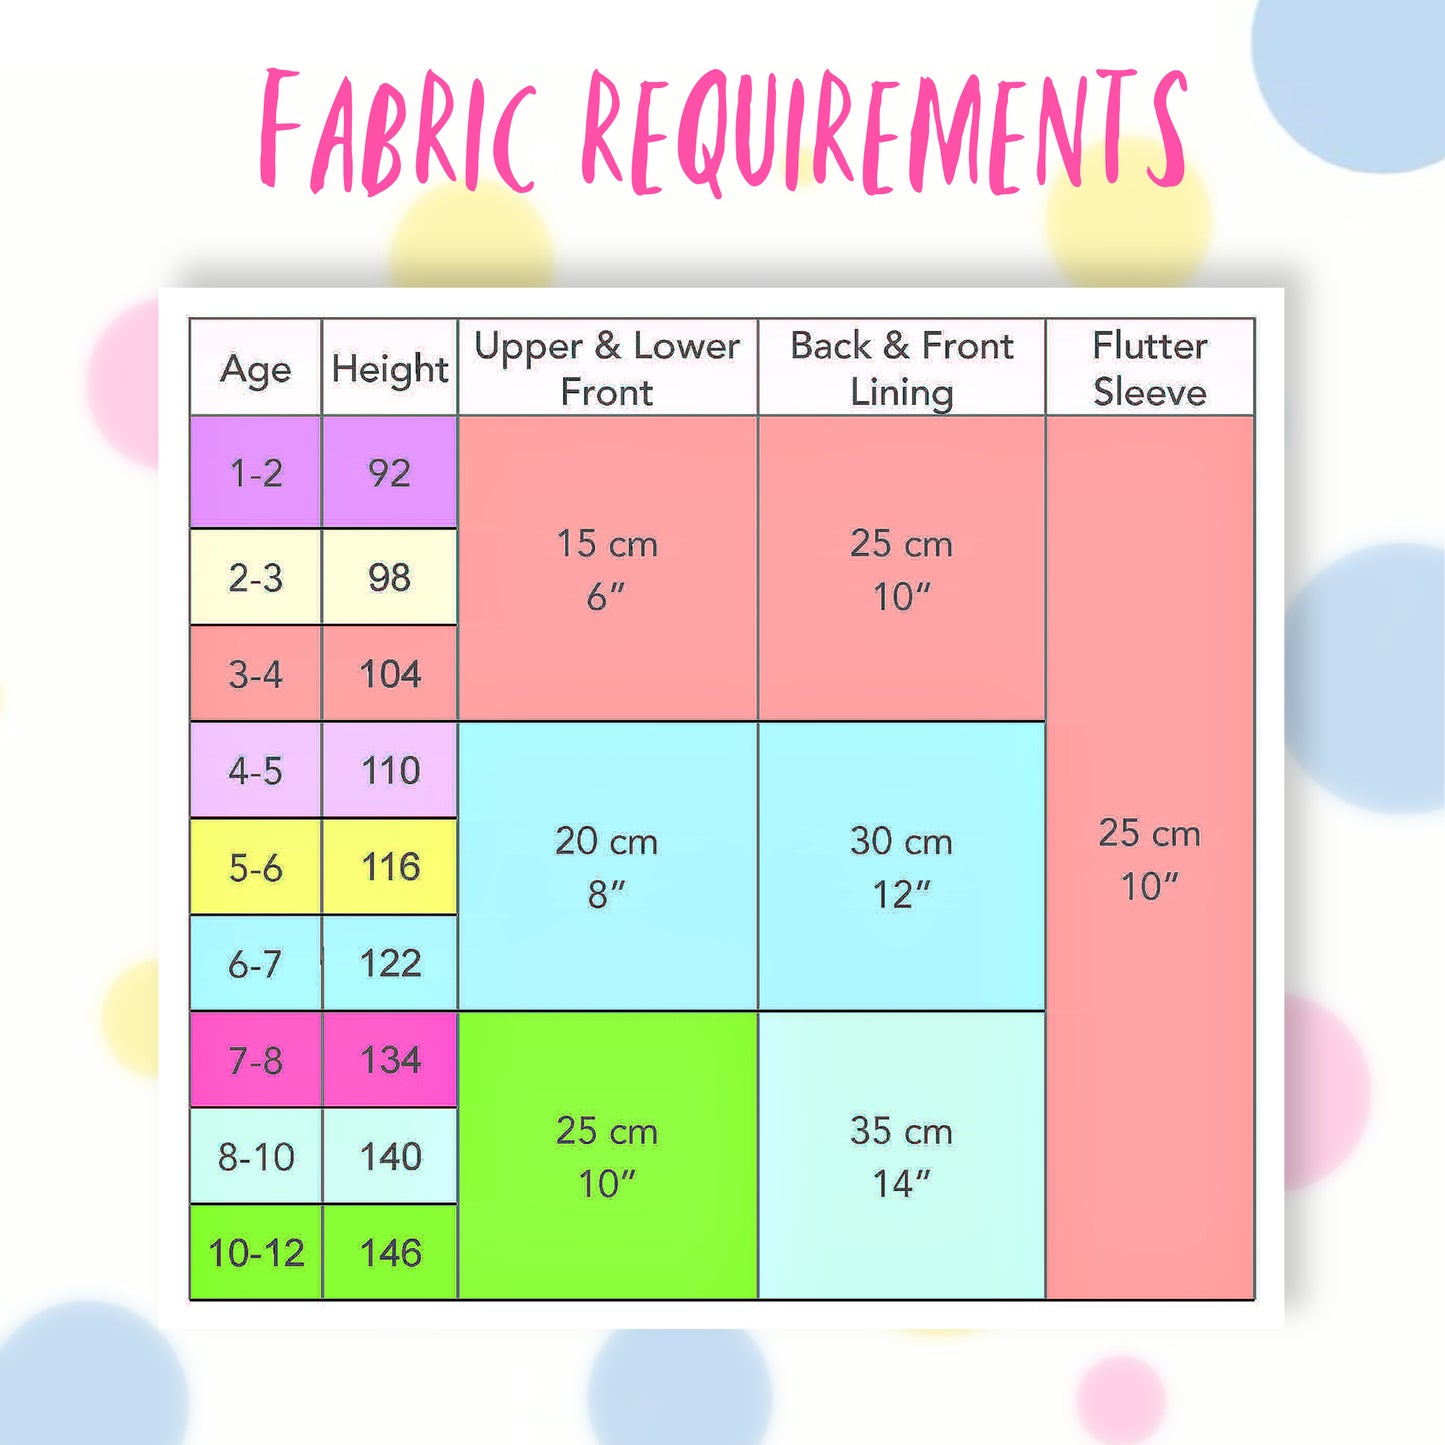
Fabric Requirements
Fabric Requirements
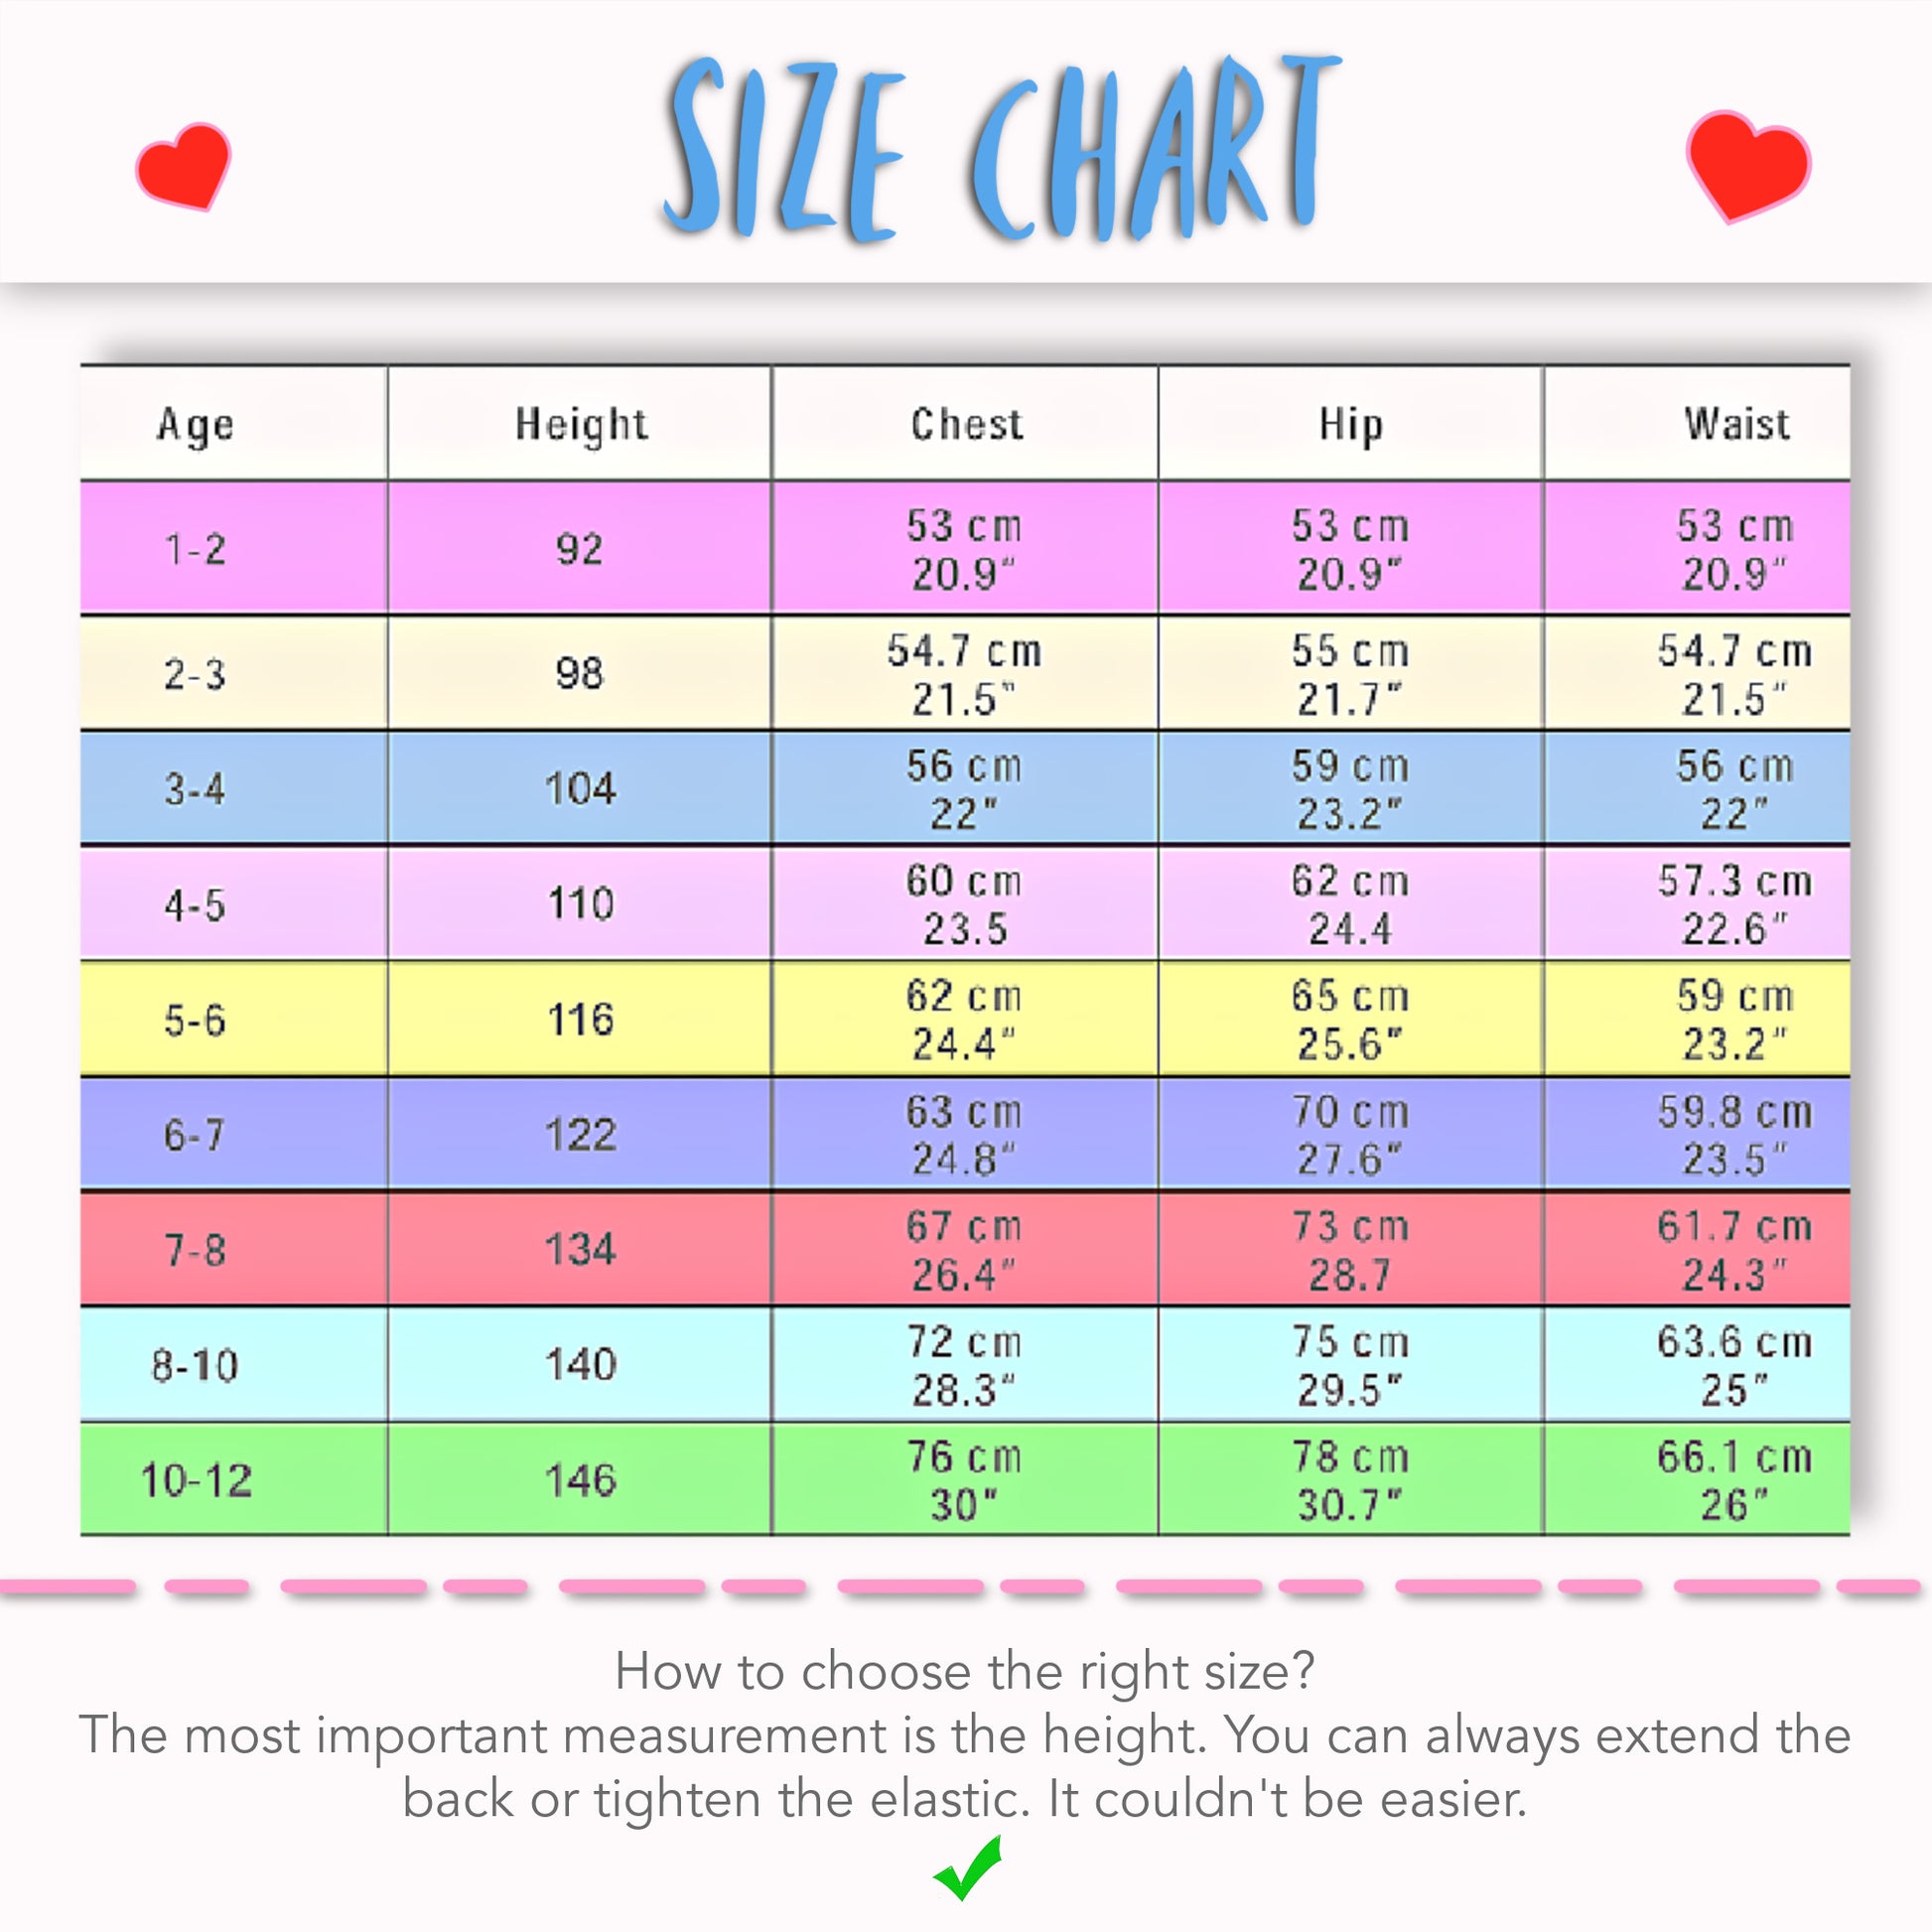
Available Sizes
Available Sizes
Please Read
Please Read


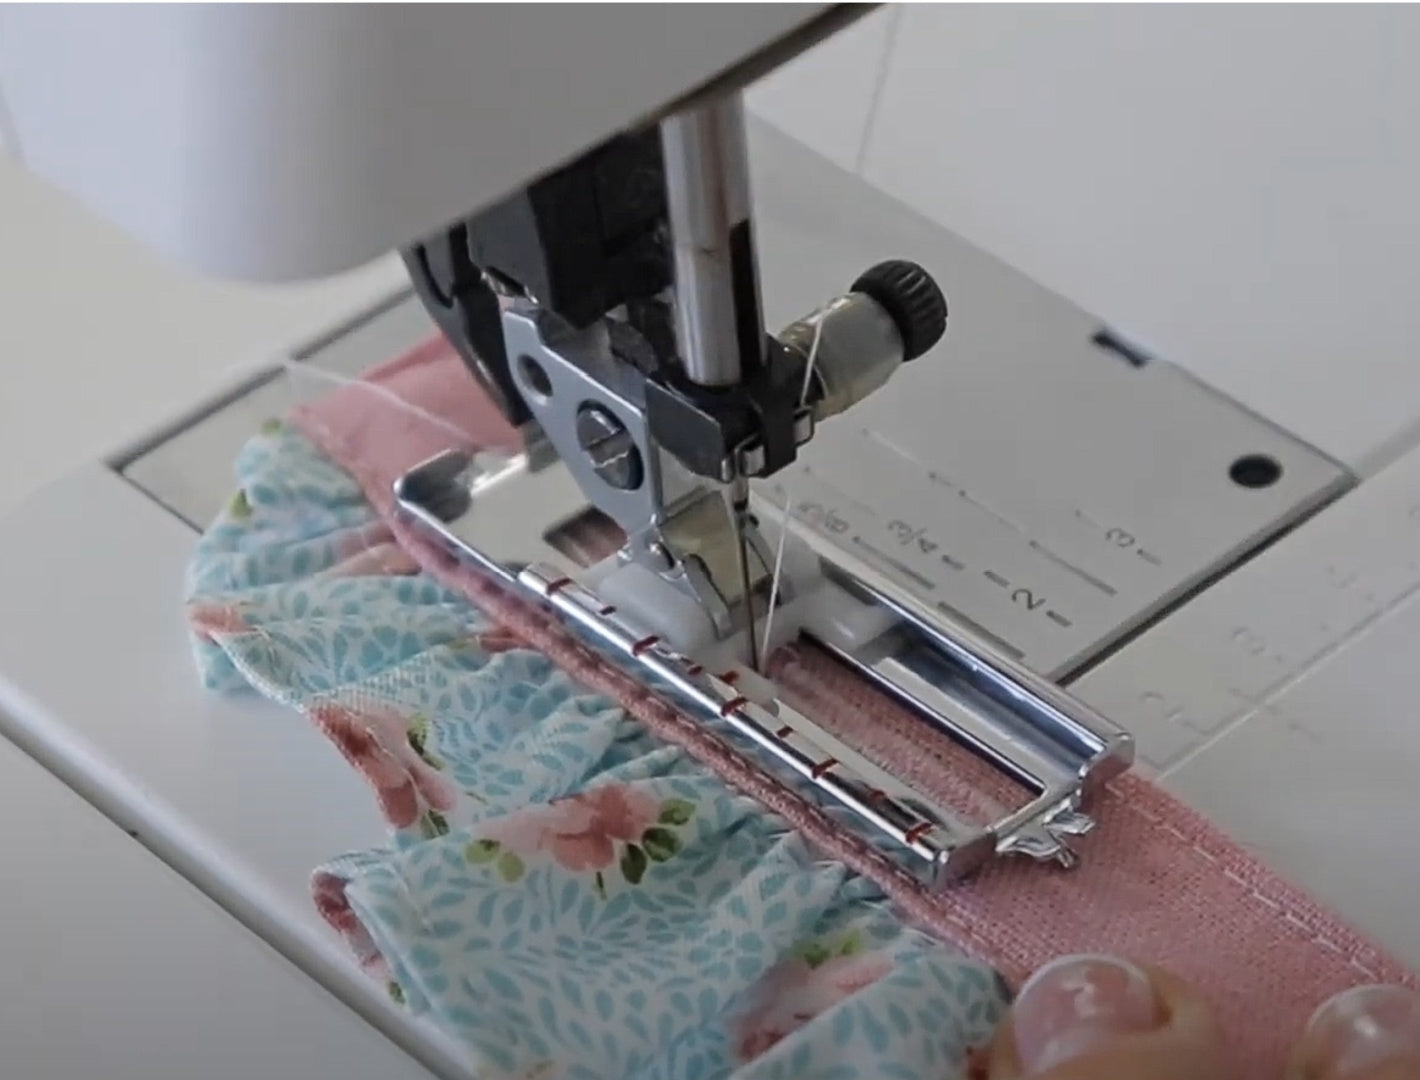
STEP-BY-STEP VIDEO TUTORIALS
INTRODUCTION TO THE PROJECT
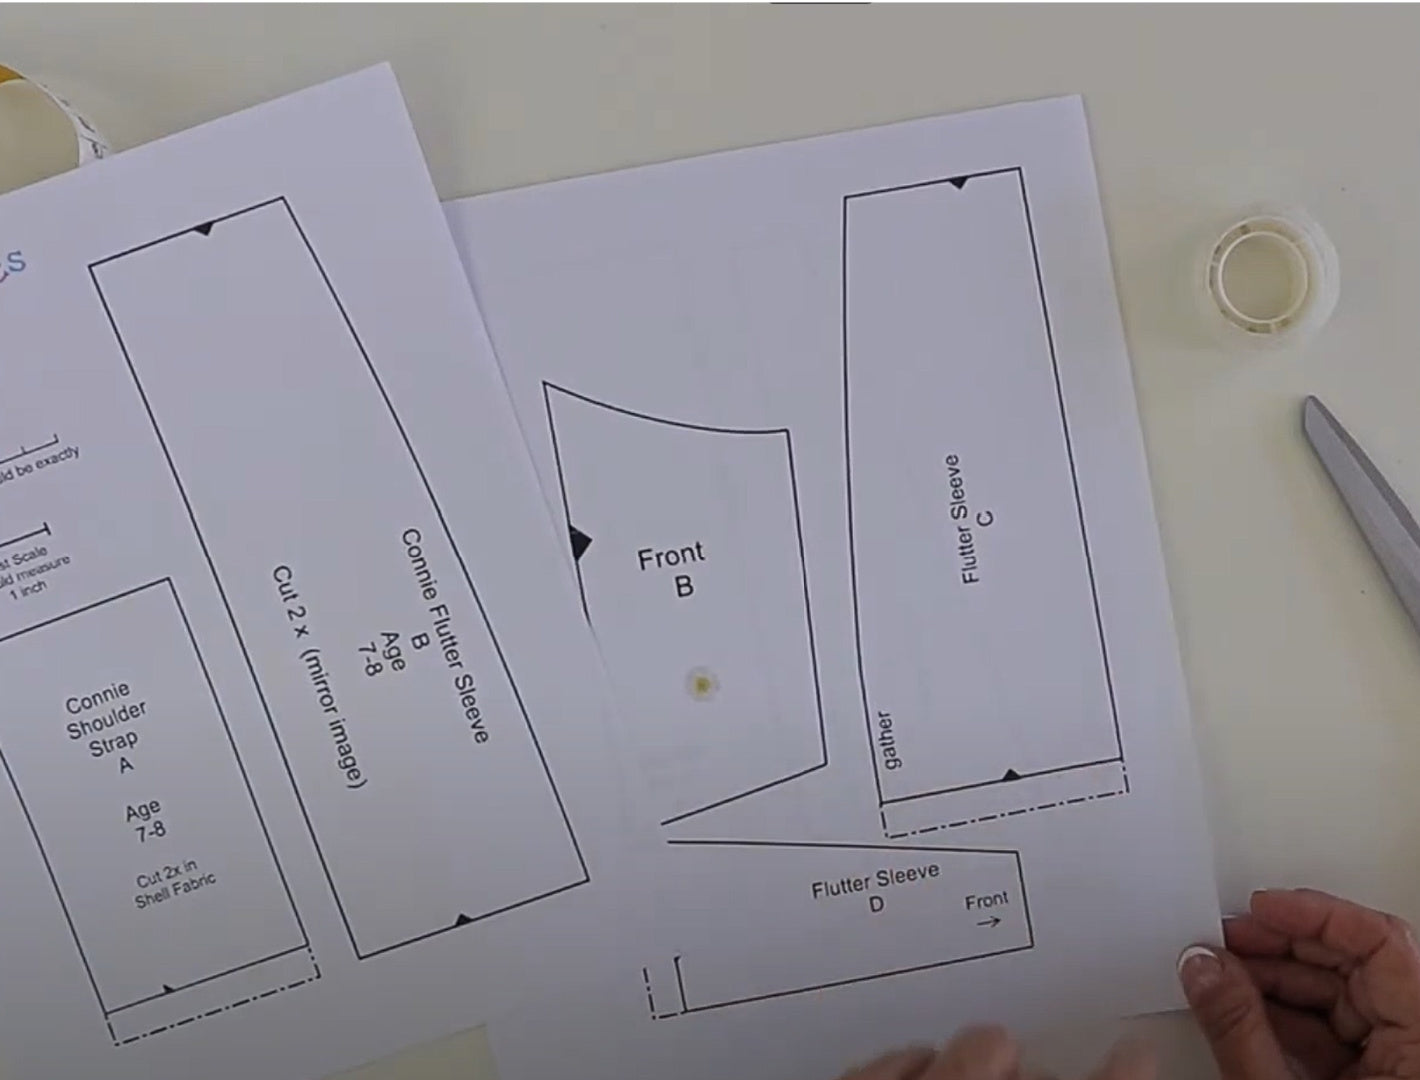
THE PATTERN
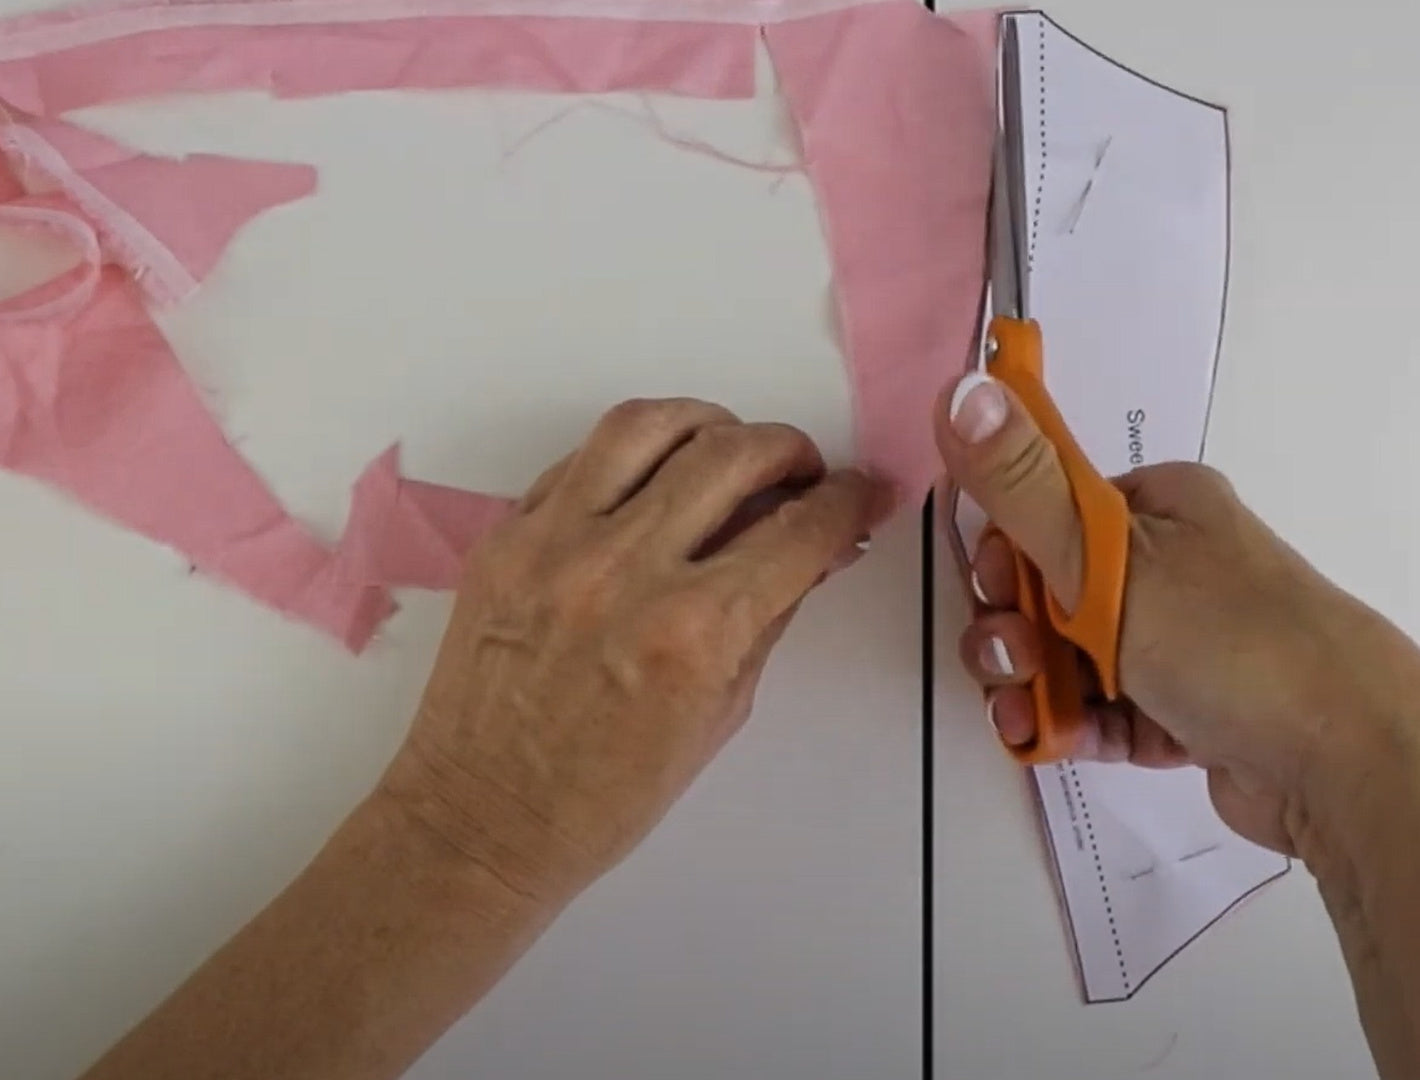
CUTTING OUT
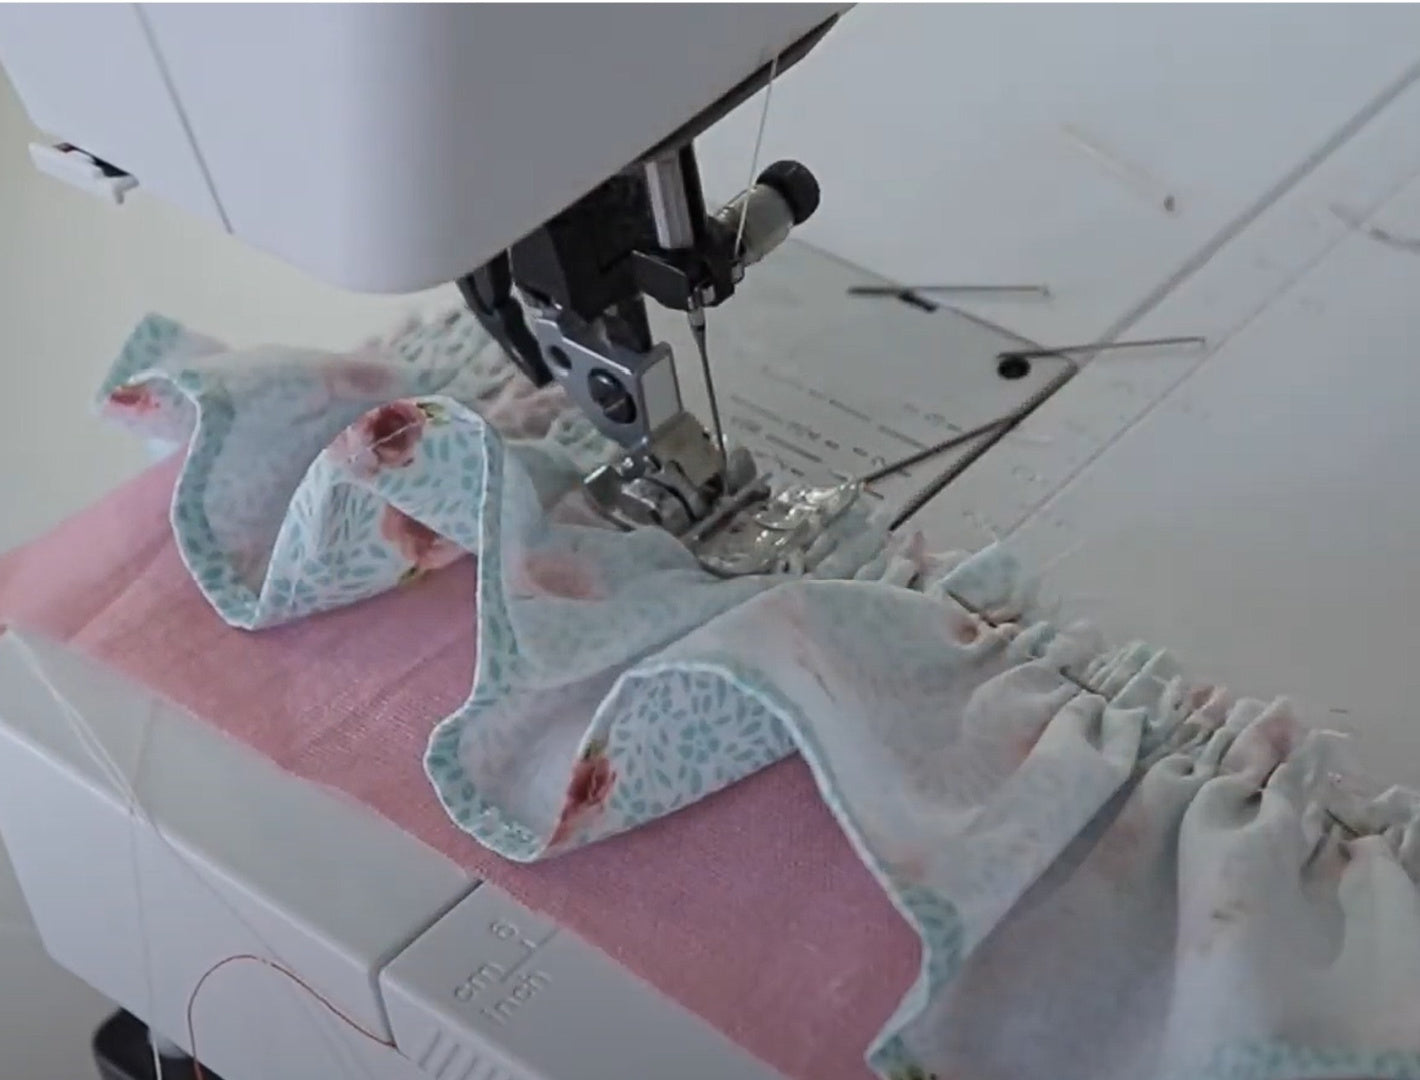
THE FLUTTER SLEEVES
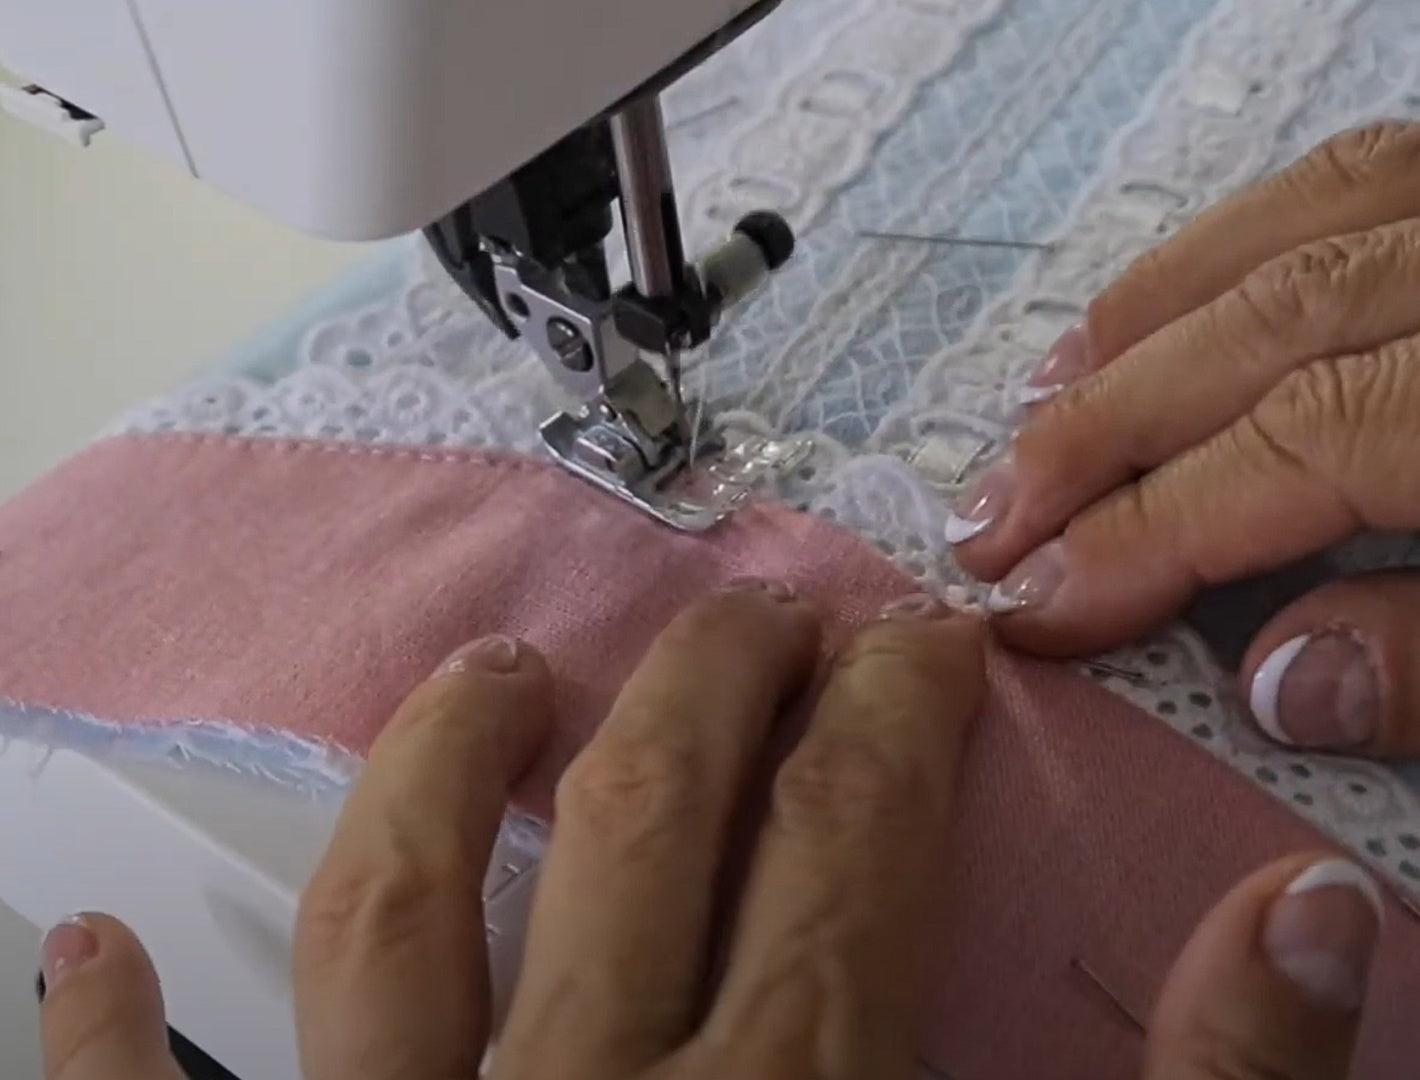
THE FRONT
THE BACK
THE BUTTONHOLES