


BEATRICE BLOUSE
BEATRICE BLOUSE


Regular price
$8.50 USD
Regular price
Sale price
$8.50 USD
Unit price
per
Couldn't load pickup availability
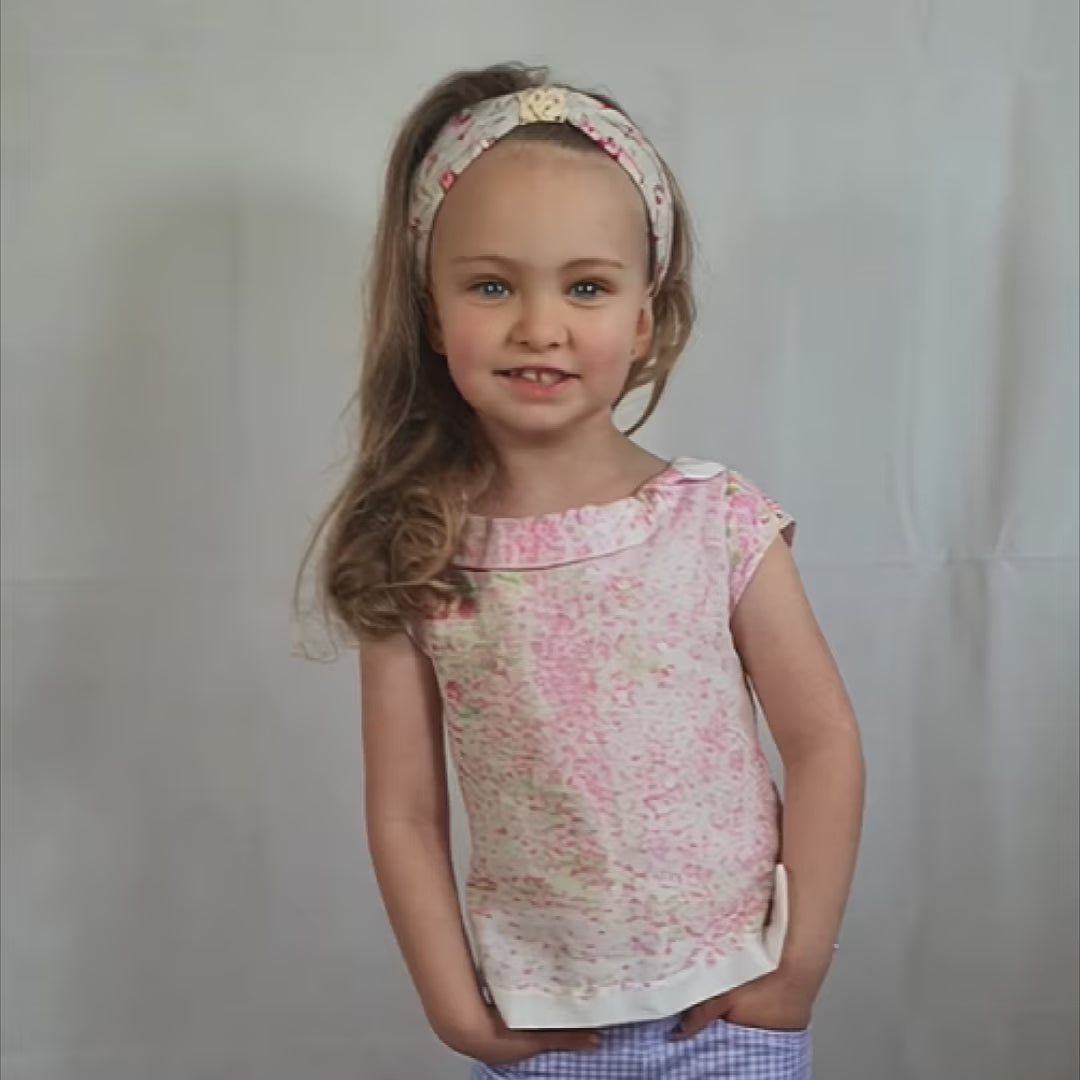
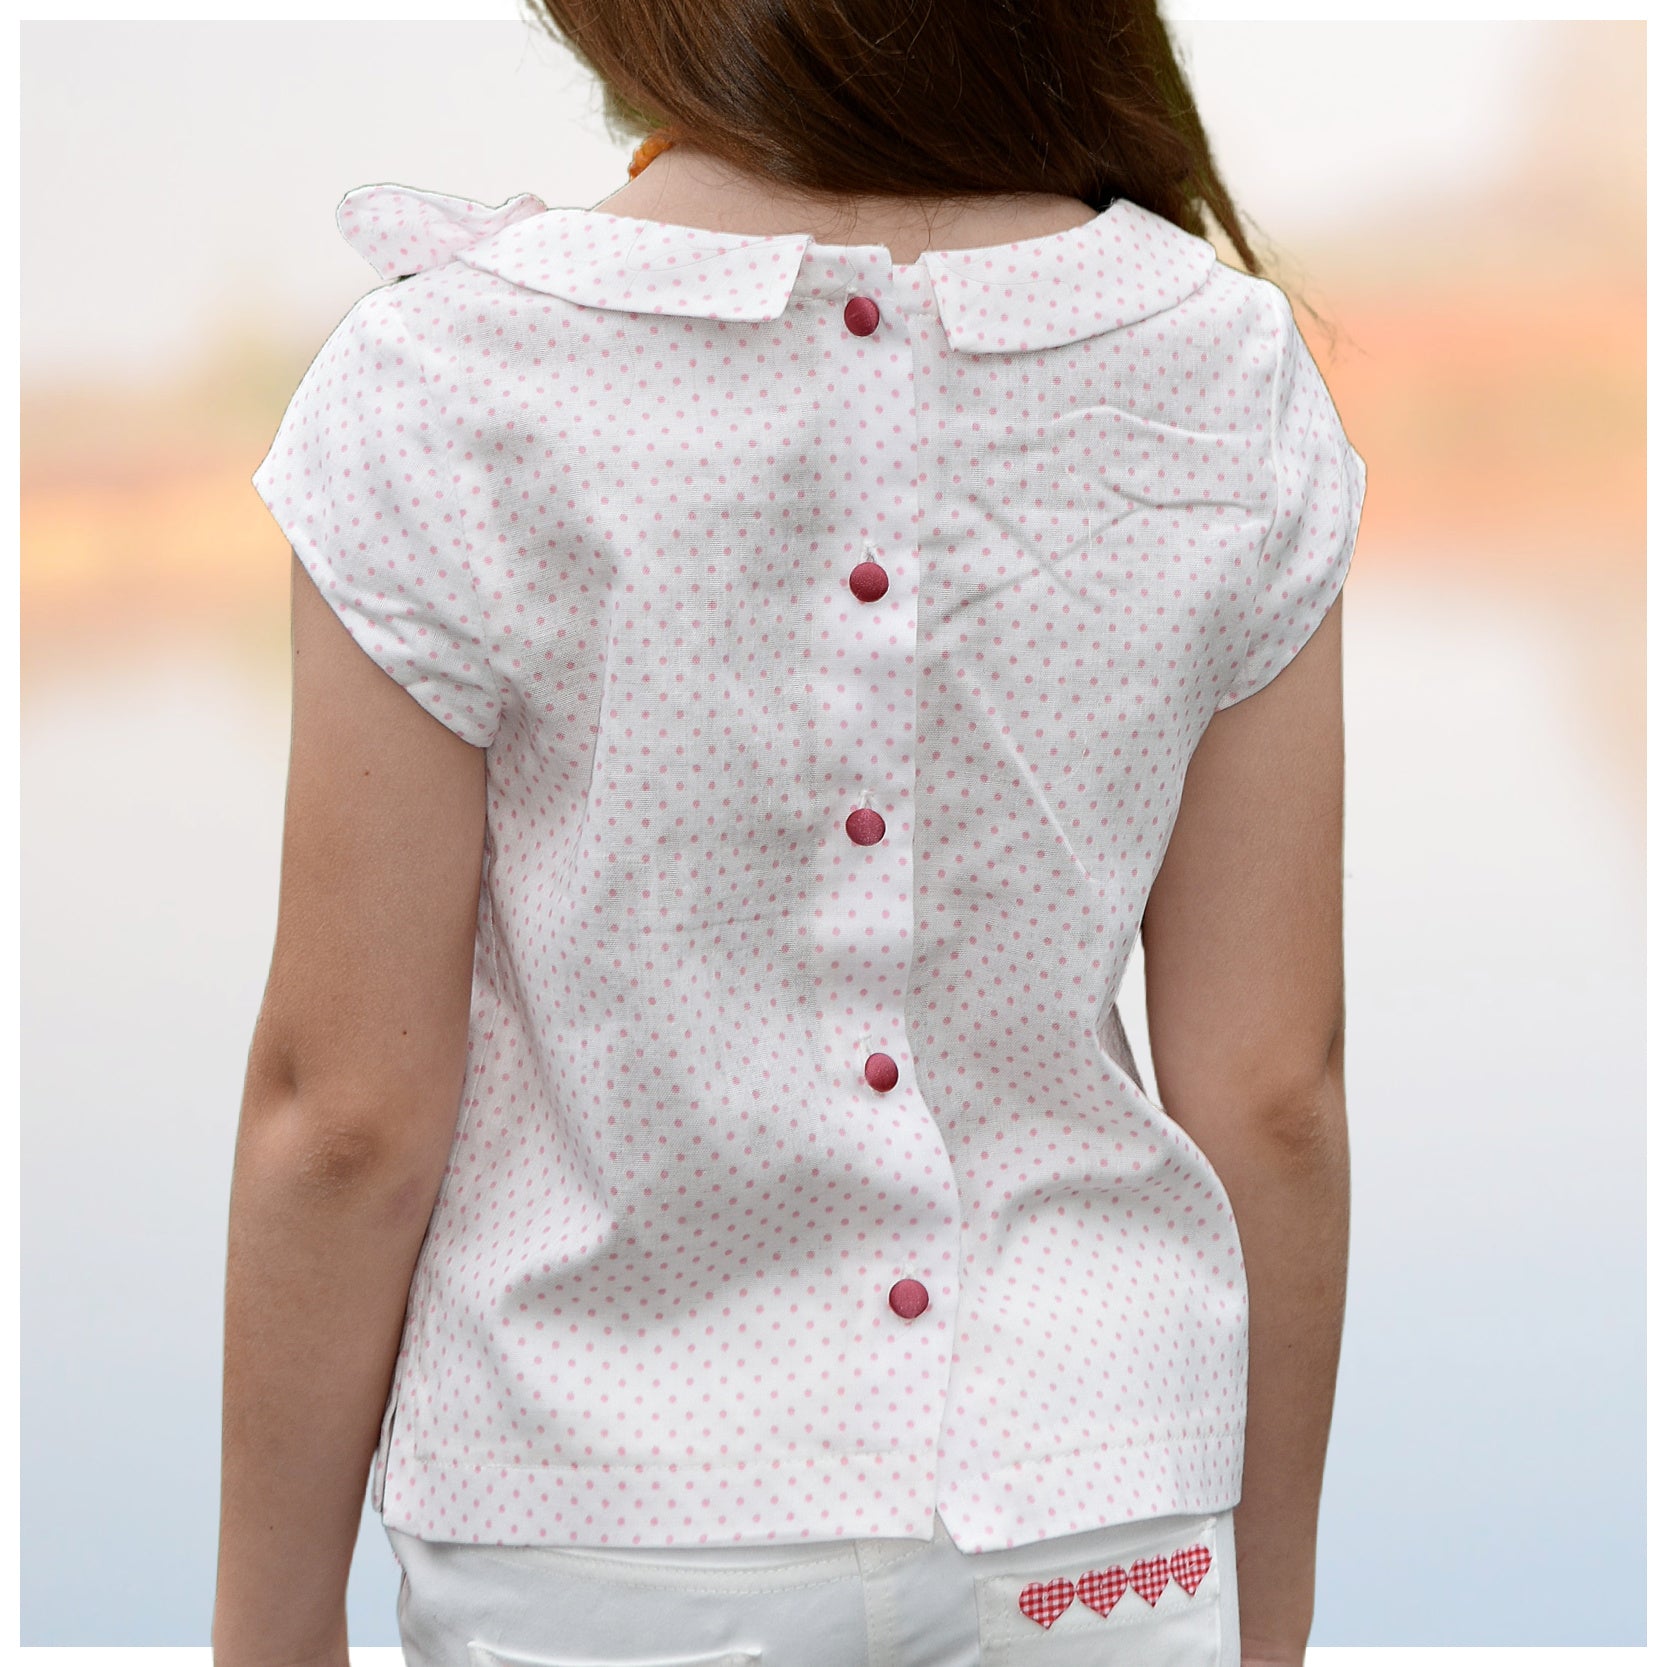
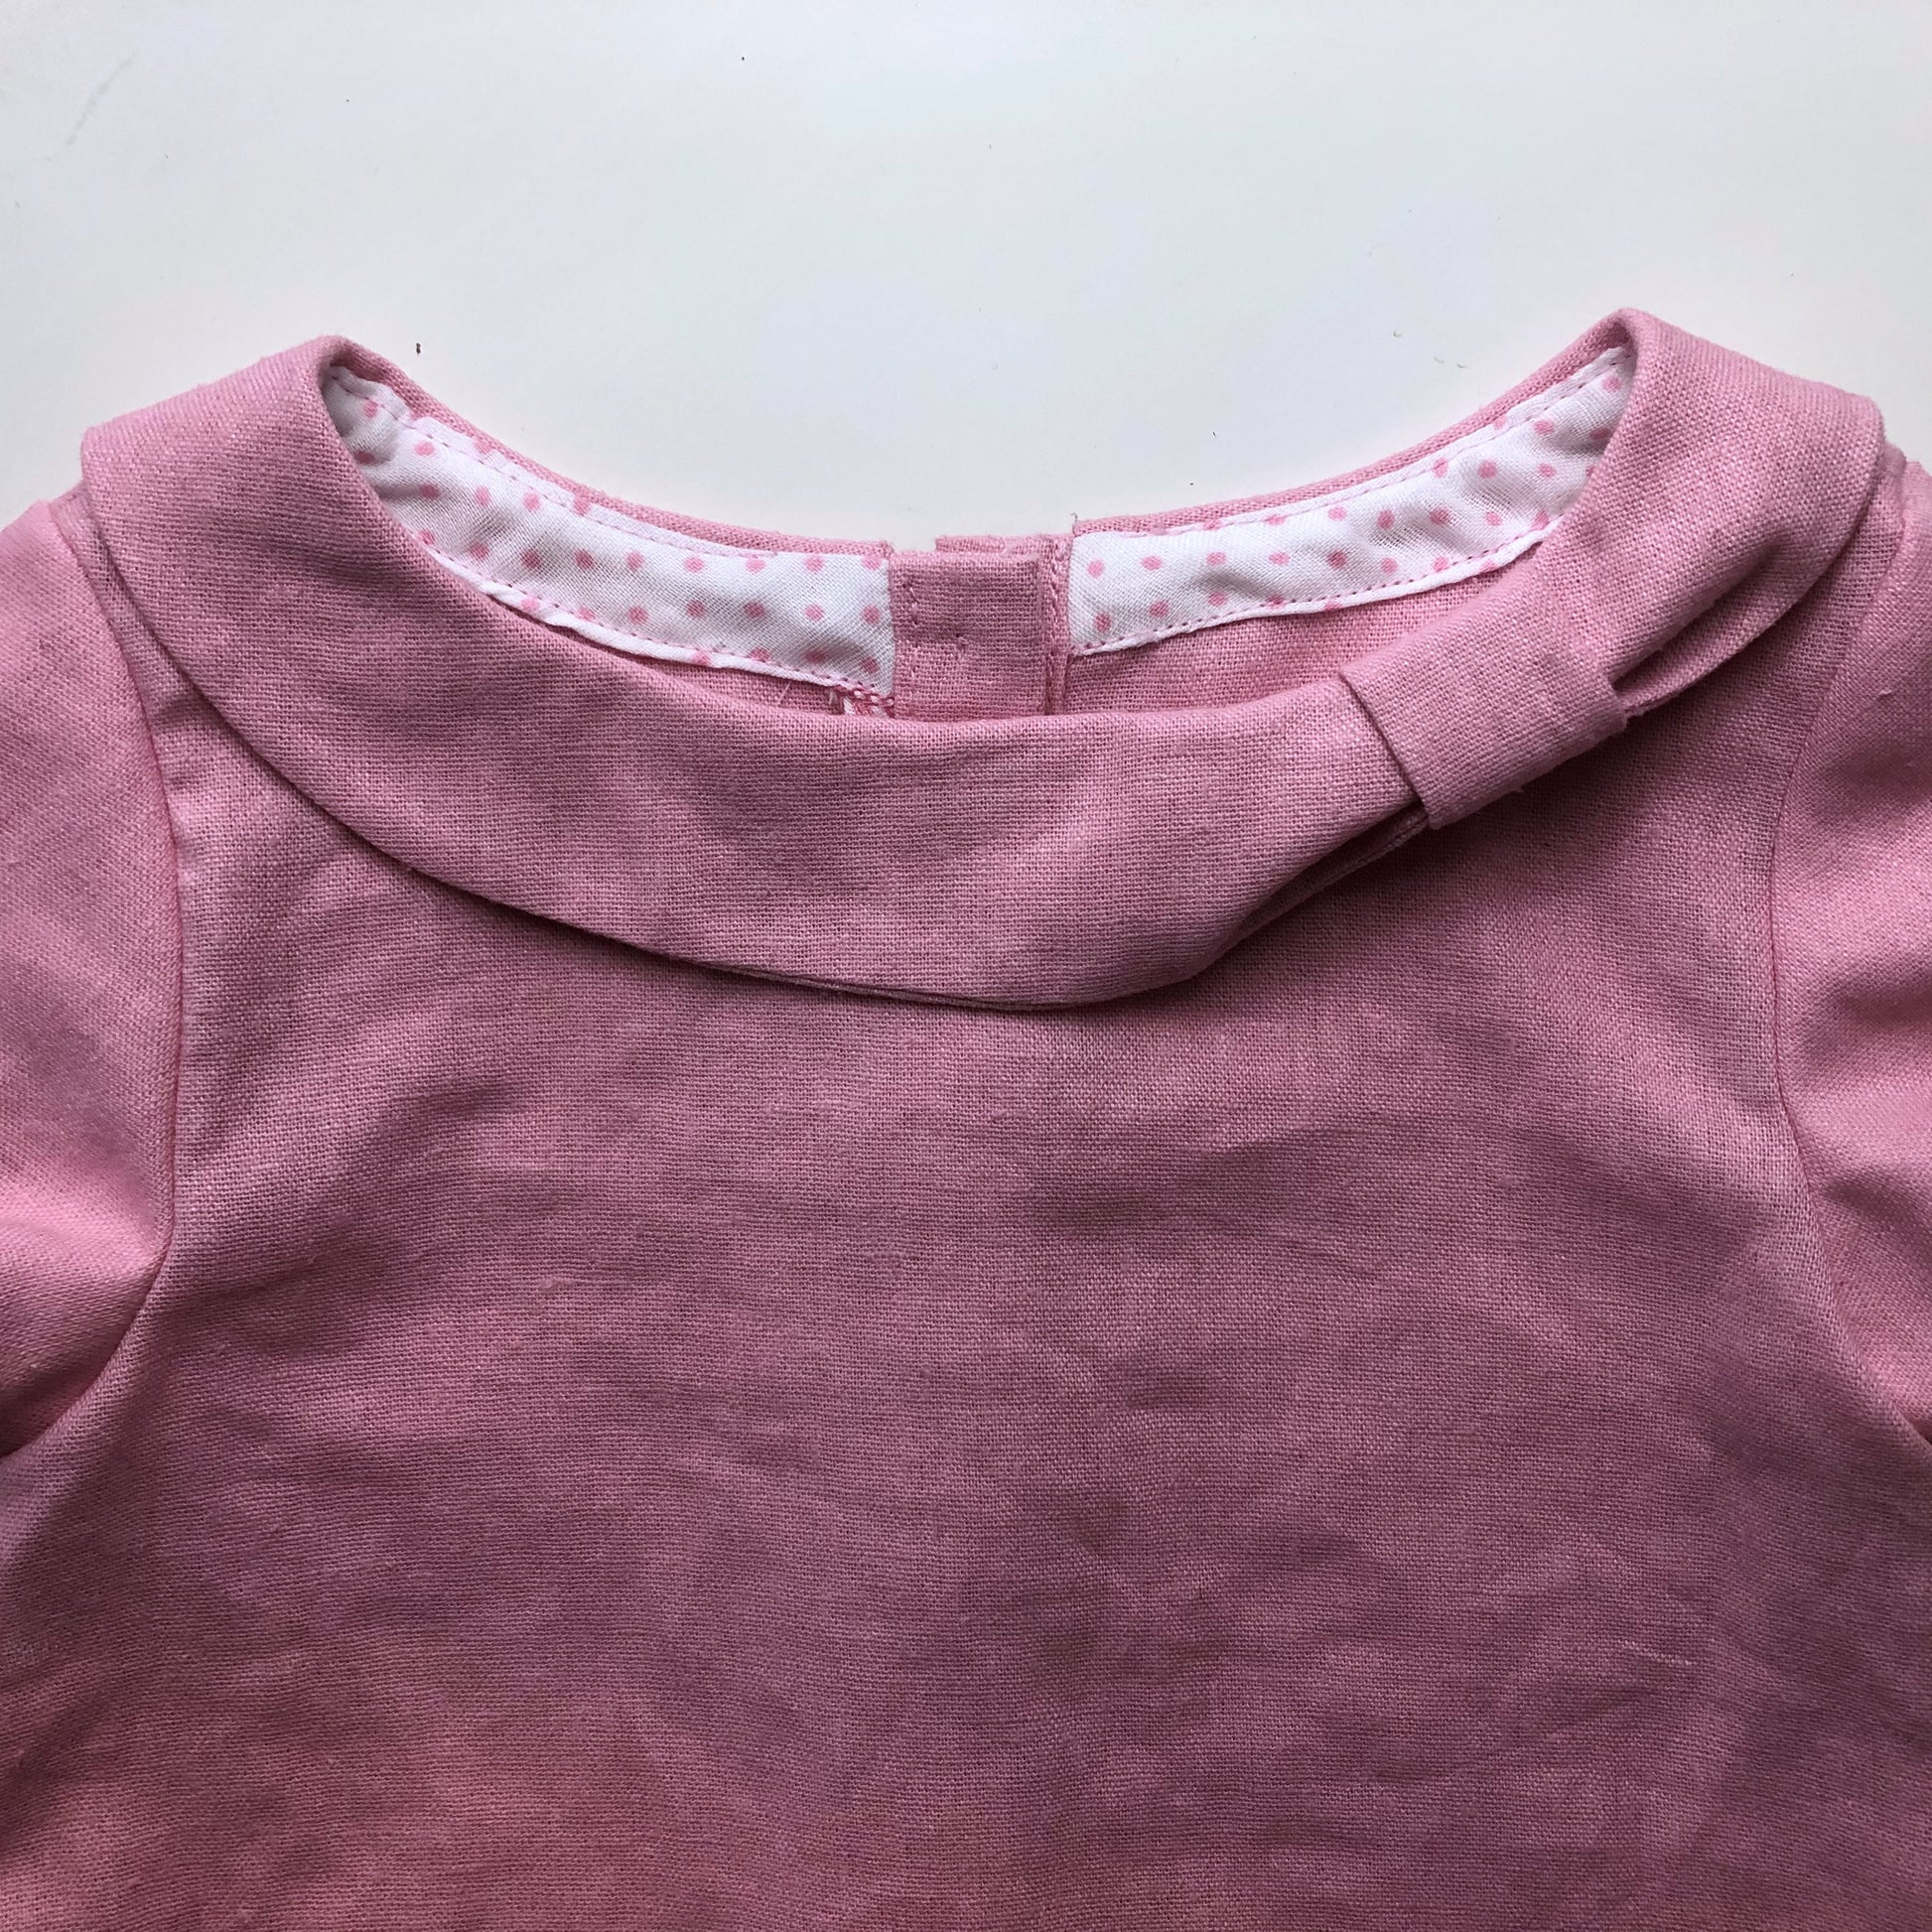
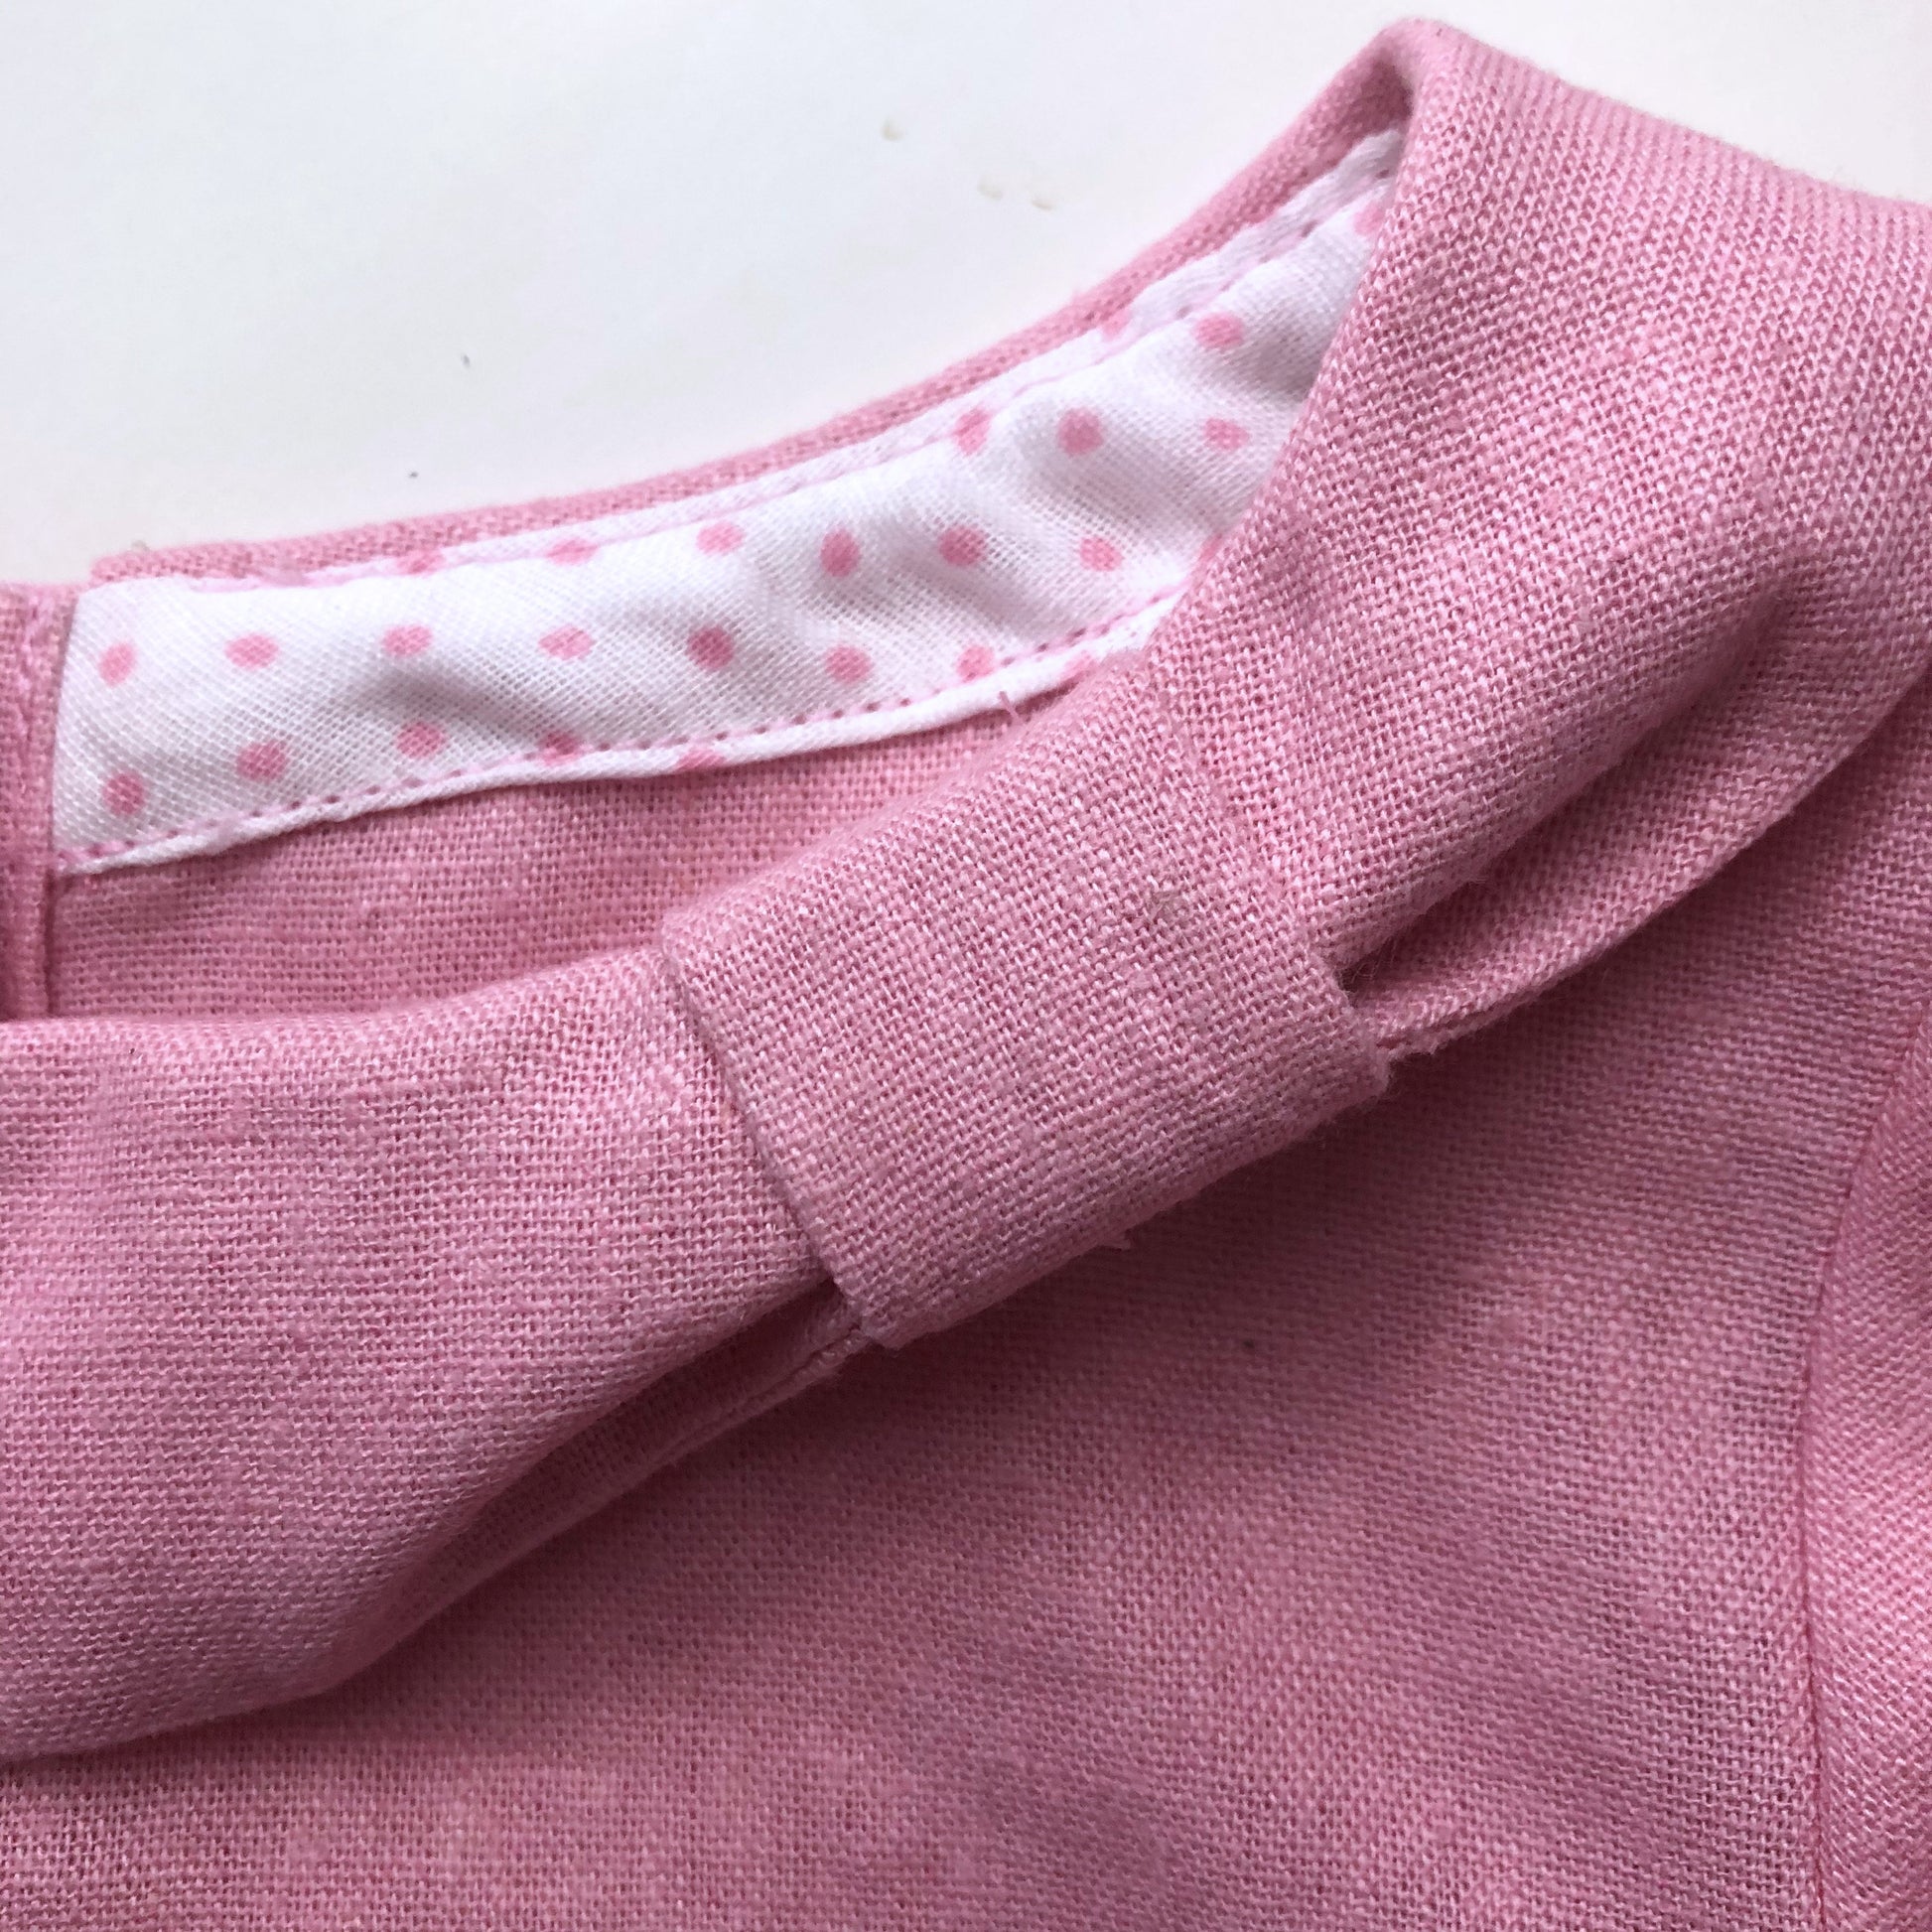
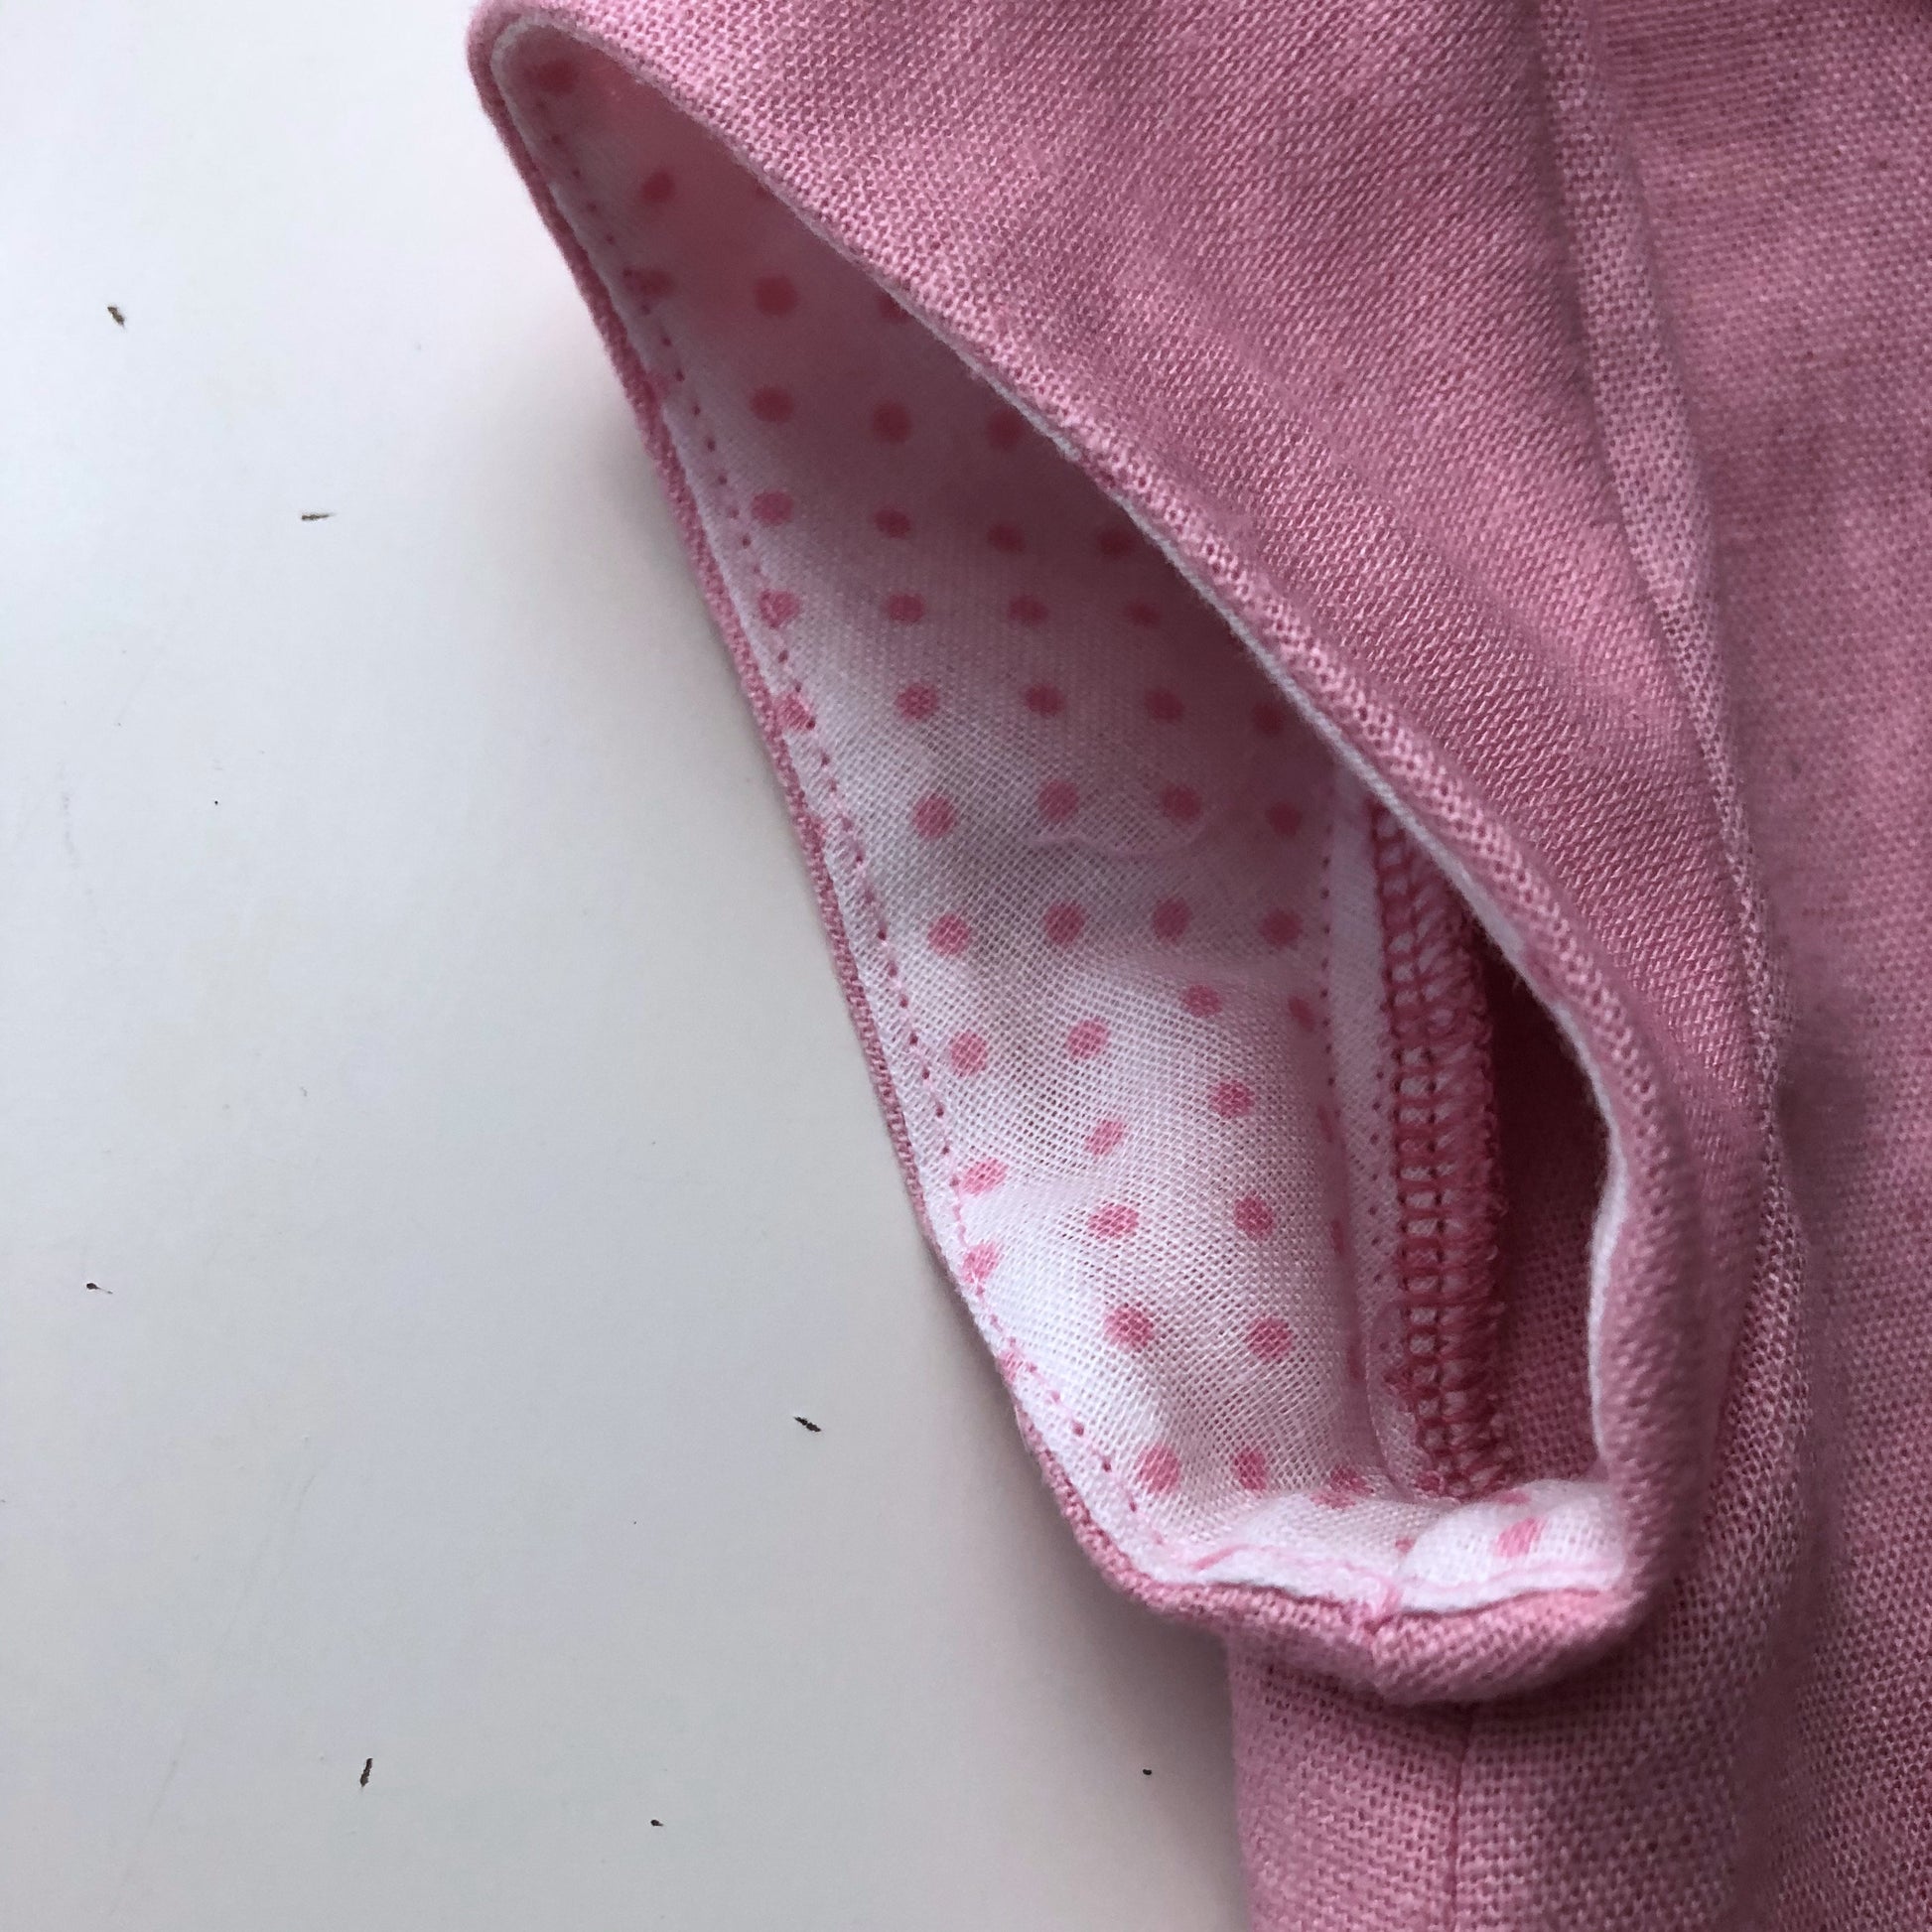
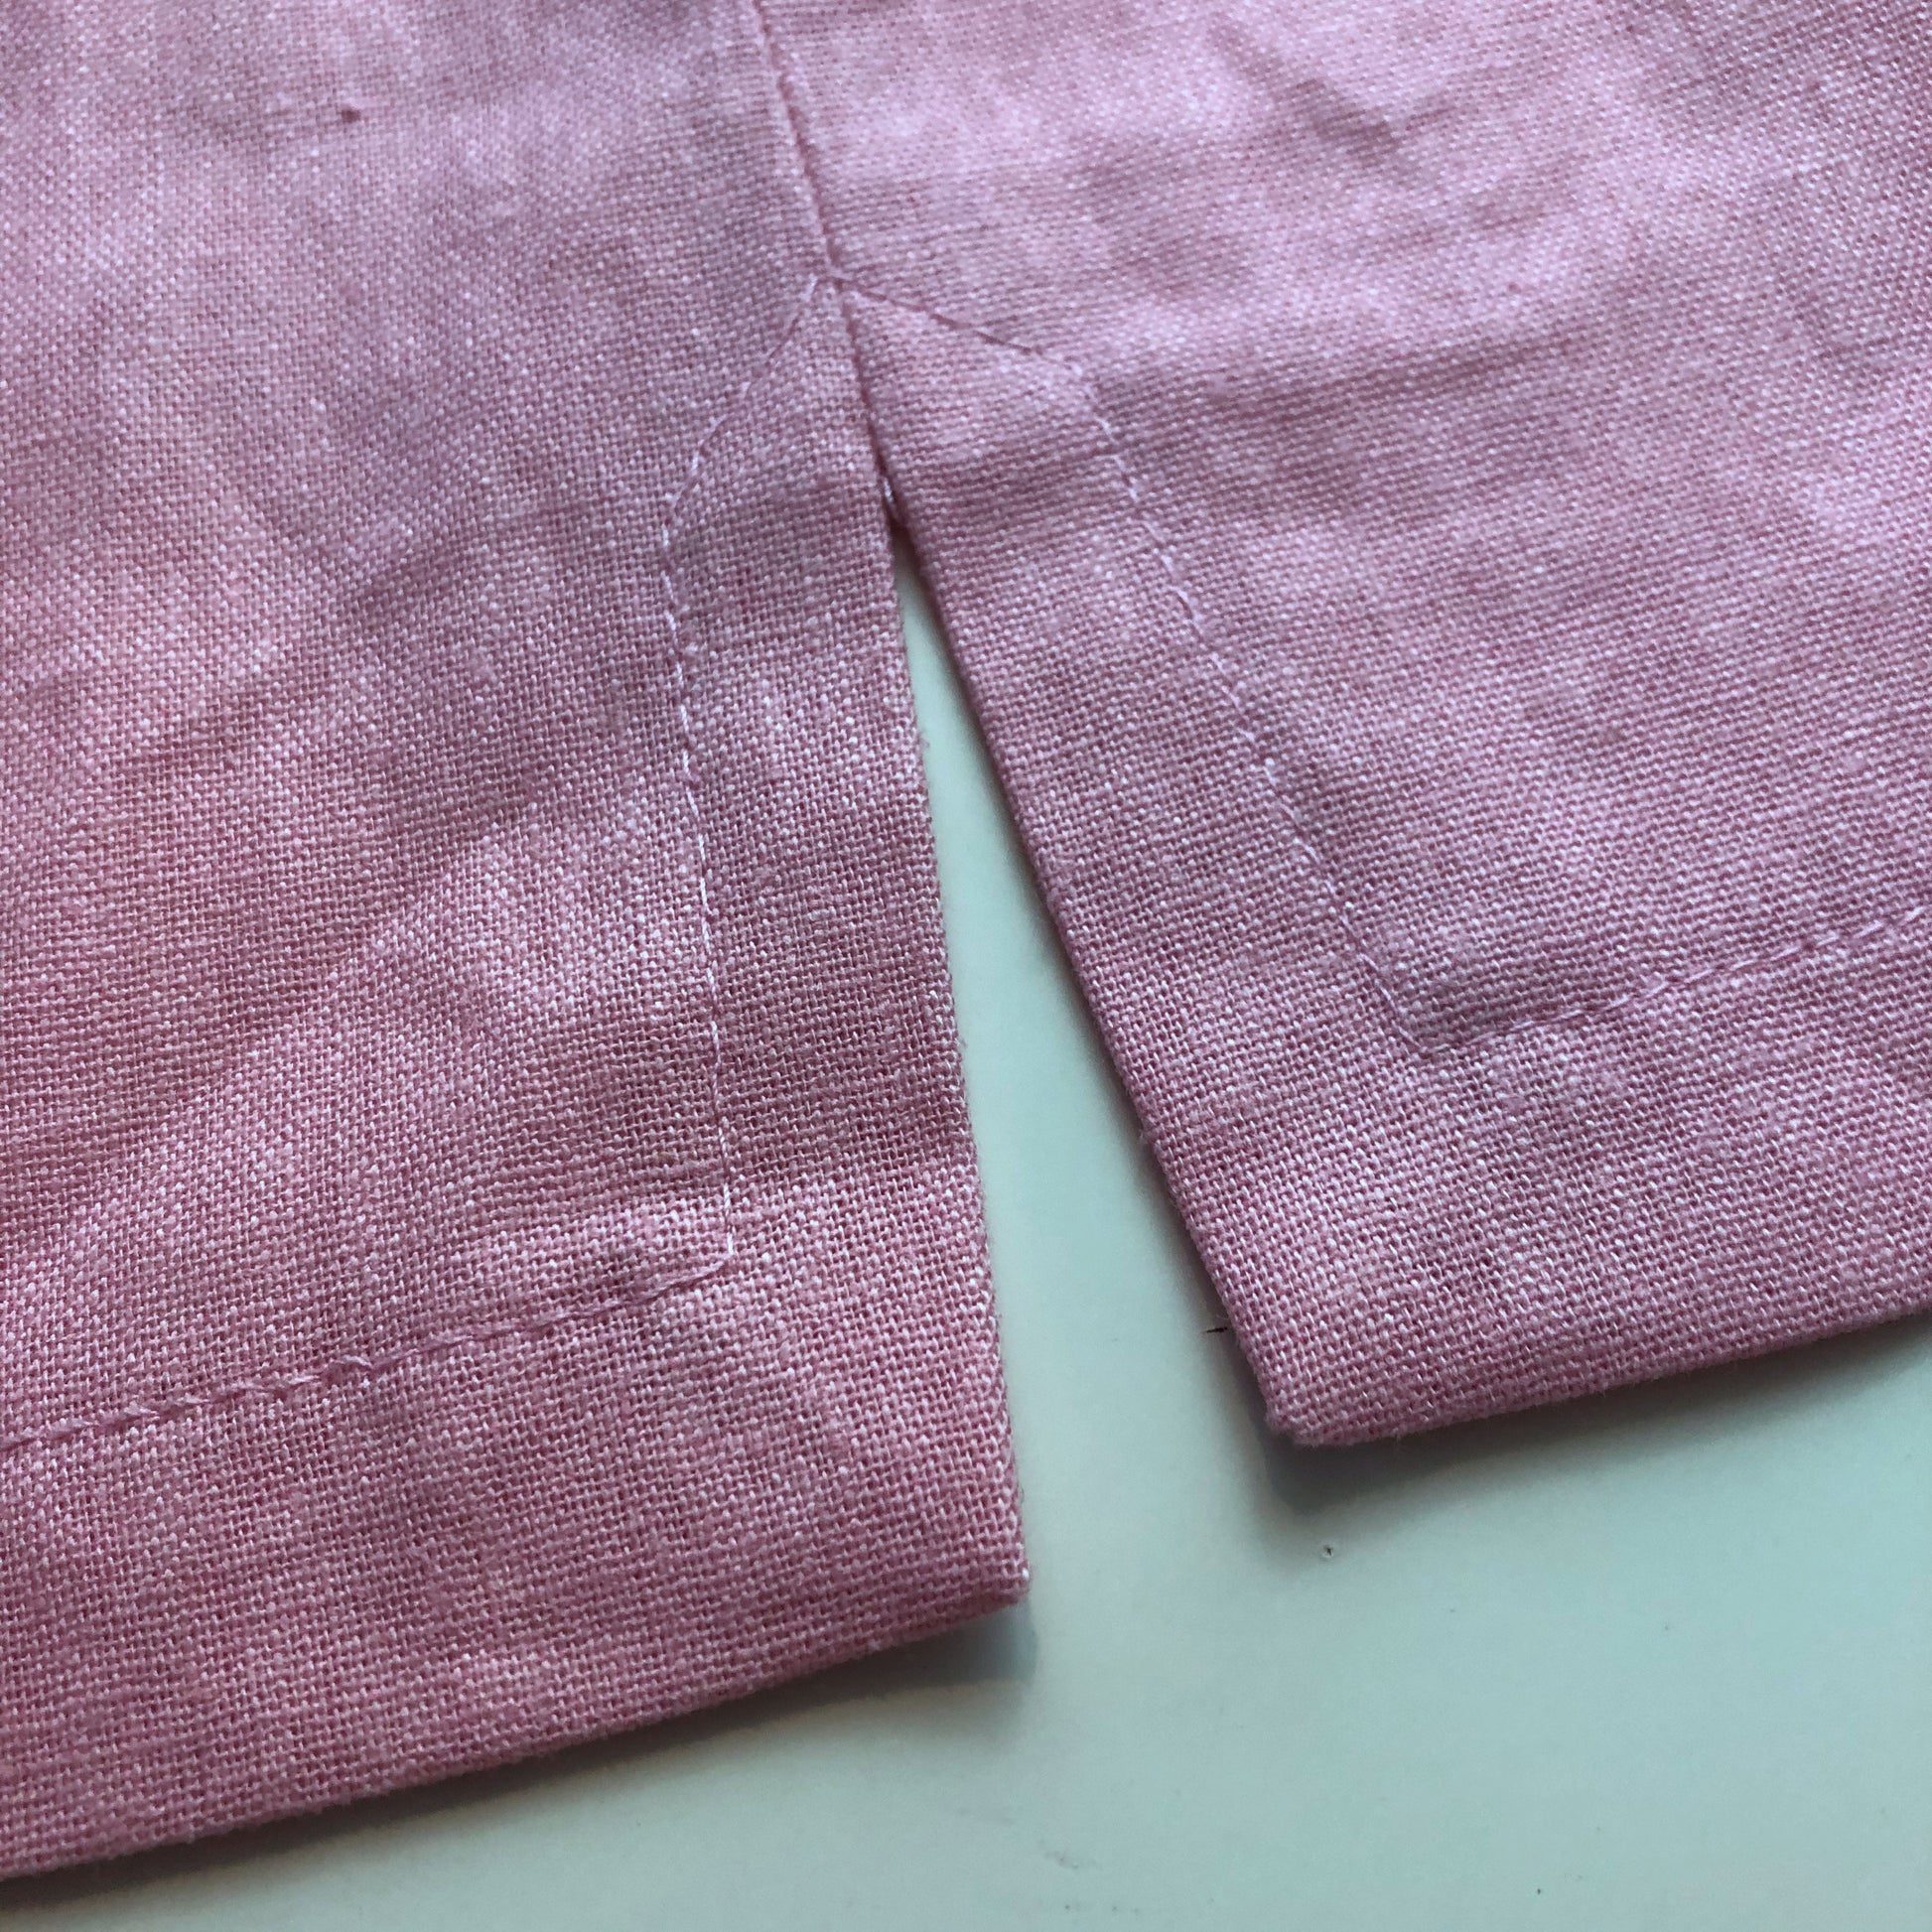
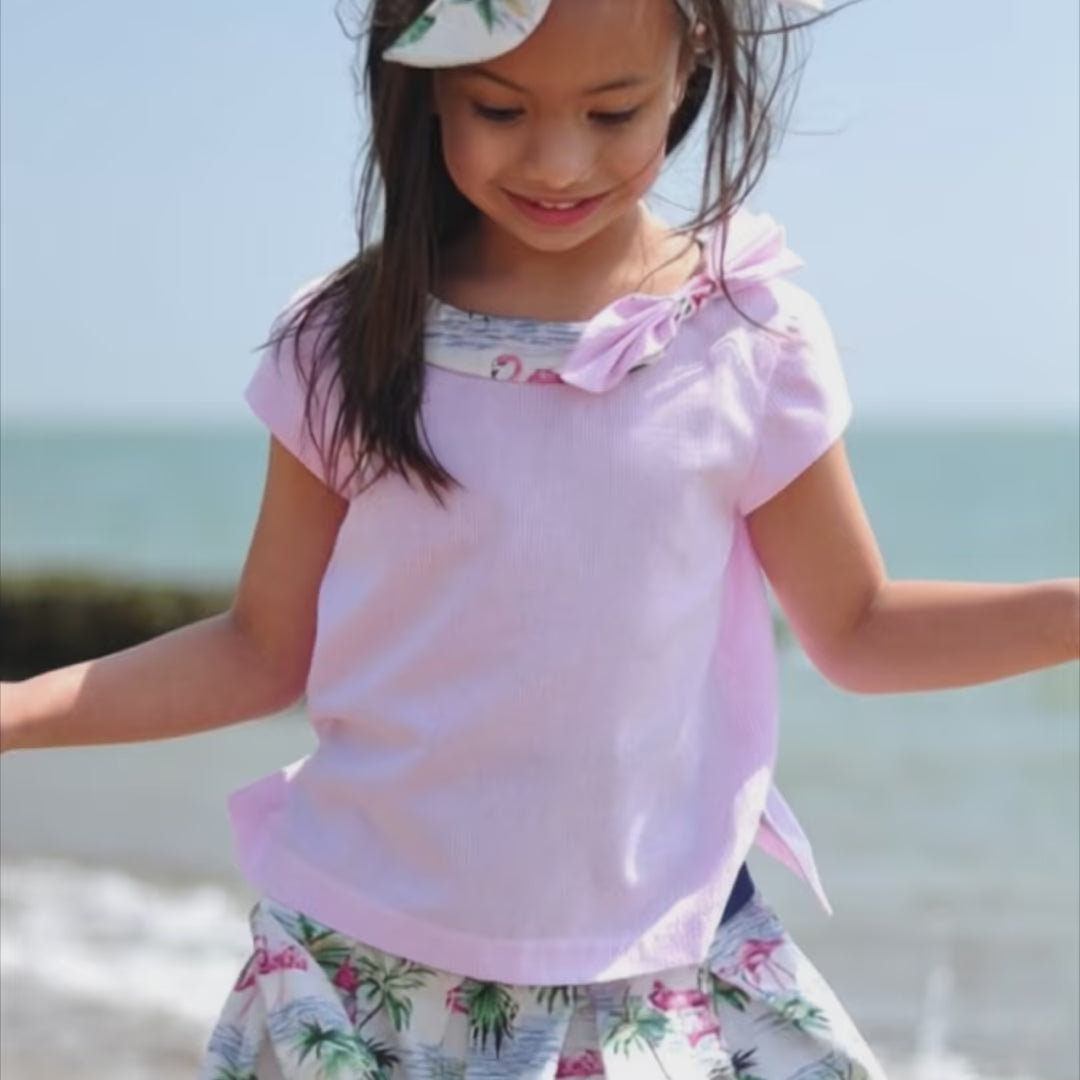
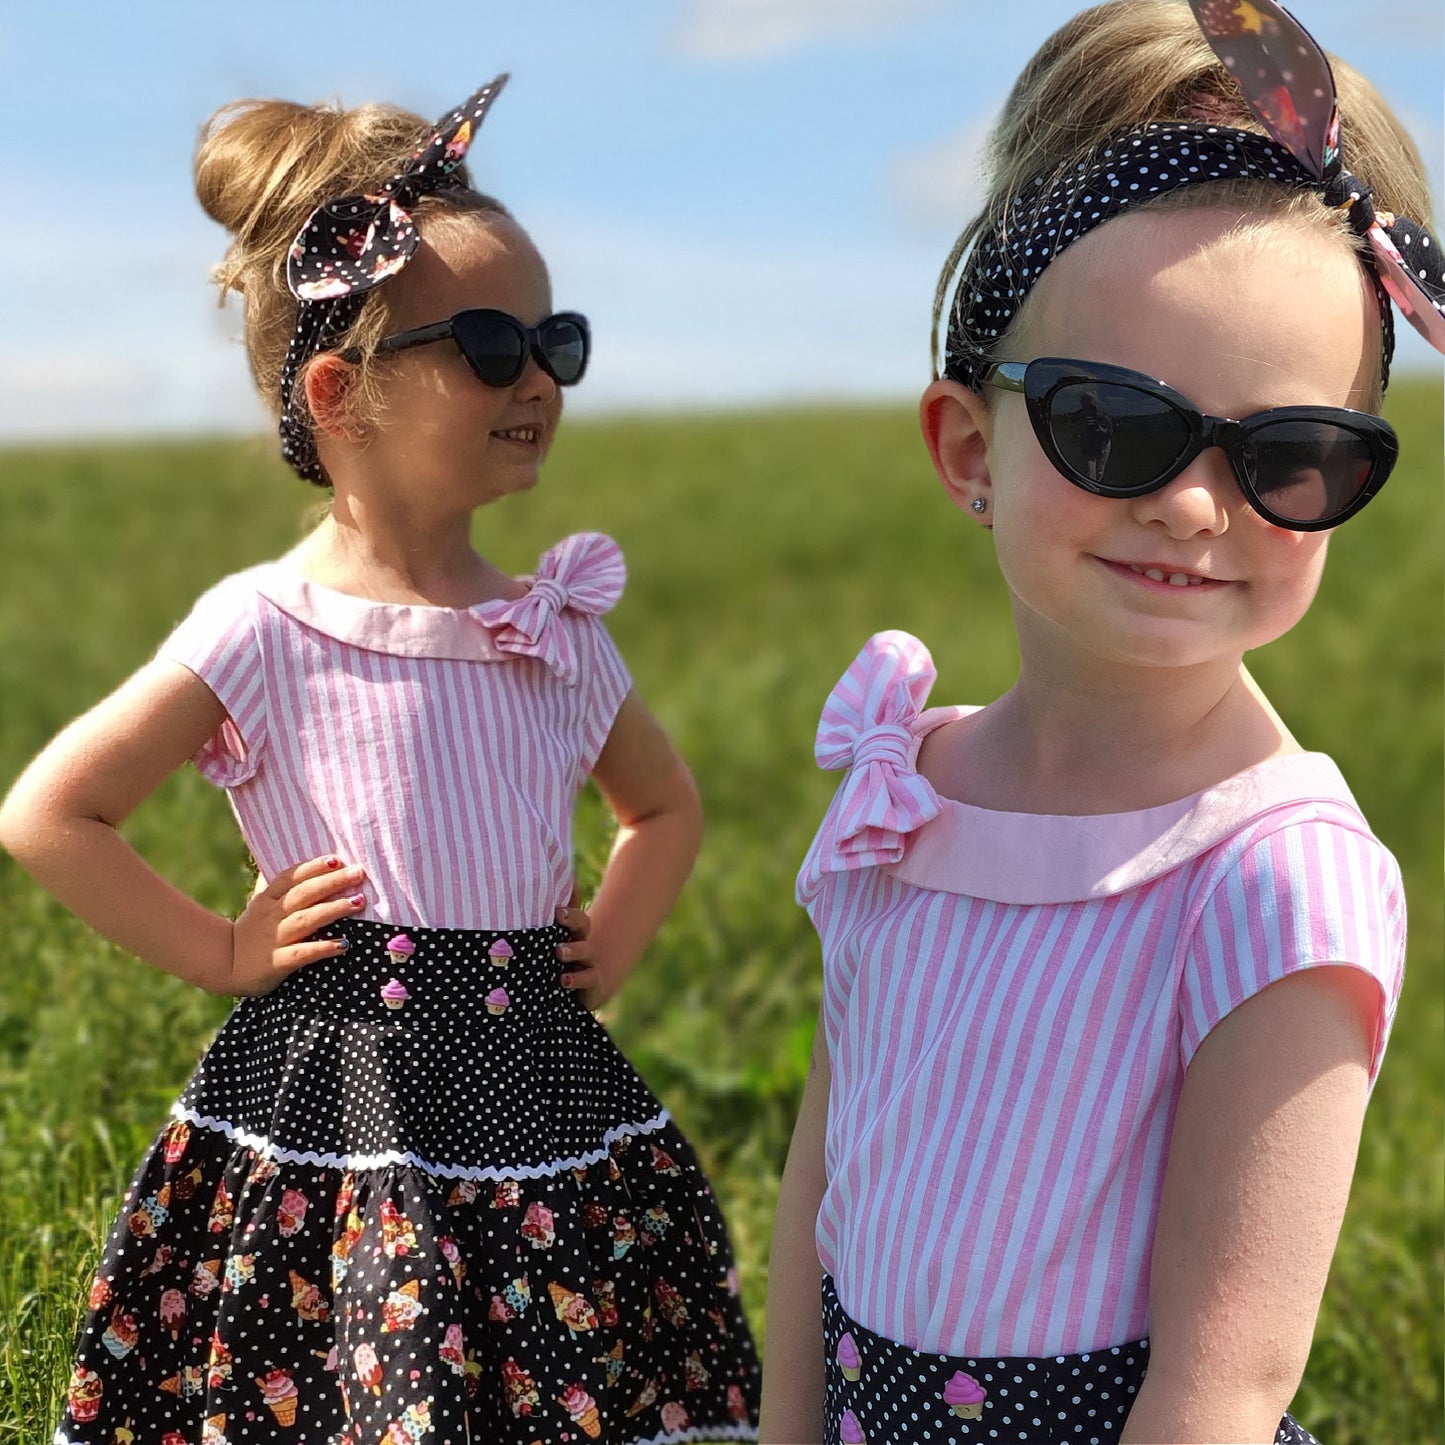
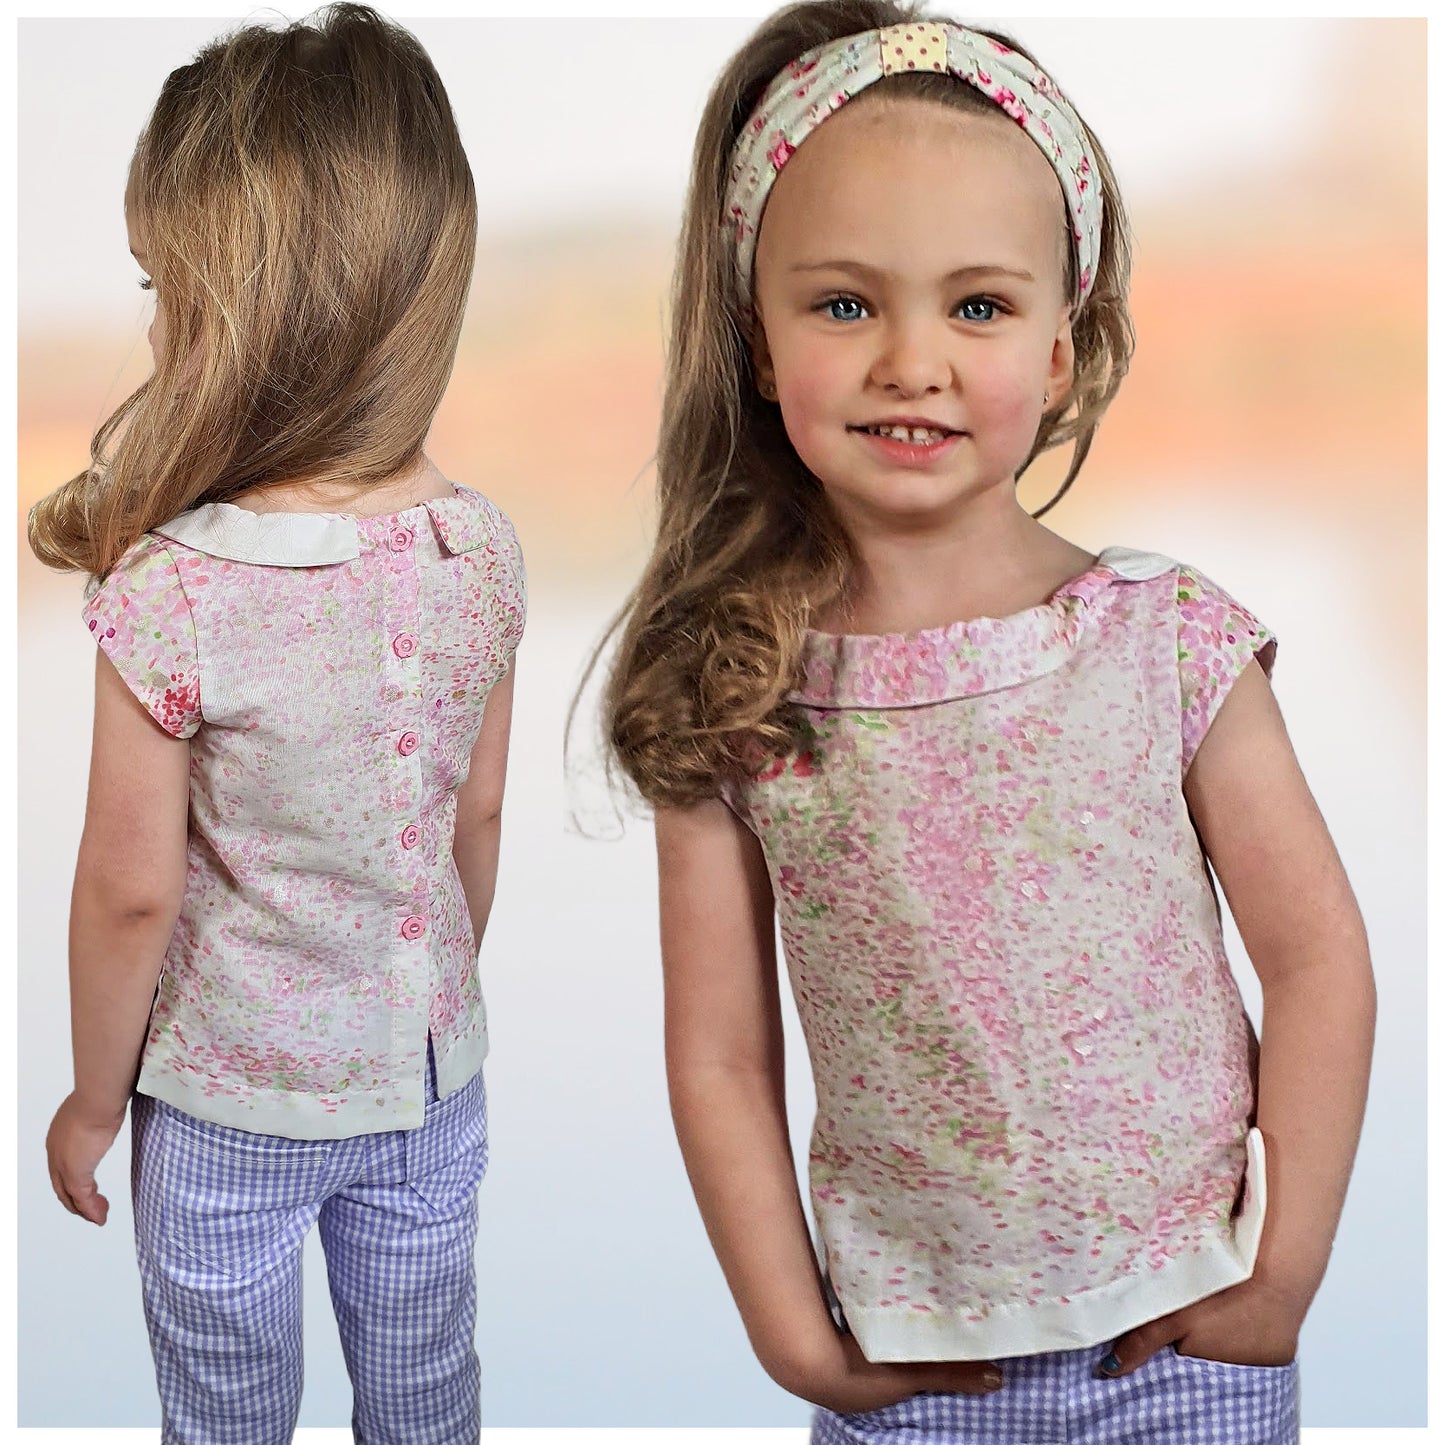
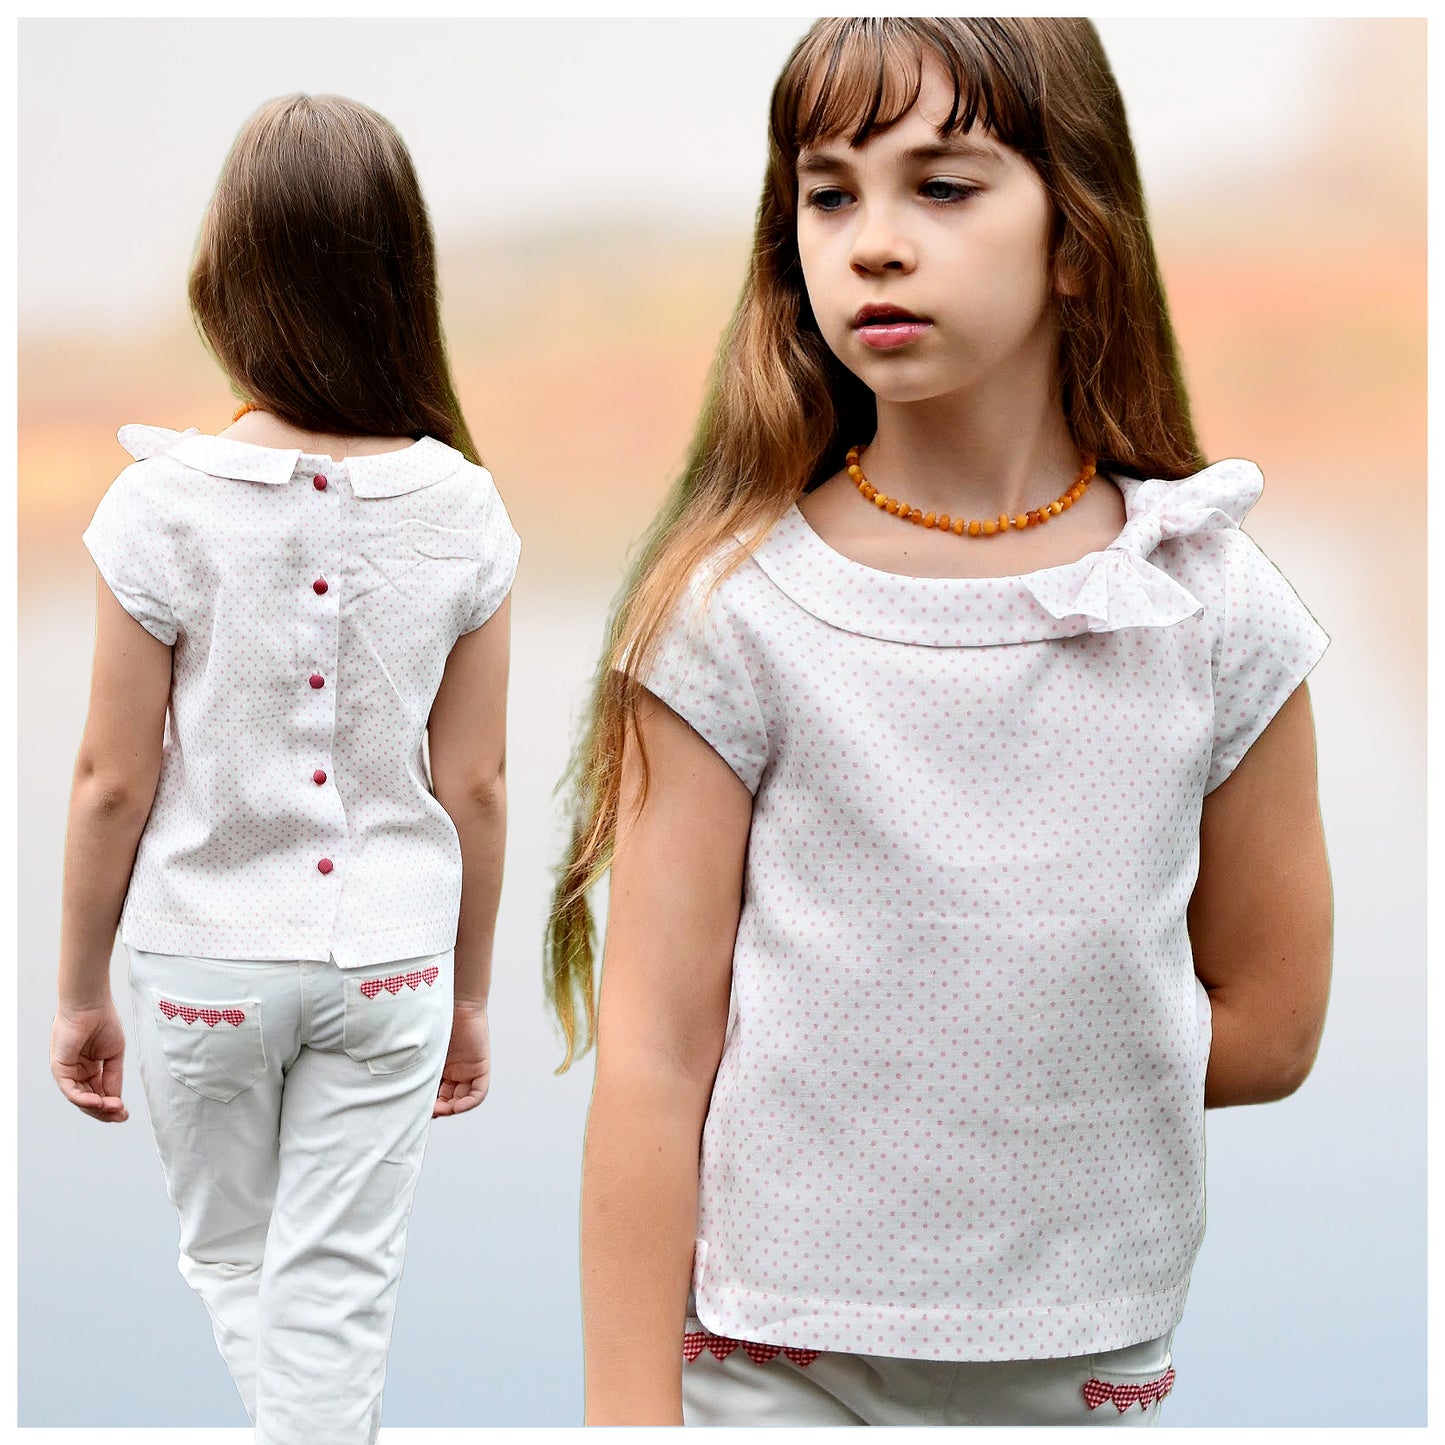
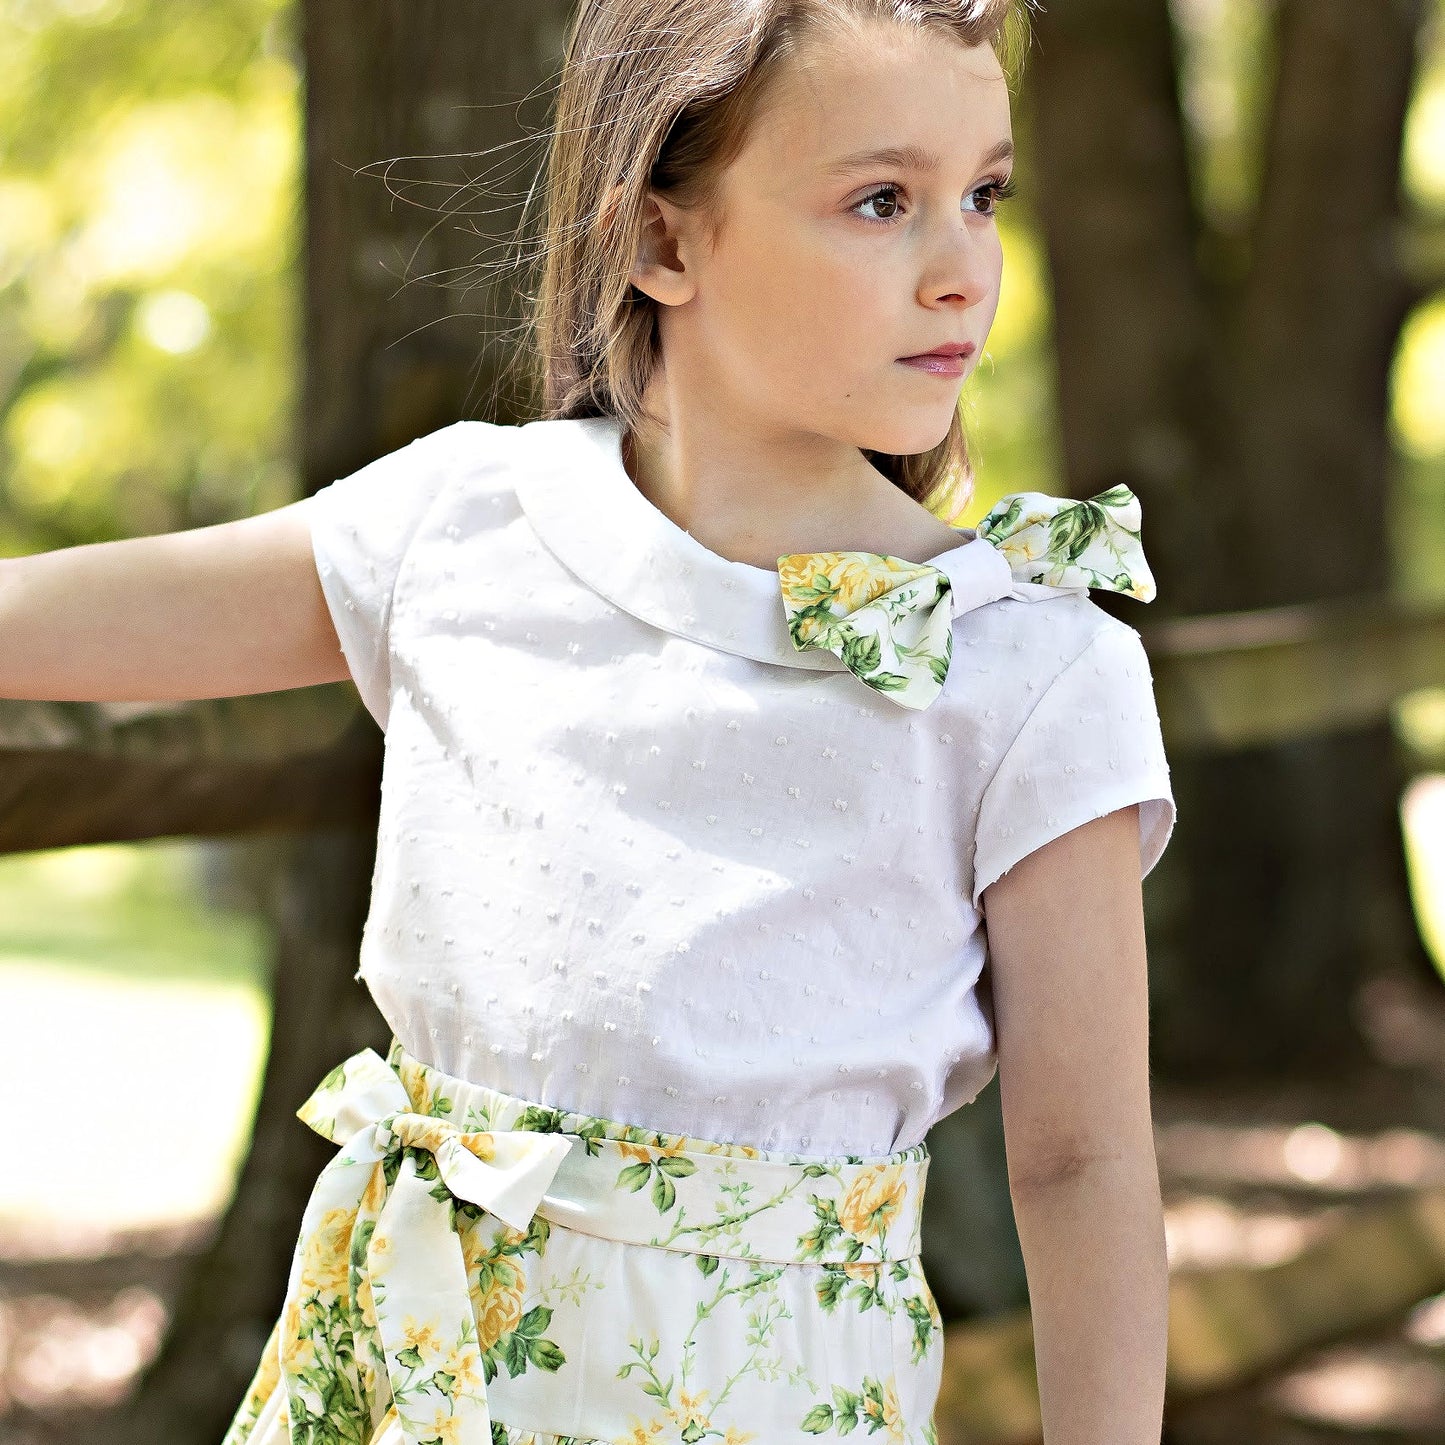
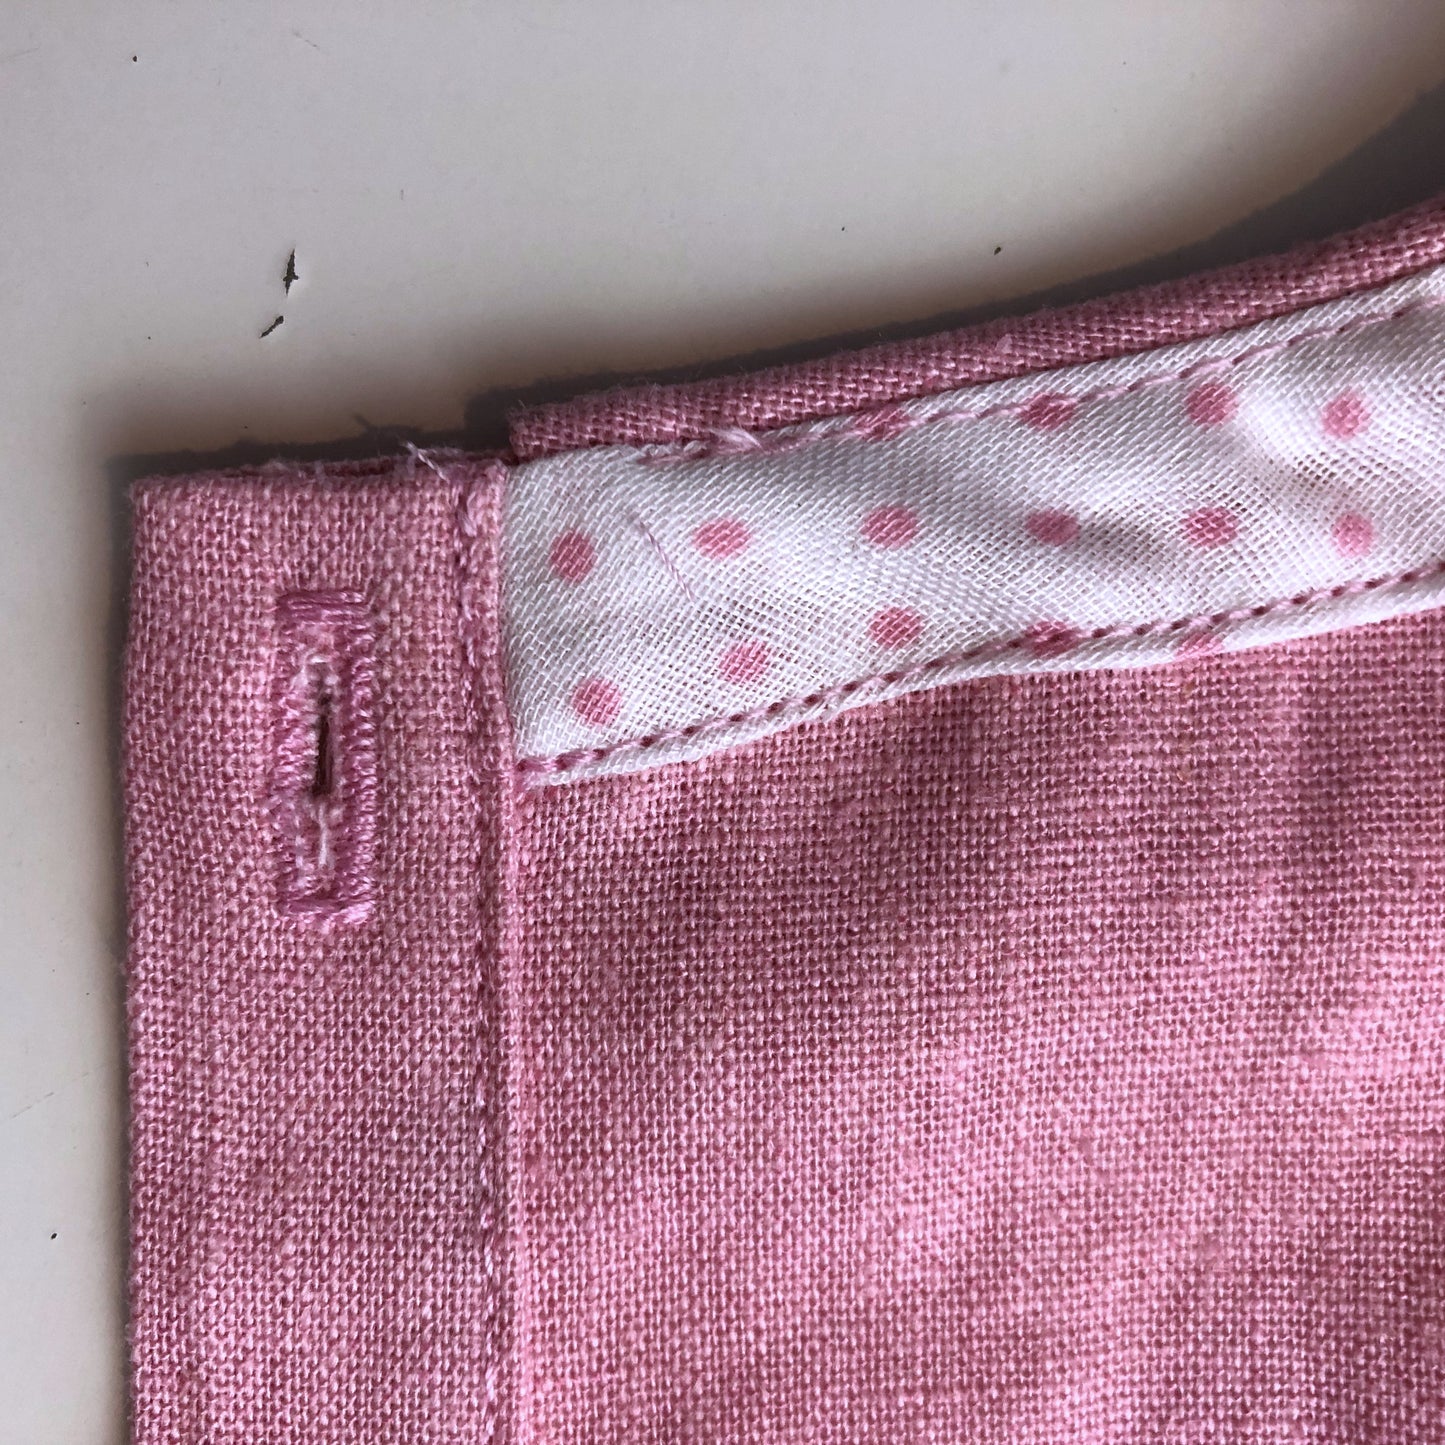
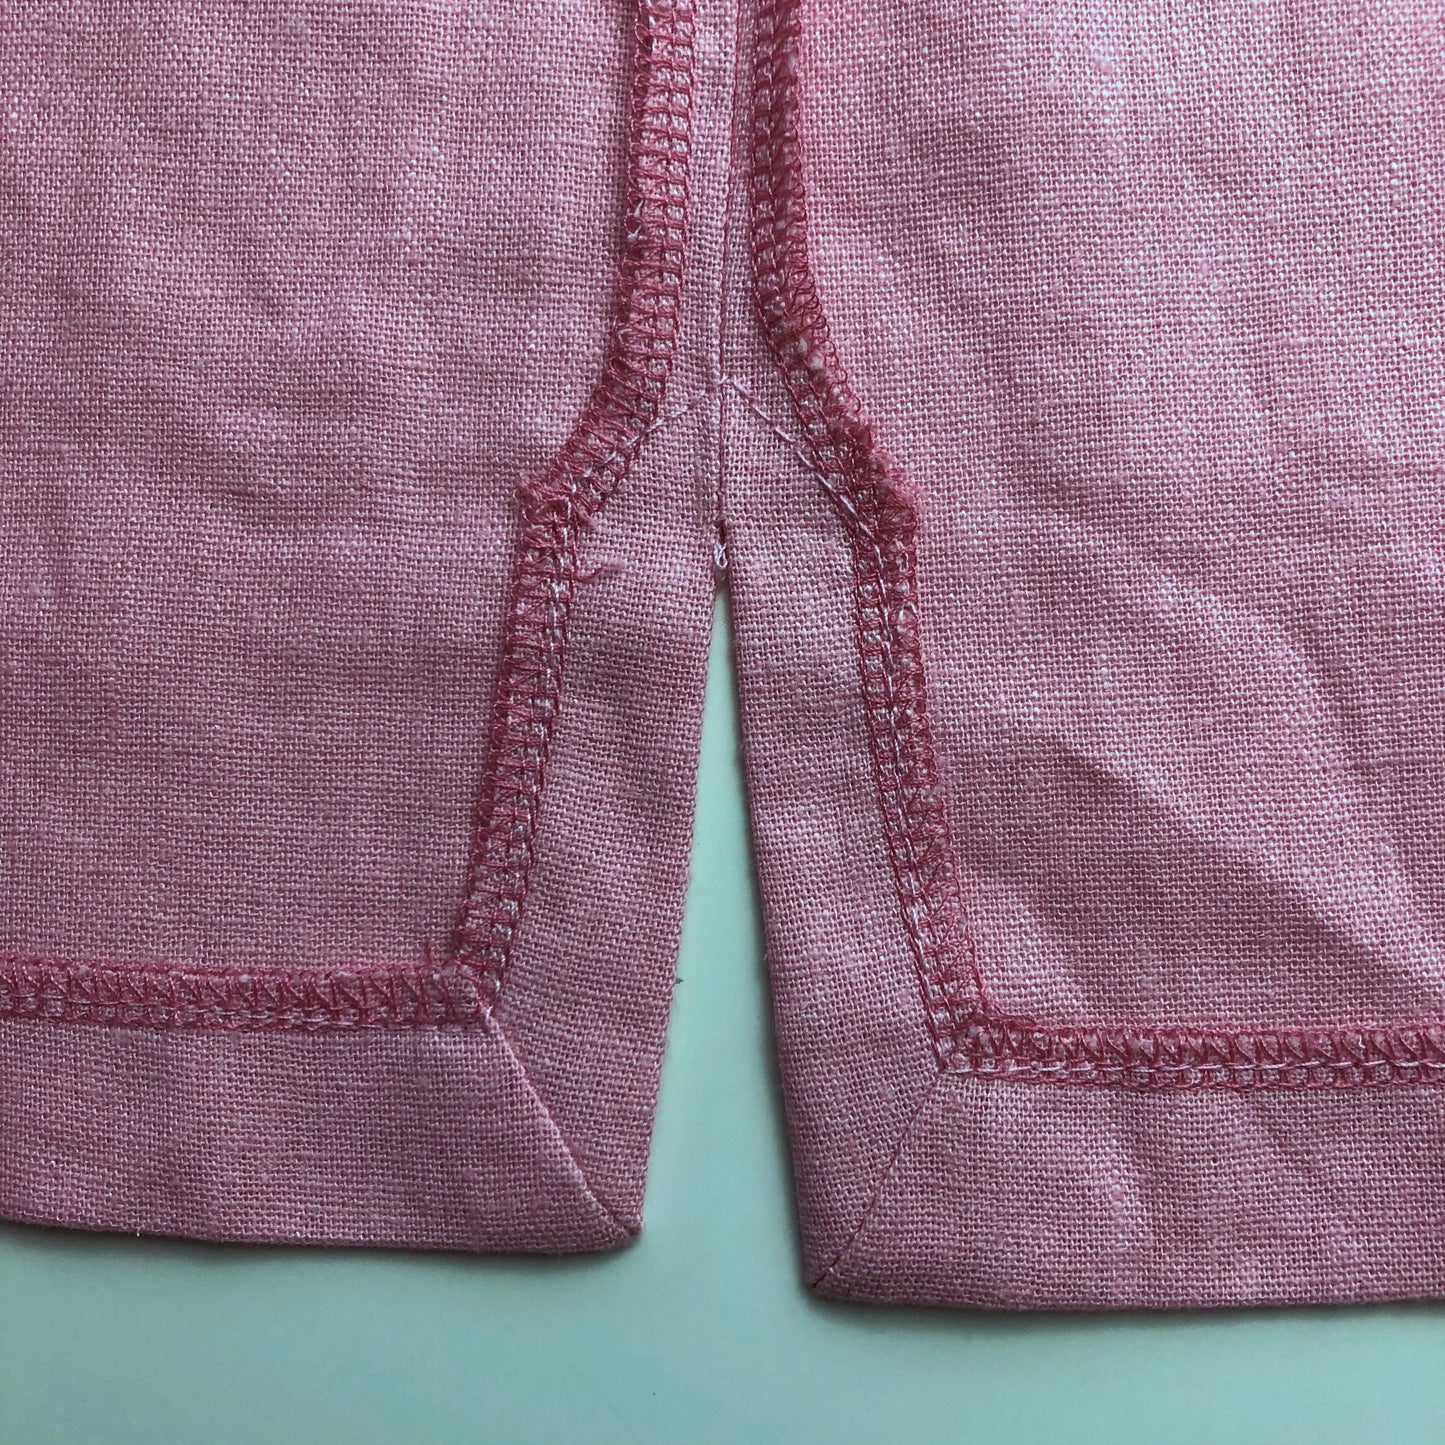
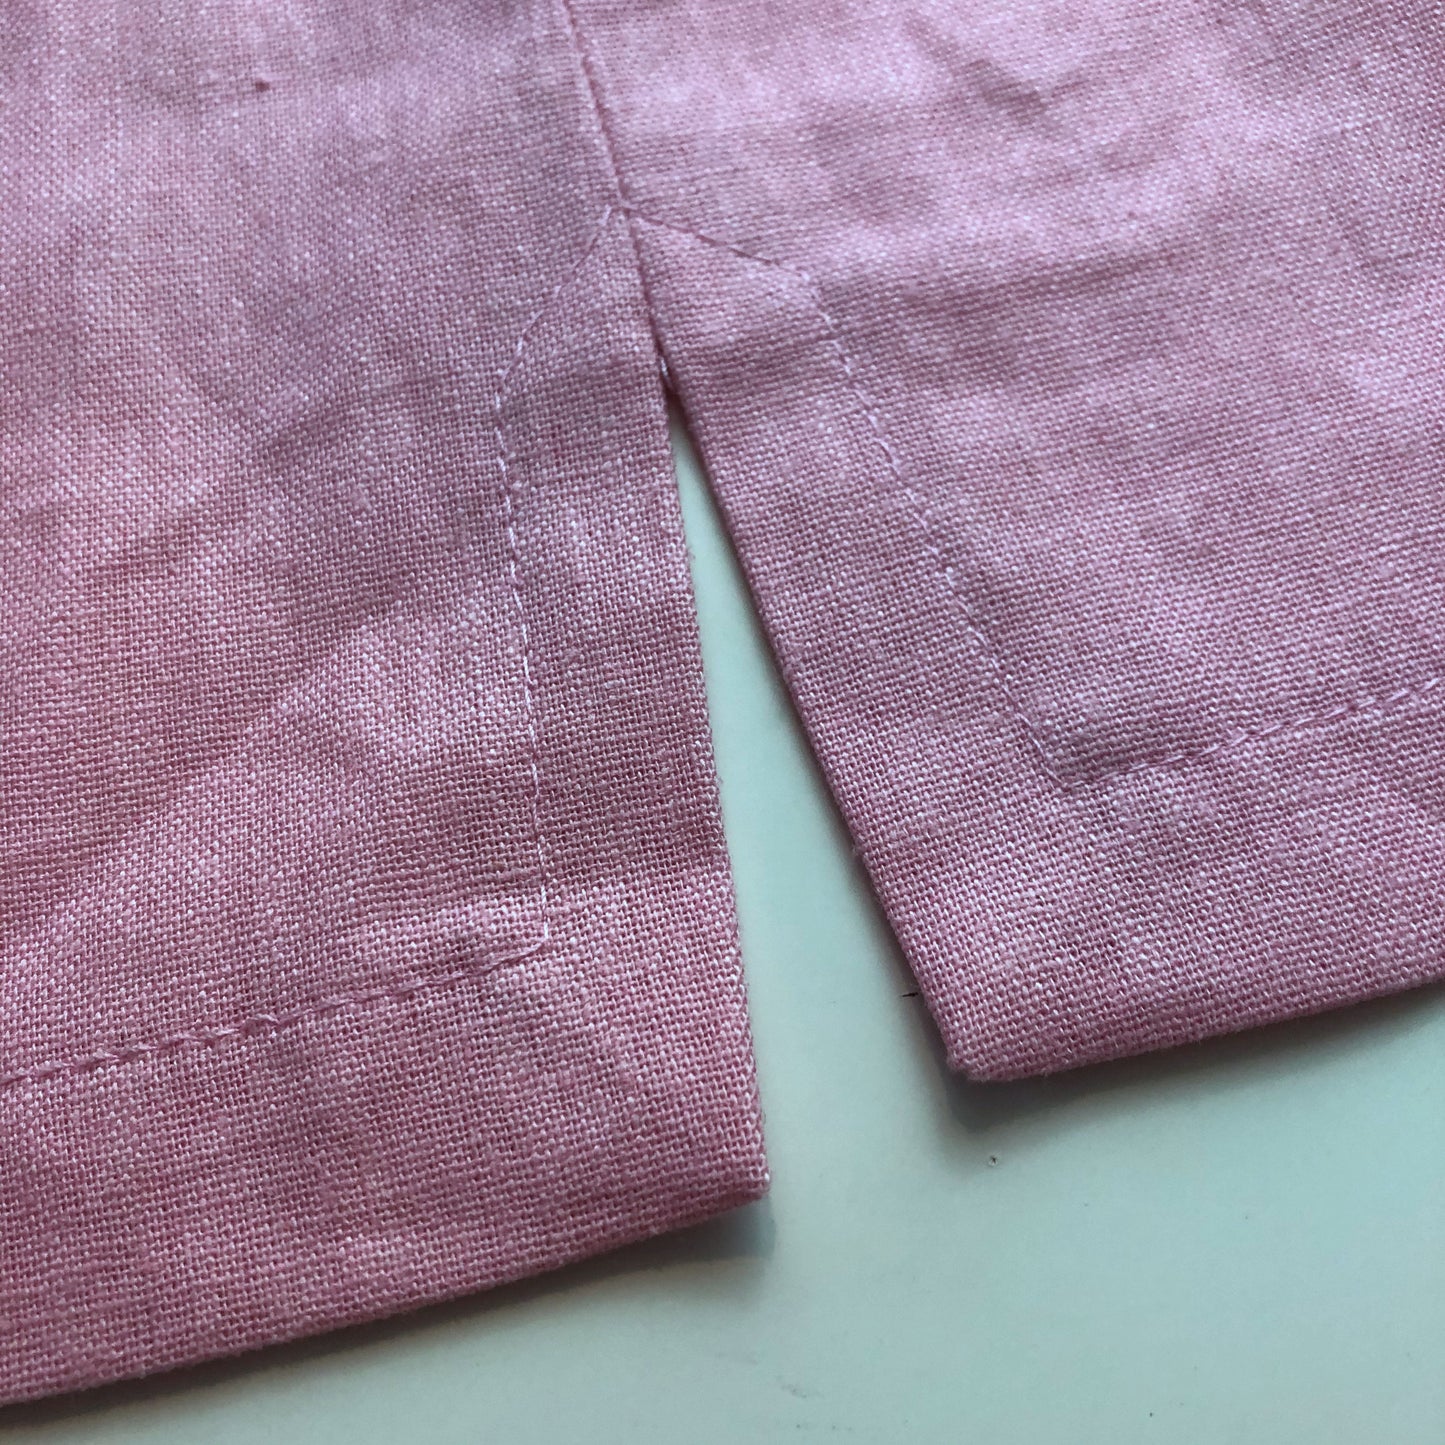
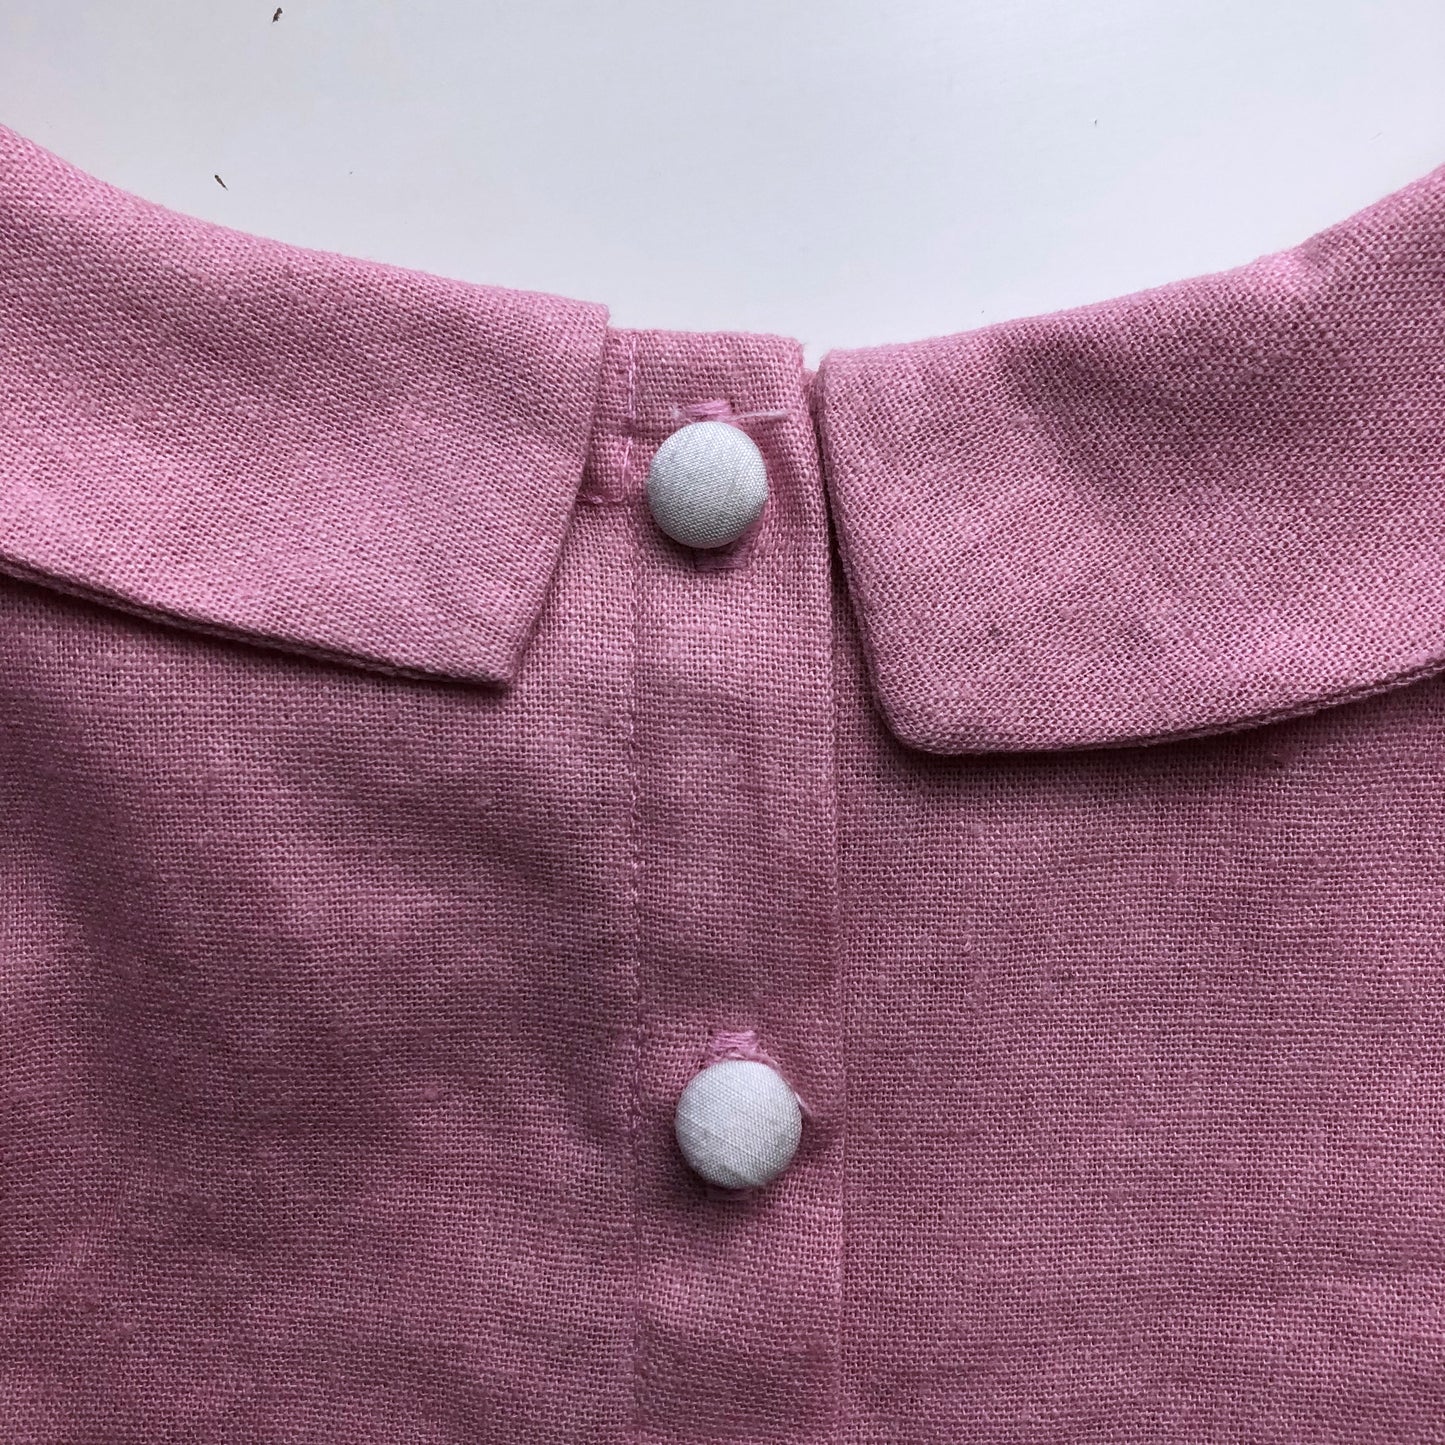
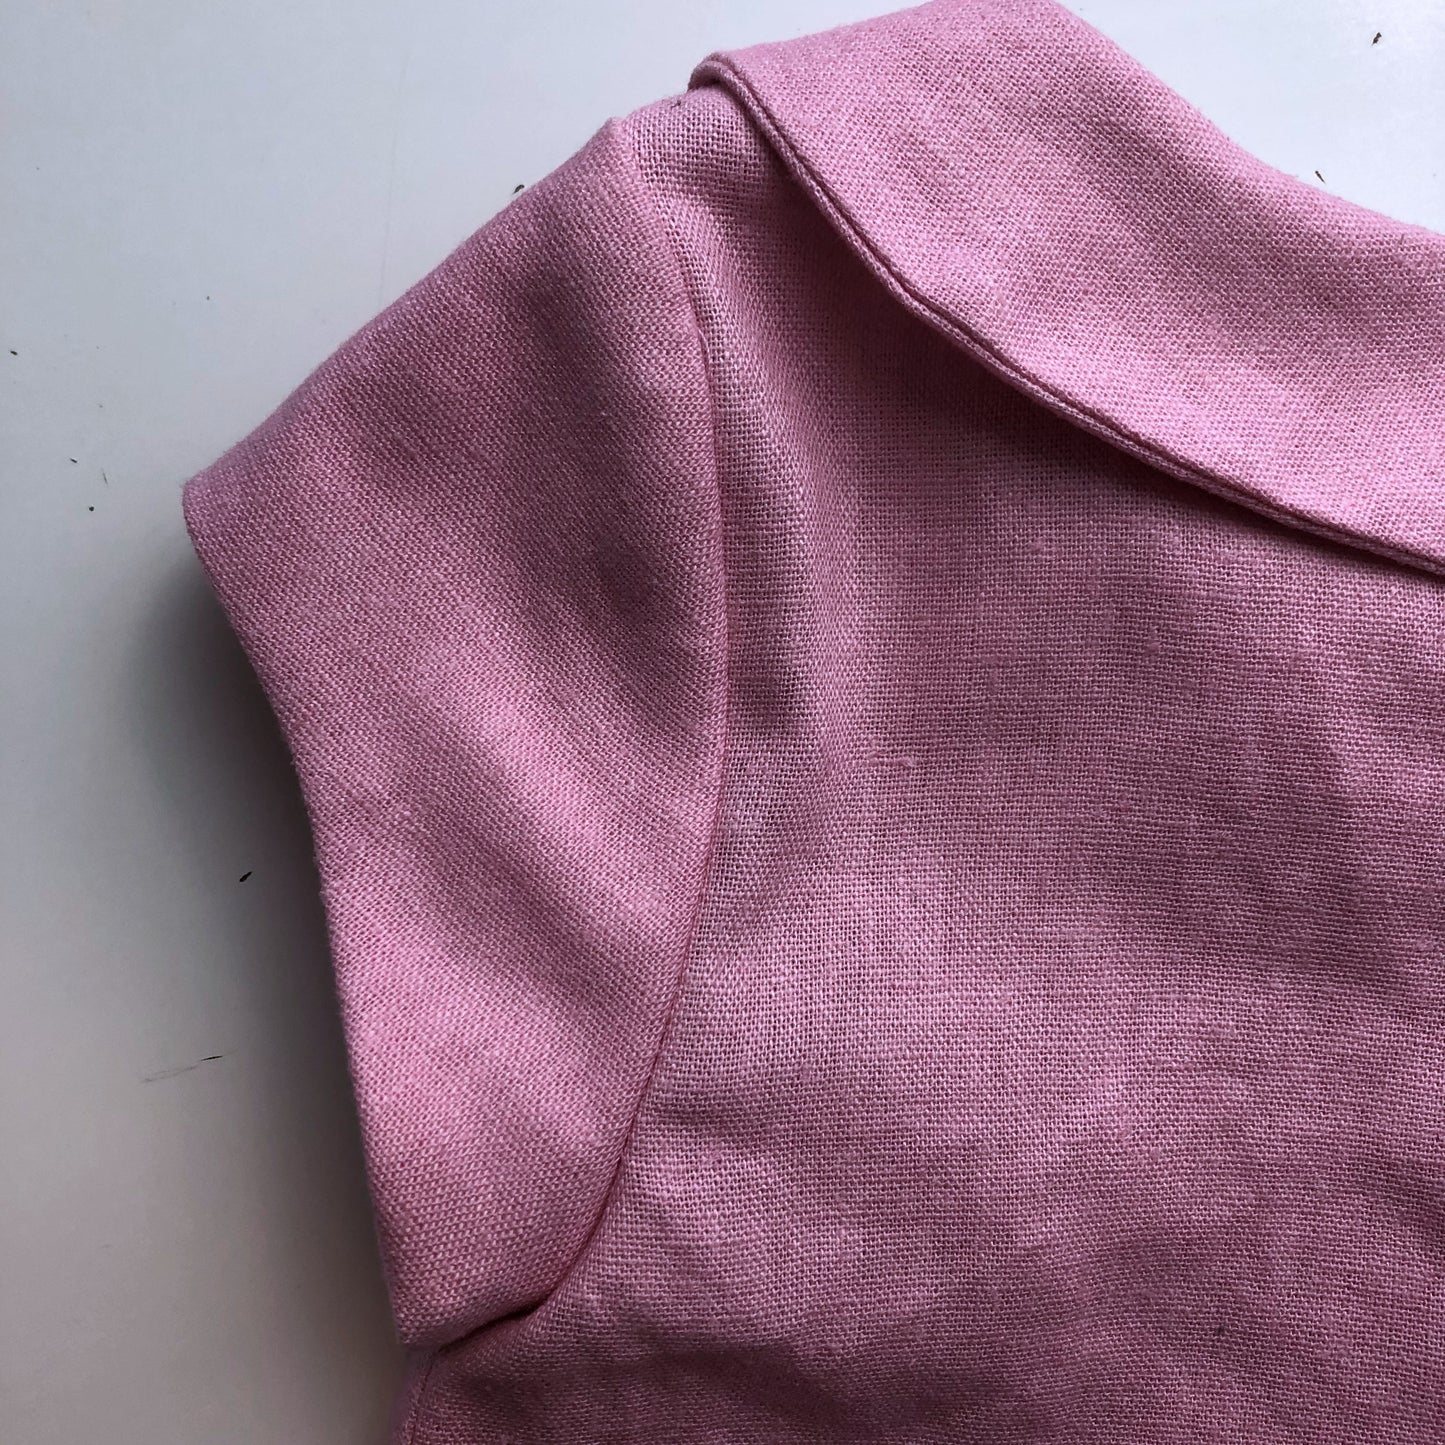
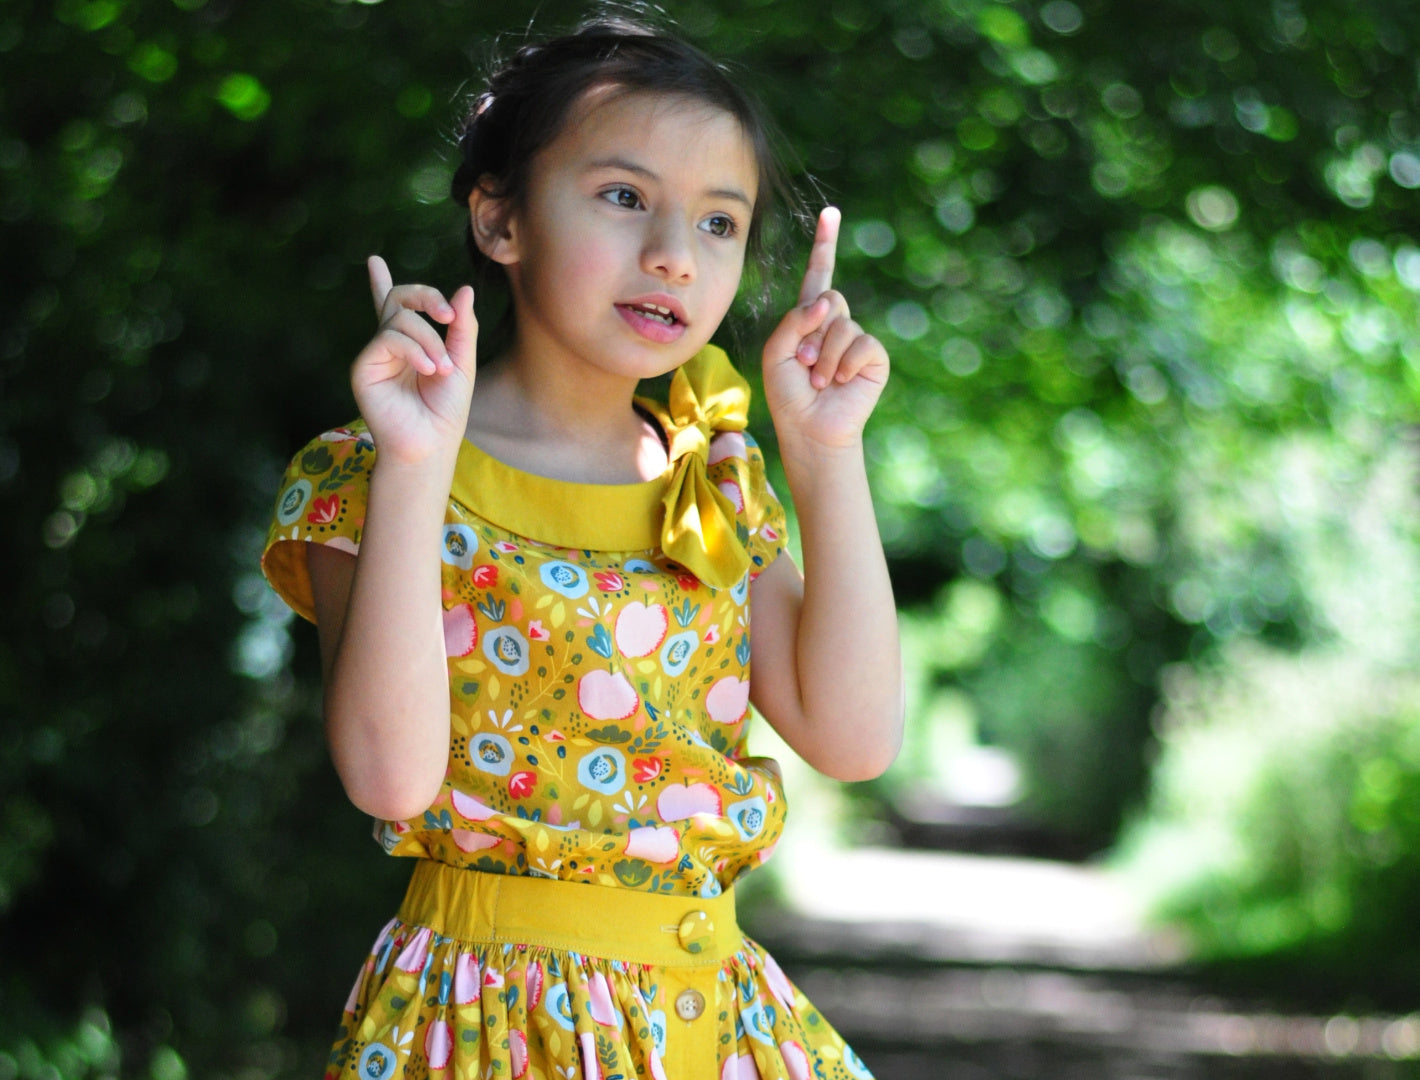
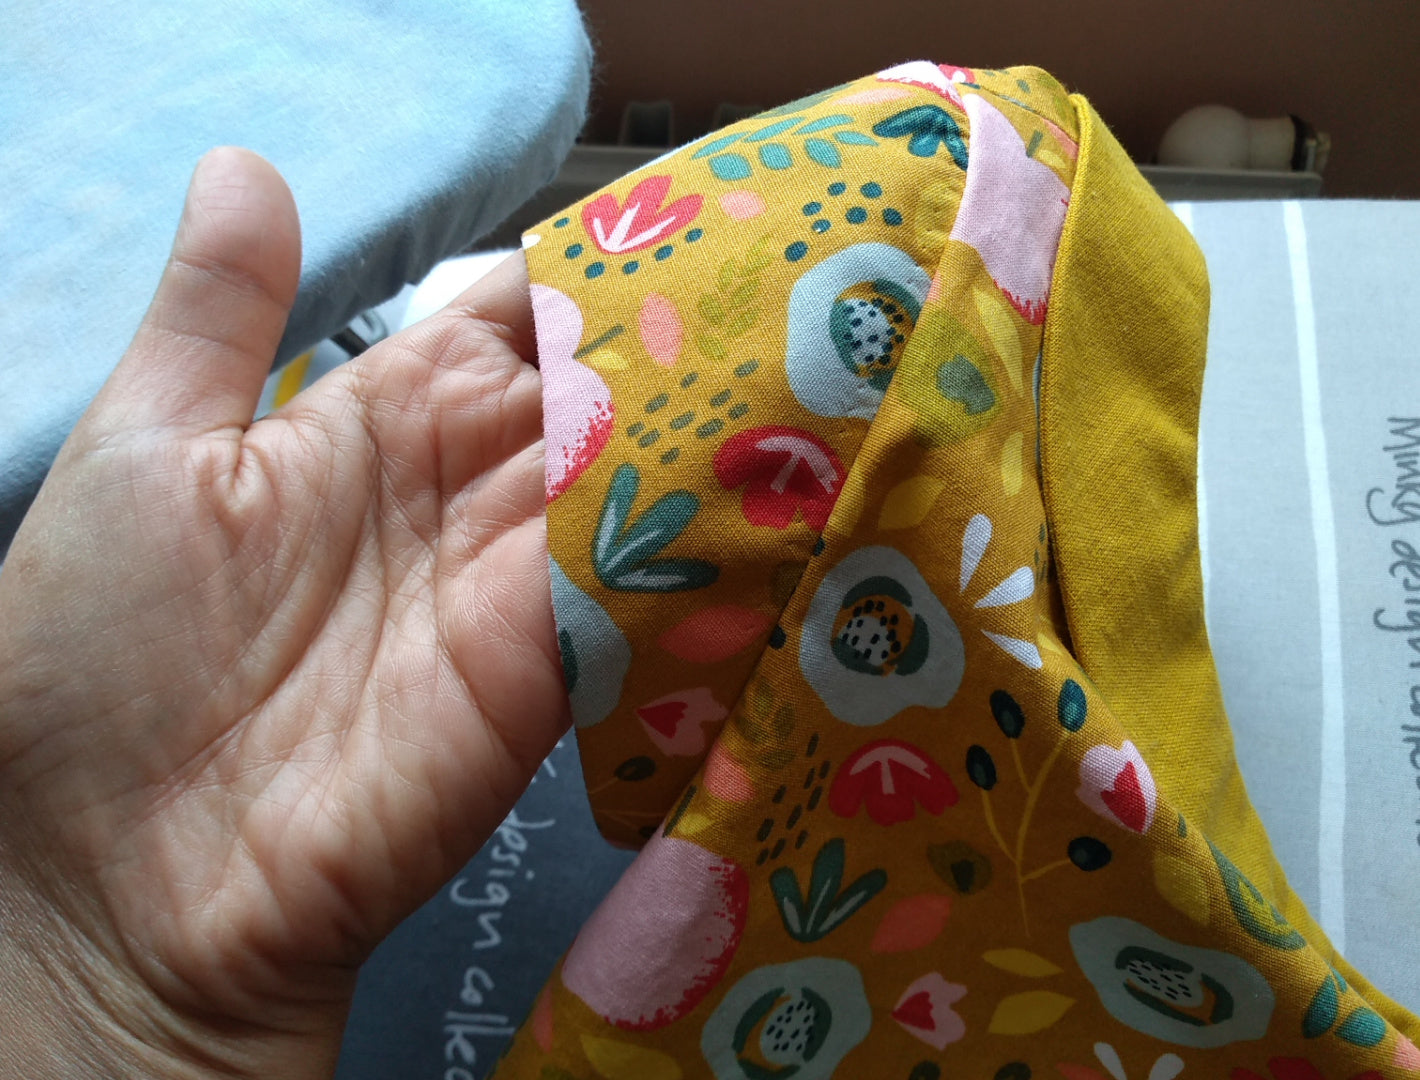
The Beatrice Blouse is a sweet little vintage‑style top that brings back all the soft charm of the 50s! She’s got the cutest vintage collar, tidy set‑in cap sleeves, a neat button‑down back closure, and darling little side seam vents — all those tiny details that make her feel extra special.
And the best part? She’s wonderfully approachable. With clear step‑by‑step instructions and video tutorials waiting just below, you can jump right in and start sewing. You’ll be adding this girl top pattern to your go‑to favorites before you know it.
Pattern Download Includes
Pattern Download Includes
Design Options
Design Options
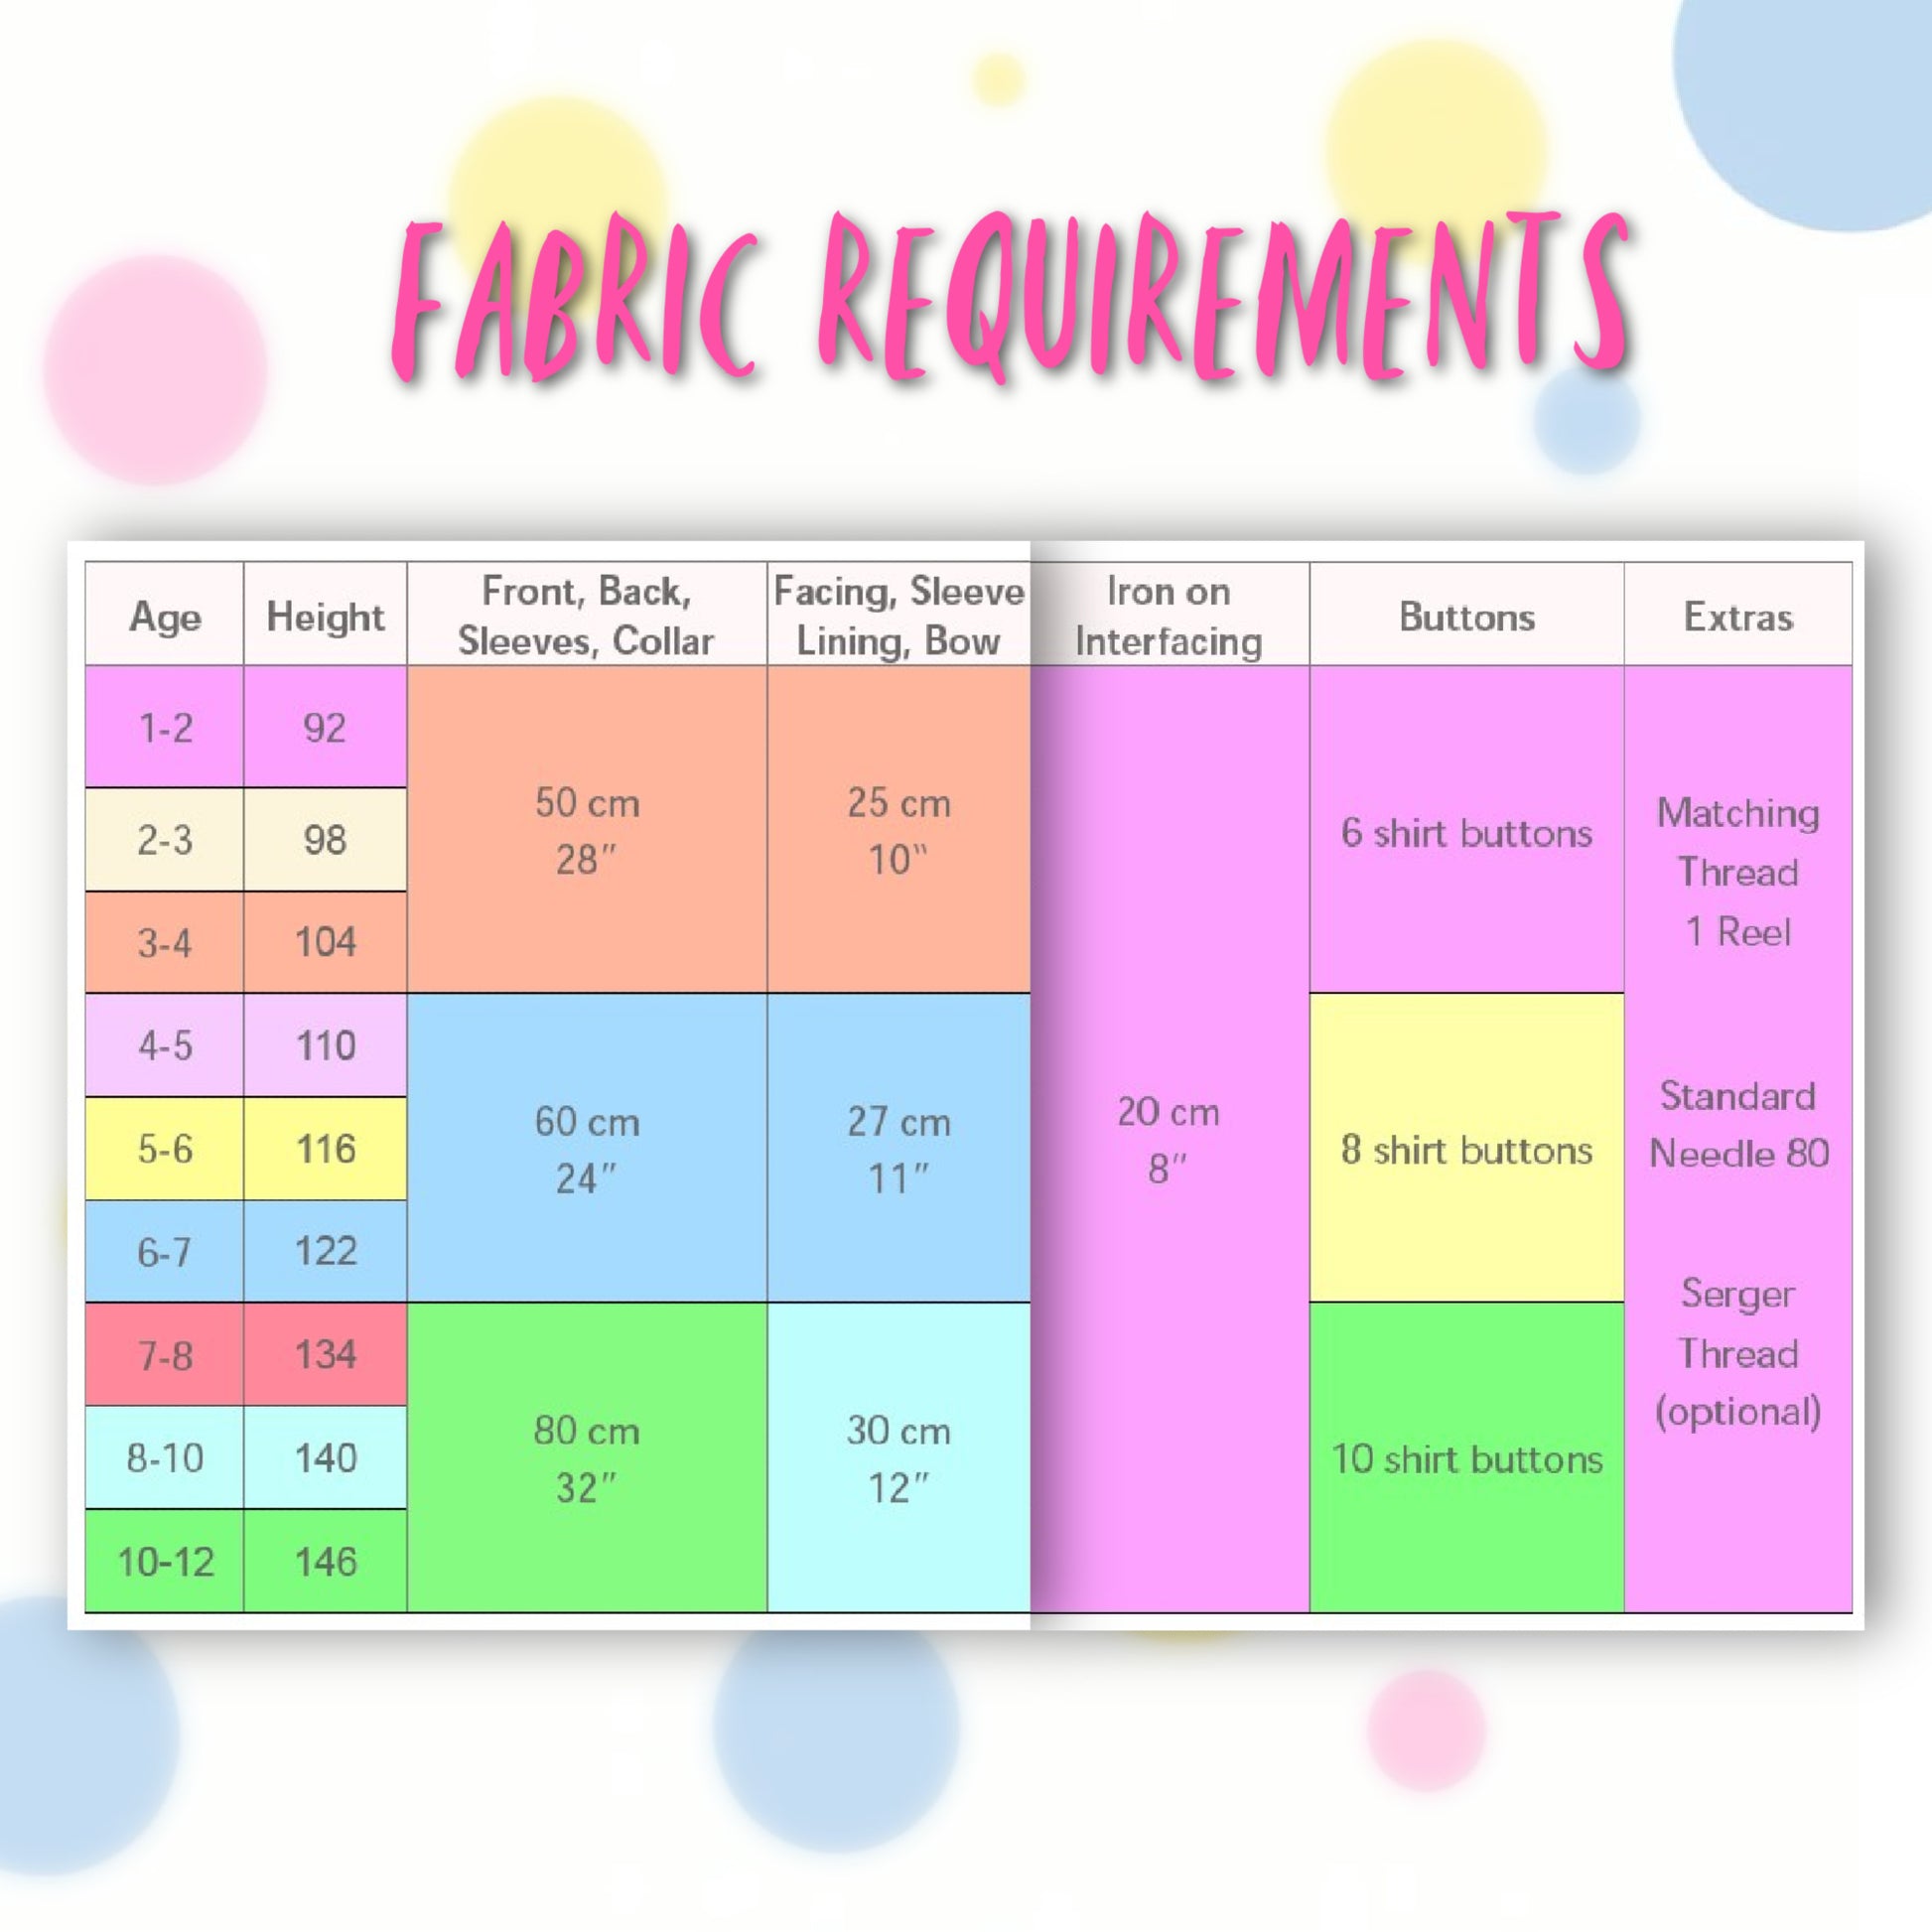
Fabric Requirements
Fabric Requirements
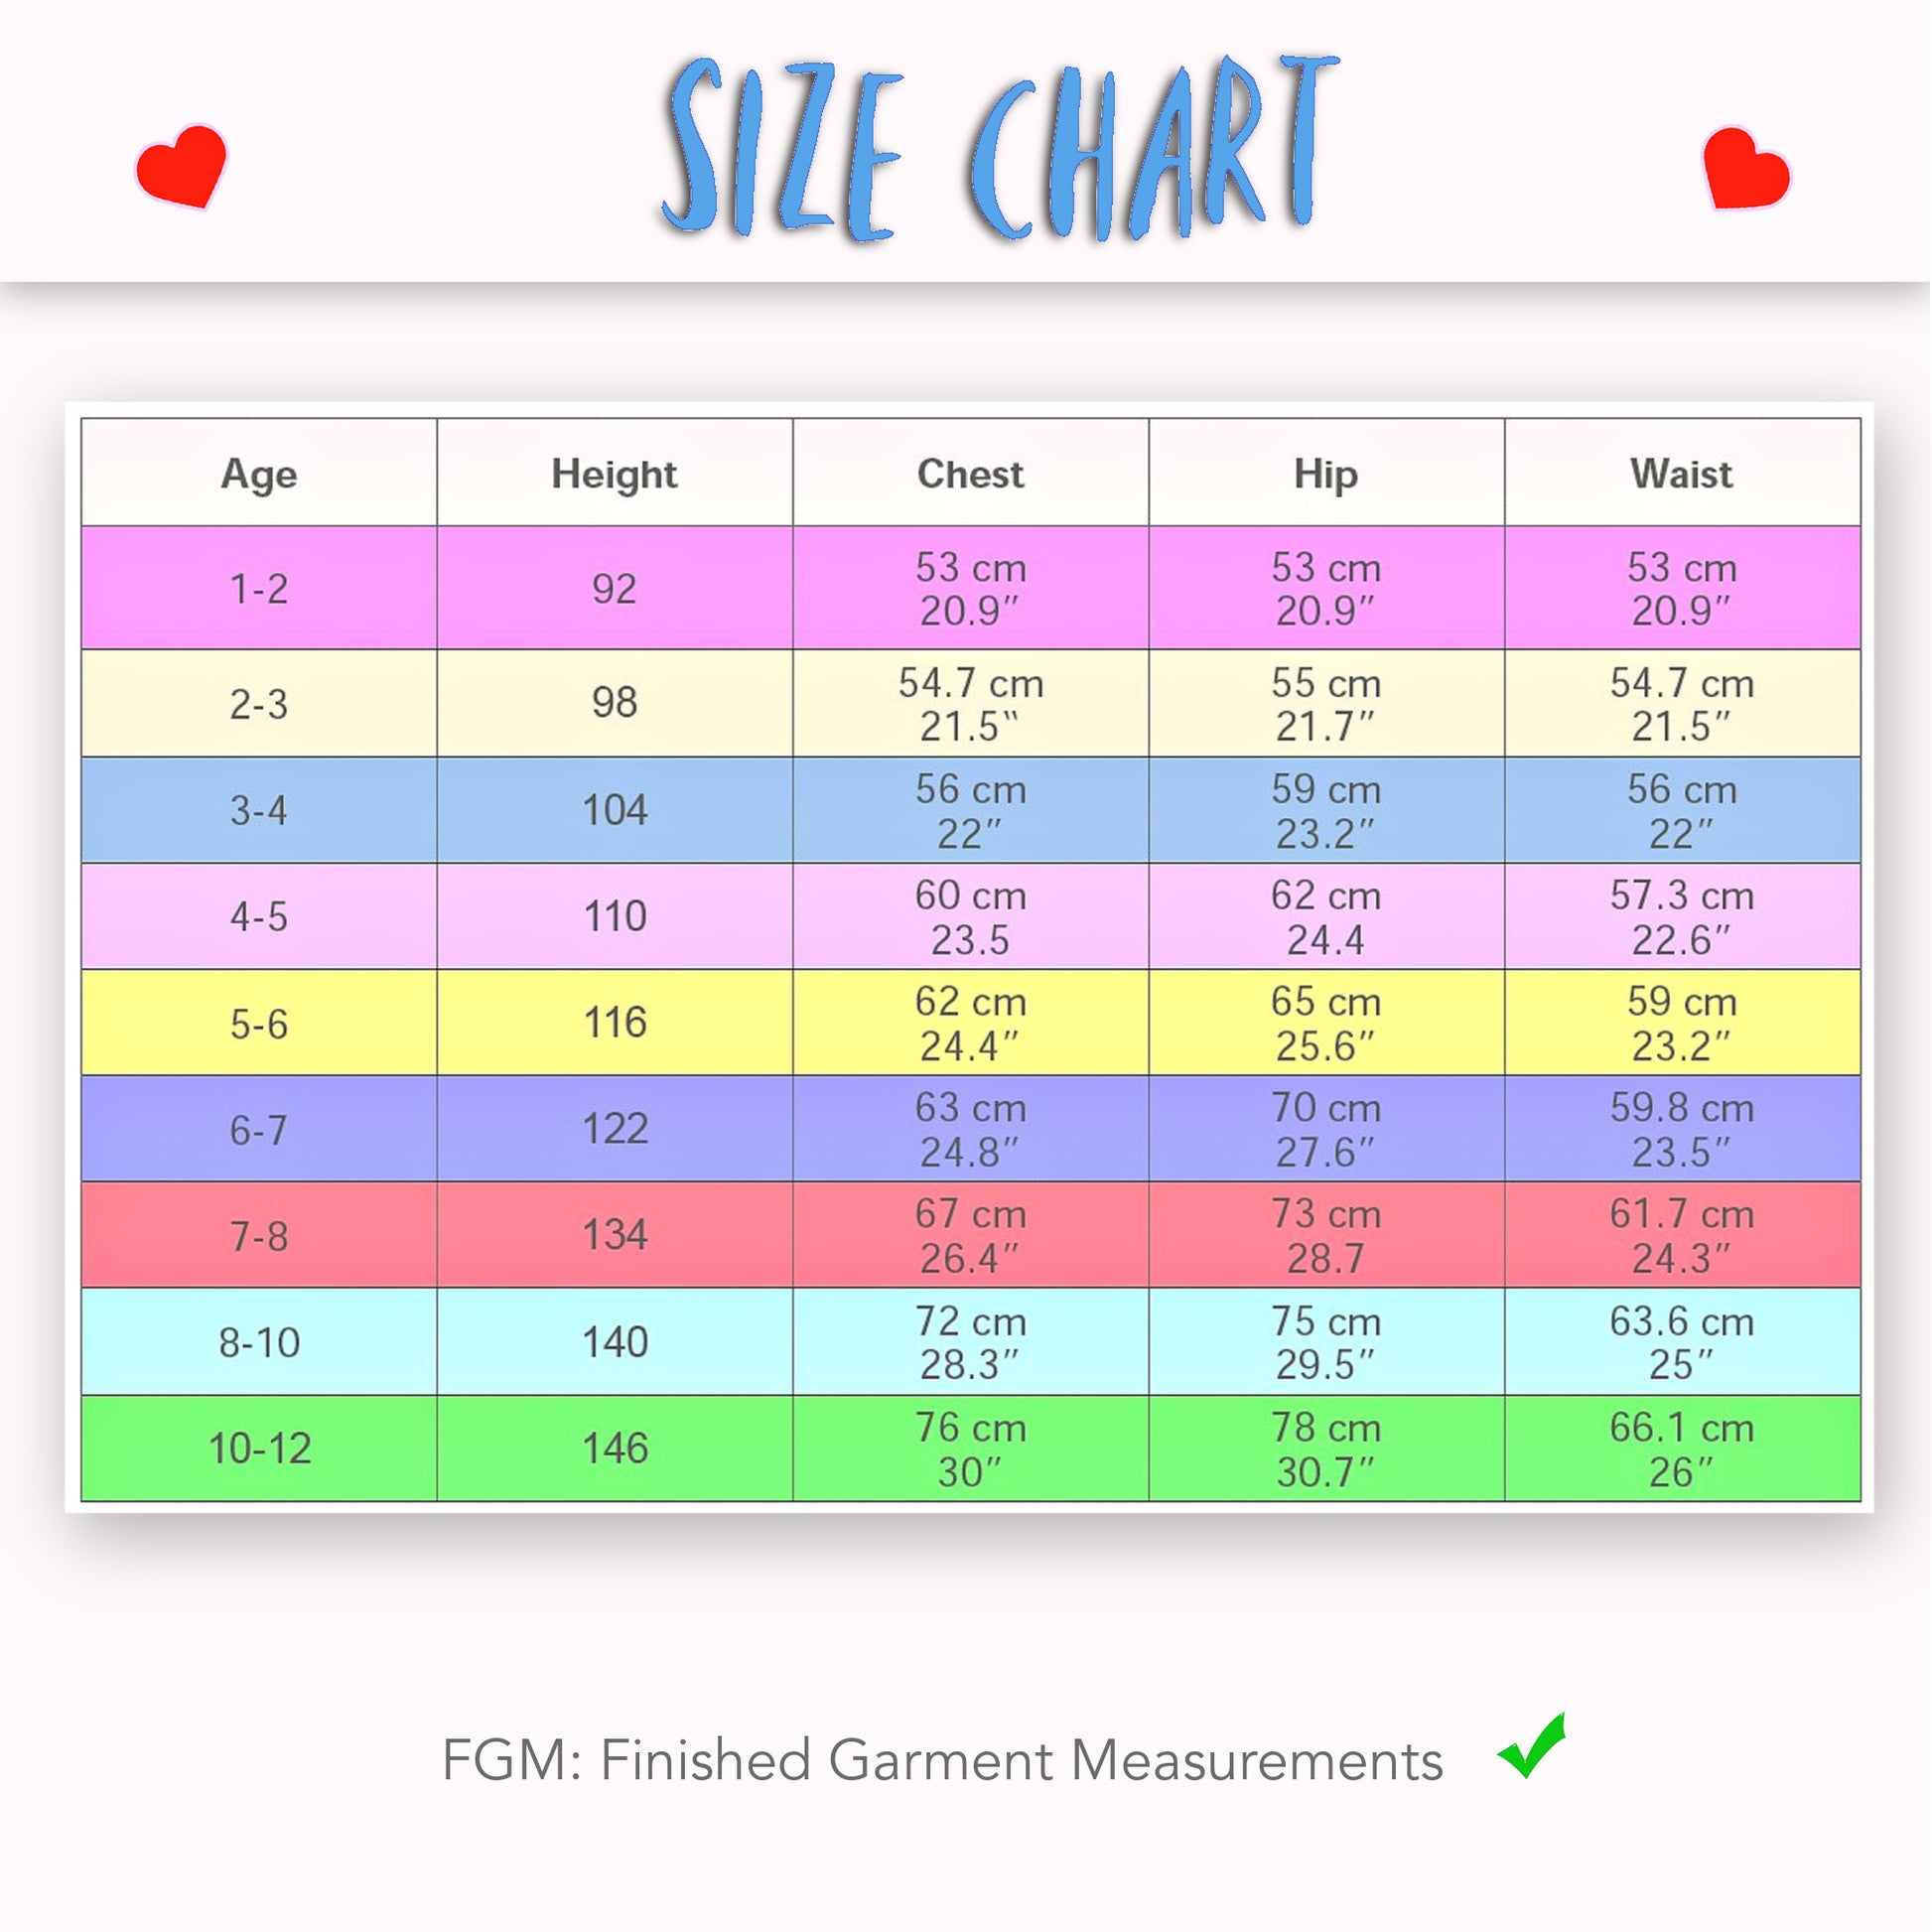
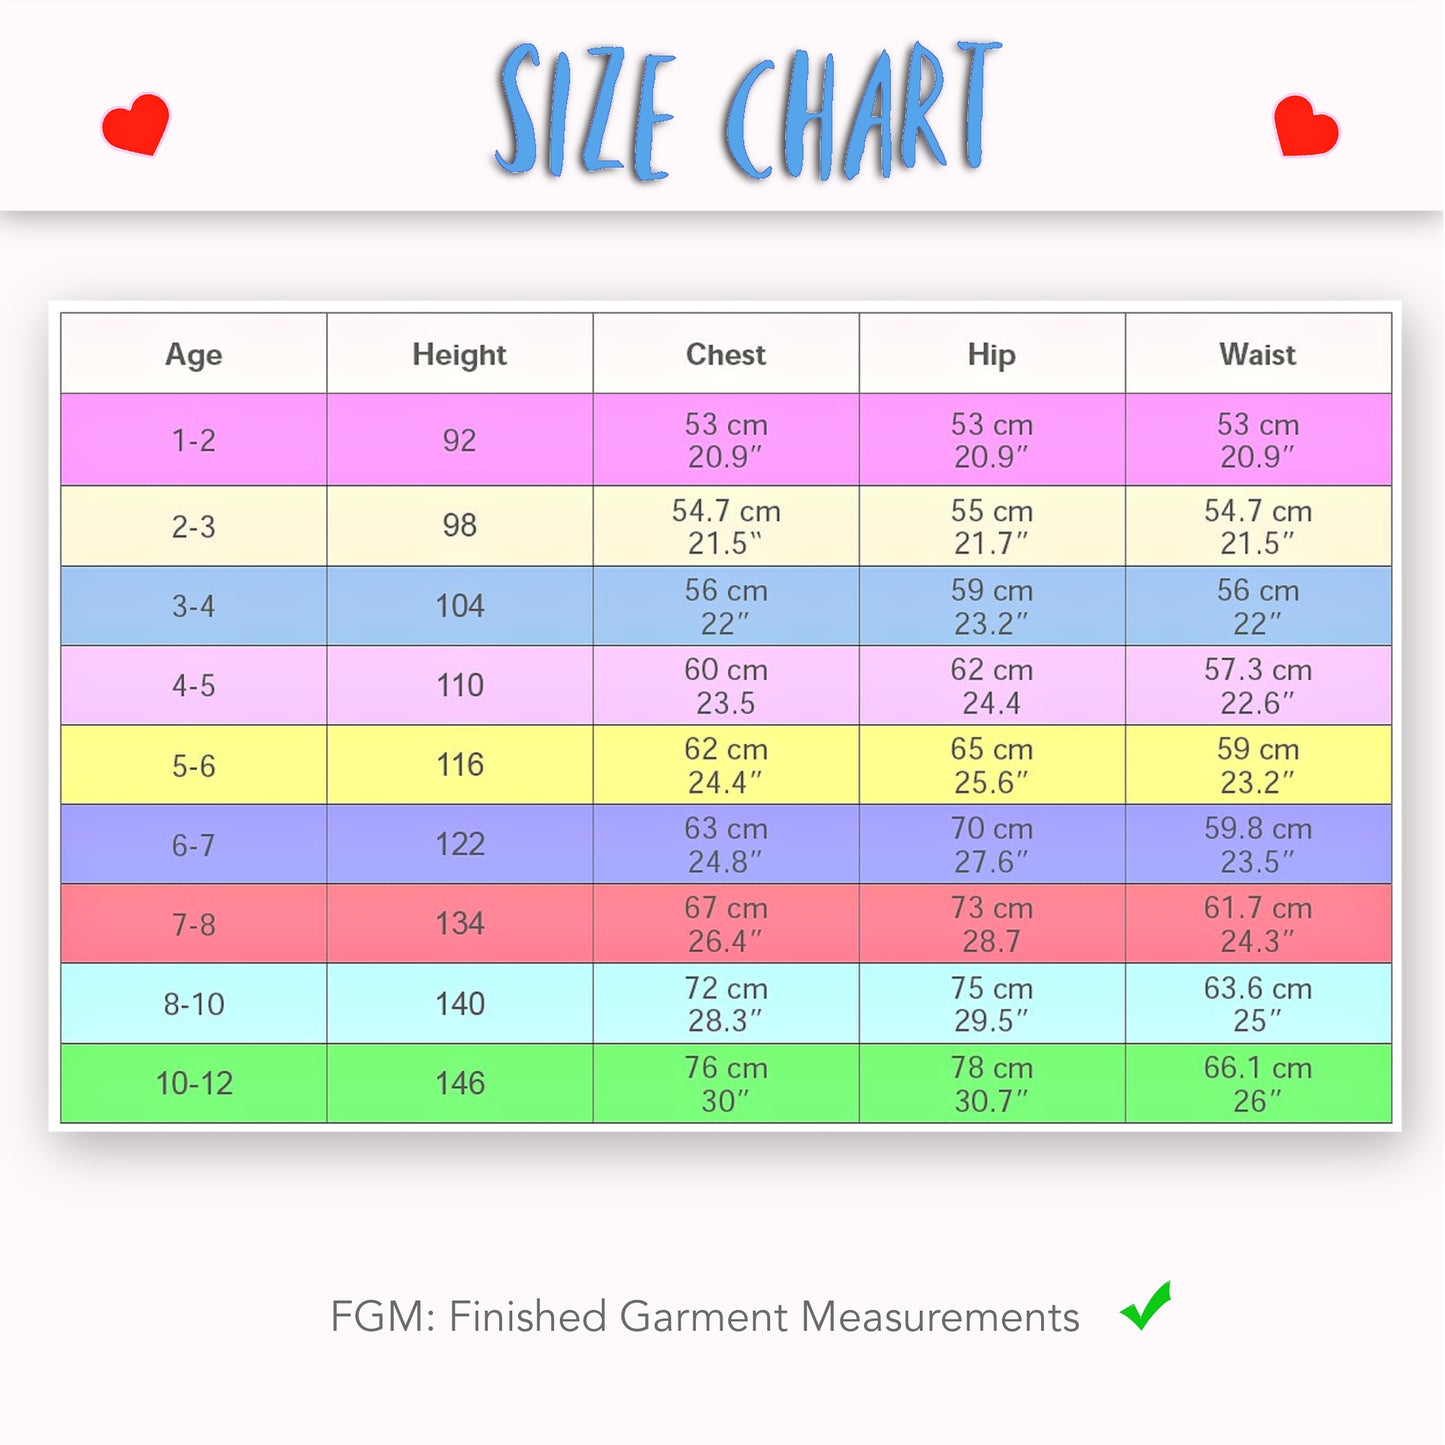
Available Sizes
Available Sizes
Please Read
Please Read

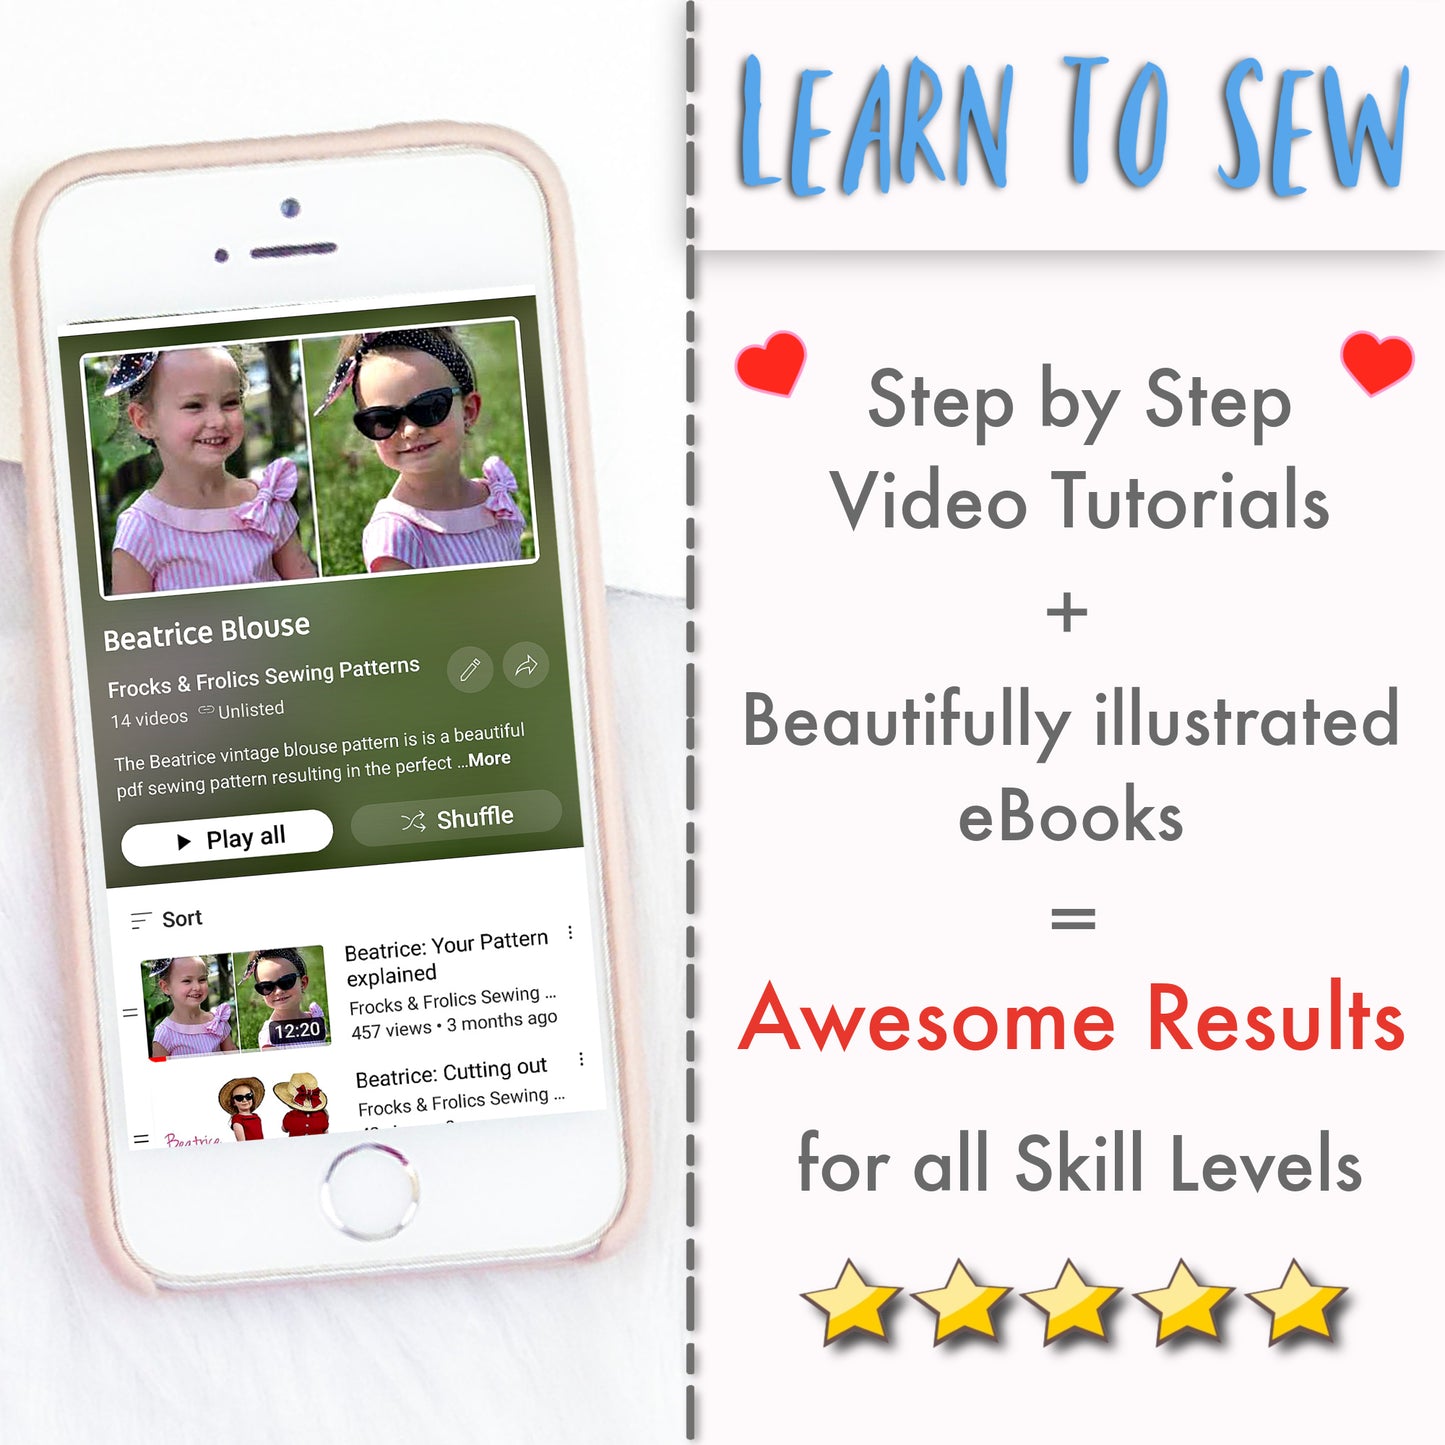


STEP-BY-STEP VIDEO TUTORIALS
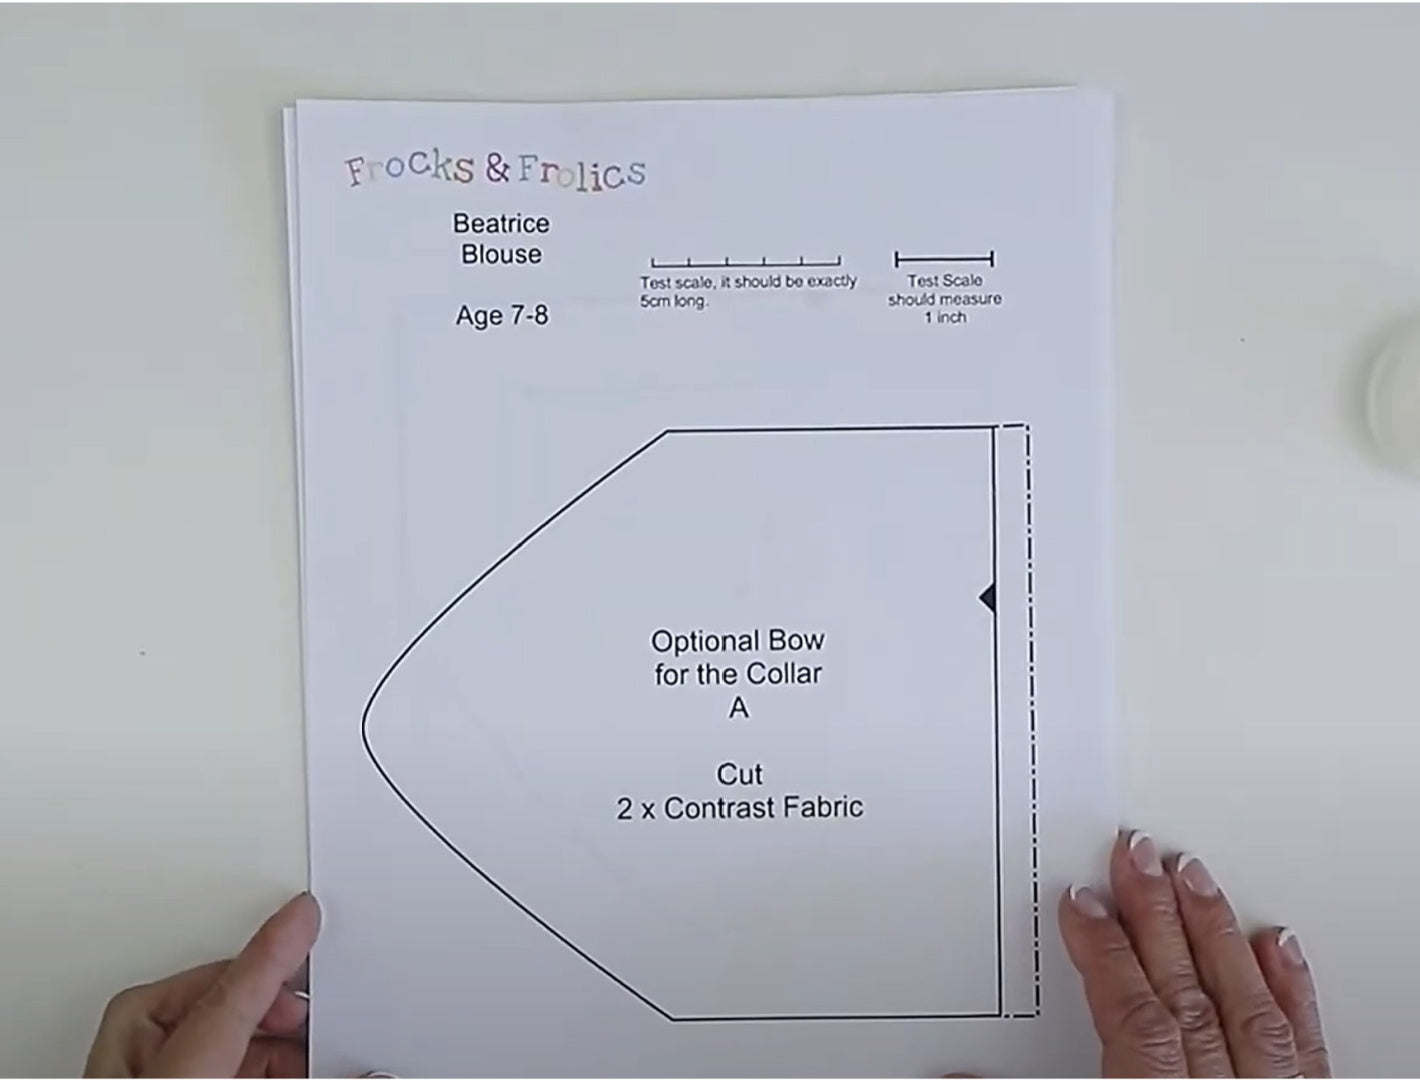
THE PATTERN
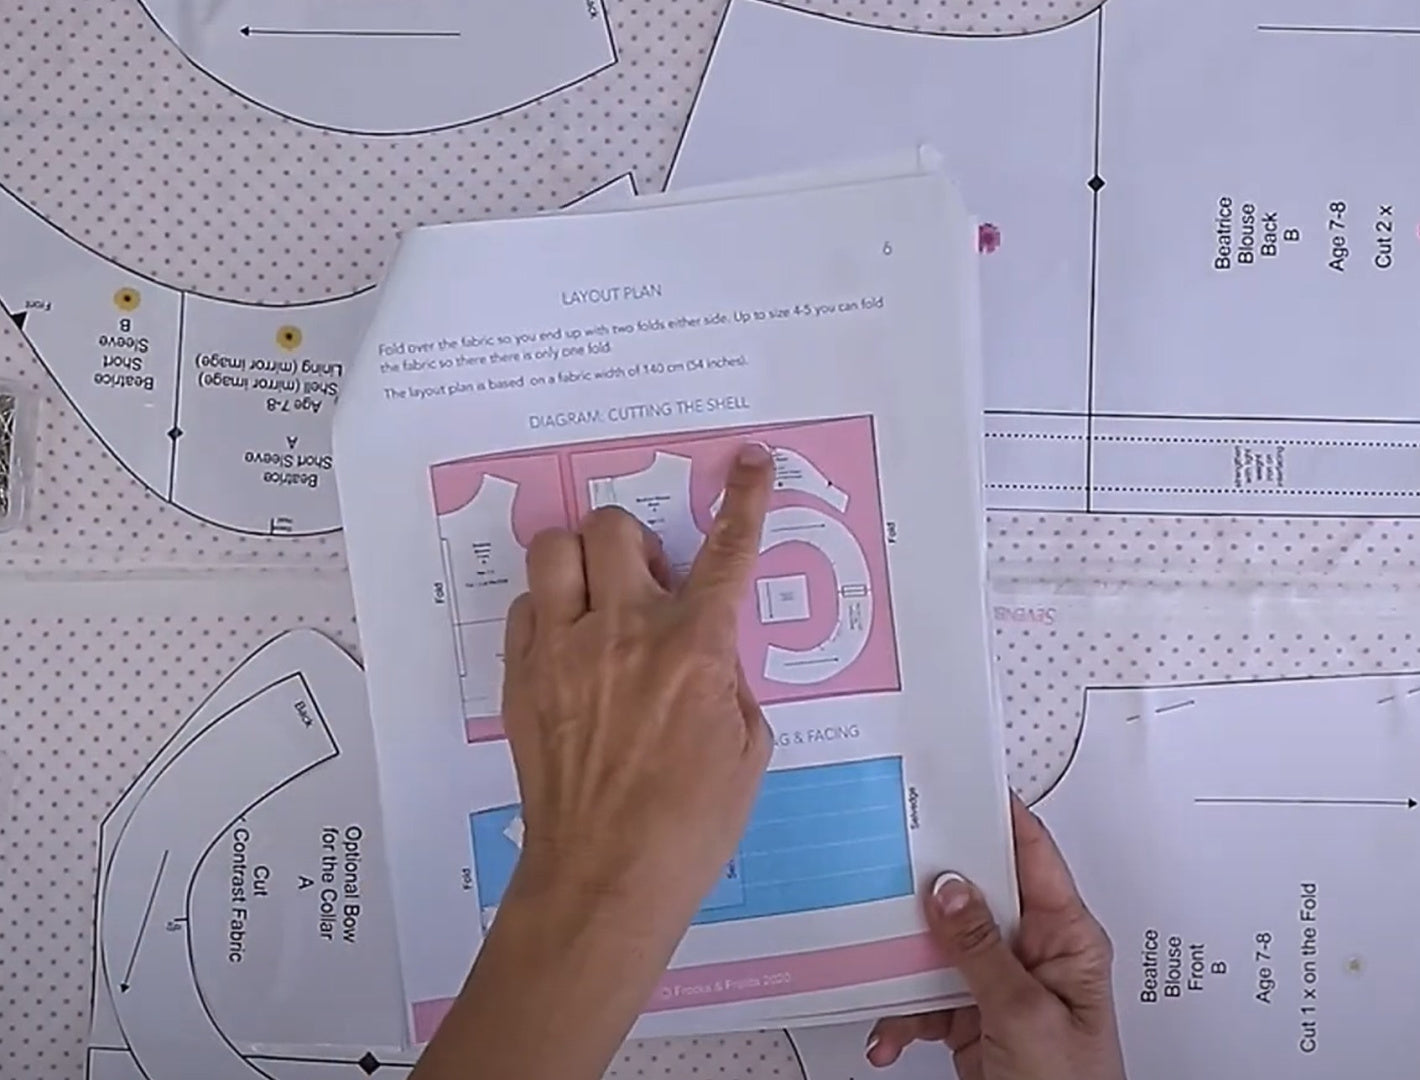
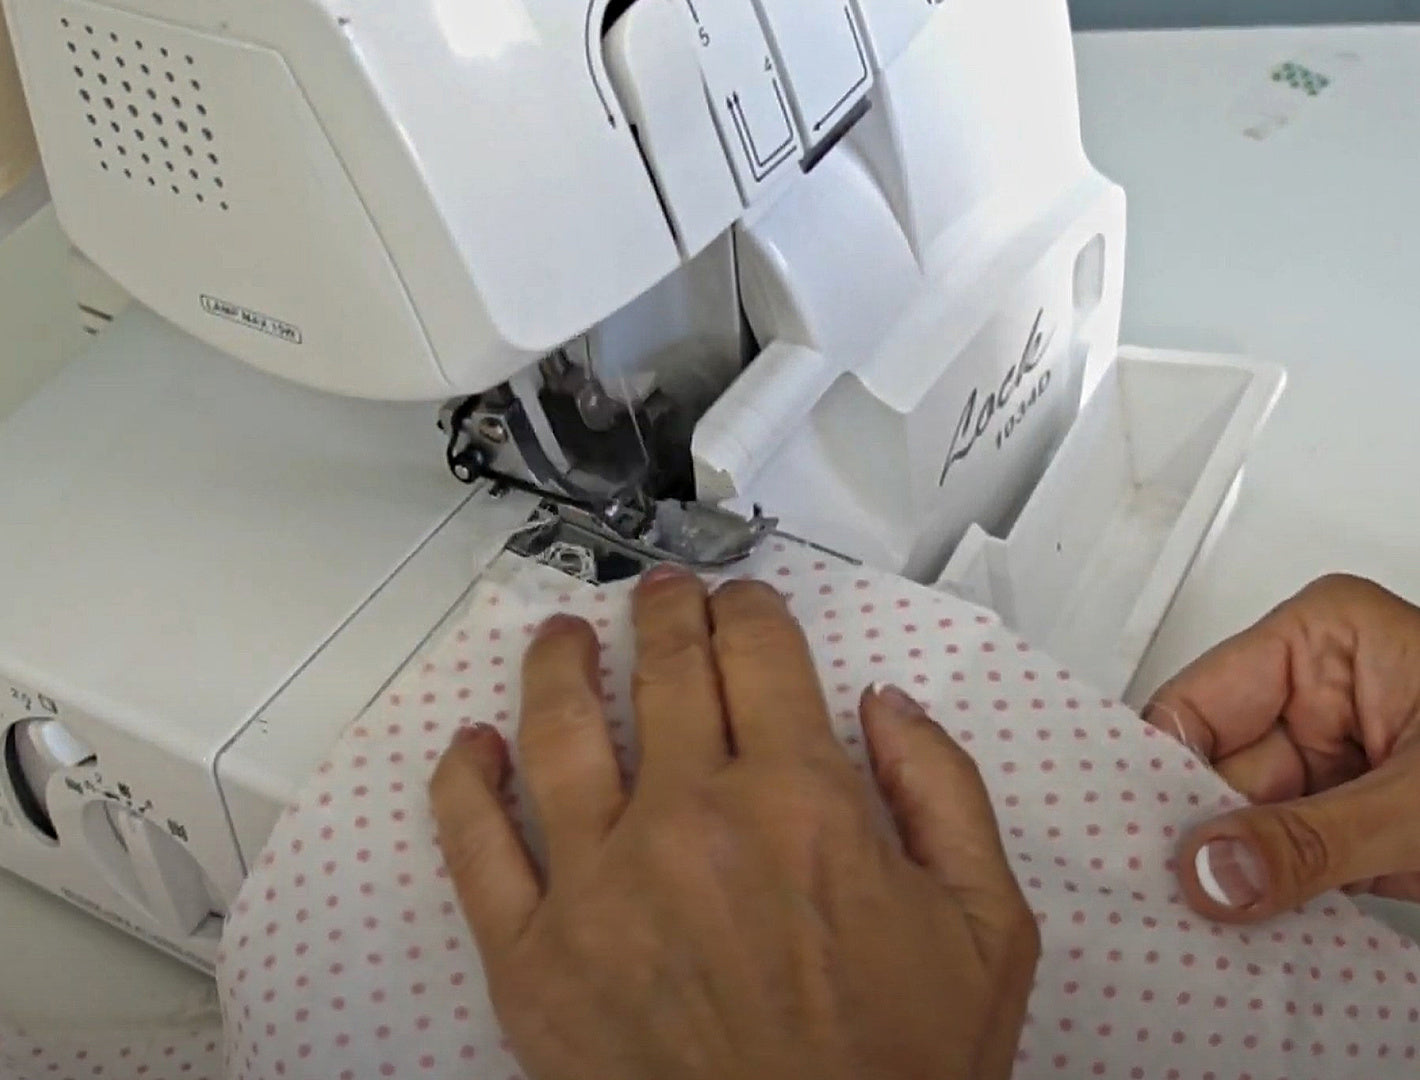
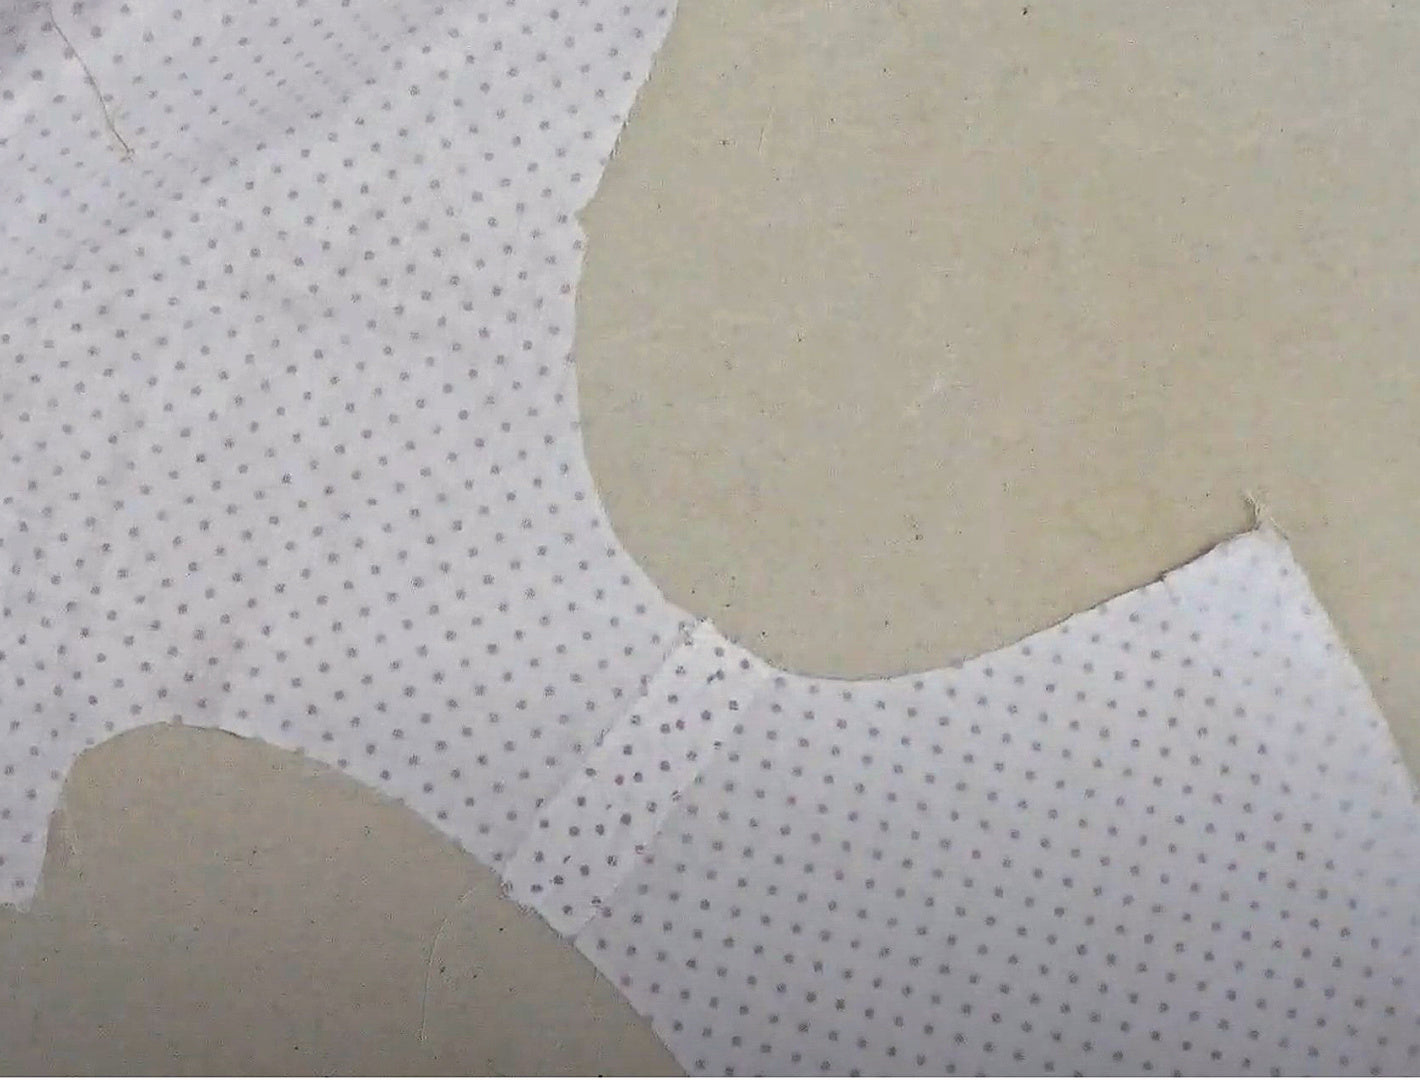
CUTTING OUT
PREPARATION
THE SHOULDER SEAMS
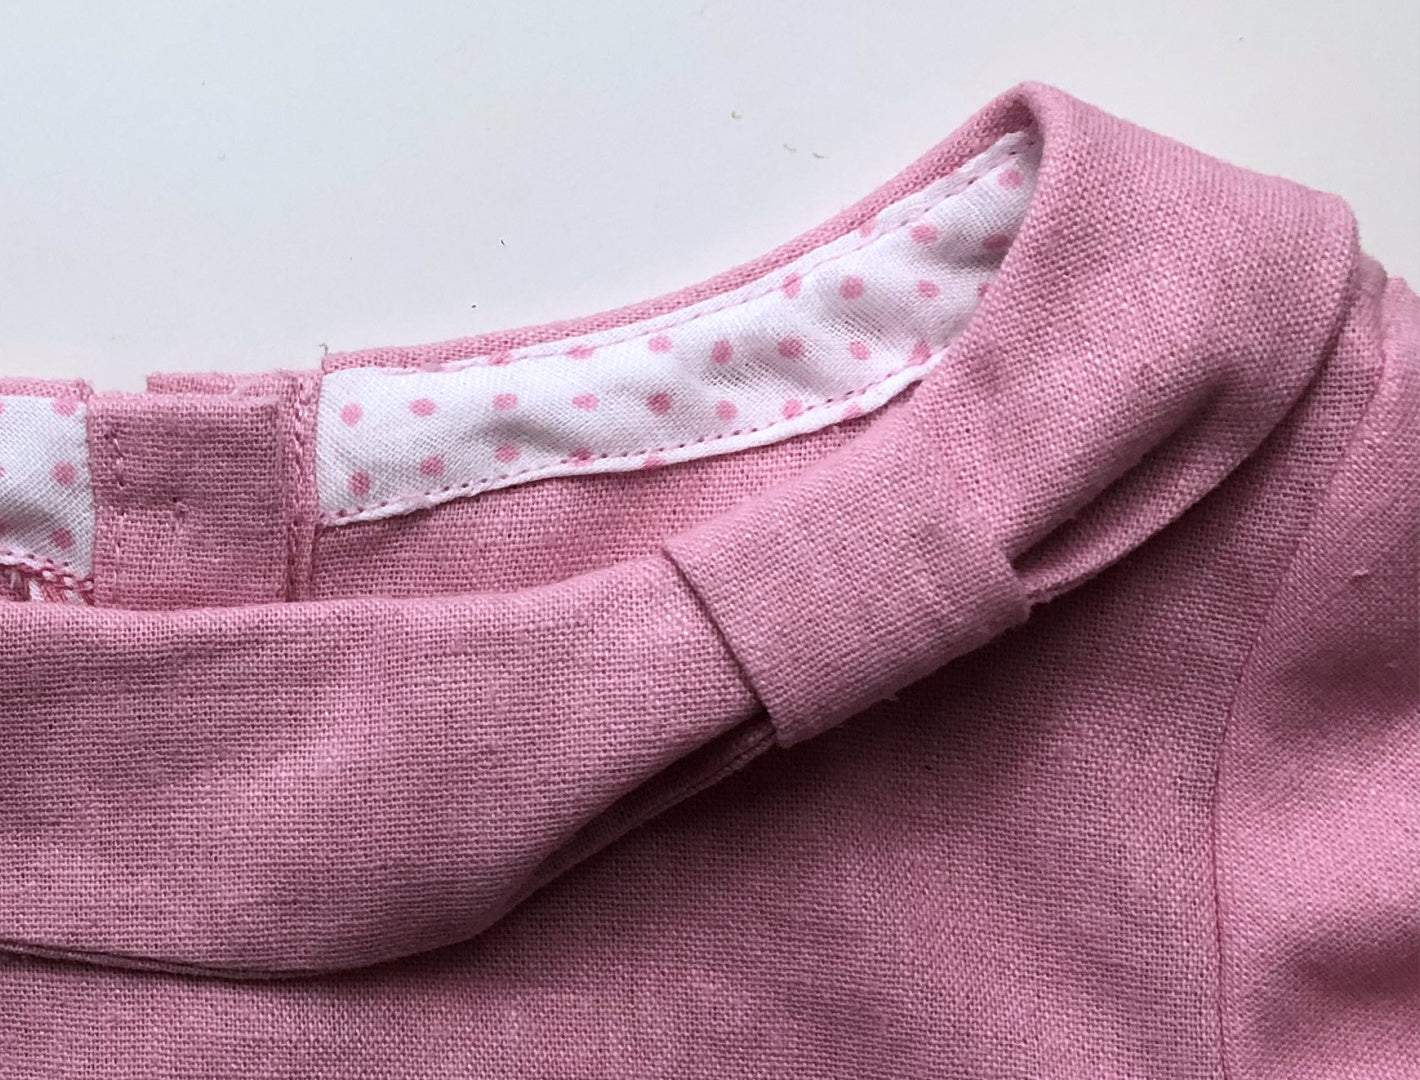
THE LOOP
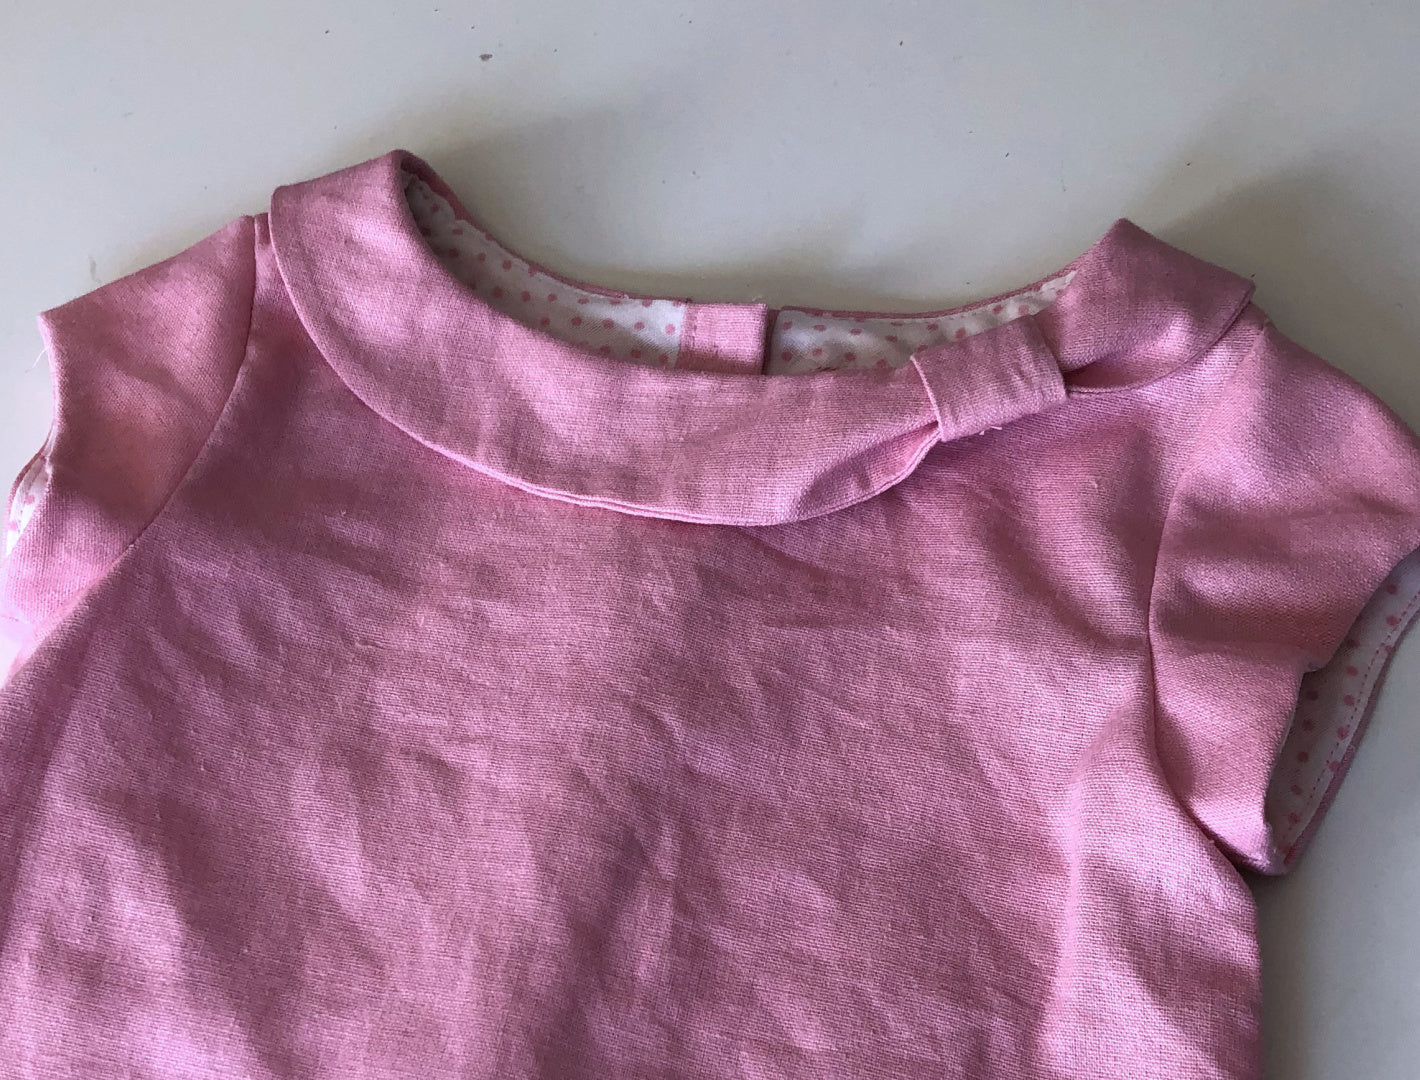
THE COLLAR
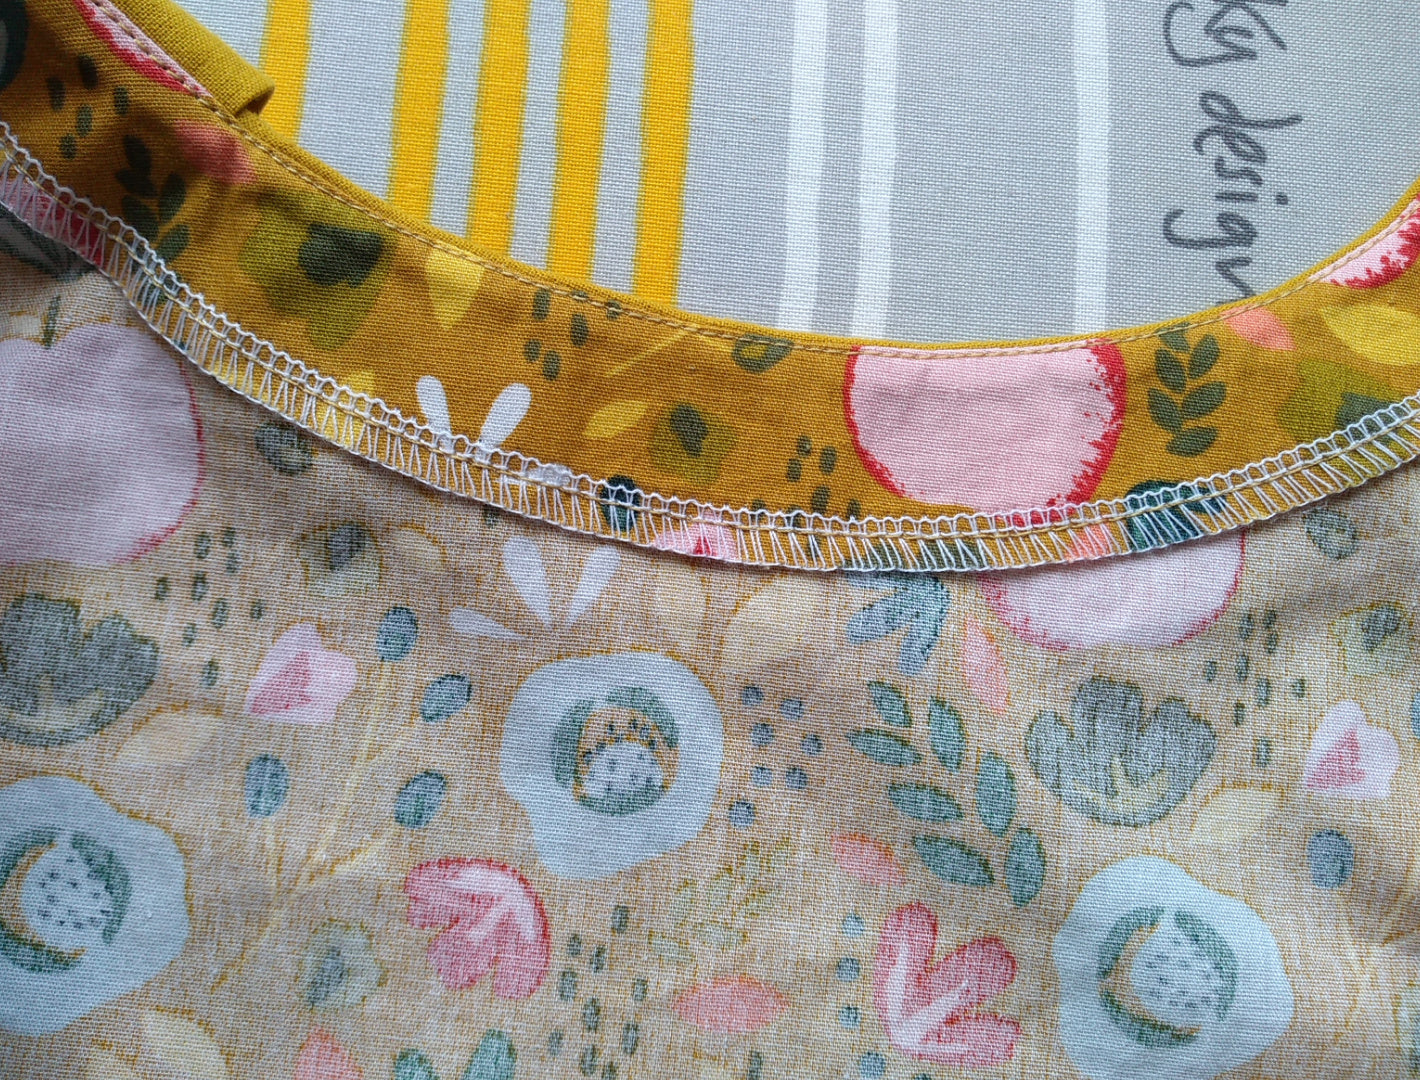
THE FACING
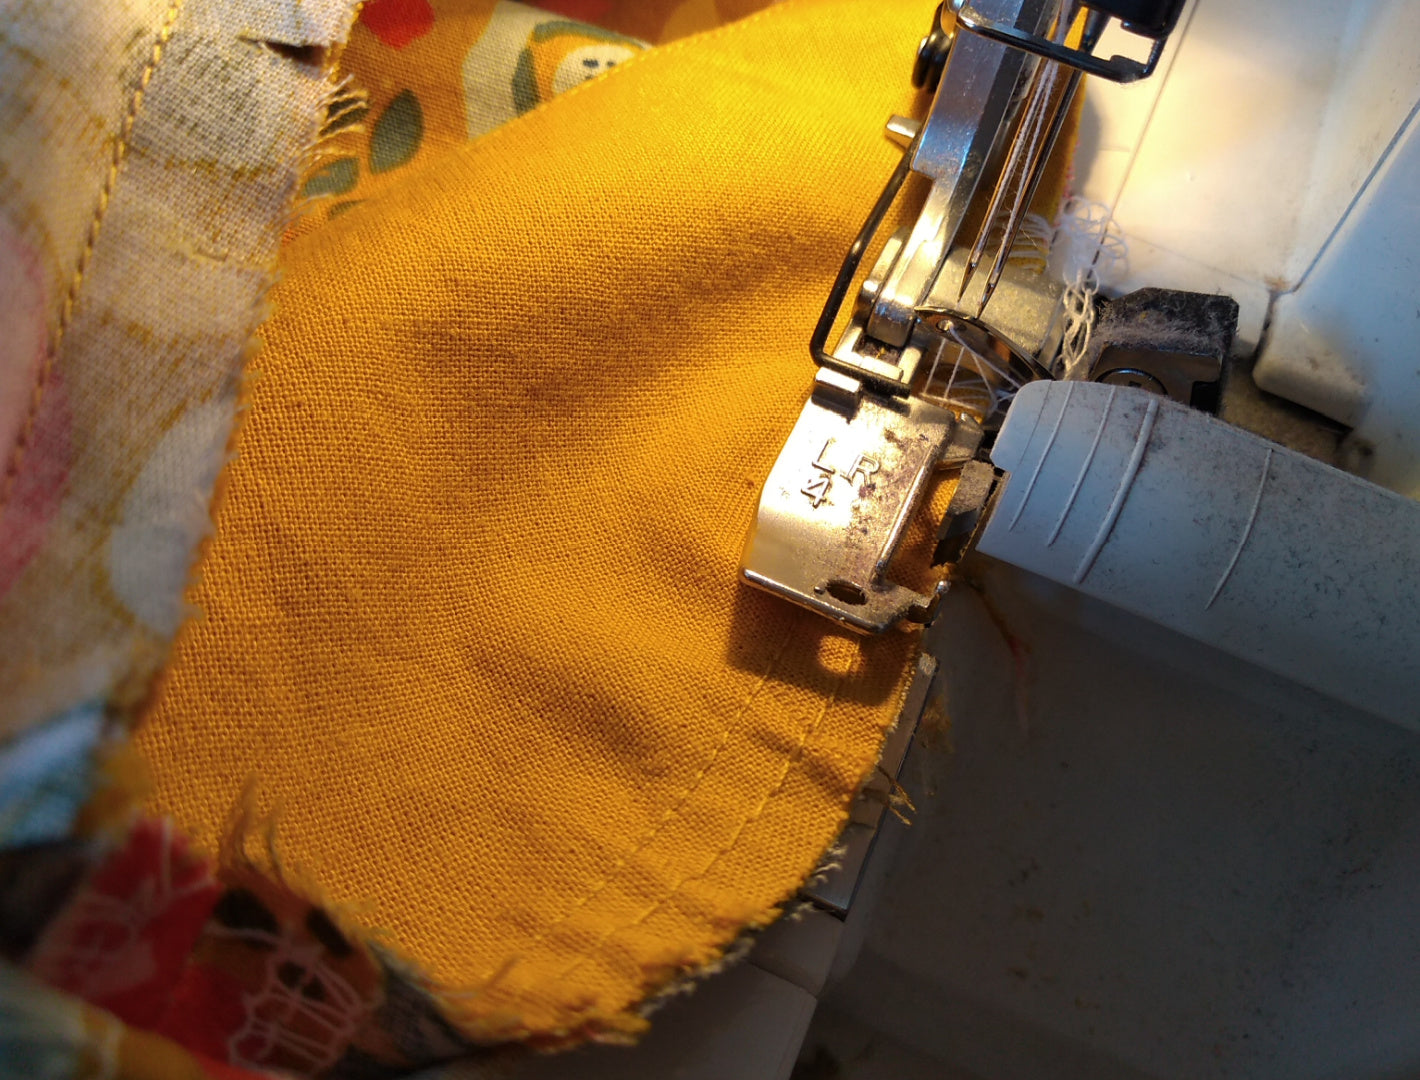
THE SIDE SEAMS
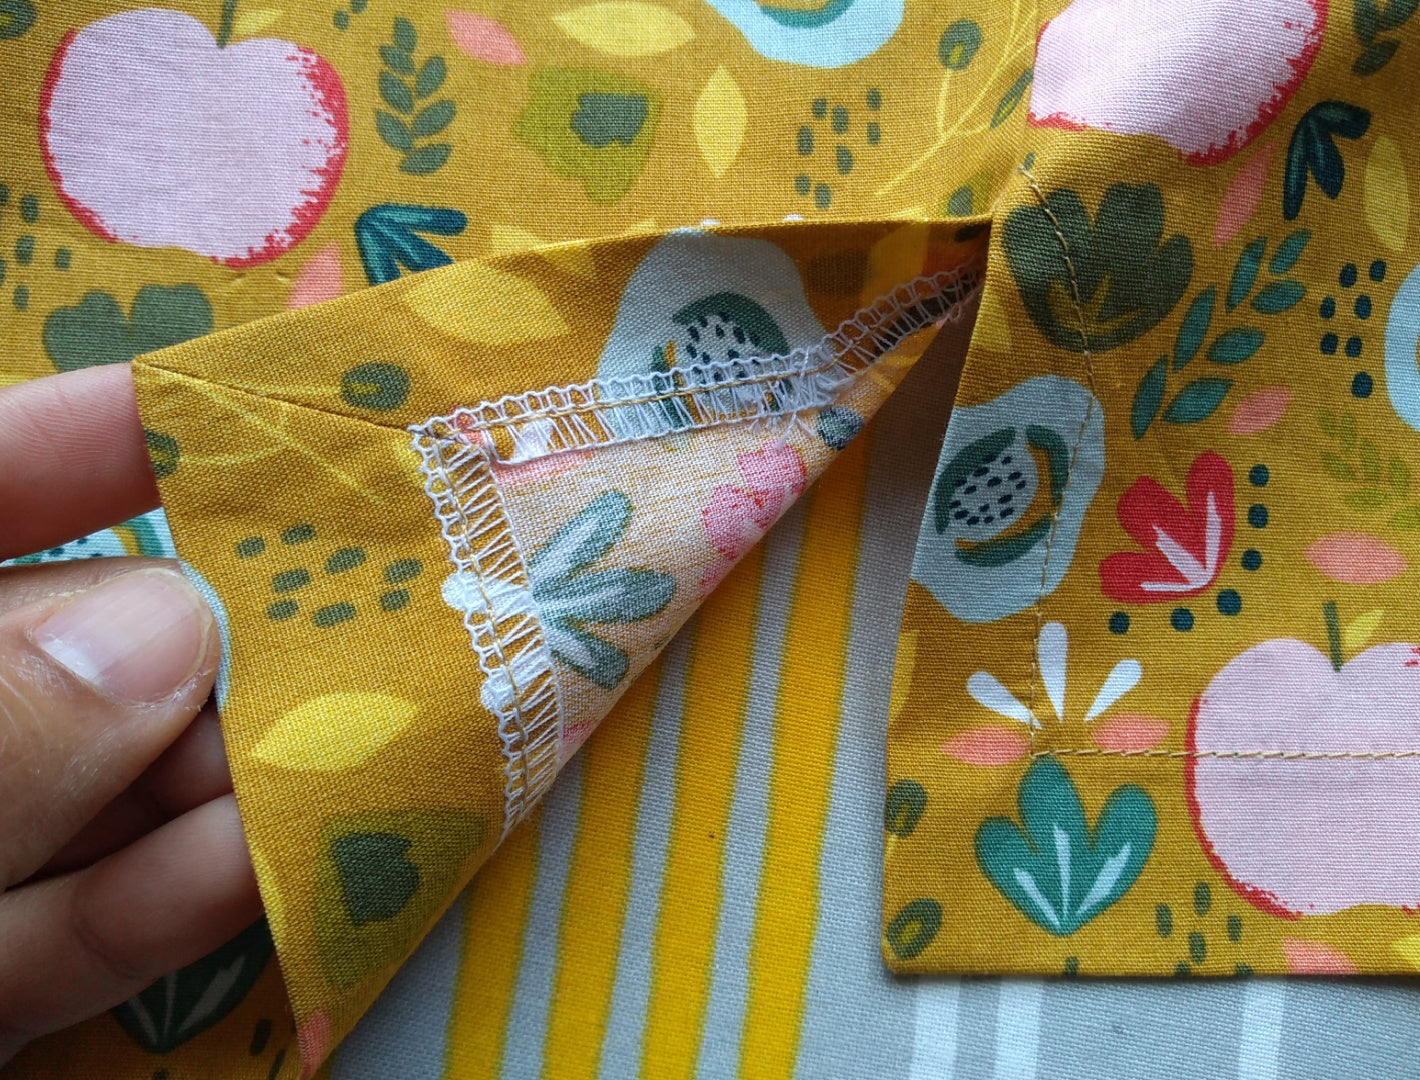
MITRED CORNERS
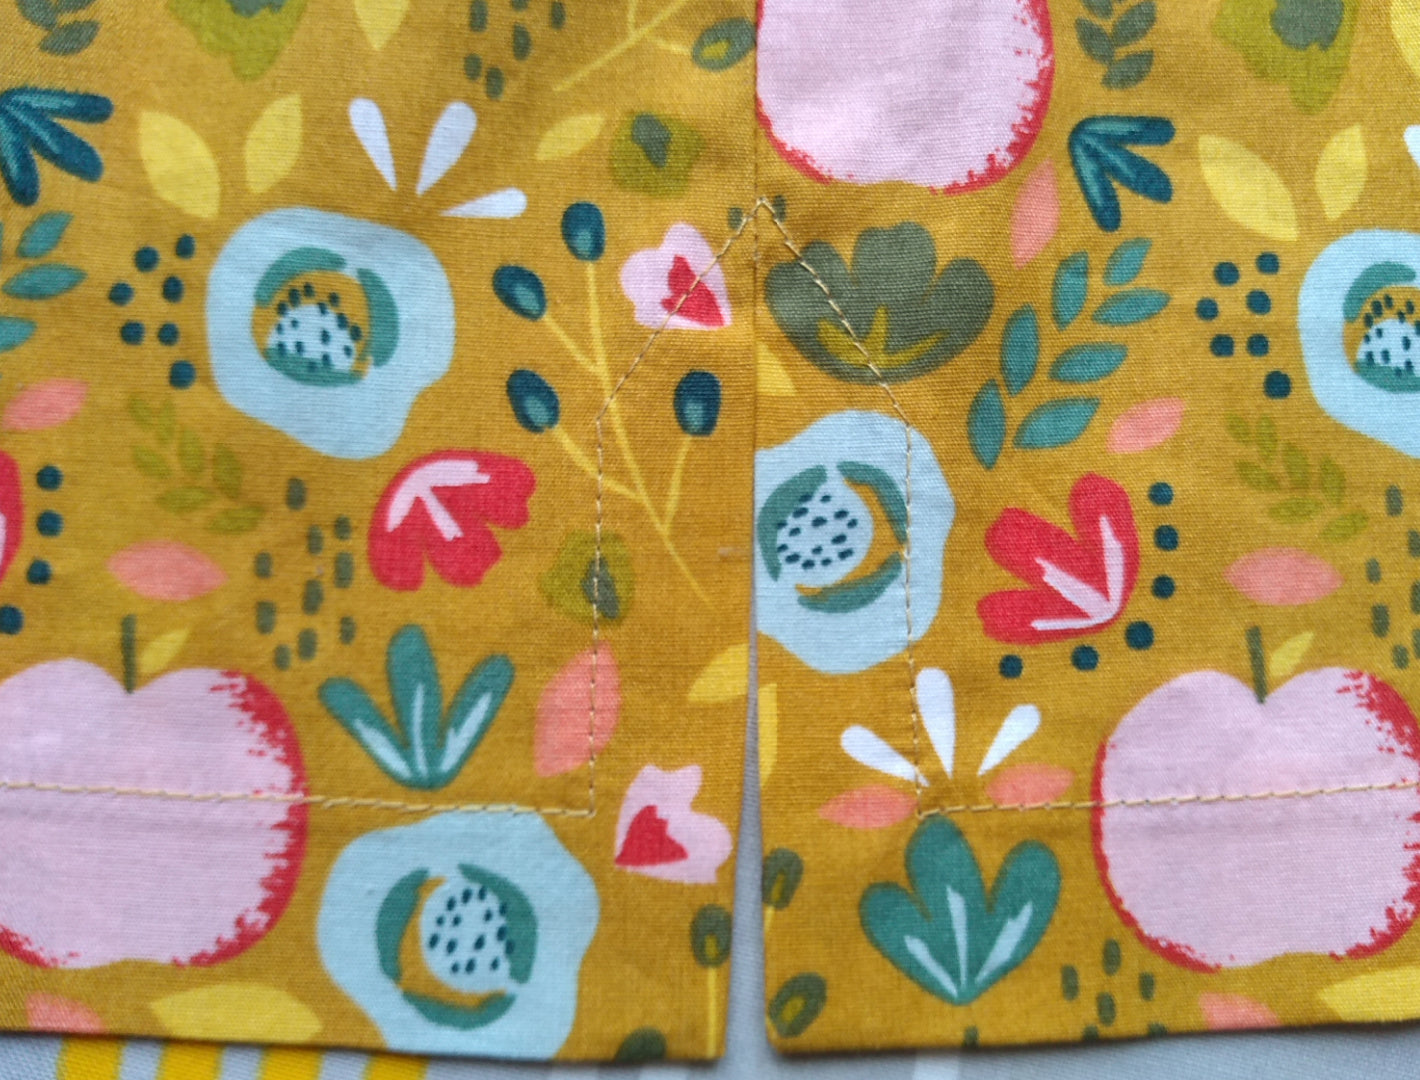
THE HEM
THE SLEEVES
INSERTING THE SLEEVES

THE BUTTONHOLES

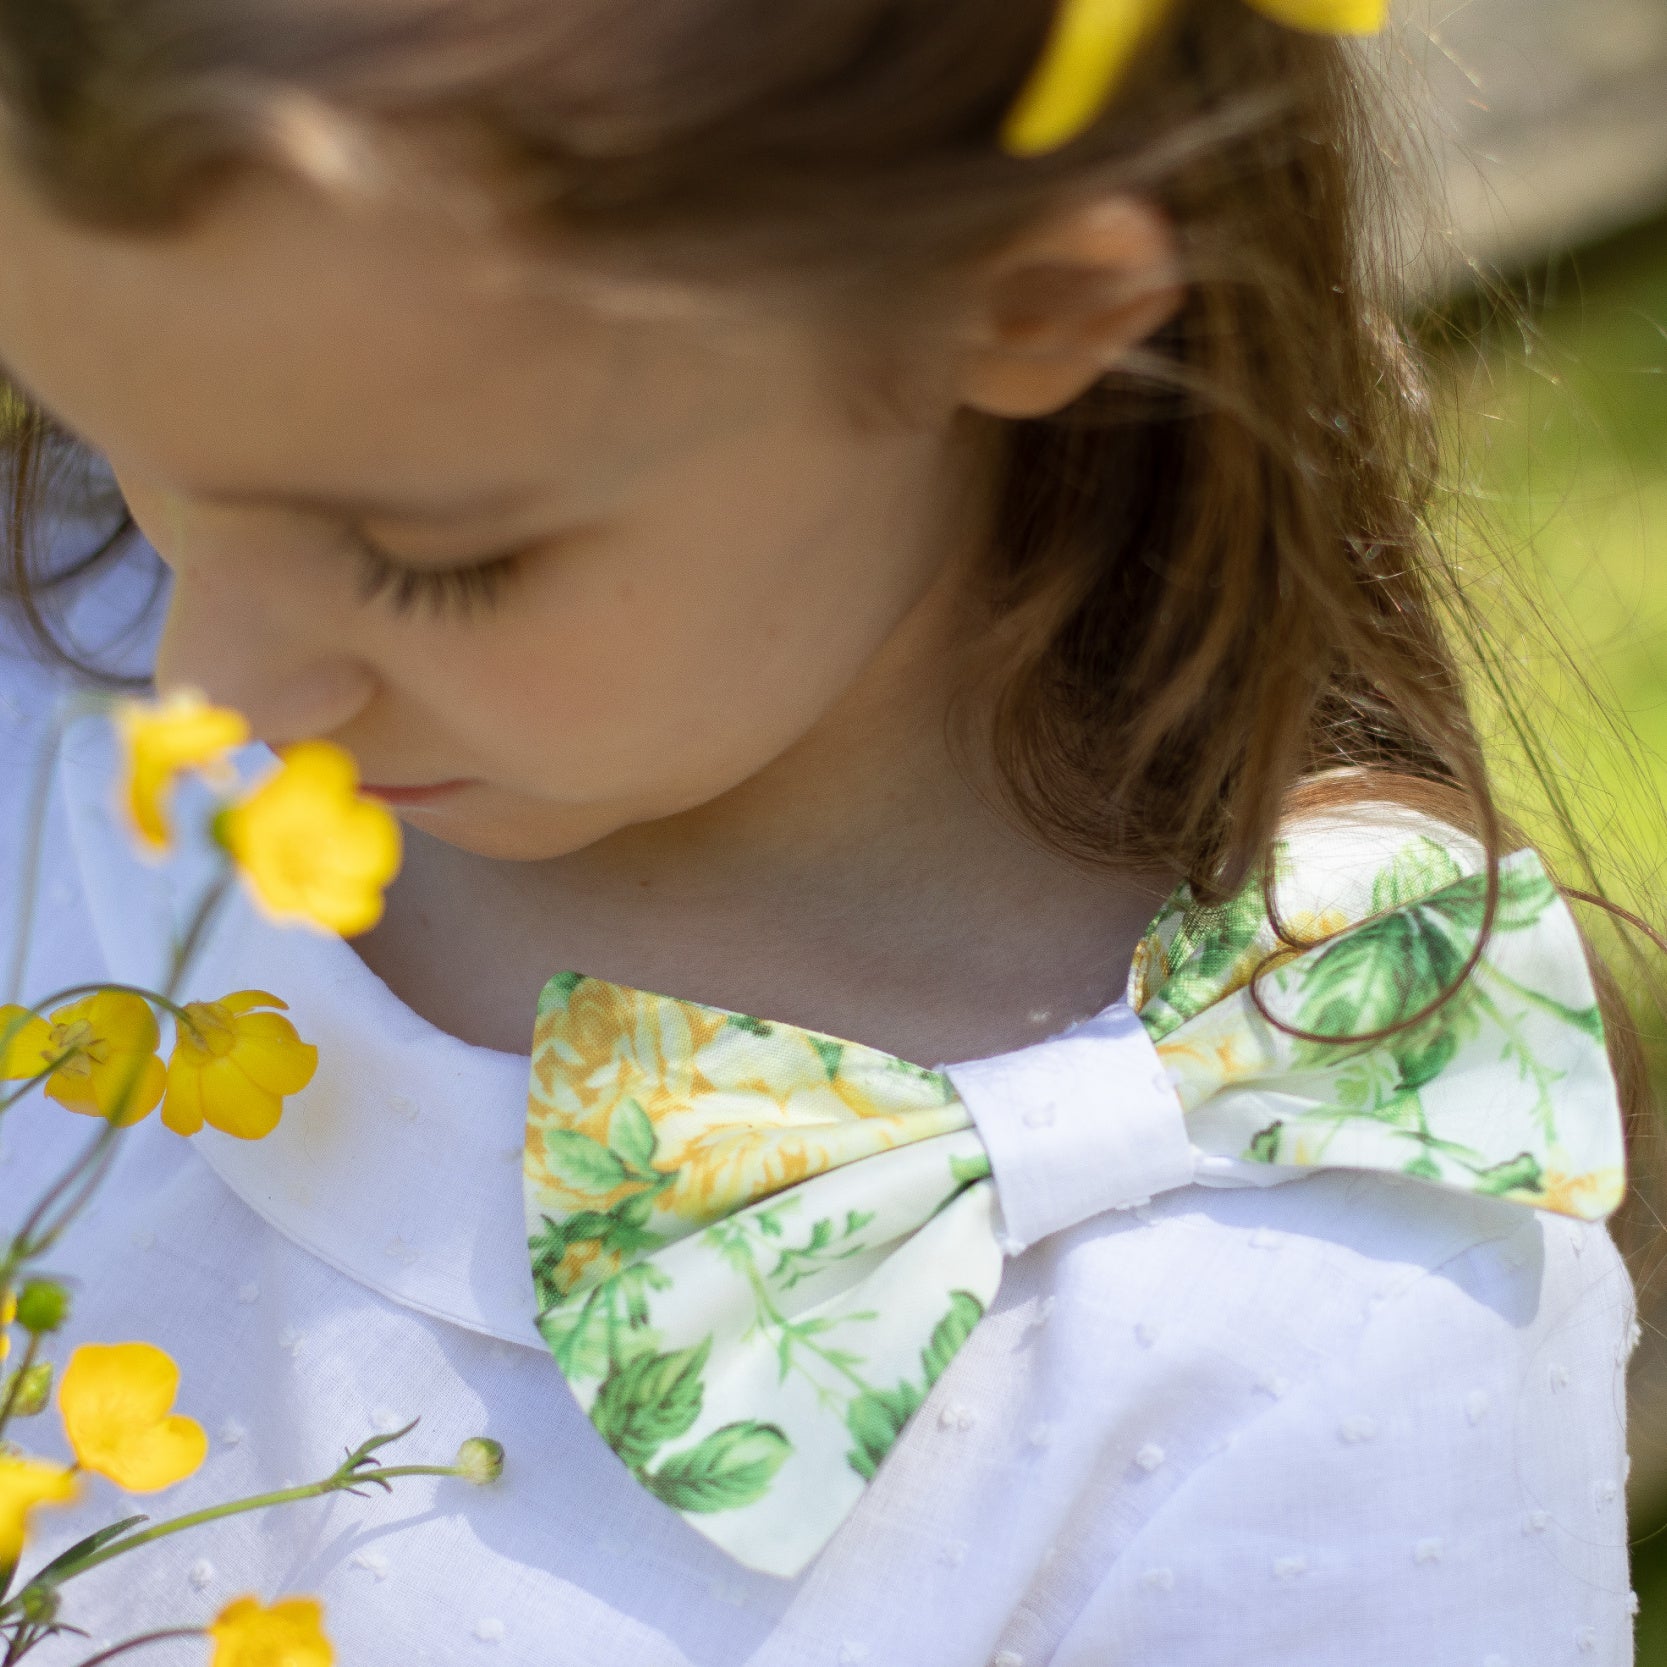
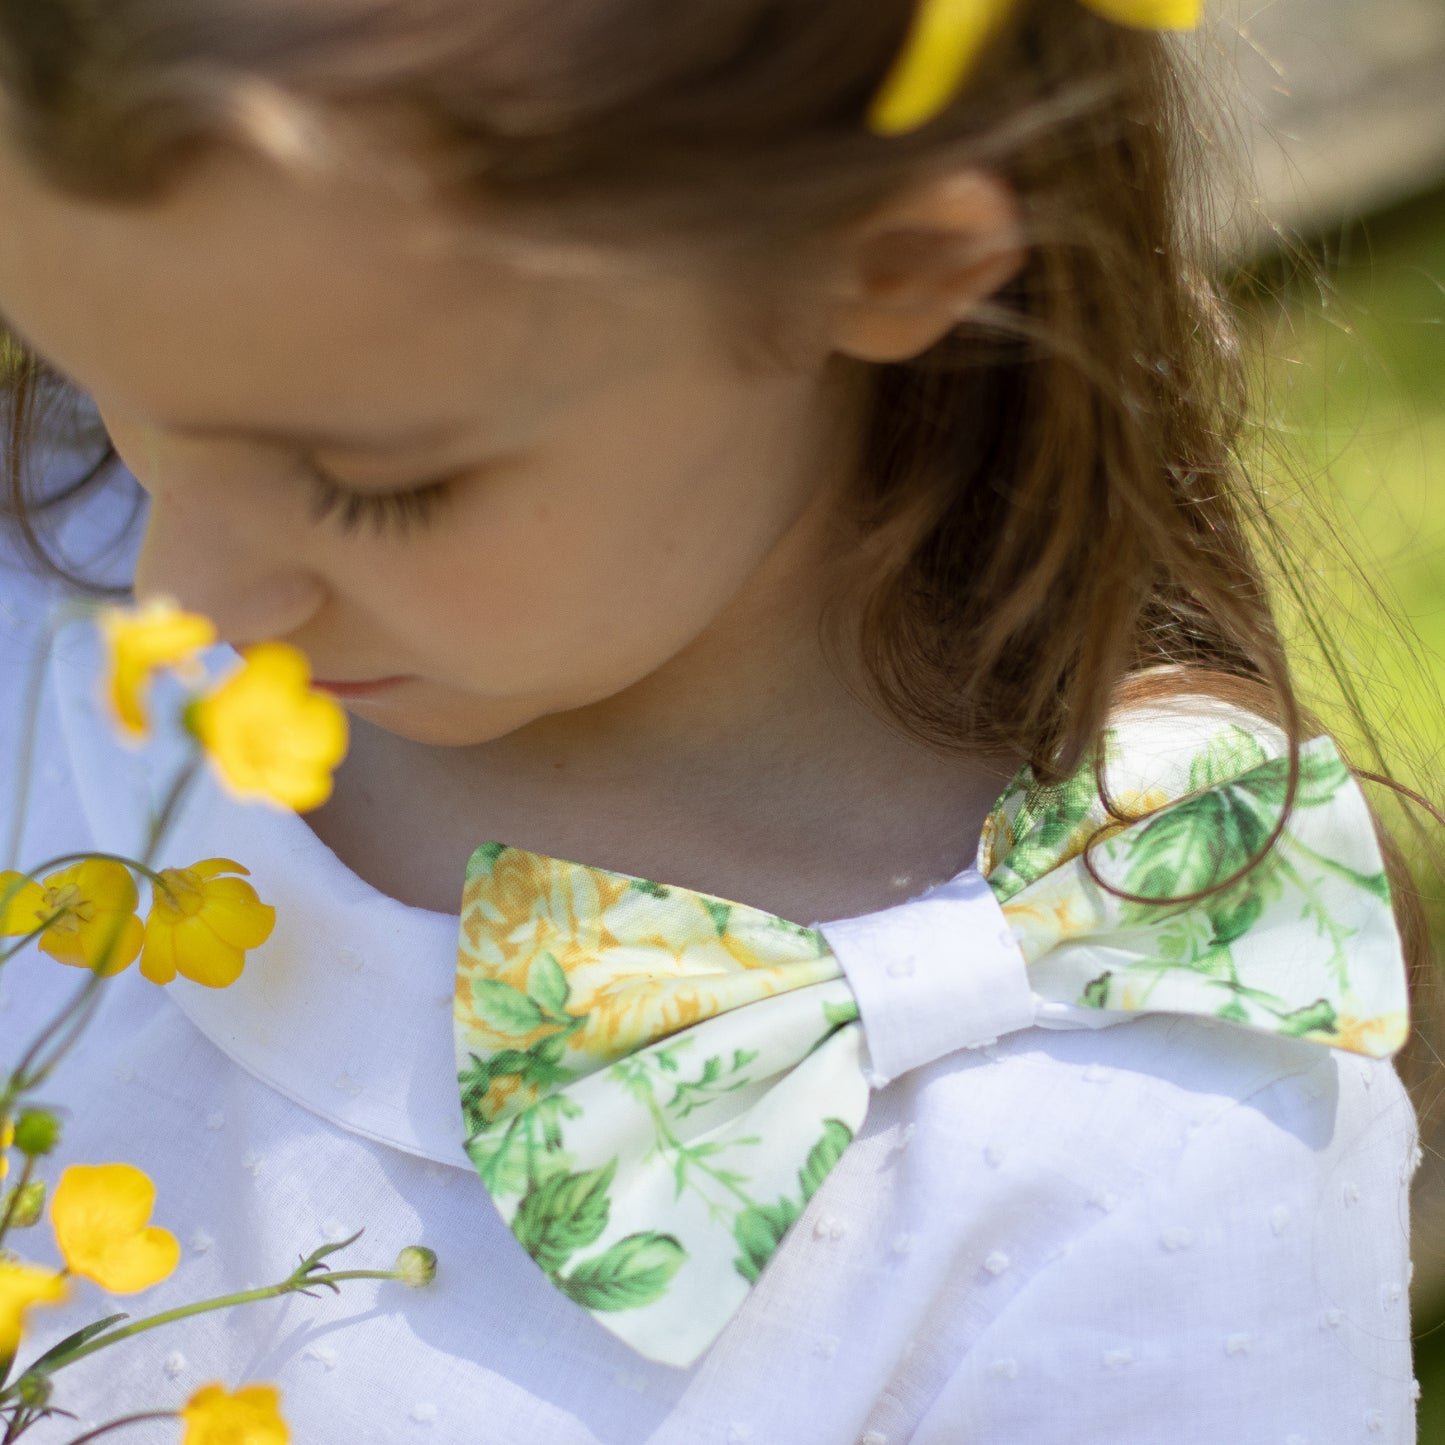
THE BOW