Skip to product information
1 of 15

AUDREY & PARIS DOLL BUNDLE

AUDREY & PARIS DOLL BUNDLE

Filled Circle
Filled Circle
Filled Circle
Empty Circle
Empty Circle
Regular price $6.50 USD
Regular price Sale price $6.50 USD
Sale Sold out

Build the cutest little 18 inch doll outfit with this vintage‑inspired jacket and fitted Capri pants bundle. Paris is a charming ruffle jacket and Audrey a timeless 1950s style pair of Capri pants. 

Perfect as doll wardrobe basics, this set includes a beginner friendly doll sewing pattern with video to guide you every stitch of the way.

Pattern Download Includes

  • Instant Download
  • DIN A4 & US Letter Size
  • Detailed eBook
  • Video Tutorials

Design Options

PARIS BOLERO 

  • Classic shawl collar
  • Ruffle sleeve details
  • Lined construction
  • Recessed hem with ruffle

CAPRI PANTS

  • Vintage-inspired cut
  • Velcro closure
  • Side leg hem vents

Fabric Requirements

BEST MATERIAL CHOICE
Medium-weight materials such as Sateen, Denim and Linen.

FABRIC REQUIREMENTS & NOTIONS

BOLERO

  • Fabric: 12 inches (30cm)
  • Frill & Back Lining: 6 inches (15cm)
  • Thread: One reel
  • KamSnaps: 2 sets

CAPRIS

  • Fabric: 12 inches (30cm)
  • Hook & Loop tape (Velcro): 2.8 inches (7cm)
  • Elastic: Length: 3.3 inches (8.5cm)
  • Width: 0.8 inches (2cm)
  • Thread: One reel
  • Contrast Lining: Small fabric remnant

Available Sizes

FITS 18" DOLLS PERFECTLY
Professionally designed to fit American Girl®, Truly Me, and My Generation dolls.

• Chest: 11 inches (28 cm)
• Waist: 10.6 inches (27 cm)
• Shoulder to Waist: 4 inches (10 cm)

Please Read

  1. This is a digital pattern or PDF file, not a physical product. It will be delivered electronically via a download link delivered to the email used for the purchase.
  2. To ensure the pattern prints at its actual size, it's recommended that you use Adobe Acrobat Reader.
  3. The pattern creator, Frocks & Frolics, welcomes small-scale production using their patterns. 

Customers are encouraged to tag Frocks & Frolics when sharing projects made using their patterns on social media.

@frocksandfrolics #frocksandfrolics

View full details

STEP-BY-STEP VIDEO TUTORIALS

Thumbnail
AUDREY: STEP-BY-STEP TUTORIAL
Thumbnail
PARIS: STEP-BY-STEP TUTORIAL

VIDEO TEXT

How to sew the Paris Bolero for Dolls

Transcript for the video: Paris Bolero - Step-by-Step Tutorial.

Hi everyone this is Marina from Frocks & Frolics and we'll continue on with more doll clothes for you. In this video, I'm going to show you how to make the Paris jacket.

You might have made it for your daughter already, and this version here is quite a lot easier. What you can learn with it as well is, of course, how to put a shawl collar in which wraps all the way around. It's absolutely gorgeous.

It is simplified a little bit so that no beginner has to worry about that. I think it's a great practice ground for you.

On this side we've got another beautiful doll which is wearing the Audrey Capri pants just like this one. She can sit this one out because we've got them here as well and that's part of the combination that you get. They come as a package, you get the jacket and you get the pants together.

Pattern Overview and Cutting Instructions

First we're going to look at the pattern pieces so we make sure that all the right stuff is cut out.

Starting with the sleeve, I've got that here twice, and then I've got the ruffle that goes on the lower end twice as well. That's cut on the fold, and the sleeve is cut mirror image. Make sure that you mark the front and the sleeve head, that makes it easier to put it in later.

The back lining has a facing lining and then another facing and they're going to be sewn together to make one piece like we have in the upper material. You could cut that on the fold but I personally think it's nicer for these smaller pieces if you've got it in one bit.

You also need to mark the center back for all of that.

On the front pattern I have marked the welt buttonhole. You could of course put any buttonhole you like. There is a video in the course that will show you how to do a proper buttonhole.

I'm cutting the front four times. I use the same material for the outer and inner parts, including lining or facing.

On all four pieces, make sure to strengthen the area where you will snip later by adding interfacing.

Then we've got the ruffles for the sleeve, cut twice, and another ruffle for the jacket hem.

Back and Shoulder Construction

Let's get started with the back. We place it in front of us exactly how we want it to look when it's finished.

Then we flip over the lower facing onto the lining and put it together with just one pin in the center back so everything lines up.

Now we close the shoulder seams for both lining and upper material.

Take the back and front, line up the shoulder seam, and mark the seam allowance. We stop one centimeter from the neckline point that we've marked.

Do the same for the lining.

This is simple because the distances are small, so it's very good practice.

Sewing and Topstitching the Body

Now I've already put together the upper part.

Next I sew the lower facing onto the lining, using one centimeter seam allowance.

Then we topstitch the seam allowance to the body, with the lower one facing up and upper one facing down.

Use a longer stitch length, around 3 to 3.5, for a nicer finish.

Then we close the shoulder seams using a shorter stitch length, locking stitches at the beginning and end.

Collar Construction (Shawl Collar)

Now we're ready to close the collar.

This is a shawl collar which wraps around, so you need to snip right into the corner carefully. This is important so the collar can turn properly.

Place the center back and collar seam together and open everything out. Make sure the front pieces are flat and aligned. Start sewing from the cut point and go across to the other side.

Then iron the seam into the collar, not downward, so the collar stands nicely.

Optional Closure (Velcro Tip)

If you want to use Velcro instead of snaps or buttonholes, place hook and loop tape carefully so it is 1.2 cm from the edges.

Sew only the lining side first if needed, so stitching is not visible on the outside.

Front Assembly and Ruffle Preparation

Now we close the front. Sew all the way around with a one centimeter seam allowance.

At corners, you can reduce stitch length for control, but it is not strictly necessary because we will fold edges instead of cutting them.

After sewing, trim seam allowances and clip curves to reduce bulk. Fold seam allowance inward and press into corners for a clean finish.

Sleeves and Ruffles

Now we prepare sleeves. Fold ruffle in half lengthwise and iron. Add gathering stitches along the top edge.

Close the short seam and prepare ruffle for attachment. Pull bobbin threads to gather ruffle and fit it onto the sleeve.

Distribute gathers evenly, stopping before the seam allowance area. Sew between gathering lines and then serge or finish the edge.

Topstitch with a longer stitch length for a clean look.

Inserting Sleeves

Match front notch to sleeve front. Pin sleeve into armhole, aligning shoulder seam with sleeve head.

Ease sleeve into armhole, making sure it rounds naturally. Sew using one centimeter or foot width seam allowance.

Use pins to hold fabric flat and prevent pleats. Then serge the edge.

Close underarm seam from ruffle to hem.

Hem Ruffle and Bagging Method

Attach ruffle to hem using the same gathering method as sleeves. Sew between gathering stitches.

Then we do “bagging” by placing everything inside and aligning seams. Sew hem while ensuring no stitching line shows on the outside.

Trim seam allowances and reduce bulk where needed.

Turning and Finishing

Turn the jacket through the armhole.

Press all edges carefully. Optionally topstitch around the jacket depending on fabric choice.

Before closing the armhole, pin everything smoothly. Clip carefully to the holding stitch line so nothing is cut too far.

Turn seam allowance inward and prepare for slip stitching.

Armhole Finishing (Hand Stitching)

Use a hand needle to slip stitch around the armhole.

Tuck fabric neatly and stitch through fold and seam allowance. This gives a clean professional finish and is beginner friendly.

Final Closure (Cam Snaps)

Overlap front by 1.5 cm. Mark snap positions carefully. Use pliers to attach cam snaps step by step: cap, socket, and stud. Press to secure each snap.

Final Thoughts

And that's it, your jacket is finished.

These doll clothes are great practice for beginners and also really satisfying because they come together faster than full-size garments.

If you enjoy this, you can explore more patterns from the doll clothes collection and build your sewing skills step by step.

Bye for now.

How to sew the Audrey Doll Capris

Transcript for the video: Audrey - Step-by-Step Tutorial.

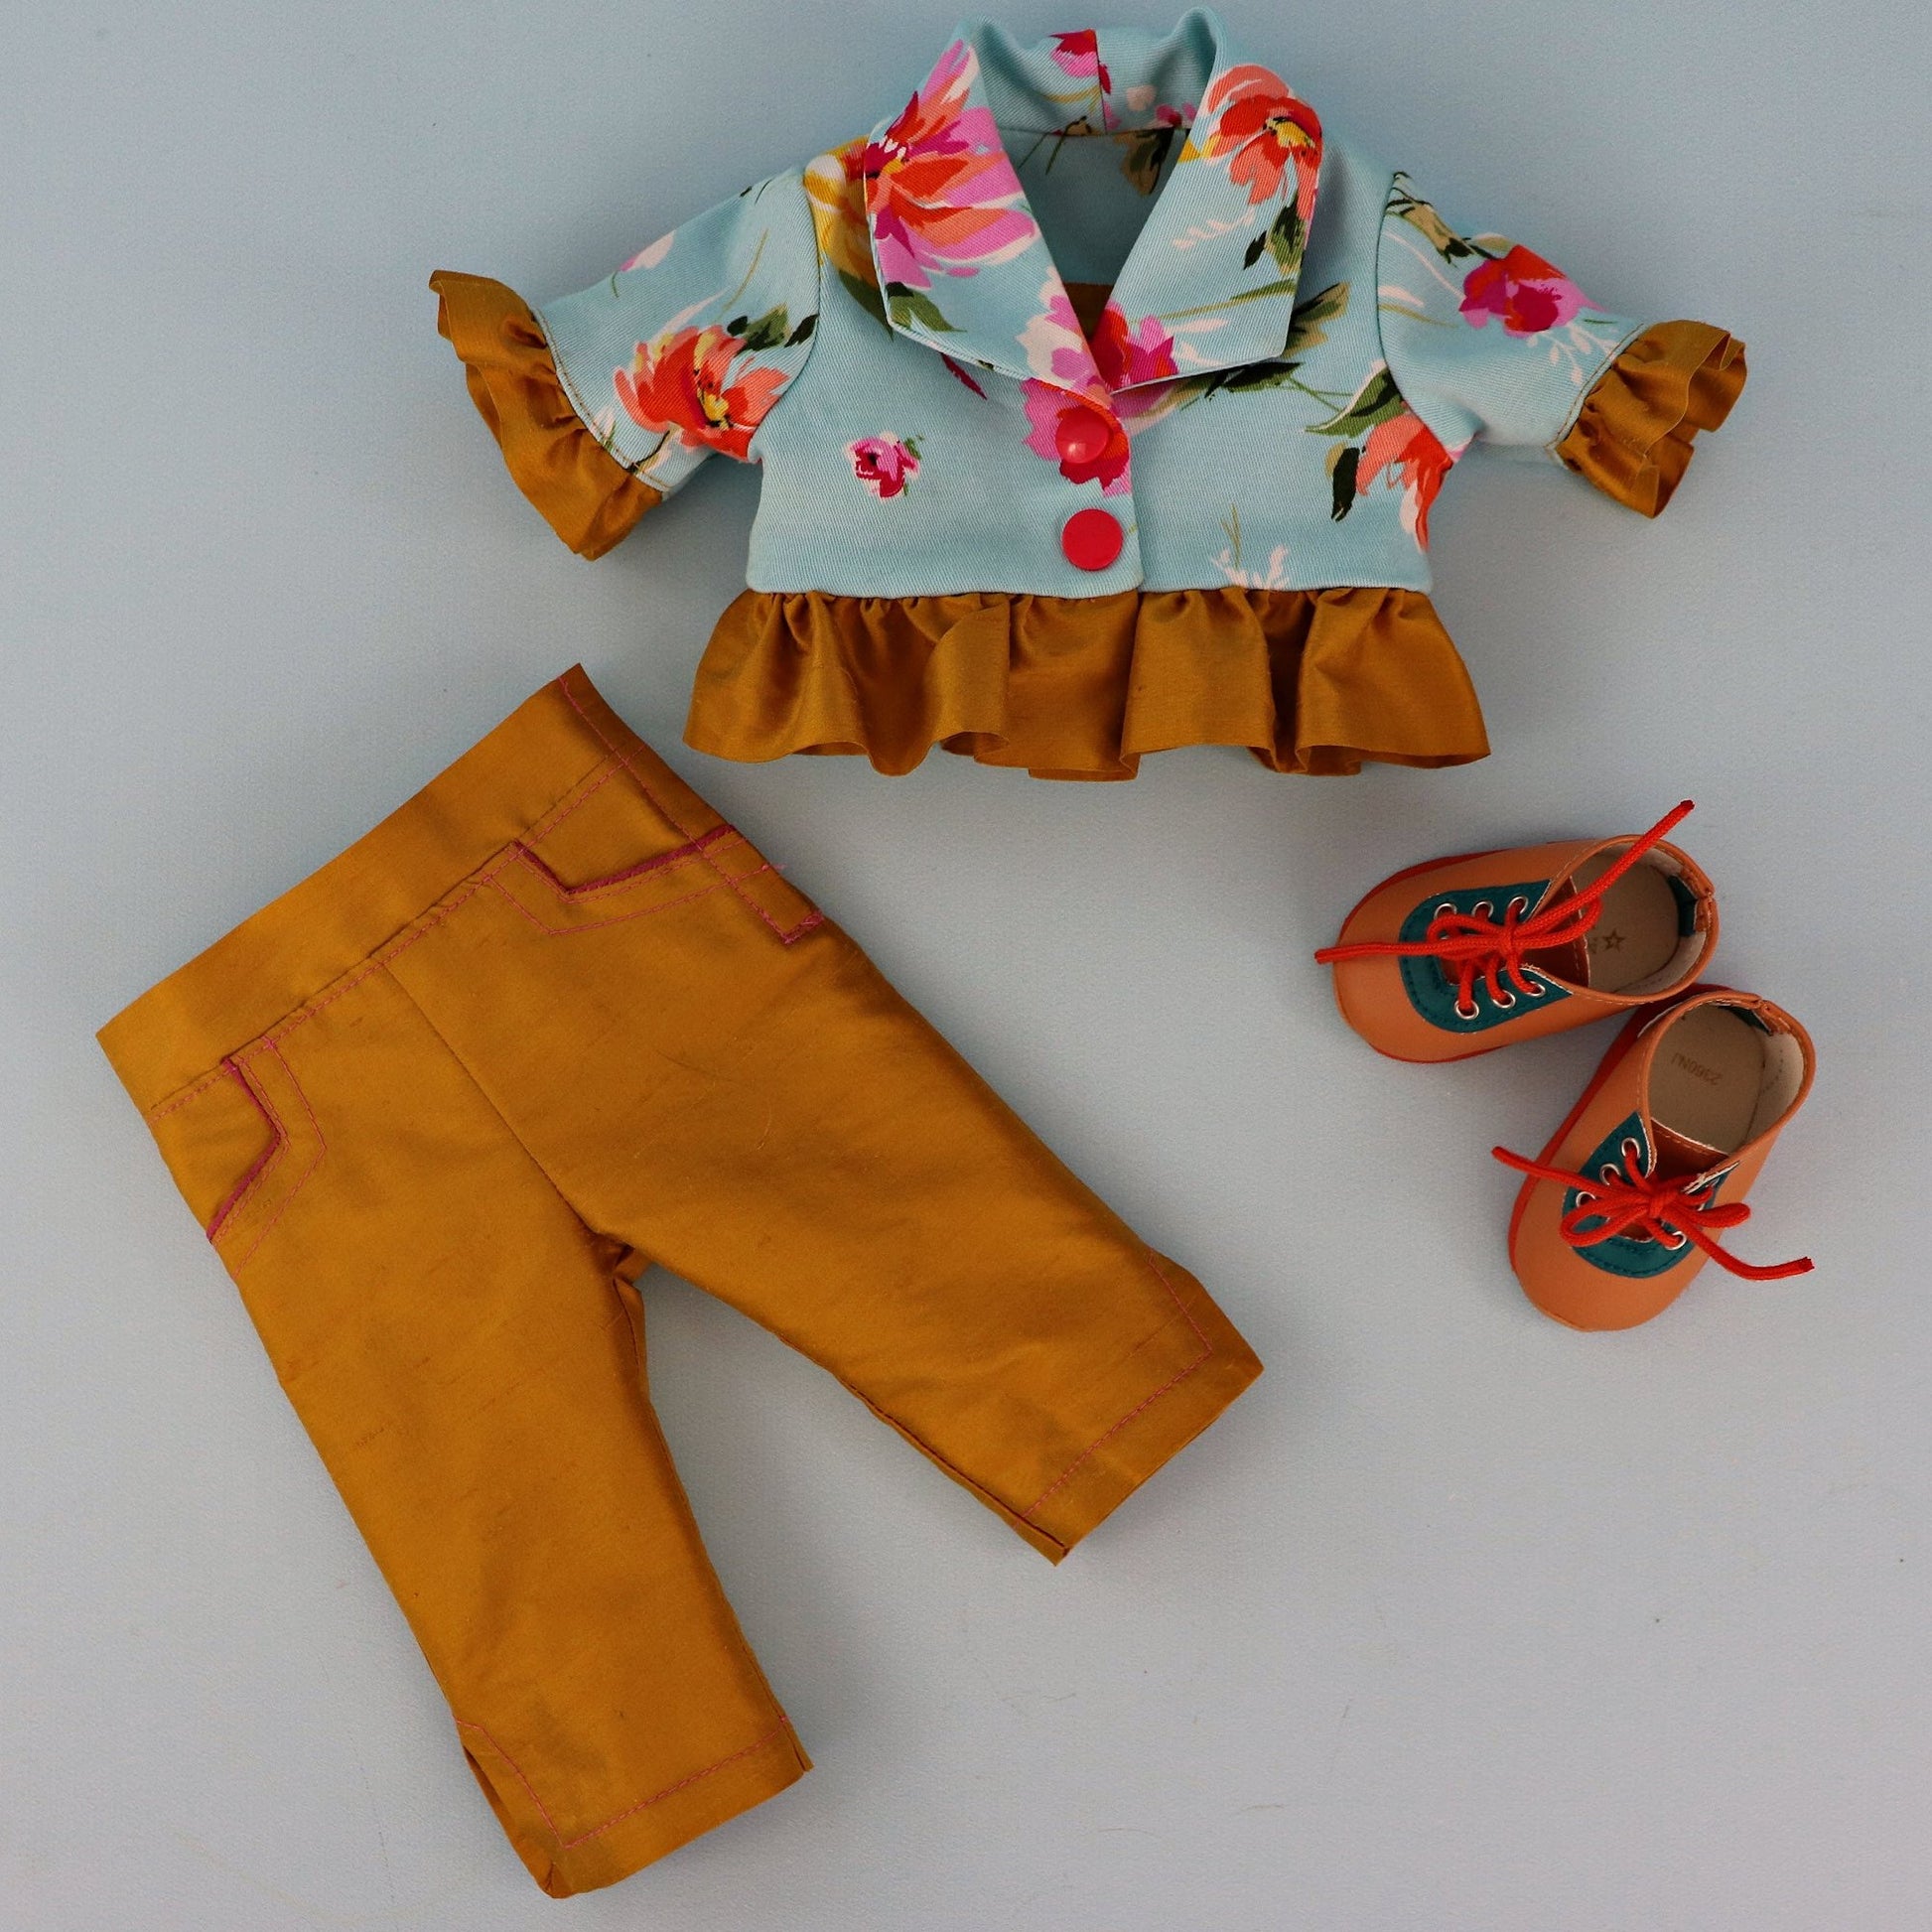
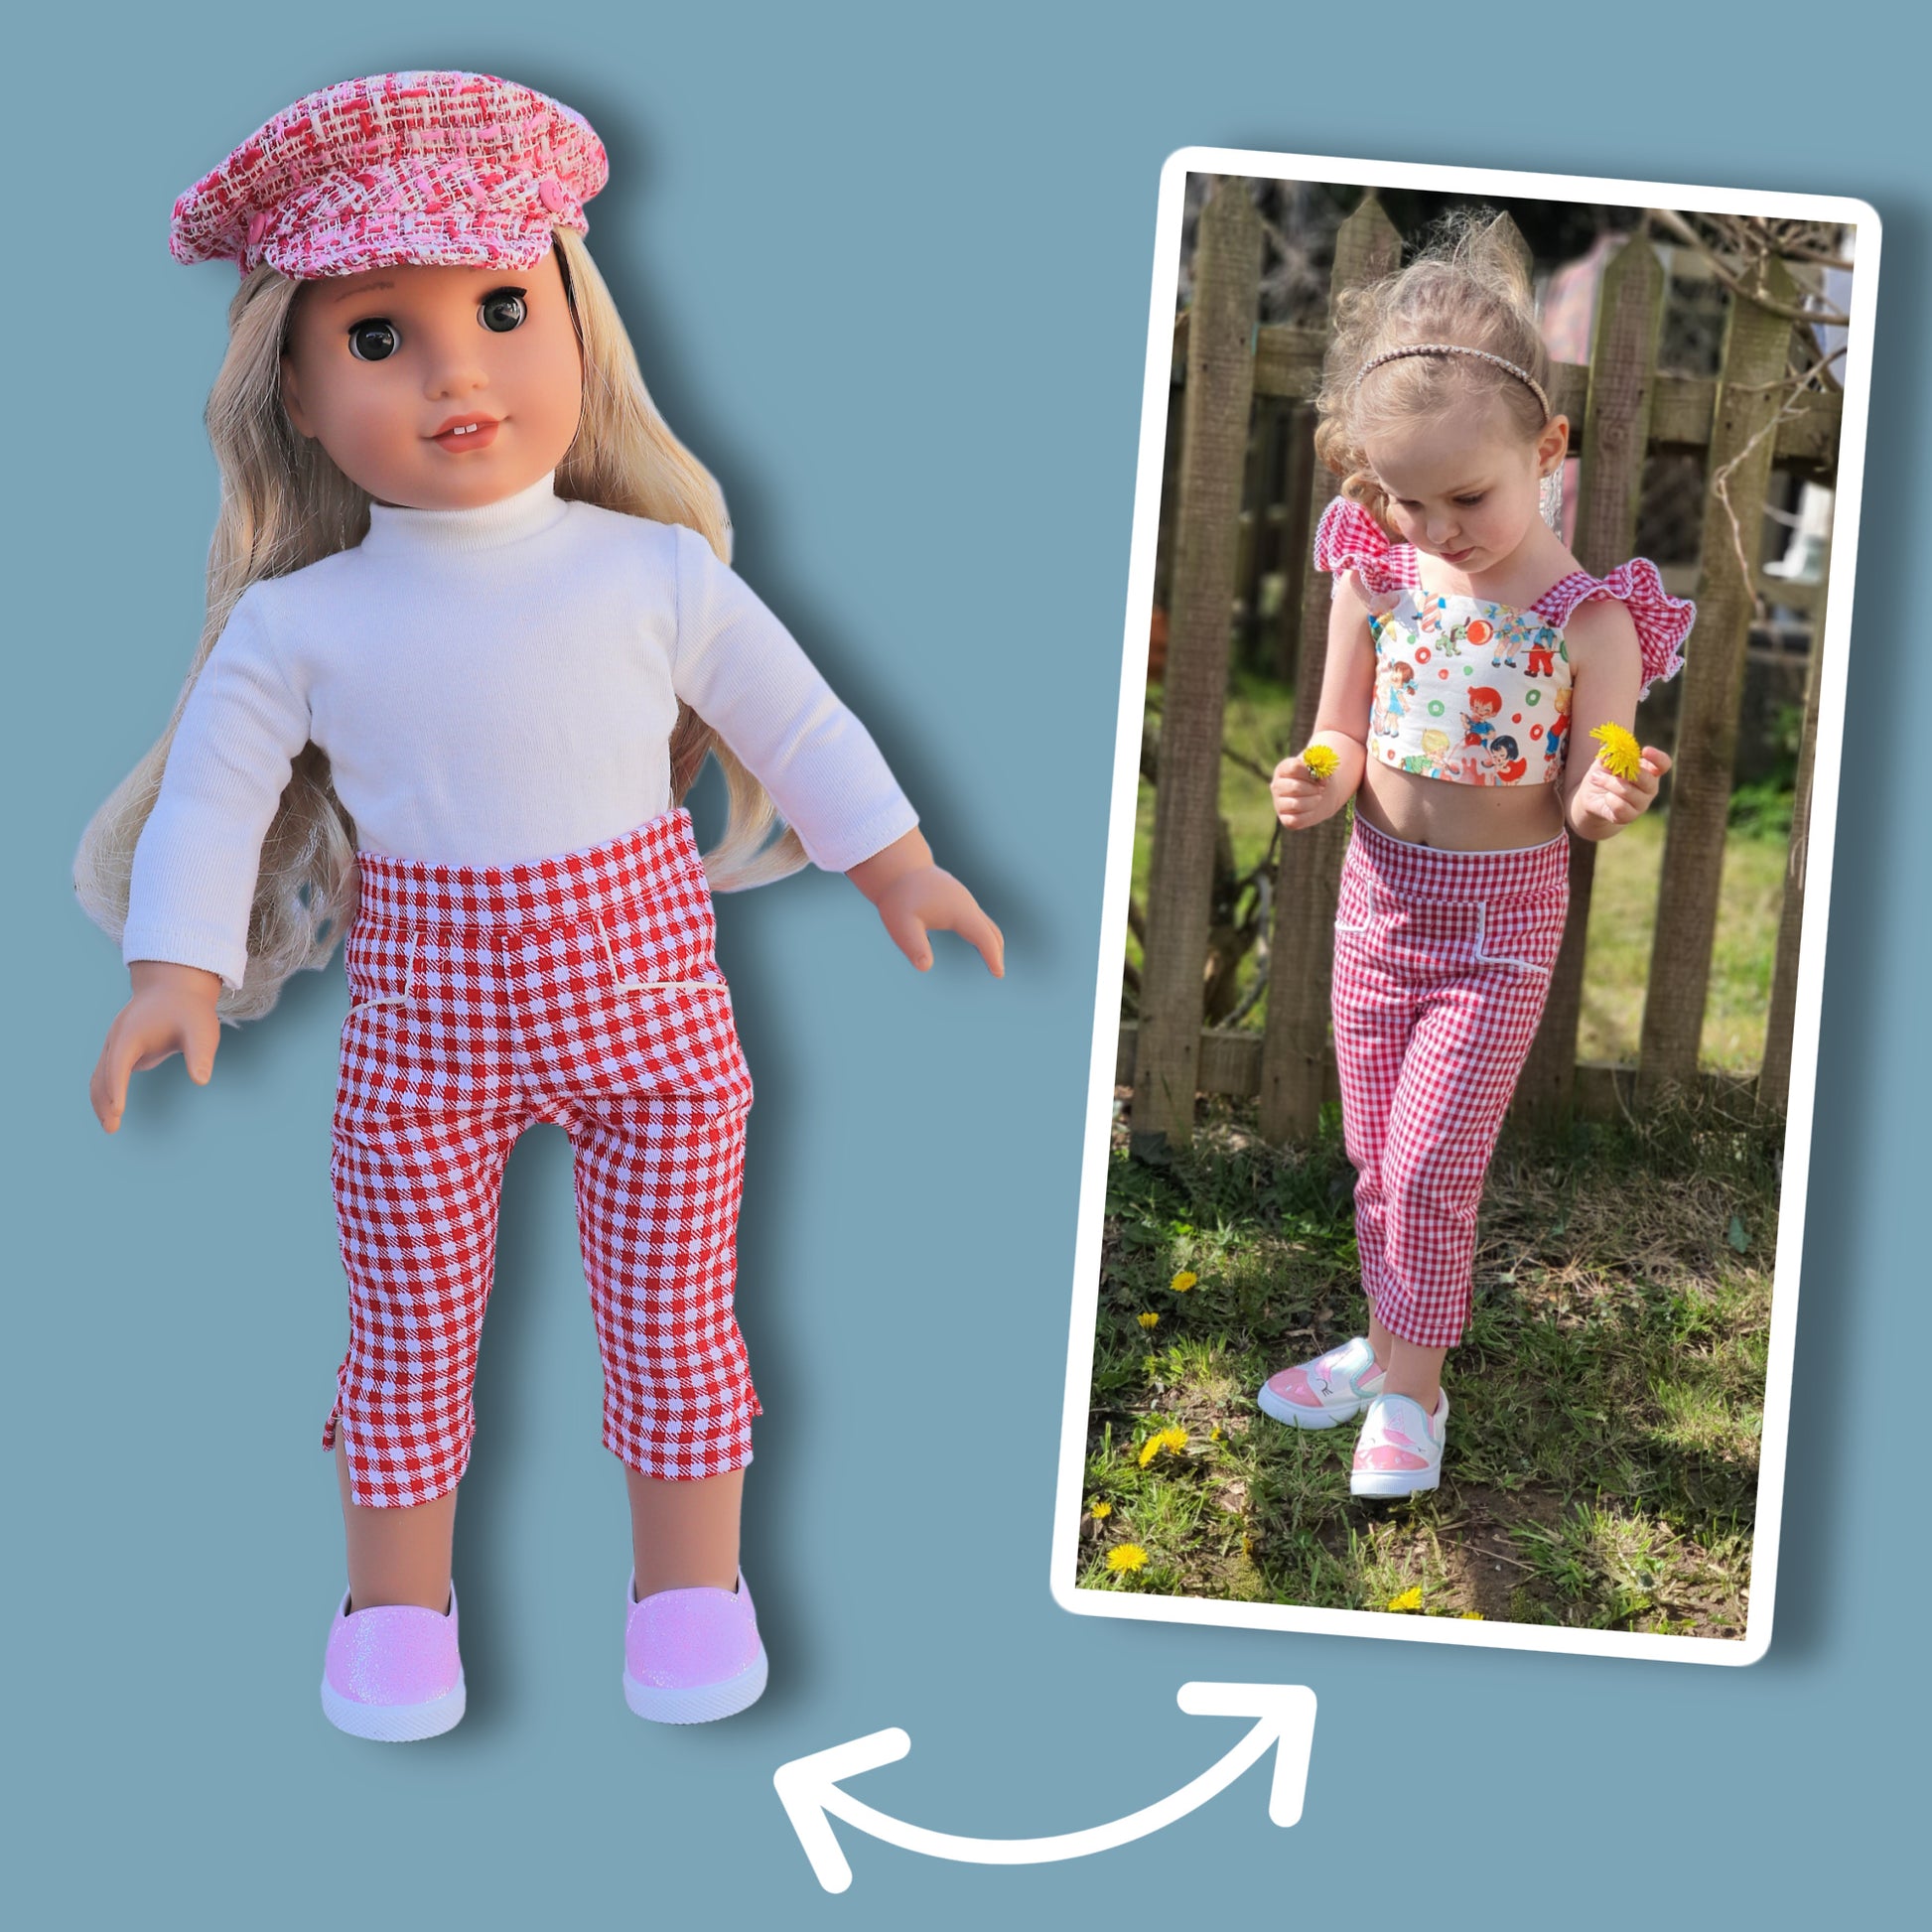
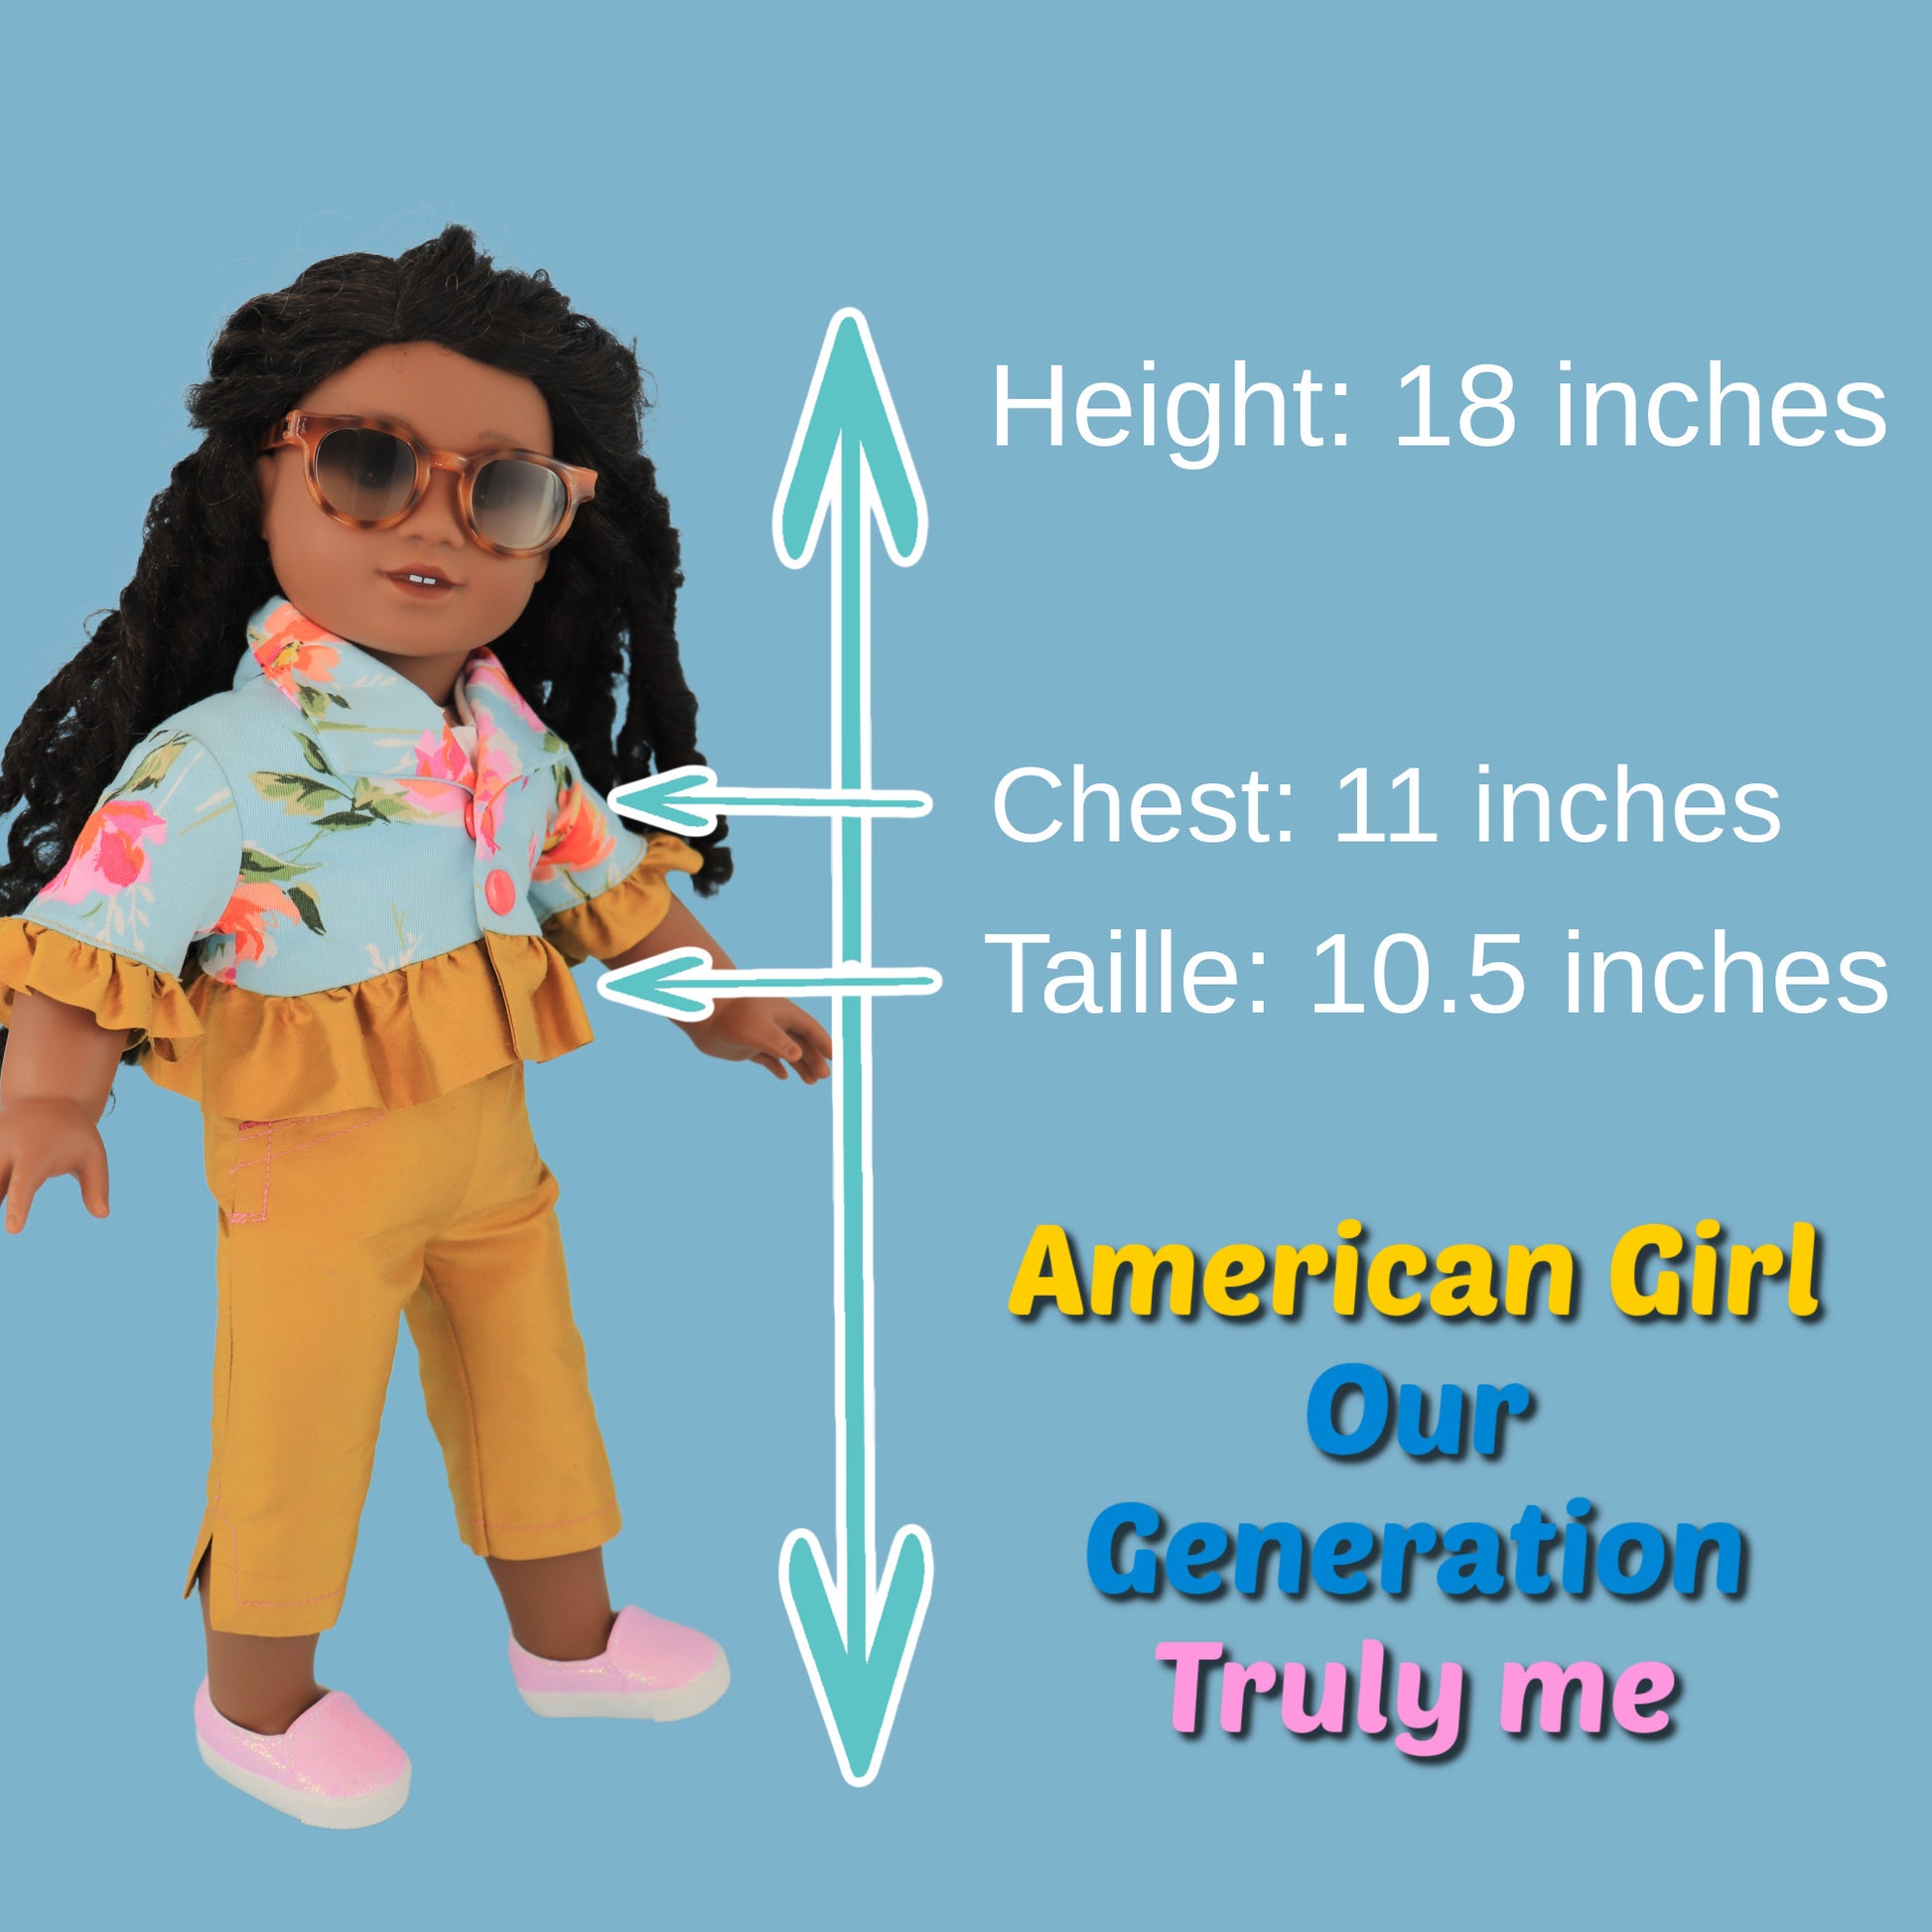
Hi this is Marina from Frocks & Frolics with some more doll clothes for you. I hope you are very excited to make some more doll’s clothes. In this video I'm going to show you how to make these Audrey Capri pants. They're really super super easy to make.

Before we start I want to point out a couple of things here which are quite important for these gorgeous pants.

Fabric and Fit Options

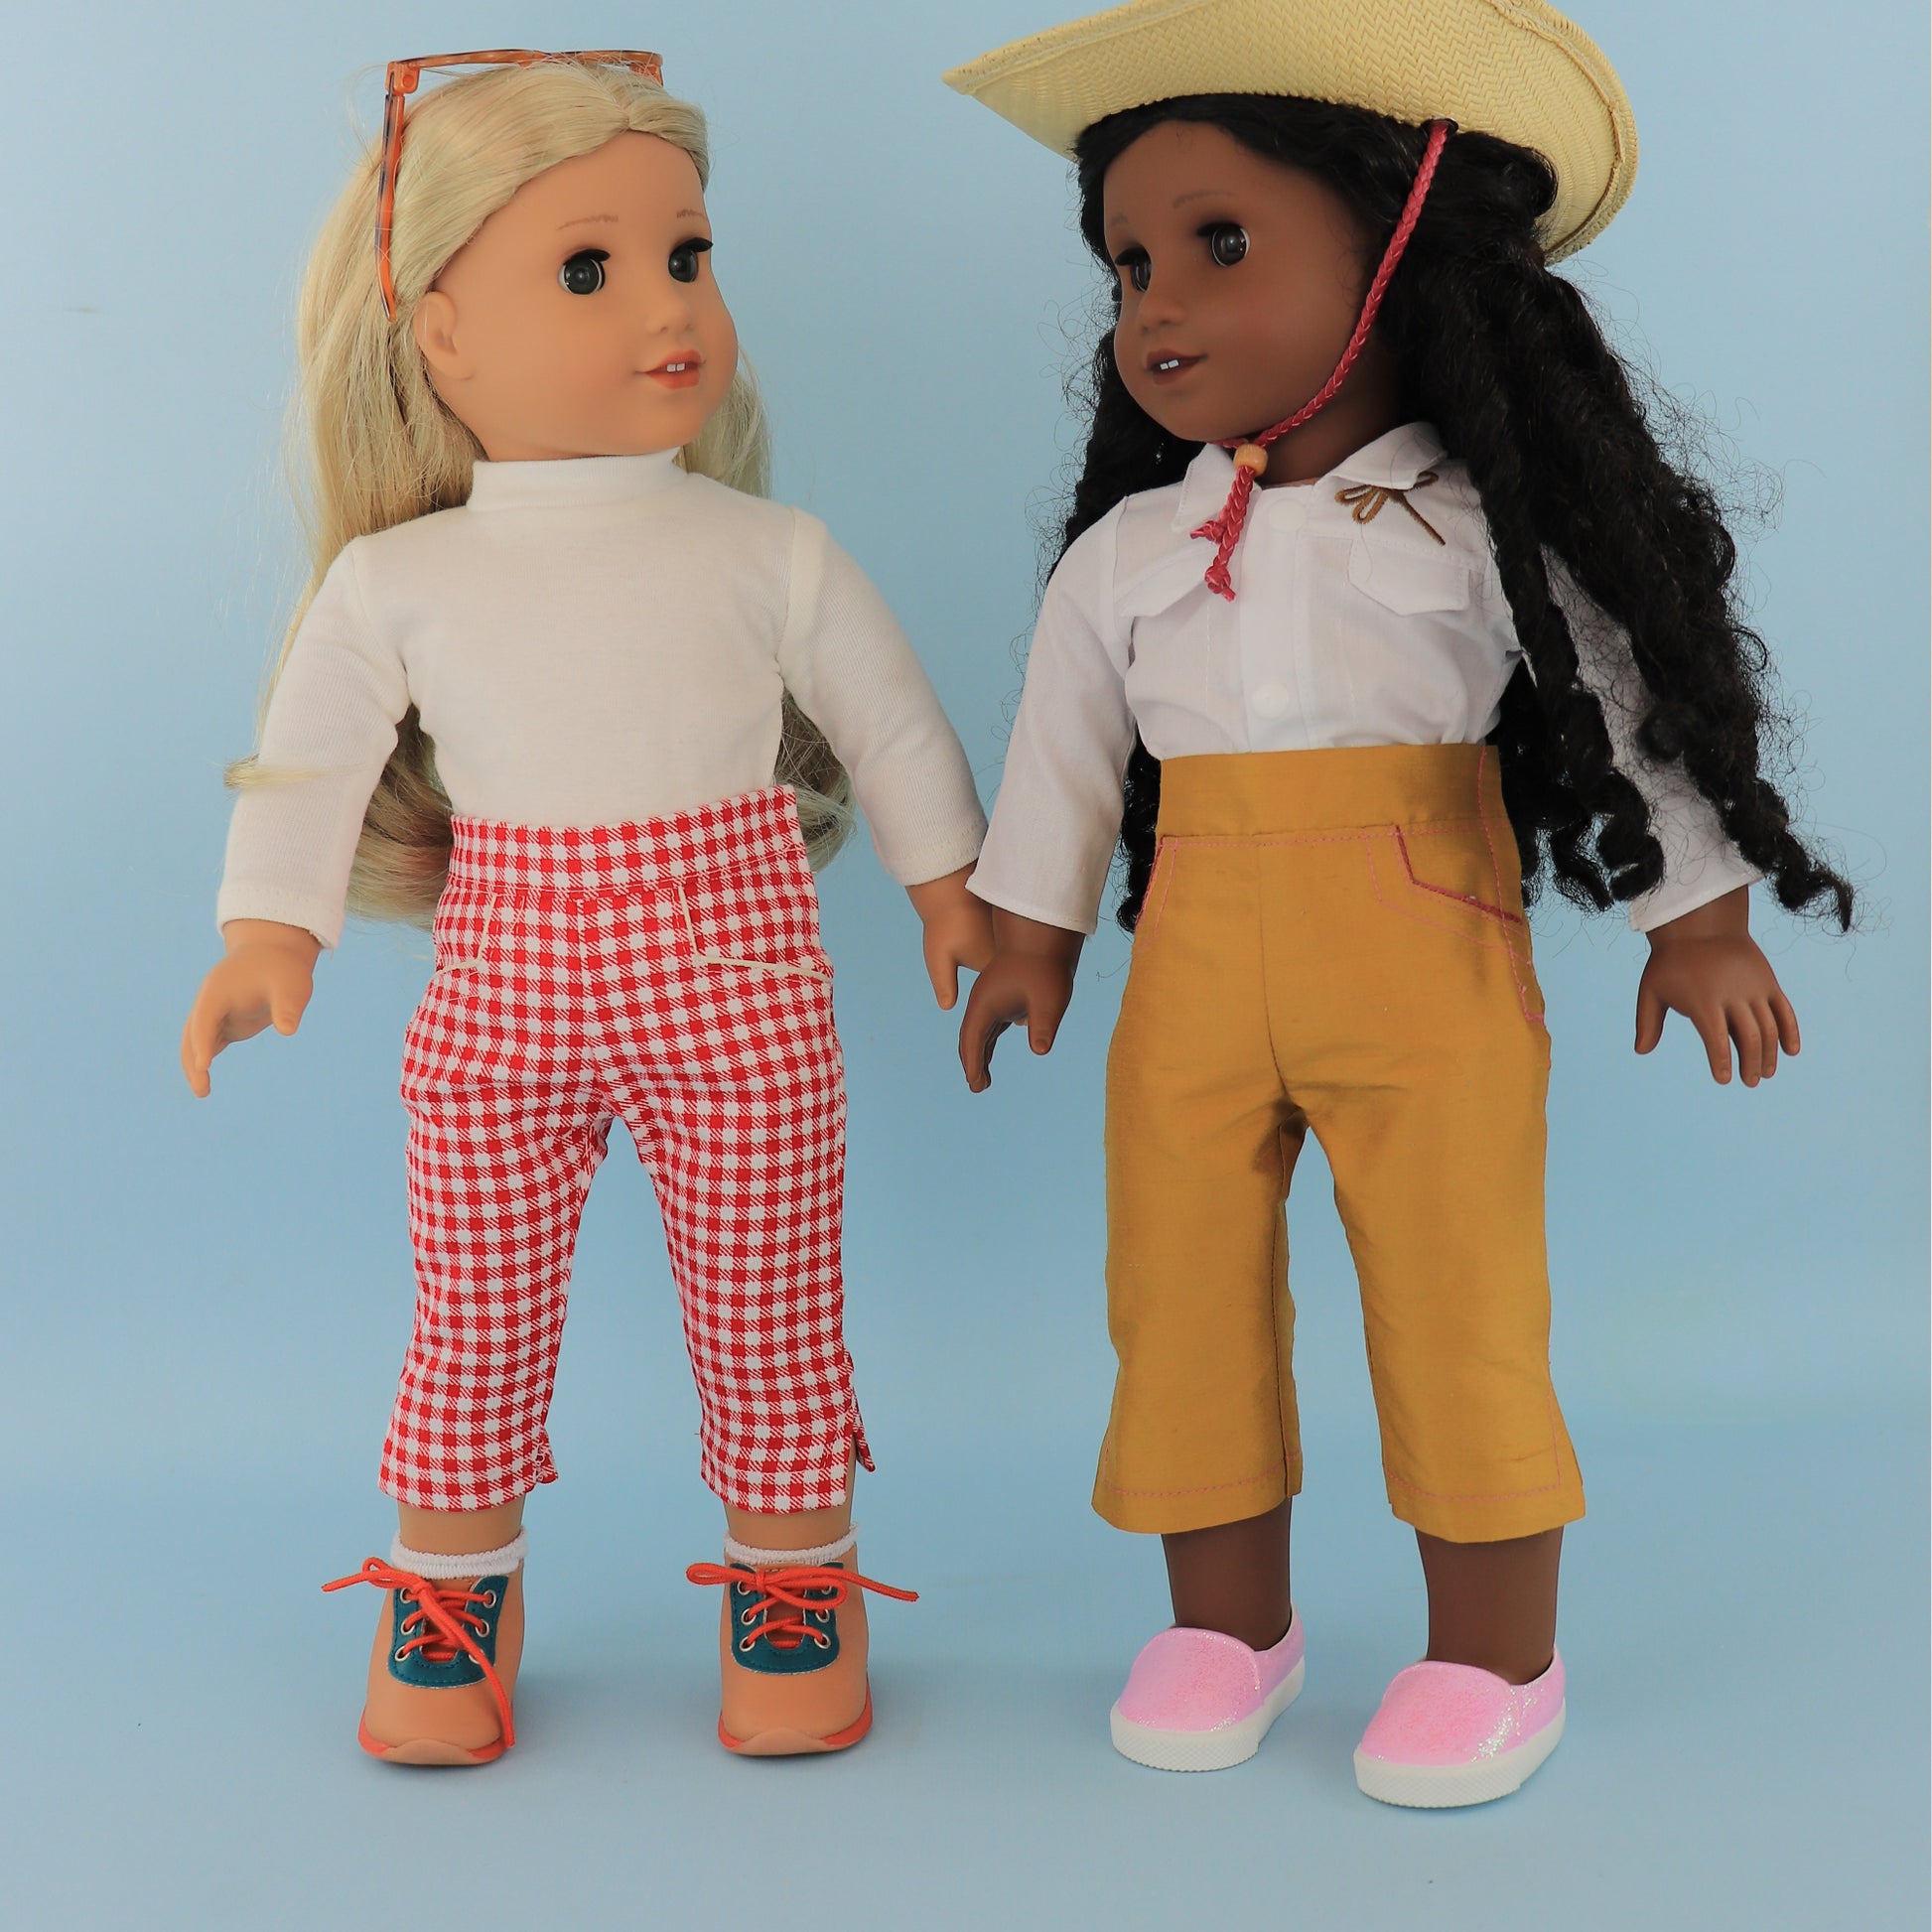
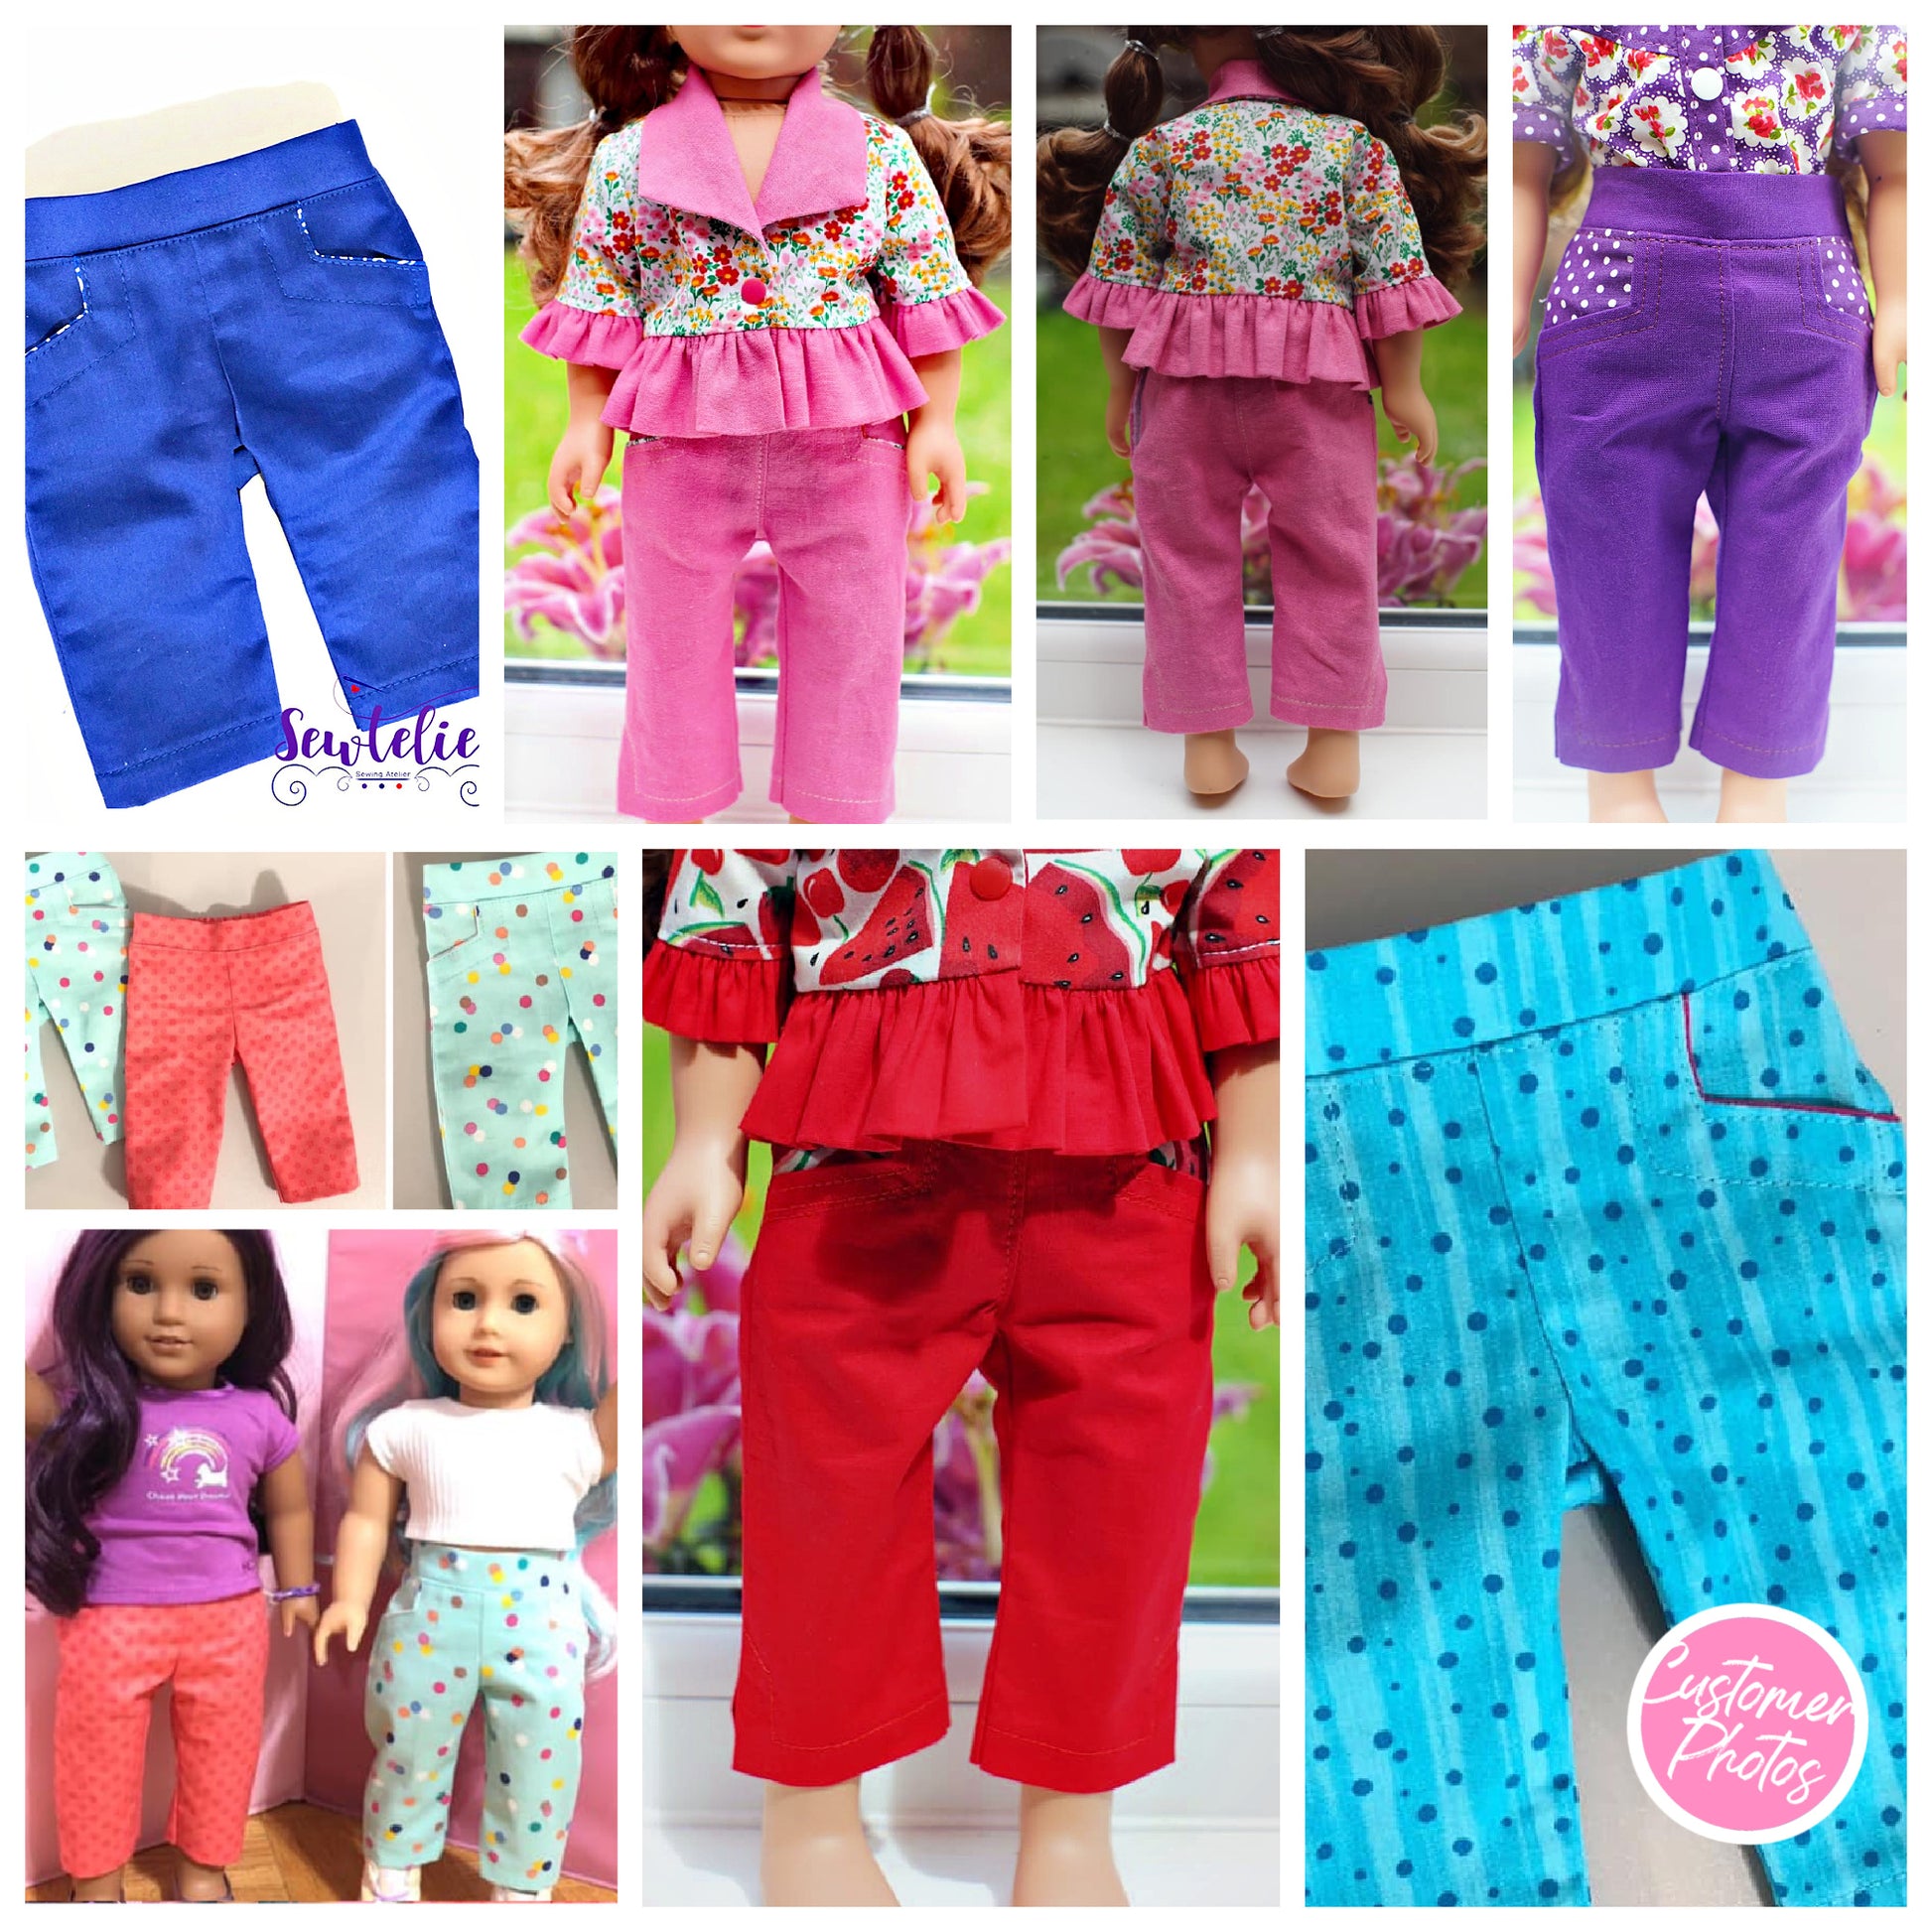
You can make these gorgeous pants very very fitted if you use a material which has stretch. It can be woven like this one but it has to have stretch and then it'll fit really snugly.

If you're using a woven fabric with no stretch in it then you use this option which is a little bit looser, otherwise it won't even go on and that is quite important for everyone that's a beginner. I don't want you to get stuck at the end.

Make sure that when you are cutting out, and we're going to look at all that in a minute, that you are using the right pattern for it. So if you're making the tighter fitting version that can only be done in warp knits or very stable knits or woven fabrics with stretch.

Whereas this one will be just perfect for your woven fabrics.

Design Features Overview

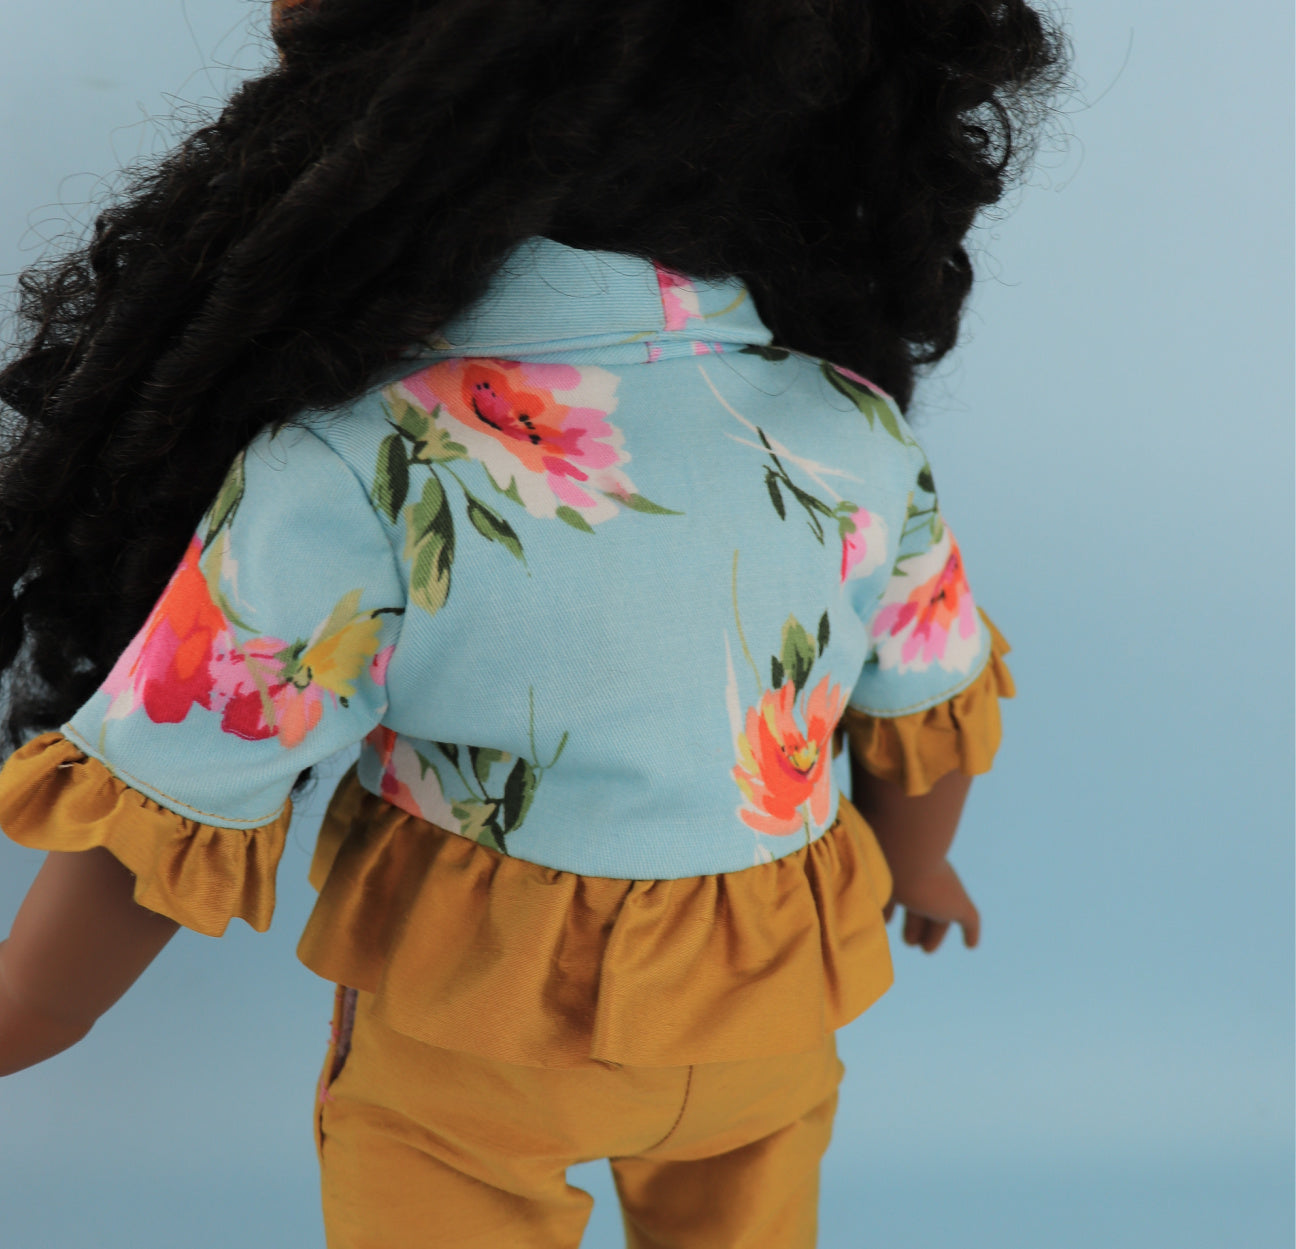
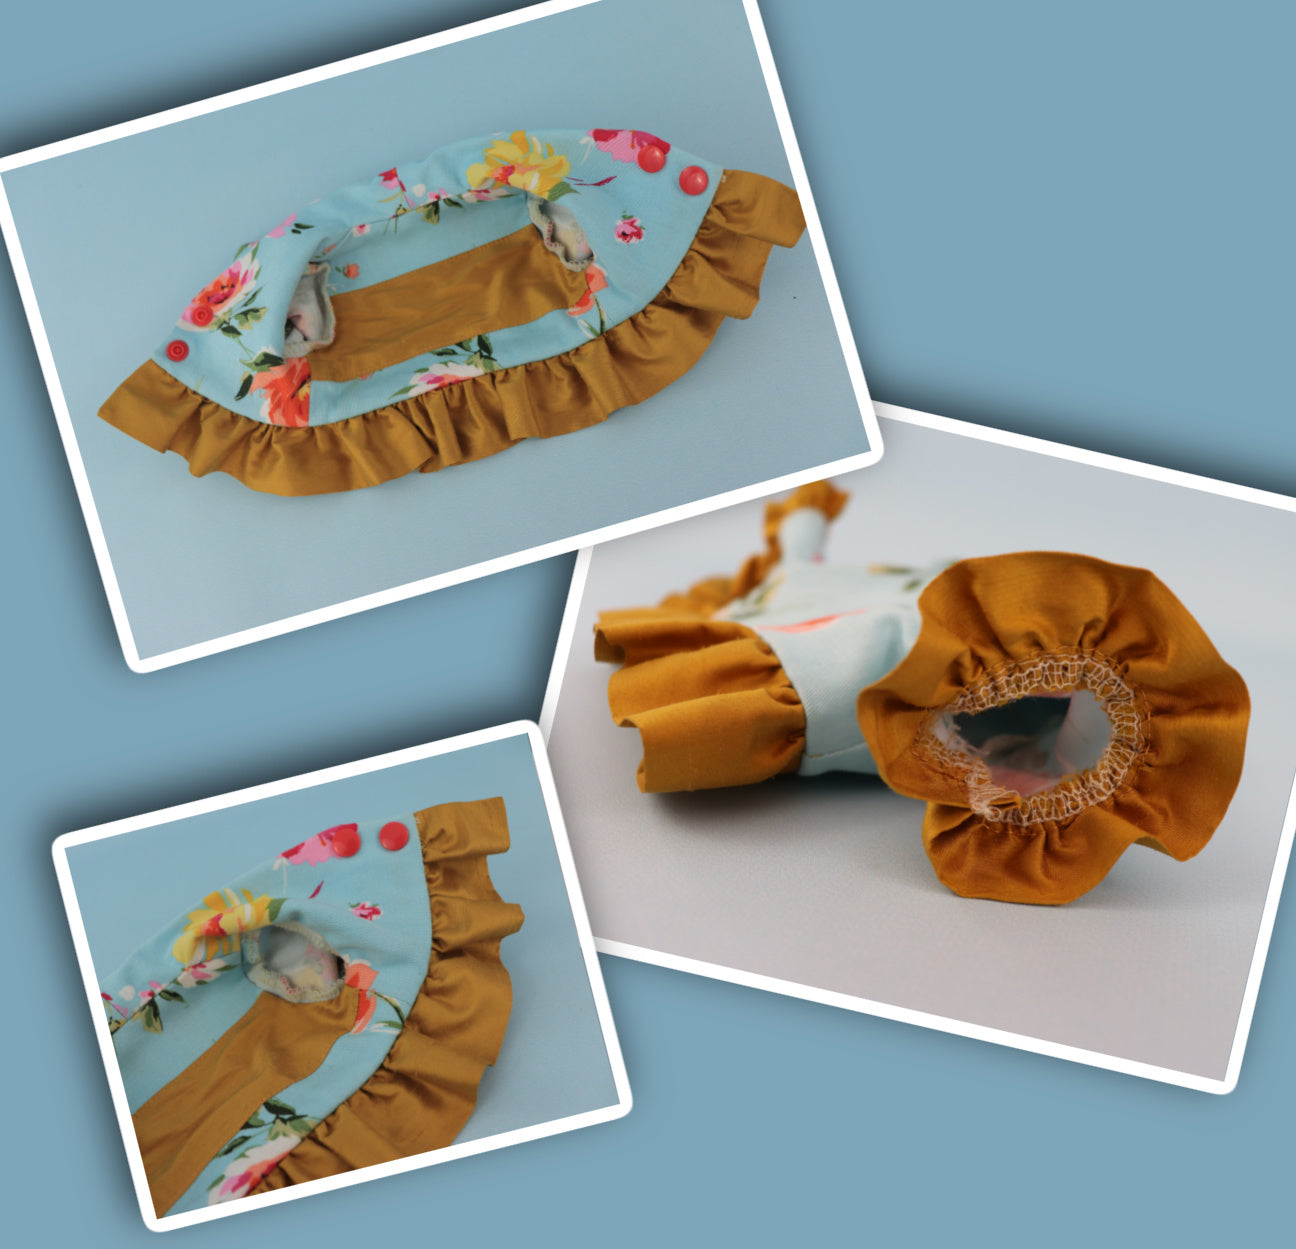
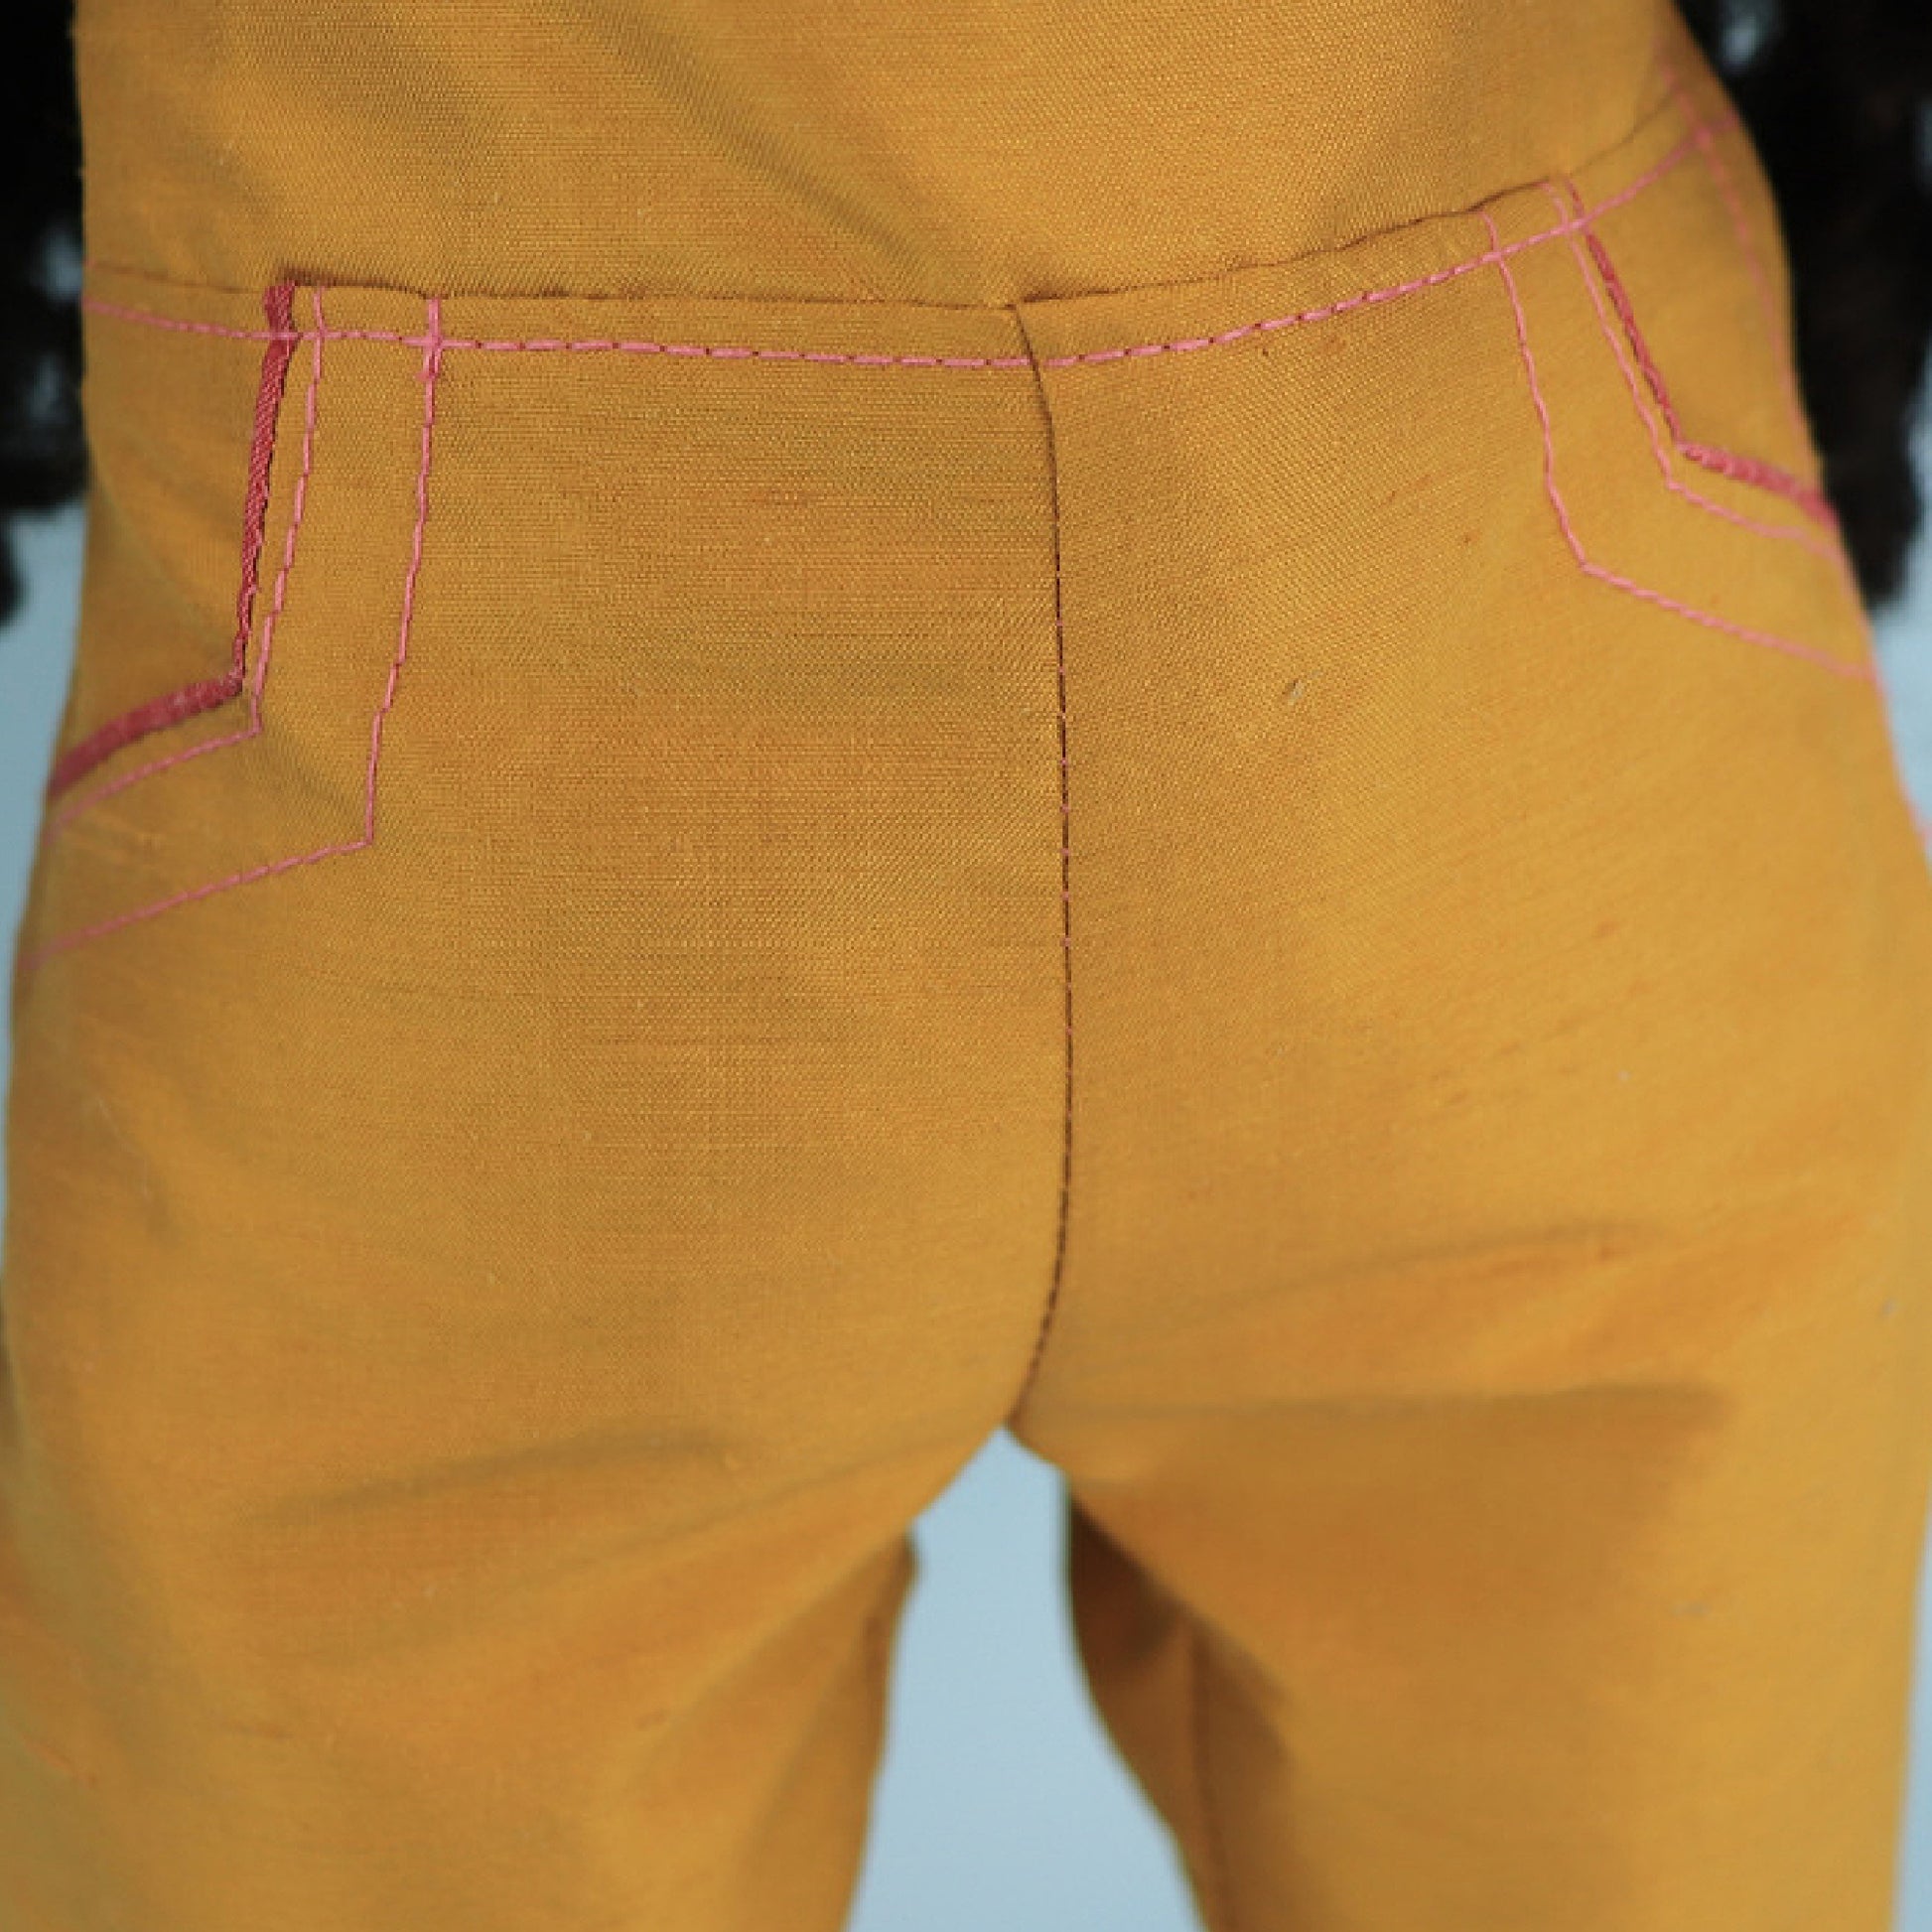
When you look at the back we've got a little bit of elastic in here to make it fit comfortably. We have got a Velcro fastening which is quite simple.

Then we've got the gorgeous pockets which I thought you might all want to do but we are shortcutting them. They're not real pockets, you can only go in a little tiny bit because you won't ever stick a hand in there, it doesn't work with dolls anyway so we're sewing them shut which is really really quick to do.

Pattern Overview and Preparation

So let's have a look at the pattern first and then we're going to put the Audrey pants together.

When you get your pattern it's in this format here. You want to check your test square first, make sure it's 2.5 centimeters from both sides, then you can assemble your pattern pieces after you've cut them out.

Sometimes you have two pieces to put one pattern piece together but most of the time for dolls it's actually just one piece.

On the last page you will find an assembly plan which shows you how pattern pieces are put together.

Here you can see the one piece that I needed to add together. It has attachment lines which we cover when we put something together and they're labeled A and B. So you just sellotape that together and that gives you then the complete pattern piece for cutting out.

Cutting Layout and Pattern Pieces

You have got the front leg which you cut two times mirror image, and the back leg two times mirror image.

Then we've got the pocket just once and the pocket facings or lining which we cut two times mirror image. And then of course the waistband.

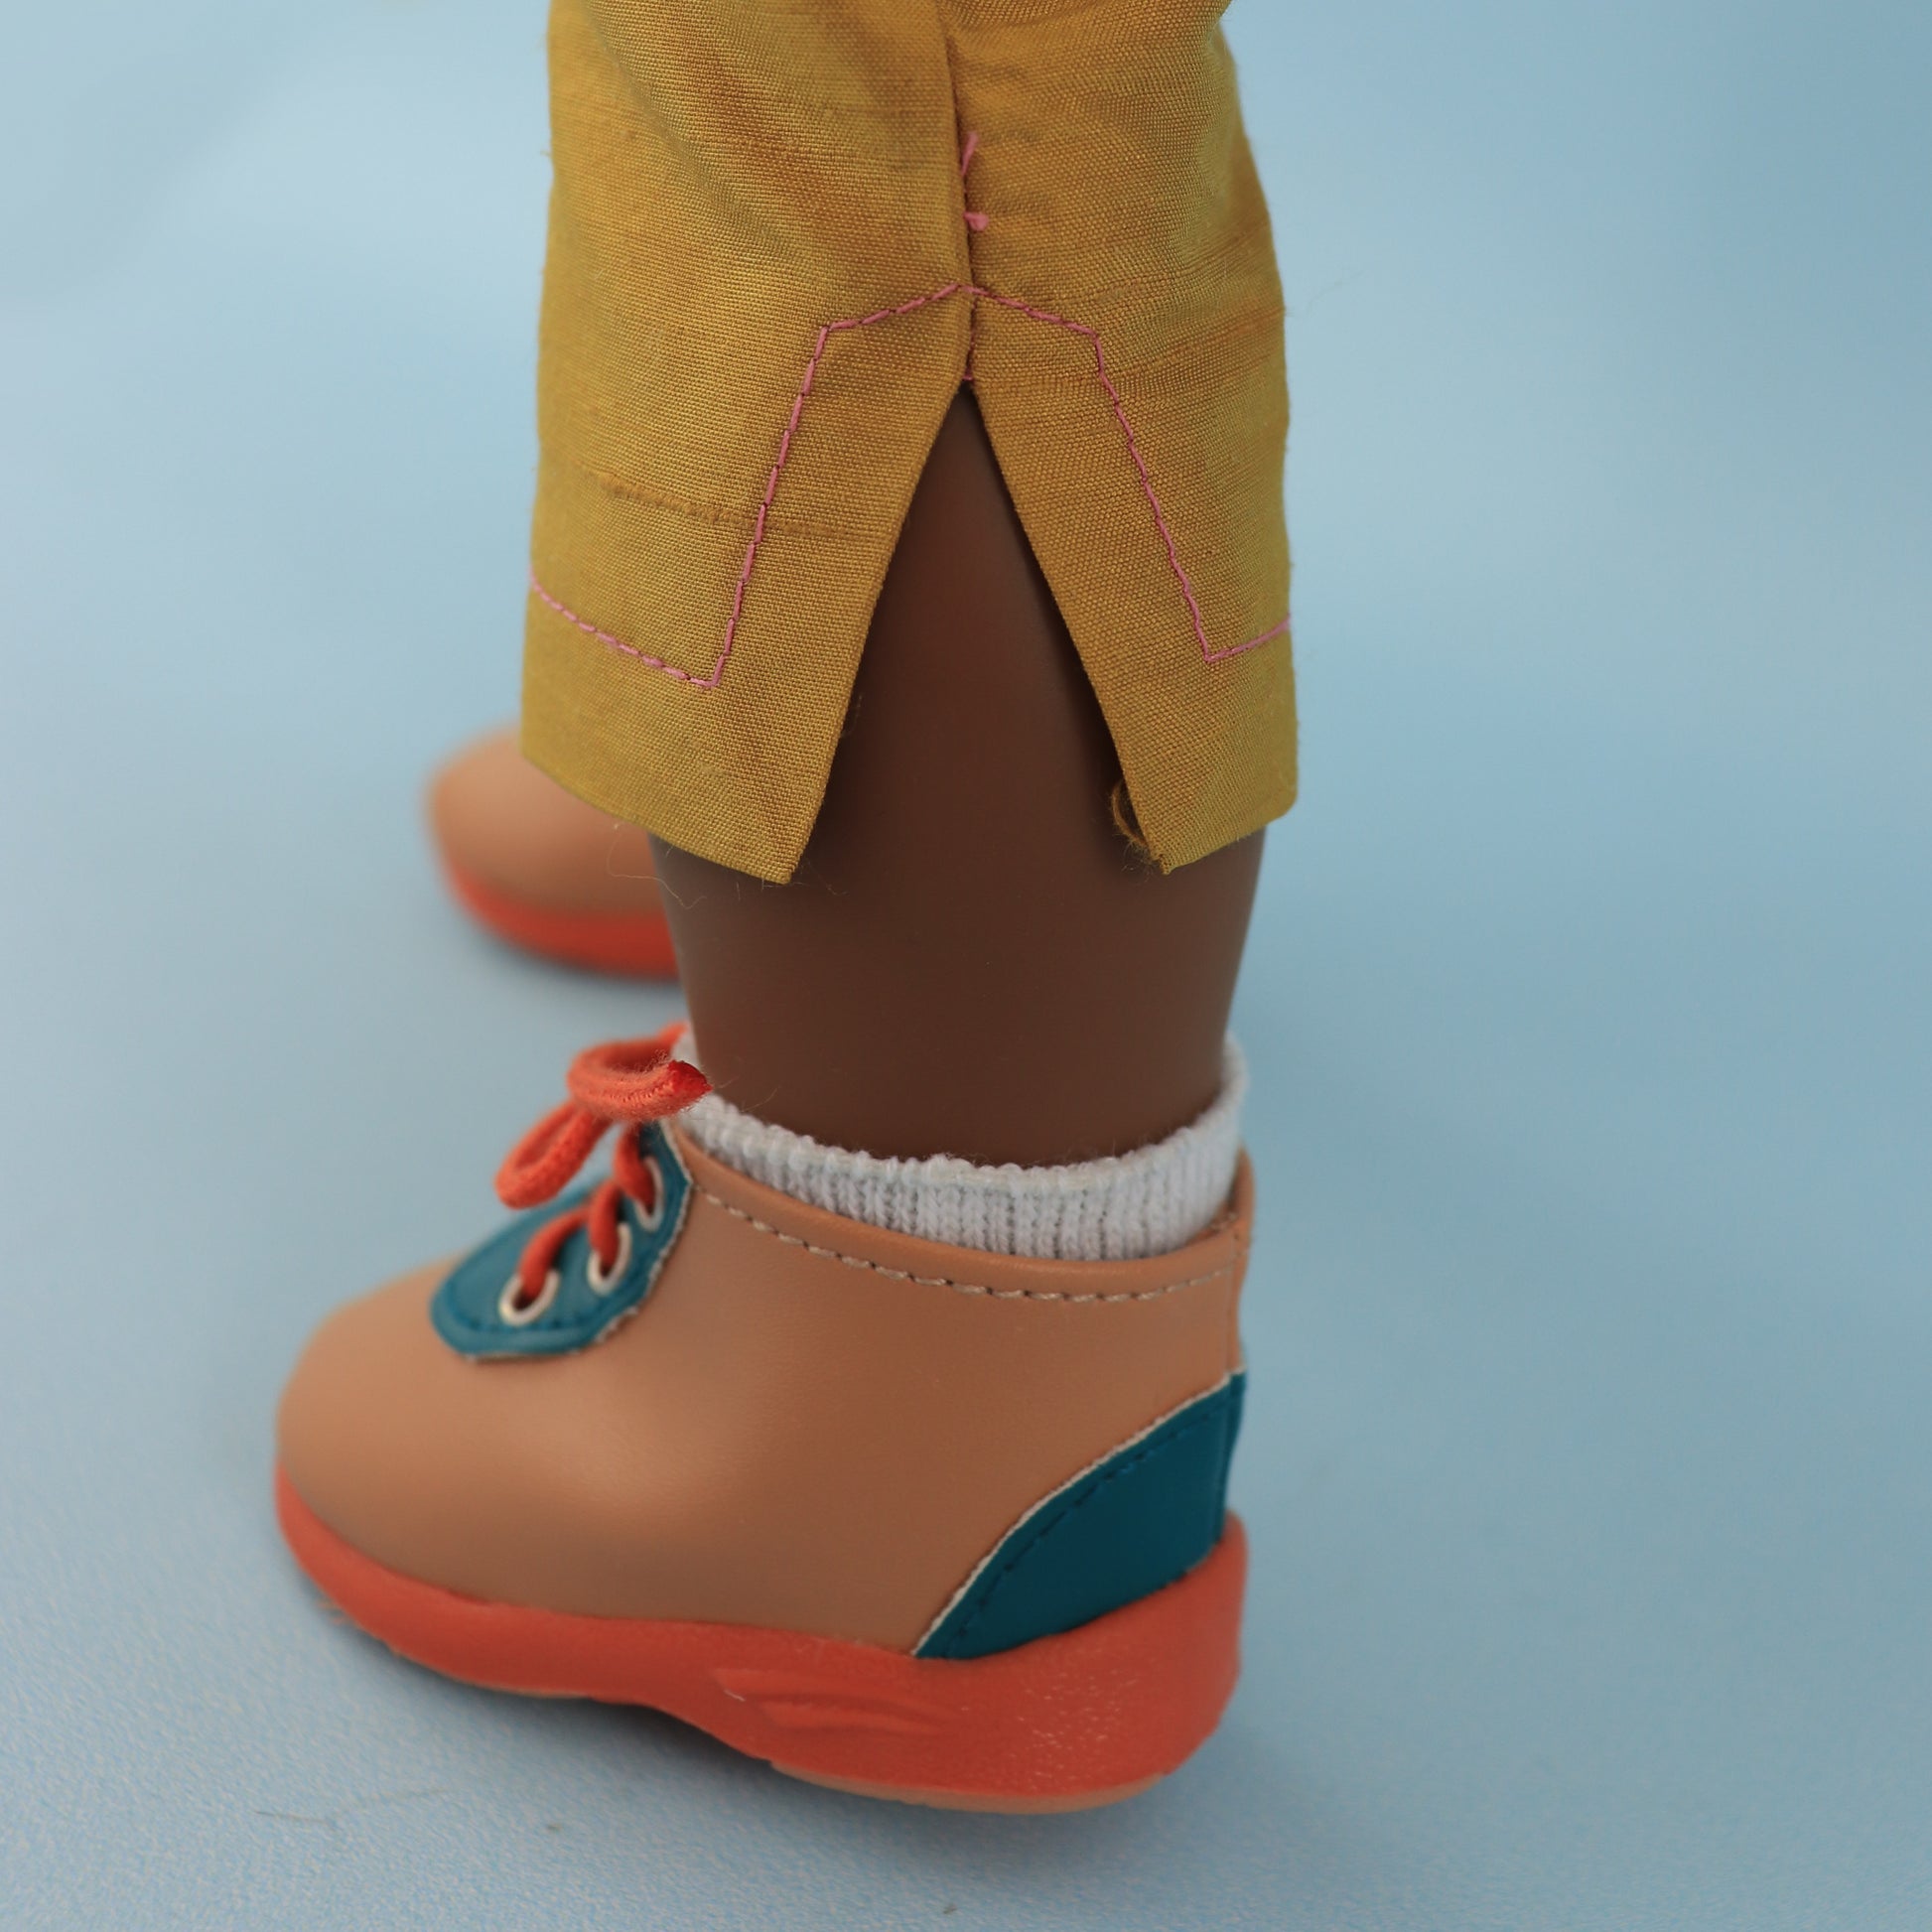
Now you can leave off the vents on the side and if you want to do that you just fold over your paper like that and that'll be fine.

If you're doing the vents of course you cut across the end here. The back is mirror image of course as well, same thing applies.

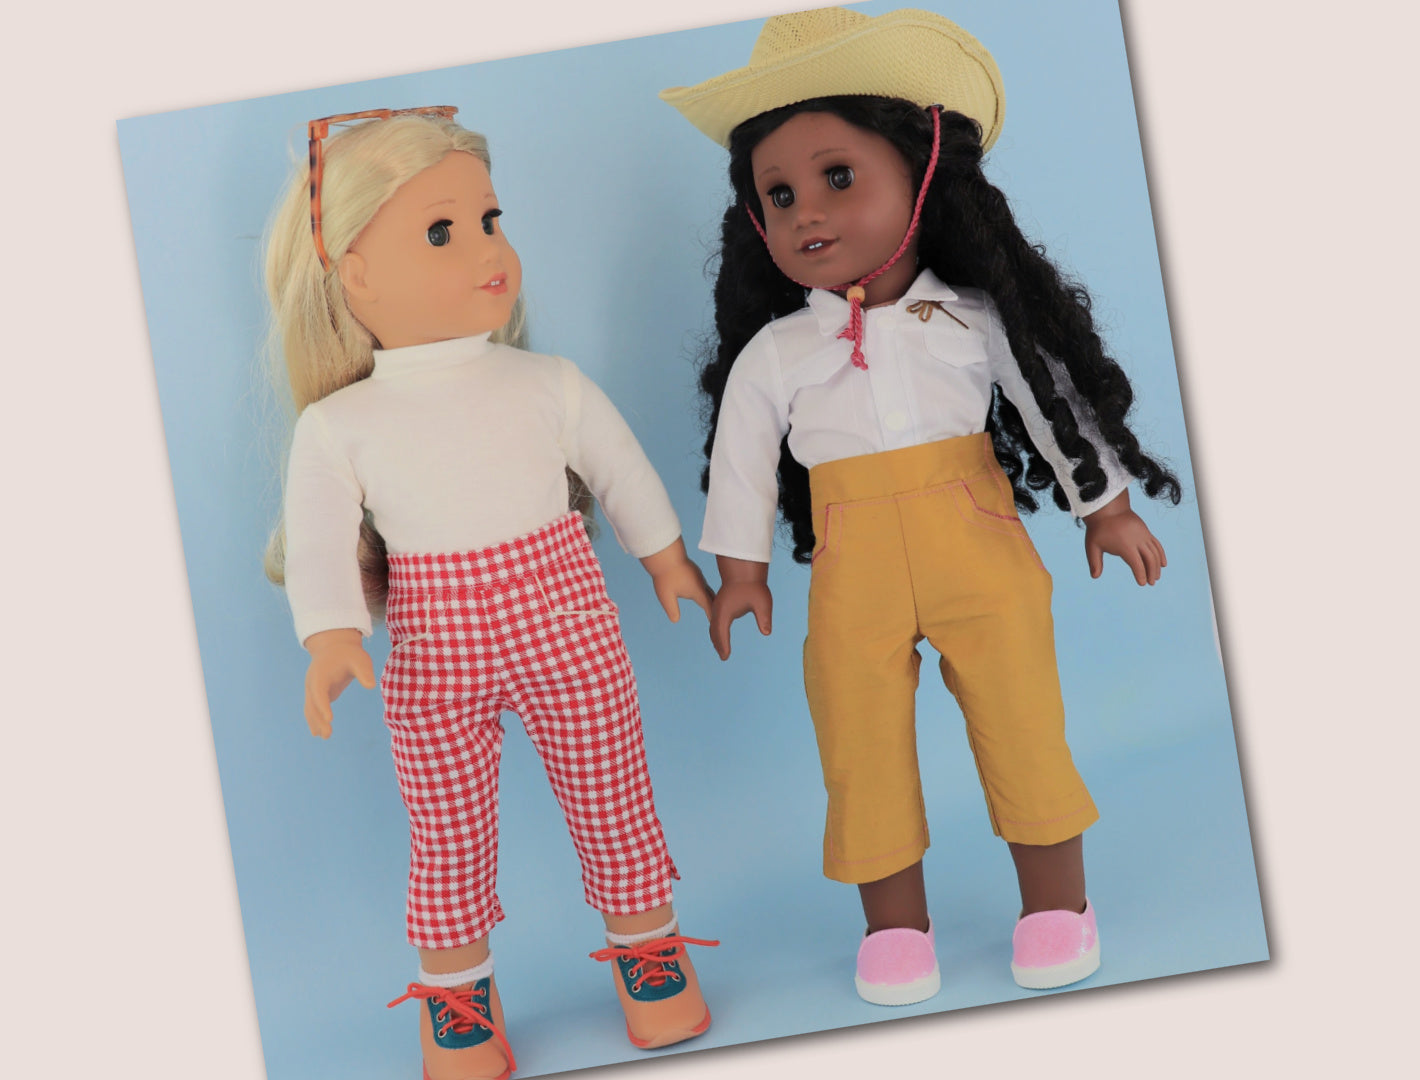
Then you've got the option to make these slimmer pants. That means we are going to just fold over from one line to the other here right through the center. You can see the difference between the two pants, it's actually quite substantial. One is more like a fitted leggings type and the other one is a wider one.

I've made both and needless to say I could hardly get the slim ones on.

Pocket Pieces and Options

Here we've got the facing or lining for the pocket and that is just sewn too and then turned to the inside so you get a really nice finish.

We're going to do some faux piping with that.

You have two options for this little pocket. You can either leave it loose hanging, there is a dashed line on your pattern so you can cut that off there so it's a little bit smaller.

Or you decide like we are doing here in the video that we're going to put it all in. Then you need to serge around the front edge first and then include it at the lower edge of your pocket all together.

Just make sure that if you make the tight version you also reduce the pocket amount so that it fits perfectly.

If you don't cut it back to the dashed line it will fit exactly because it's got the same length.

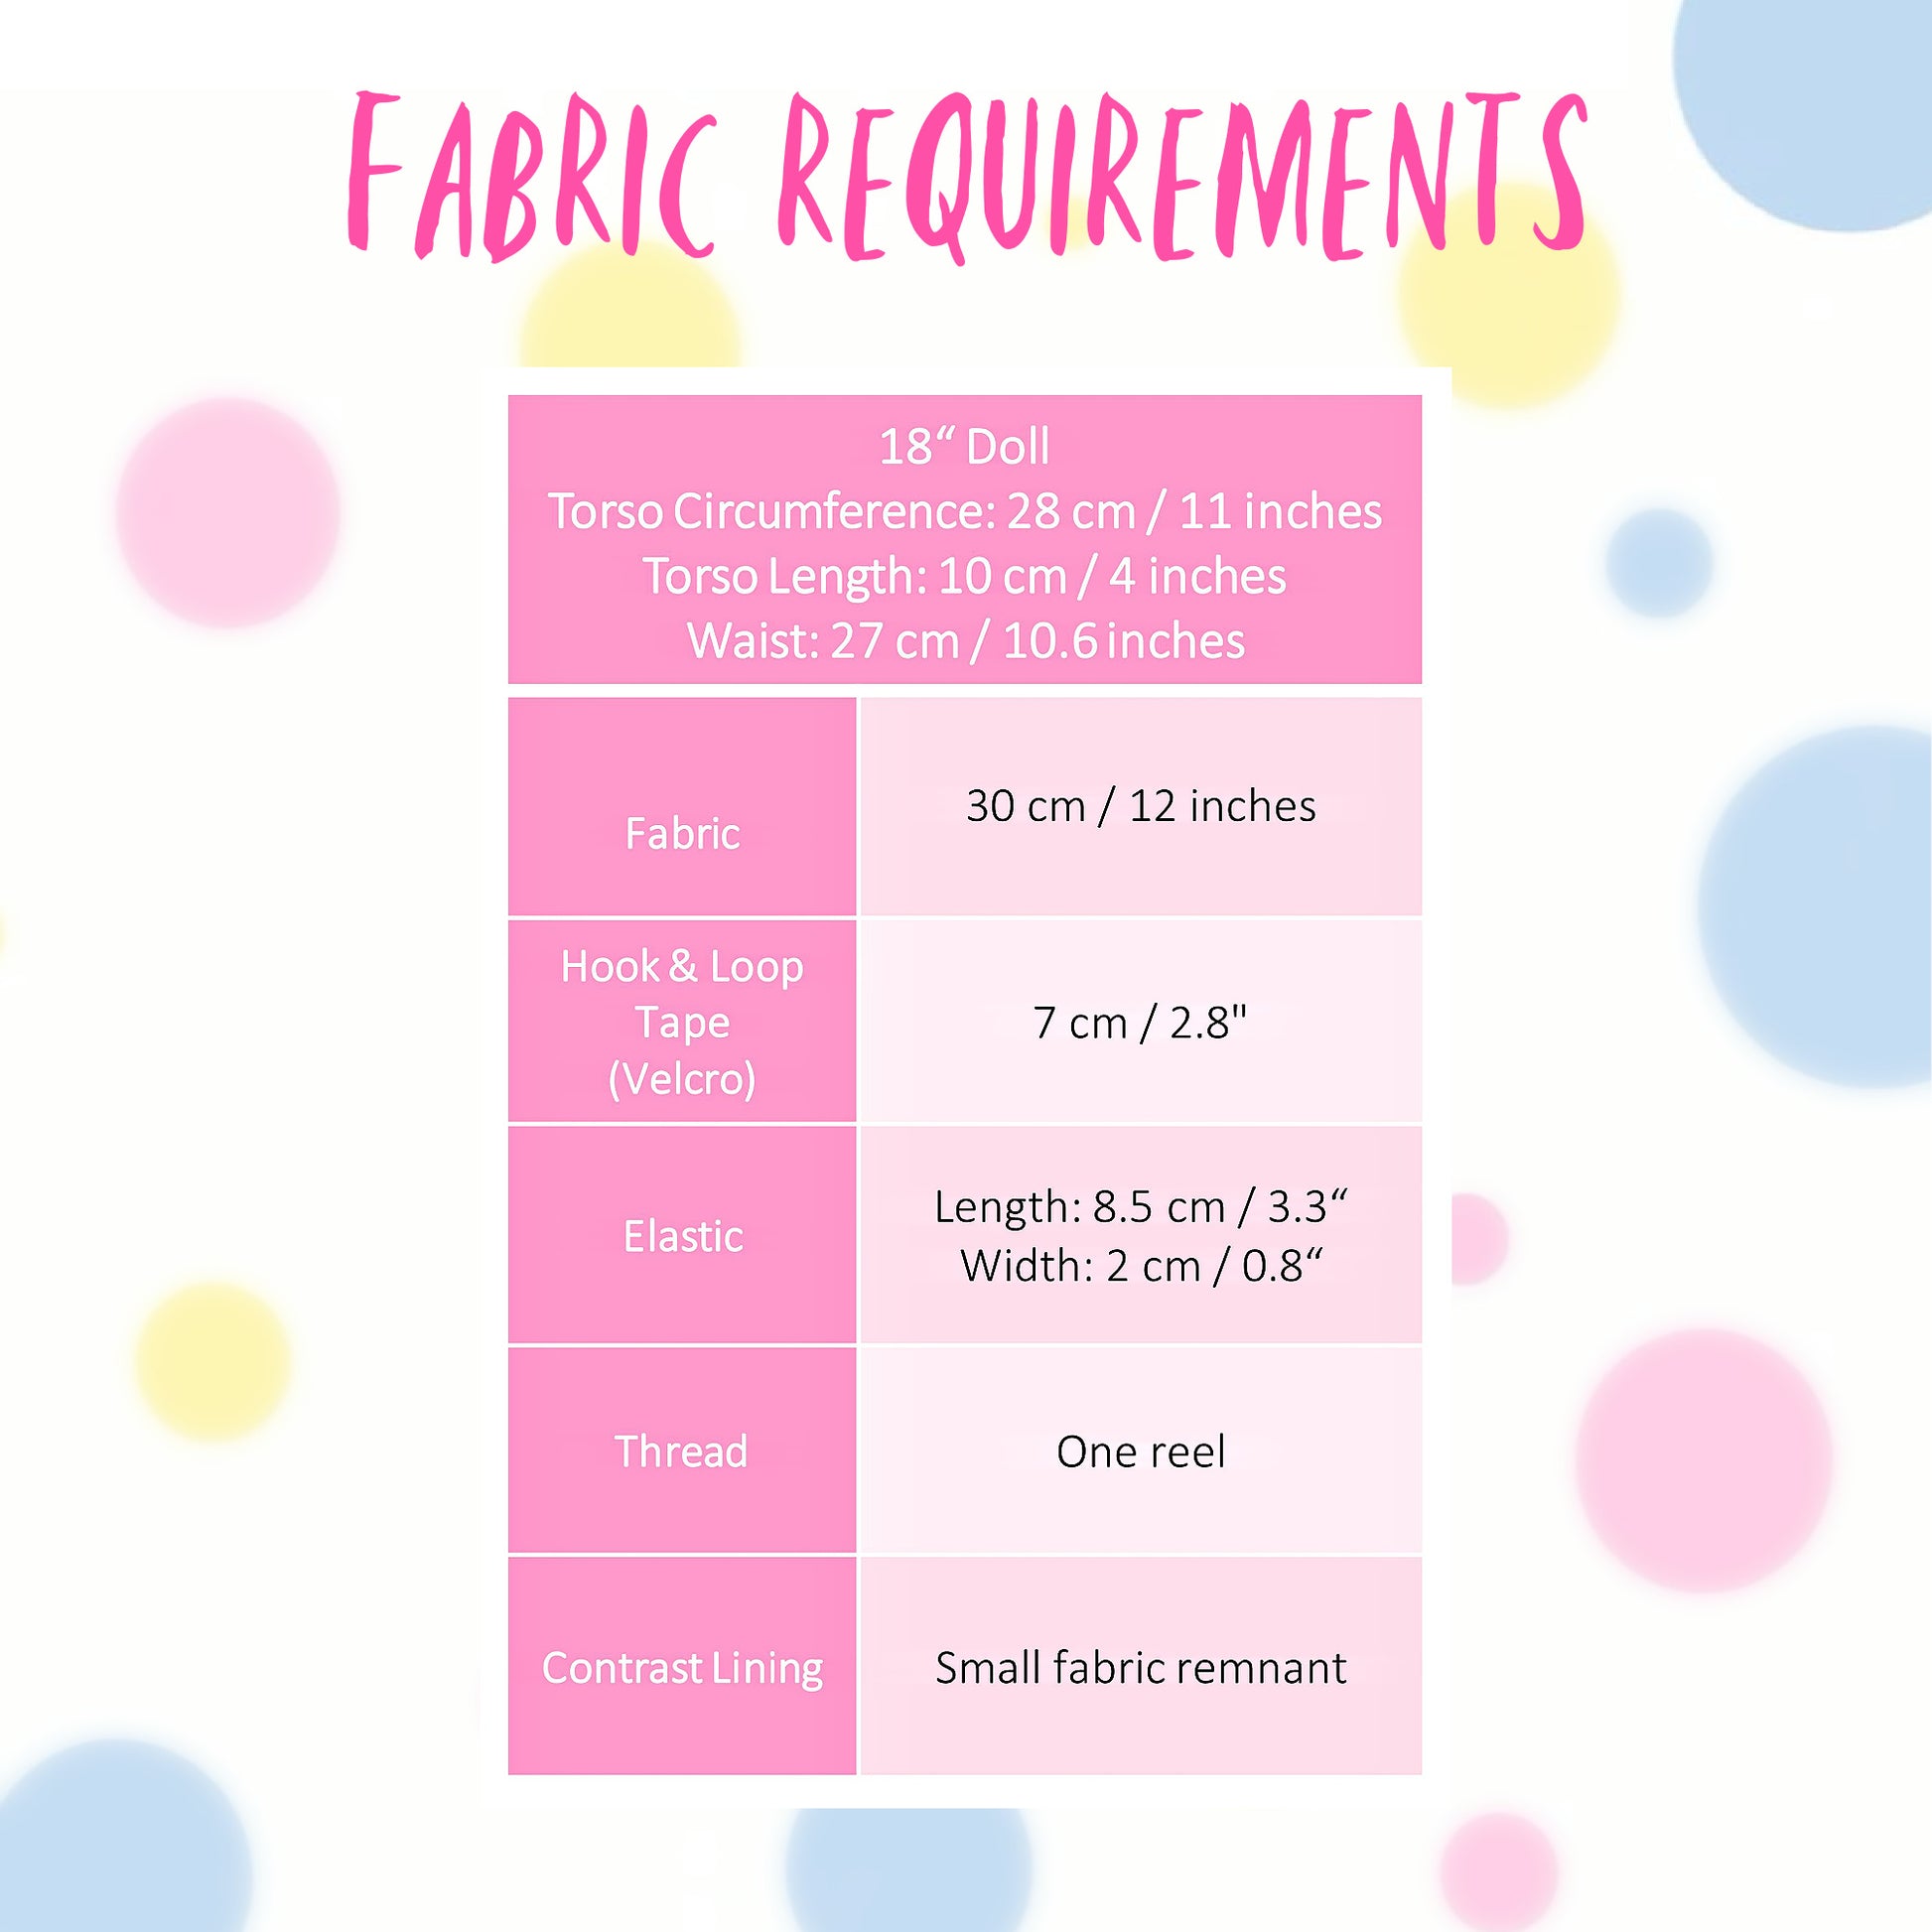
Materials and Notions

Everything is cut out now: pocket facing or lining twice mirror image, pocket once, waistband once.

We also need to mark where we're going to put the elastic in. You could snip it or mark it with a textile marker.

And then we've got the back twice mirror image and the front twice mirror image. You also need elastic and Velcro tape. I've cut my tape in half lengthwise so it's slimmer.

Front Assembly and Pocket Construction

We begin with the front. The first thing to do is to serge the edges of my front facing.

Then we're placing those pieces onto the front, right sides facing together, and we're going to sew along here and back up on both sides using a regular stitch length of 2.5.

Don't forget to lock in your stitches at the beginning and end. Needle needs to be in the fabric when you lift the presser foot and turn.

I'm using foot width seam allowance here, most of the time we're using one centimeter seam allowance which is included in the pattern.

On the other side I am starting on the side seam. Then we cut into the point where we've sewn, iron it gently, and then turn the edge in.

Here it becomes interesting because we can do our full piping look. It looks like piping but it's just rolled edge and pressed in.

Topstitching and Center Front

Next step is to topstitch close to the edge. You can use 2.5 or even 3 stitch length. I do that on both sides.

Now I can close my center front for the pants with one centimeter seam allowance all the way around. As you go down it's good to sew stitch by stitch, needle down, lift presser foot, turn, and continue.

Then secure stitches, trim if needed, and iron the seam away from you so both sides sit in opposite directions.

Pocket Attachment

Now we're going to put the pocket on. If you're not sure check your pattern piece again. Place it underneath so it fits correctly and then serge it together in this area.

Pin along the pocket opening on both sides and one pin in the center. Then over to the overlocker and serge it together. If it's not perfectly aligned you can just trim it, it's no big deal.

Next we secure the pocket with a stitch foot width from the edge.

Back Pieces and Side Seams

Next we serge the sides of the back and the sides of the front and all hems.

Close the center back with one centimeter seam allowance. Always start at the top, never the tip.

Work step by step around the curve. Iron seams so they sit neatly in opposite directions at the crotch seam.

Side Closure and Vent Preparation

Close one side seam up to the vent point. Line up hems first and pin. Sew one centimeter seam allowance, lock stitches at beginning and end.

Trim corner if needed. Iron seam depending on thickness of fabric.

Waistband and Elastic

Mark where elastic will go using textile marker. Iron waistband lengthwise in half. Create a tunnel where marked and sew from one side to the other.

Insert elastic using safety pin, leaving one centimeter on both ends. Secure elastic ends with stitching.

Attaching Waistband

Serge short sides of waistband. Place waistband onto pants with elasticated part at the back.

Sew one centimeter seam allowance while stretching elastic section. Then serge edge and topstitch down.

Velcro Fastening

Attach Velcro. Fluffy side goes on right side. On front only topstitch one side because it will be folded later.

On back sew all the way around. Make sure both sides align perfectly at hem and fastening points.

Final Assembly and Side Seam Closure

Close final side seam starting just under Velcro. Secure stitches and sew one centimeter seam allowance.

Iron and press. Topstitch Velcro area to secure fastening.

Vent Finishing

Line up raw edges of vents and sew together carefully. Do not align serging line, only raw edges.

Sew foot width or one centimeter seam allowance. Iron seams and check symmetry.

Mark stitching points on serged line and sew carefully into tip area. Repeat for all vents. Press everything neatly.

Final Steps and Finish

Close inseam, secure pins, then serge seam and trim excess. Tie off serger threads to prevent fraying. Press seams toward back. Try on the doll for fit check.
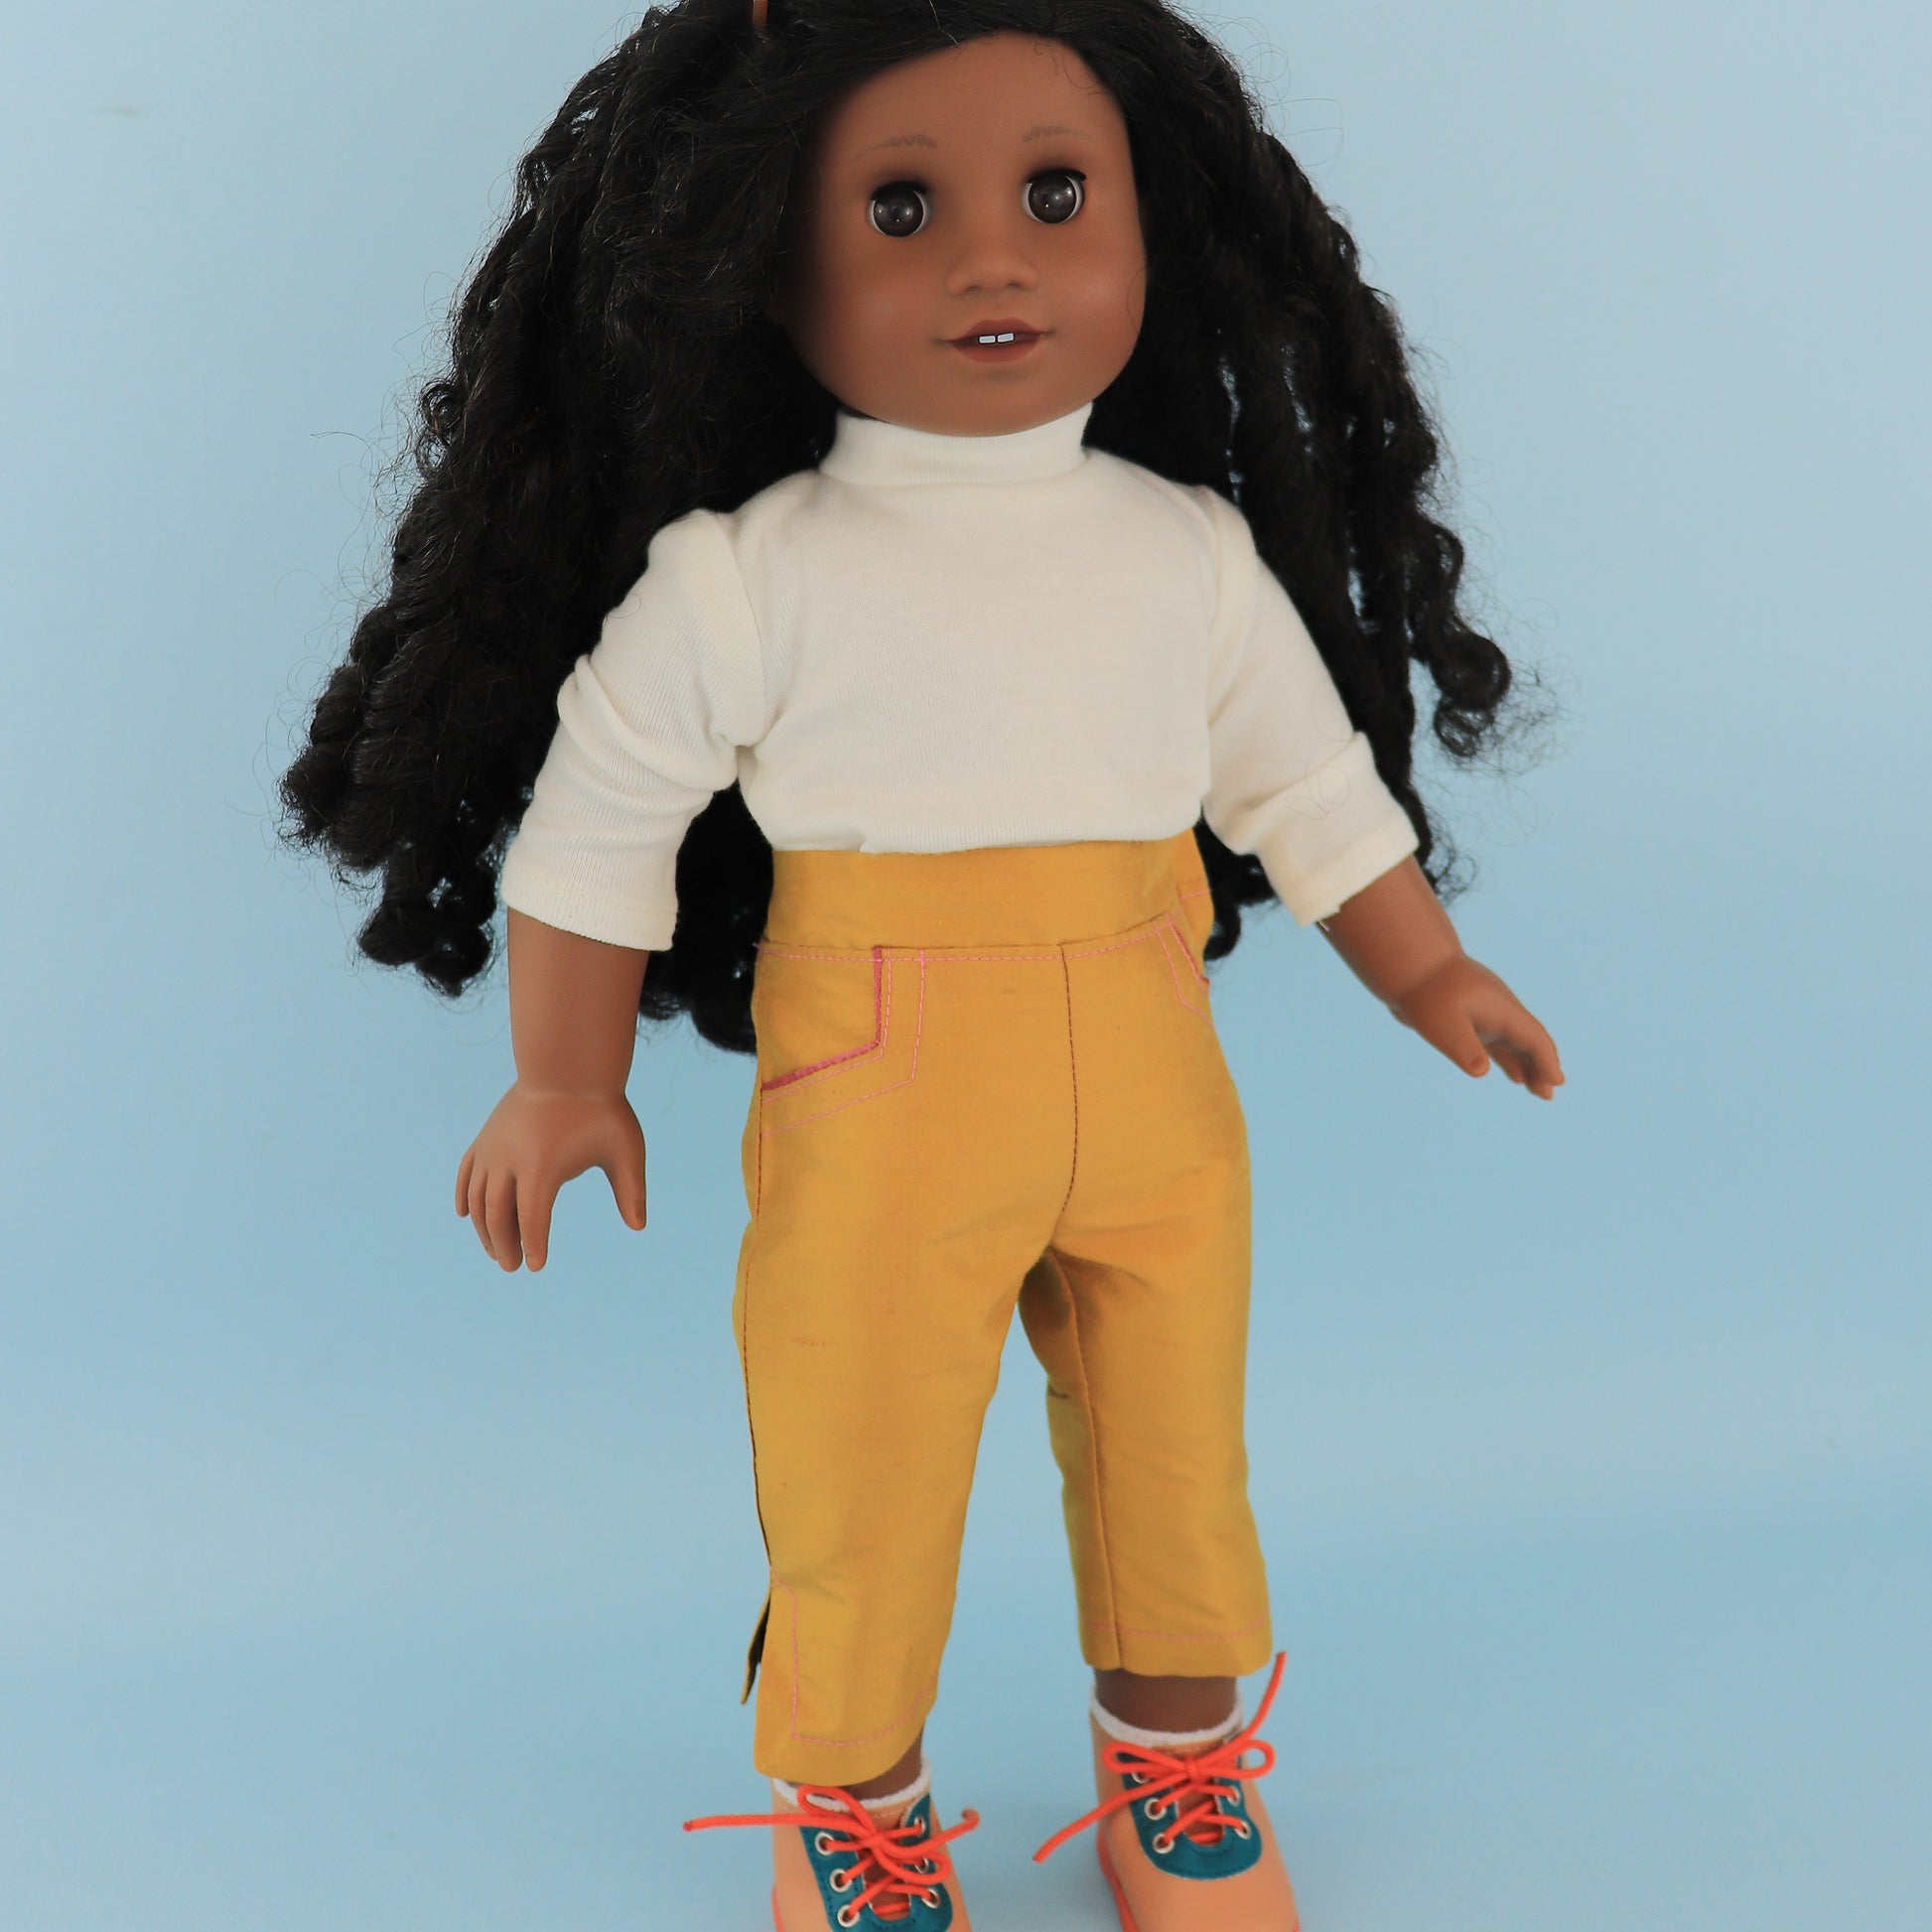
Final Thoughts

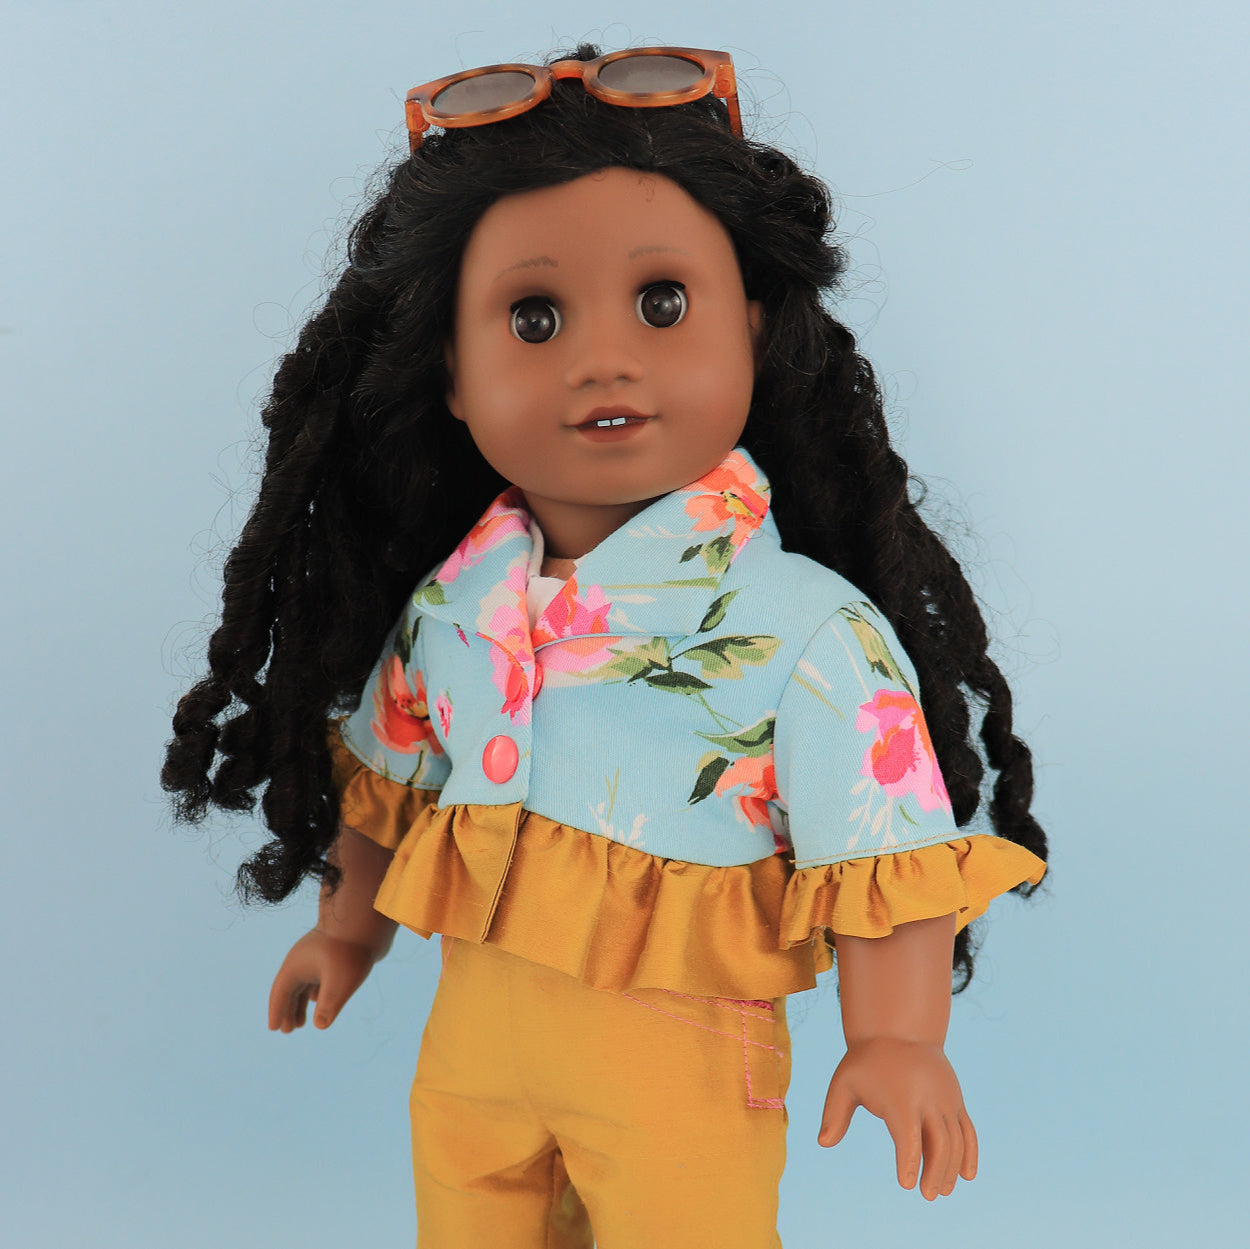
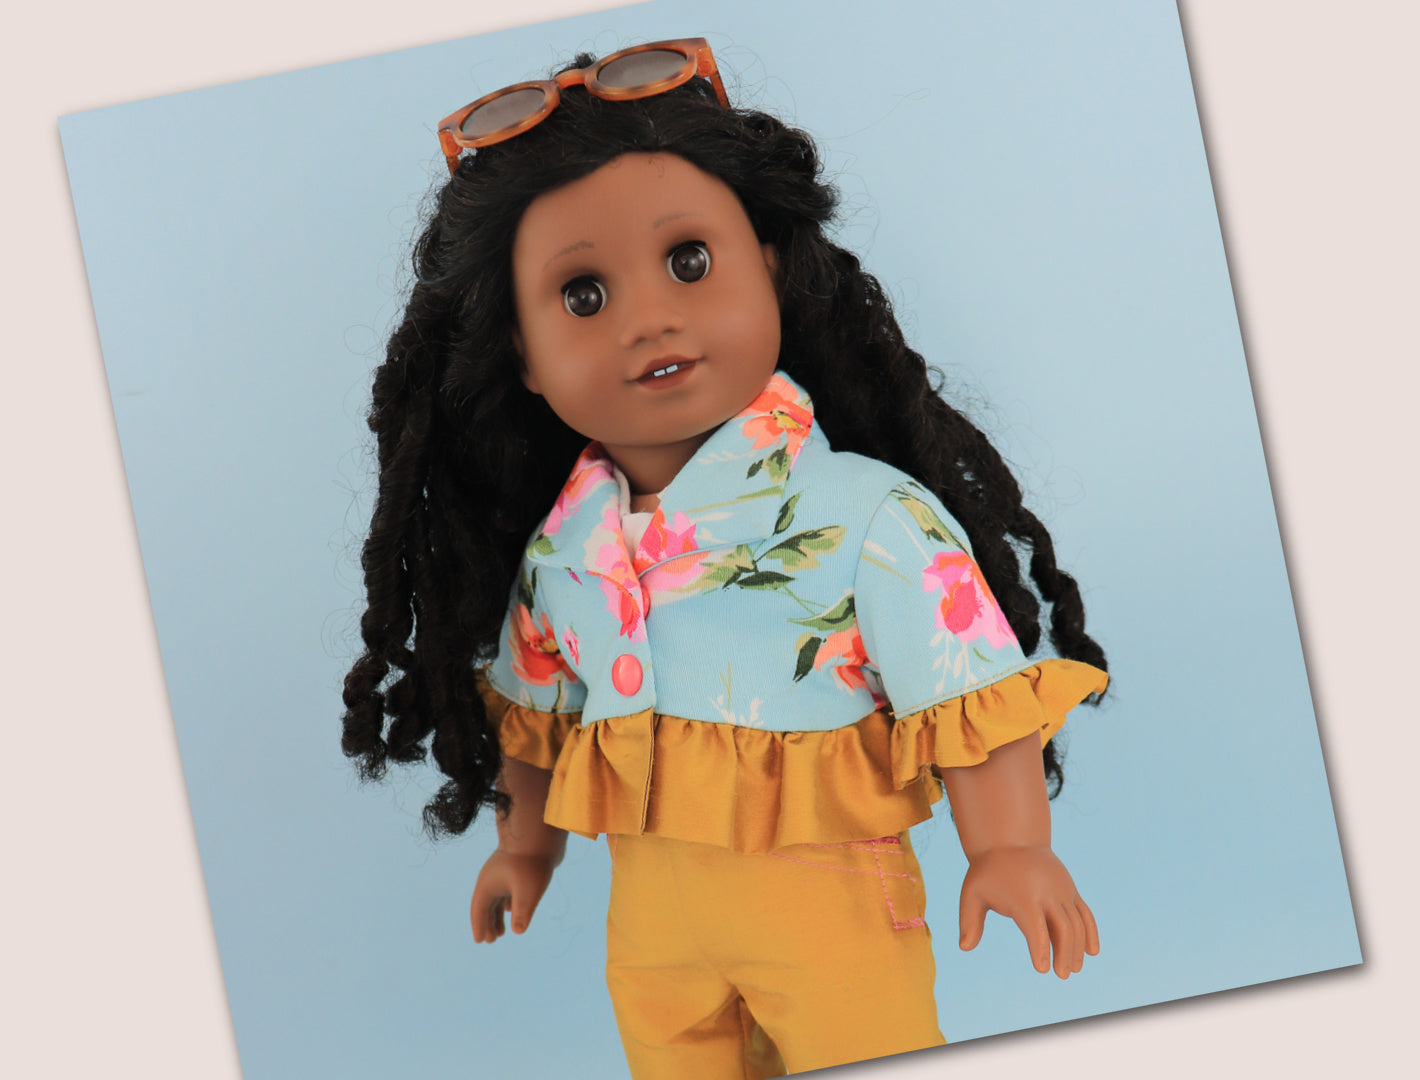
The fit is fantastic and the pants look really cute on the doll. These are great practice projects for beginners and really help build confidence.

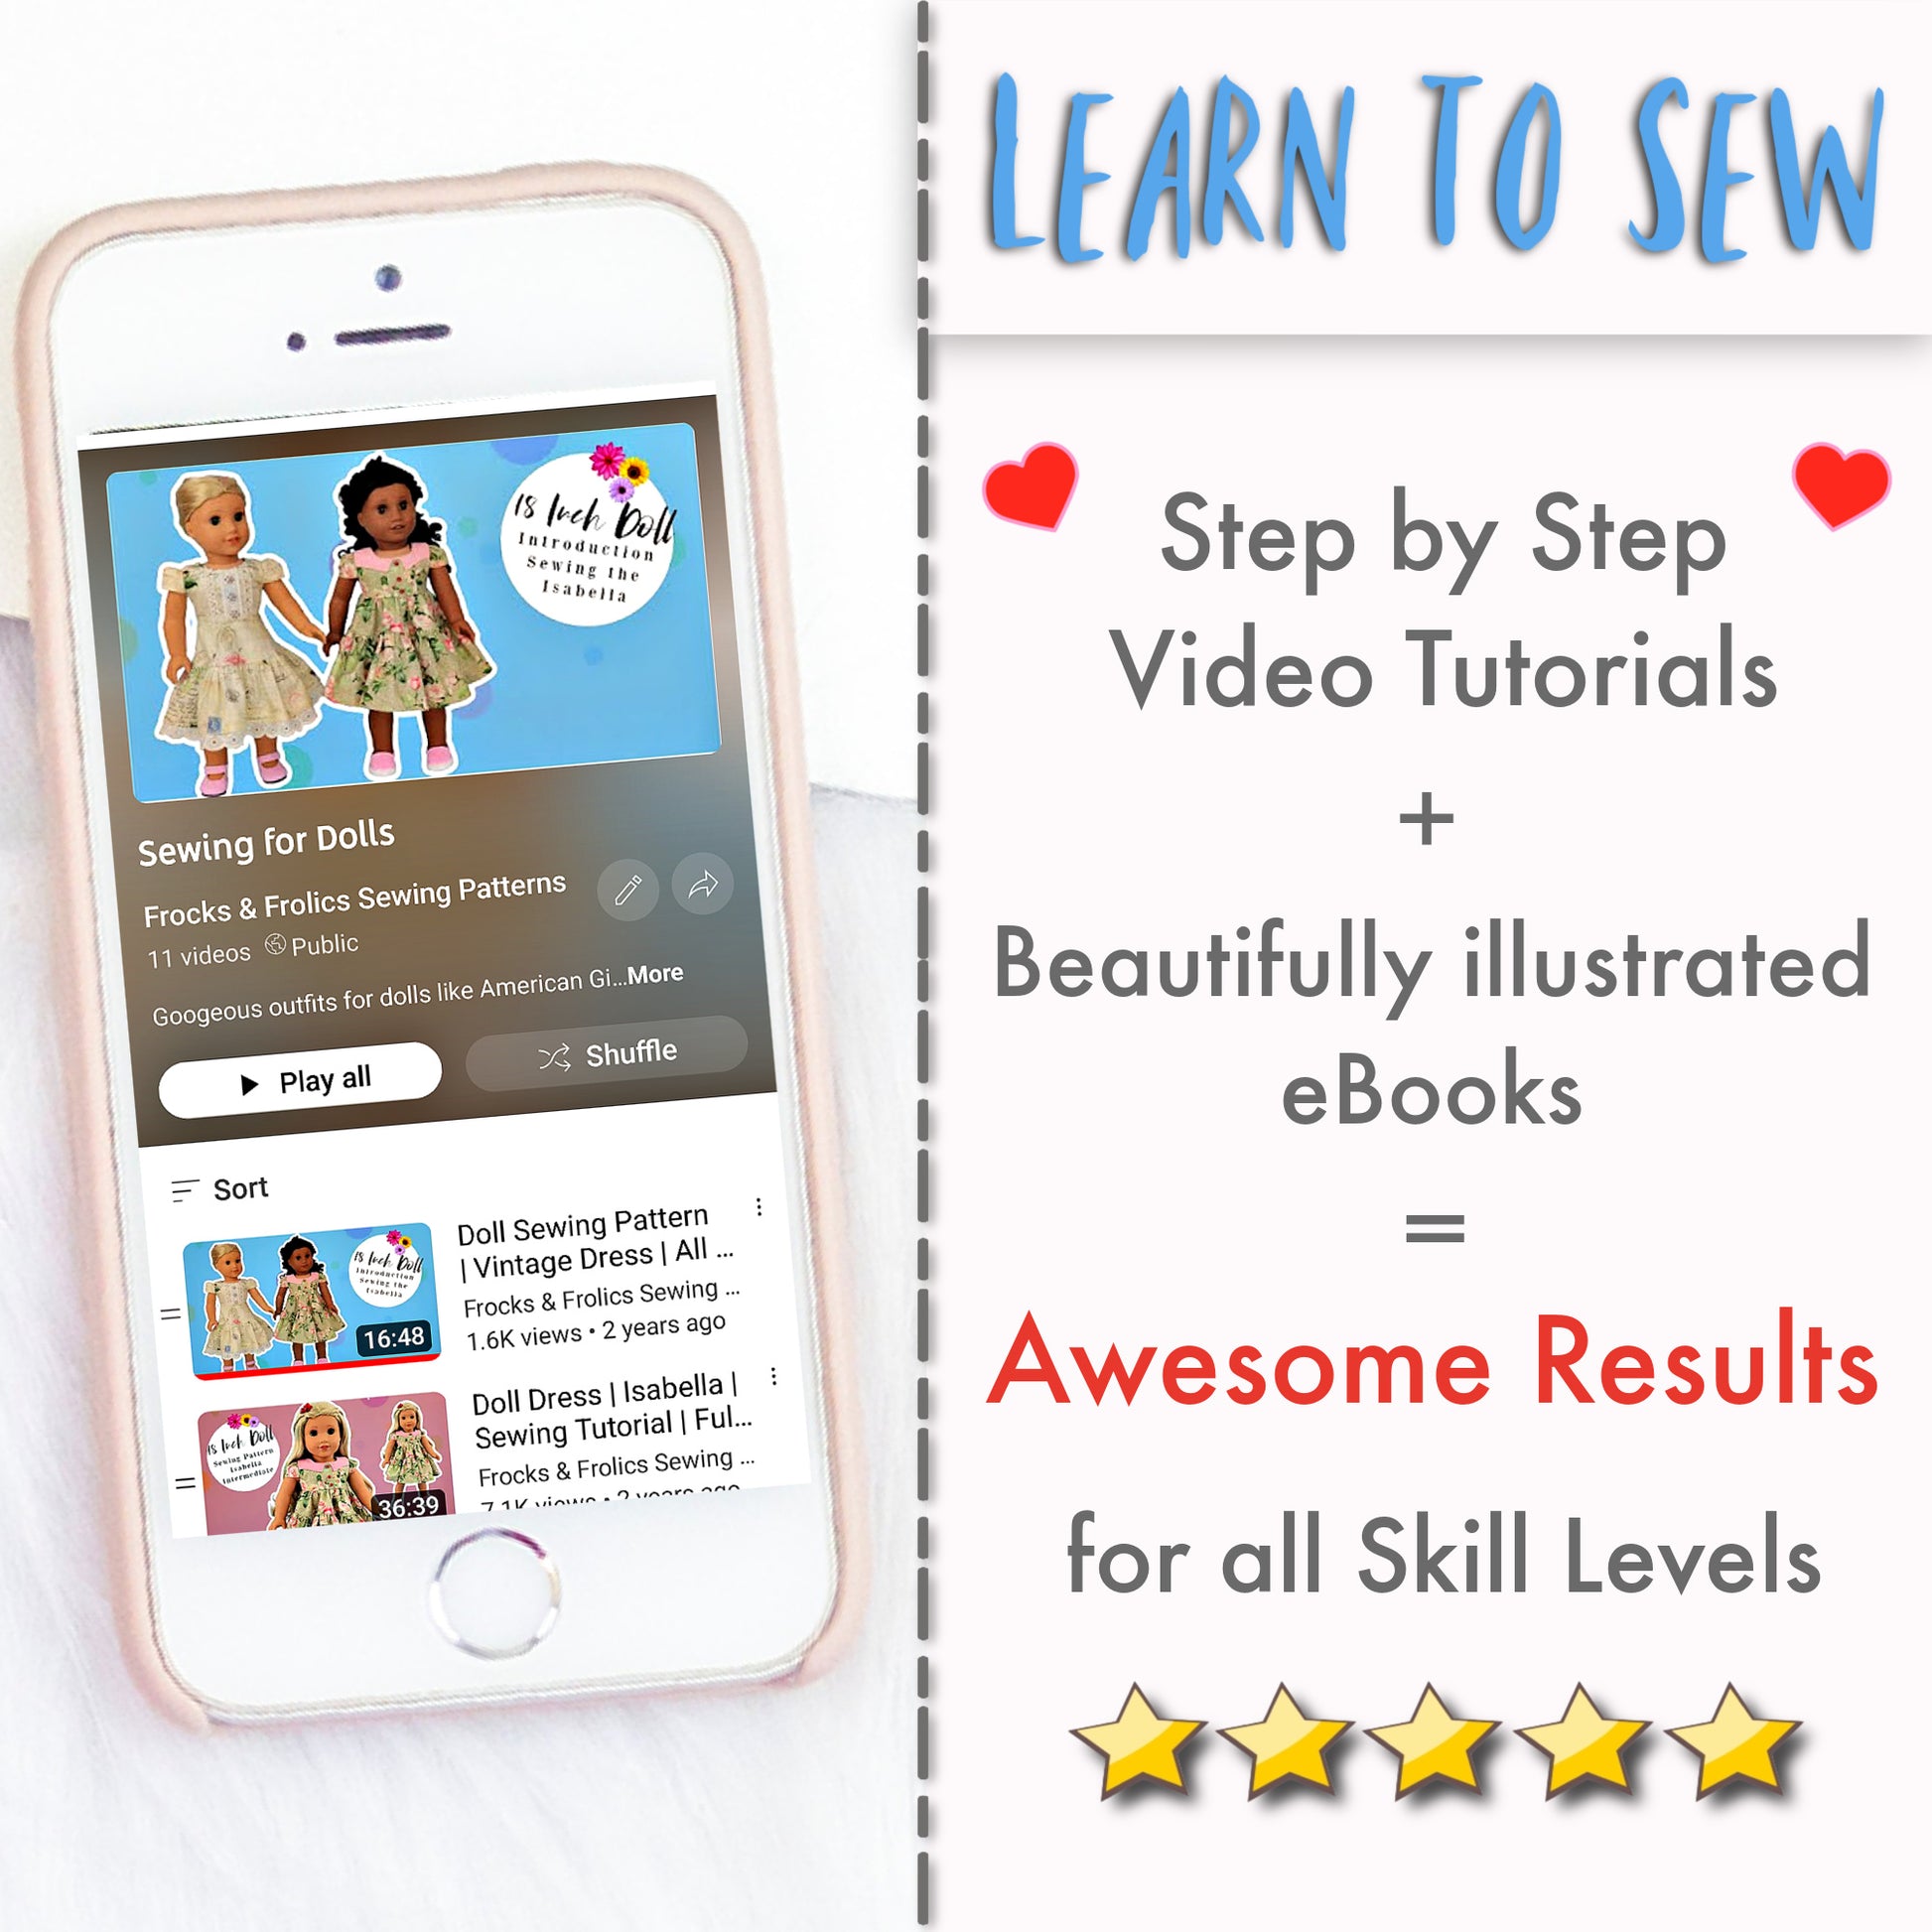
If you're watching this on YouTube, don't forget to subscribe for more doll clothes tutorials. And I hope to see you again soon. Bye for now.

YOU MAY ALSO LIKE