Skip to product information
1 of 13

KITTY TUNIC

KITTY TUNIC

Filled Circle
Filled Circle
Filled Circle
Empty Circle
Empty Circle
Regular price $7.50 USD
Regular price Sale price $7.50 USD
Sale Sold out

Who can resist the sweetness of the Kitty Blouse pdf sewing pattern, especially when it comes packed with sooo many adorable options!

With its tidy back button closure, soft round yoke neckline, and gathered lower bodice, Kitty has the cutest little silhouette. And if you want a quick win, there’s even an easy beginner version to get you sewing in no time.

As always with Frocks and Frolics, Marina’s full video tutorial walks you through every step — just scroll down and start watching.

Pattern Download Includes

  • Instant Download
  • DIN A4 & US Letter Size
  • Individual PDF files for every Size
  • All Sizes included
  • Detailed eBook
  • Video Tutorials

Design Options

  • Sleeveless
  • Armhole finish with facing
  • Placket closure on the back piece
  • Three different length options
  • Cheats round collar (beginner friendly)
  • Traditional round collar
  • Fully lined bonus version Video

Fabric Requirements

BEST MATERIAL CHOICE
Light to medium weight fabrics, plain weave cotton, cotton sateen, cord, chambray or denim.

FABRIC REQUIREMENTS
•  Shell: You will need up to 1.2 yards (1m)
•  Buttons: 3 x
•  Interfacing: 8 inches (20cm)

Available Sizes

Sizes: 1-12 Years

Please Read

  1. This is a digital pattern or PDF file, not a physical product. It will be delivered electronically via a download link delivered to the email used for the purchase.
  2. To ensure the pattern prints at its actual size, it's recommended that you use Adobe Acrobat Reader.
  3. The pattern creator, Frocks & Frolics, welcomes small-scale production using their patterns. 

Customers are encouraged to tag Frocks & Frolics when sharing projects made using their patterns on social media.

@frocksandfrolics #frocksandfrolics

View full details

STEP-BY-STEP VIDEO TUTORIALS

Thumbnail
THE PATTERN
Thumbnail
TUNIC WITH CUTE CAT POCKETS
Thumbnail
CLASSIC ROUND YOKE METHOD
Thumbnail
BACK PLACKET
Thumbnail
CHEATS ROUND COLLAR
Thumbnail
HACK: NO PLACKET, LINED BLOUSE

VIDEO TEXT

Kitty Pattern Overview

Transcript for the video: Kitty Tunic - The Pattern

Hi, this is Marina from Frocks and Frolics, and I want to introduce you to my Kitty pattern.

You can make this in a wide range of fabrics, from cord to denim to chiffon. It comes in four different lengths and includes both a slender and a regular fit. The dotted line on the pattern indicates the slender size.

Pattern Features and Design Options

This pattern includes a lot of flexible design options so you can adapt it to your style.

On the front piece, there is an arrow marking that shows exactly where to gather if you want a gathered front. If you prefer a box pleat instead, you simply snip at the marked point and create the pleat there.

There is also a clearly marked pocket placement area so you don’t have to guess positioning. You can use the original cat pocket, but it should sit on the front and not extend into the side seam. Alternatively, you can use the Megan pocket from the N dress pattern, or choose side pockets—or no pockets at all.

Lengths, Fit, and Pattern Structure

The Kitty pattern comes in four lengths: waist length, hip length, mid-hip, and full length. The back is cut on the fold and includes a marked area at the top for pleating.

A diagram in the instructions shows exactly how to construct this, and there is also video support. If you are unsure about sewing a placket, there is an alternative method using bias binding, so you can choose whichever approach you feel more comfortable with.

Closures and Sizing

This version uses poppers (Kam Snaps) instead of buttons, which makes it easier for some users.

If you are using shop-bought bias tape, you will need to reduce the front area by 1 cm so the fit stays correct.

To choose your size, measure the child’s natural chest and decide between slender or regular fit. I generally recommend adding about 5–7 cm of ease depending on how loose you want the garment to be.

For larger sizes, the bias binding pattern may need to be extended, as it is not always pre-lengthened.

Layout, Cutting, and Fabric Use

The pattern includes clear layout guides with arrows showing front and back placement. The front is cut on the fold twice, and the back is also cut on the fold four times depending on the size and version you are making.

You also have two pocket options to choose from: the Megan pocket on the left or the cat pocket on the right, so you can decide what suits your project best. A hem trim has also been added in this updated version.

To cut efficiently, fold your fabric in from both sides to create side folds, then cut one side first before shifting the fabric slightly to cut the second side. This helps you maximise fabric use and reduce waste.

Instructions and Construction Support

The written instructions include fabric guidance, printing tips, measurement charts in both inches and centimeters, fabric requirements, construction diagrams, and photo instructions taken from the original video.

These visuals help guide you through every step, including pocket placement and assembly.

The video support includes both a newer, simplified method and the original more detailed tutorial. There are also sections covering cutting, hemming, and finishing techniques, so you can choose the level of difficulty that suits you.

Final Notes

The Kitty pattern is designed for ages 2 to 12 and is a true wardrobe classic with a great fit and lots of flexibility in design.

You can choose between quicker construction methods or more traditional techniques depending on your confidence level.

I hope you really enjoy making it. Thank you very much for watching, and bye for now.

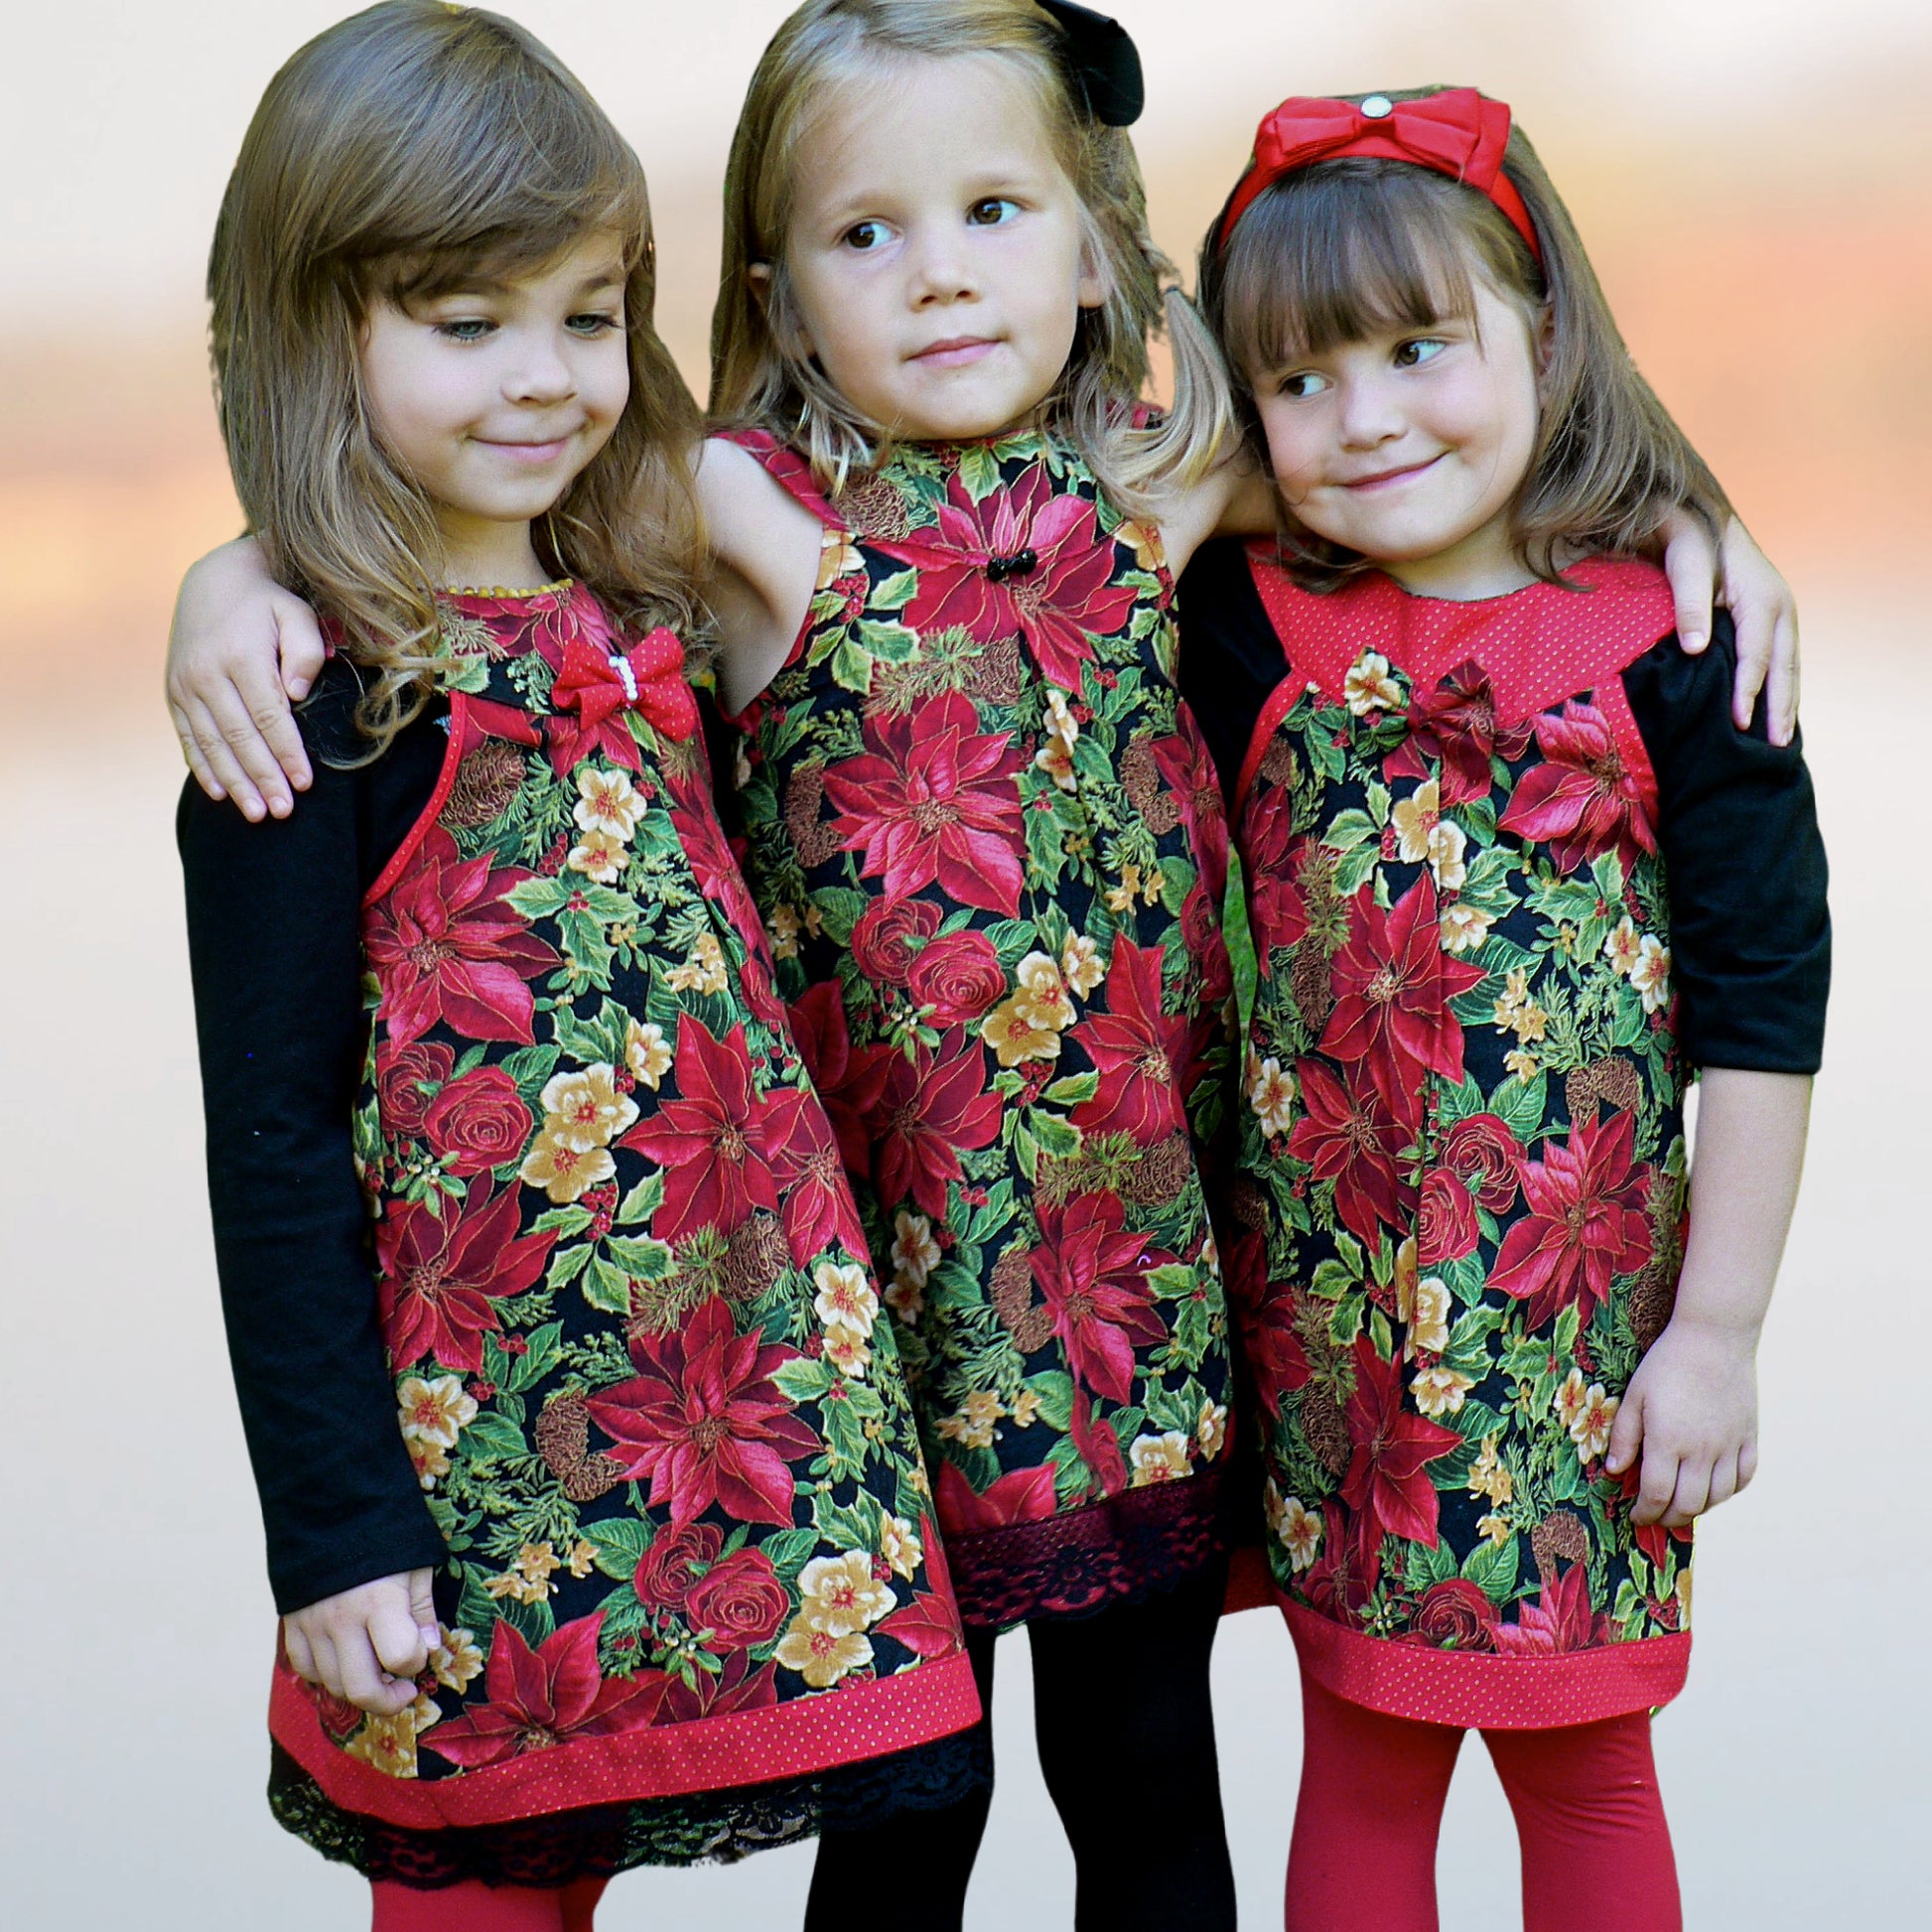
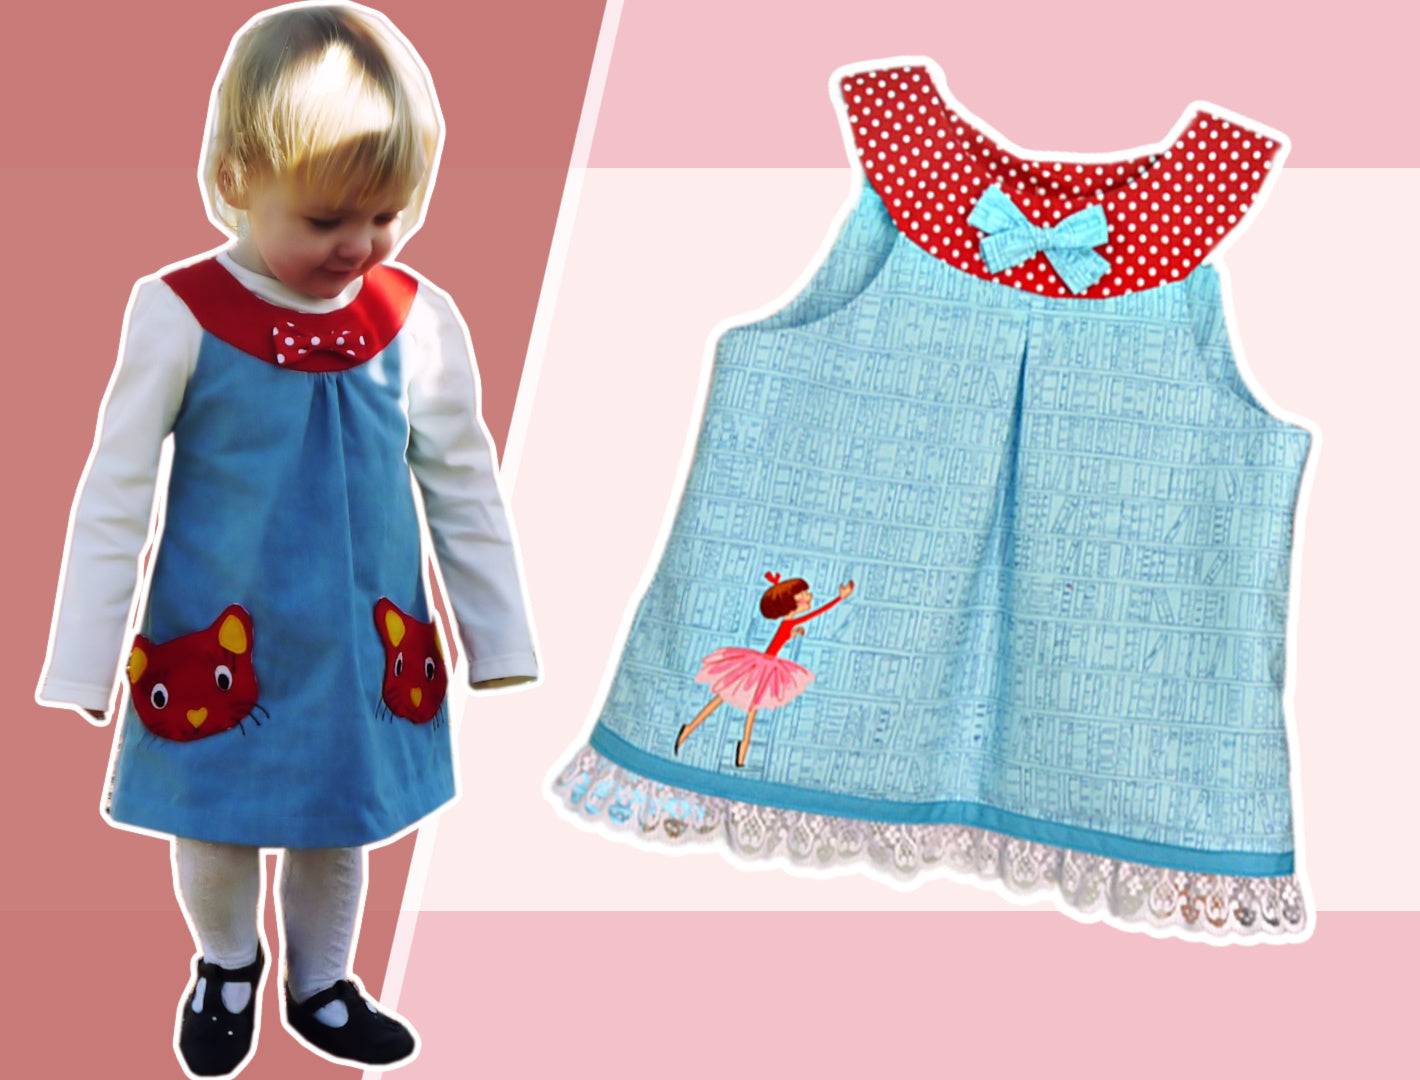
Introduction – Holly’s Kitty Cat Dress

Transcript for the video: Kitty Tunic: With Cute Cat Pockets

Hi, this is Marina from Frocks and Frolics, and today we’re going to sew Holly’s Kitty Cat Dress. This is an intermediate-level project where you will learn several advanced techniques including a back fastening using the gentleman’s cuff method, yoke application, a ribbon hem finish, and couture seam finishing using bias binding.

Once your pieces are cut out and ready, the first step is interfacing all the necessary parts. This includes the pockets (especially if you are doing applique), the front yoke, both parts of the back yoke, and the back fastening.

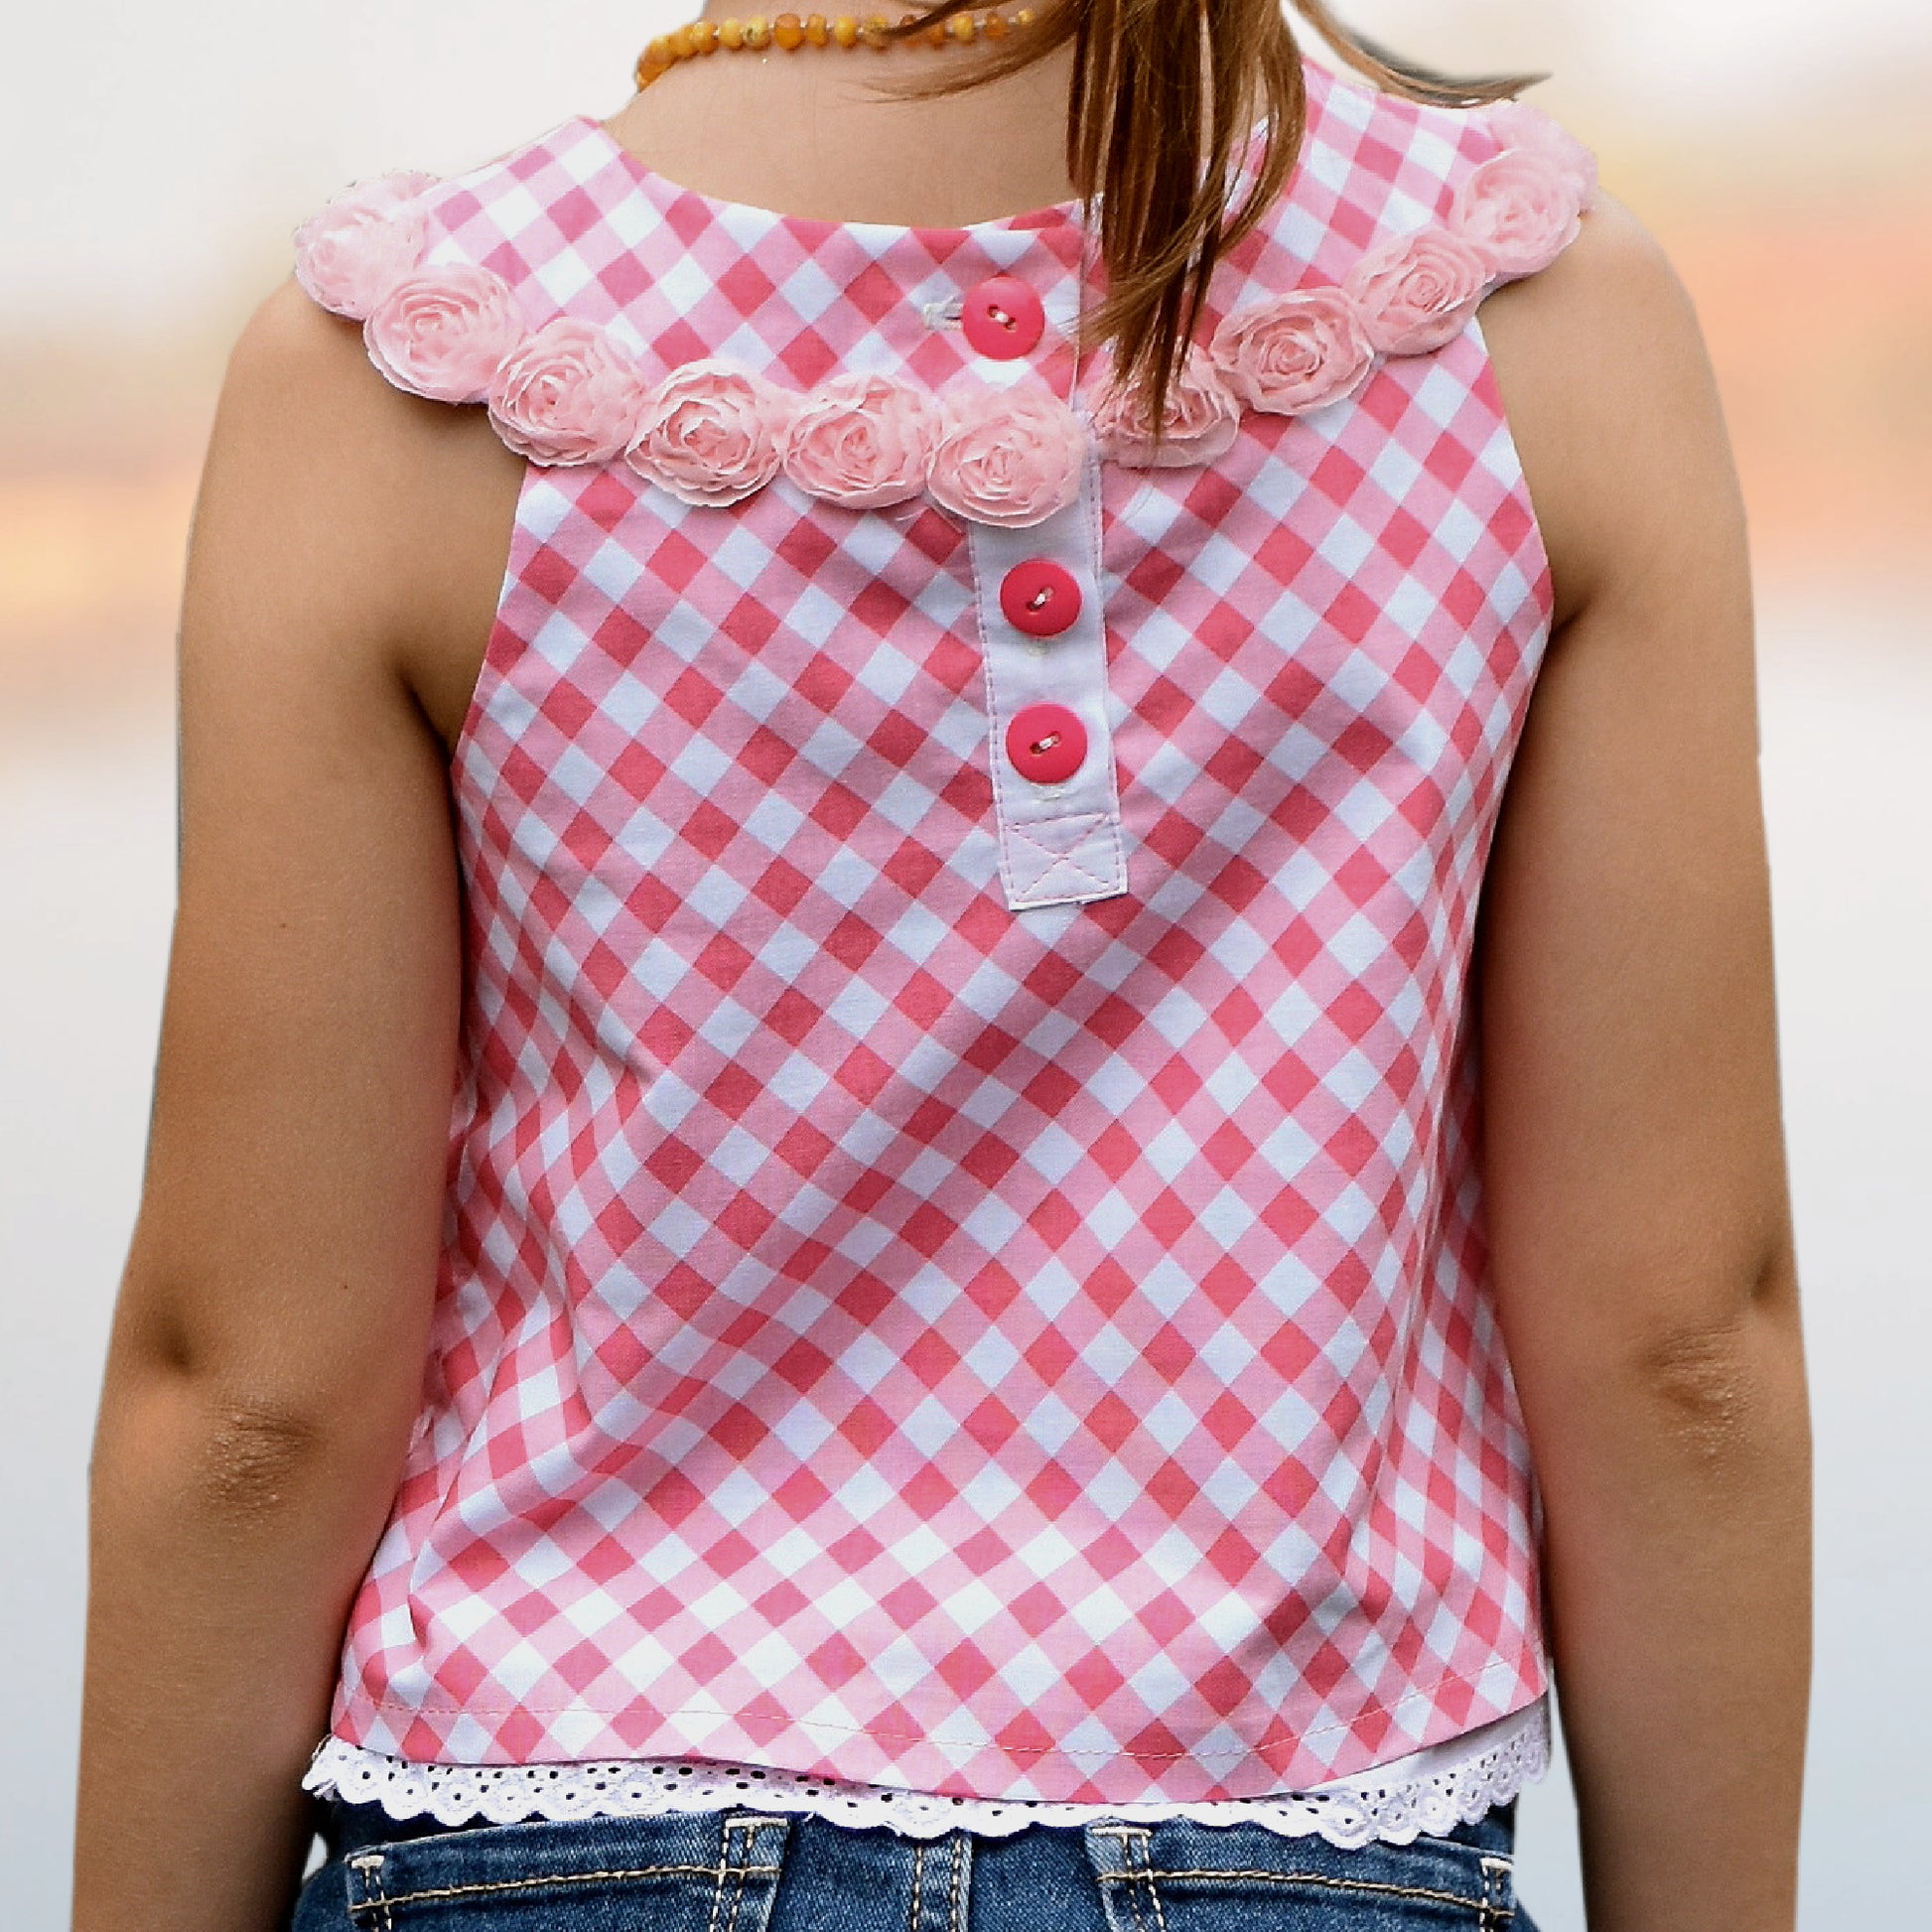
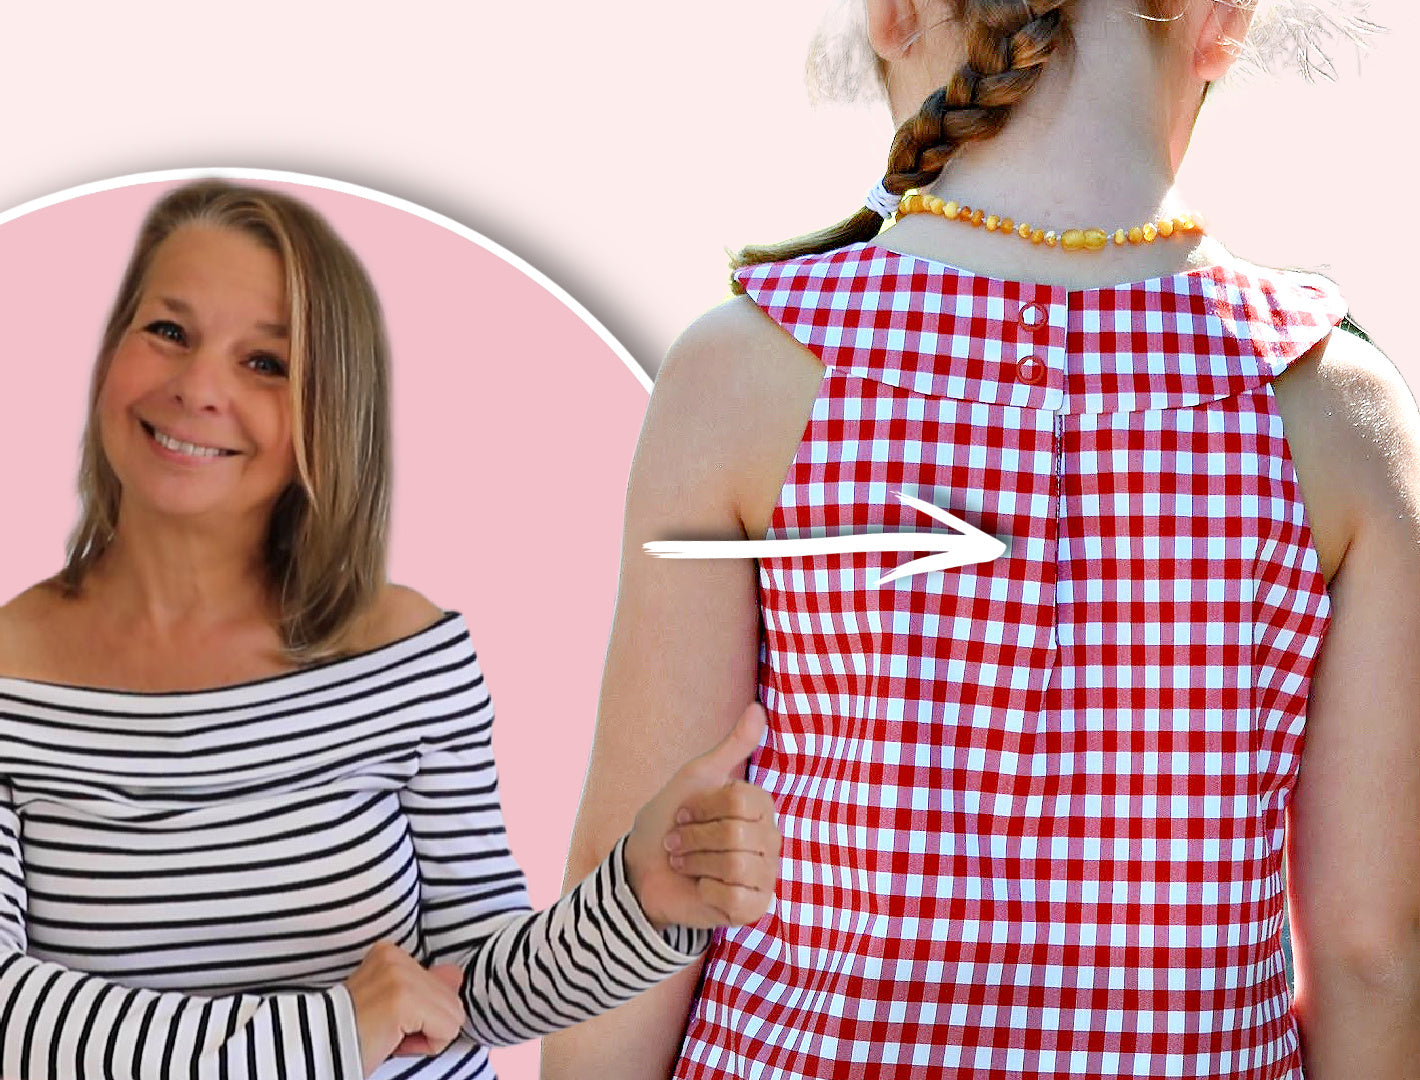
Back Fastening – Gentleman’s Cuff Technique

We start with the back fastening using the gentleman’s cuff technique.

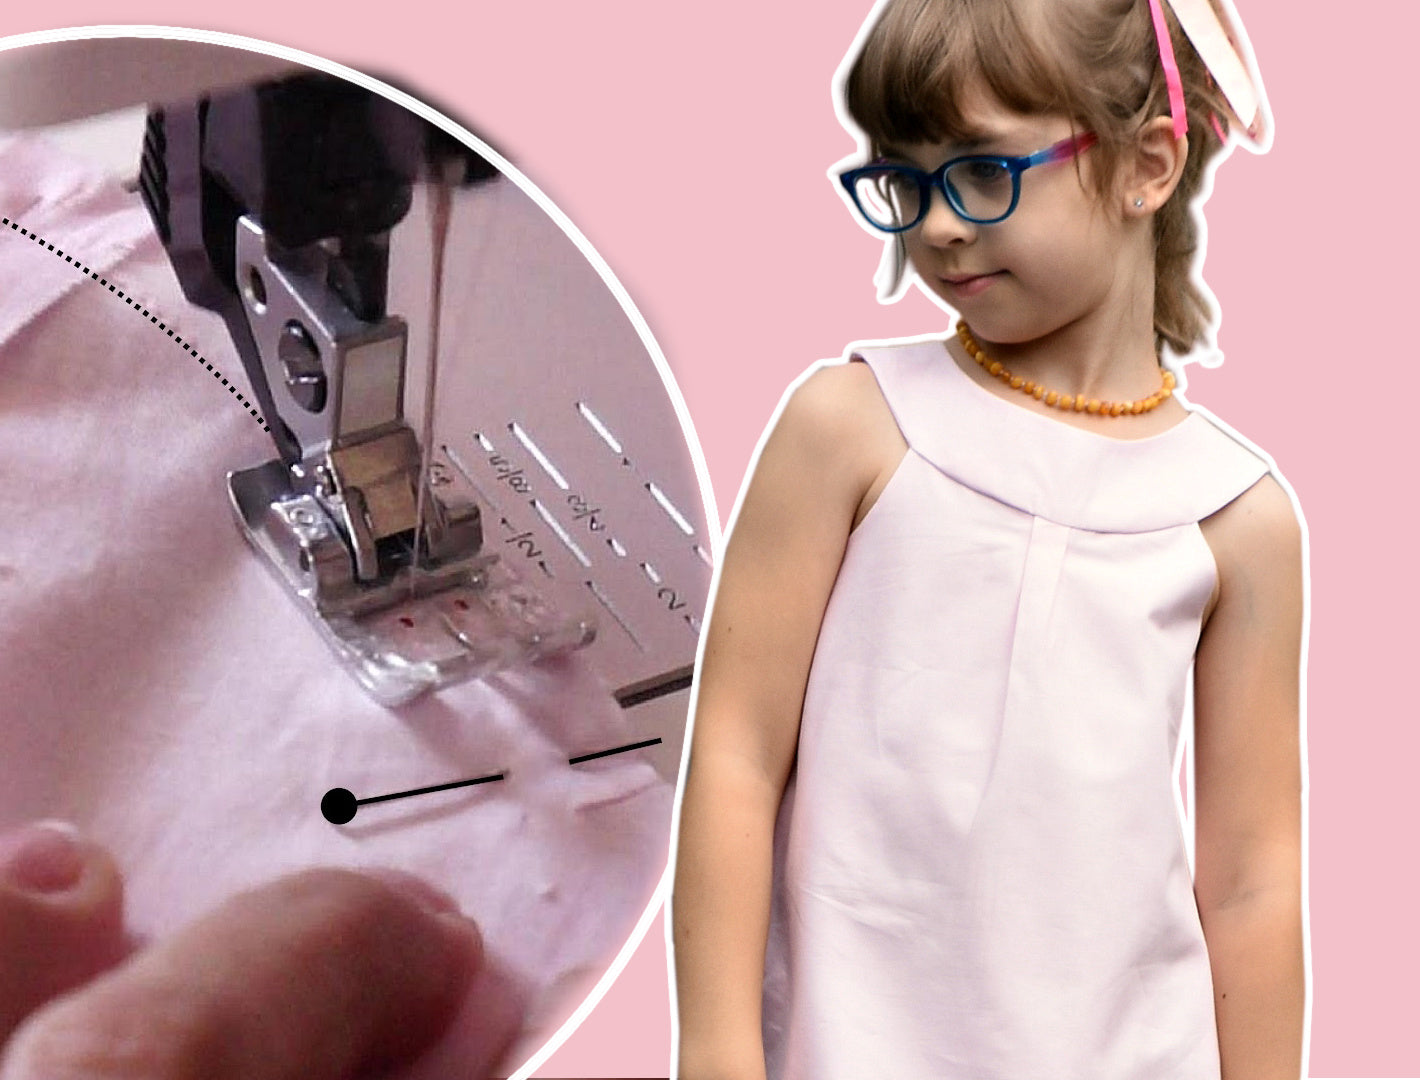
First, cut into the back of the dress up to the marked point. One side of the placket is longer and is pressed all around as shown in the pattern instructions. The shorter piece is also pressed and then inserted to cover the folded section underneath.

Pin everything in place and topstitch from the top, working carefully down and across. Keep your needle down when turning corners and reinforce your stitching at the start and end.

Then position the longer placket piece underneath the first layer so it is hidden. Topstitch again, ensuring both layers are caught neatly. Work slowly so the layers align properly, then continue forming the cross-stitch detail that secures the structure and gives a traditional tailored finish.

Front Gathering

The front includes extra fullness that is gathered.

Mark the gathering area first. You can also convert this into a box pleat if preferred, but here we are using gathers. Sew long gathering stitches slightly before and after the marked point, then pull the threads gently to gather the fabric.

Secure one side by wrapping the threads in a figure-eight around a pin. Adjust the gathers evenly and set this piece aside for later assembly.

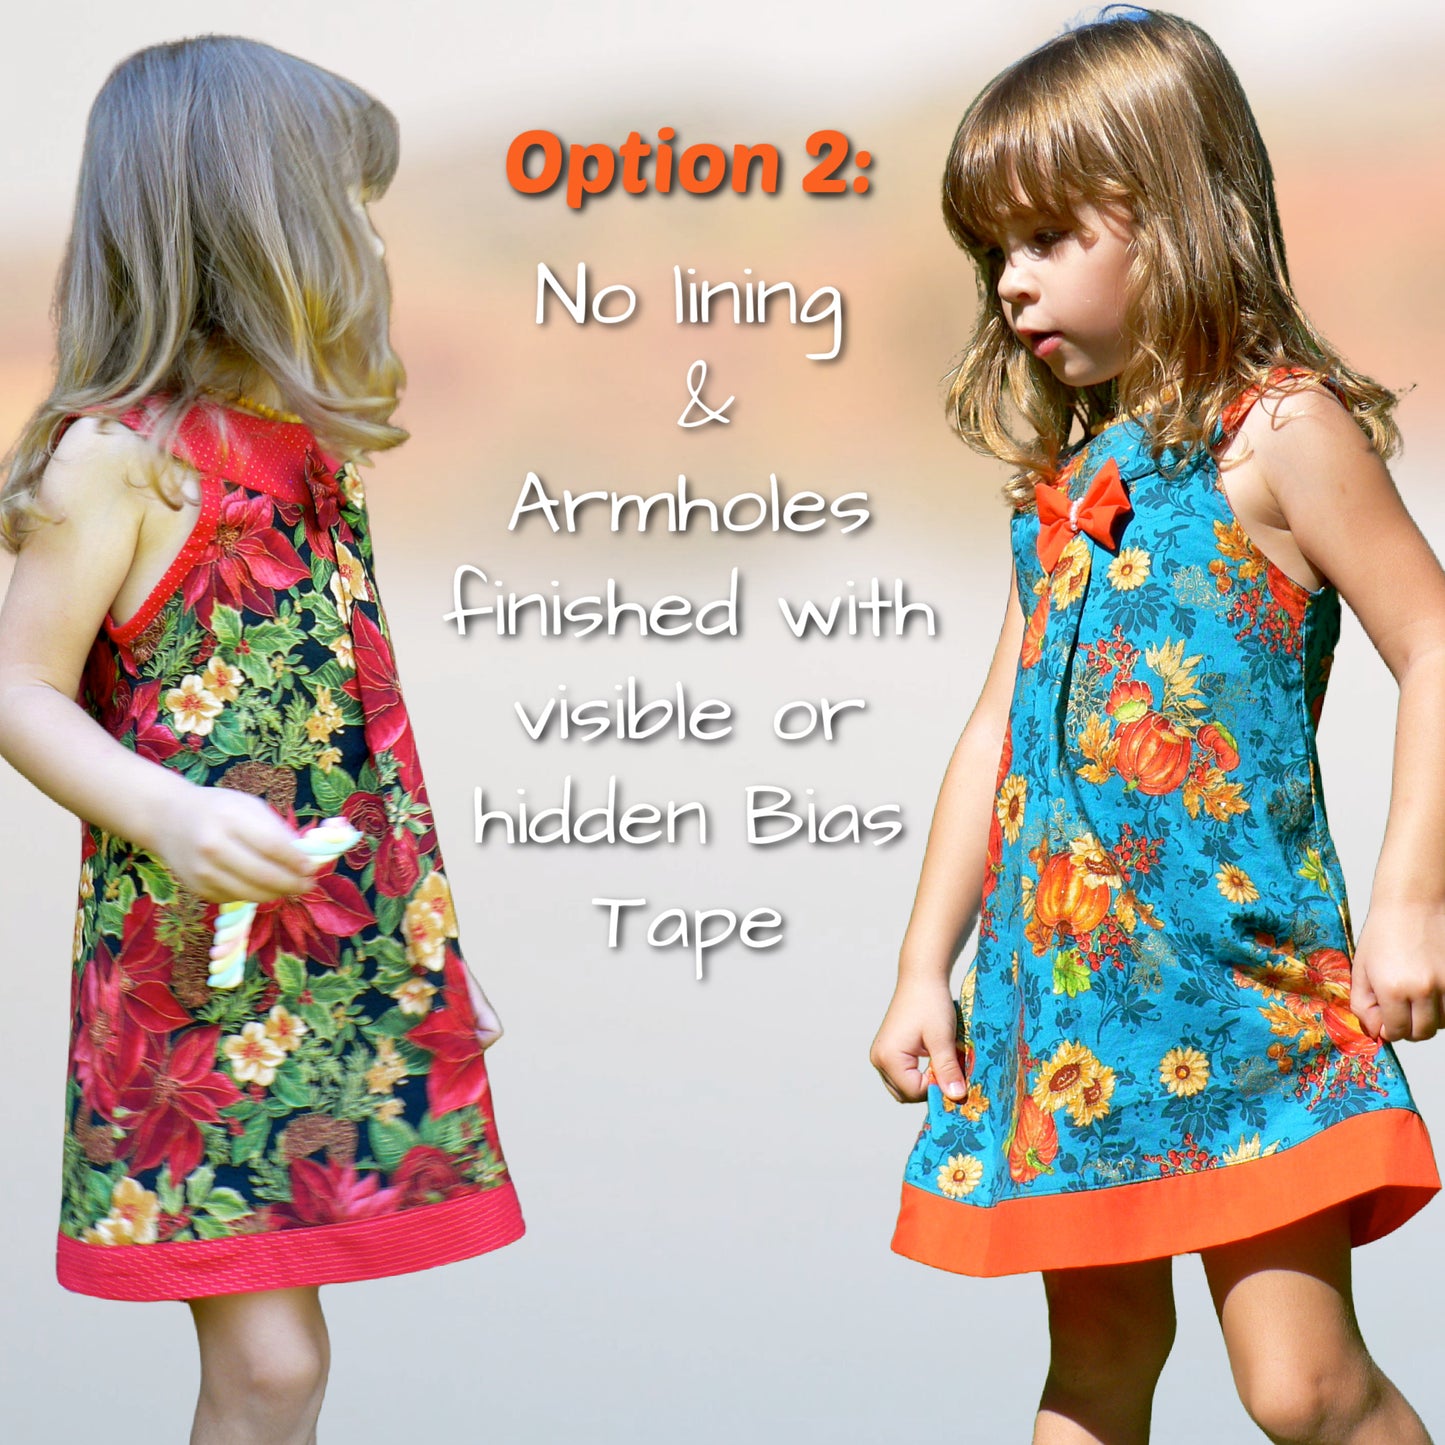
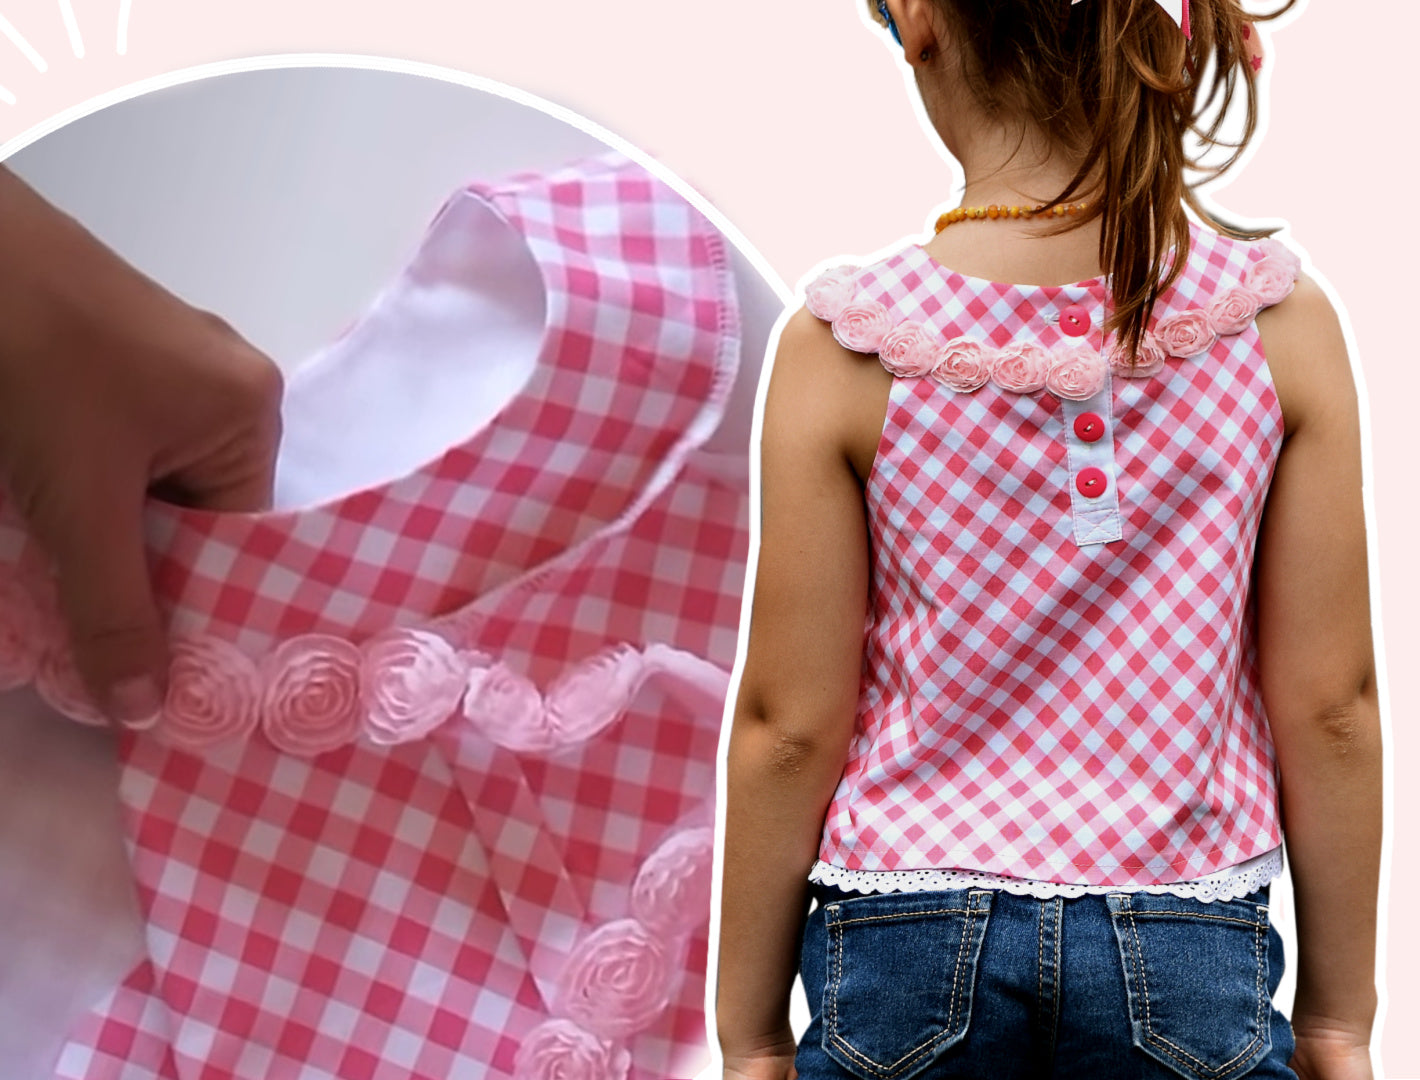
Couture Seam Finish – Bias Binding

Bias binding is used here for a couture-style seam finish.

Press the bias binding and fold it lengthwise. Attach the shorter edge first on the inside, then roll it to the outside. Topstitch carefully along the groove, guiding your stitching using the presser foot rather than the needle.

Trim seam allowances and continue securing the binding neatly. This technique creates a clean, enclosed finish, especially useful if you are not using an overlocker.
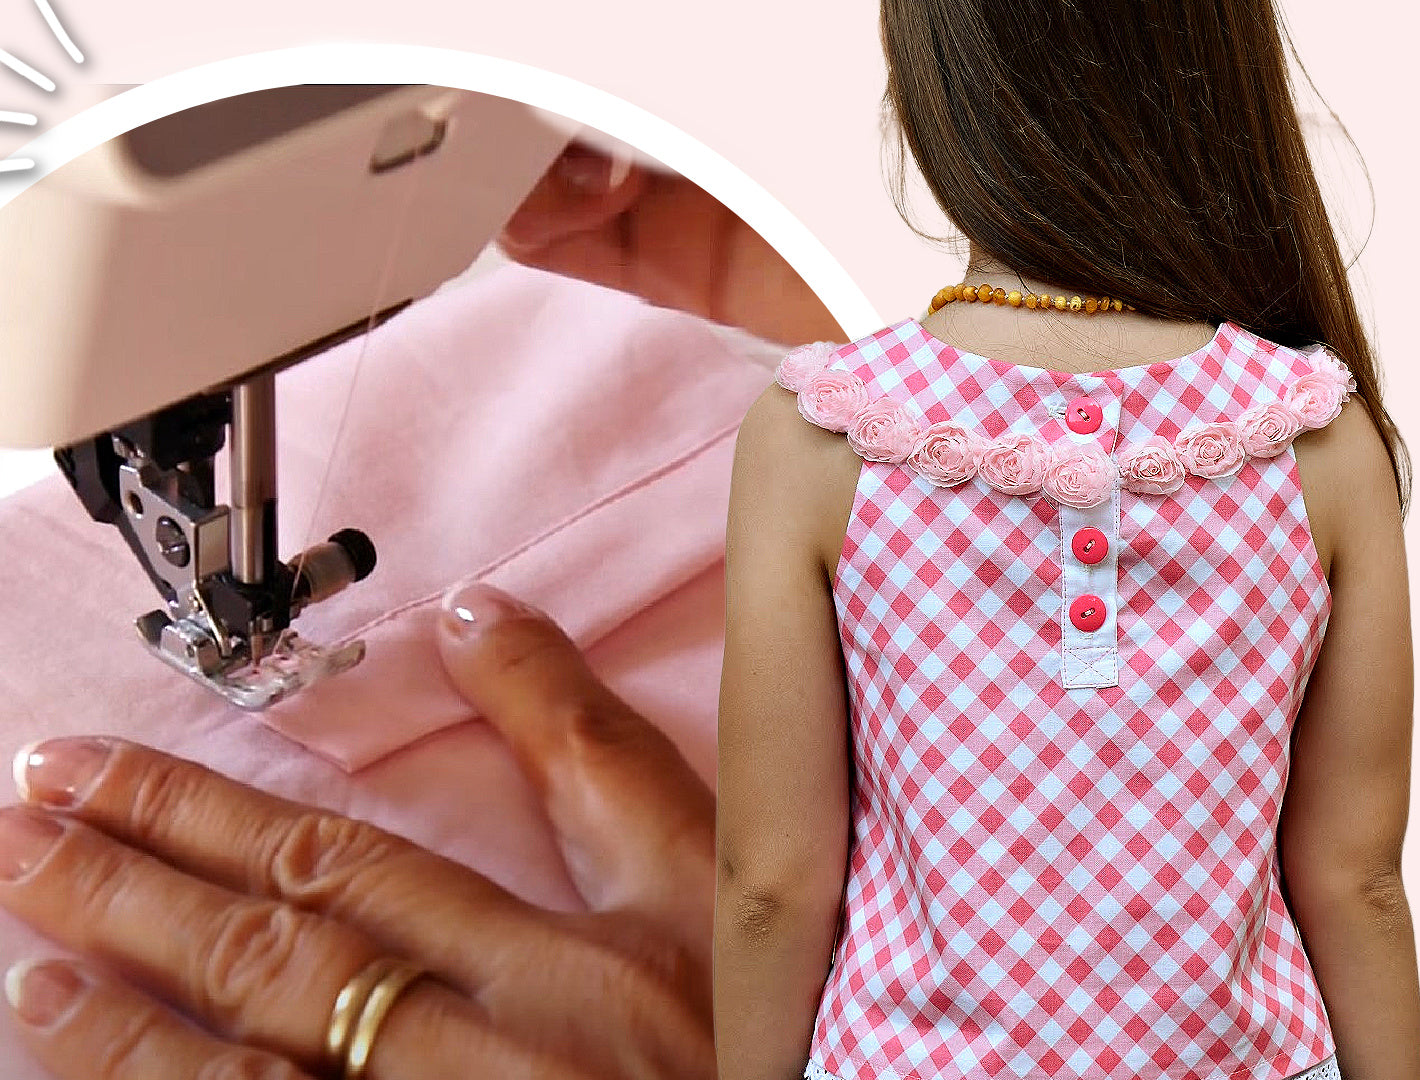
Side Seams

Once the binding is complete, close the side seams using a 1 cm seam allowance. Align fabric edges carefully with your presser foot guide to ensure an even seam.

Press the seams once finished.

Ribbon Hem Finish

For the hem, we use a ribbon finish to reduce bulk.

Apply the ribbon to the right side of the garment and stitch it in place. Then turn the hem up and pin it. Topstitch again close to the ribbon edge on the inside.

This method creates a clean finish without the thickness of a traditional hem, especially useful on heavier fabrics like denim.
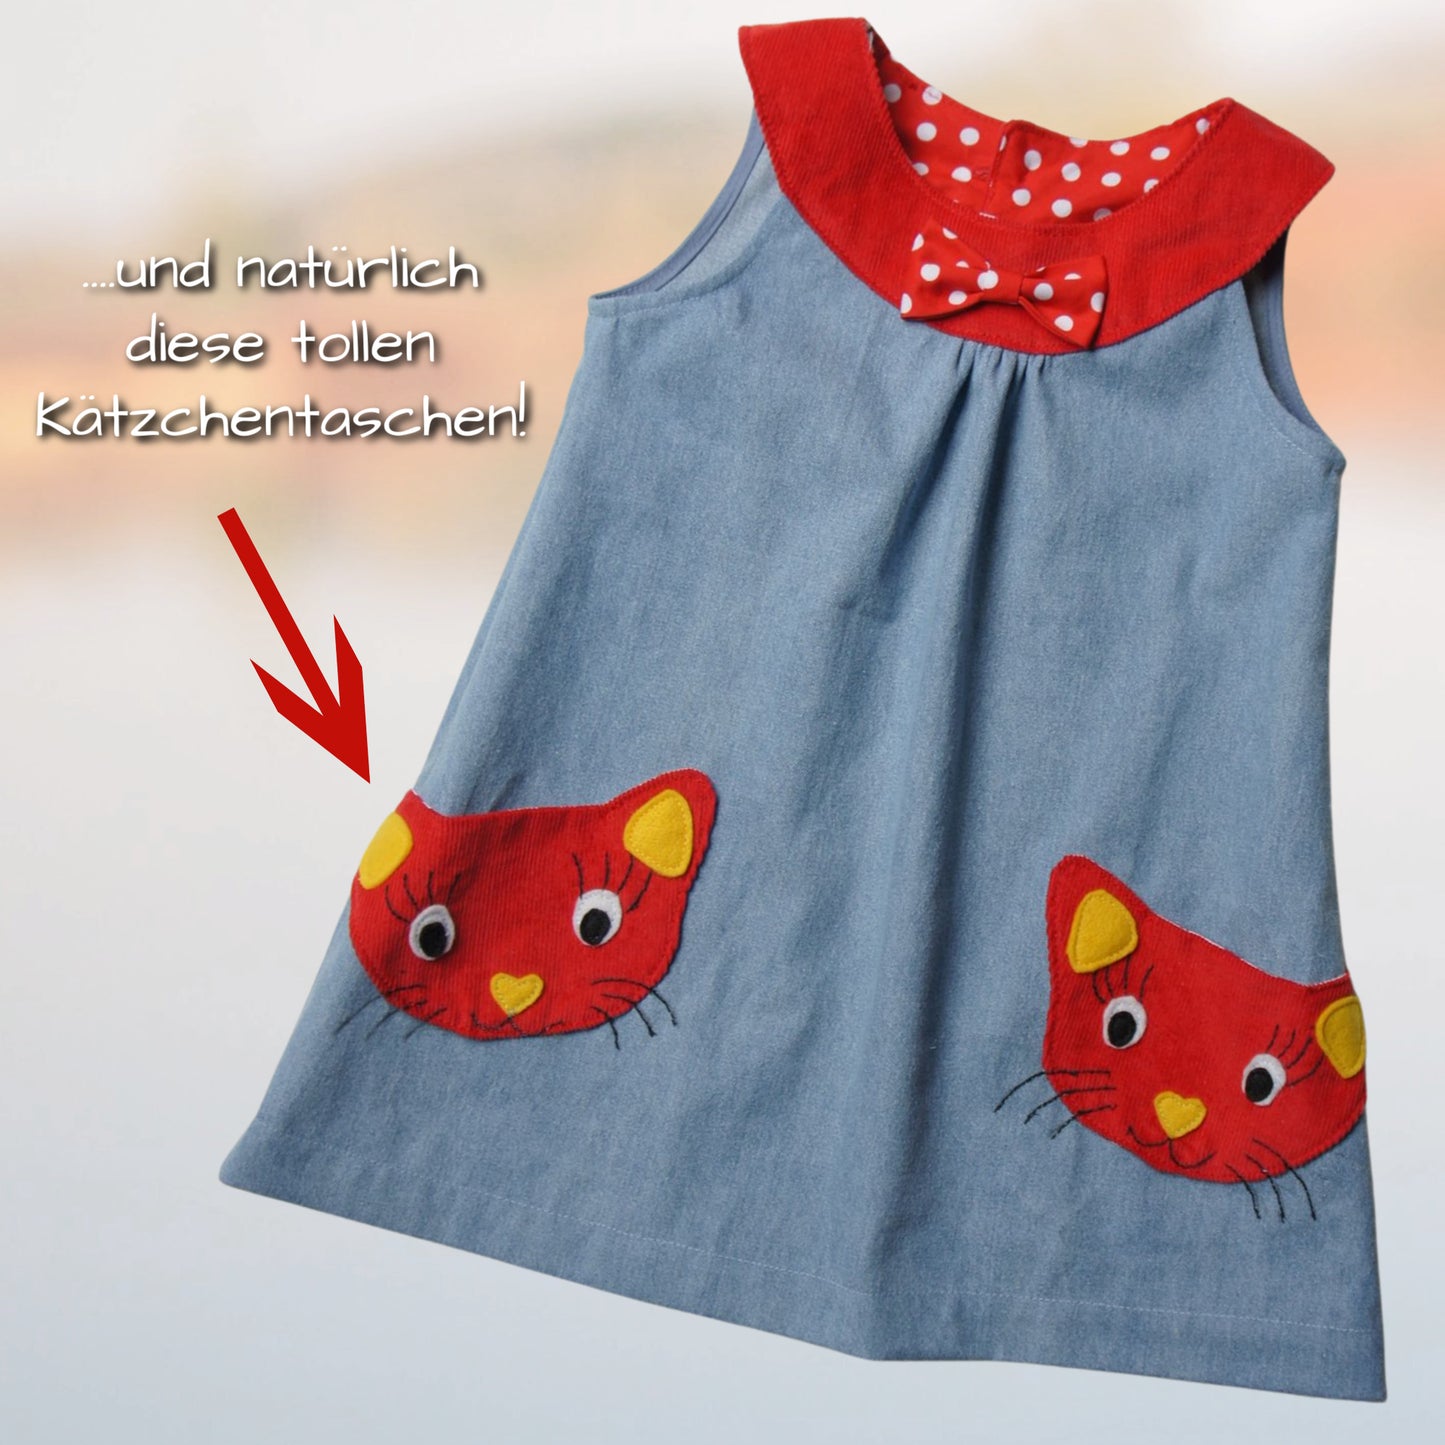
Kitty Cat Pockets

Now we prepare the signature kitty face pockets.

First, apply facial details such as eyes and nose using a triple stitch for a bold embroidered effect. This gives the look of embroidery without needing embroidery thread.

Draw features lightly with pencil or tailor’s chalk, then stitch over them carefully, keeping the needle down when turning.

Next, attach ears and additional facial details. If I were doing this again, I would sew the ears first, as they may overlap some facial elements.

Place right sides together with lining fabric and sew around the pocket, leaving an opening. Clip seam allowances, especially around curves, then turn right side out and press.

Position the pocket on the dress, allowing it to overlap slightly into the side seam for a cute effect. Pin carefully and topstitch from ear to ear, leaving the pocket opening functional.

Finally, draw whiskers and stitch them using the same triple stitch method.

Armhole Bias Binding

Apply bias binding to the armhole by pressing it flat and then folding it in half lengthwise.

Attach it to the right side of the garment, carefully guiding the fabric under the binding. Stitch slowly, ensuring the bias stays even and does not twist.

Trim seam allowances and then understitch (or topstitch the seam allowance into the binding). This prevents rolling and keeps the finish clean and stable. Add a second topstitch along the edge for extra durability and a professional finish.

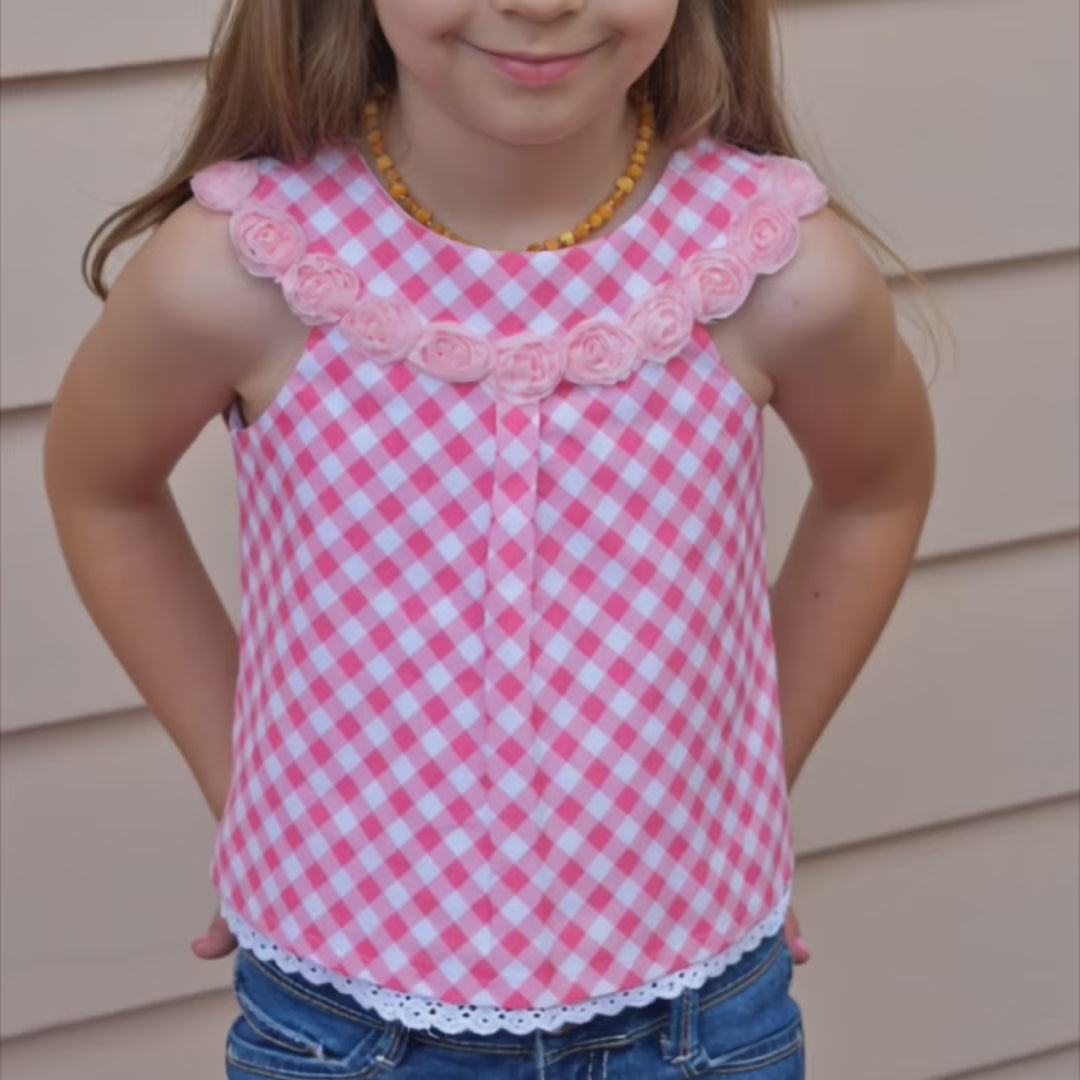
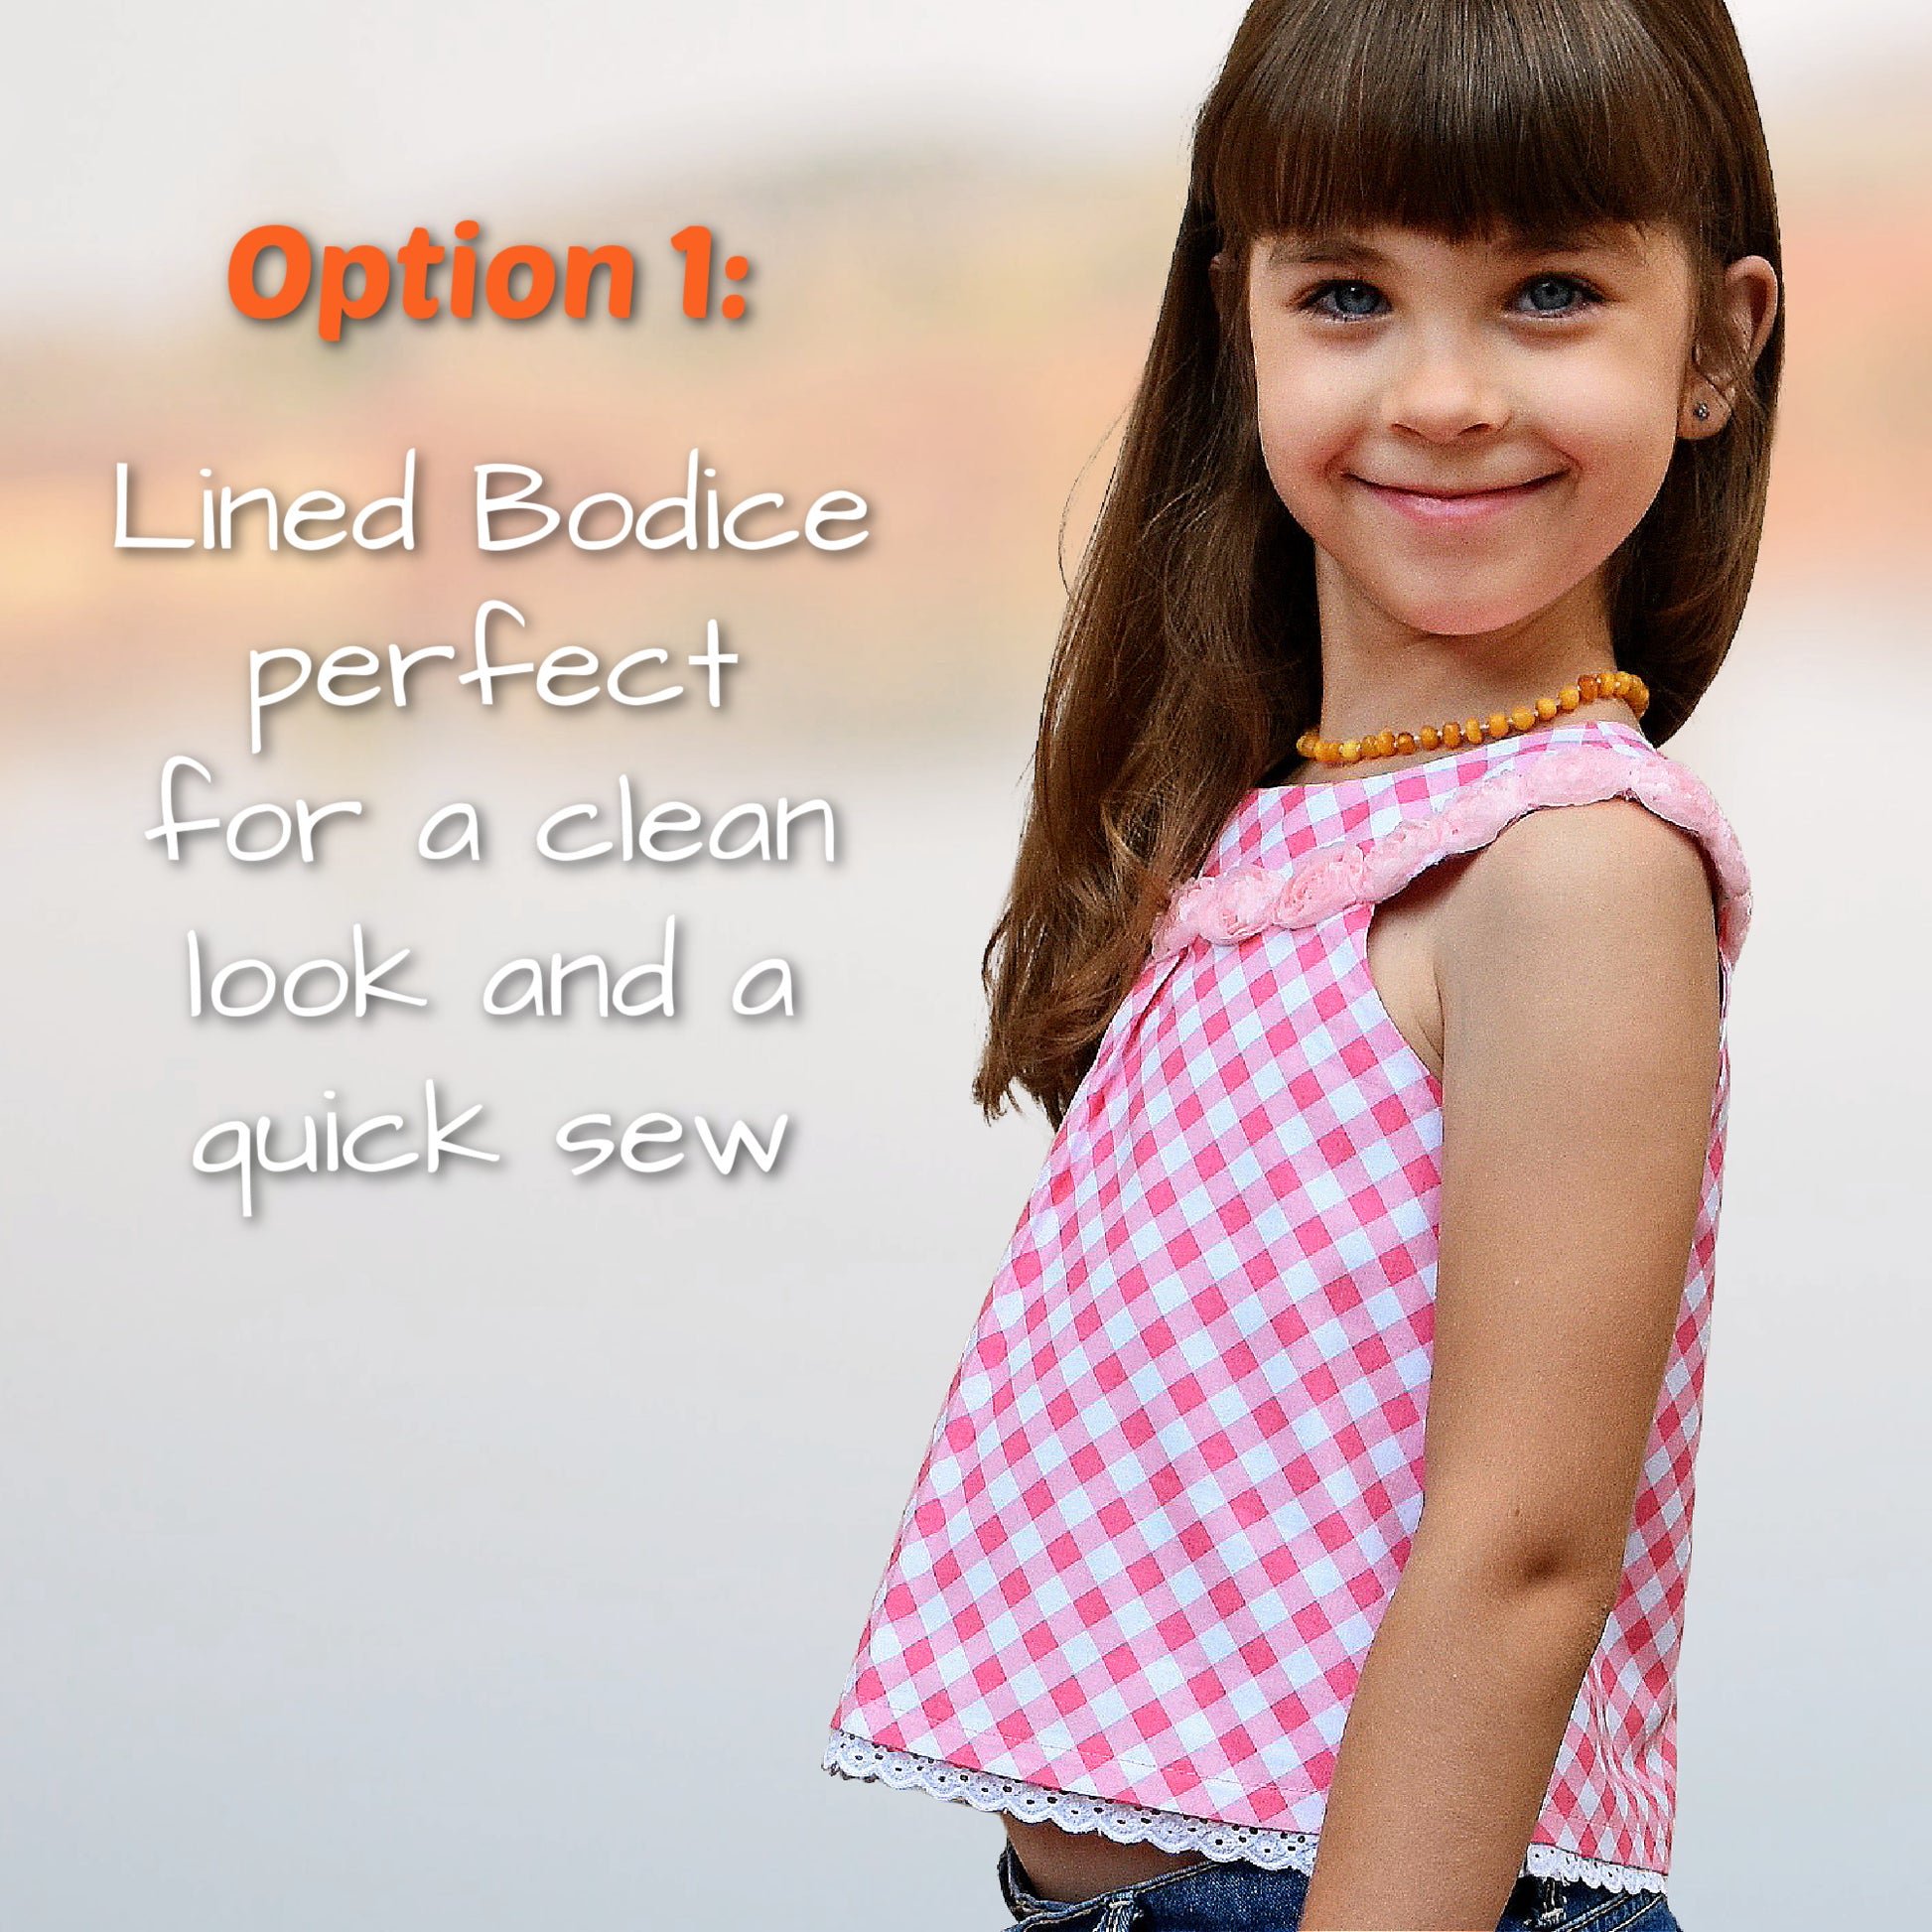
Yoke Construction and Attachment

Begin by closing the shoulder seams. Then attach the yoke pieces with right sides together, sewing around the neckline with a 1 cm seam allowance.

Snip into curved areas so the fabric can turn smoothly. Press everything well before attaching it to the dress.

Align the yoke carefully with the dress body, ensuring seams match exactly. Pin and sew slowly to avoid shifting. If needed, clip into seam allowances for easier alignment.

Turn the yoke through and press again for a clean edge.

Front Assembly and Gathers

Attach the gathered front section, starting from the center and working outward.

Pin one side first, then the opposite side, adjusting the gathers evenly as you go. Sew carefully through the center of the gathering stitches.

Take your time here, as this step cannot easily be corrected afterward.

Turn the lining inside and pin everything neatly in place before topstitching around the edge. Start stitching in a less visible area for a cleaner finish.

Buttonholes and Buttons

Mark button placement carefully. Always test positioning visually before stitching.

Sew buttonholes using your machine settings, ensuring even spacing. Open them carefully using a seam ripper or embroidery scissors.

Attach buttons so they sit slightly loose on the thread shank, allowing ease of movement without pulling the fabric.

Double-check alignment before securing.

Decorative Bow (Optional)

A decorative bow can be added to the front.

Create a rectangle of fabric, fold and press the edges inward, and stitch across the center. Wrap a strip around the middle to form the bow shape, then secure.

Attach it to the dress by stitching through from the back for stability.

Final Notes

And that completes Holly’s Kitty Cat Dress.

This project combines several couture techniques including bias binding finishes, structured yokes, gathered construction, and decorative applique work. The digital pattern is available from Frocks and Frolics via the website.

Thank you for watching.

Traditional Round Yoke

Transcript for the video: Kitty Tunic - Classic Round Yoke Method

Hi, I’m Marina from Frocks and Frolics, and today I’m going to show you how to create a traditional round yoke.

I’m using a beautiful fabric called Magical Parade by Sarah Jane, and I’ve lined it because the fabric is quite thin. In this tutorial, we’re focusing specifically on the yoke construction.

Preparing the Yoke Pieces

Start by interfacing all yoke pieces. This gives the structure needed for a clean, professional finish.

We are working with:

  • The upper yoke (interfaced for stability)
  • The lining (non-interfaced)
  • Shoulder seams for both layers

Close the shoulder seams on both the lining and the outer yoke. Press everything carefully, as pressing is essential for accuracy and a smooth final shape.

Assembling the Yoke and Closing the Neckline

Place the right sides of the outer yoke and lining together and pin carefully.

Now sew around the neckline only, leaving the side seams open. This method gives a very clean finish but requires accuracy, so take your time.

After sewing, trim back the seam allowance so the curve turns smoothly. Then understitch the lining to the seam allowance. This helps the lining roll to the inside and keeps the neckline crisp and structured.

When pressing, you may notice the lining sits slightly lower—trim it so it matches the outer fabric exactly.

Preparing Shoulder Attachments

Next, we prepare the shoulder areas where the yoke will attach to the dress.

Work from snip to snip on both front and back shoulders. These areas remain open except for the section being attached.

Pin carefully and sew using a 1 cm seam allowance. Repeat on the other side.

Only trim back the sewn section, leaving the remaining seam allowance intact. This ensures easier alignment when attaching the yoke to the dress body.

Attaching the Front Yoke

Align the center front of the yoke with the center front of the dress. Match the notches precisely.

Insert the dress edge into the yoke seam area and pin securely. Do not stretch the fabric—this is important. If it feels slightly tight, that is correct. Stretching will cause puckering at the neckline.

Work slowly and ensure everything lies flat when pinned.

Attaching the Back Yoke

Repeat the same process for the back. Overlap the yoke by 1 cm seam allowance and match all notches carefully.

Pin from the placket area and continue along the curve, ensuring everything stays aligned and untwisted.

This step requires precision, but once you understand the structure, it becomes much easier and gives a very professional result.

Sewing the Yoke in Place

Now sew the yoke carefully in place.

Support the fabric with your fingers as you sew, as it may feel slightly bulky at first. Keep checking alignment as you go.

Once sewn, fold the lining down and stitch the seam allowance in place from the inside, similar to a shirt collar construction. This helps the yoke sit neatly and prevents shifting.

Turning, Pressing, and Finishing the Edges

Turn the yoke through and press thoroughly. Shape the neckline into a smooth curve.

Tuck in the remaining open edges and slip stitch them closed by hand. This creates a clean, invisible finish and gives the garment a professional appearance.

Repeat this process on the back yoke as well, ensuring all raw edges are enclosed.

Take your time with slip stitching—this step is slow but important for a high-quality finish.

Final Press and Optional Decoration

Give the entire yoke a final press to set the shape.

This yoke design is very versatile and can be decorated in many ways. You can add:

  • Rickrack
  • Fabric flowers
  • Embroidery
  • Diamantes
  • Appliqué designs

It is best to add embroidery before cutting the fabric for the cleanest result.

Closing Notes

And that completes the traditional round yoke construction.

This technique creates a beautiful, structured neckline with a professional finish. It does take time and accuracy, but the result is worth it.

Thank you for watching, and don’t forget to visit Frocks and Frolics for more patterns and tutorials.

Kitty Dress Placket Tutorial

Transcript for the video: Kitty Tunic - Back Placket

Hi, this is Marina from Frocks and Frolics, and I’m going to show you how to sew the placket for my Kitty Dress.

You can use this method for other dresses or tops as well. If you want the pattern, the link is in the description or under the info button.

Preparing the Placket Pieces

When you cut out your placket, make sure the left-hand side is placed on top of the wrong side of the fabric. This helps keep the orientation correct.

First, take the longer placket piece and iron in both side seam allowances (1 cm). Then press the lower section up as well. After that, fold the edges together and press everything flat using plenty of steam so it becomes crisp and easy to work with.

If your fabric is a bit soft, you can add iron-on interfacing for extra stability.

Positioning the First Placket

Place the first (longer) placket on the left side of the opening. Slide it underneath so the seam allowance aligns correctly.

Pin from top to bottom, keeping a strict 1 cm seam allowance. This measurement is very important because it ensures the placket and dress align perfectly later on.

Take your time here and make sure everything sits flat and even before sewing.

Preparing the Second Placket

Now take the shorter placket piece and repeat the same process: press both sides inward and fold it neatly.

Make sure it is well-pressed and crisp—this makes sewing much easier later on.

Place it underneath the first placket. The top placket should slightly overlap the lower one so it fully covers it. This overlap is essential for a clean finish.

Pin it carefully into place, ensuring the top edge fully covers the lower placket.

Sewing the Placket

Start sewing down the right-hand side, keeping close to the edge. Go slowly and maintain your seam allowance.

When you reach the bottom, pivot with the needle down, lift the presser foot, and turn the fabric smoothly.

Continue stitching along the lower section, making sure you catch both layers securely.

Then sew back up the opposite side, again staying close to the edge and keeping everything flat as you go.

If needed, adjust your fabric as you sew so it doesn’t shift.

Finishing the Placket Shape

As you approach the lower placket point, slightly adjust your stitching position (about 2 mm higher) so everything is securely caught.

Continue stitching across and then back up the other side, forming the full placket shape.

Work carefully around corners so the structure stays sharp and even.

Once finished, secure your thread ends.

Final Notes

And that’s your placket complete—simple, structured, and professional.

This technique is used in the Kitty Dress but can also be applied to many other garments.

The fabric used in this example is Magical Parade by Sarah Jane, available through the link below the video.

Thank you for watching, and a special shoutout to my model Magdalina and her mom for the photography.

See you next time, and let me know how yours turns out.

Transcript for the video: Kitty Tunic: Cheats Round Collar

Welcome to the Kitty Top tutorial. I’m Marina from Frocks and Frolics, and I’m going to show you how it works. This time we’re making the Kitty Top, fully lined. You can also make this version using bias binding—we have a separate video for that—but here I’m using lace and a beautiful yoke design. The key feature of this yoke is that the seam lies to the outside, giving a clean overlocked edge externally while the inside remains neat and finished. If you want to make this top using the same fabrics and trims, the links are in the video description and listings page, which also helps support Frocks and Frolics as all sewing school videos remain free.

Cutting Out the Fabric

Let’s begin with cutting. Place your fabric on the fold on both sides to cut the front and back. The yoke pieces are mirrored to create shell fabric and lining, and don’t forget the back placket piece. Add iron-on interfacing to the yoke to make sewing easier and more stable.

Sewing the Armholes

Place lining and shell fabric right sides together. Pin or mark the armhole curve, then sew with a 1 cm seam allowance. Trim seam allowance to 2–3 mm to reduce bulk (no clipping needed if trimmed properly). Press the seam neatly to set the shape.

Creating the Front Pleat (Frog Detail)

Match the notches on your pattern and form a box pleat facing outward. The lining mirrors this for a clean finish inside. Sew the pleat down about 1.5 cm to secure it, then open and press it flat. Repeat for the top flap area to complete the front detail.

Preparing the Back Placket

Cut the back opening up to the indicated mark. You’ll have two placket pieces: a longer interfaced piece and a shorter pressed piece. Fold and press both well before attaching.

Attaching the Placket

Place the shorter placket on the right-hand side first with a 1 cm seam allowance overlap underneath and pin. Attach the longer placket from the opposite side. Sew the short placket first, then move it aside and sew the longer side without catching it. Fold everything back into place and ensure it lies flat. Stitch across the lower section for stability, turning corners with needle down, then press.

Constructing the Yoke

Join shoulder seams on both shell and lining using a 1 cm seam allowance and press thoroughly at every stage. Place right sides together (lining over shell fabric), pin shoulder seams, and sew around the yoke. Trim seam allowances to 2–3 mm and press well.

Attaching the Front to the Yoke

Match center front to yoke notches and ensure seam allowances face outward. Pin from center front to notches, then repeat for the back, aligning center back and placket edges precisely. Sew with a 1 cm seam allowance all the way around, adjusting carefully to maintain alignment.

Pressing and Finishing the Yoke

Press seams upward. Avoid over-pressing the shoulder area since it will be covered with decorative roses. This keeps the inside clean while allowing external decoration.

Adding Decorative Roses

Place roses over the shoulder seam and hand stitch using a slip stitch. Secure netting neatly so it doesn’t show, and ensure everything lies flat and stable.

Closing the Underarm Seams

Align underarm seams of lining and shell, then sew from lining through shell in one continuous seam using a 1 cm allowance. Clip slightly to reduce tension and press well afterward.

Hemming the Top

Turn up hem by 1.5 cm. This cropped length should sit just above jeans. Stitch through the overlocked edge and press for a clean finish.

Adding Lace Trim

Position lace so it peeks slightly, adjust placement, then pin. Sew carefully around the hem, taking time to avoid puckering when joining different fabrics. Finish with overlocking if needed.

Adding Buttonholes and Buttons

Mark buttonhole placement (about 1–1.2 cm from edge for the top). Sew and test buttonholes first. If your machine struggles with thick seams, start on a flatter section. Cut buttonholes carefully.

Sewing on Buttons

Position buttons carefully for alignment. Use your thumb underneath to create slight slack so the fabric doesn’t pull. Wrap thread to form a shank and secure firmly. Repeat for all buttons.

Final Result

And that’s the finished Kitty Top. This design combines a structured yoke, lace detailing, and a fully lined interior for a clean finish inside and out. Thank you for watching, and I’ll see you in the next Frocks and Frolics project.

Transcript for the video: Kitty Tunic: Hack No Placket, Lined Blouse

Hi everyone, it’s Marina from Frocks and Frolics, and I want to introduce my updated version of the Kitty Dress. This version now includes a lining, which helps avoid the tricky armhole binding that can be difficult for some people. I’ve removed that step and replaced it with a cleaner lined finish. With the lining, I also added a double-layer hem with lace, which gives a very pretty finish. The back placket has been simplified as well—if you find plackets difficult, you can use binding instead or switch to snaps. I used metal snaps with a snap fastening tool (around $19), and it works reliably every time.

Cutting Out the Fabric

Let’s start with cutting. For the outer layer, I’m using a lightweight checked cotton, and for the lining, another lightweight cotton along with white fabric for the yoke lining. It is important to use iron-on interfacing for the yoke to give it structure, and stay tape for the armholes to prevent stretching. We are not using bias binding in this version, as the structure has been simplified to only the main front, back, and yoke pieces. The placket has also been simplified into one long strip instead of separate pieces. The fabric is placed on the fold, making sure the pattern aligns correctly, especially with checks so the lines match across seams. If your fabric has a direction, one pattern piece should be flipped so everything runs consistently. Before removing pattern pieces, mark the shoulder points, center front, pleat placement, and the back slit opening. The same process is repeated for the lining, including the yoke lining and all necessary notches. The yoke lining edge is pressed in by 1 cm to create a crease that will help with alignment later.

Interfacing and Preparation

Iron interfacing onto the wrong side of all yoke pieces to add stability. The pleat strip and back binding strip are also interfaced so they hold their shape better during construction. Stay tape will be applied later to the armholes during sewing to prevent any stretching.

Sewing the Armholes

With right sides together, sew the front and back pieces at the armholes using a 1 cm seam allowance while applying stay tape as you go. There is no need to pre-pin the tape, just guide it along as you sew without stretching the fabric. Once sewn, trim the seam allowance slightly to reduce bulk, but avoid clipping since we want to maintain stability. The seam allowance is then understitched toward the lining and topstitched close to the edge, about 1–2 mm in, to keep the lining from rolling outward. After pressing well, repeat the same process on the other side.

Creating the Pleat

The pleat is formed by matching the notches on the pattern. You can choose the direction, but in this version the box pleat sits on the outside for a decorative finish. The pleat is flattened carefully with your fingers, pressed into shape, and lightly sewn down to hold it in place. Once pressed, the front is ready for the yoke.

Attaching the Yoke

The center front and pleat markings are matched with the yoke notches, then pinned carefully from the center outward to ensure everything aligns at the seam allowance. The same is done for the back, matching center back and slit markings precisely. Everything is sewn with a 1 cm seam allowance while keeping the fabric flat and aligned to avoid any gaping. After sewing, the work is pressed and checked for accuracy before continuing. The lining yoke is then attached in the same way, sewing only up to the crease line so the shoulder can be closed later. If unsure, it is better not to fold the top edge and simply sew to the crease line for accuracy. The seam allowance is trimmed carefully but stopped before the shoulder opening so it remains available for final closure.

Closing the Yoke and Turning Through

The center section is rolled tightly so the top can be turned through one shoulder opening. This allows the garment to flip cleanly without distortion. The remaining edges are then sewn carefully while ensuring the fabric stays edge-to-edge and the lining does not shift. The neckline seam allowances are clipped at intervals to reduce tension and allow a smooth curve when turned. Once turned right side out, the entire yoke is pressed thoroughly to set the shape.

Back Binding and Slit Construction

The back binding is attached next. For beginners, it helps to sew the lining and outer fabric together first so nothing shifts during construction. The seam is sewn from the top down to the marked point using a 1 cm seam allowance, with a smaller stitch length near the bottom for reinforcement. The same is repeated on the other side, carefully following the interfacing guide. The slit is then cut carefully up to the stitching point and turned so the tip can be reinforced with stitching. Everything is pressed neatly for a clean finish.

Installing Snap Fasteners

Metal snaps are installed using a snap setter tool. The prongs are pushed through the fabric layers, then secured using the tool base and positioning cap. The snap is hammered firmly into place. Care must be taken not to clamp the tool too tightly before setting, as it will not function properly if it is too compressed. The process is repeated for each snap, ensuring alignment before final setting.

Closing Shoulder Seams

The shoulder seams are closed using a 1 cm seam allowance. The edges are pinned carefully and sewn while ensuring the lining and outer fabric remain aligned inside. Once completed, the structure of the garment becomes fully defined.

Joining Lining and Final Hand Finishing

The lining is inserted into the dress body and all seams are aligned carefully. If needed, slight trimming is done to reduce bulk. The lining is then hand stitched to the outer fabric using a slip stitch or tunneling method along the shoulder opening so that the stitches remain invisible. Everything is secured neatly and pressed to finish shaping.

Side Seams and Finishing

The side seams are closed from armhole to hem, and overlocked if desired. Seams are pressed toward the back for a clean finish. The armholes are also pressed from the outside to smooth the shape.

Adding the Double Lace Hem

The outer layer is trimmed by 1 cm so the lace can peek out from underneath. The lace is also cut with a 1 cm seam allowance. It is attached starting from a side seam, with right sides positioned correctly as it is sewn around the hem. The lace is sewn slightly inside the edge to allow adjustment during topstitching. The edges are finished and then turned and topstitched through both layers. During sewing, the lace position can be adjusted slightly to ensure an even reveal. A stitch length of 3 to 3.5 is used for a more professional finish.

Final Result

And that is the updated Kitty Dress complete. It features a fully lined construction, simplified armholes, a clean yoke finish, optional snap fastening, and a beautiful double-layer lace hem. It is a more advanced make, but very achievable when worked through step by step. Thank you for watching Frocks and Frolics, and I’ll see you in the next project.

YOU MAY ALSO LIKE

Connie

SHOP NOW

Beatrice

SHOP NOW

Western Blouse

SHOP NOW

Western Blouse

SHOP NOW