Transcript for the video: Western Blouse Doll
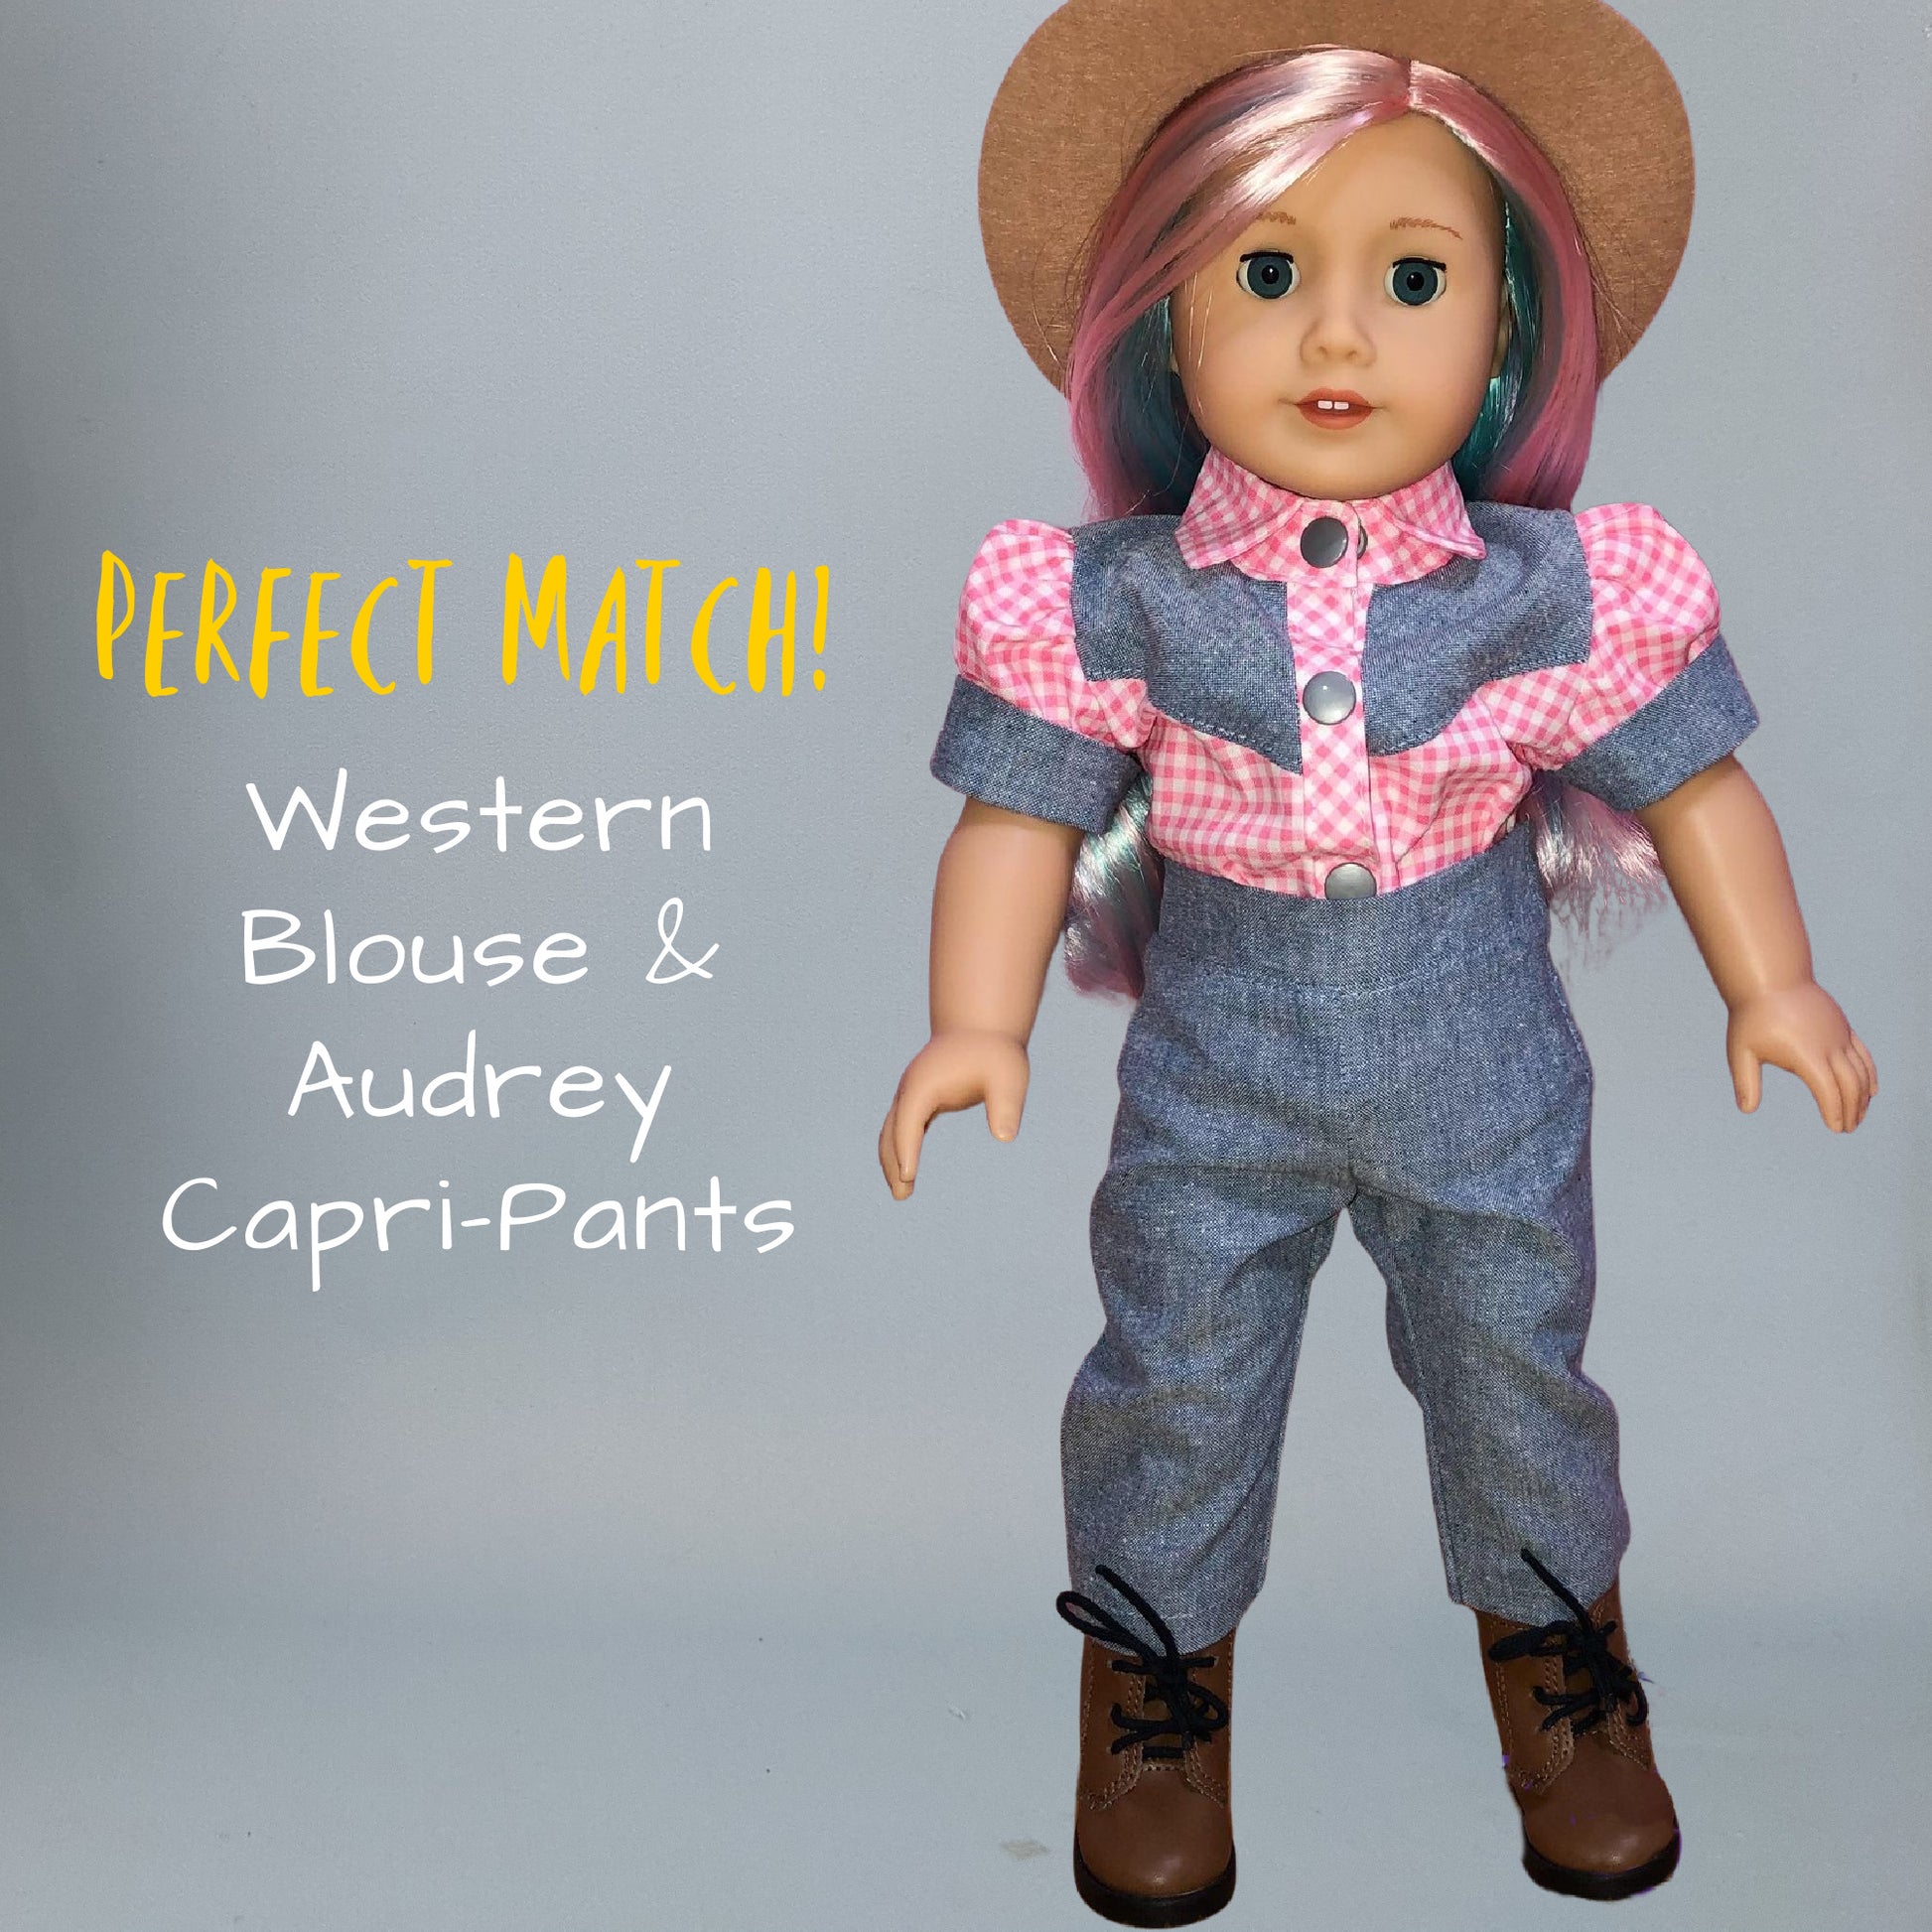
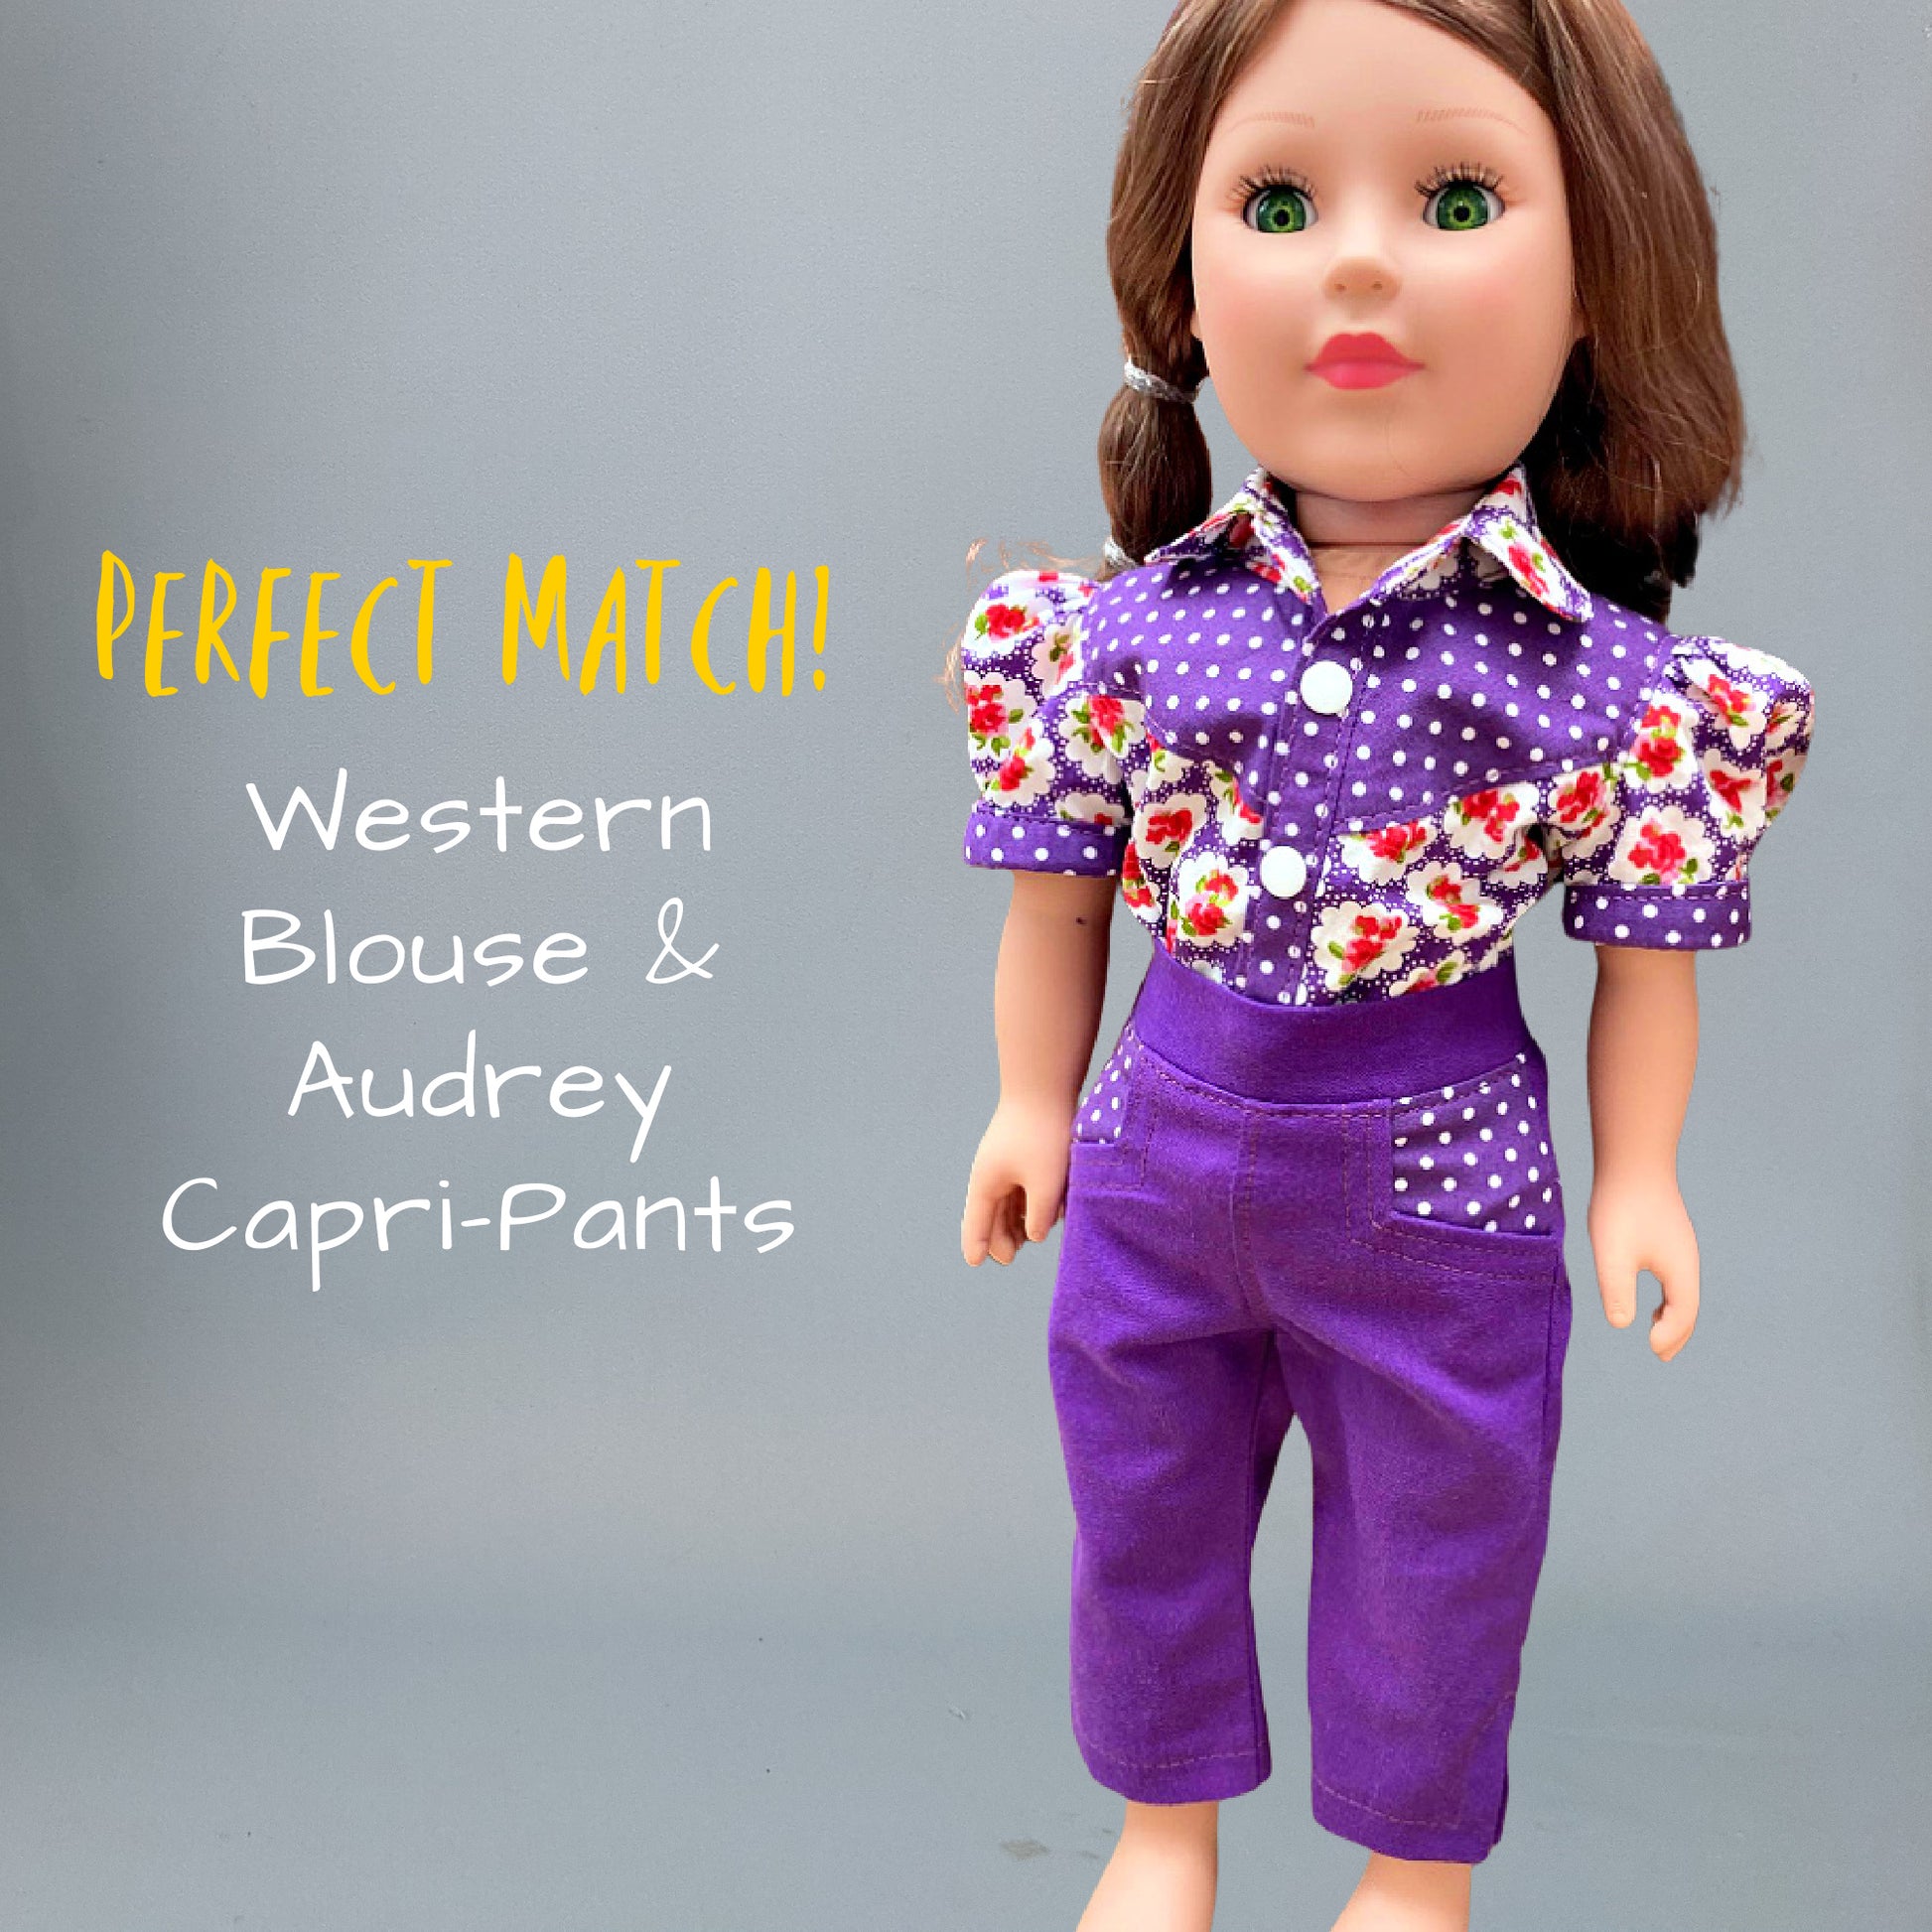
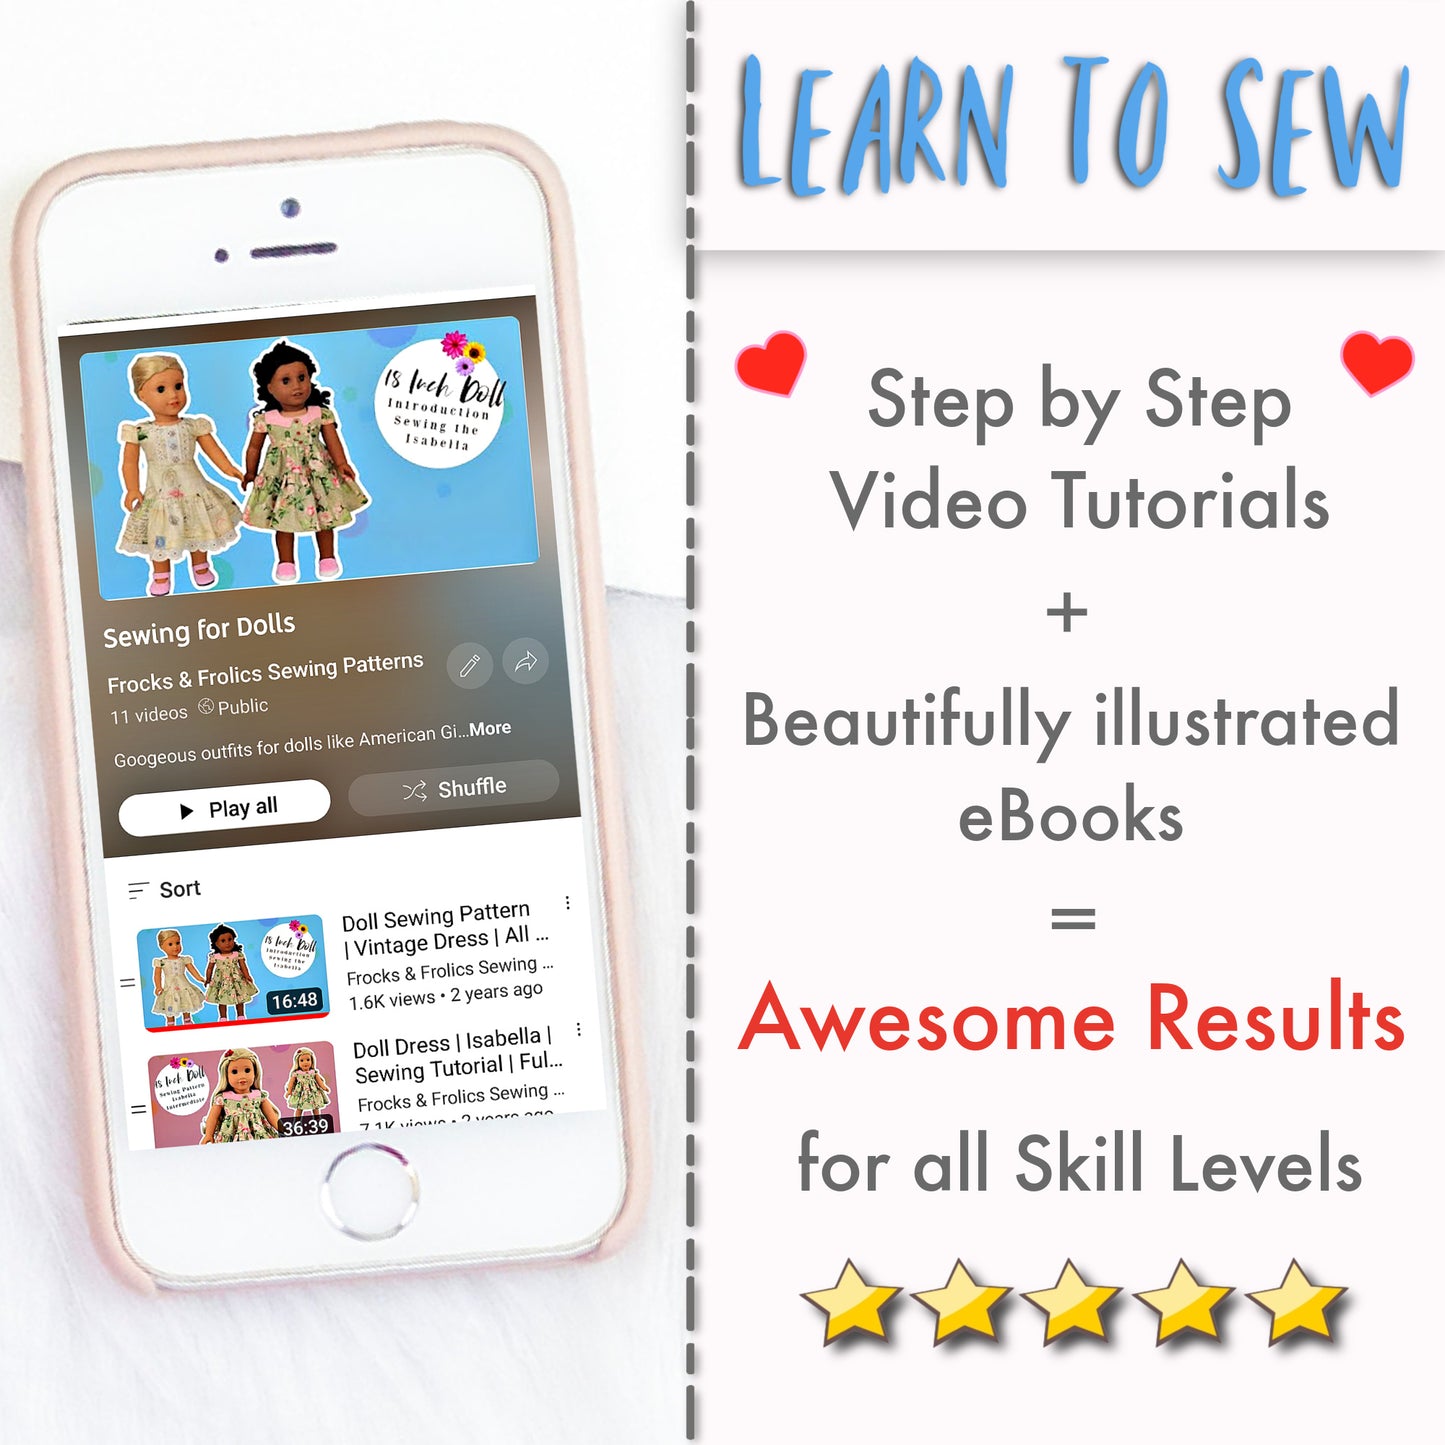
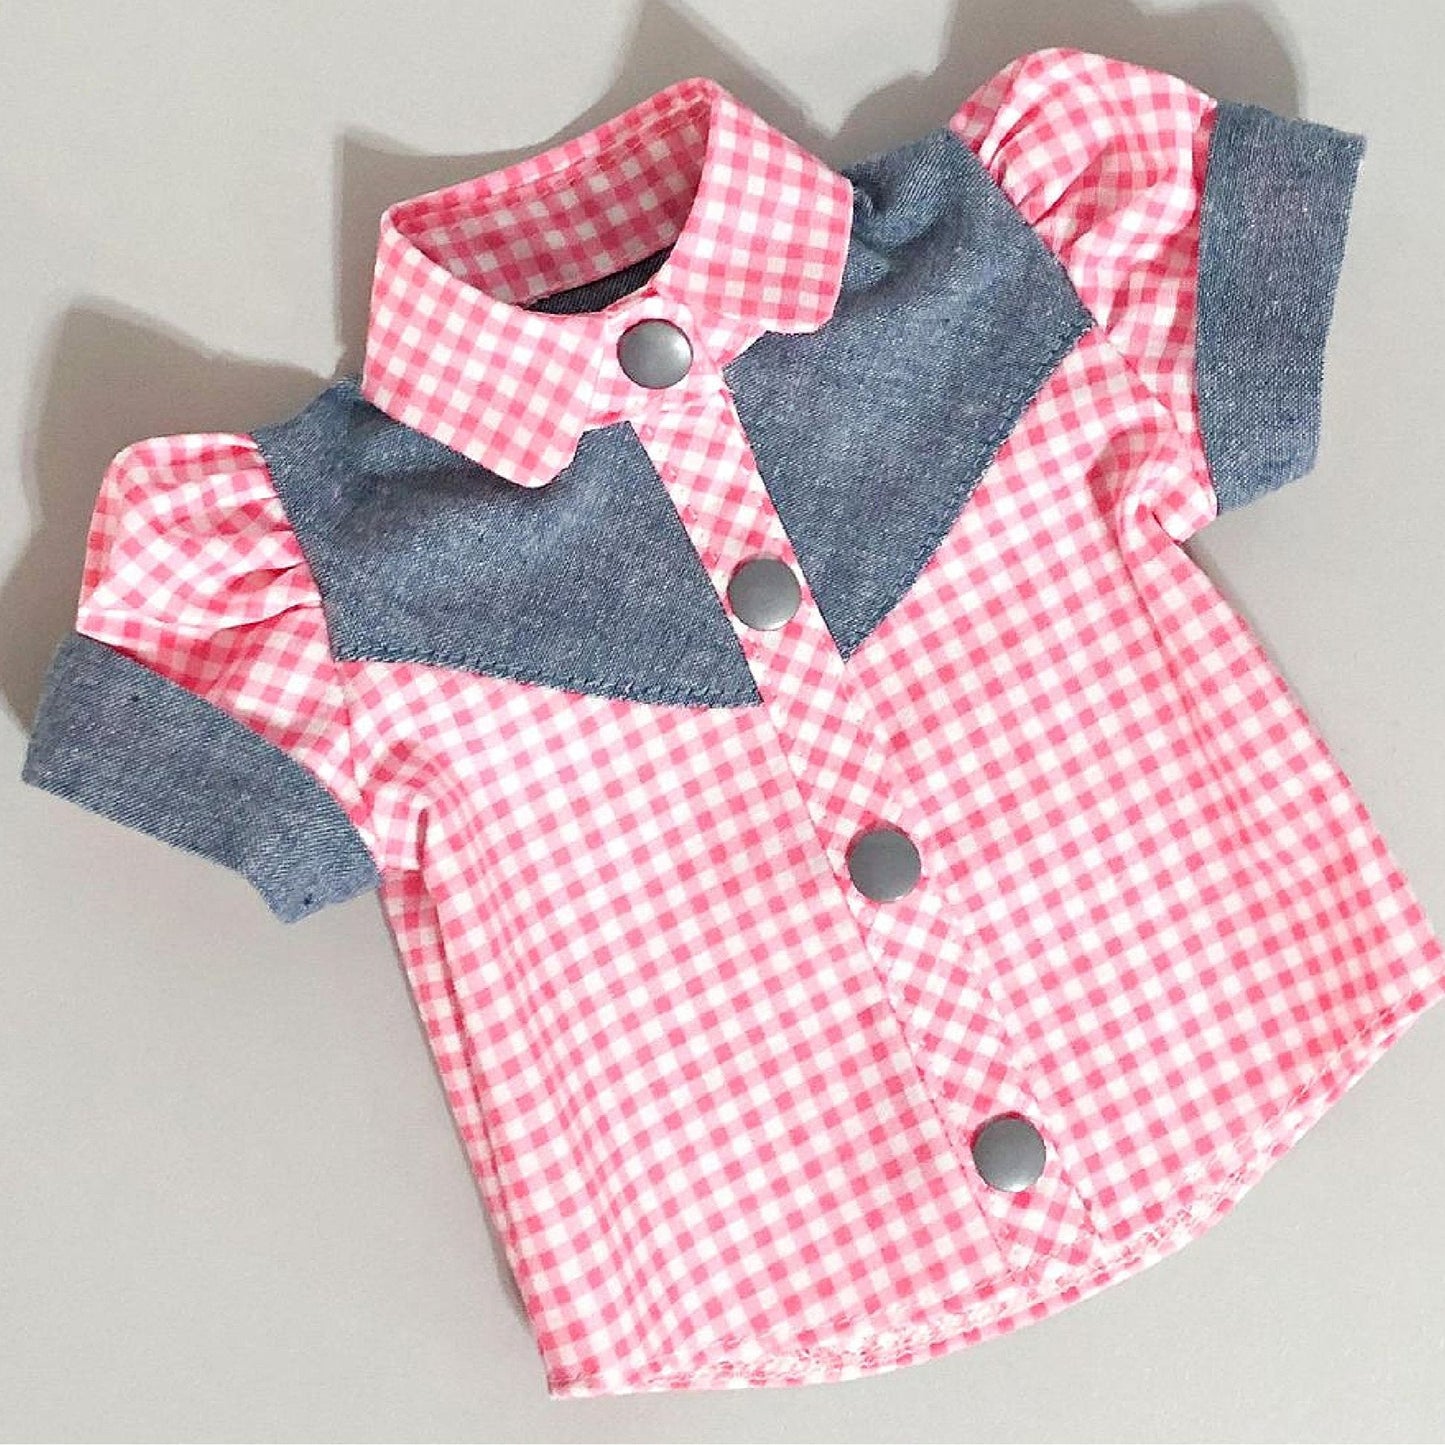
Hello everyone, I’m Marina from Frocks and Frolics, and today I’m going to show you how to make this gorgeous little Western blouse.
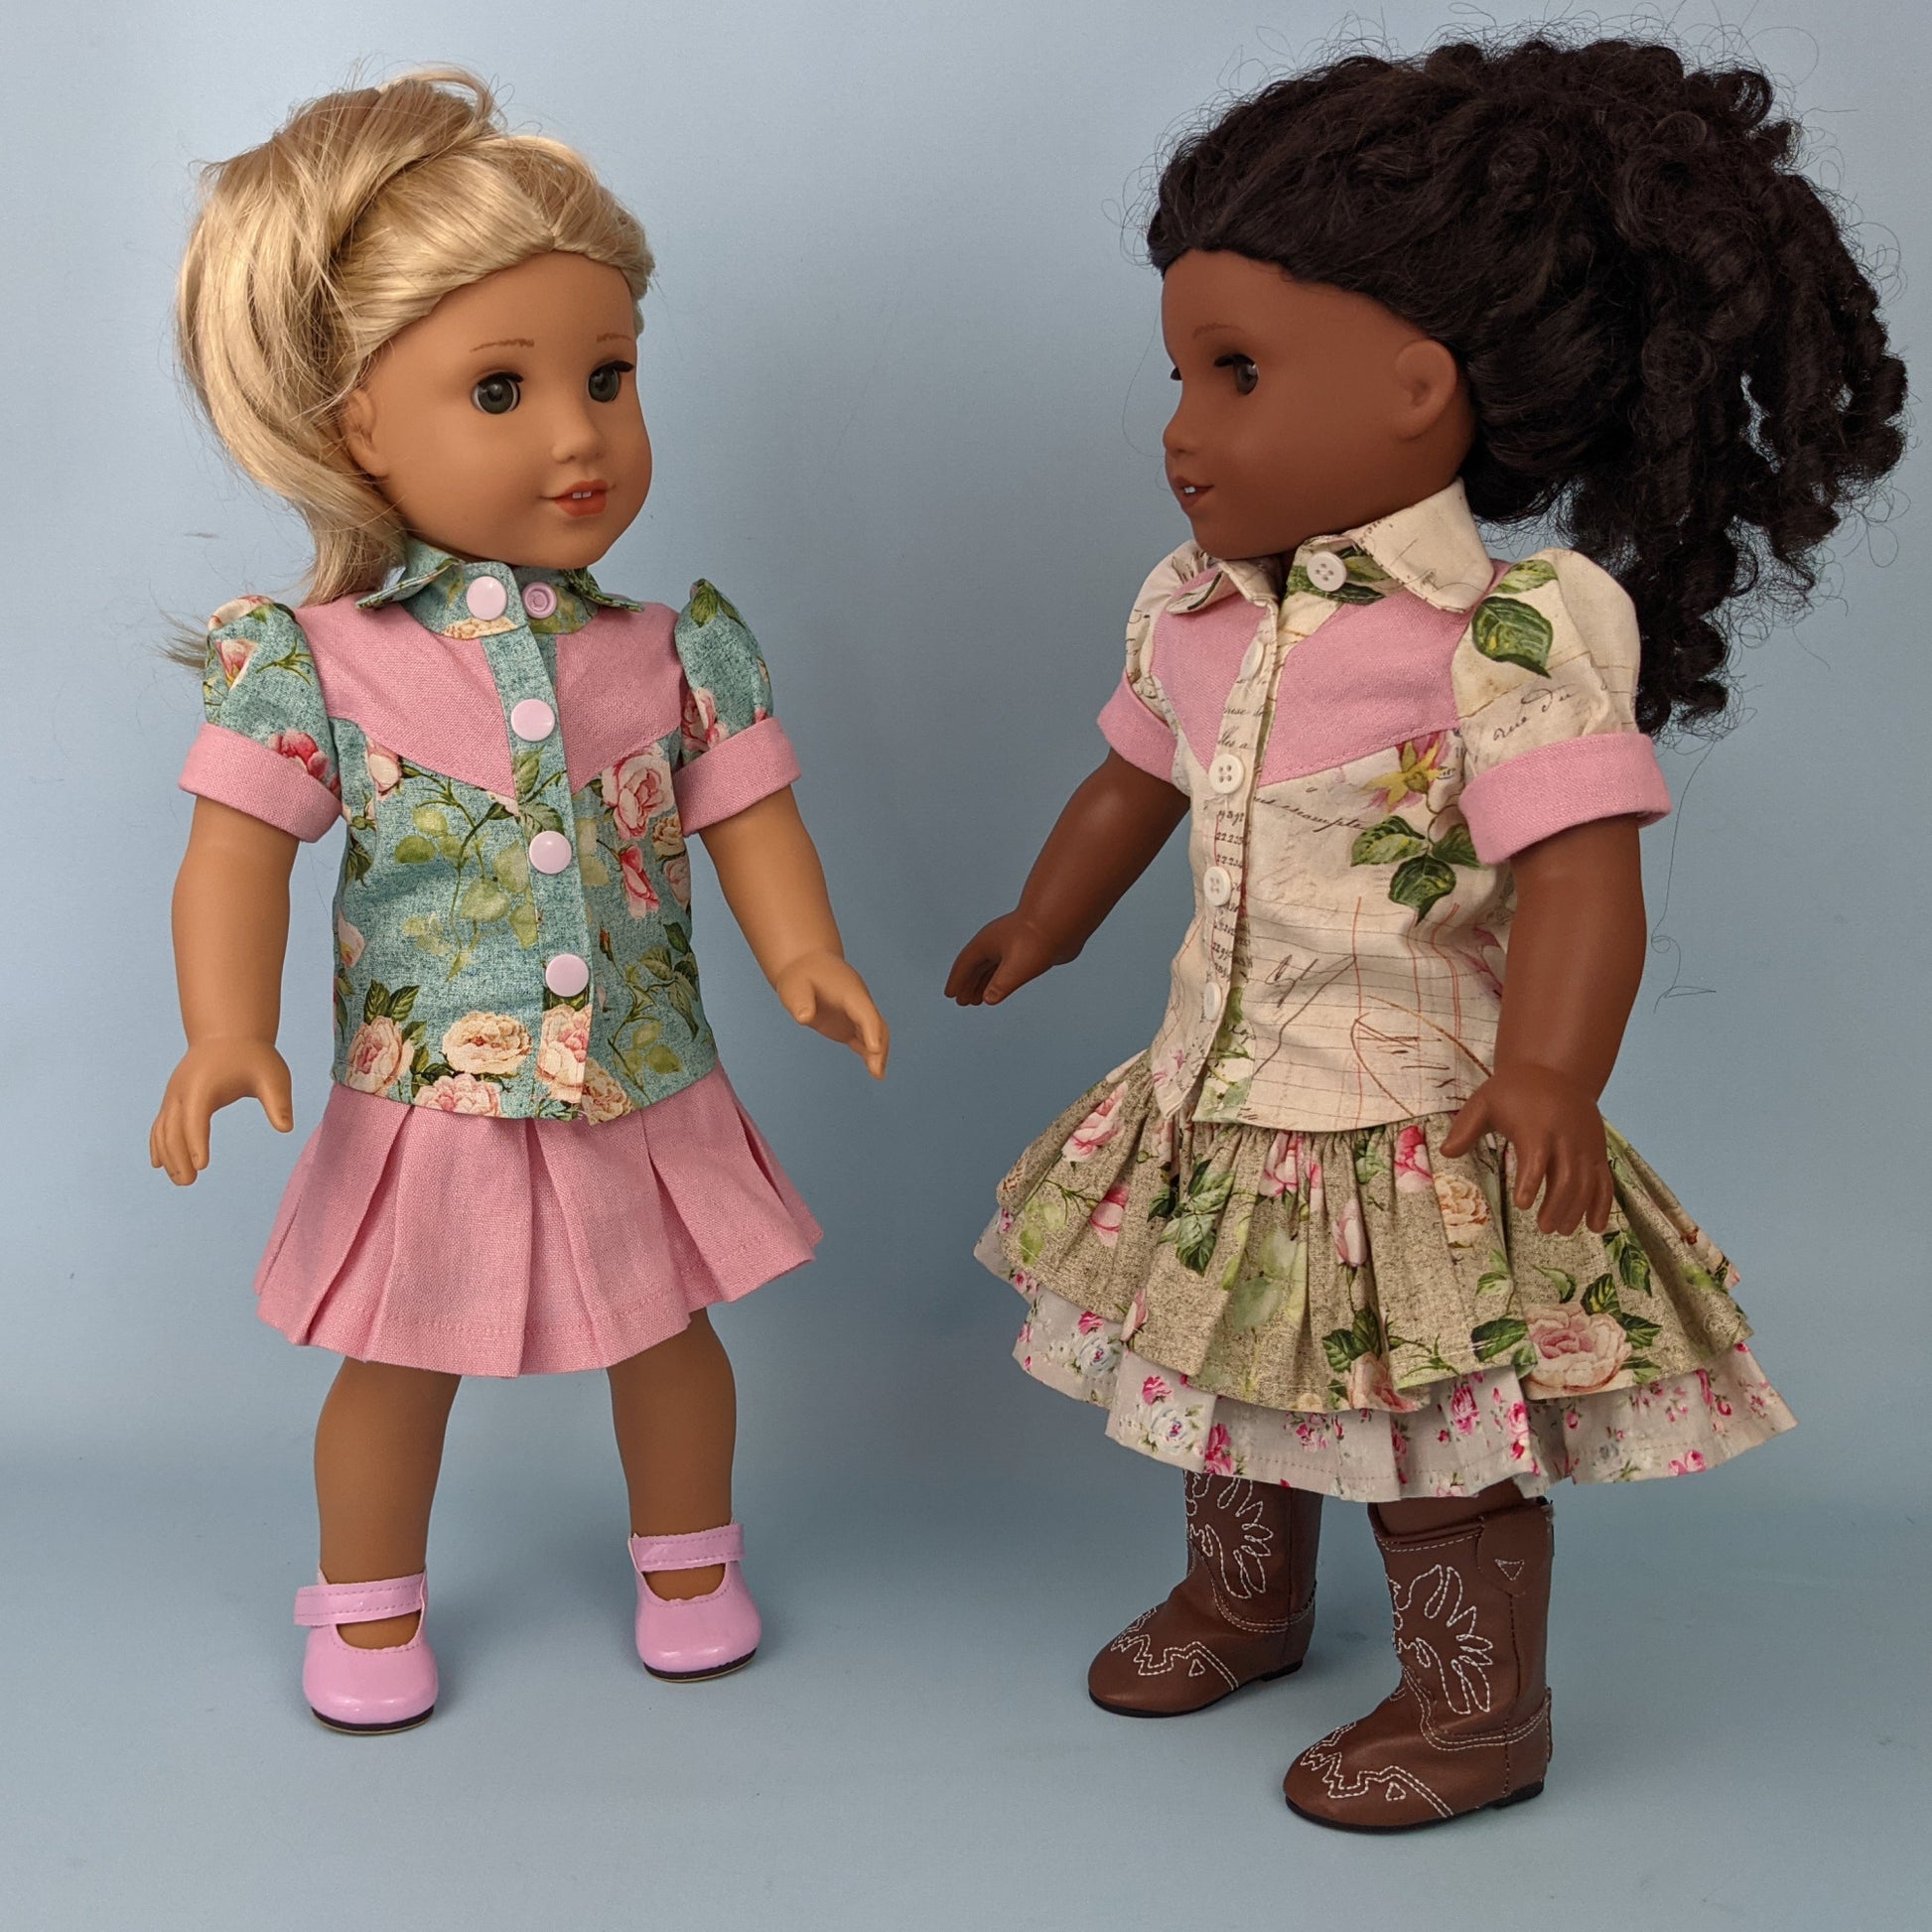
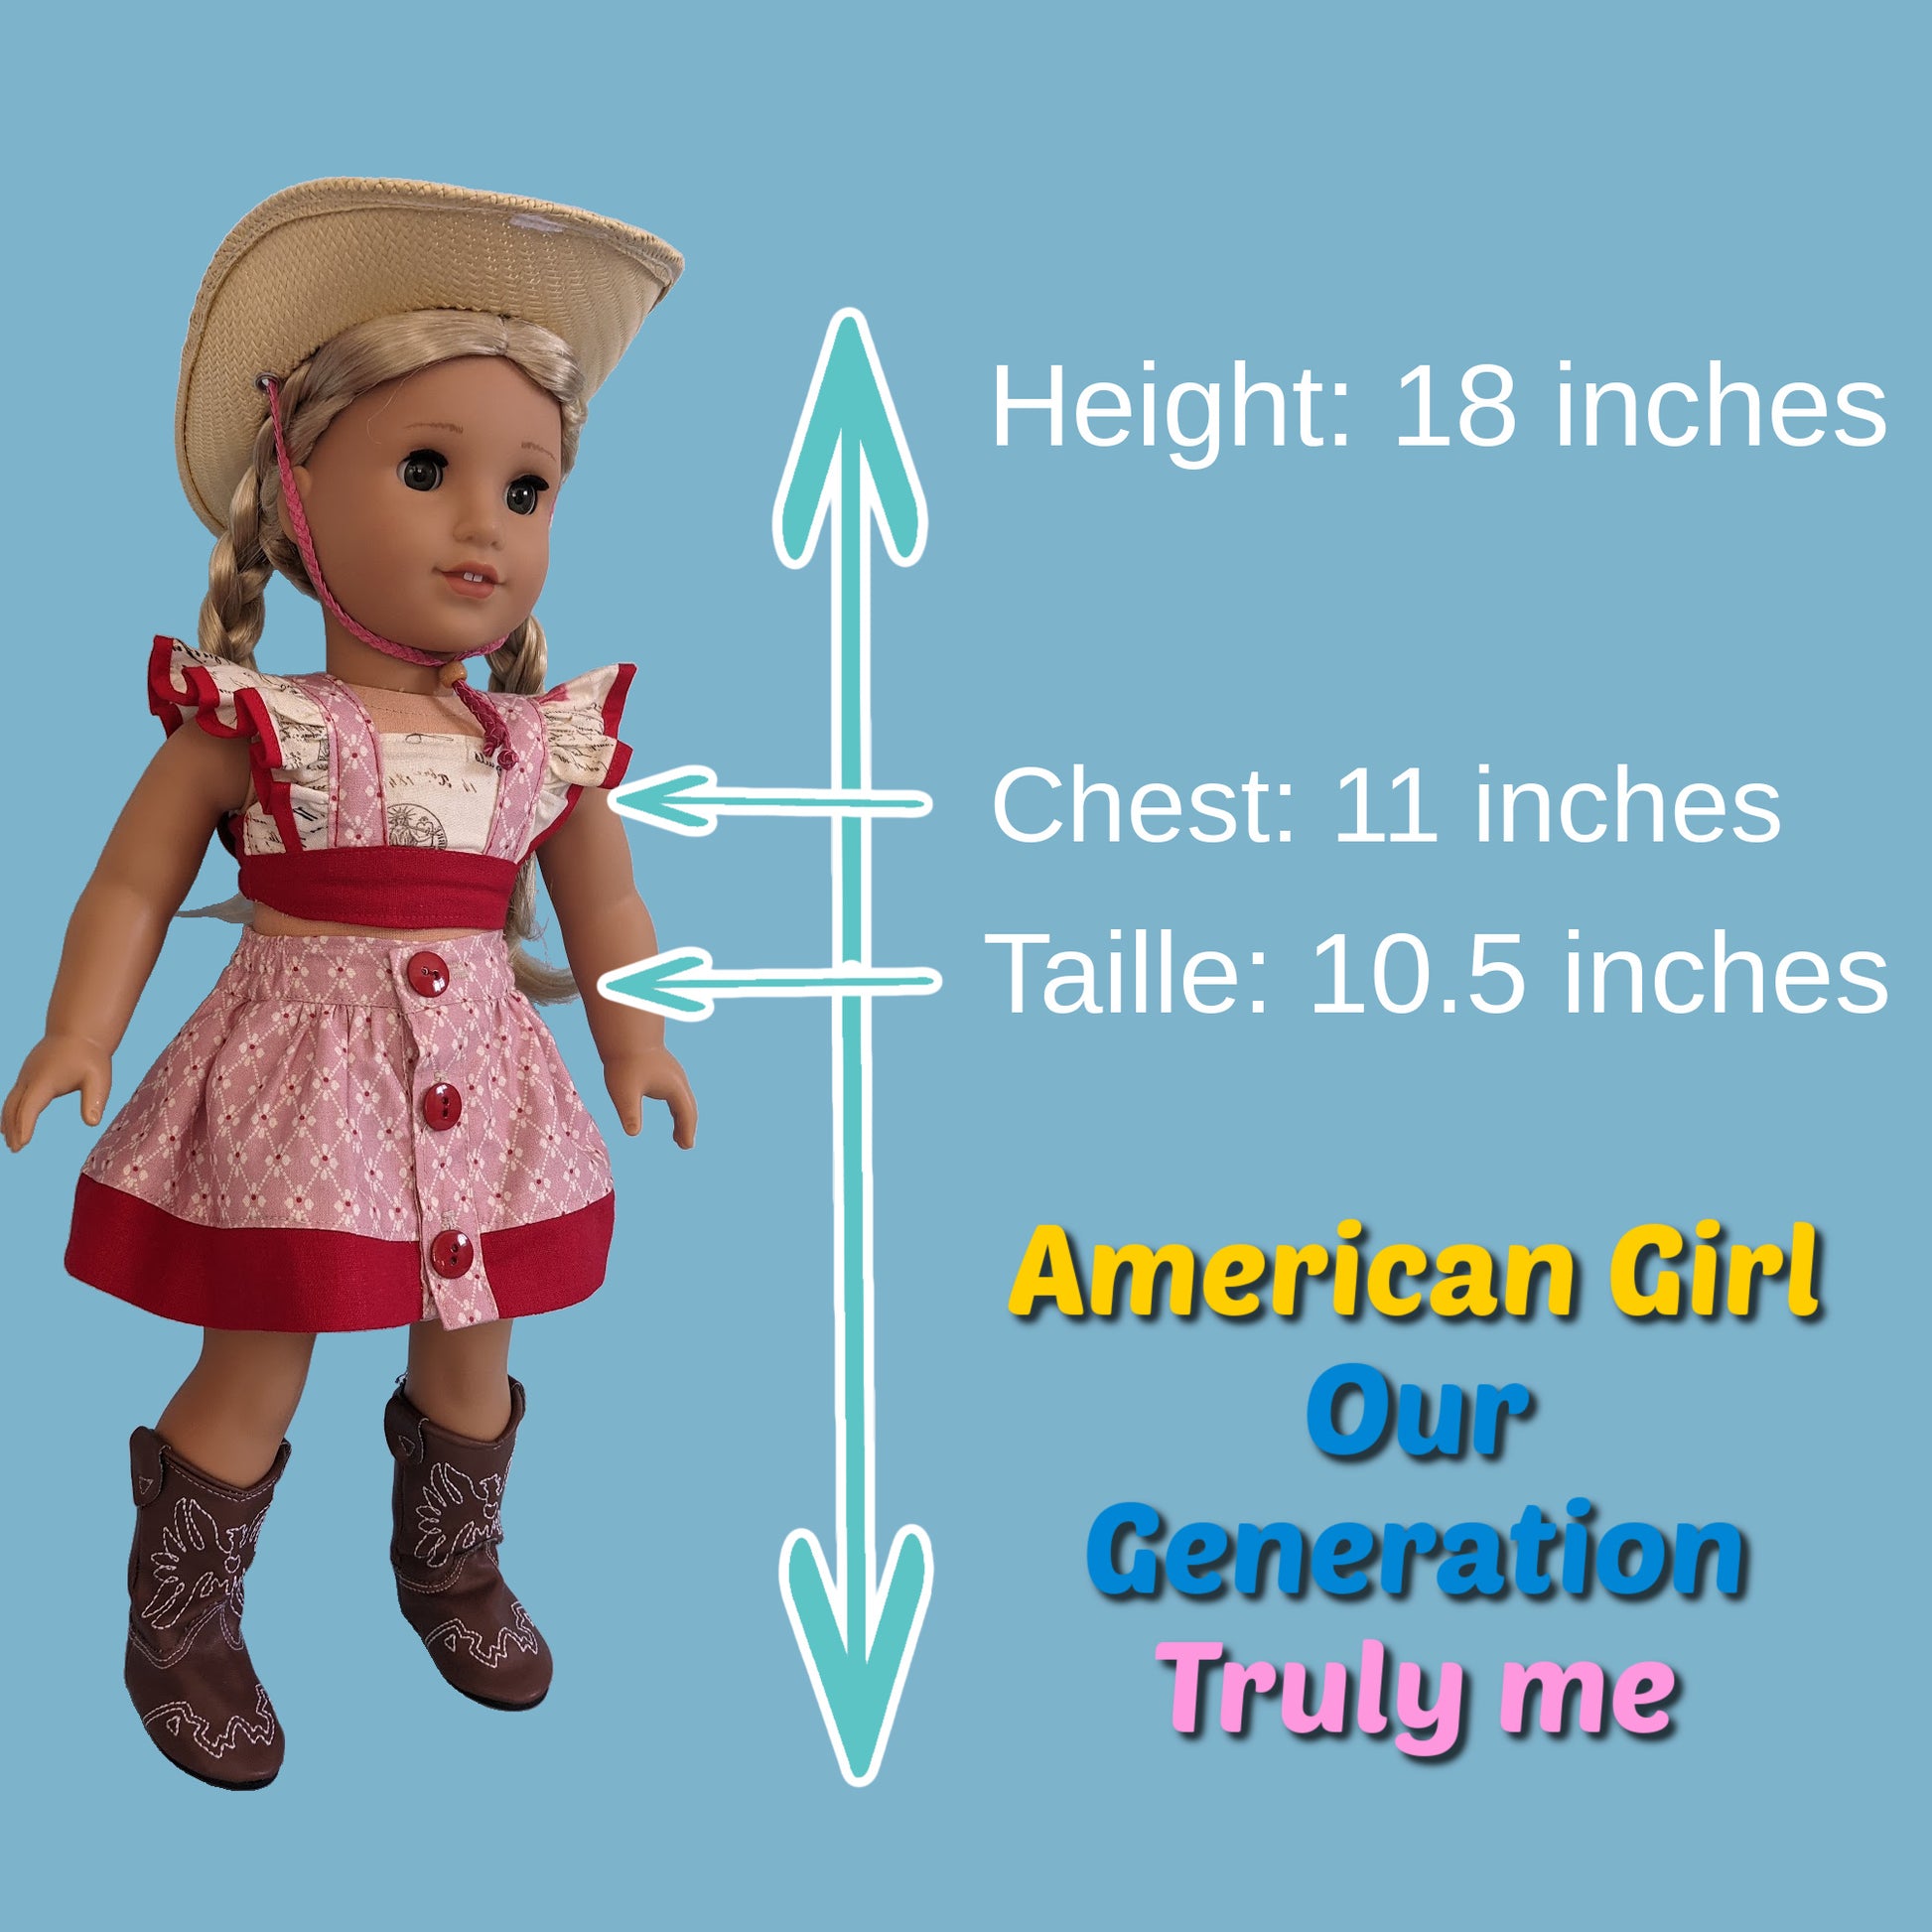
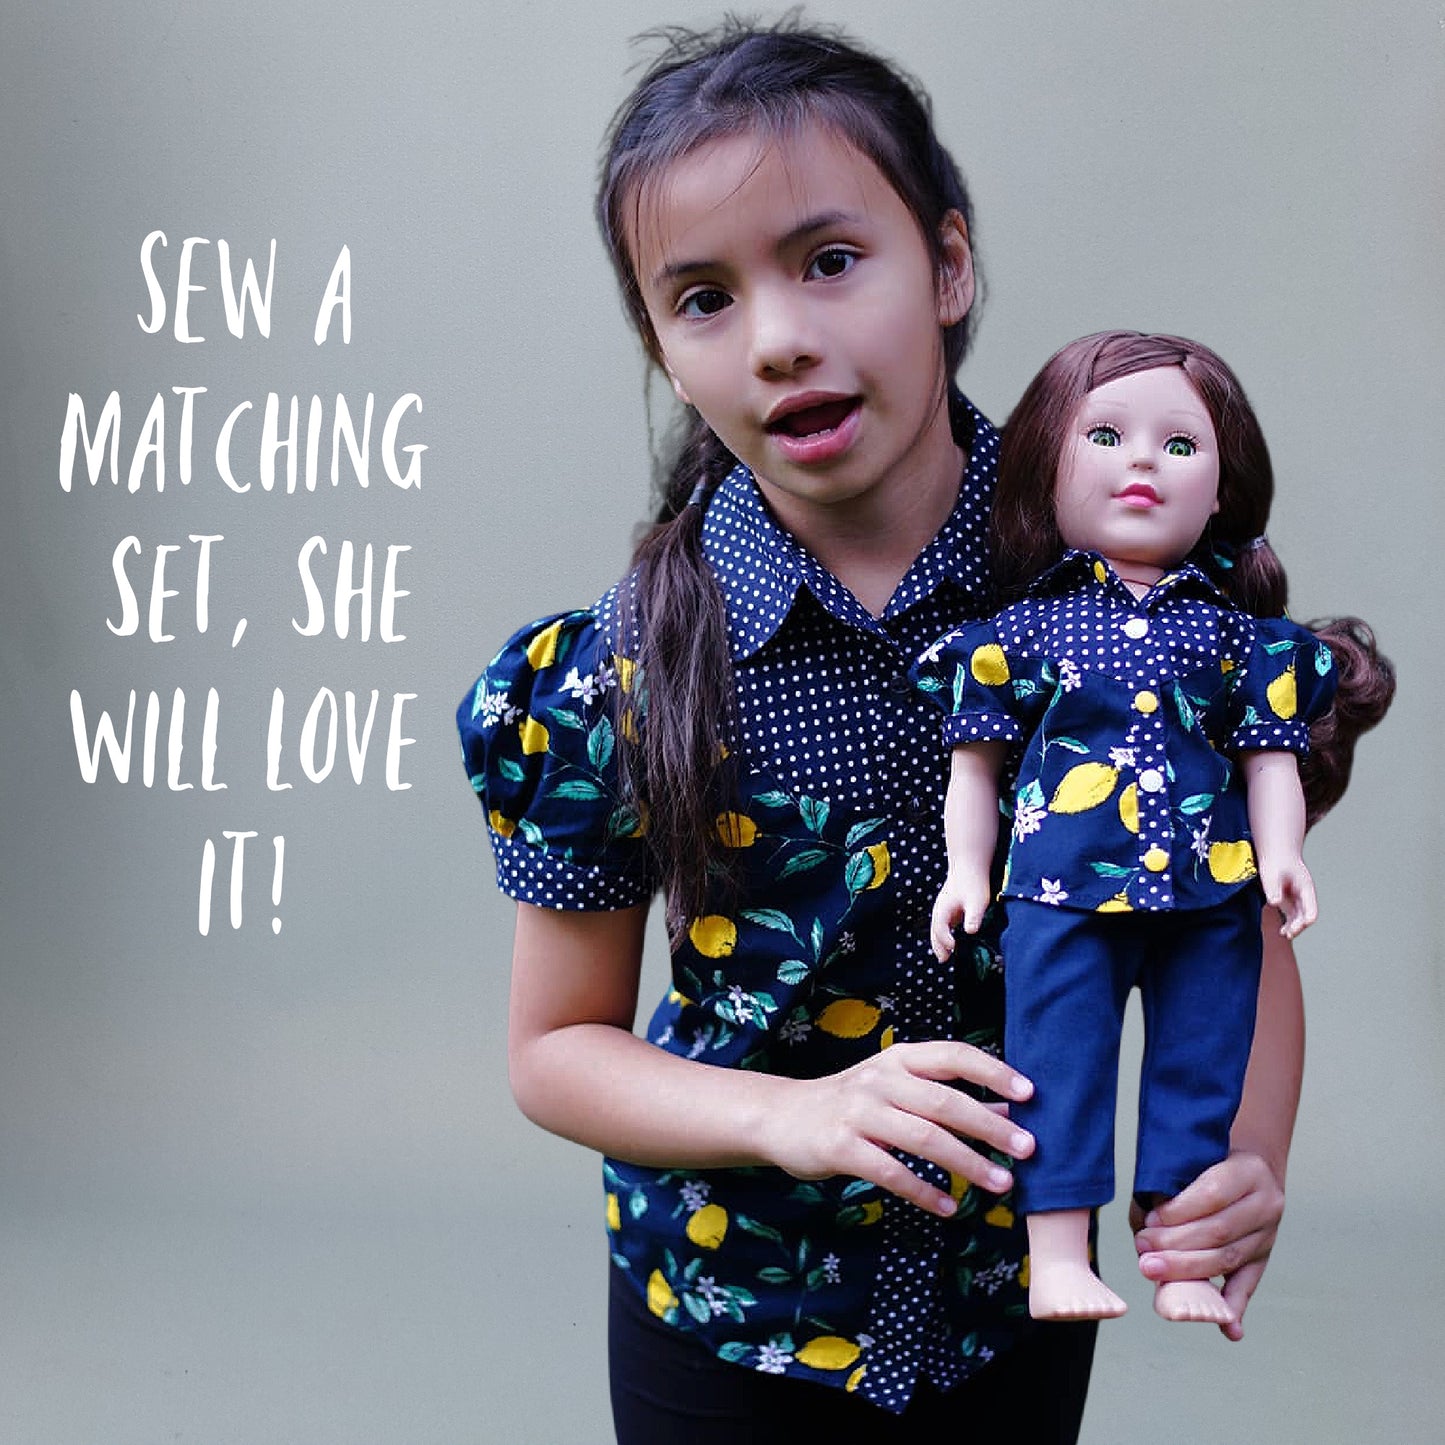
This Western blouse has been a long-time favorite pattern. It originally covered ages 1–6 and now extends up to 12 years. It also includes a doll-sized version so you can make matching sets. This project introduces a simplified collar construction method designed to reduce difficulty compared to traditional shirt-making approaches.
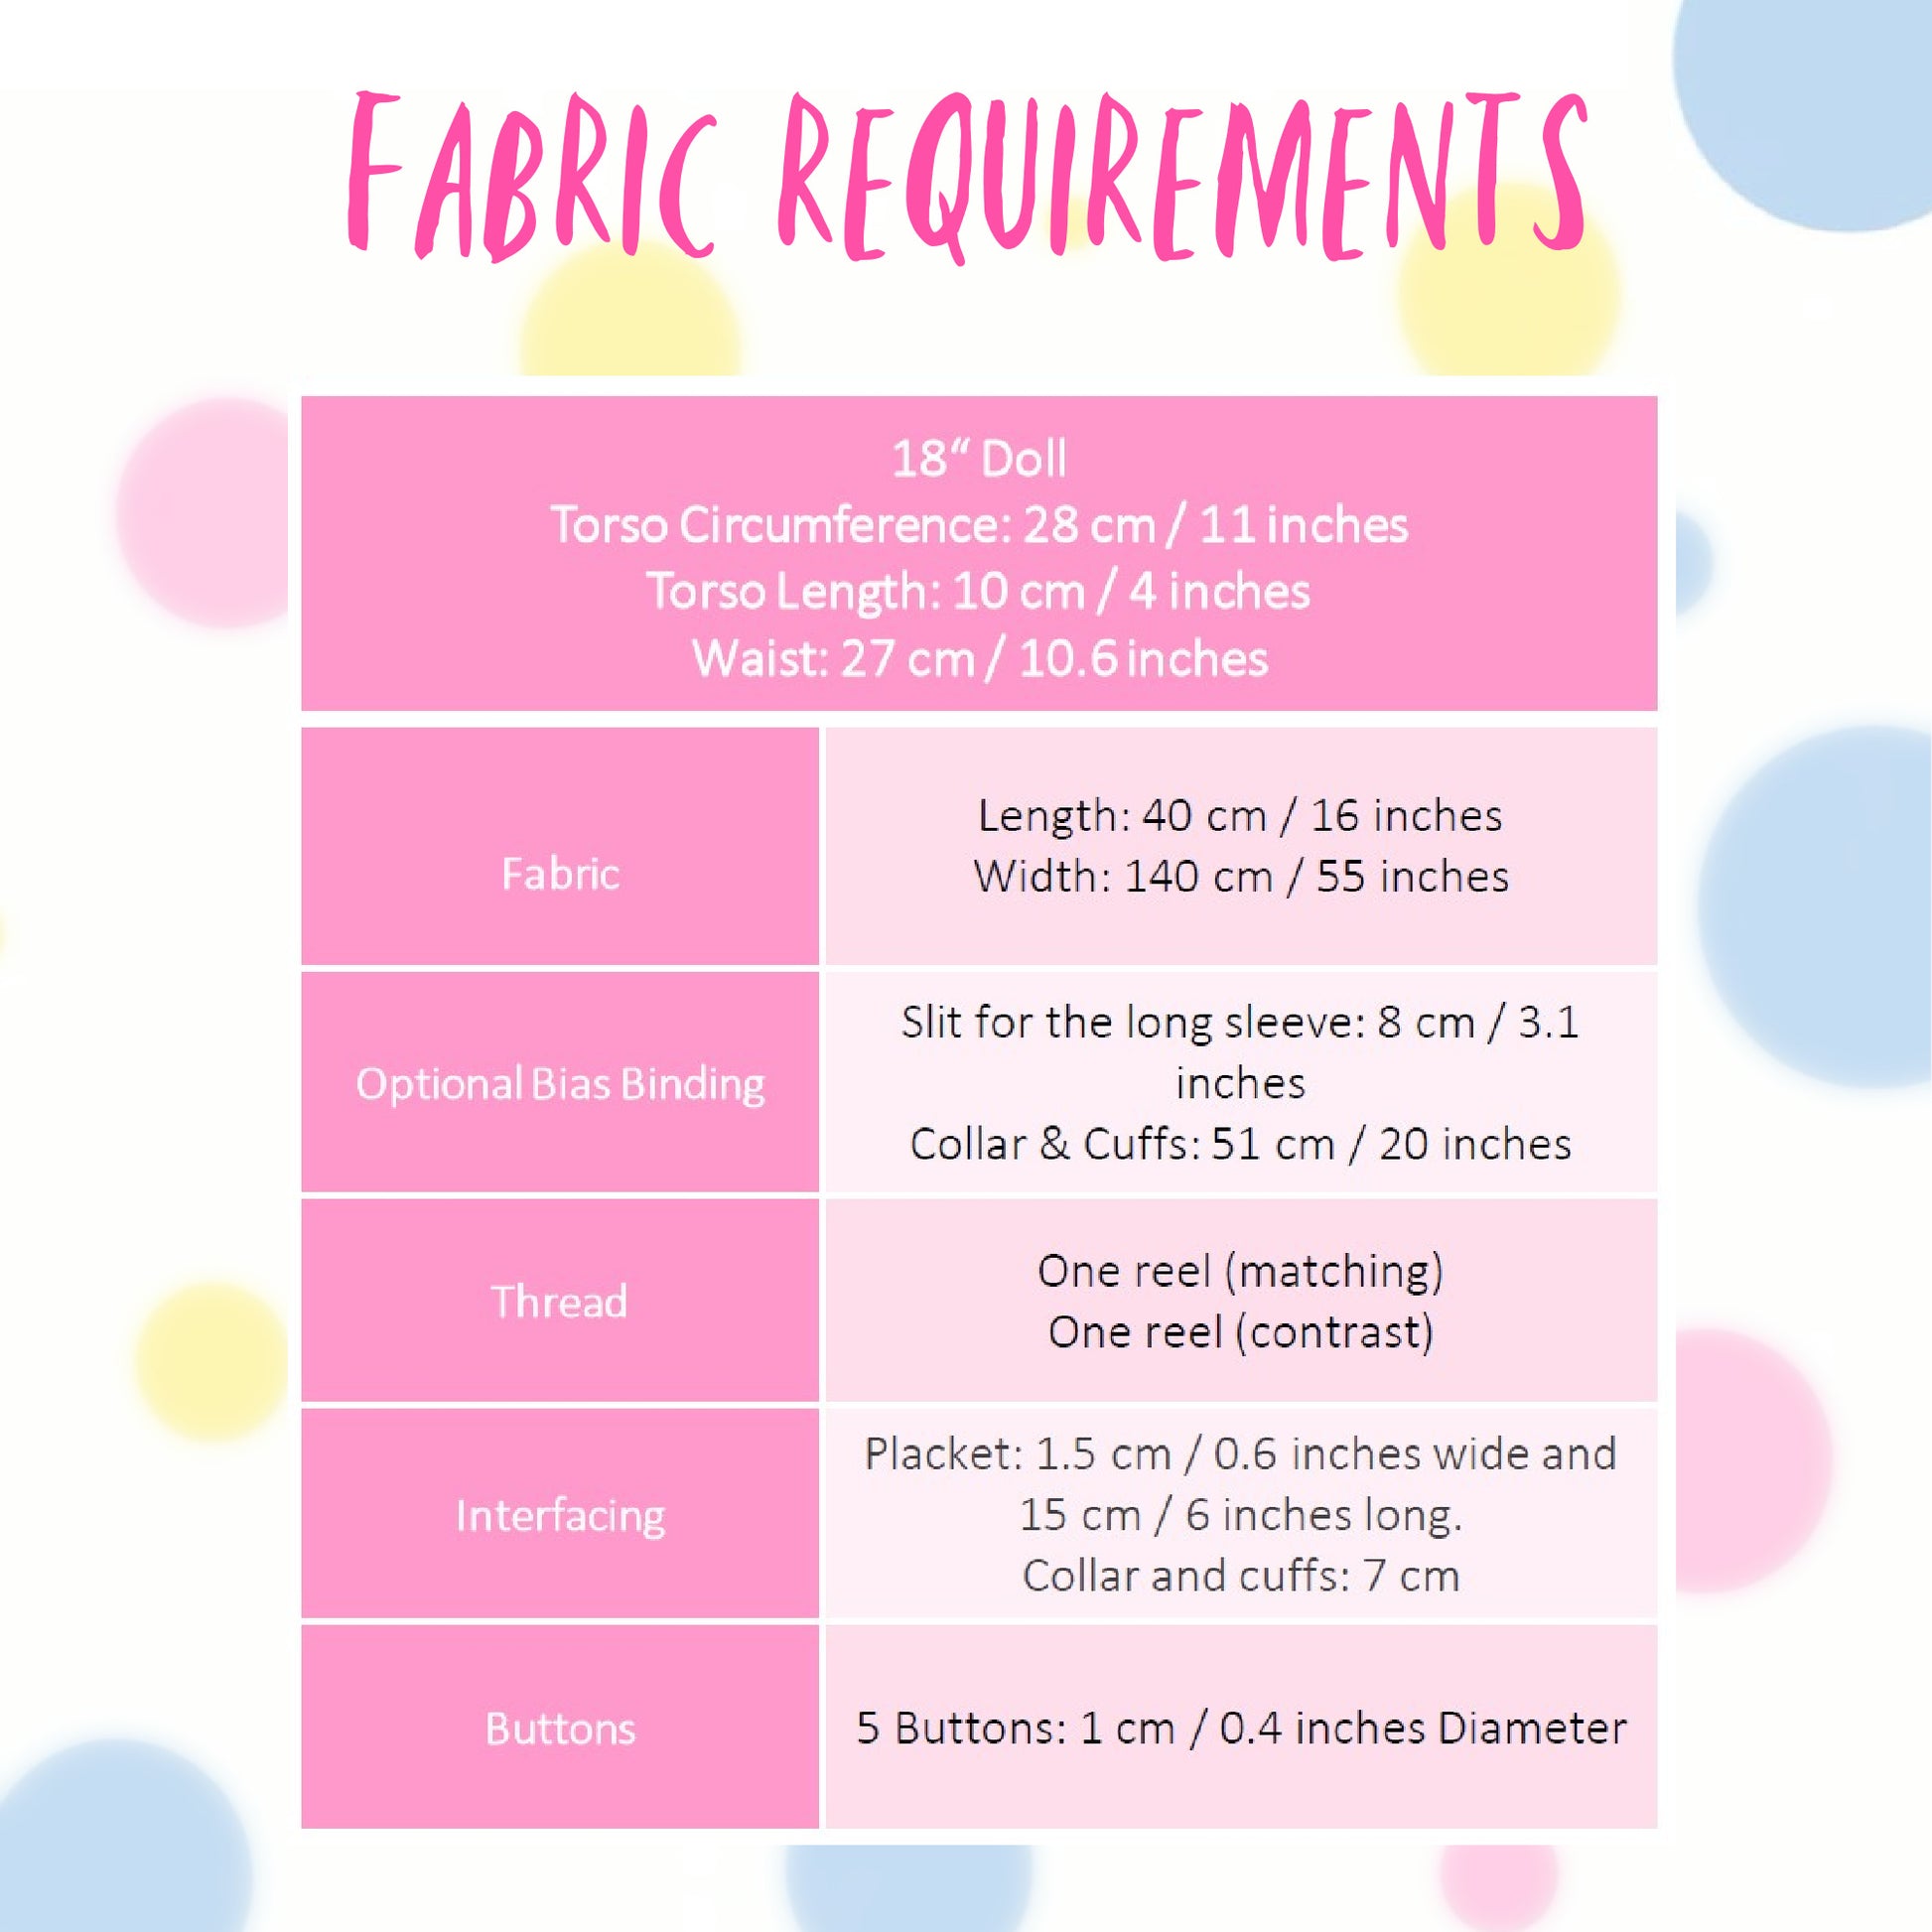
I’ve already cut the fabric pieces, so here’s what’s involved. The sleeves come in two versions—short or long with cuffs—and you need to mark the front, sleeve head, and pleat placement. Small snips help with alignment. The collar stand and collar can be lightly interfaced on the outer-facing side, though this is optional. The yoke requires shoulder marking, while the back can be cut on the fold or as a full piece depending on preference. The front is cut twice in mirror image. The placket comes in two identical pieces, and interfacing is optional due to seam bulk. The cuffs are cut as two pairs.
Before assembly, the raw edges of the front, back, and sleeves are finished using a serger or overlock stitch.
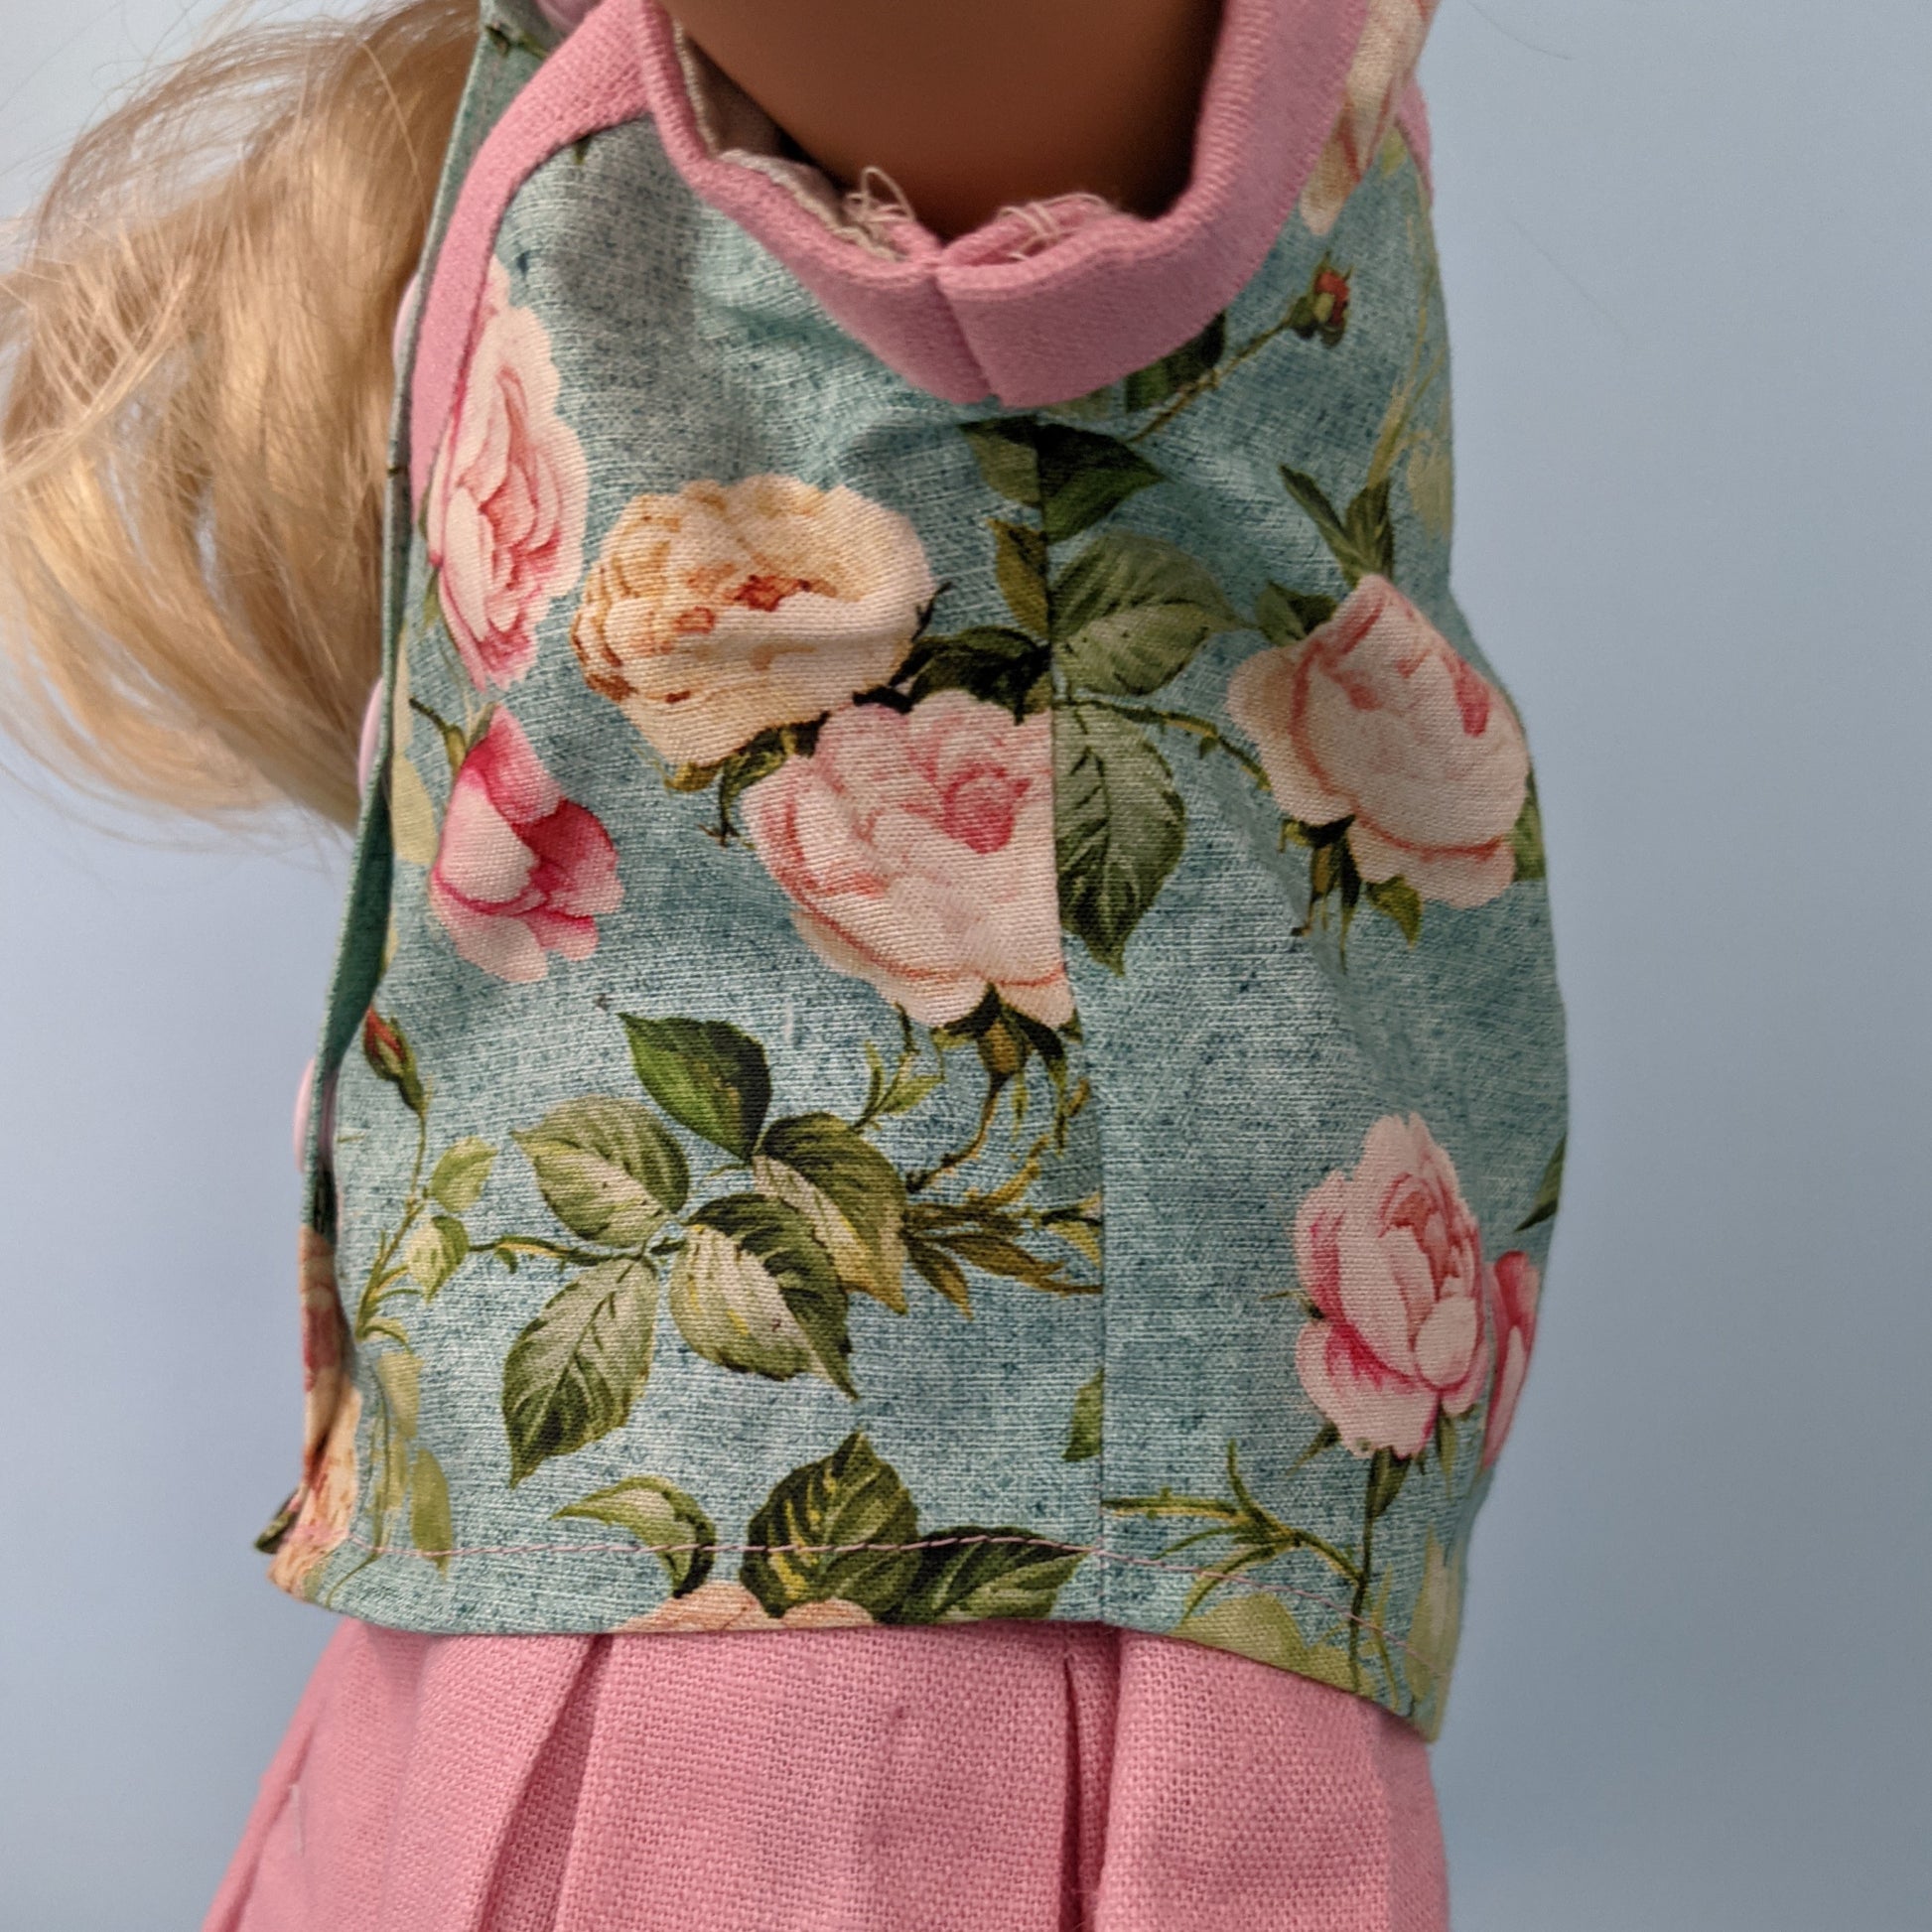
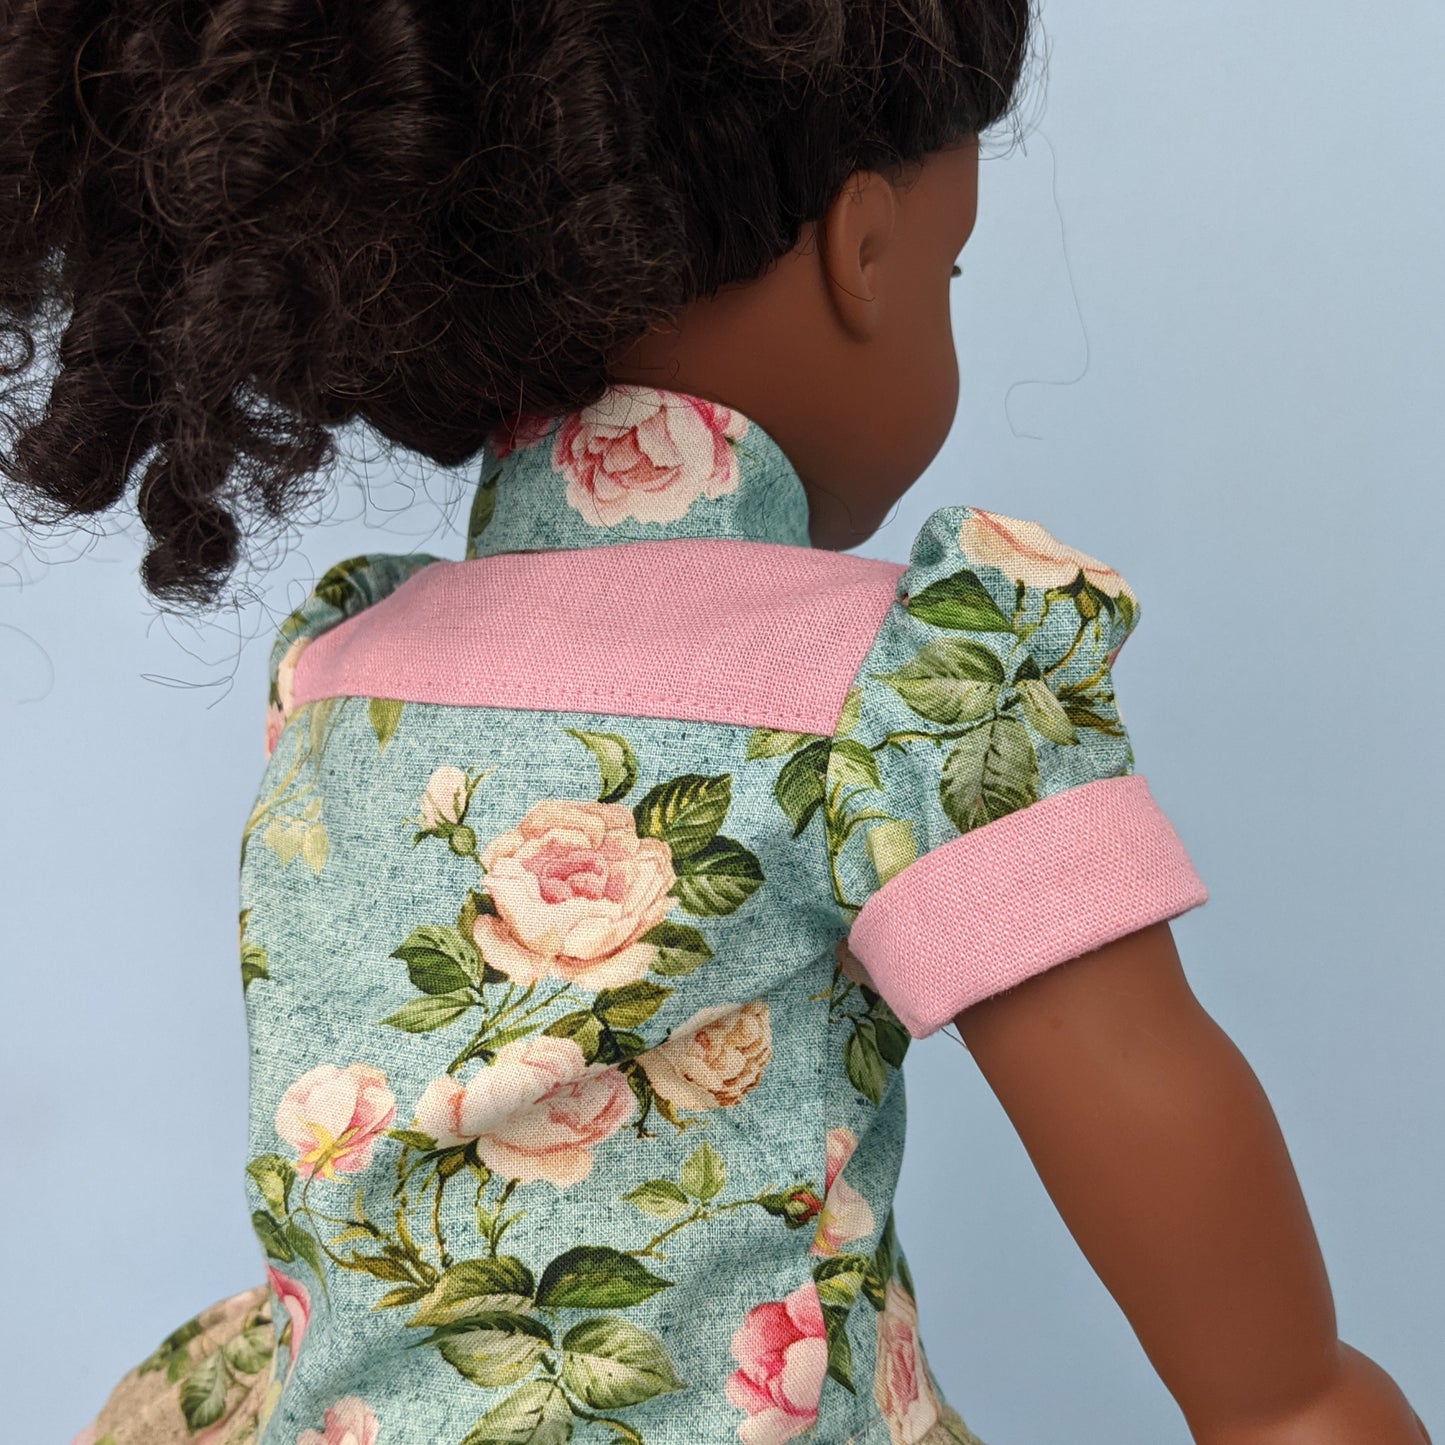
Yoke Construction
Start by placing the yoke right sides together on the front pieces. Alignment is important here: the seam allowances must overlap evenly so the front line remains smooth after turning. Repeat on both sides, then attach the back piece in the same way, aligning at the center back.
Sew everything with a 1 cm seam allowance, removing pins as you go. Finish raw edges with an overlock stitch, then press the seams upward into the yoke. Topstitch from the yoke side using a stitch length of 3 for a clean, professional finish.
Placket Construction
Attach the placket to the front with a 1 cm seam allowance, ensuring any interfacing faces the correct side near the opening edge. Press seam allowances into the placket, fold it neatly, and make sure it fully covers the stitching line. Then topstitch both sides close to the edge.
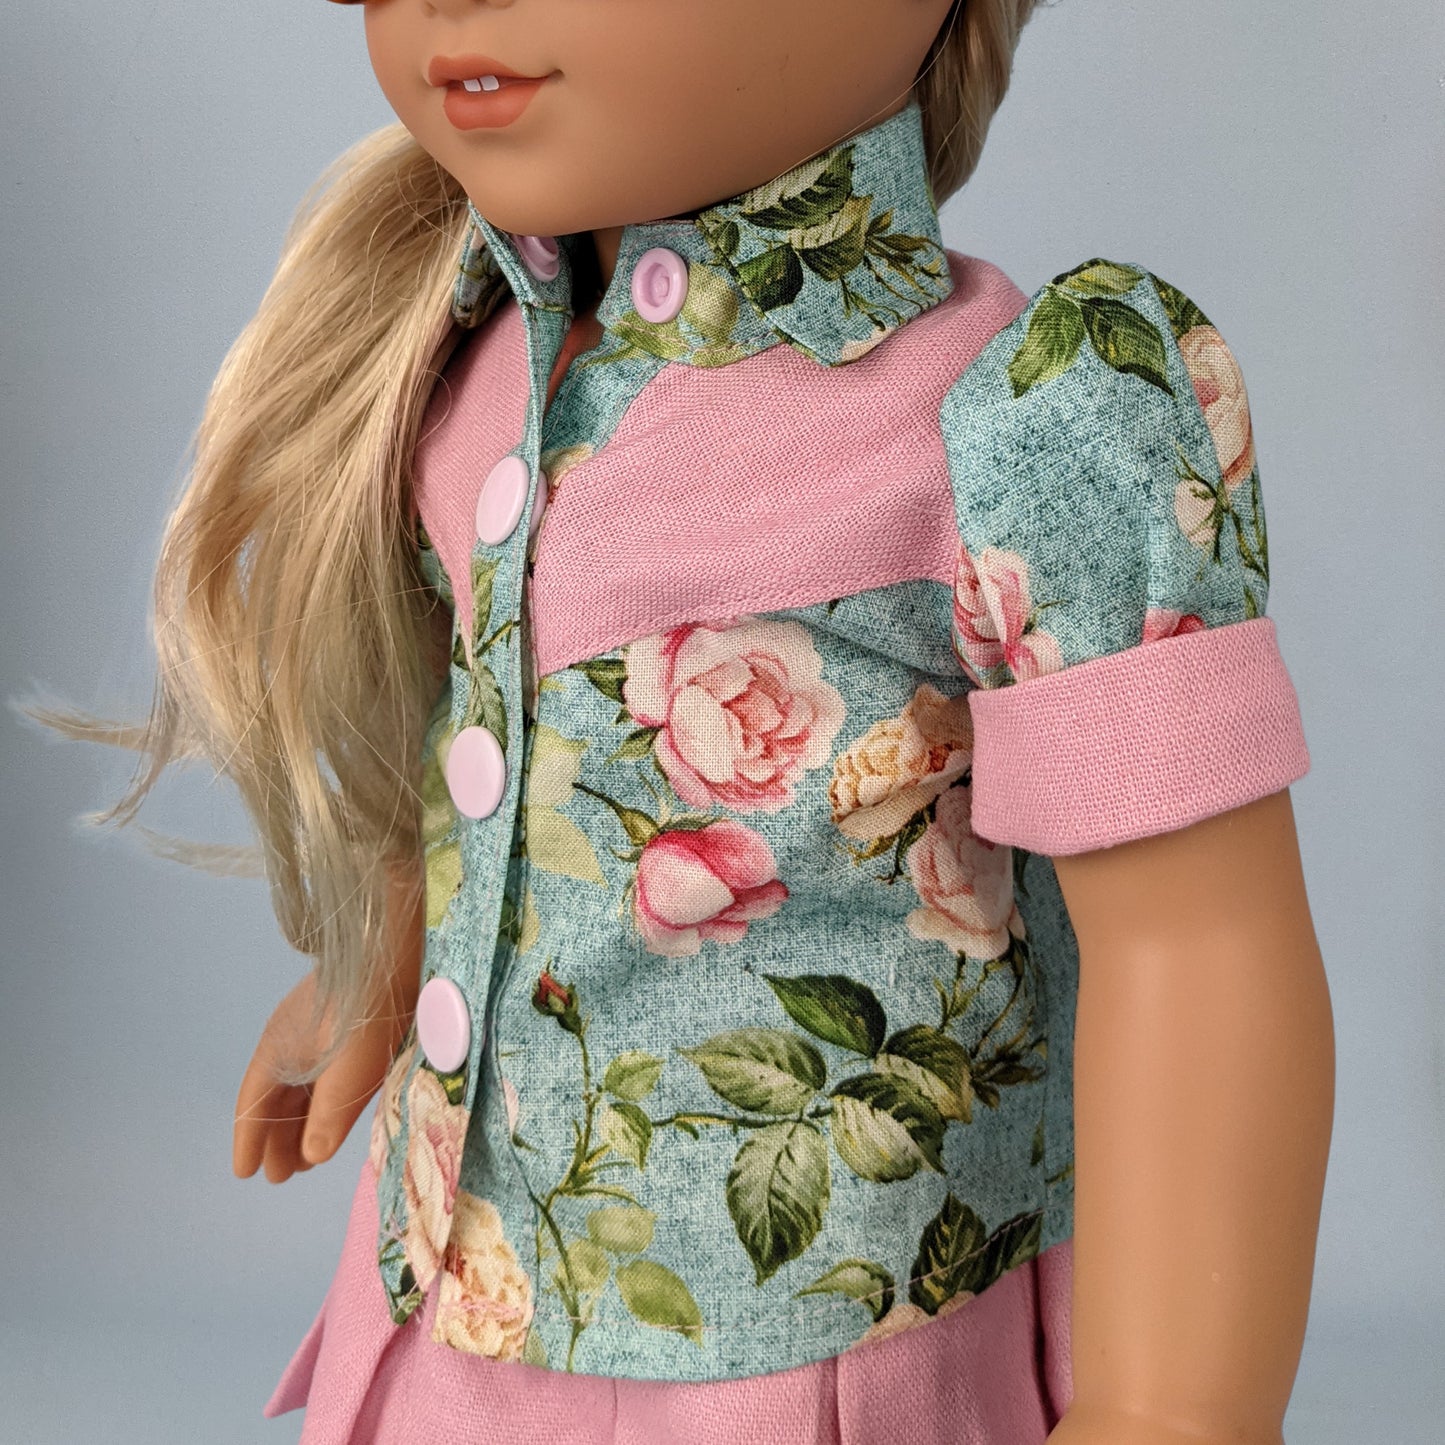
Collar Construction
Sew collar pieces right sides together with a 1 cm seam allowance. At curves, keep the needle down before turning to maintain smooth shaping. Trim seam allowances, turn right side out, and press carefully.
The collar stand uses a simplified method: use the seam allowance line as a folding guide so one side becomes slightly longer than the other. The collar is then sandwiched between the two collar stand layers, ensuring the longer side faces outward. Stitch with a 1 cm seam allowance, checking alignment at the front before finishing. Trim bulk in layers and press well. Topstitch if desired.
Buttonholes
Mark button positions evenly, typically 1.2–1.3 cm from the edge. The top buttonhole is horizontal, while the rest are vertical. Placement must be on the correct placket side where the bias or folded edge sits.
Test buttonholes before sewing on the garment. If your machine is sensitive or the fabric is thick at seam intersections, Kam Snaps can be a better alternative. Only cut open buttonholes after confirming button fit.
Side Seams and Sleeves
Sew side seams with a 1 cm seam allowance and press them open. Prepare sleeves by sewing the sleeve seam and finishing edges. Attach sleeves by matching shoulder notches, sleeve head, and underarm seams, then distributing ease evenly. The goal is smooth gathering concentrated around the sleeve cap while keeping underarm areas flat.
Finish seams with overlocking and press carefully with steam to maintain sleeve shape rather than flattening it.
Cuffs
Construct cuffs by joining lining and outer pieces, then topstitching seam allowances toward the lining side. Attach cuffs to sleeves, aligning seams and distributing any small gathers or pleats evenly. Sew with a 1 cm seam allowance, then press seam allowance into the cuff. Fold the cuff inside and secure so the stitching is hidden, then topstitch for a clean finish.
Finishing
Topstitch cuffs and collar using a longer stitch length (3–3.5) for a more professional look. Start in a less visible area and remove pins as you sew to avoid distortion. Press all seams thoroughly.
Attach buttons at the center of each buttonhole. A slight thread shank should be left so the fabric overlaps comfortably without pulling. For children’s garments, especially younger ages, replace buttons with Kam Snaps for safety.
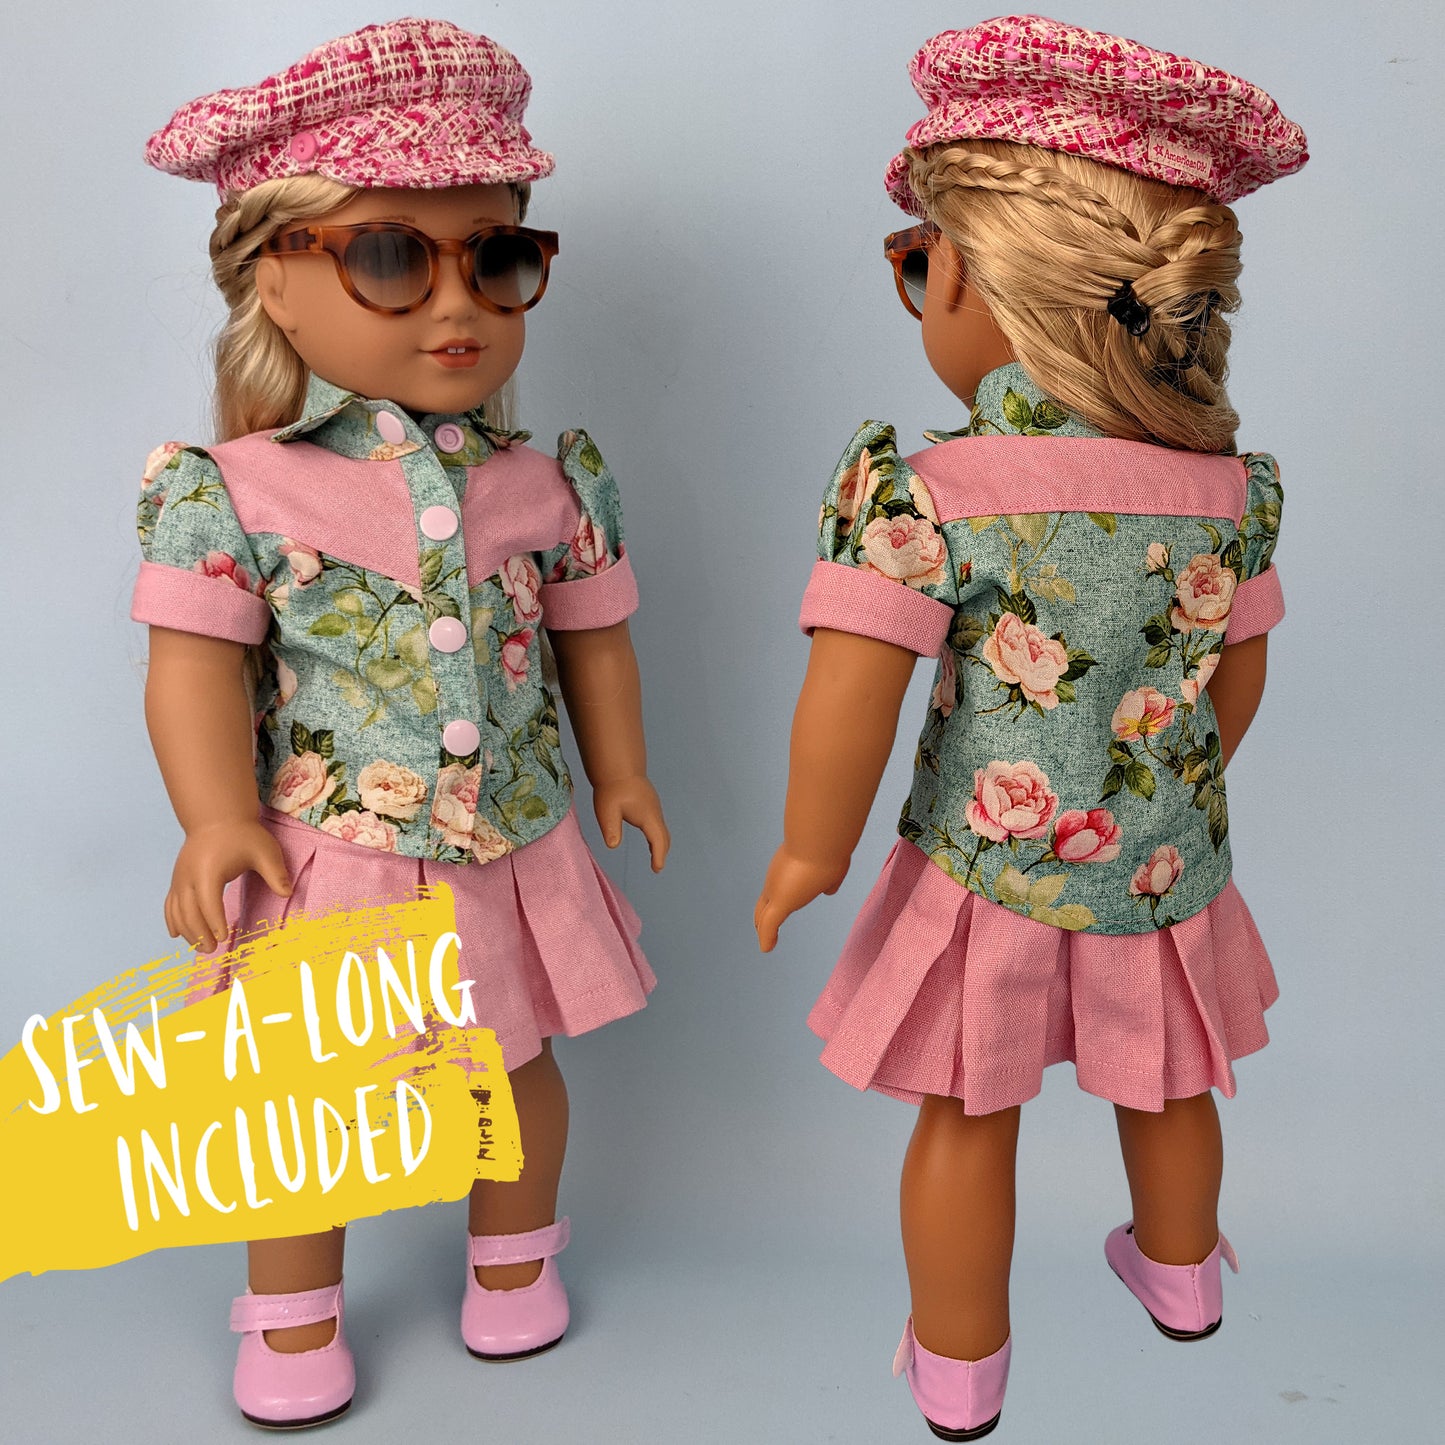
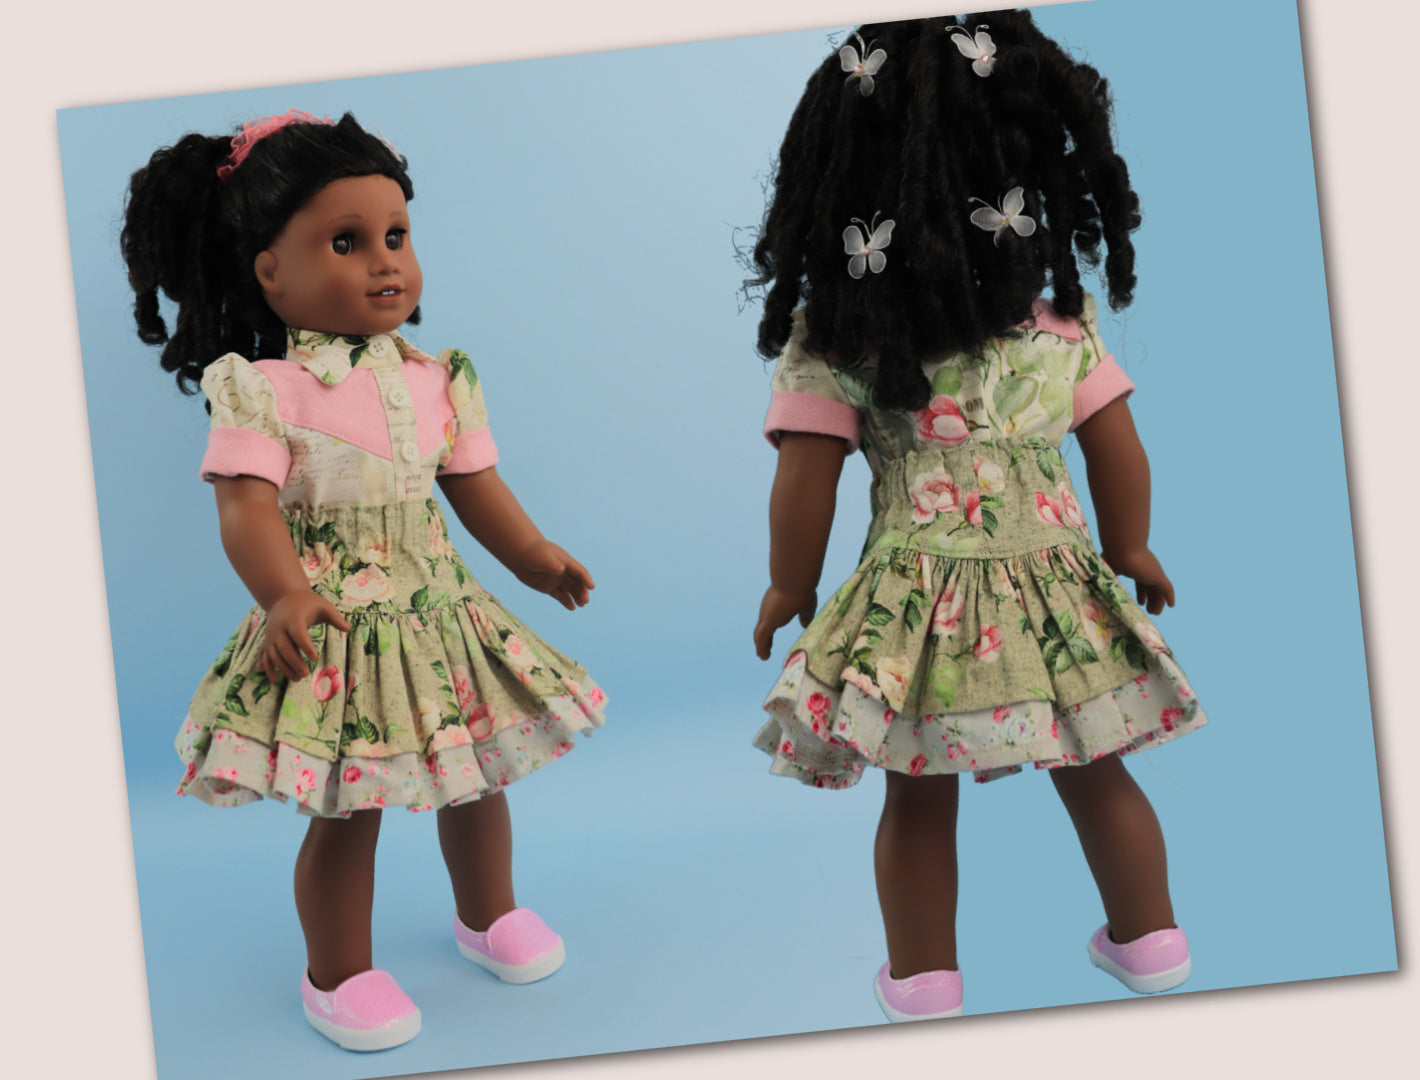
Final Result
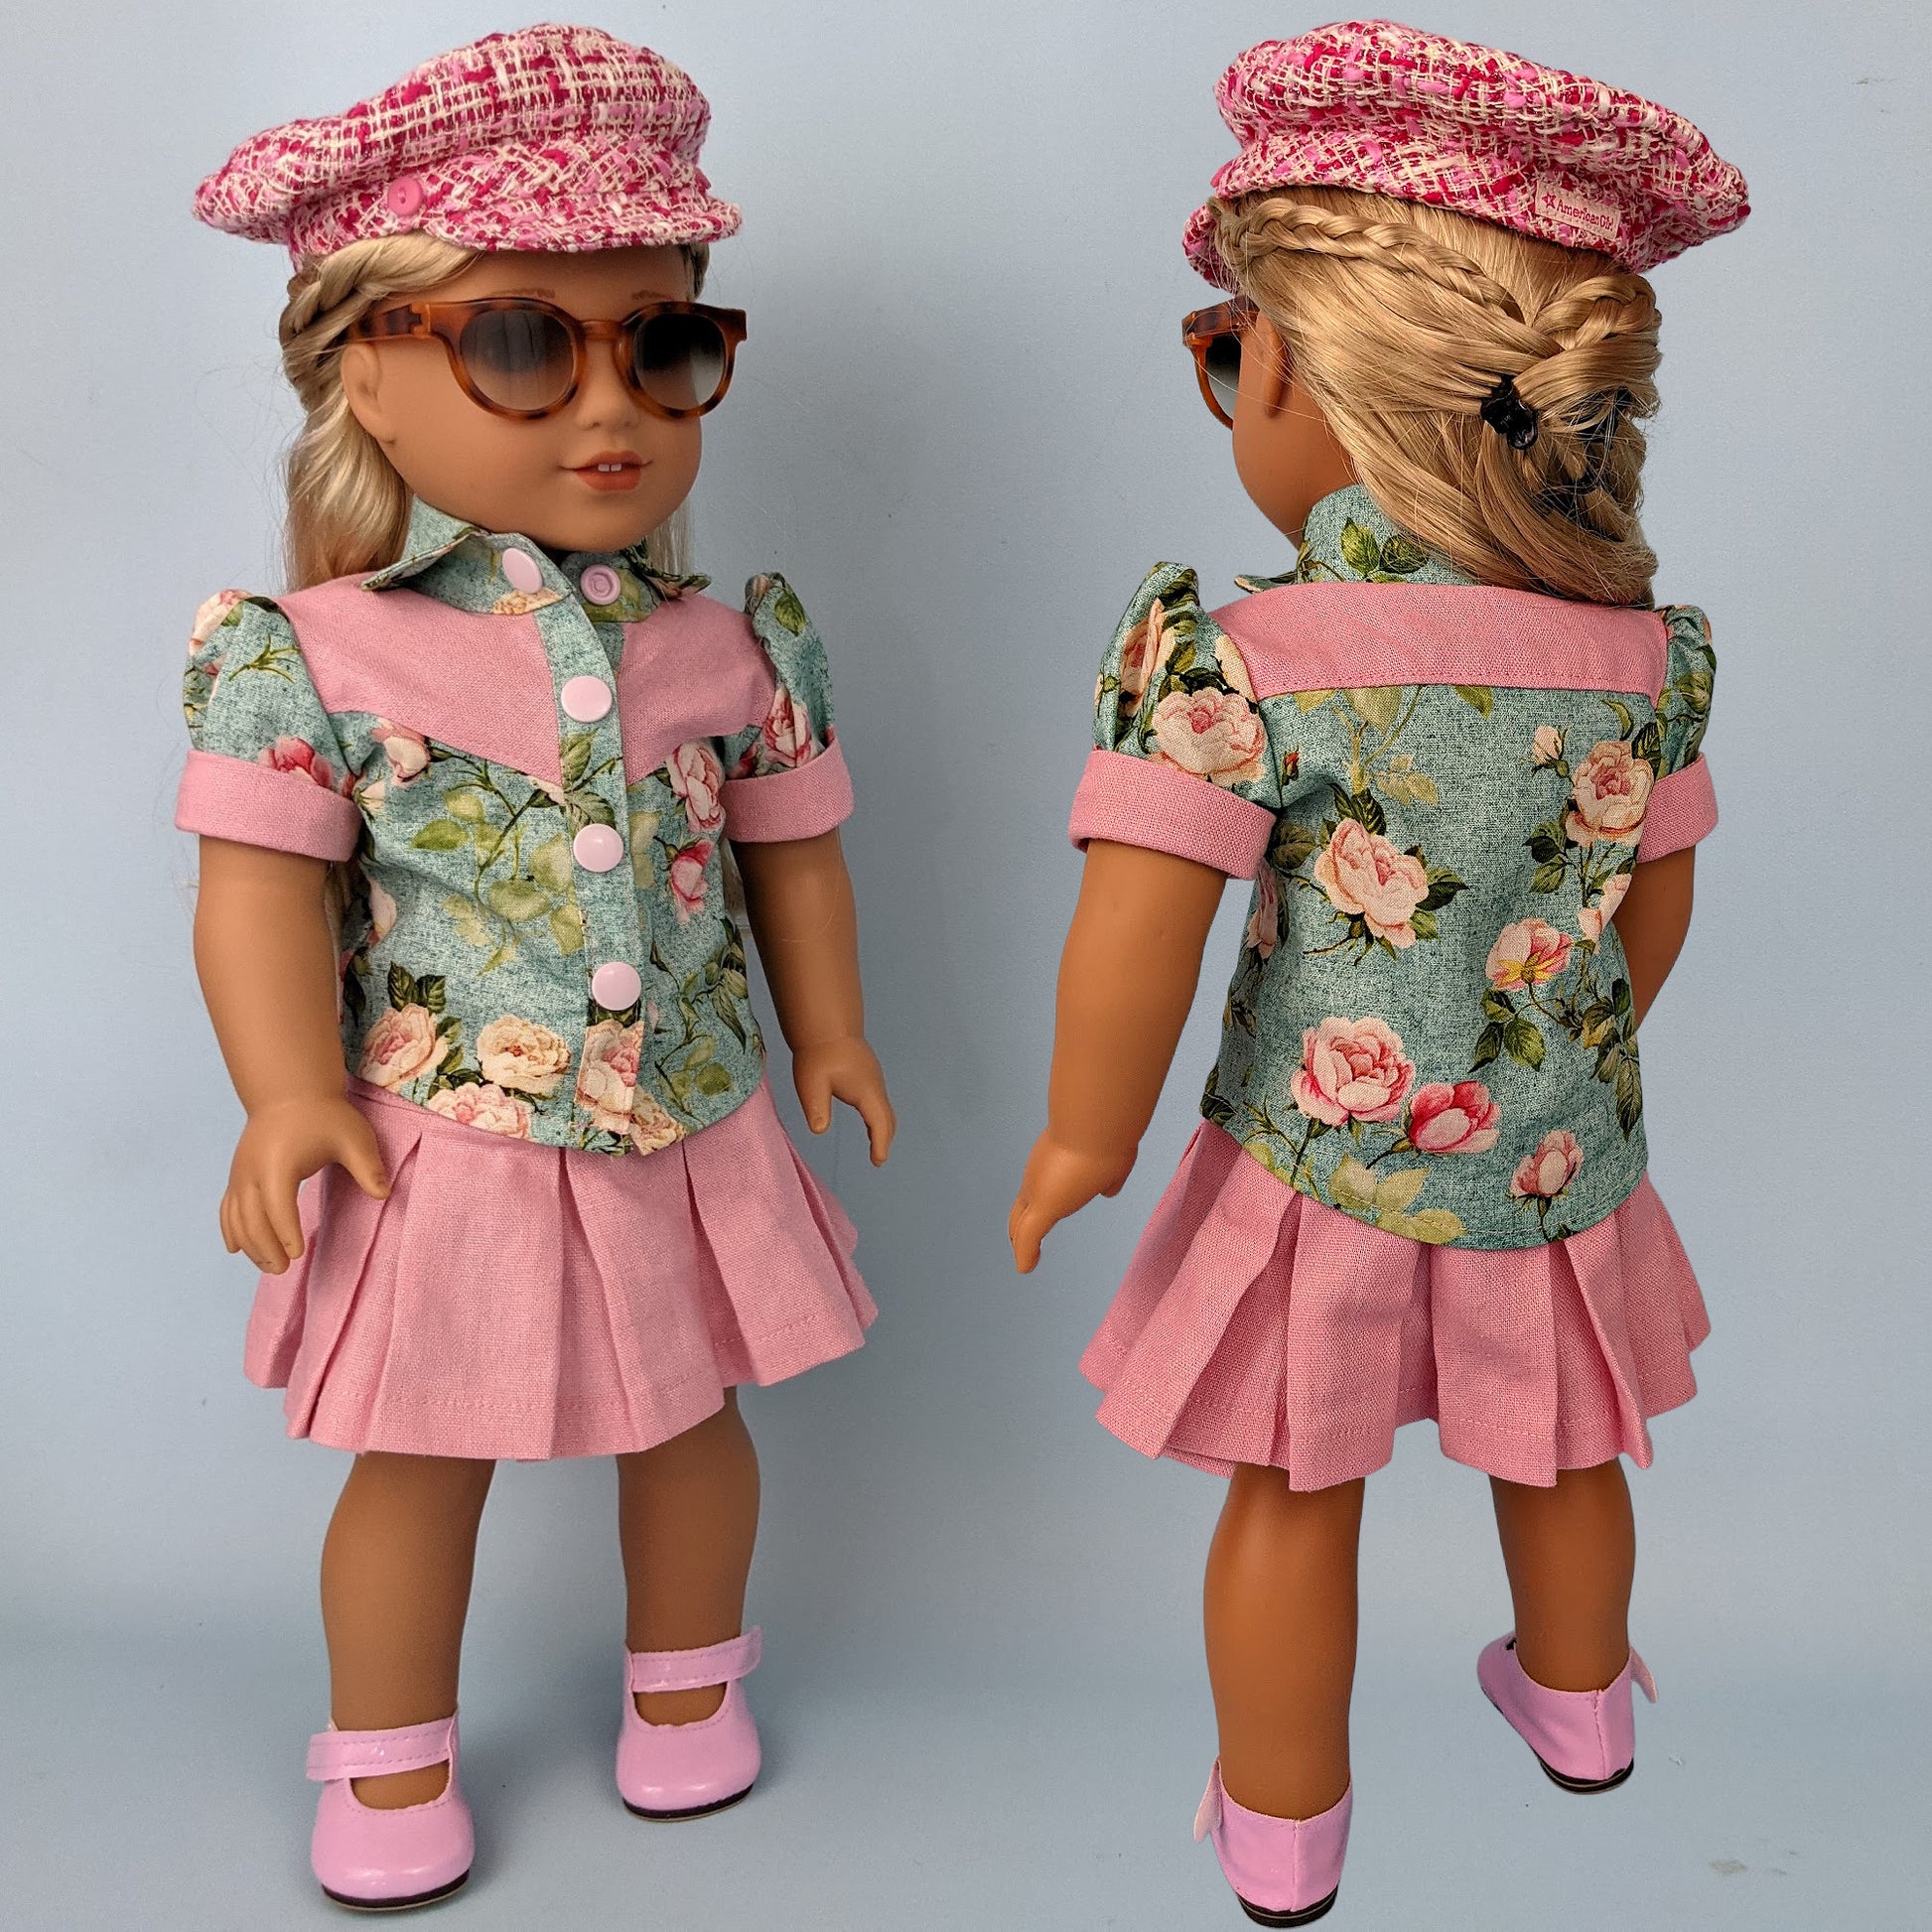
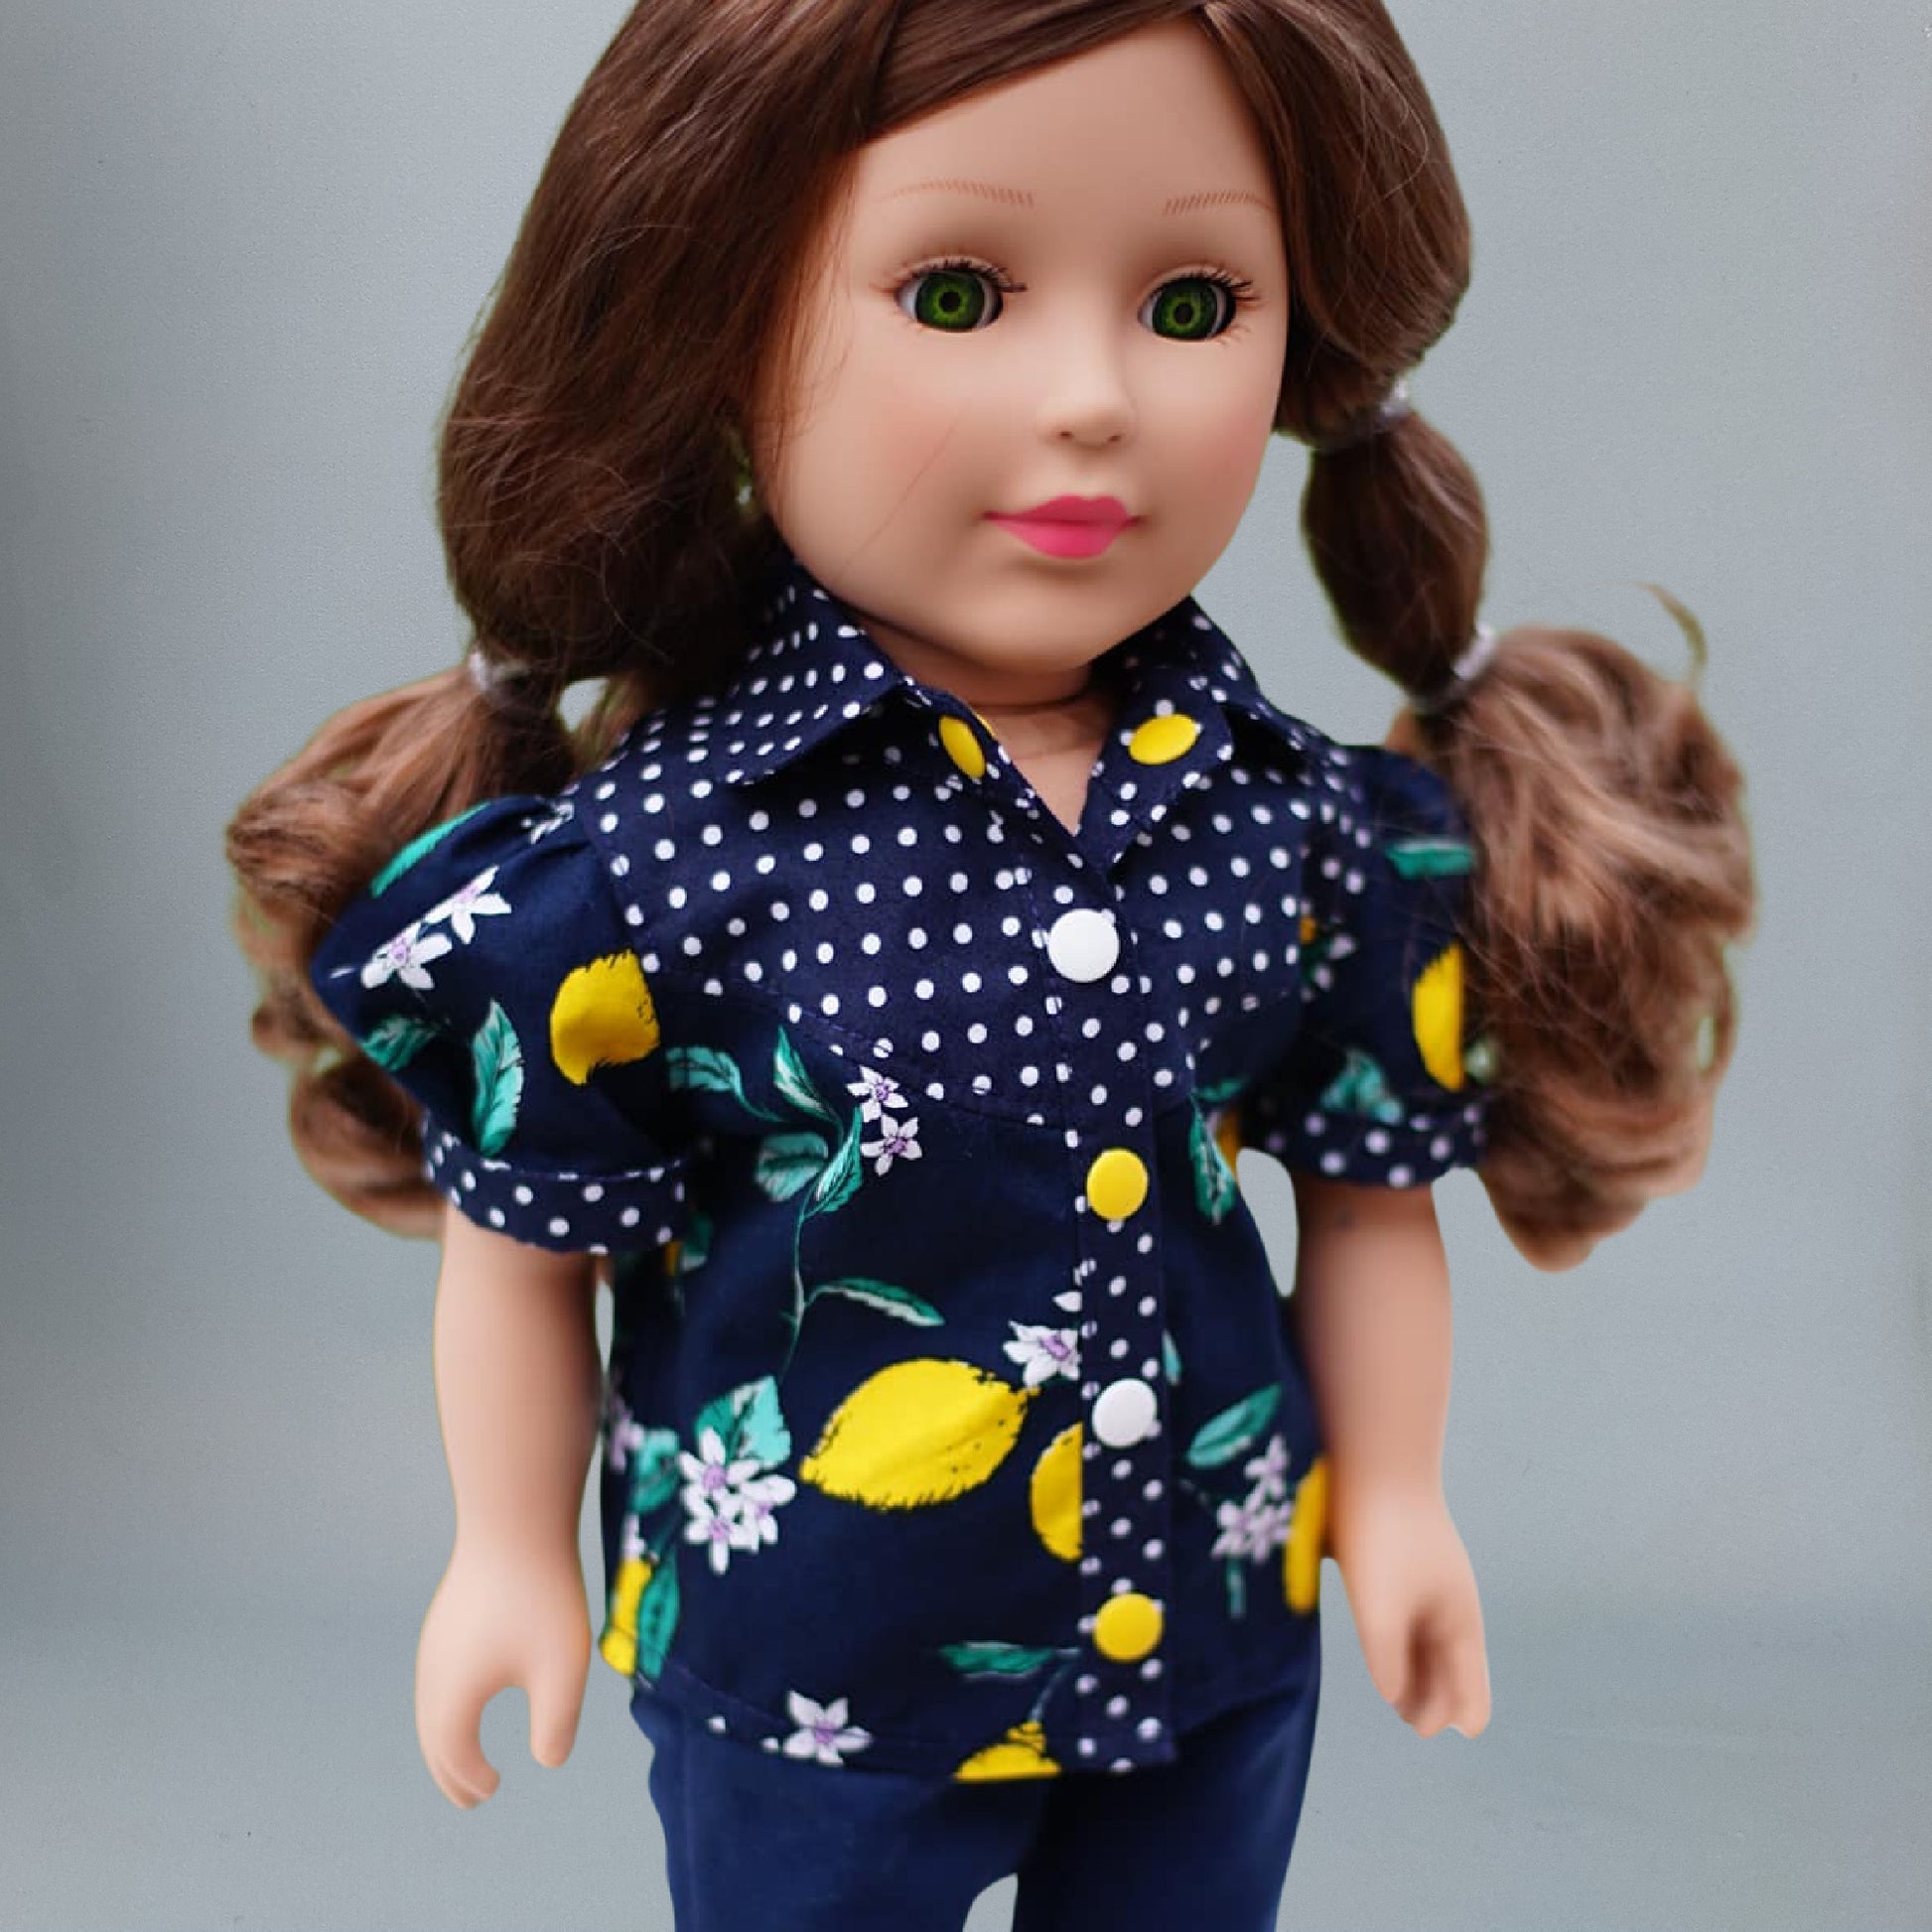
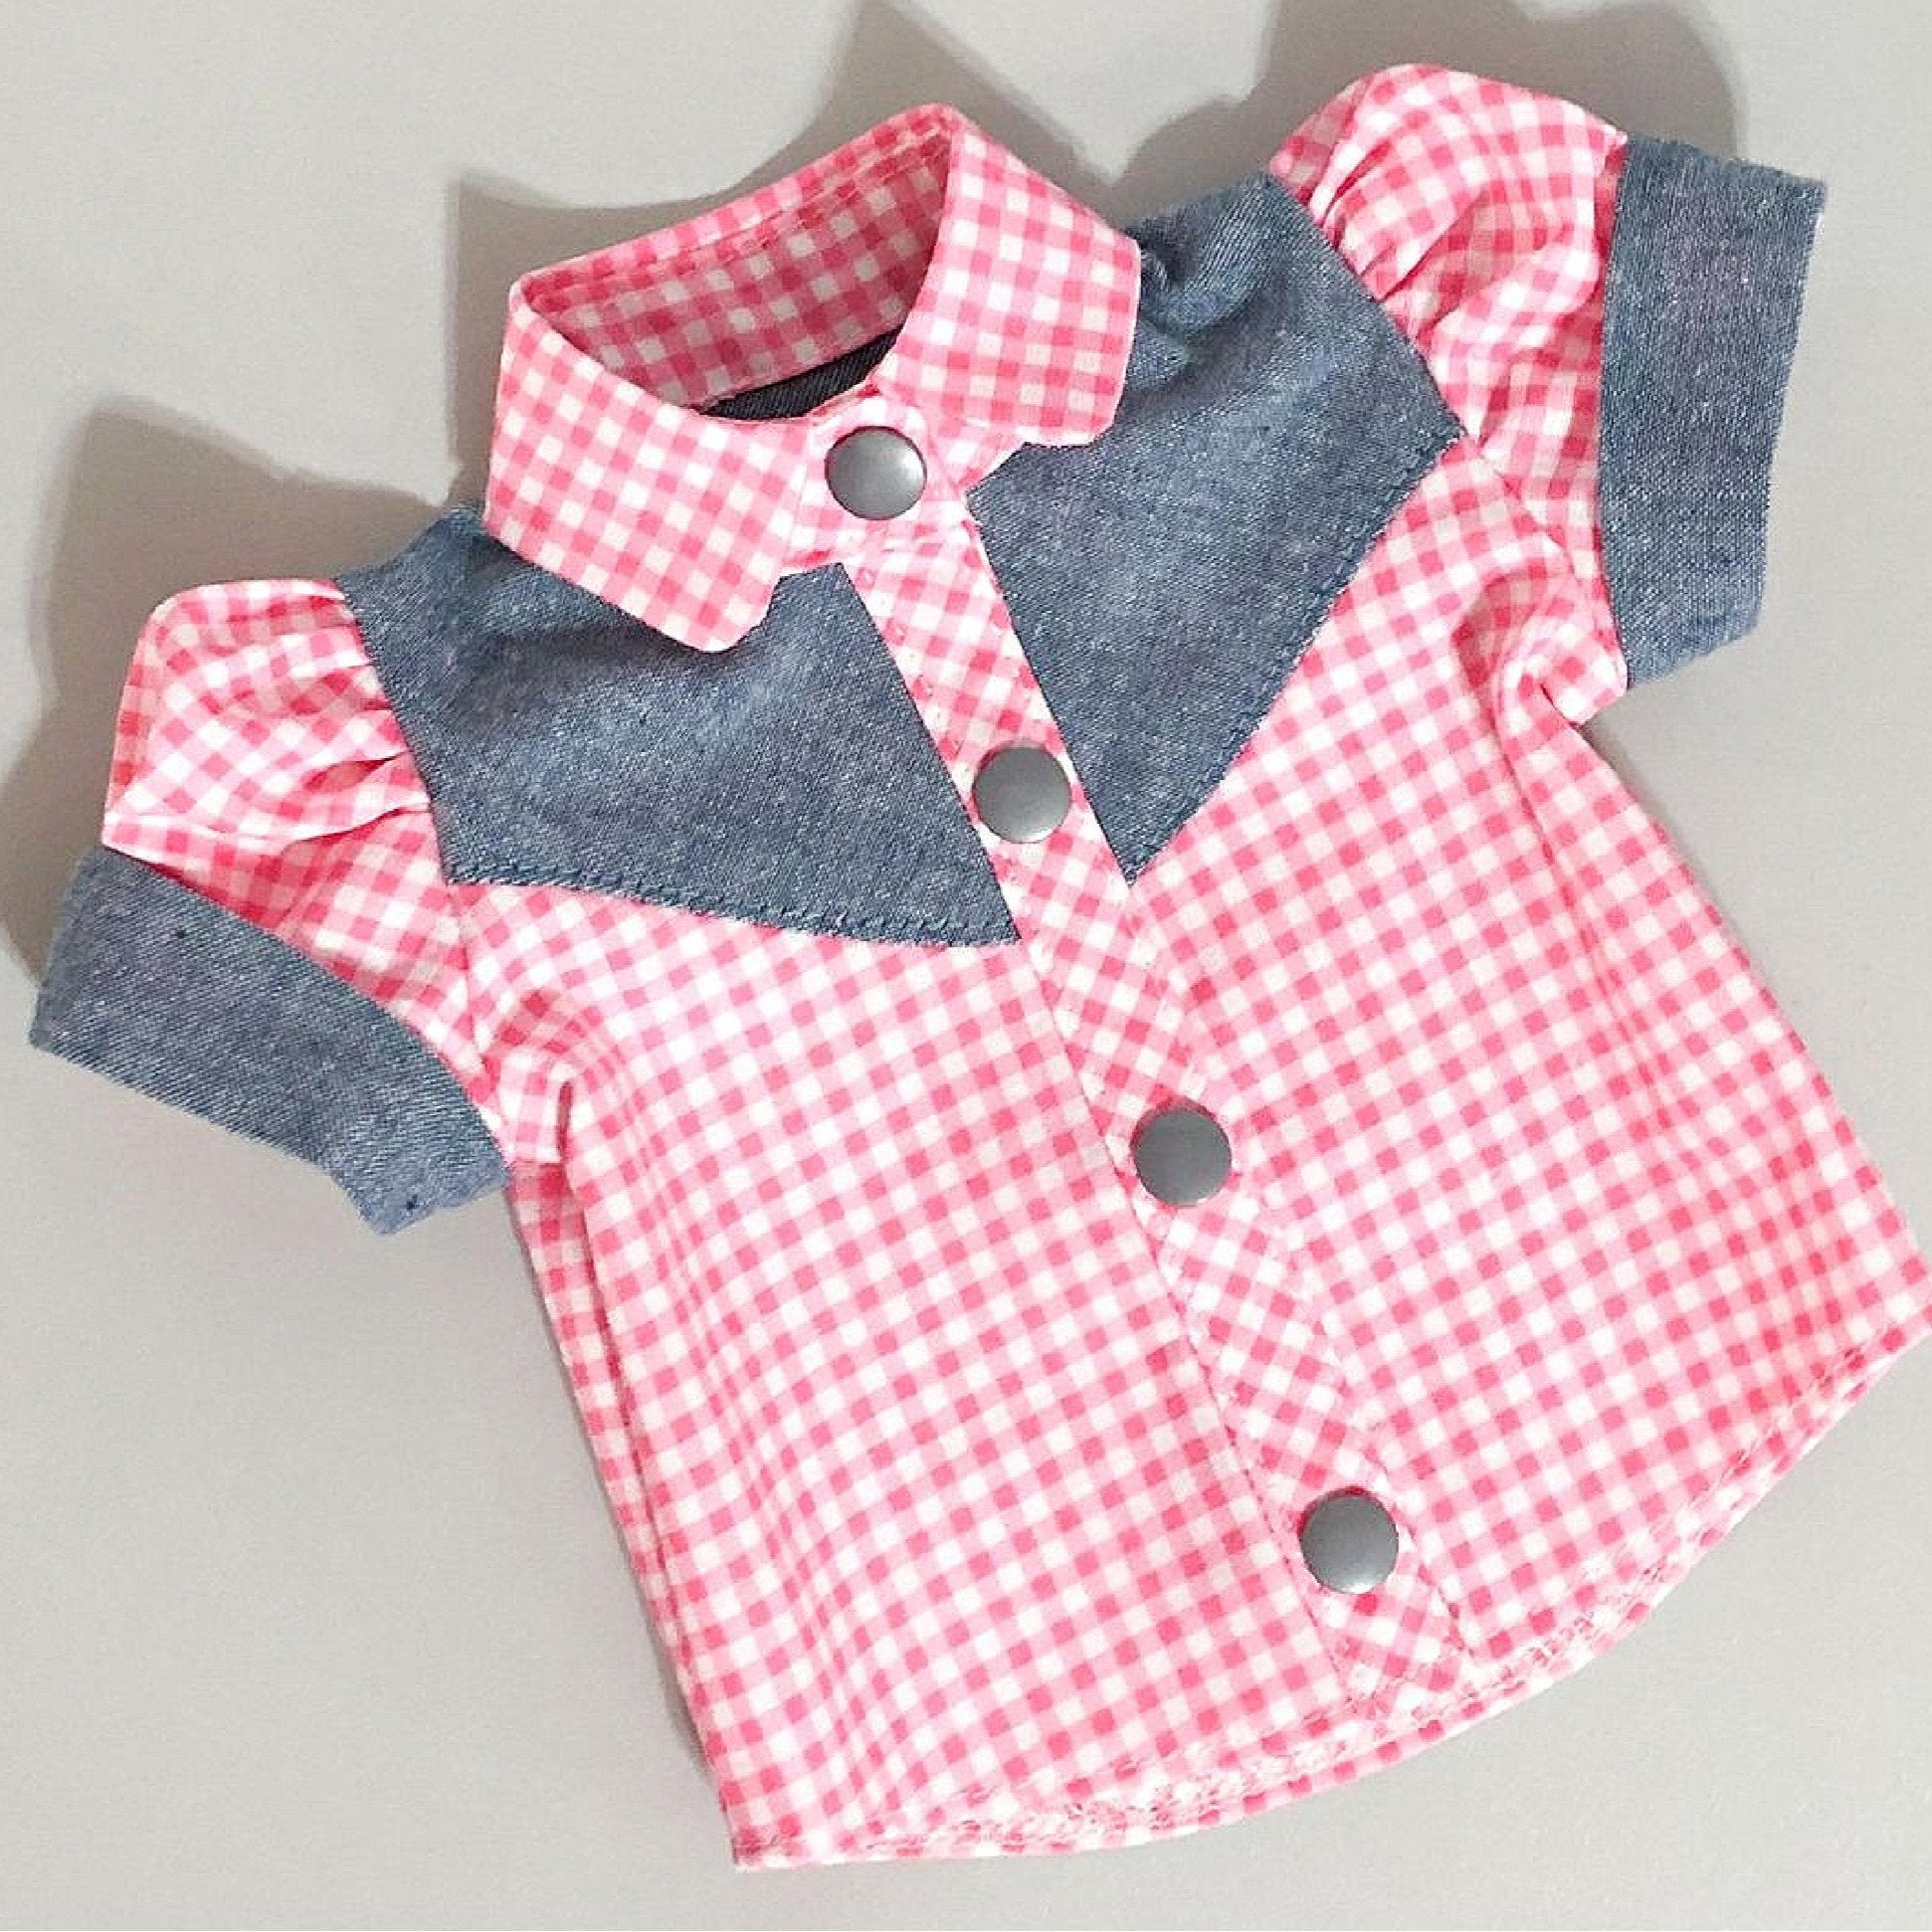
Once completed, the blouse should have a structured yoke, smooth collar, and softly gathered sleeves. The construction is designed to balance simplicity with professional garment finish, making it suitable for both learning and production.