


WESTERN BLOUSE
WESTERN BLOUSE


Regular price
€6,95 EUR
Regular price
Sale price
€6,95 EUR
Unit price
per
Couldn't load pickup availability
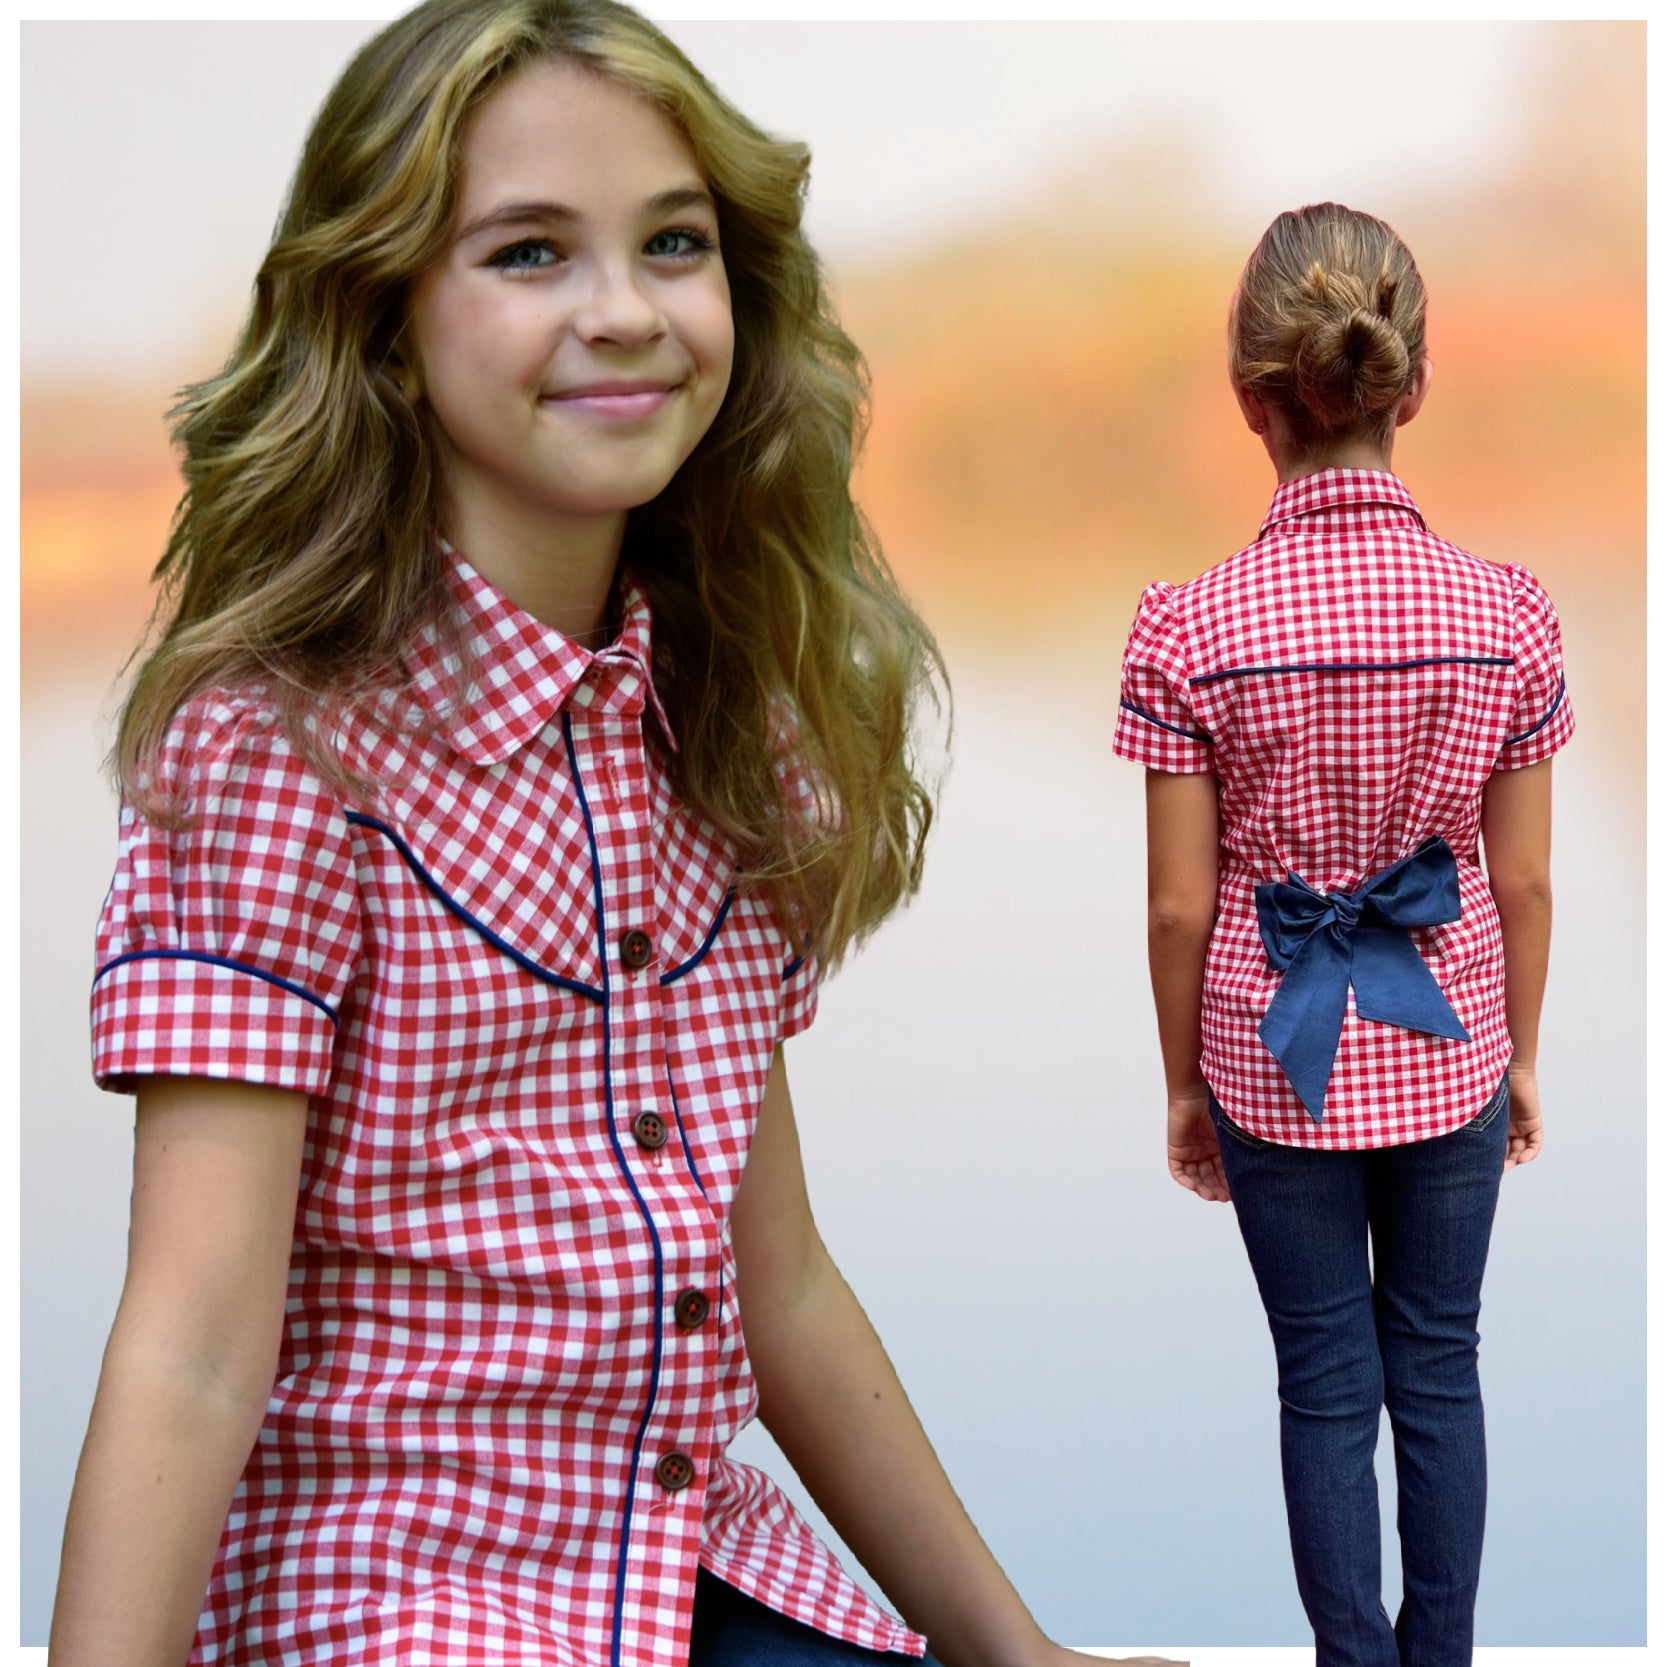
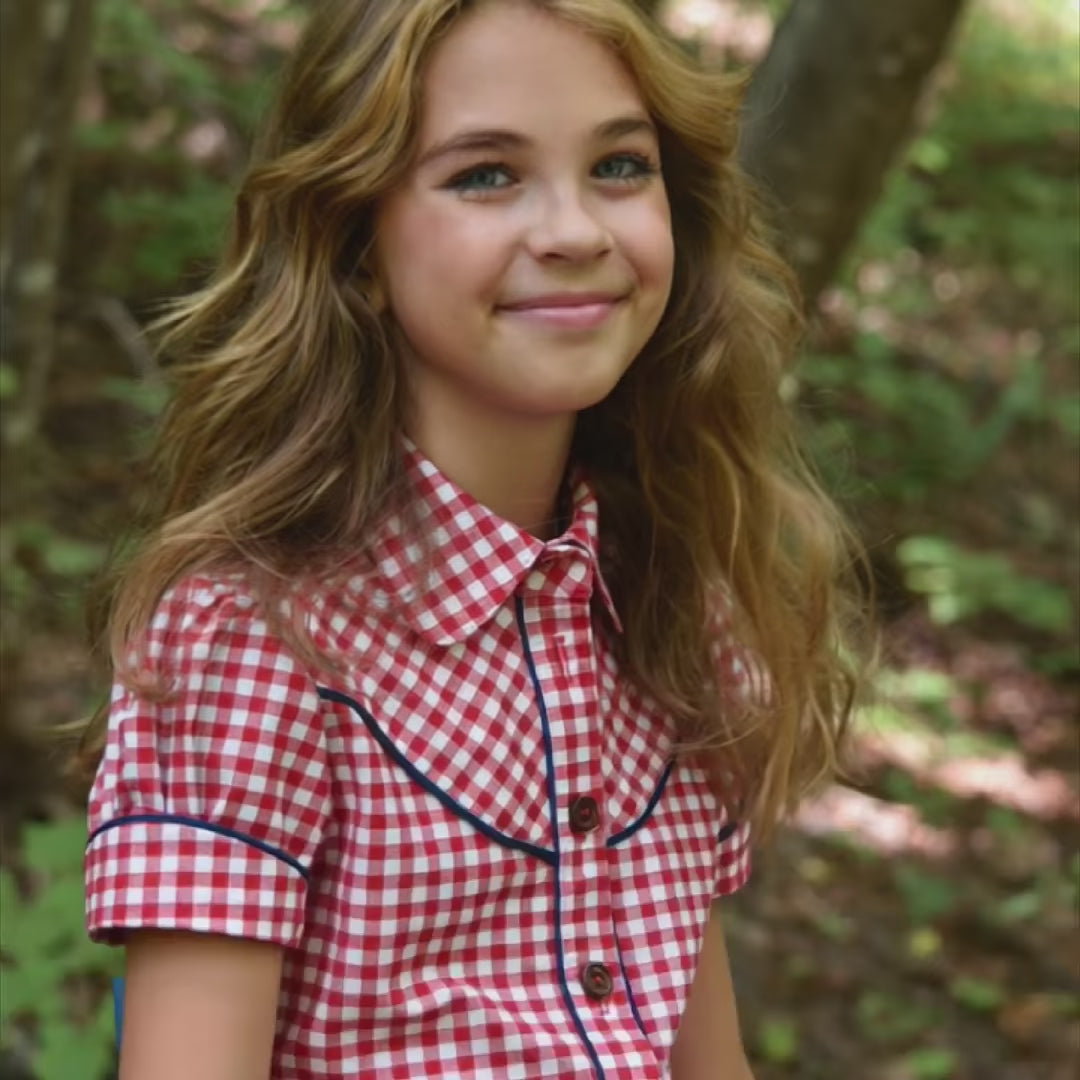
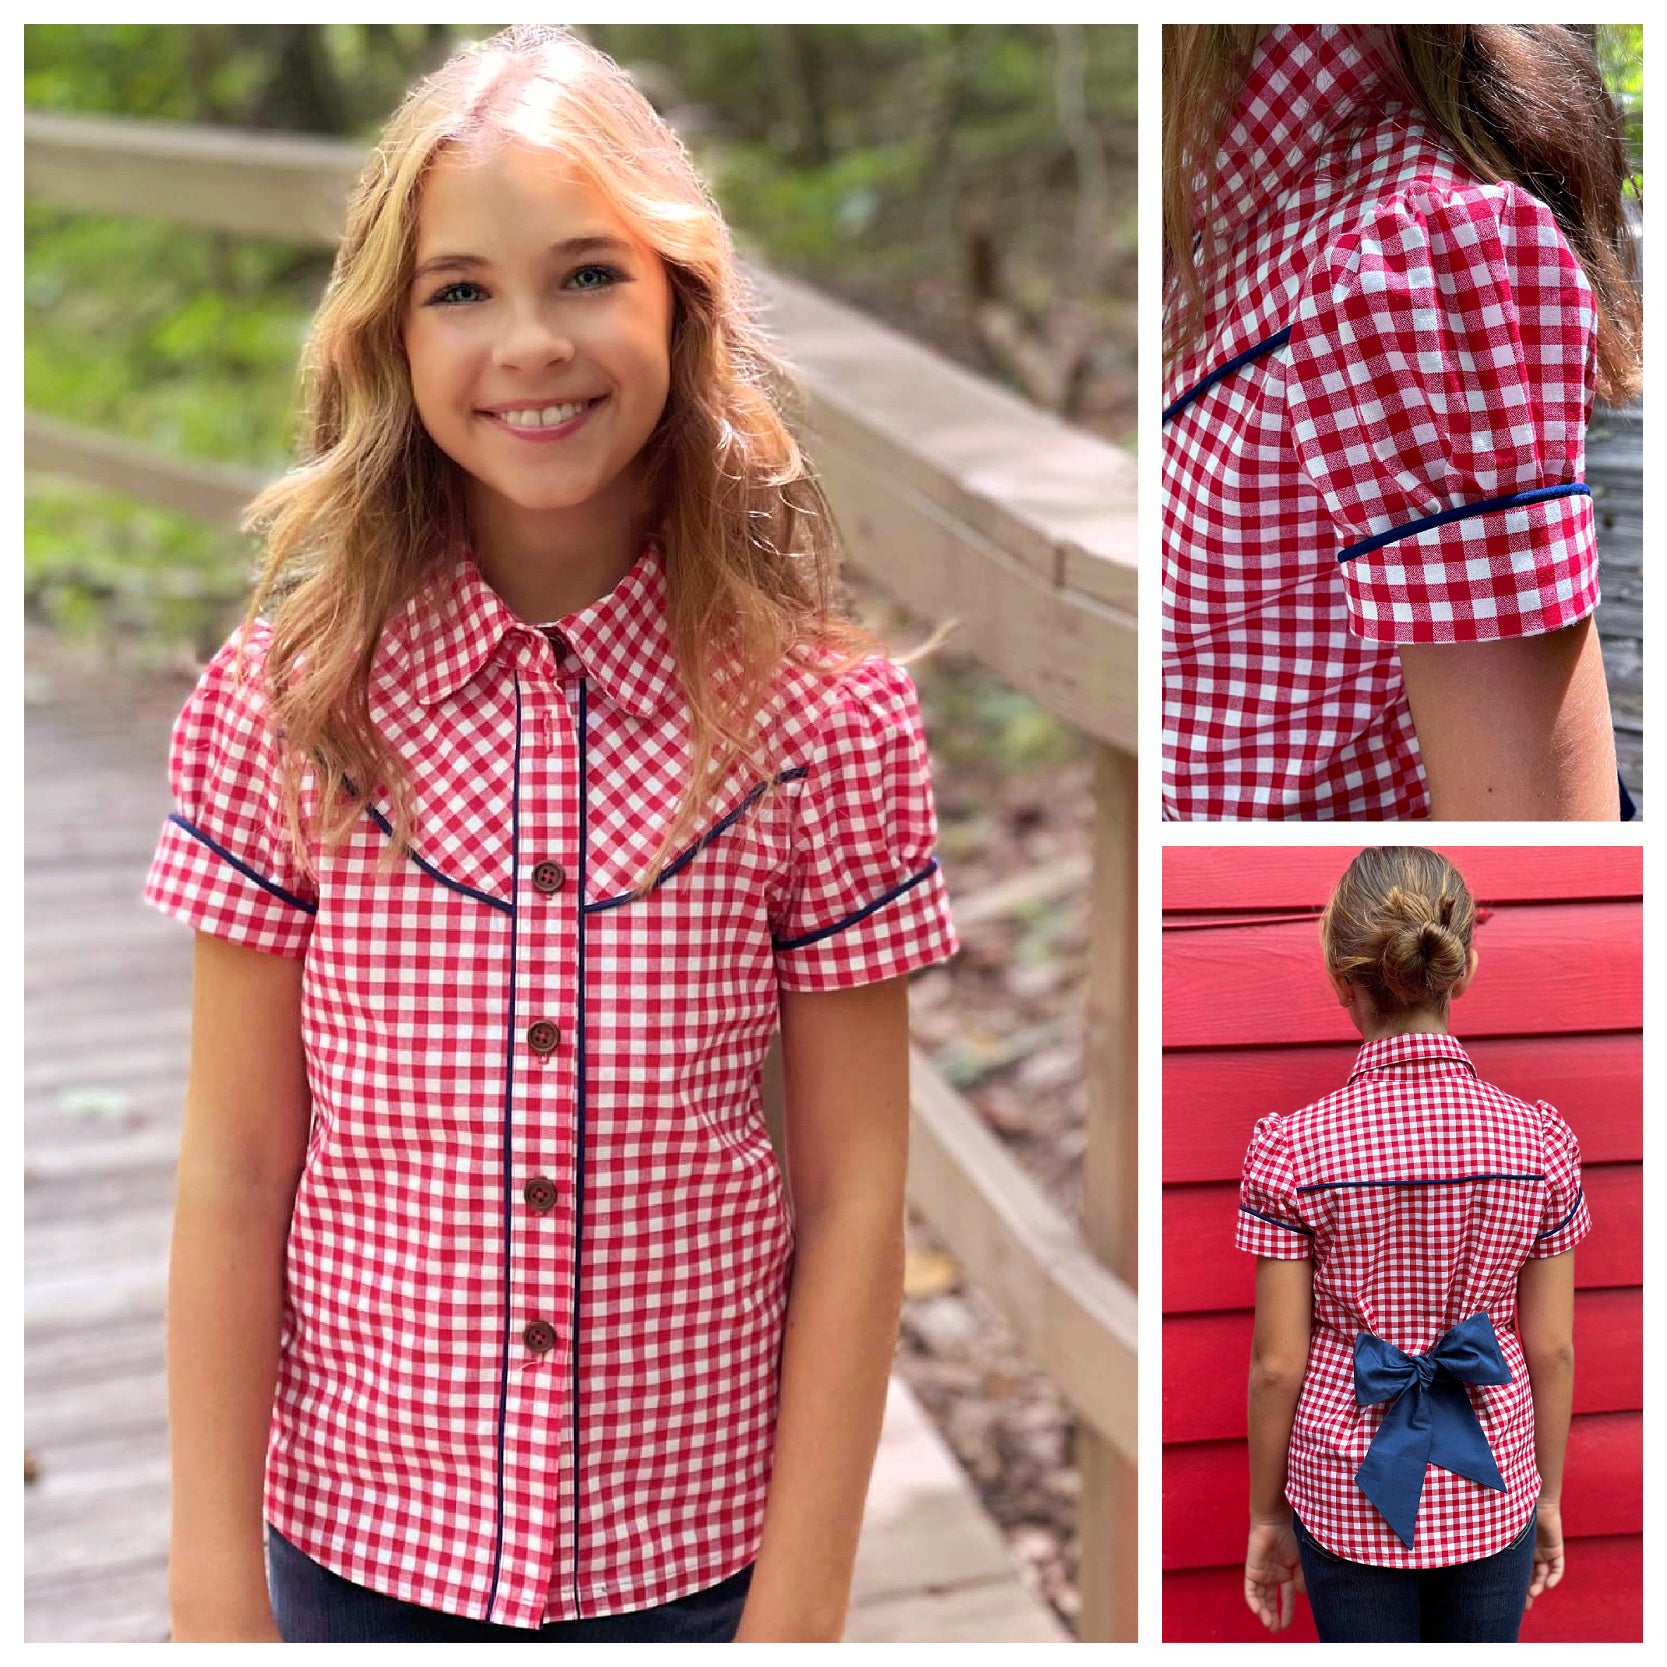
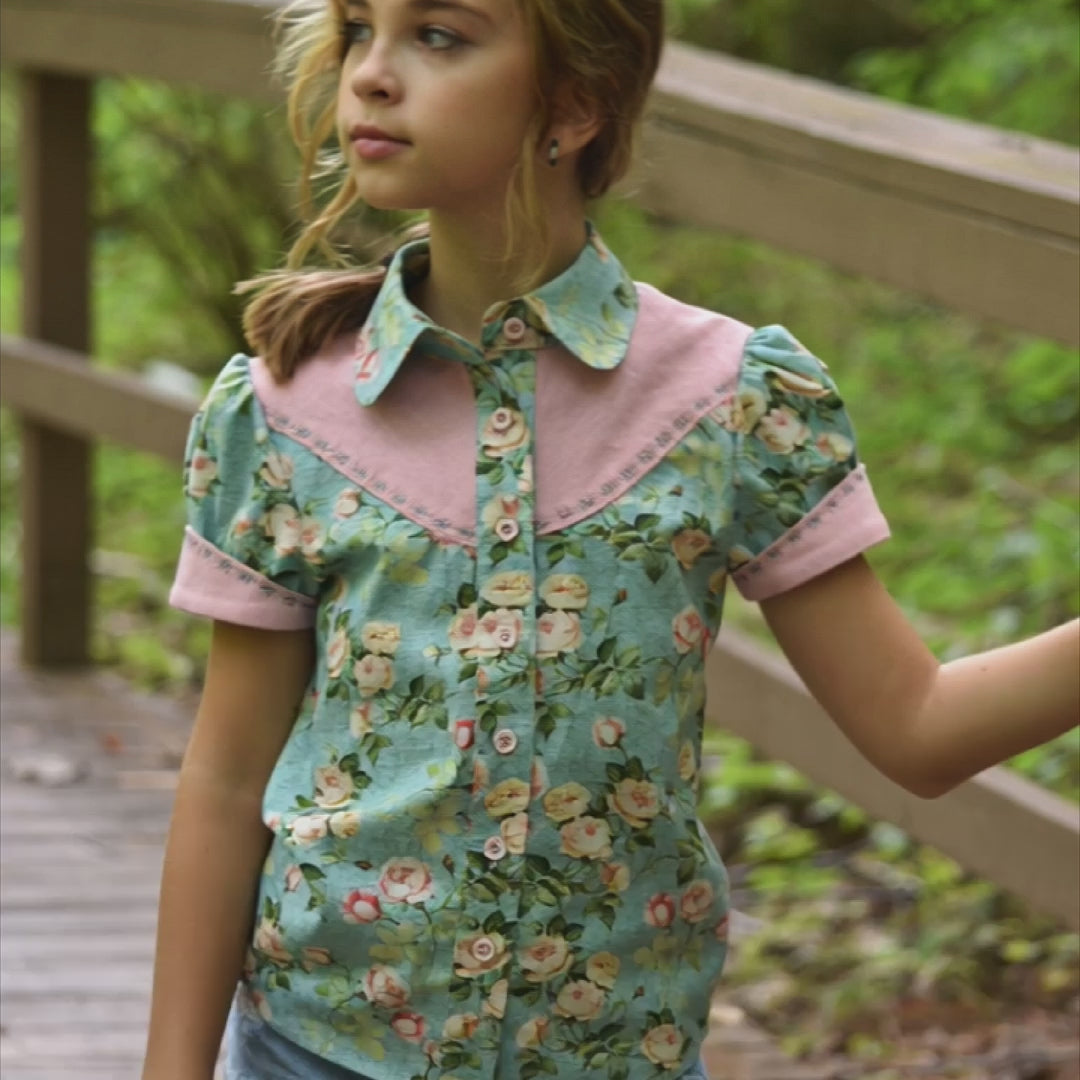
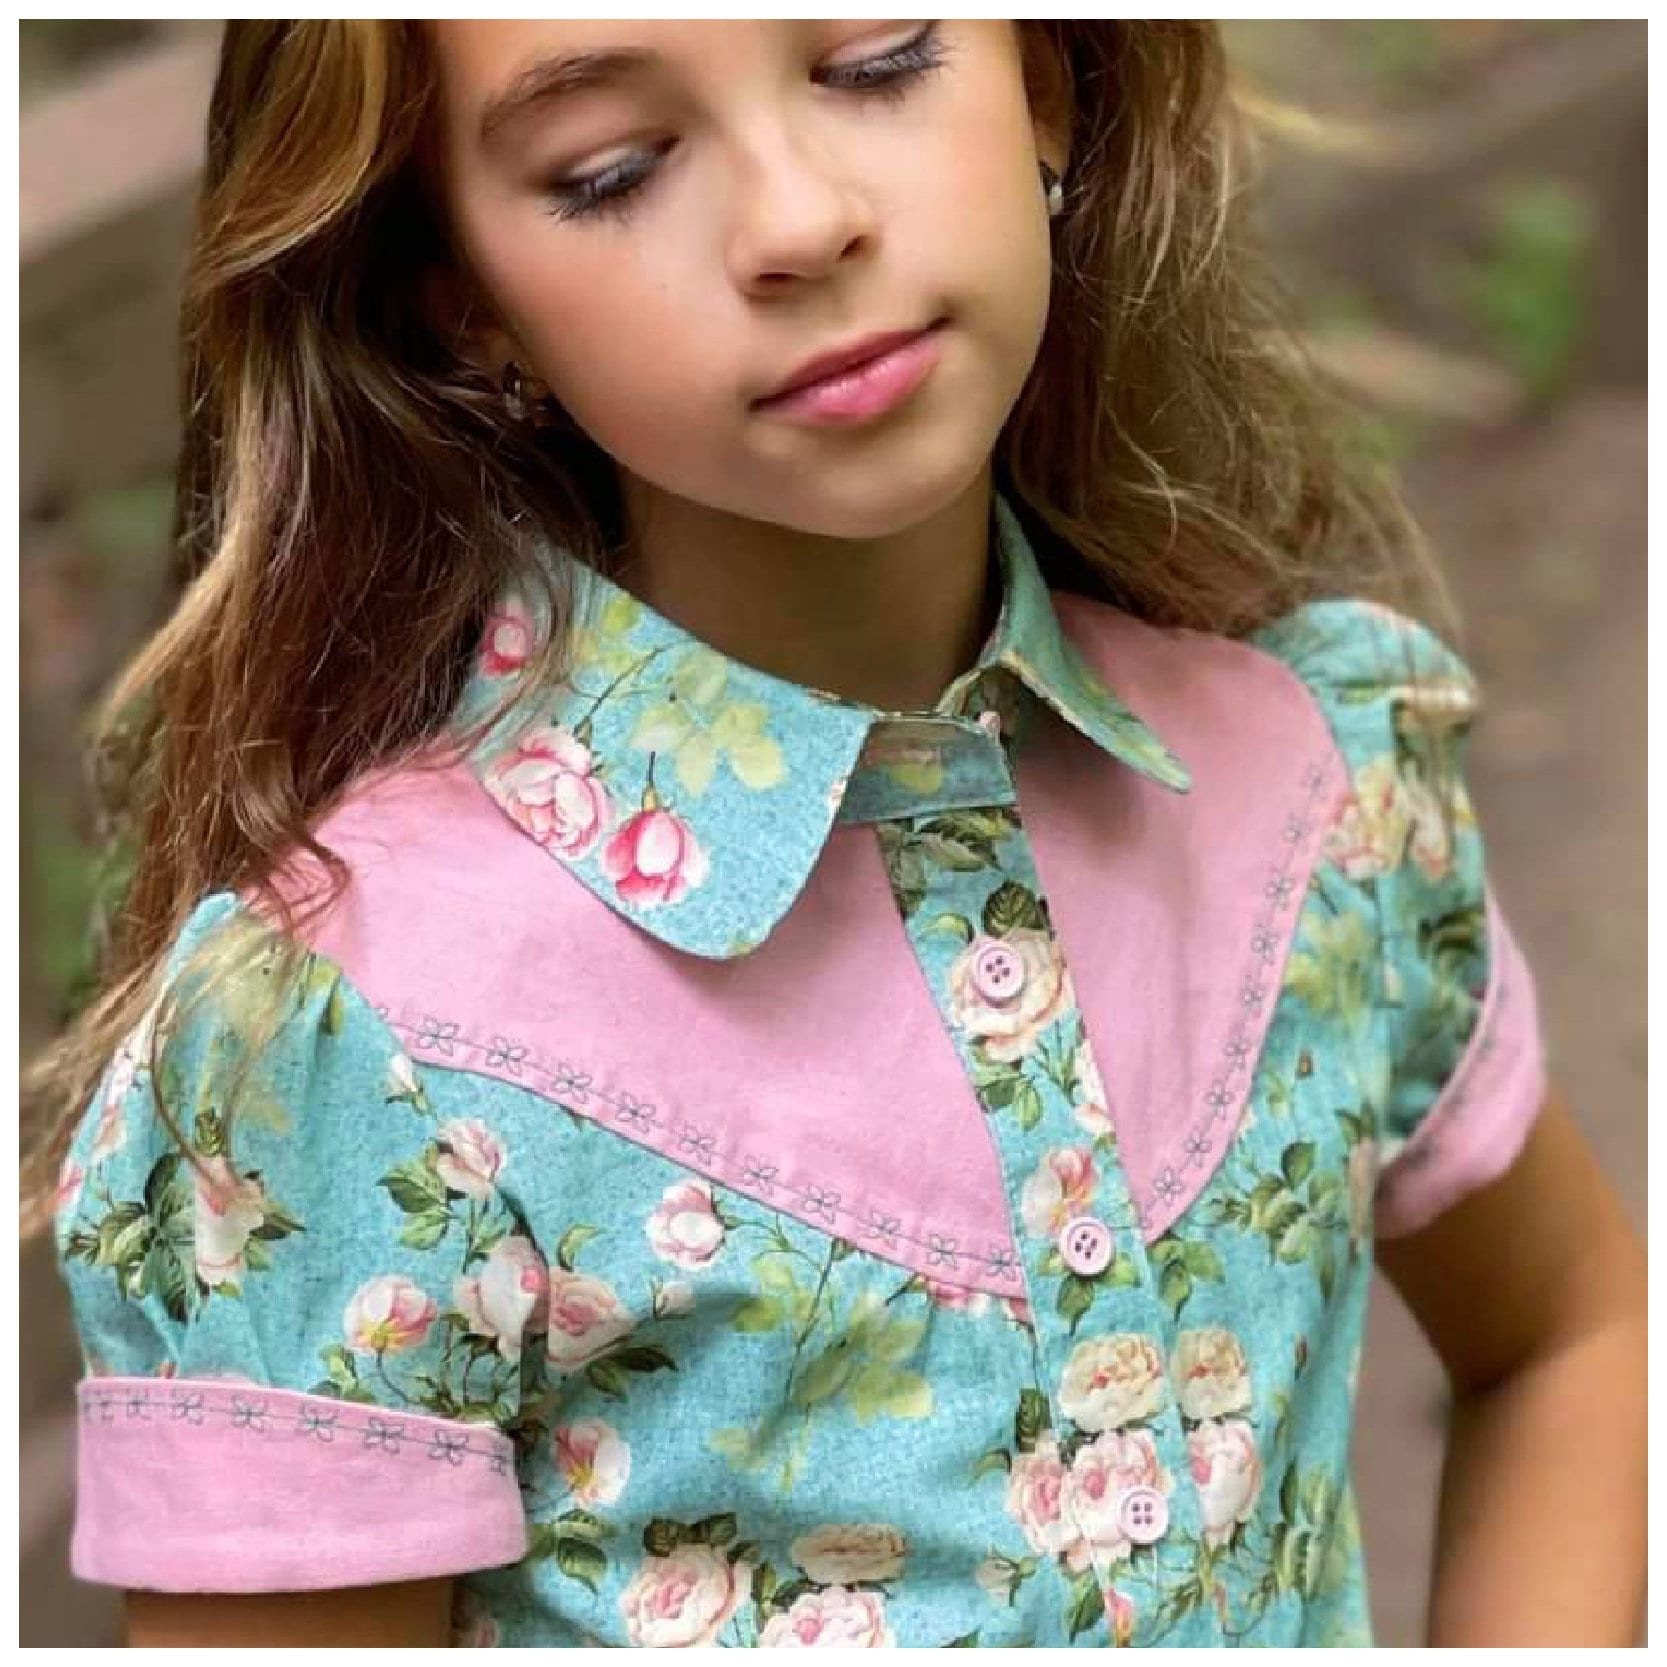
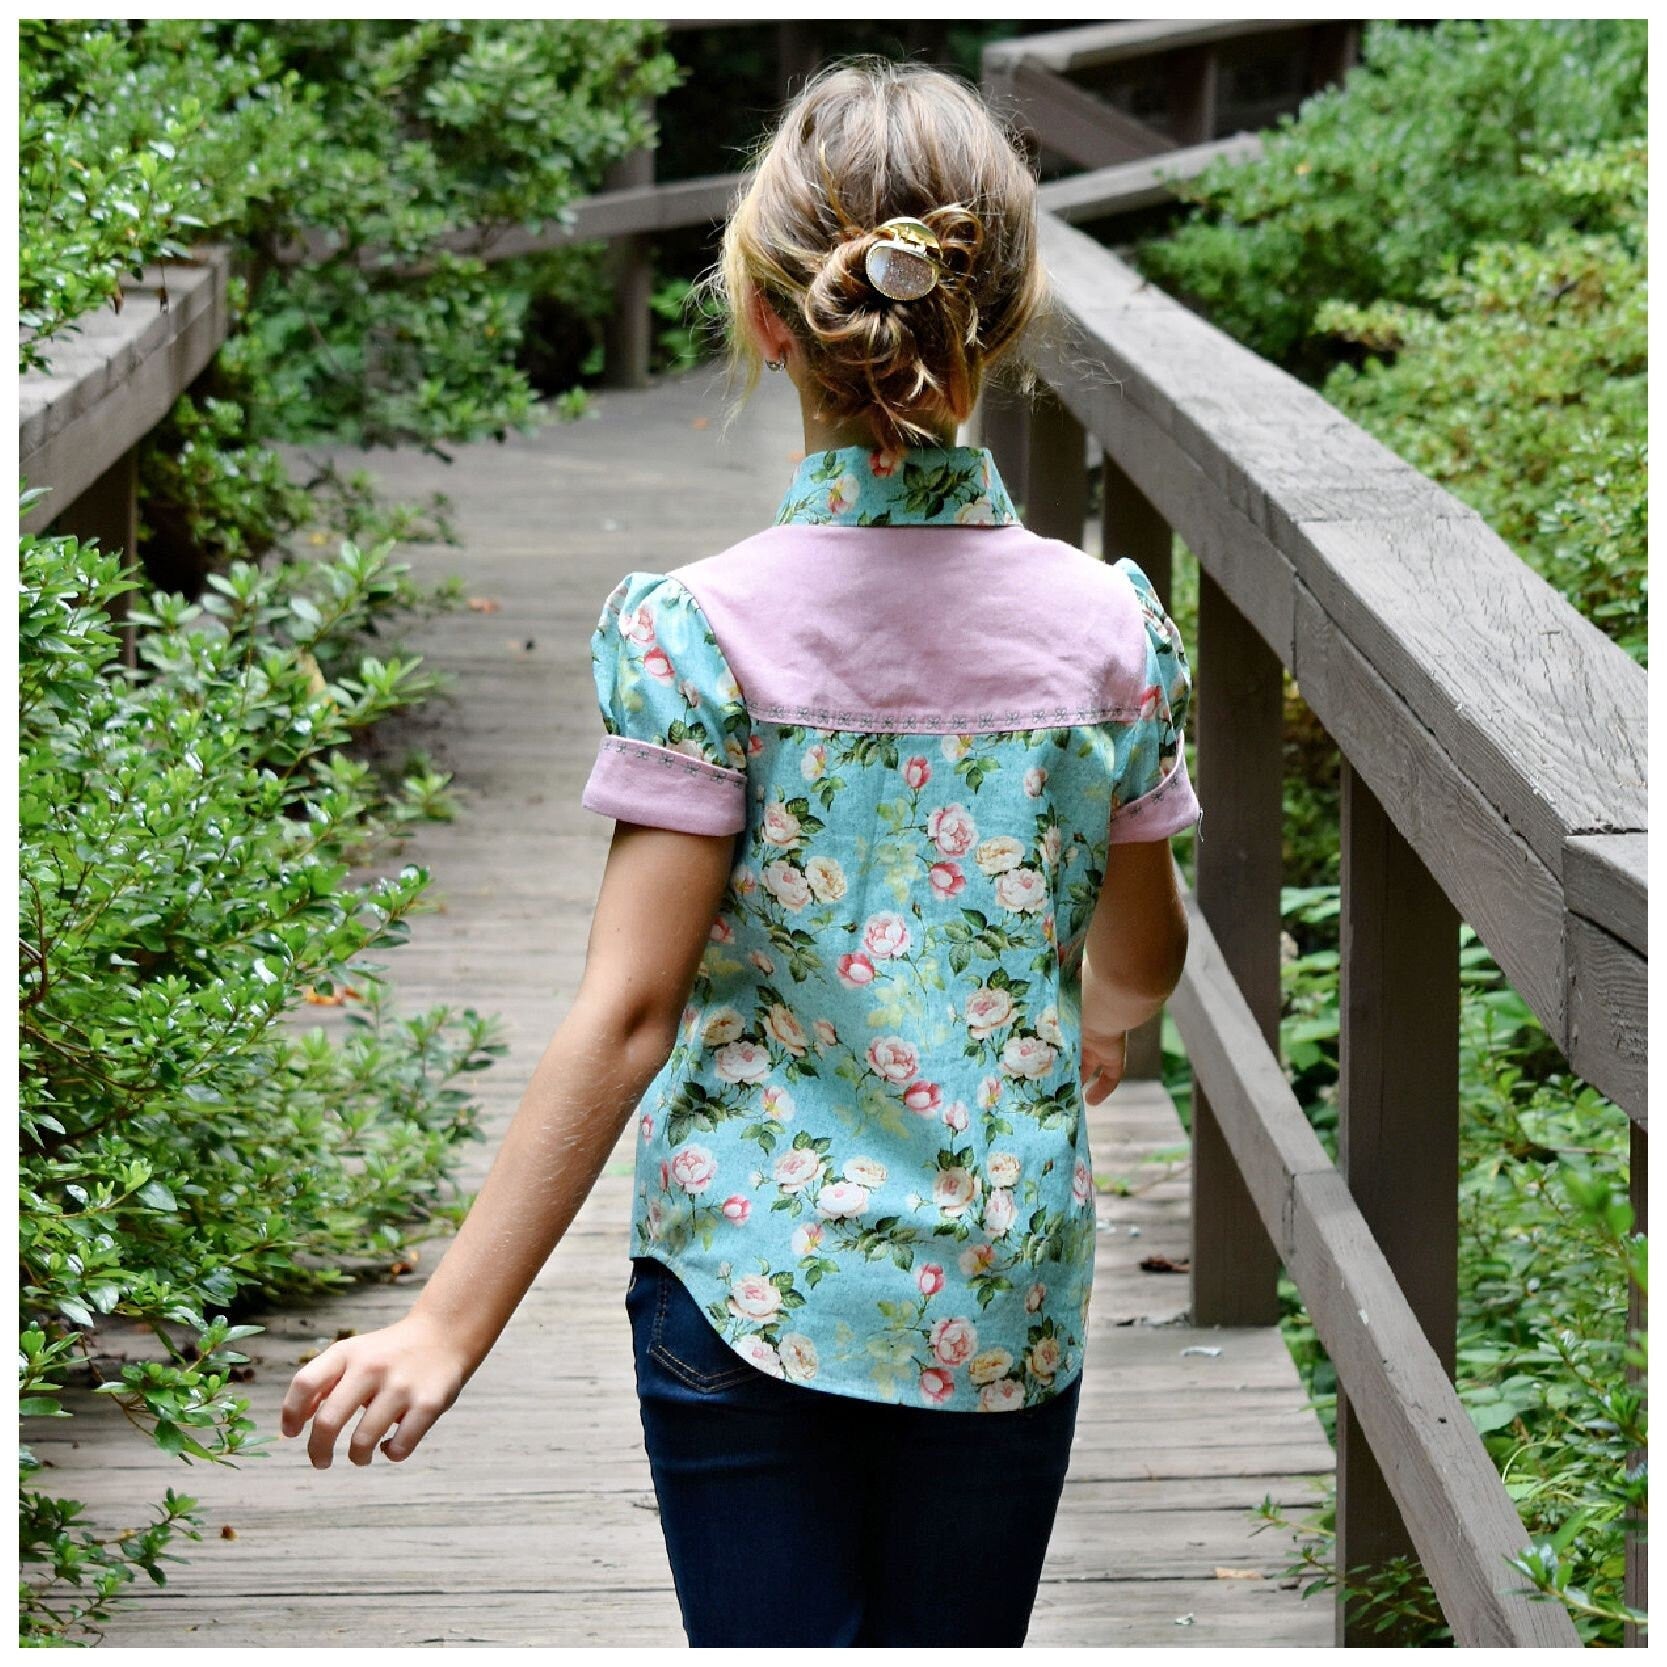
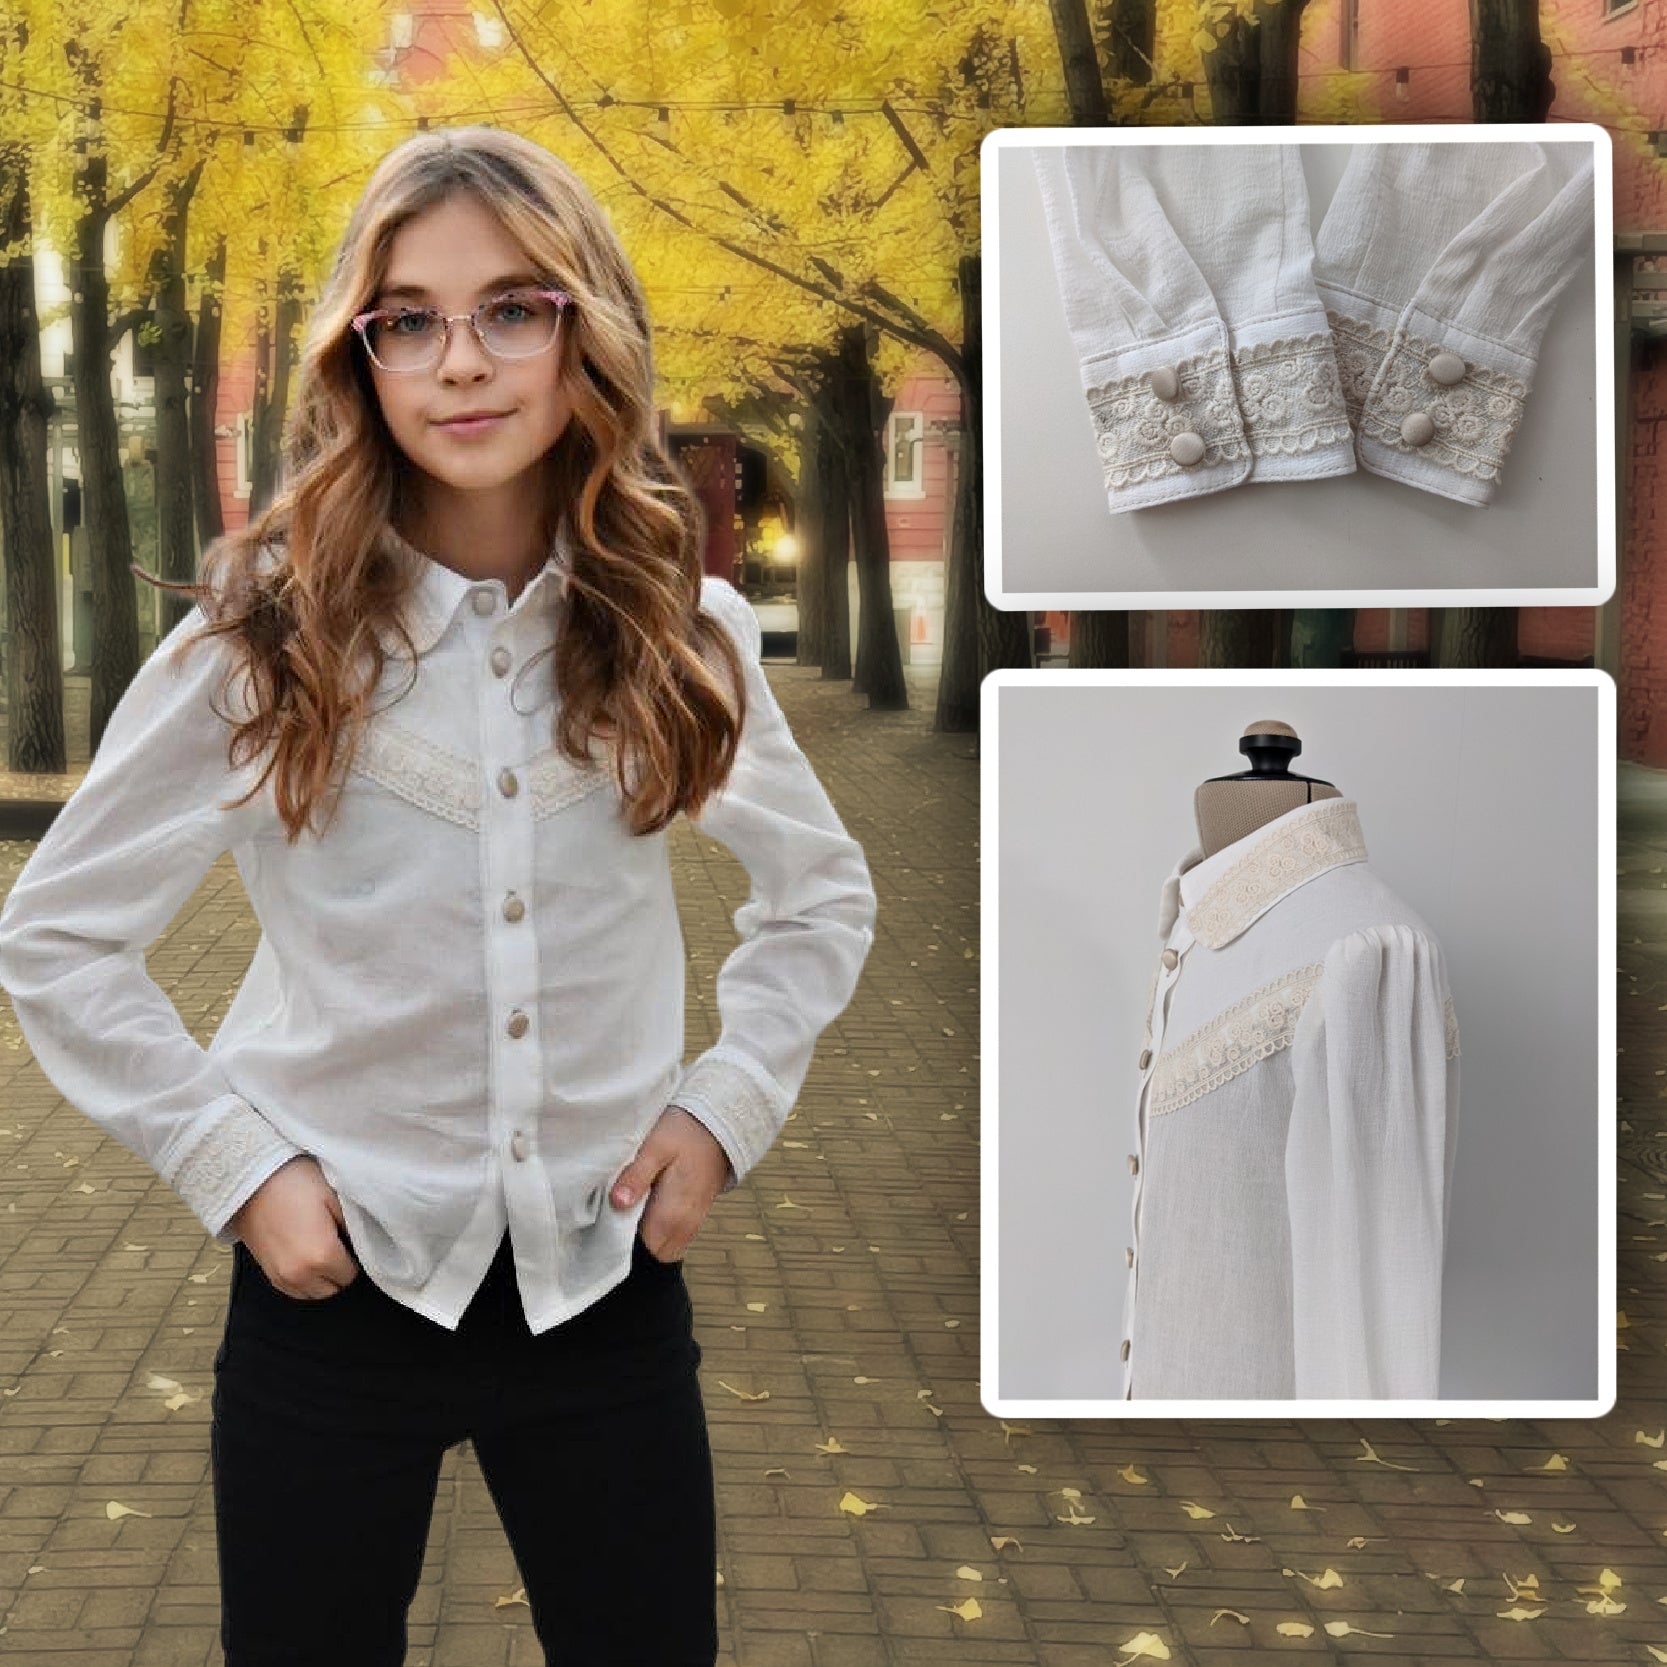
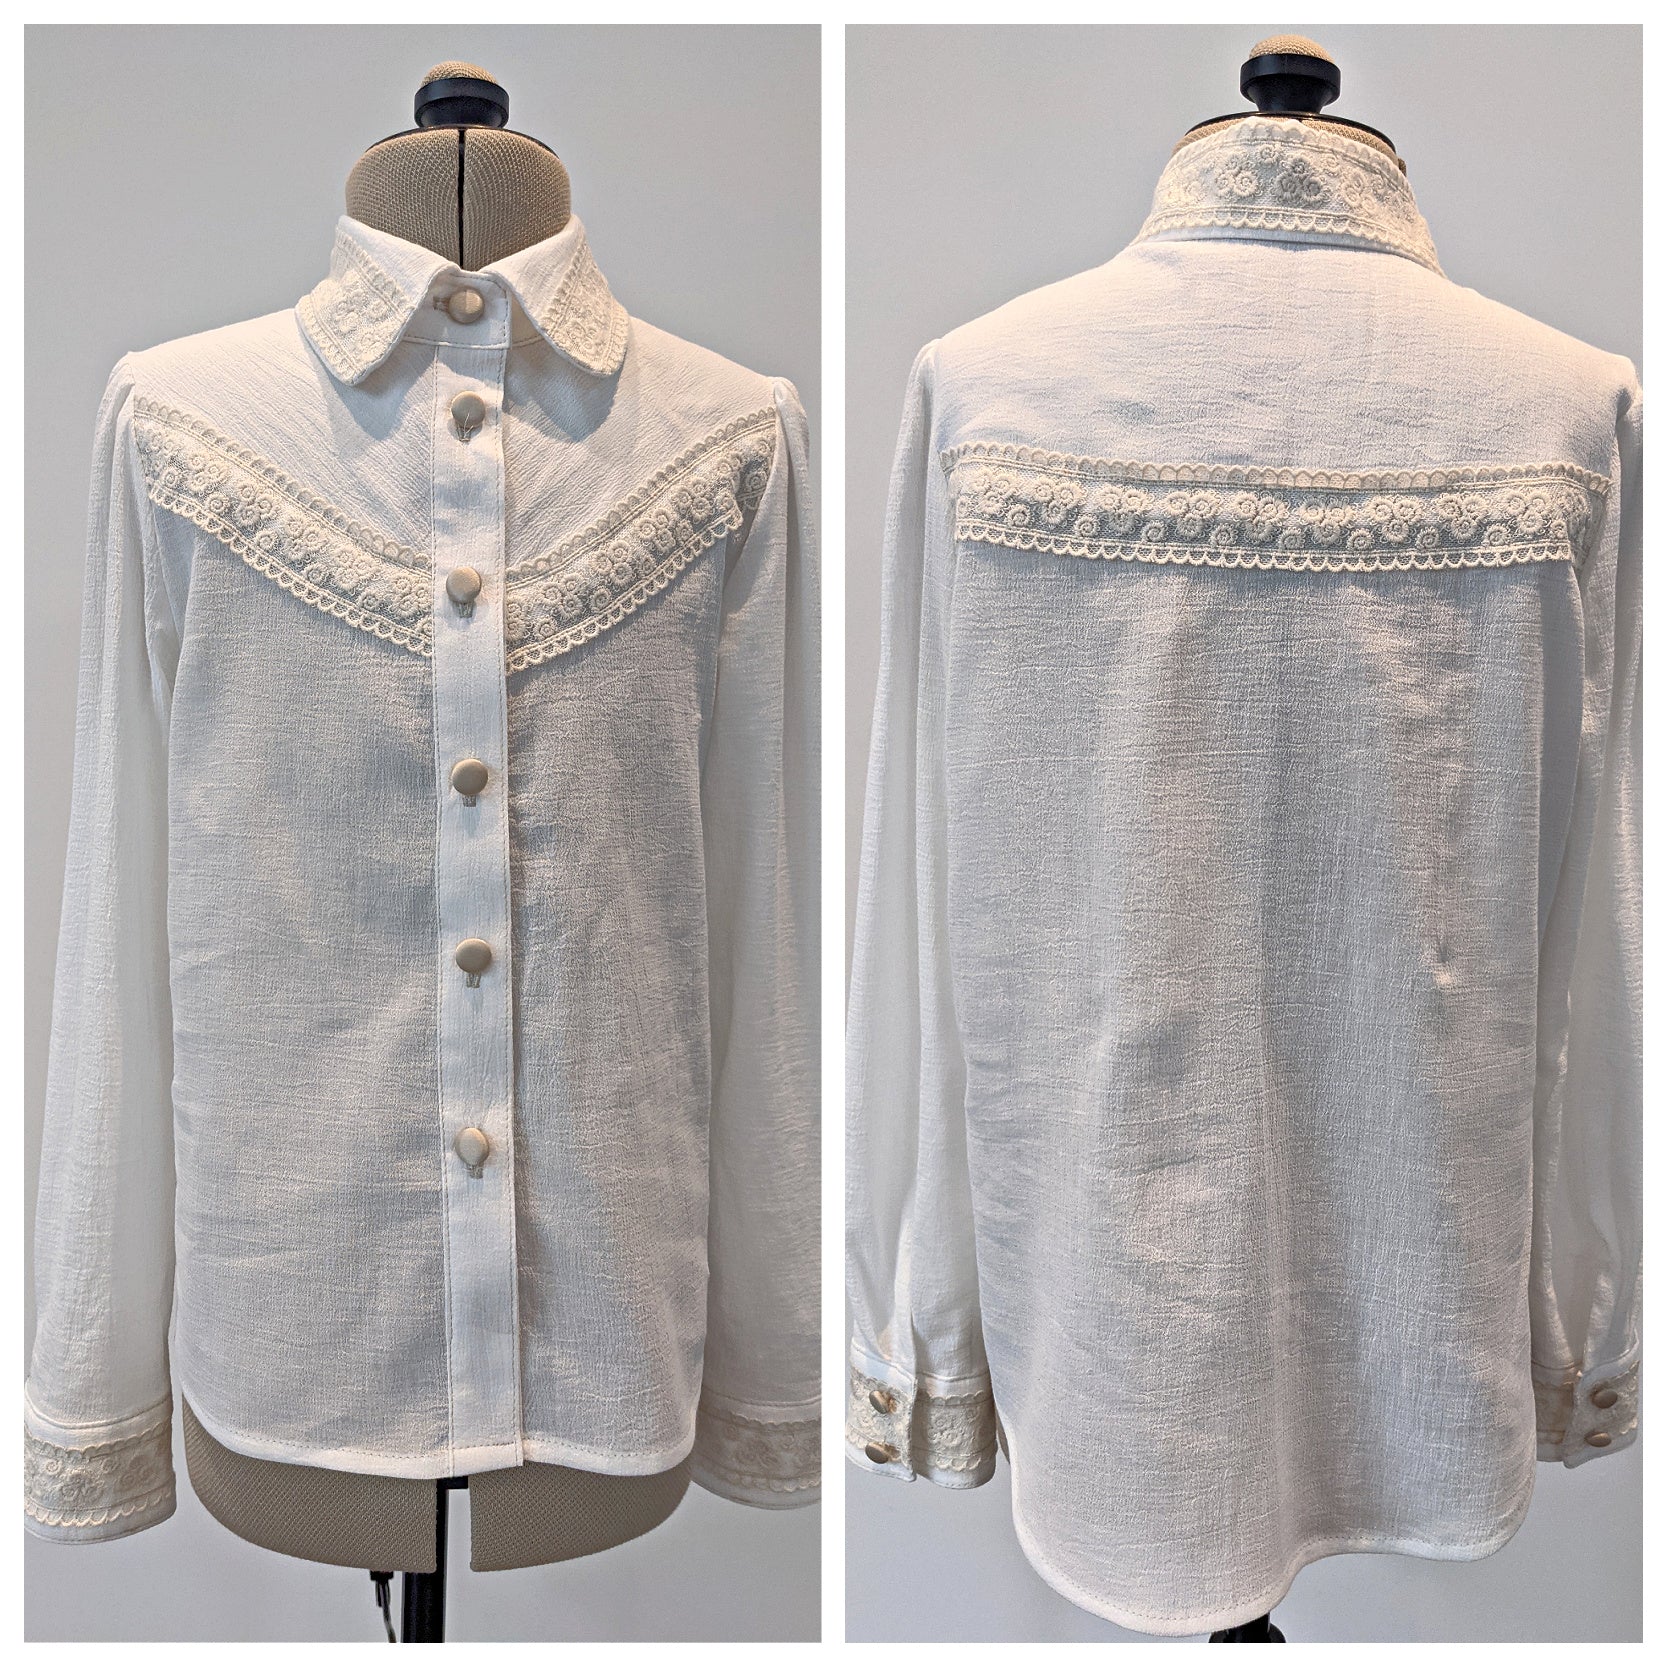
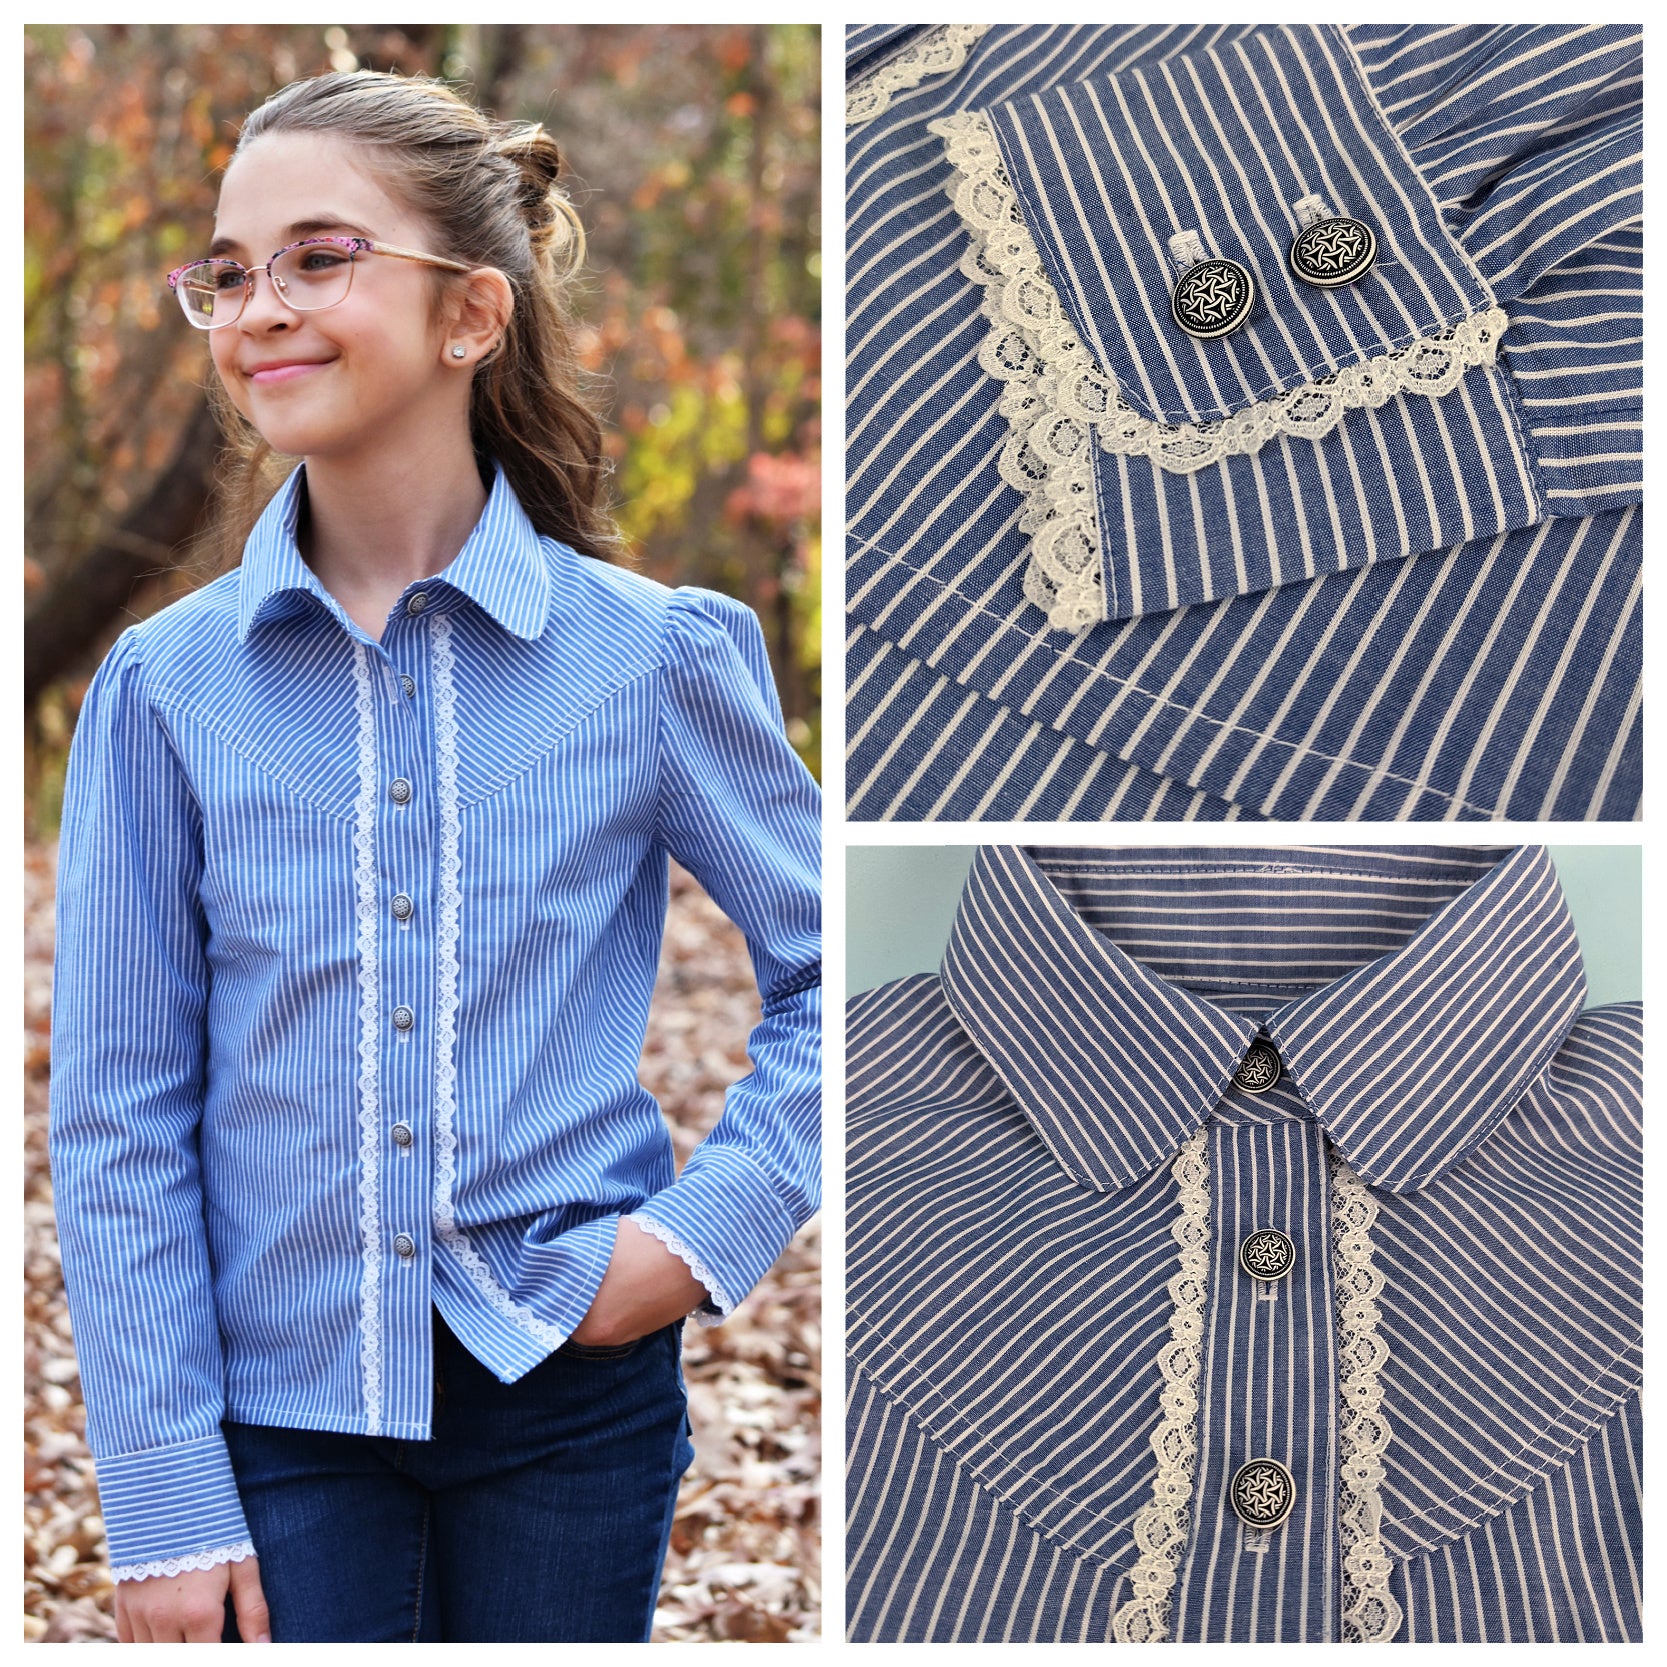
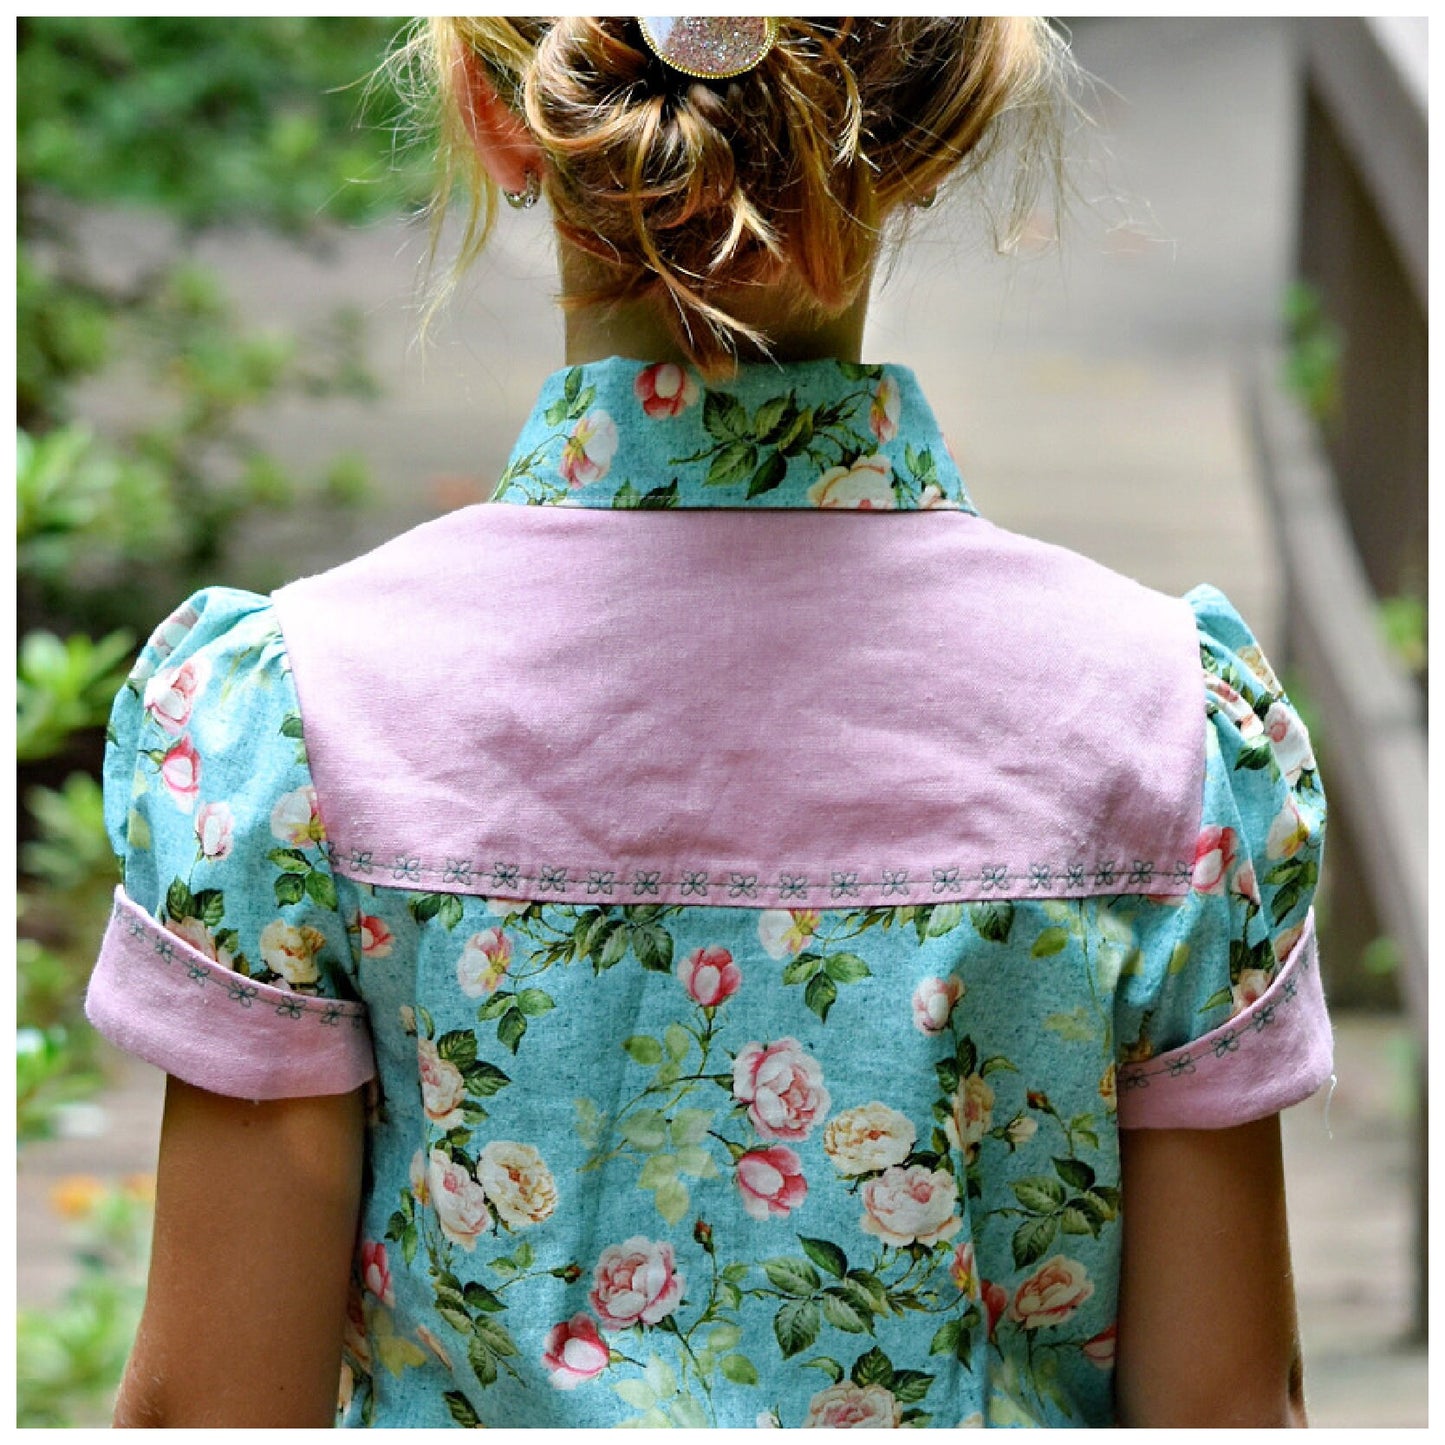
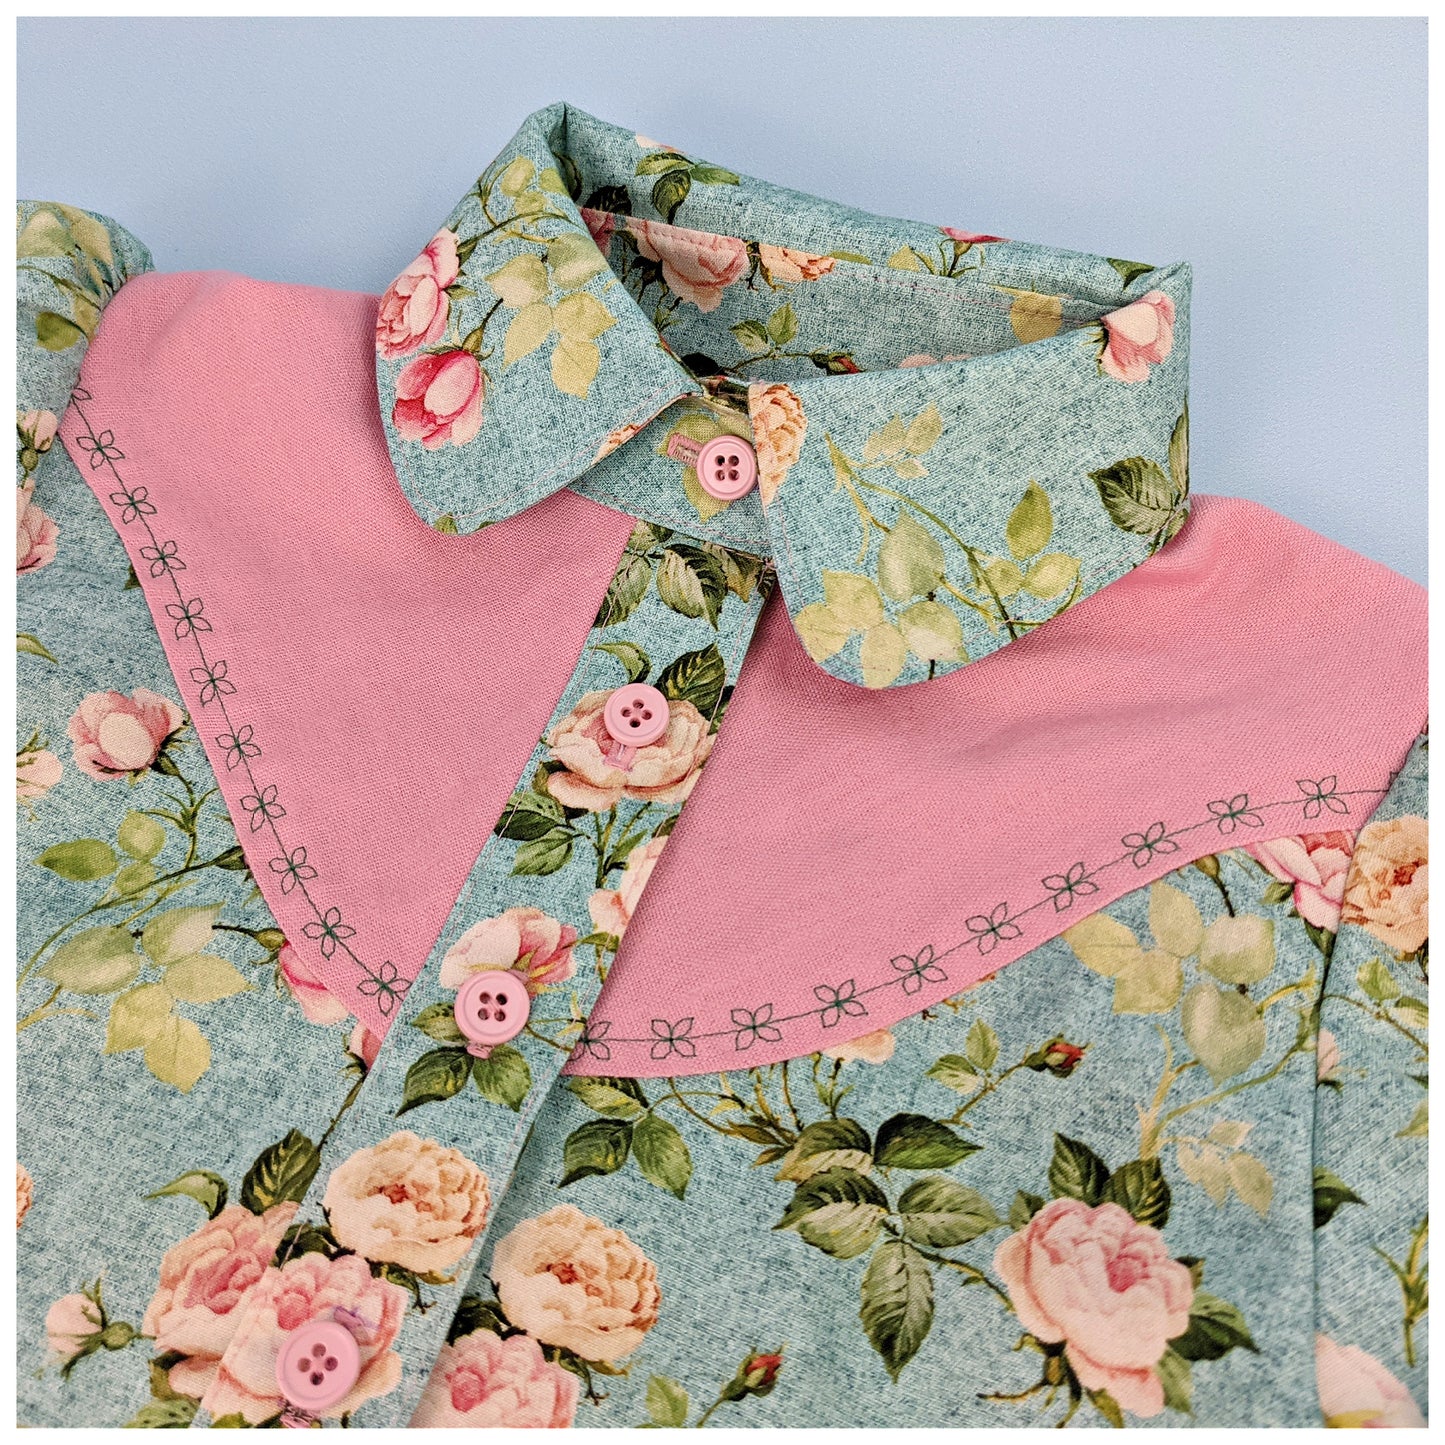
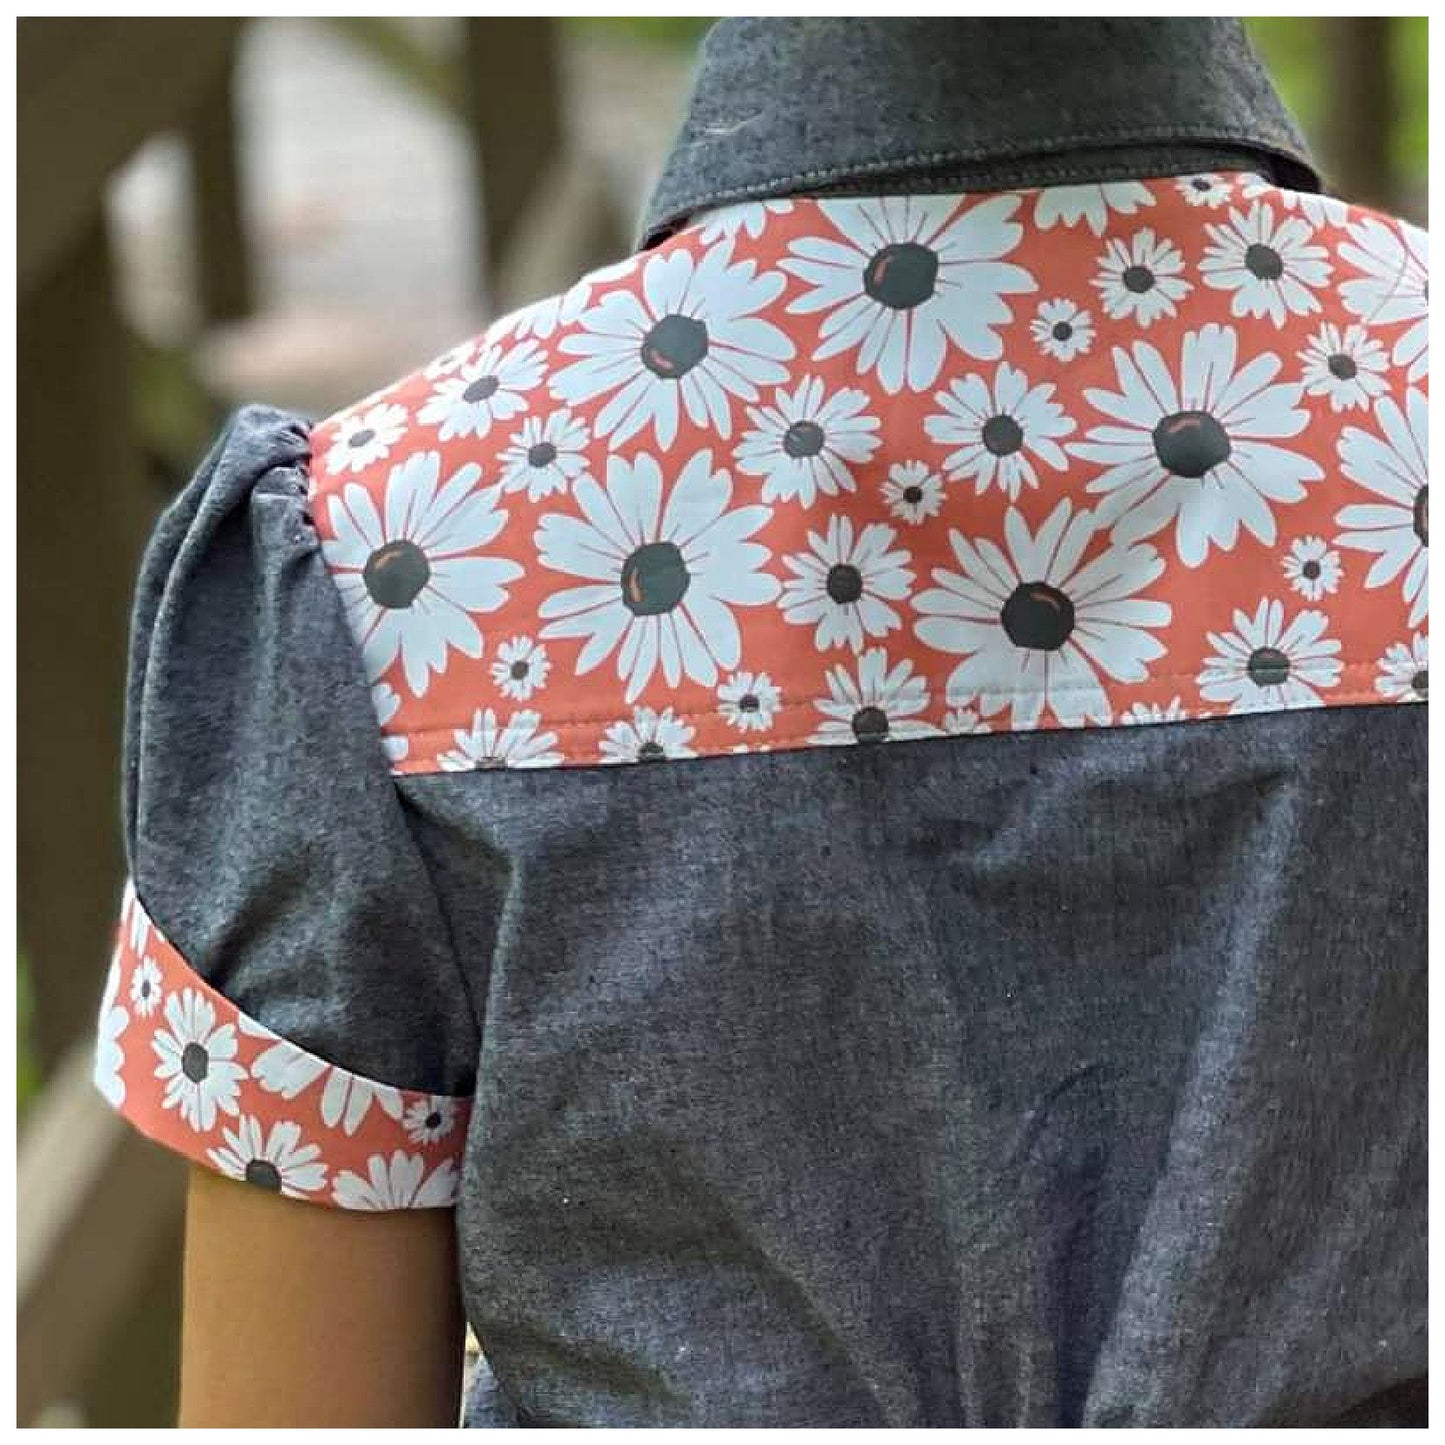
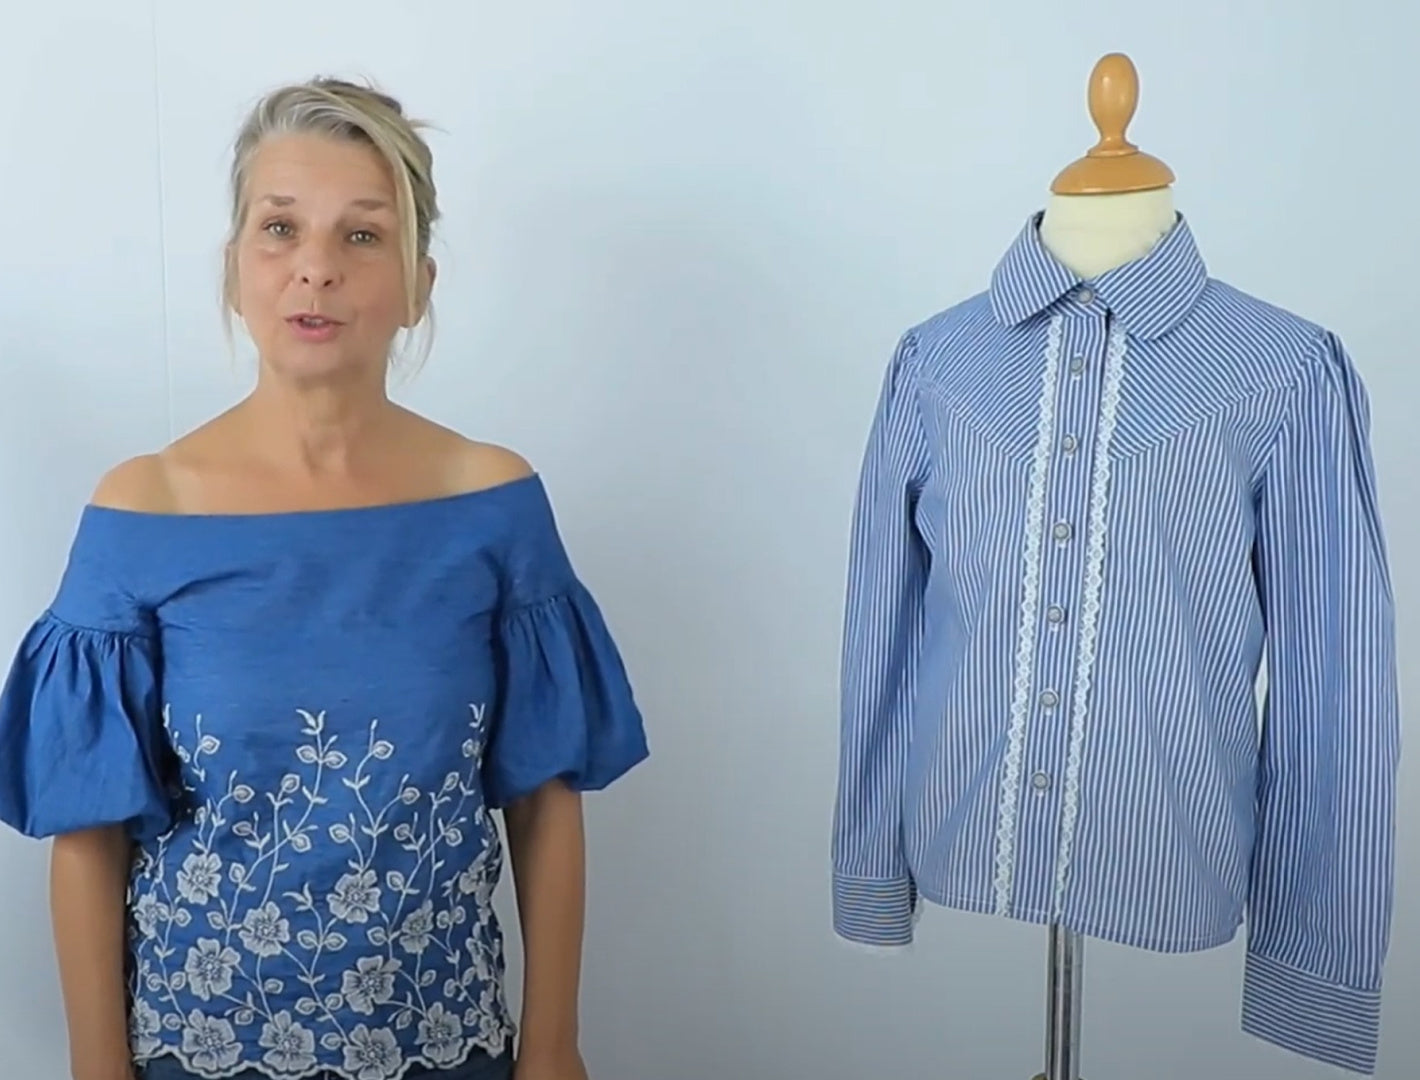
If you enjoy a touch of Rodeo style, you’ll love the subtle nods to tradition in this girls western blouse sewing pattern — from the shaped yoke to the button‑down closure, stand‑up collar the blouse has that sweet blend of heritage and handmade love.
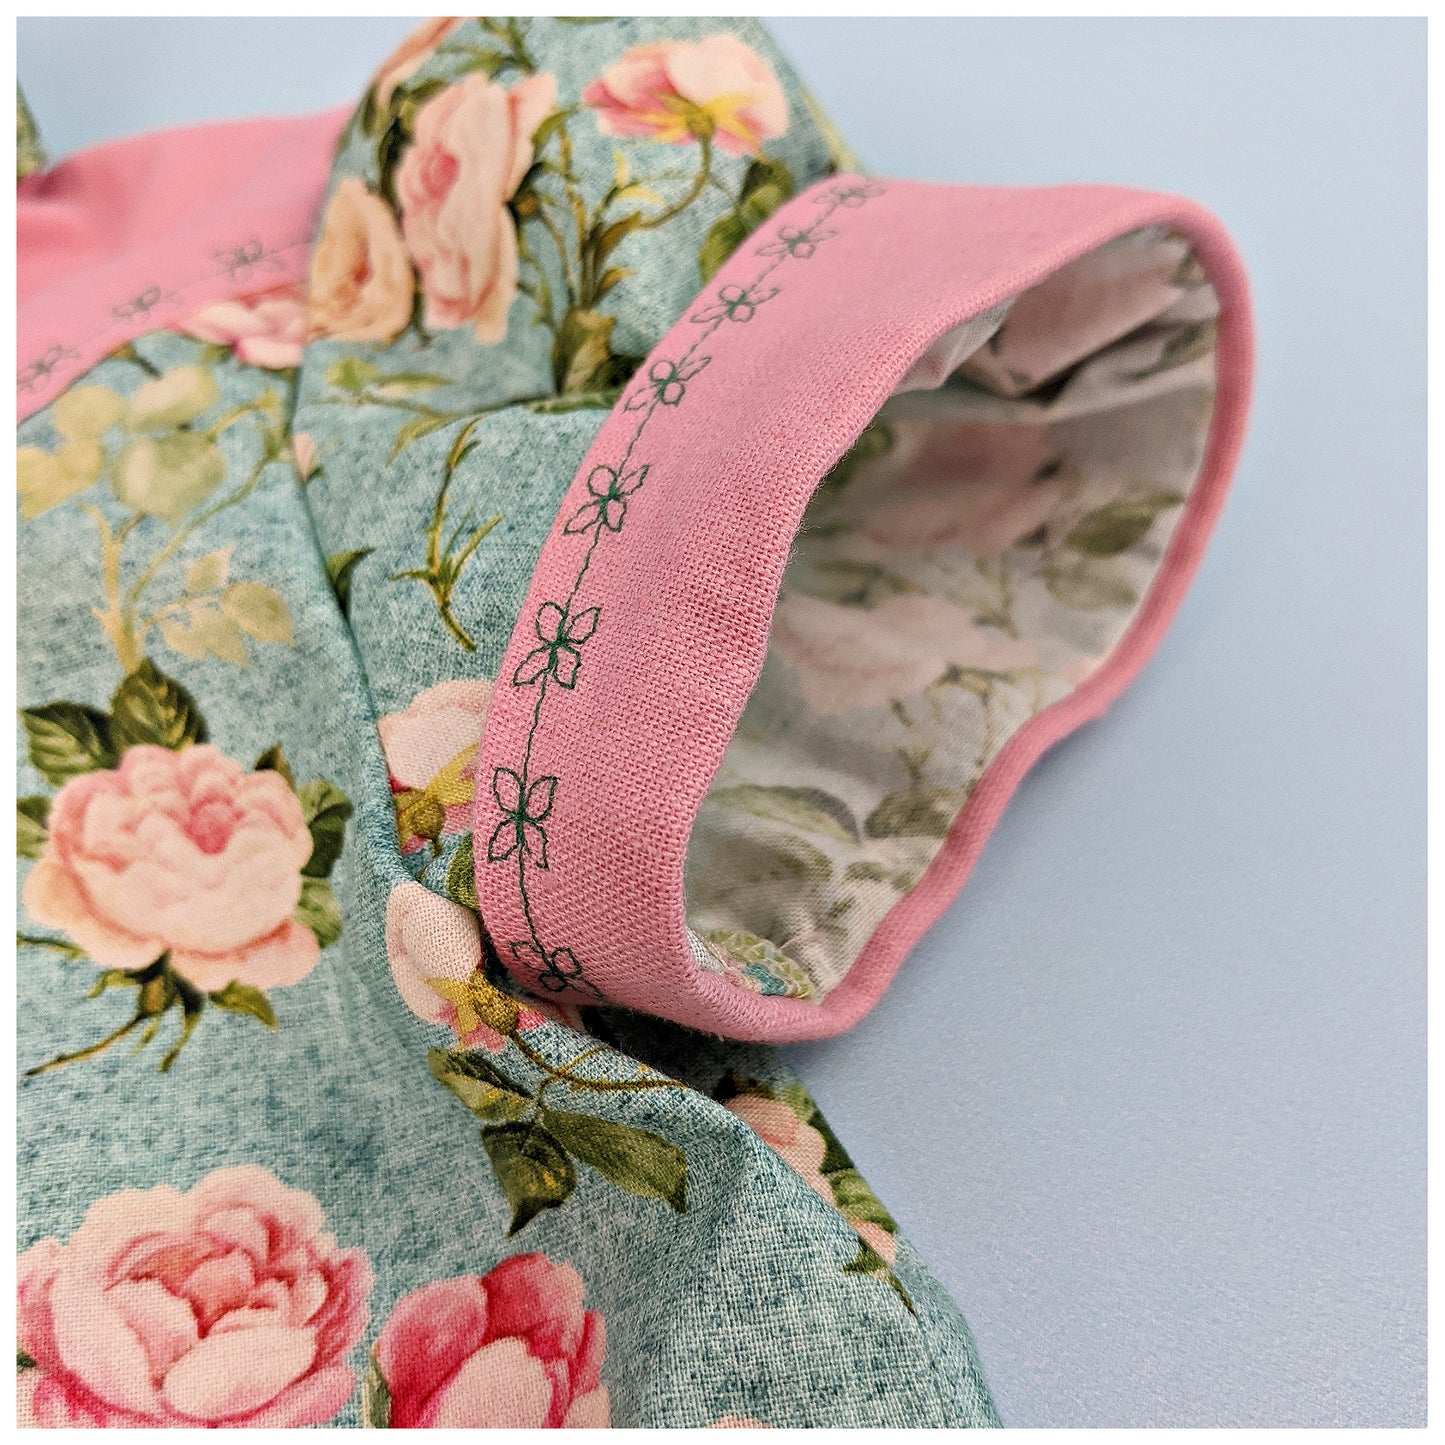
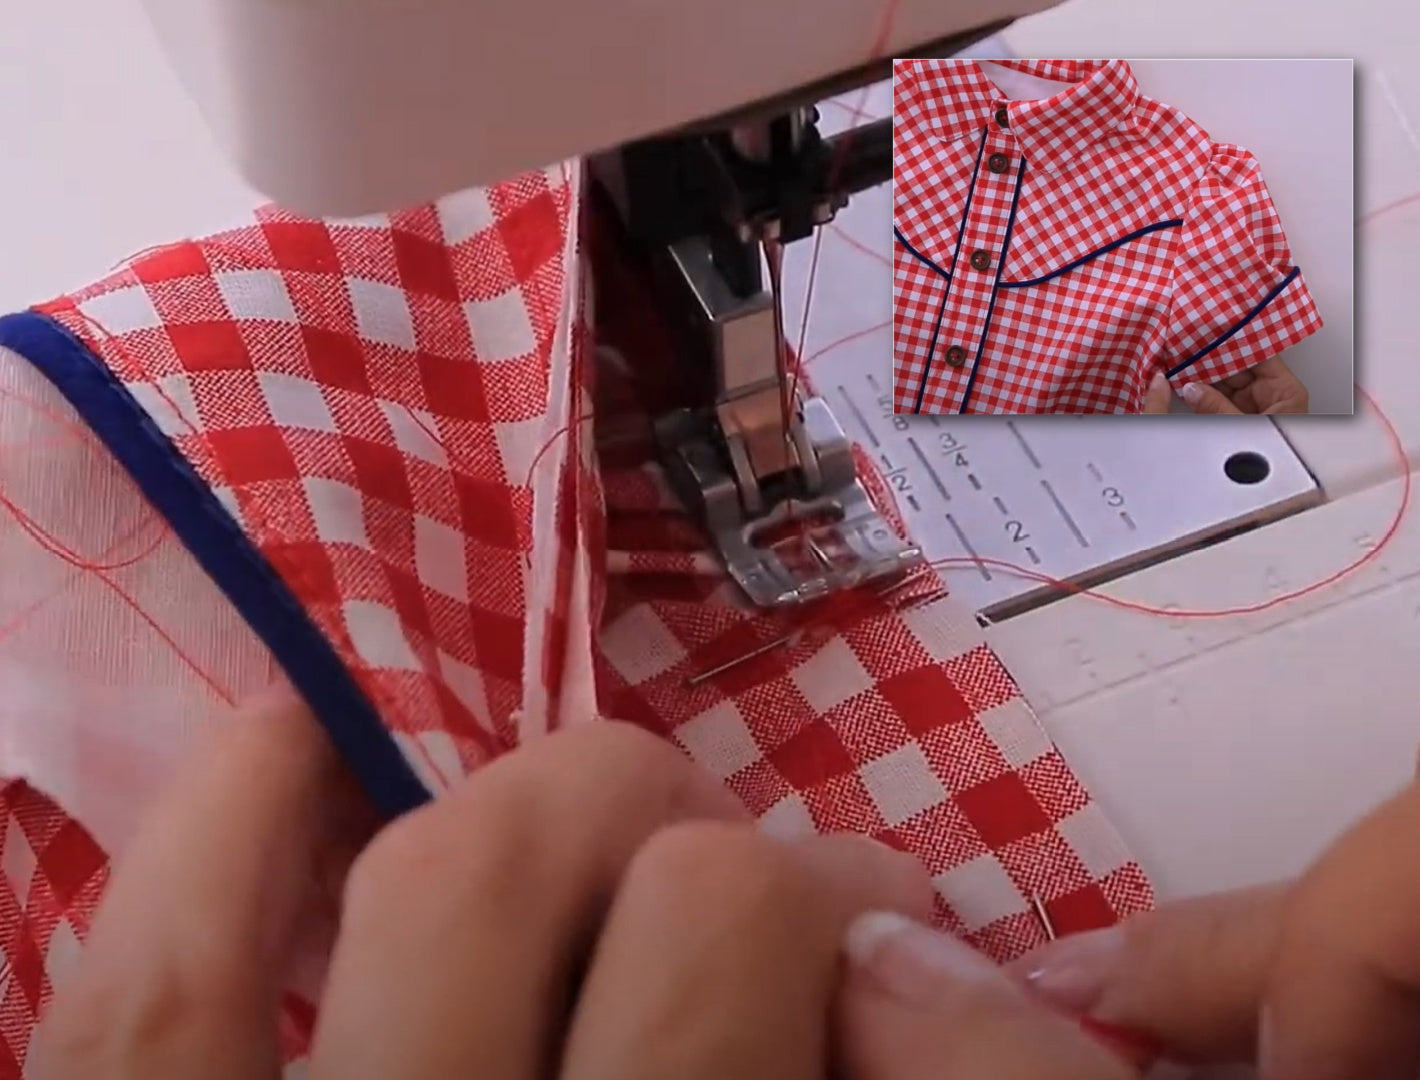
Featuring long set‑in sleeves for a neat finish or a playful short puff sleeve with adorable turn‑up cuffs.
And because a little extra help is always a treat, you’ll get a full video tutorial too. It makes this digital pattern wonderfully easy to jump into—just scroll down and let the fun begin.
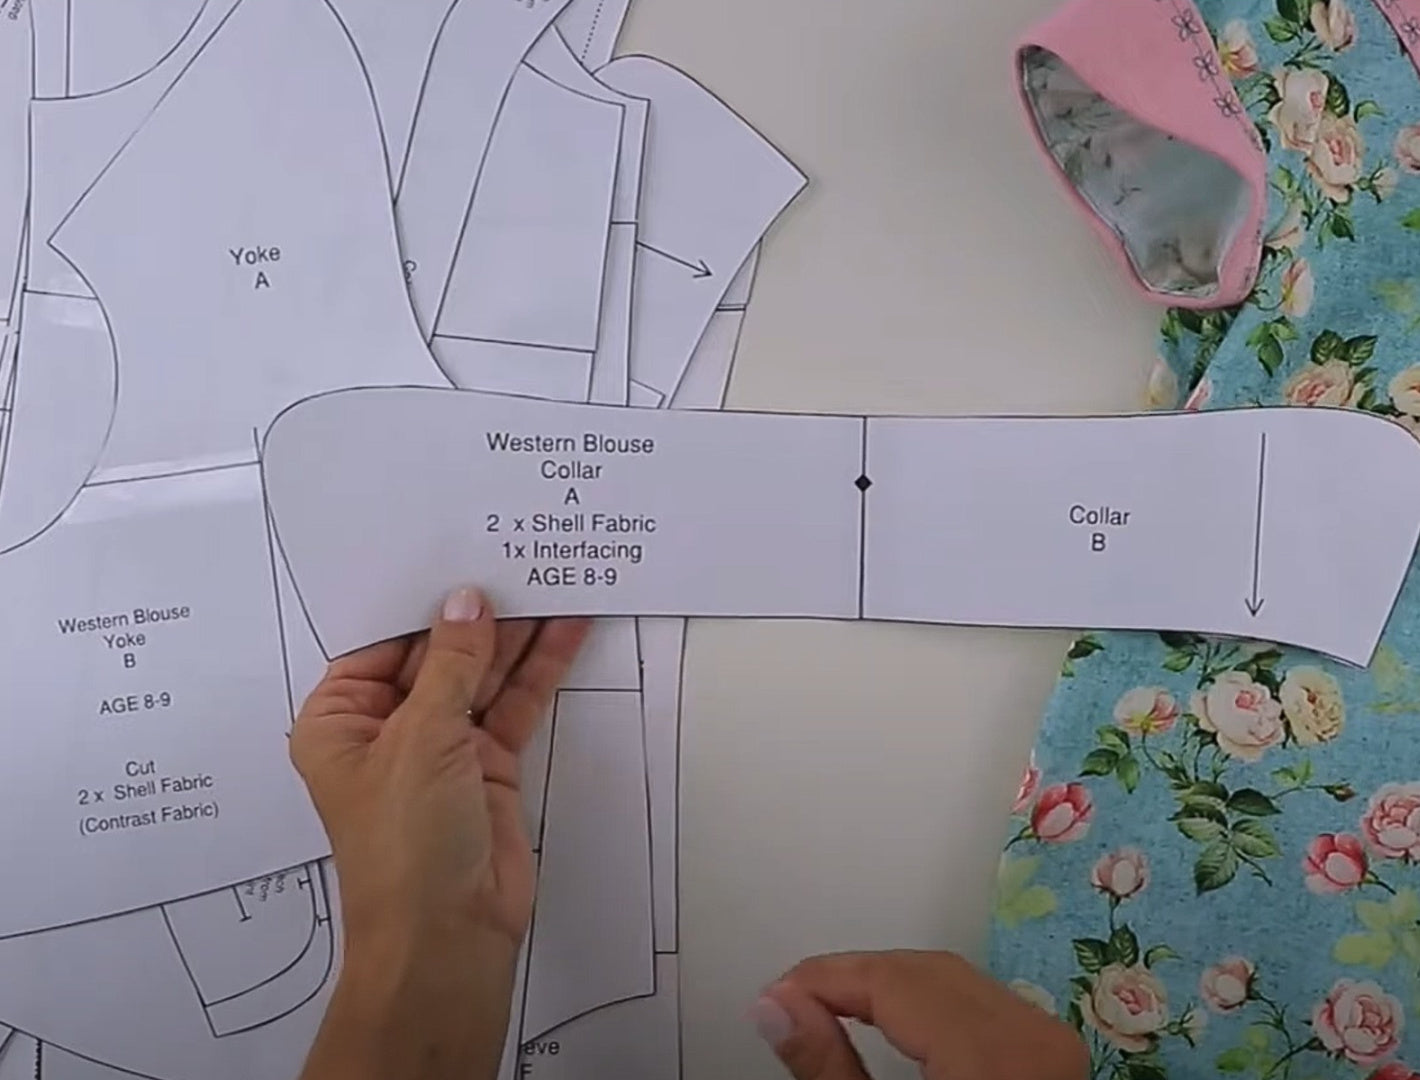
Pattern Download Includes
Pattern Download Includes
Design Options
Design Options
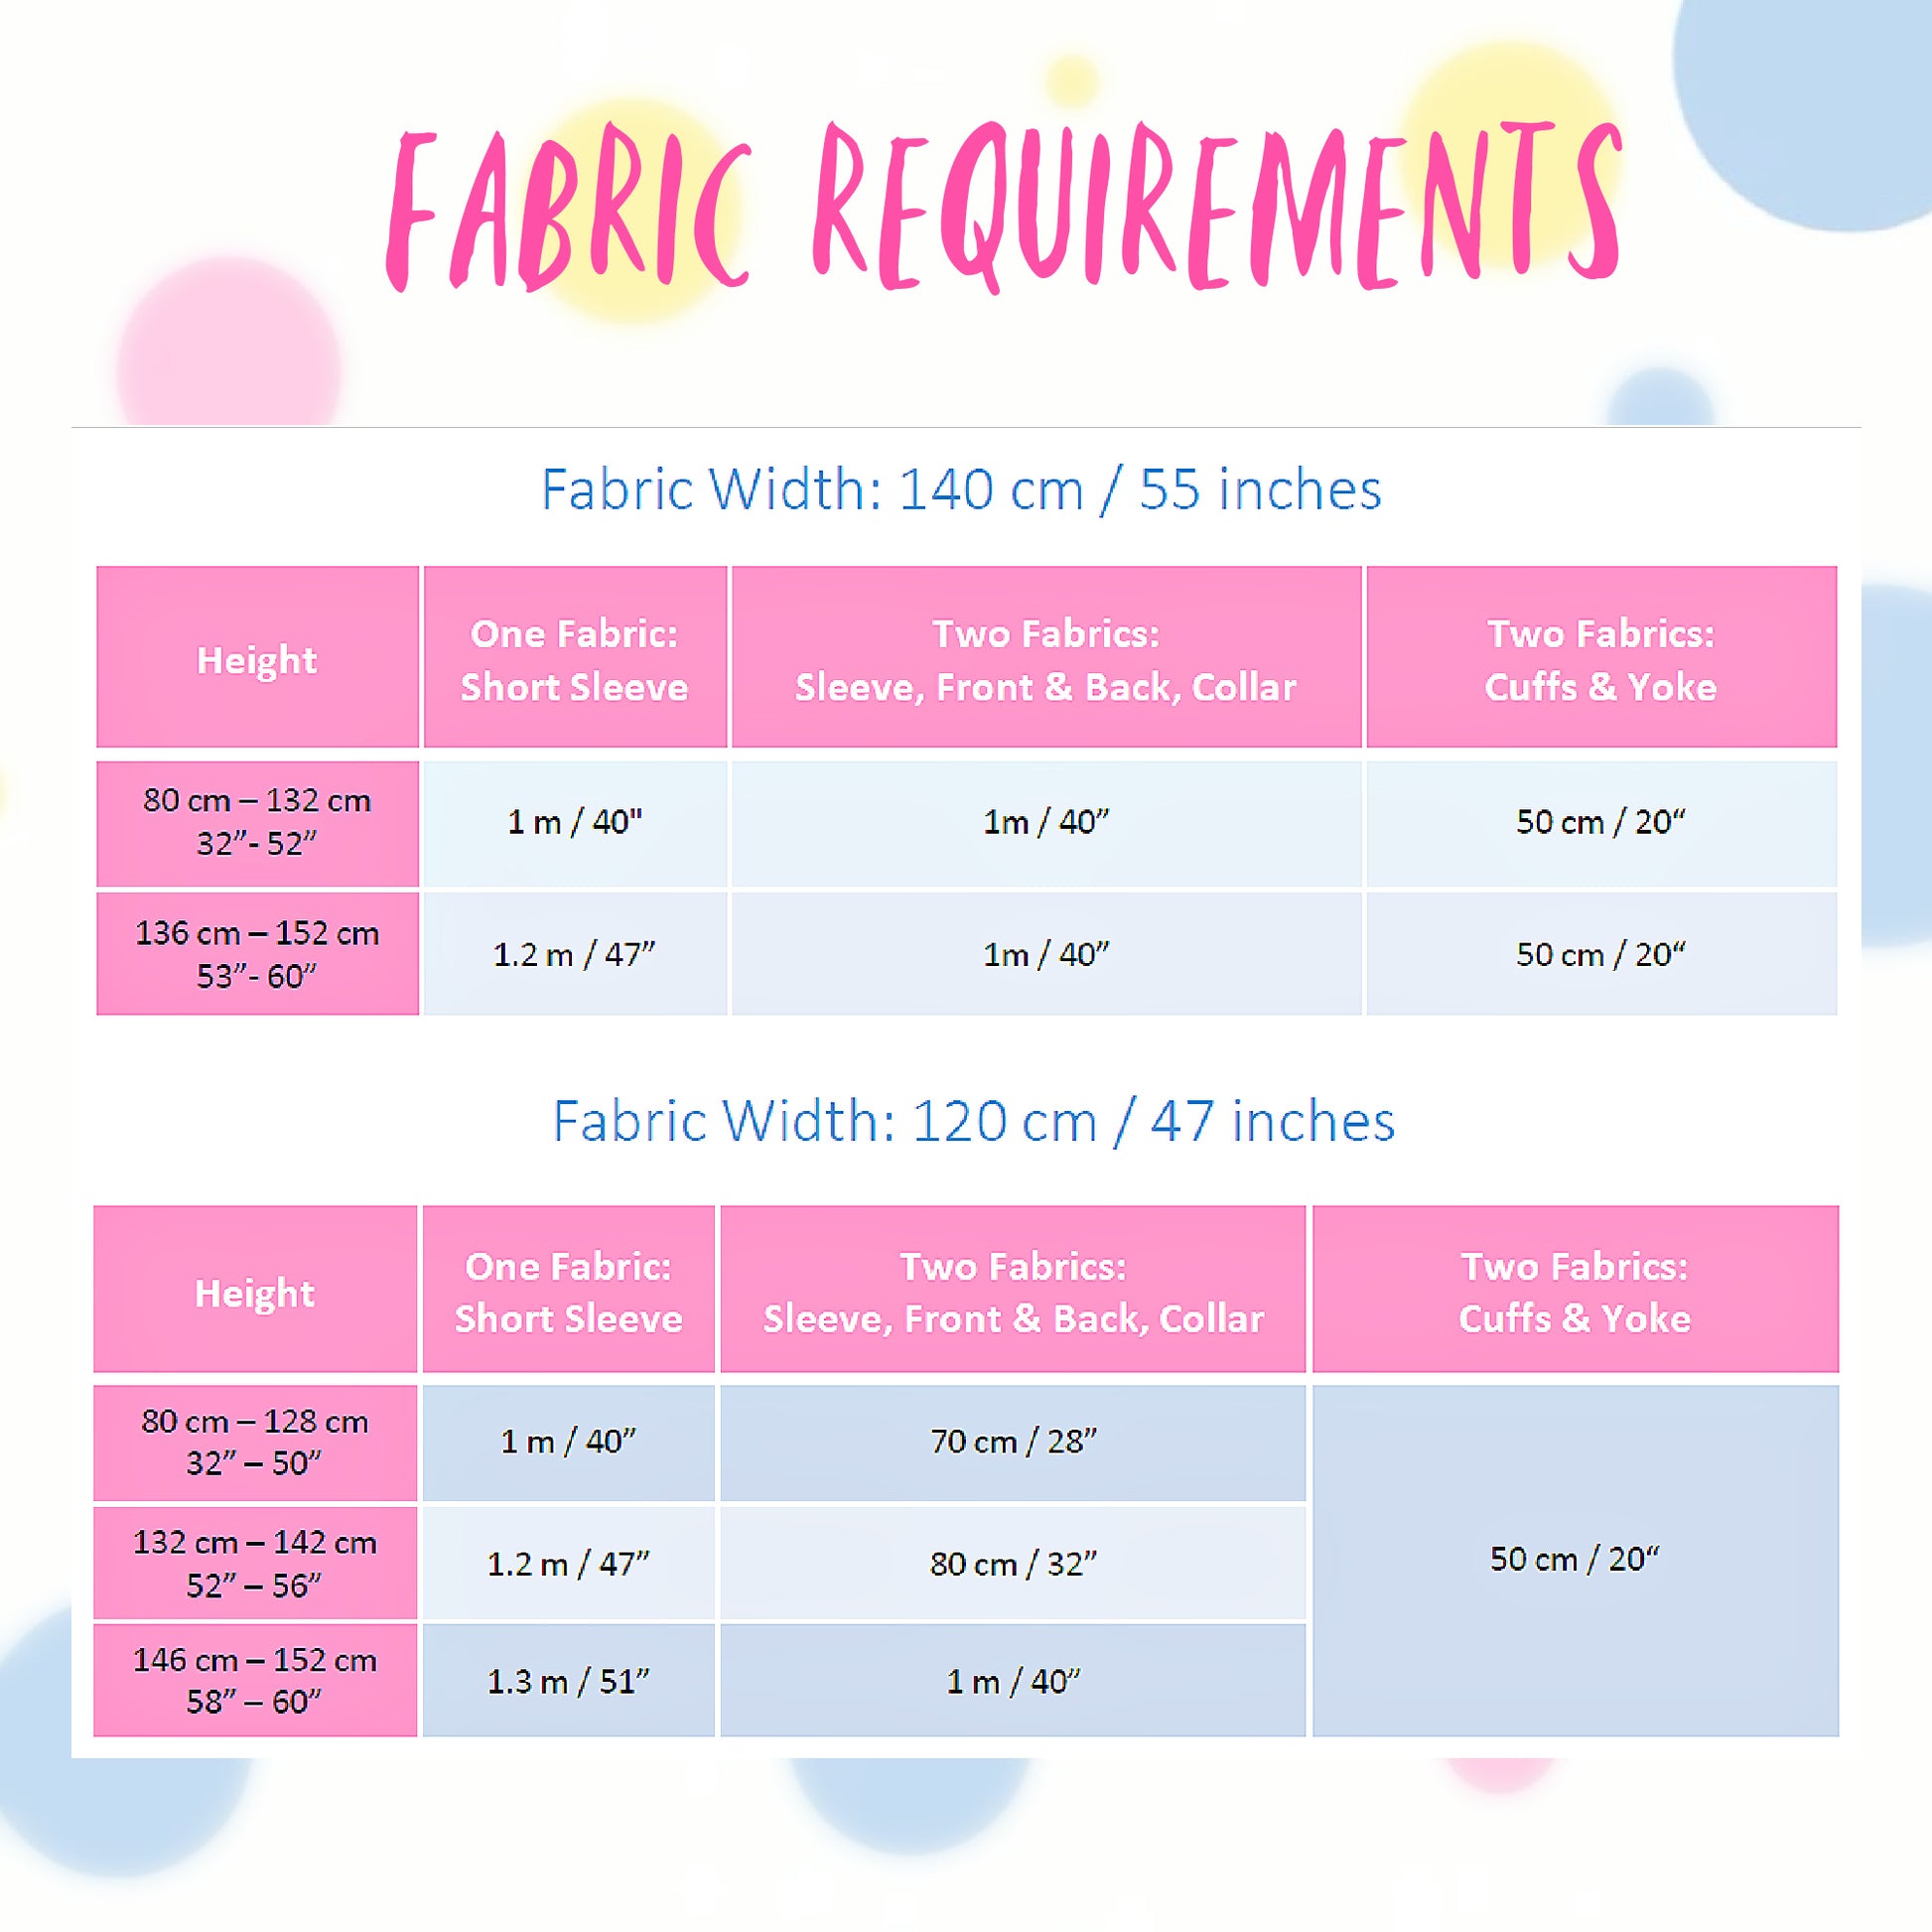
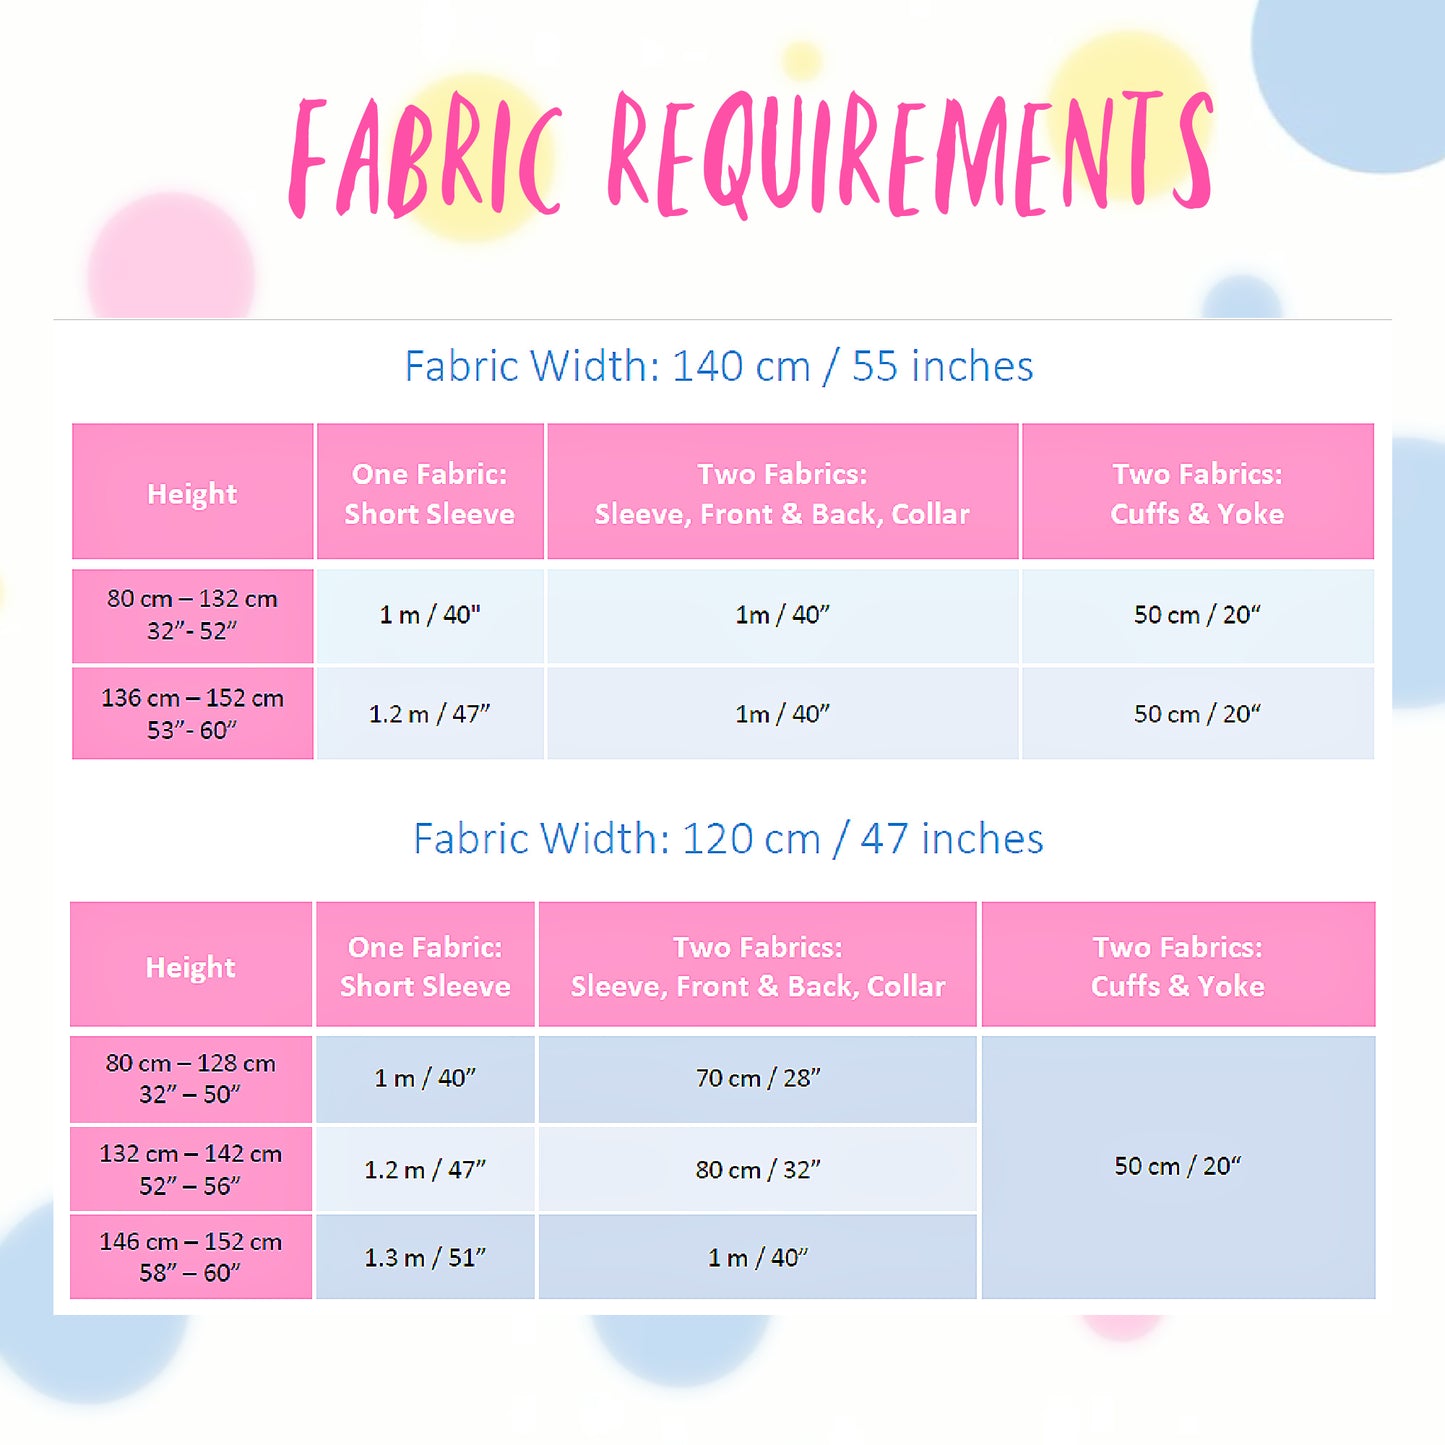
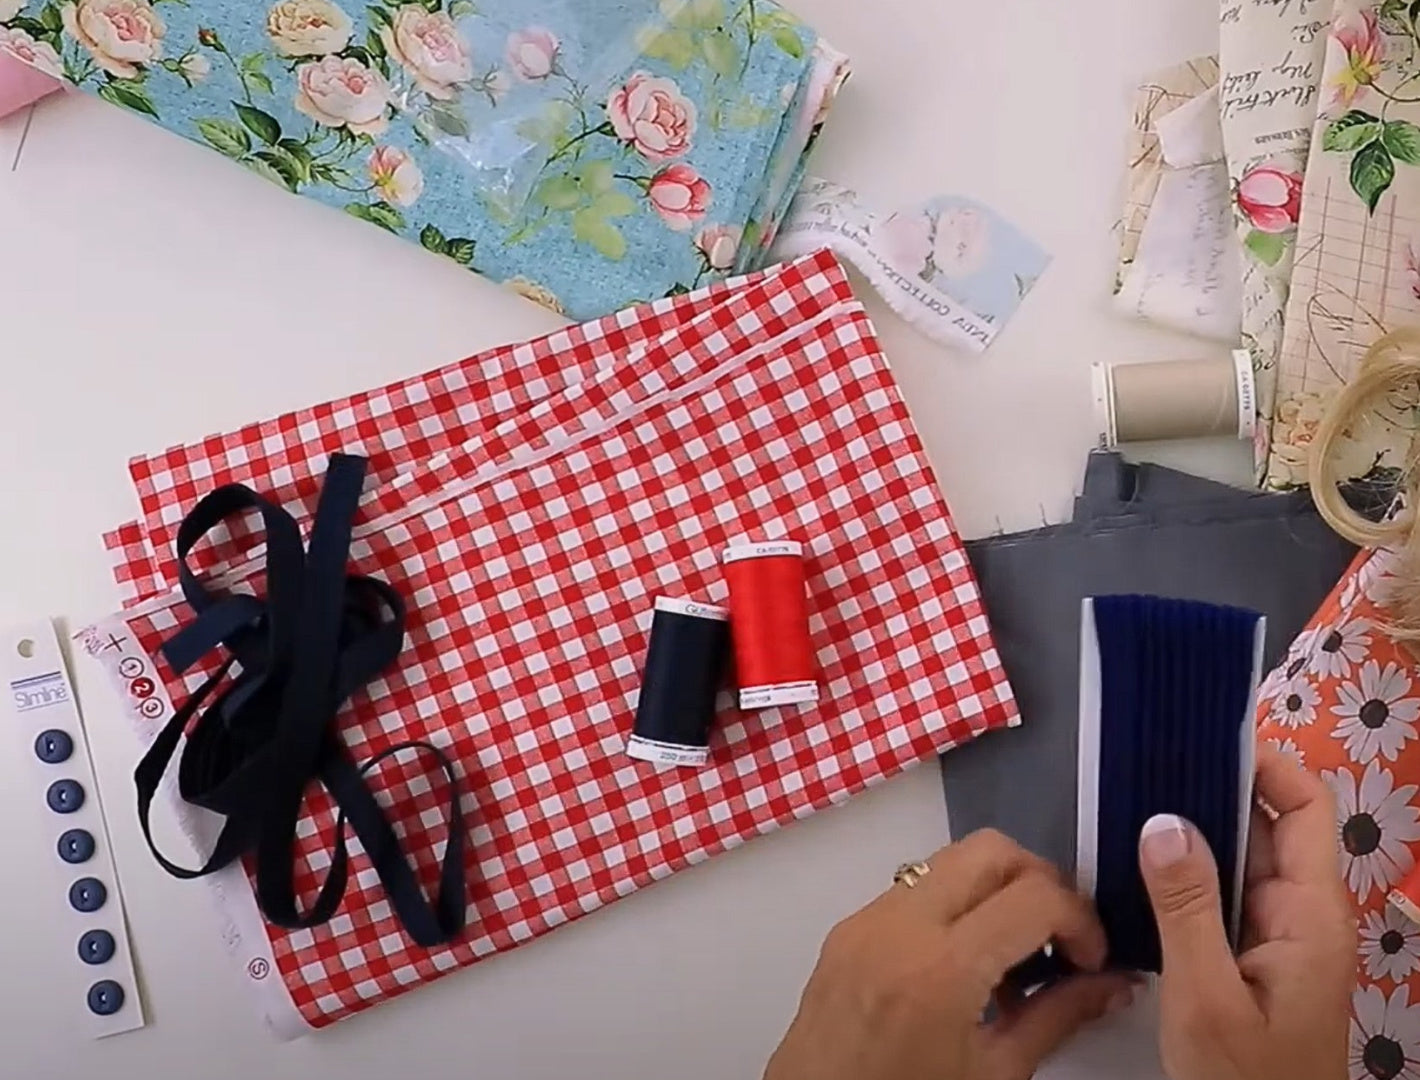
Fabric Requirements
Fabric Requirements
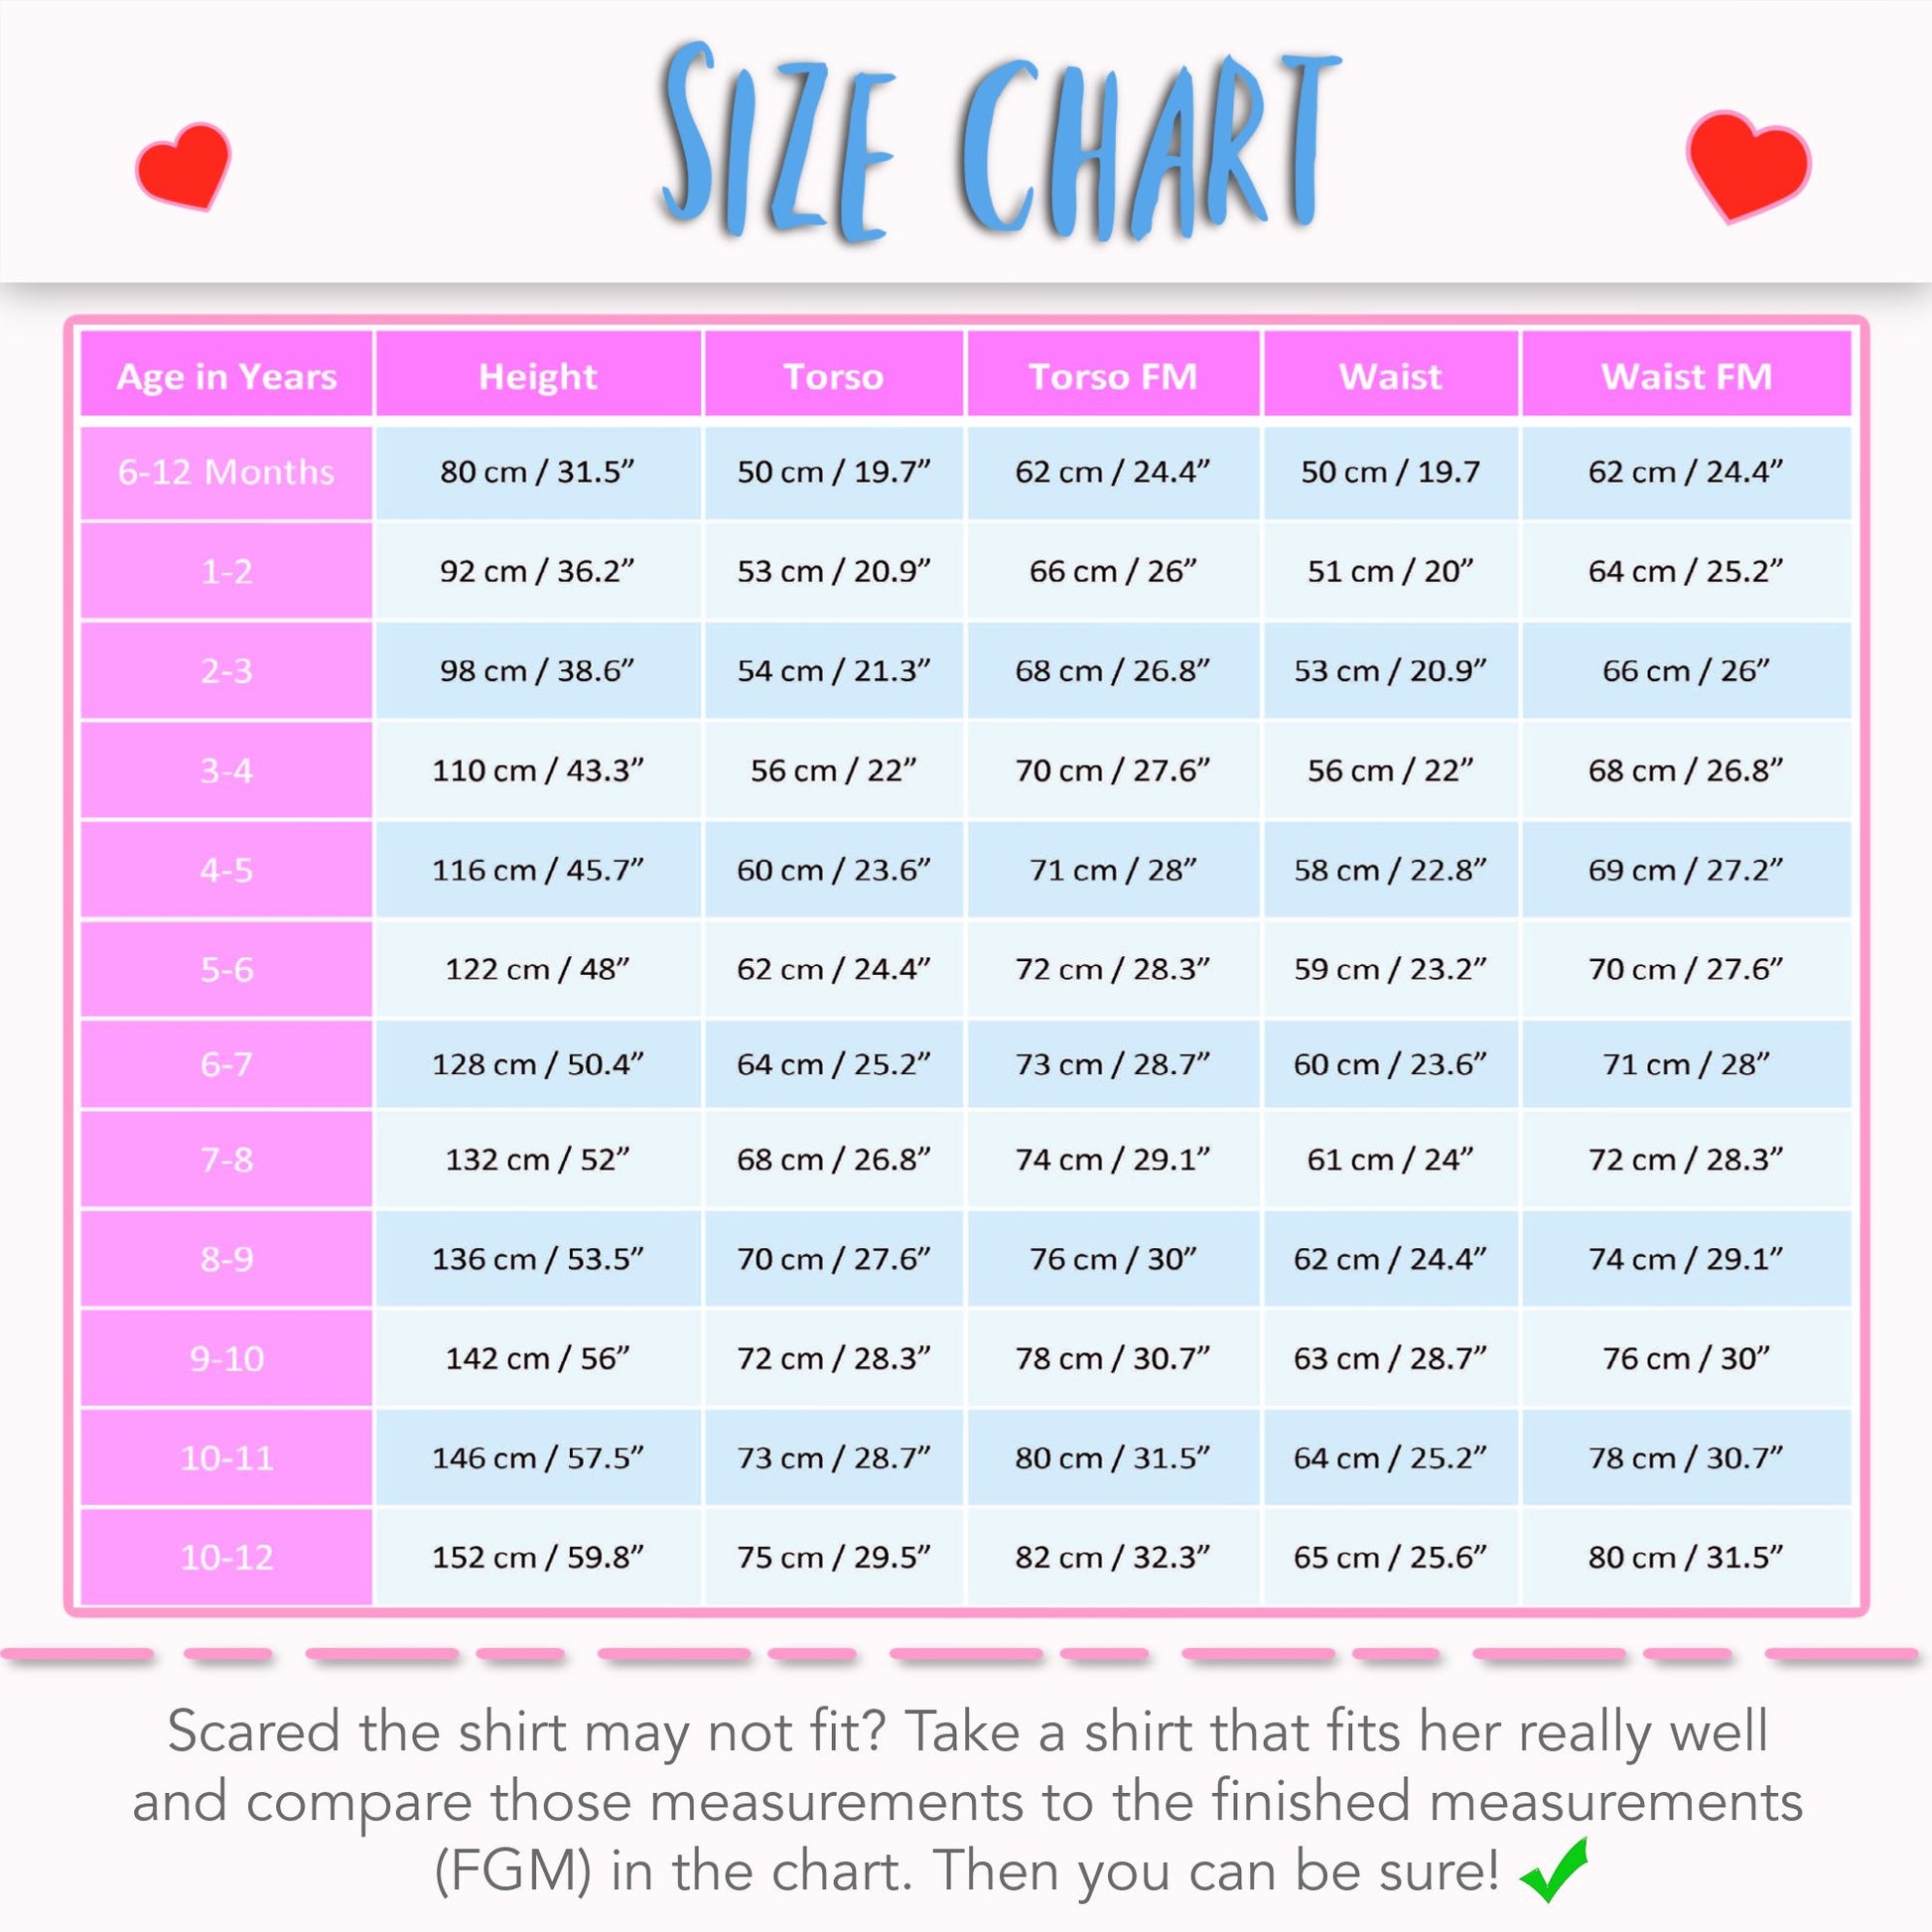
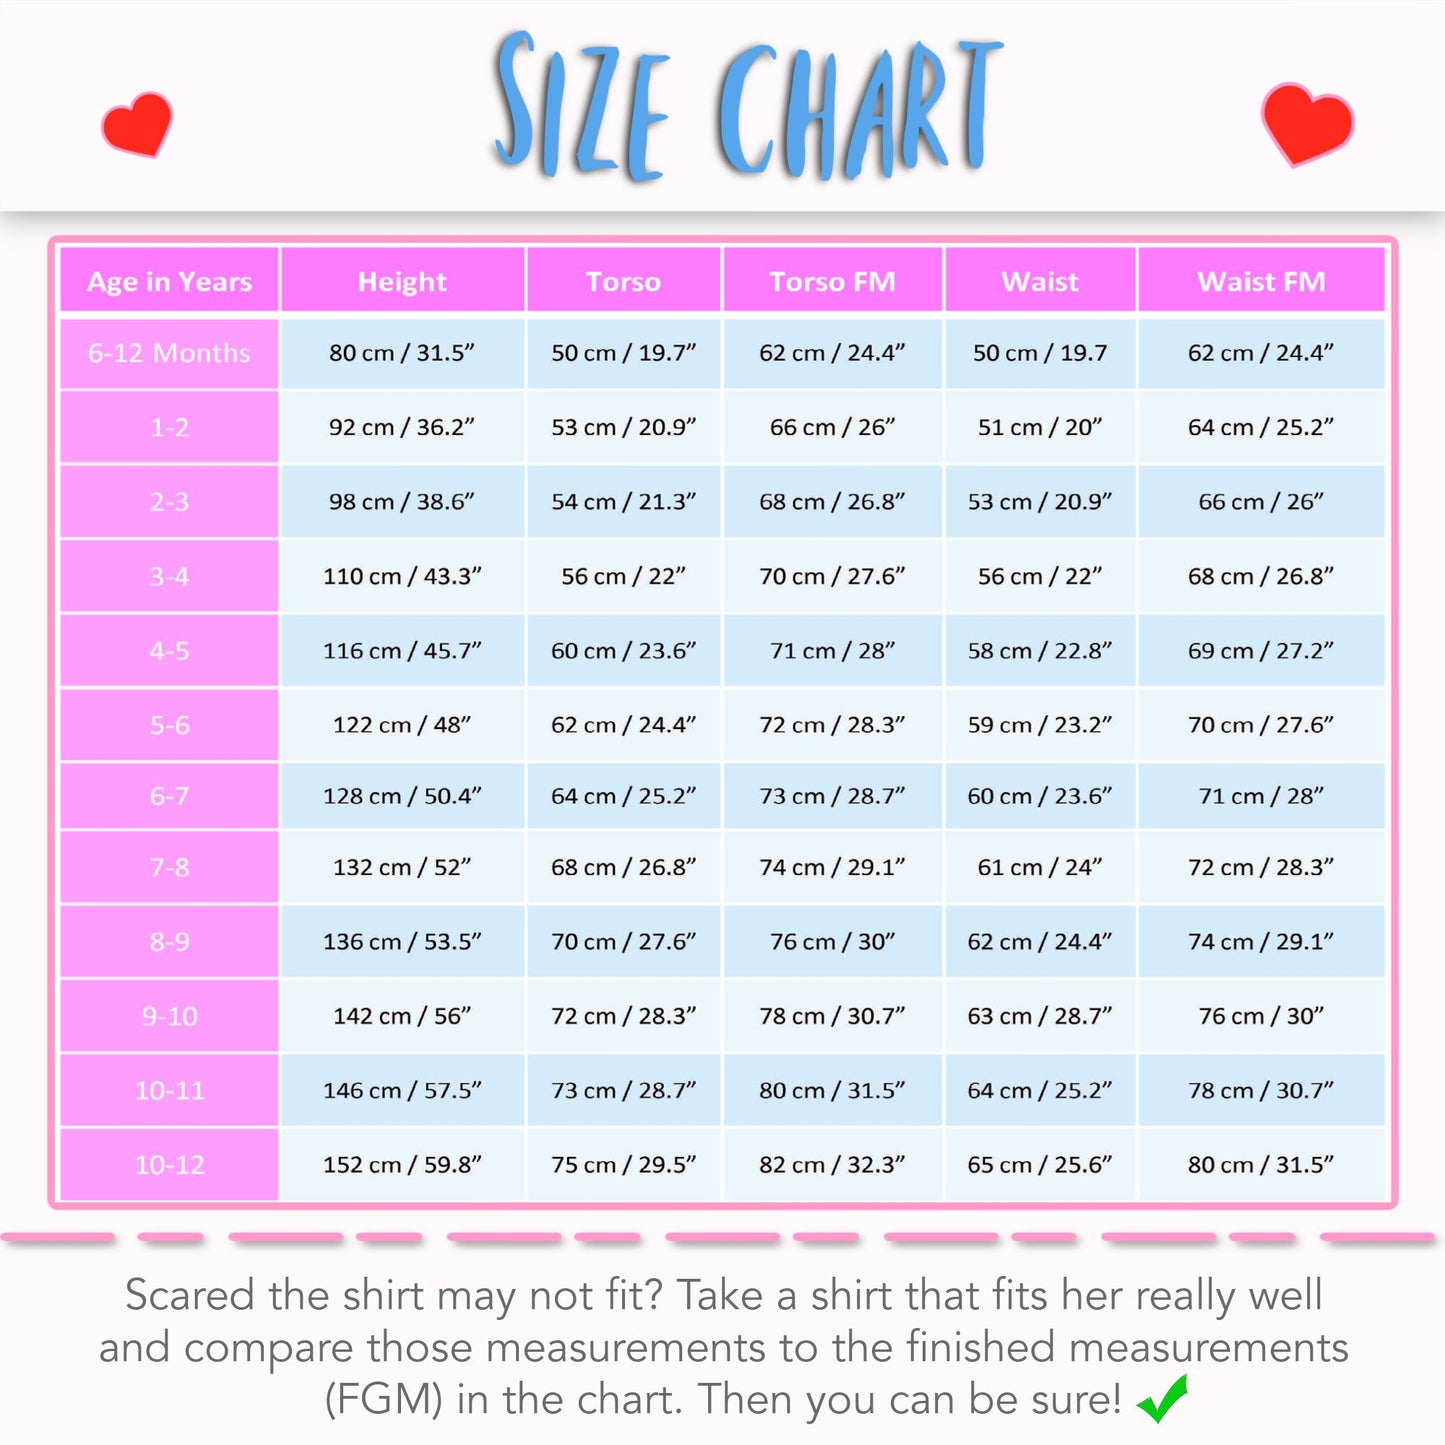
Available Sizes
Available Sizes
Please Read
Please Read


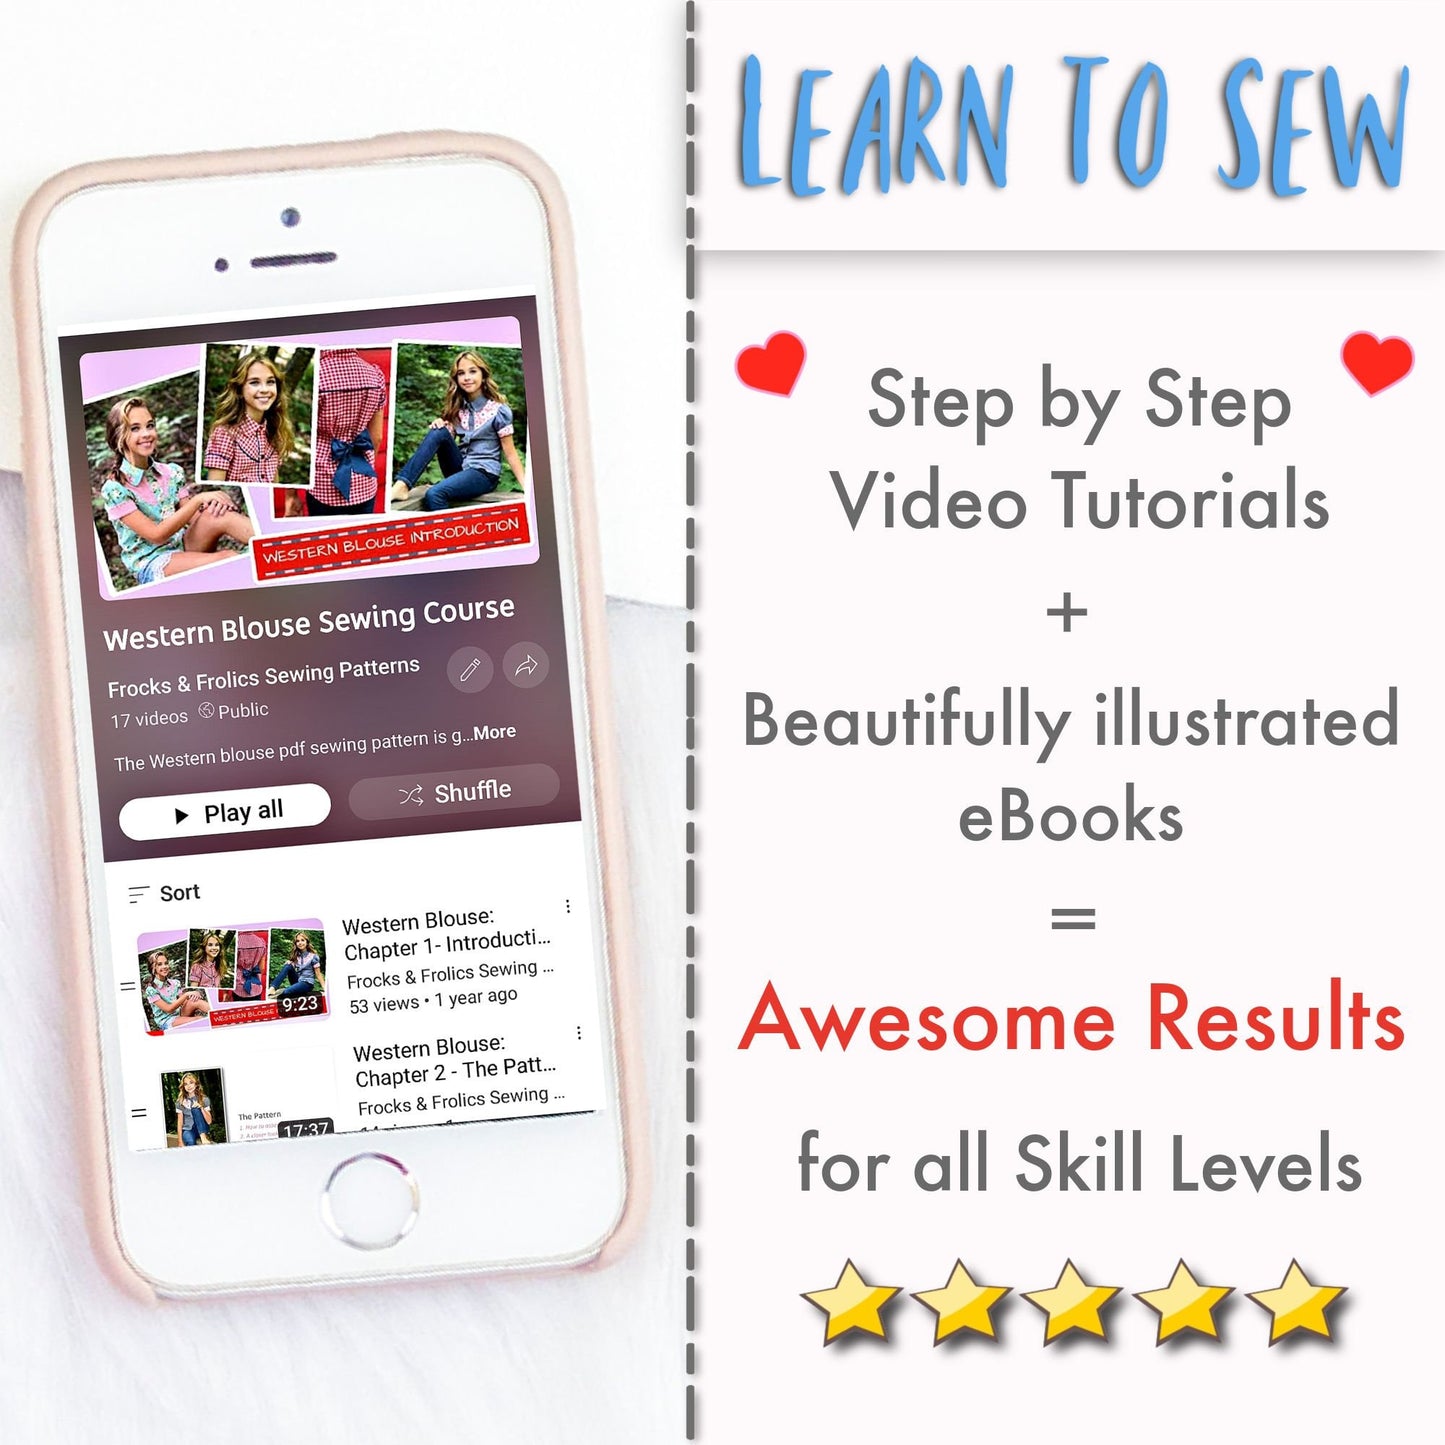


STEP-BY-STEP VIDEO TUTORIALS

INTRODUCTION
THE PATTERN
FABRIC CHOICE
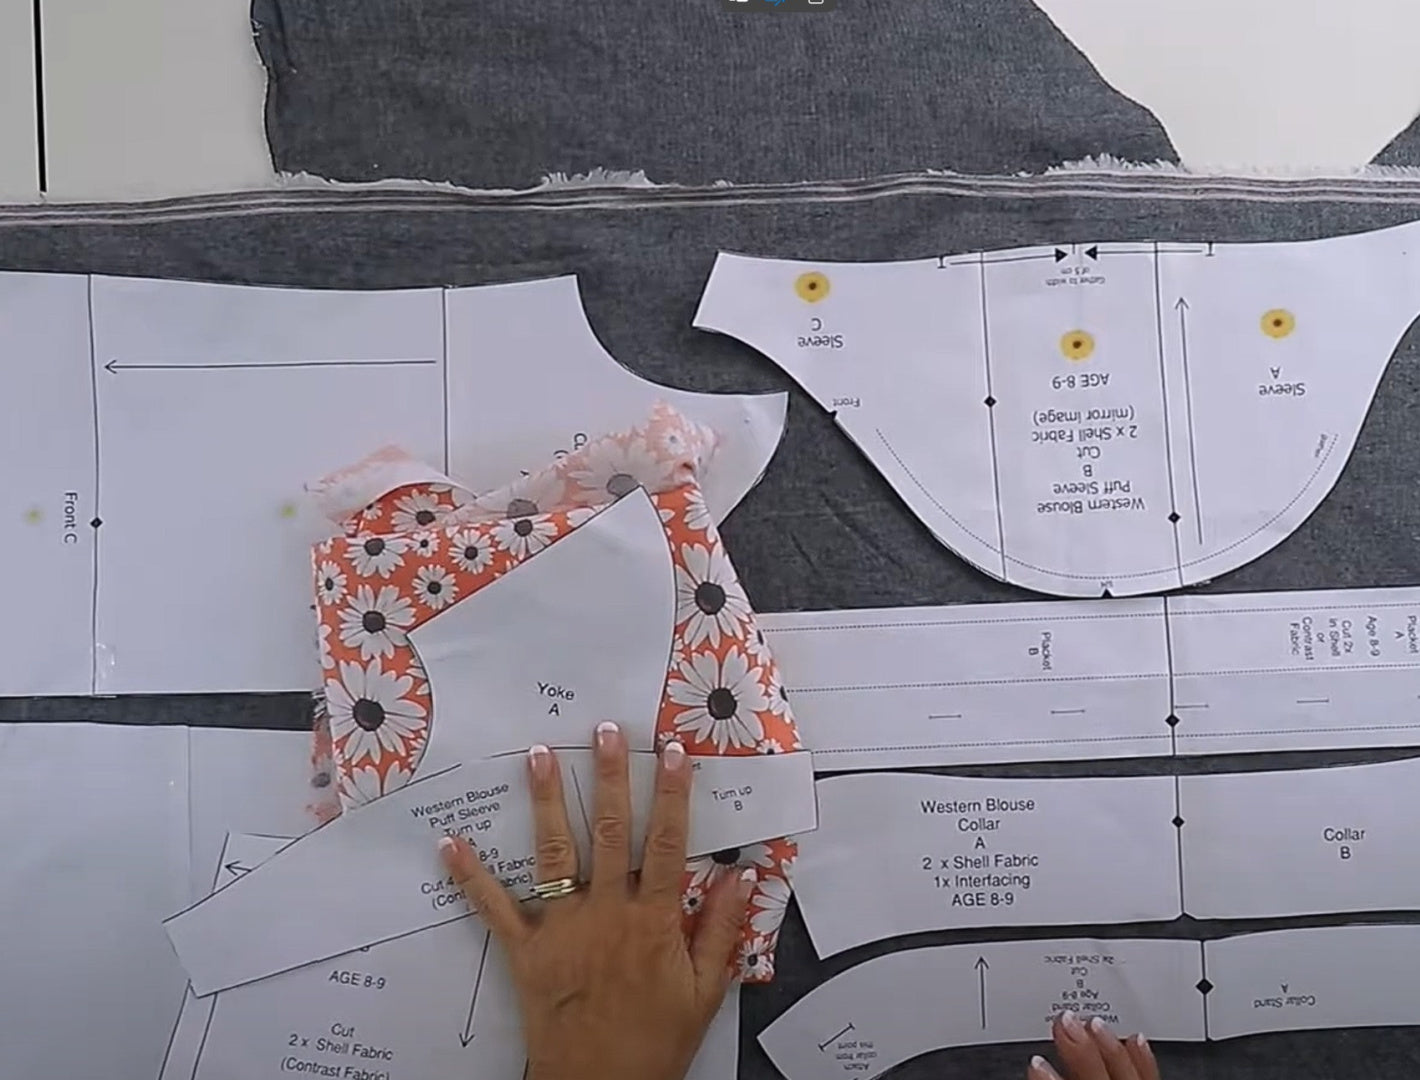
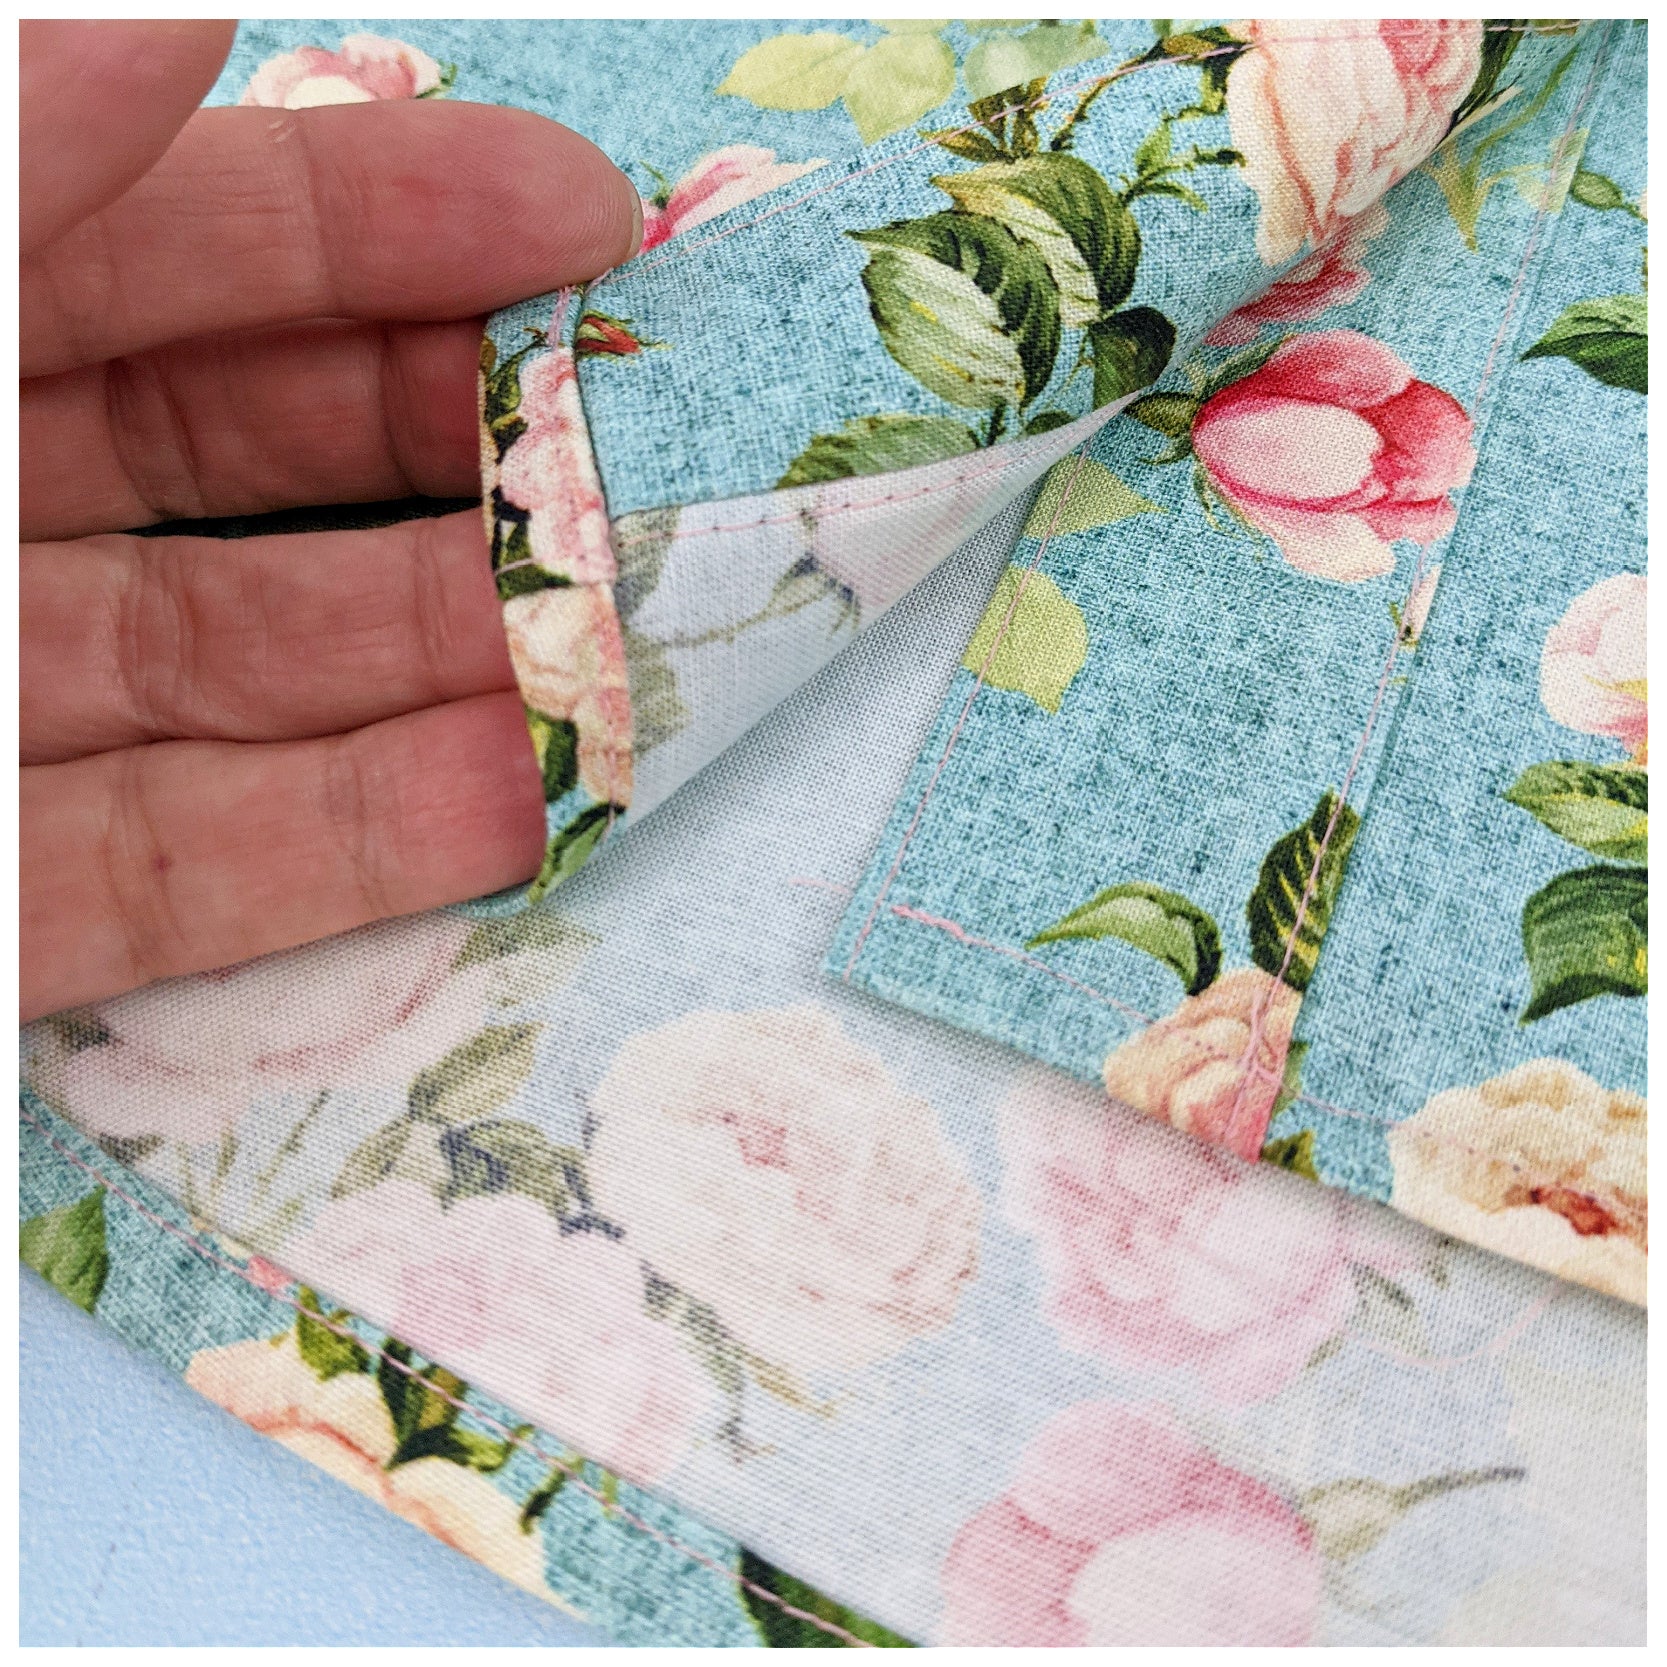
CUTTING OUT

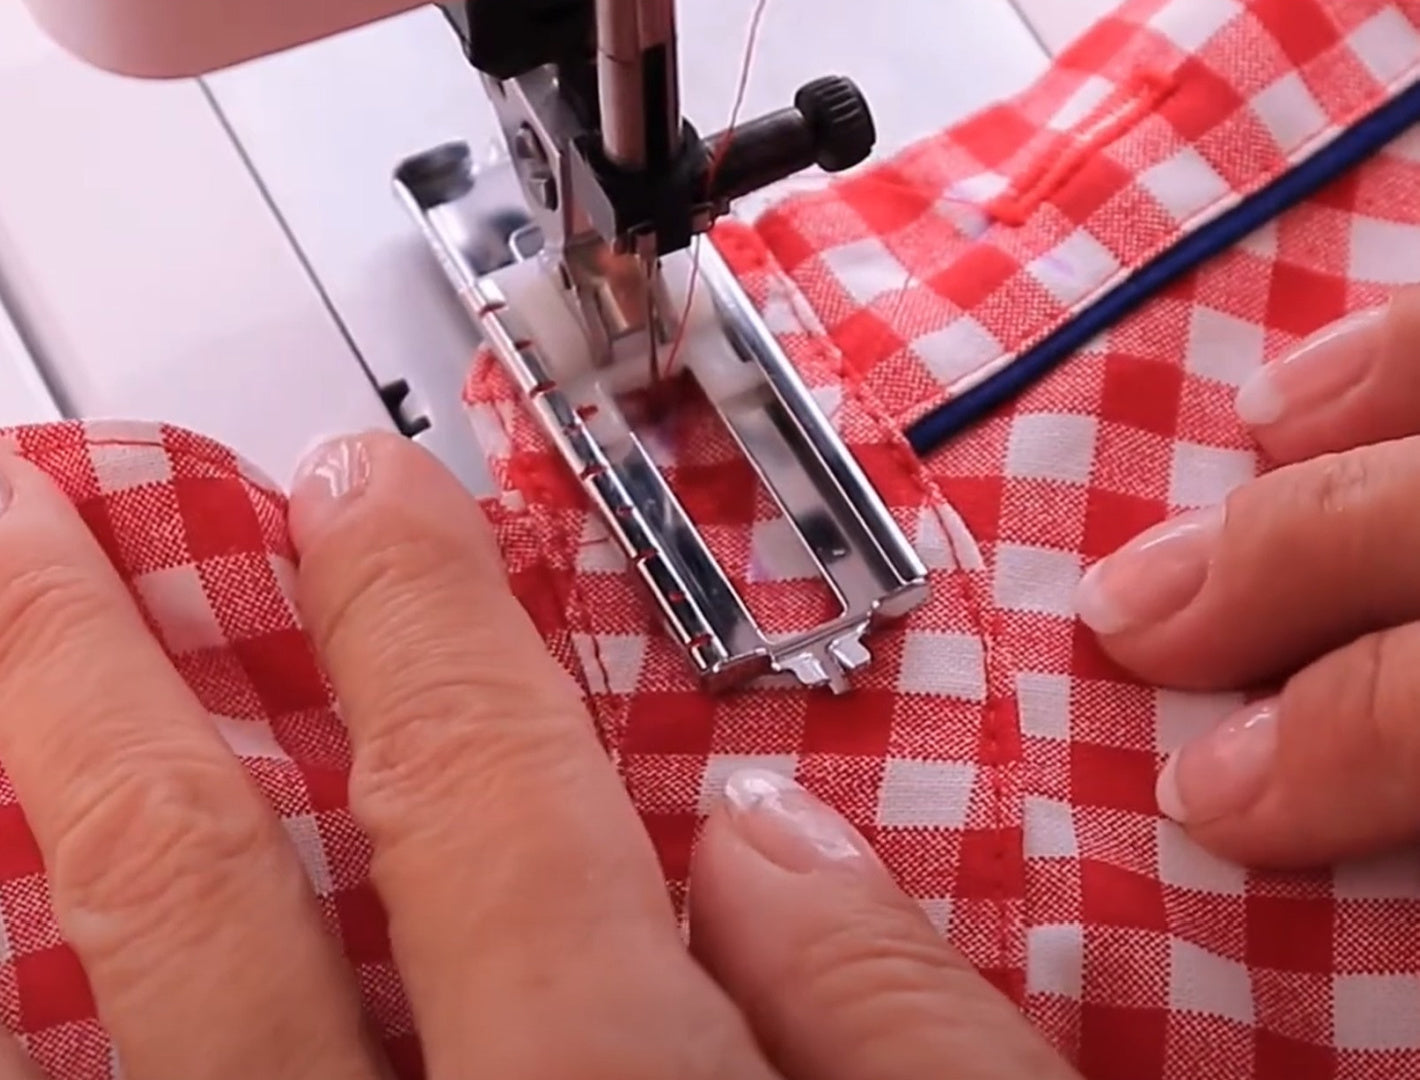
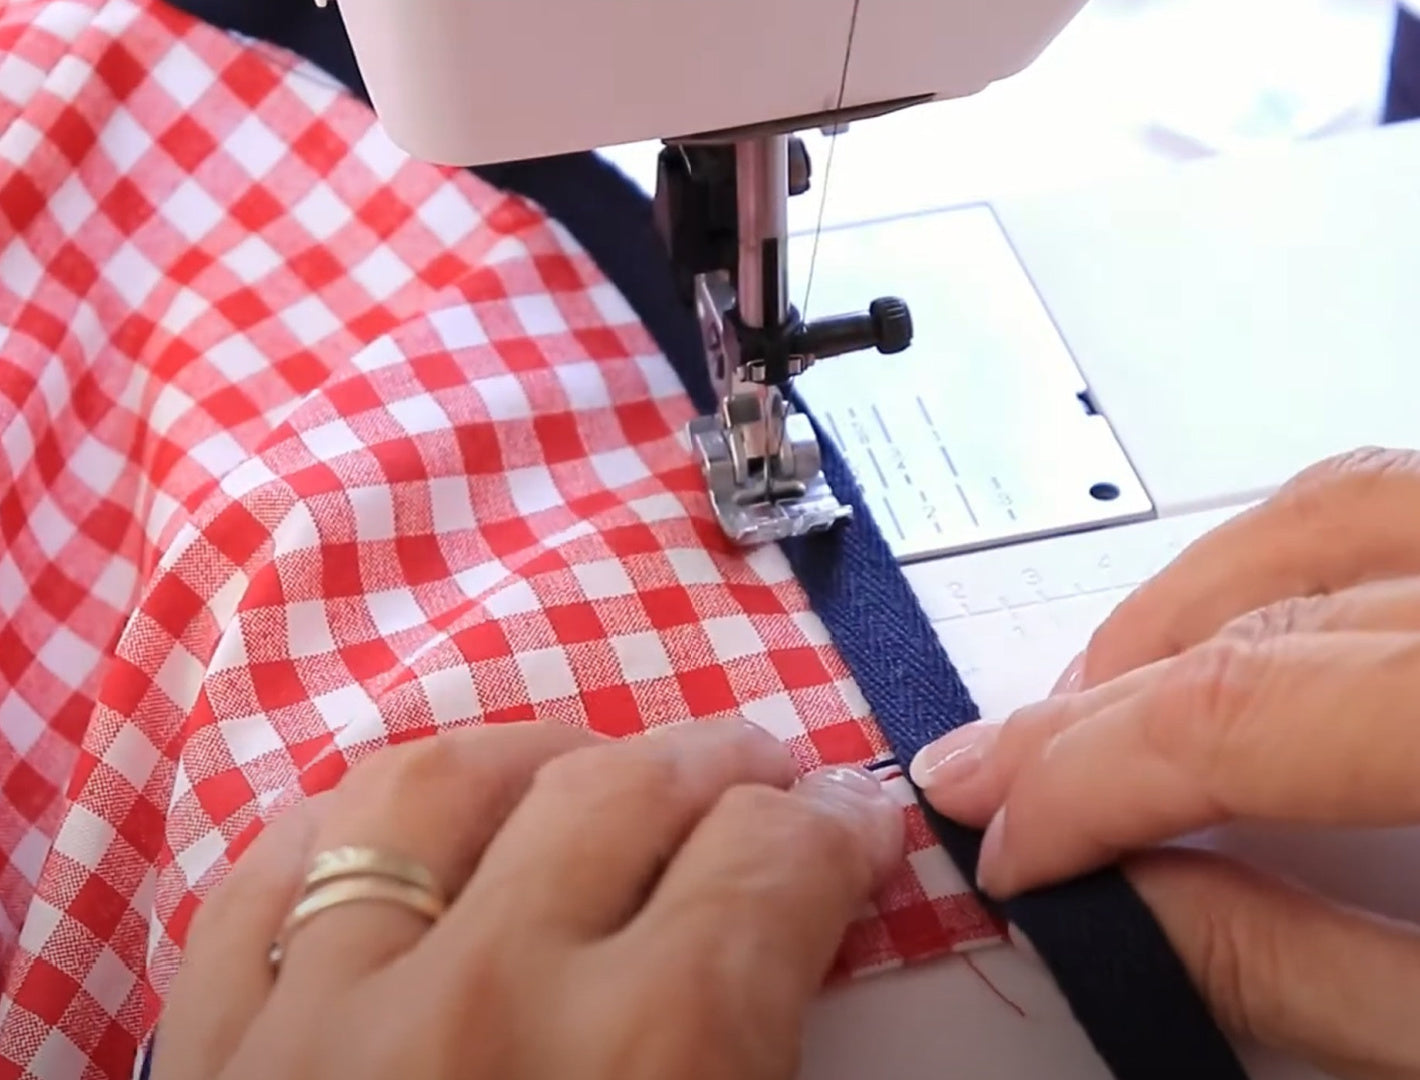
JOINING THE FRONT & THE YOKE
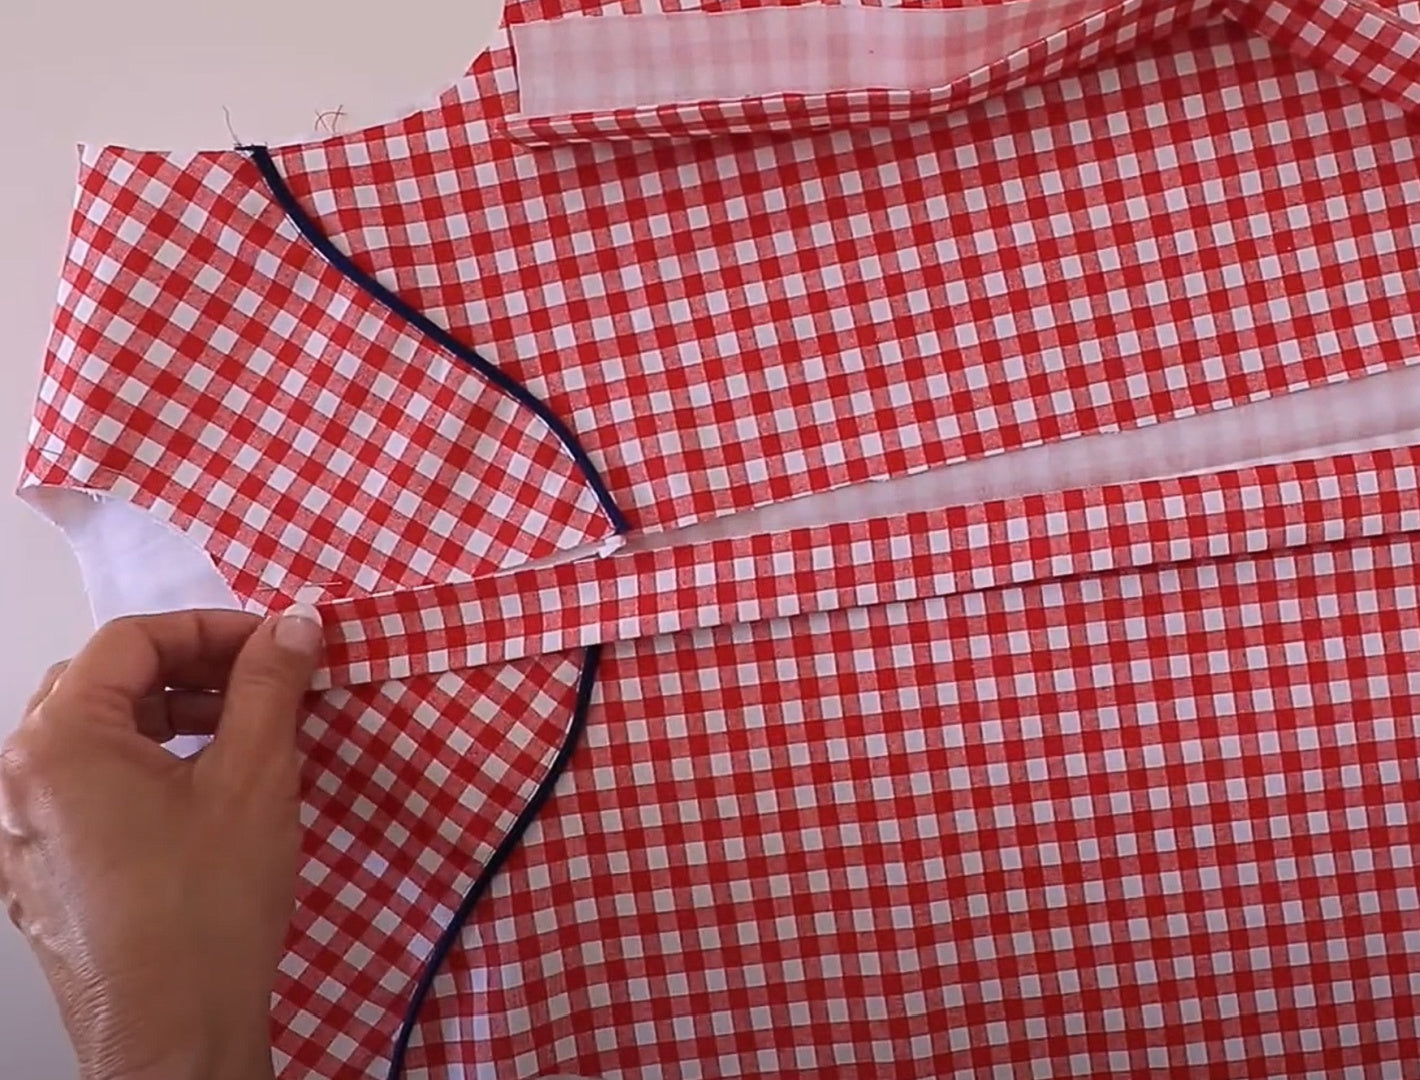
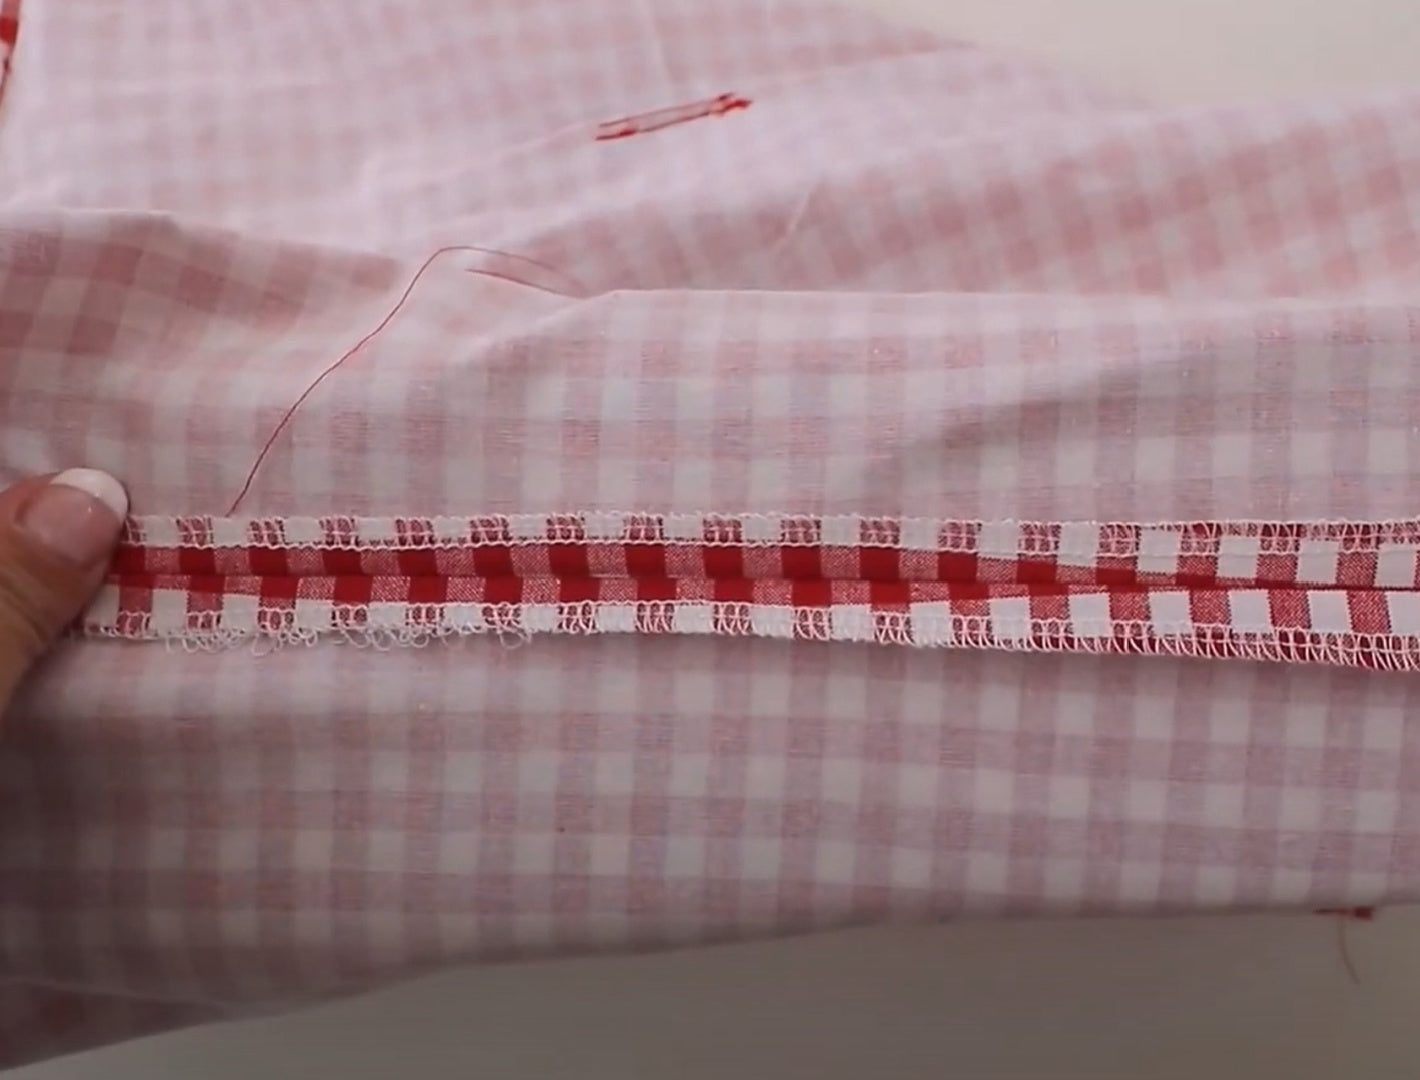
THE FRONT PLACKET
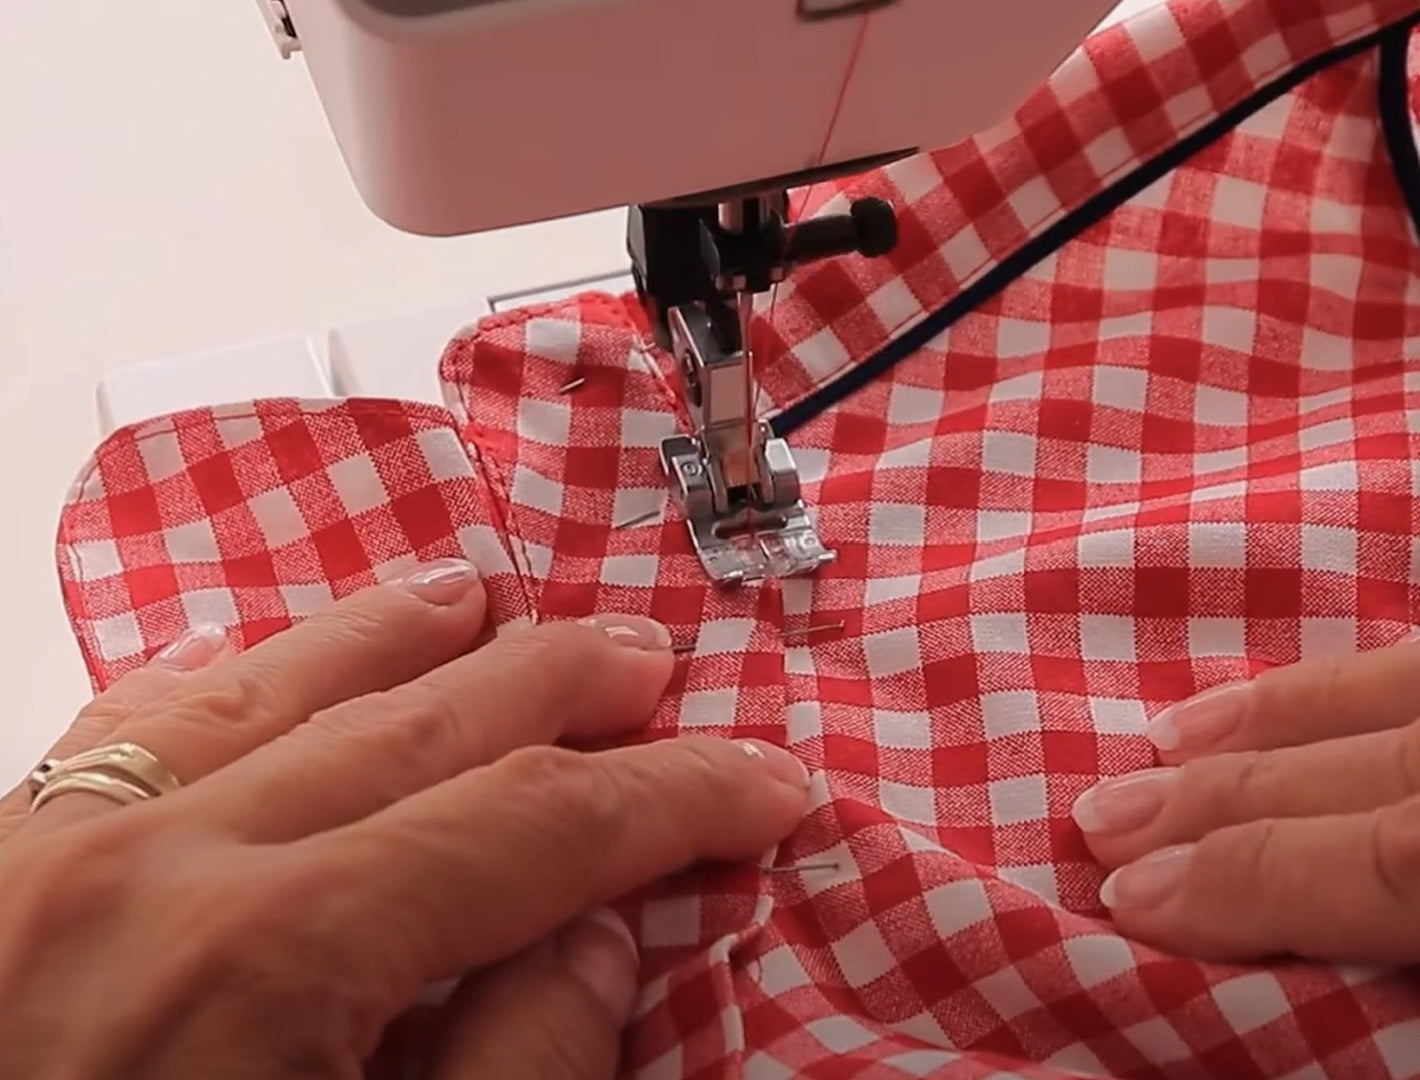
THE COLLAR
THE BUTTONHOLES

THE BOW
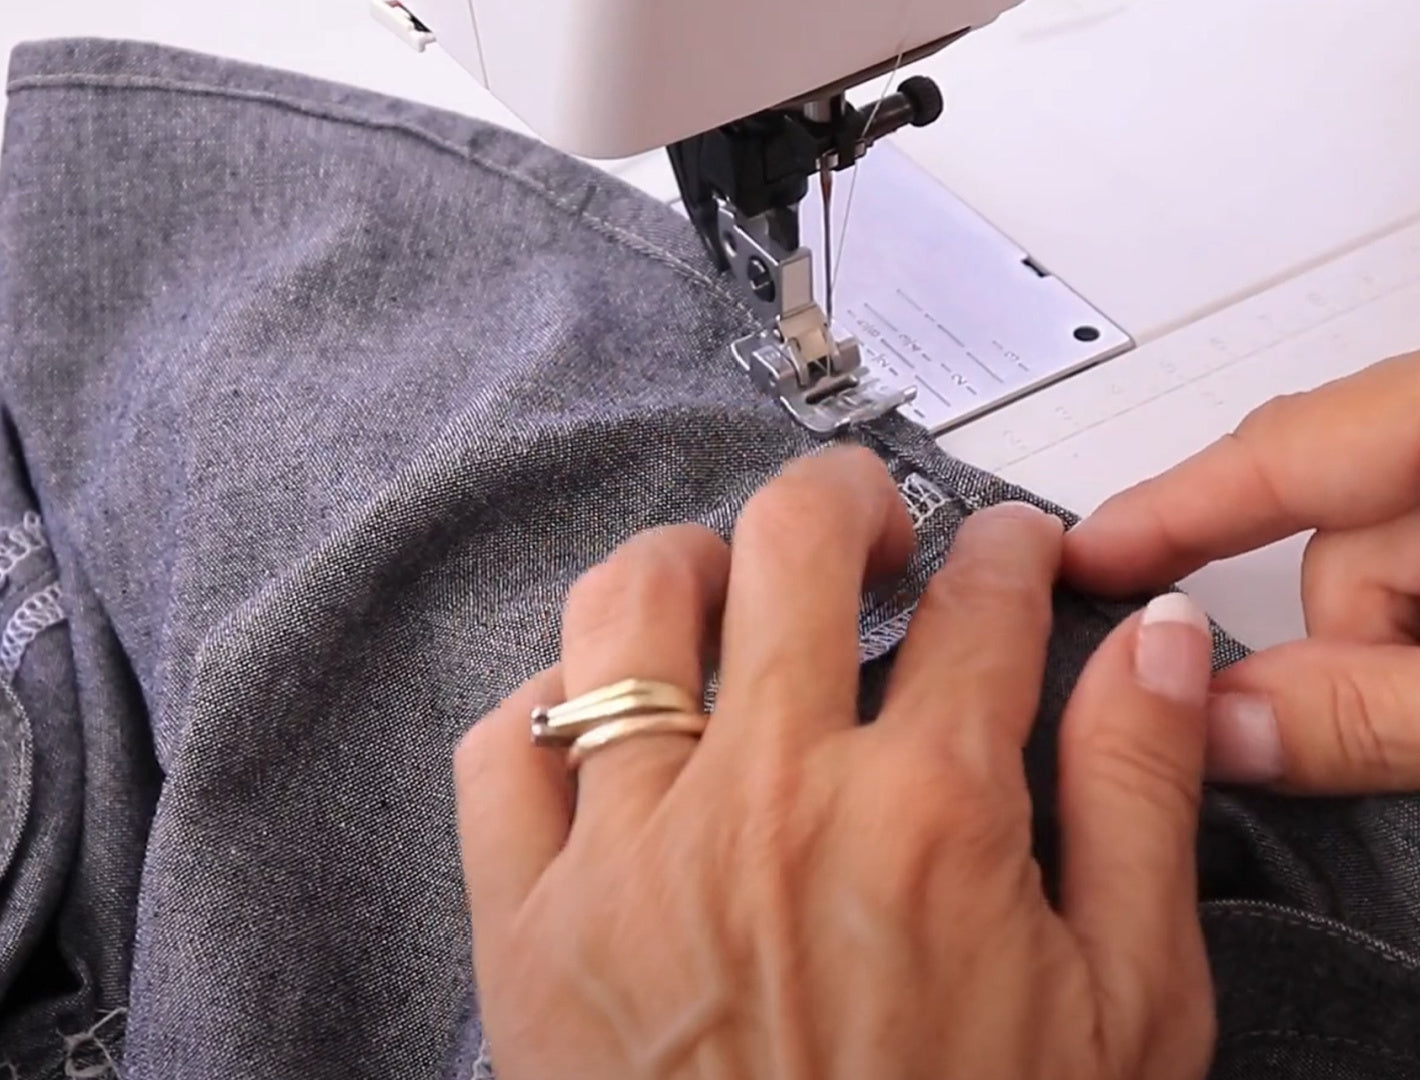
THE SIDE SEAMS
SEWING THE PUFF SLEEVES
INSERTING THE PUFF SLEEVES
THE RIBBON HEM
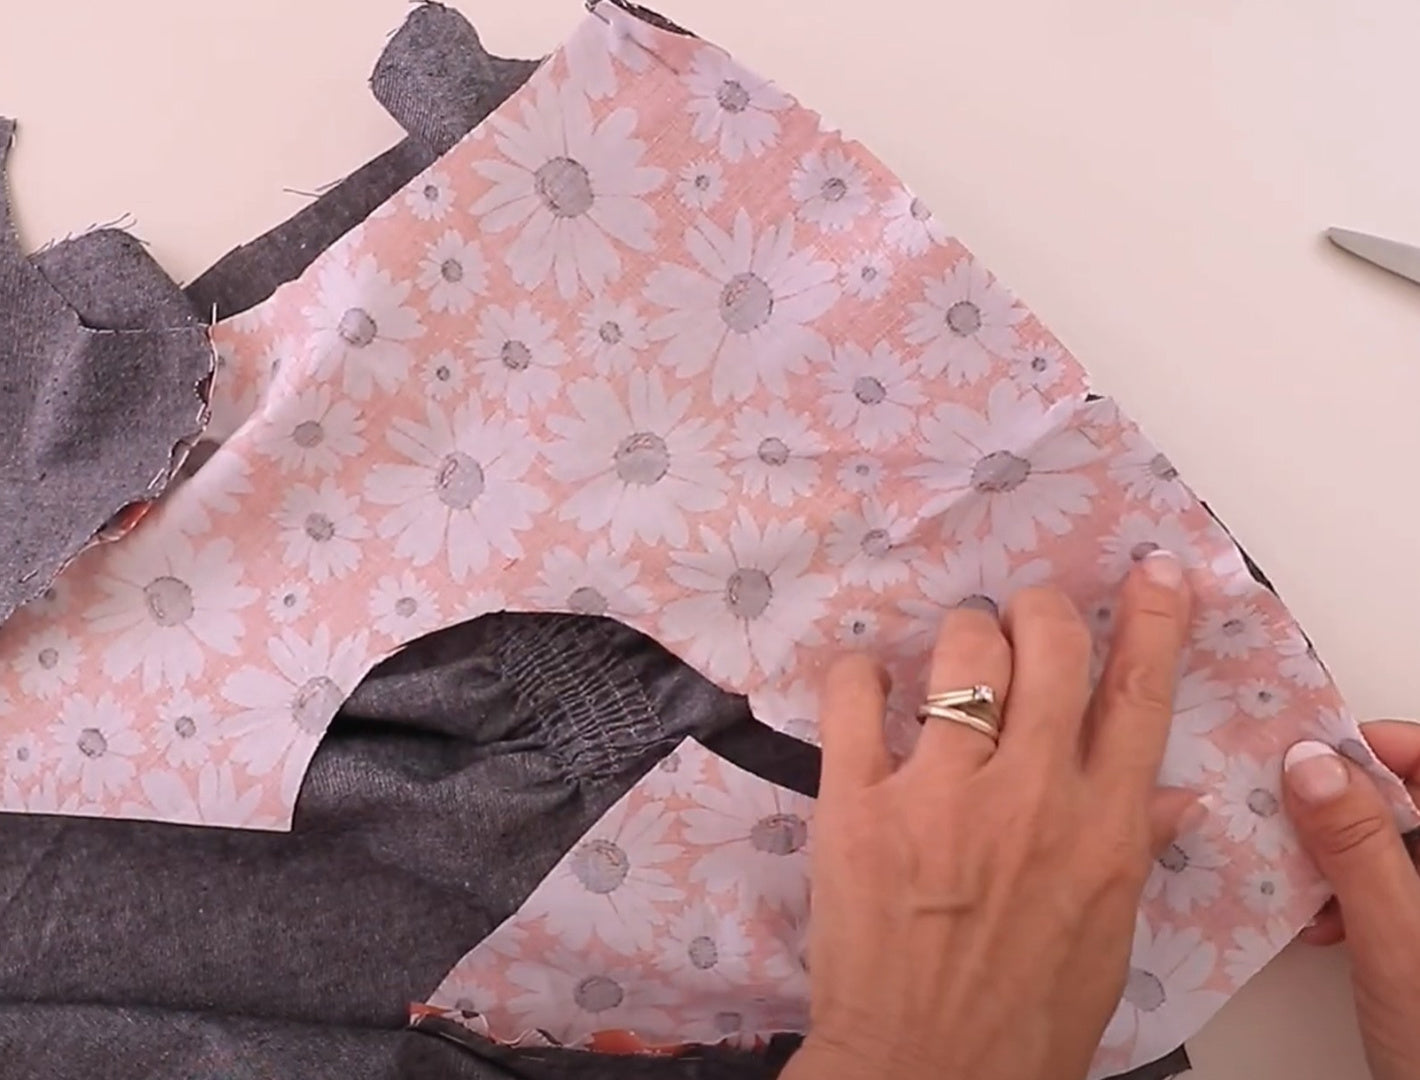
BONUS: LINED YOKE
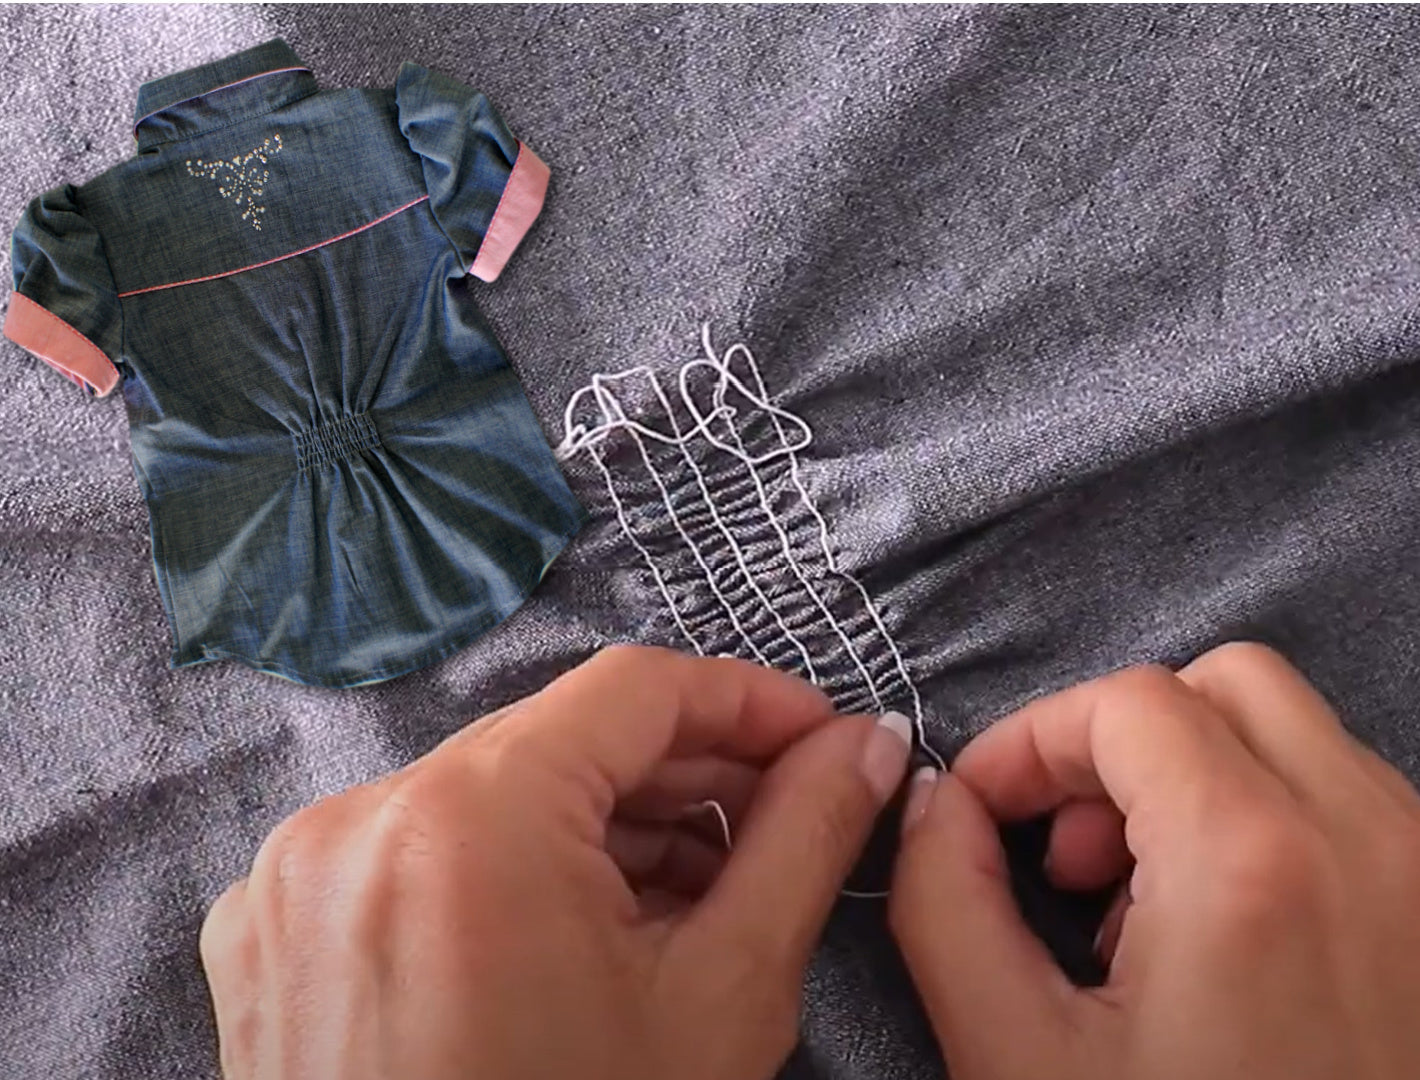
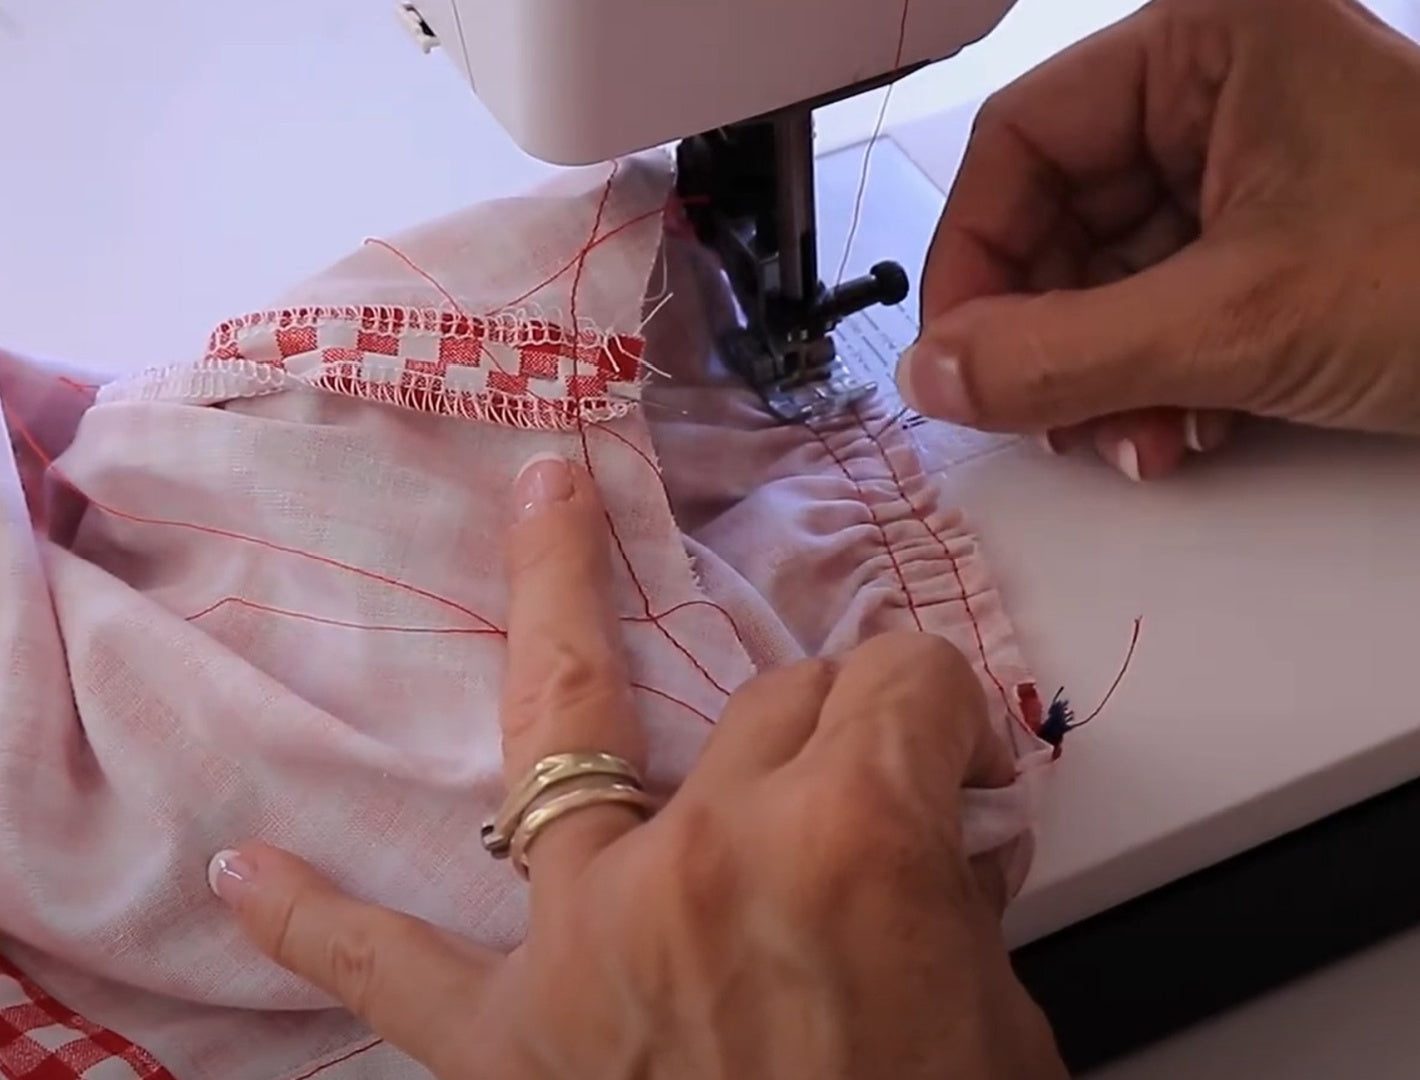
BONUS: HOW TO SHIRR FABRICS
BONUS: CURVED HEM
BONUS: THE LONG SLEEVE WITH CUFF