


VIVIENNE TEEN DRESS
VIVIENNE TEEN DRESS


Regular price
€7,95 EUR
Regular price
Sale price
€7,95 EUR
Unit price
per
Couldn't load pickup availability
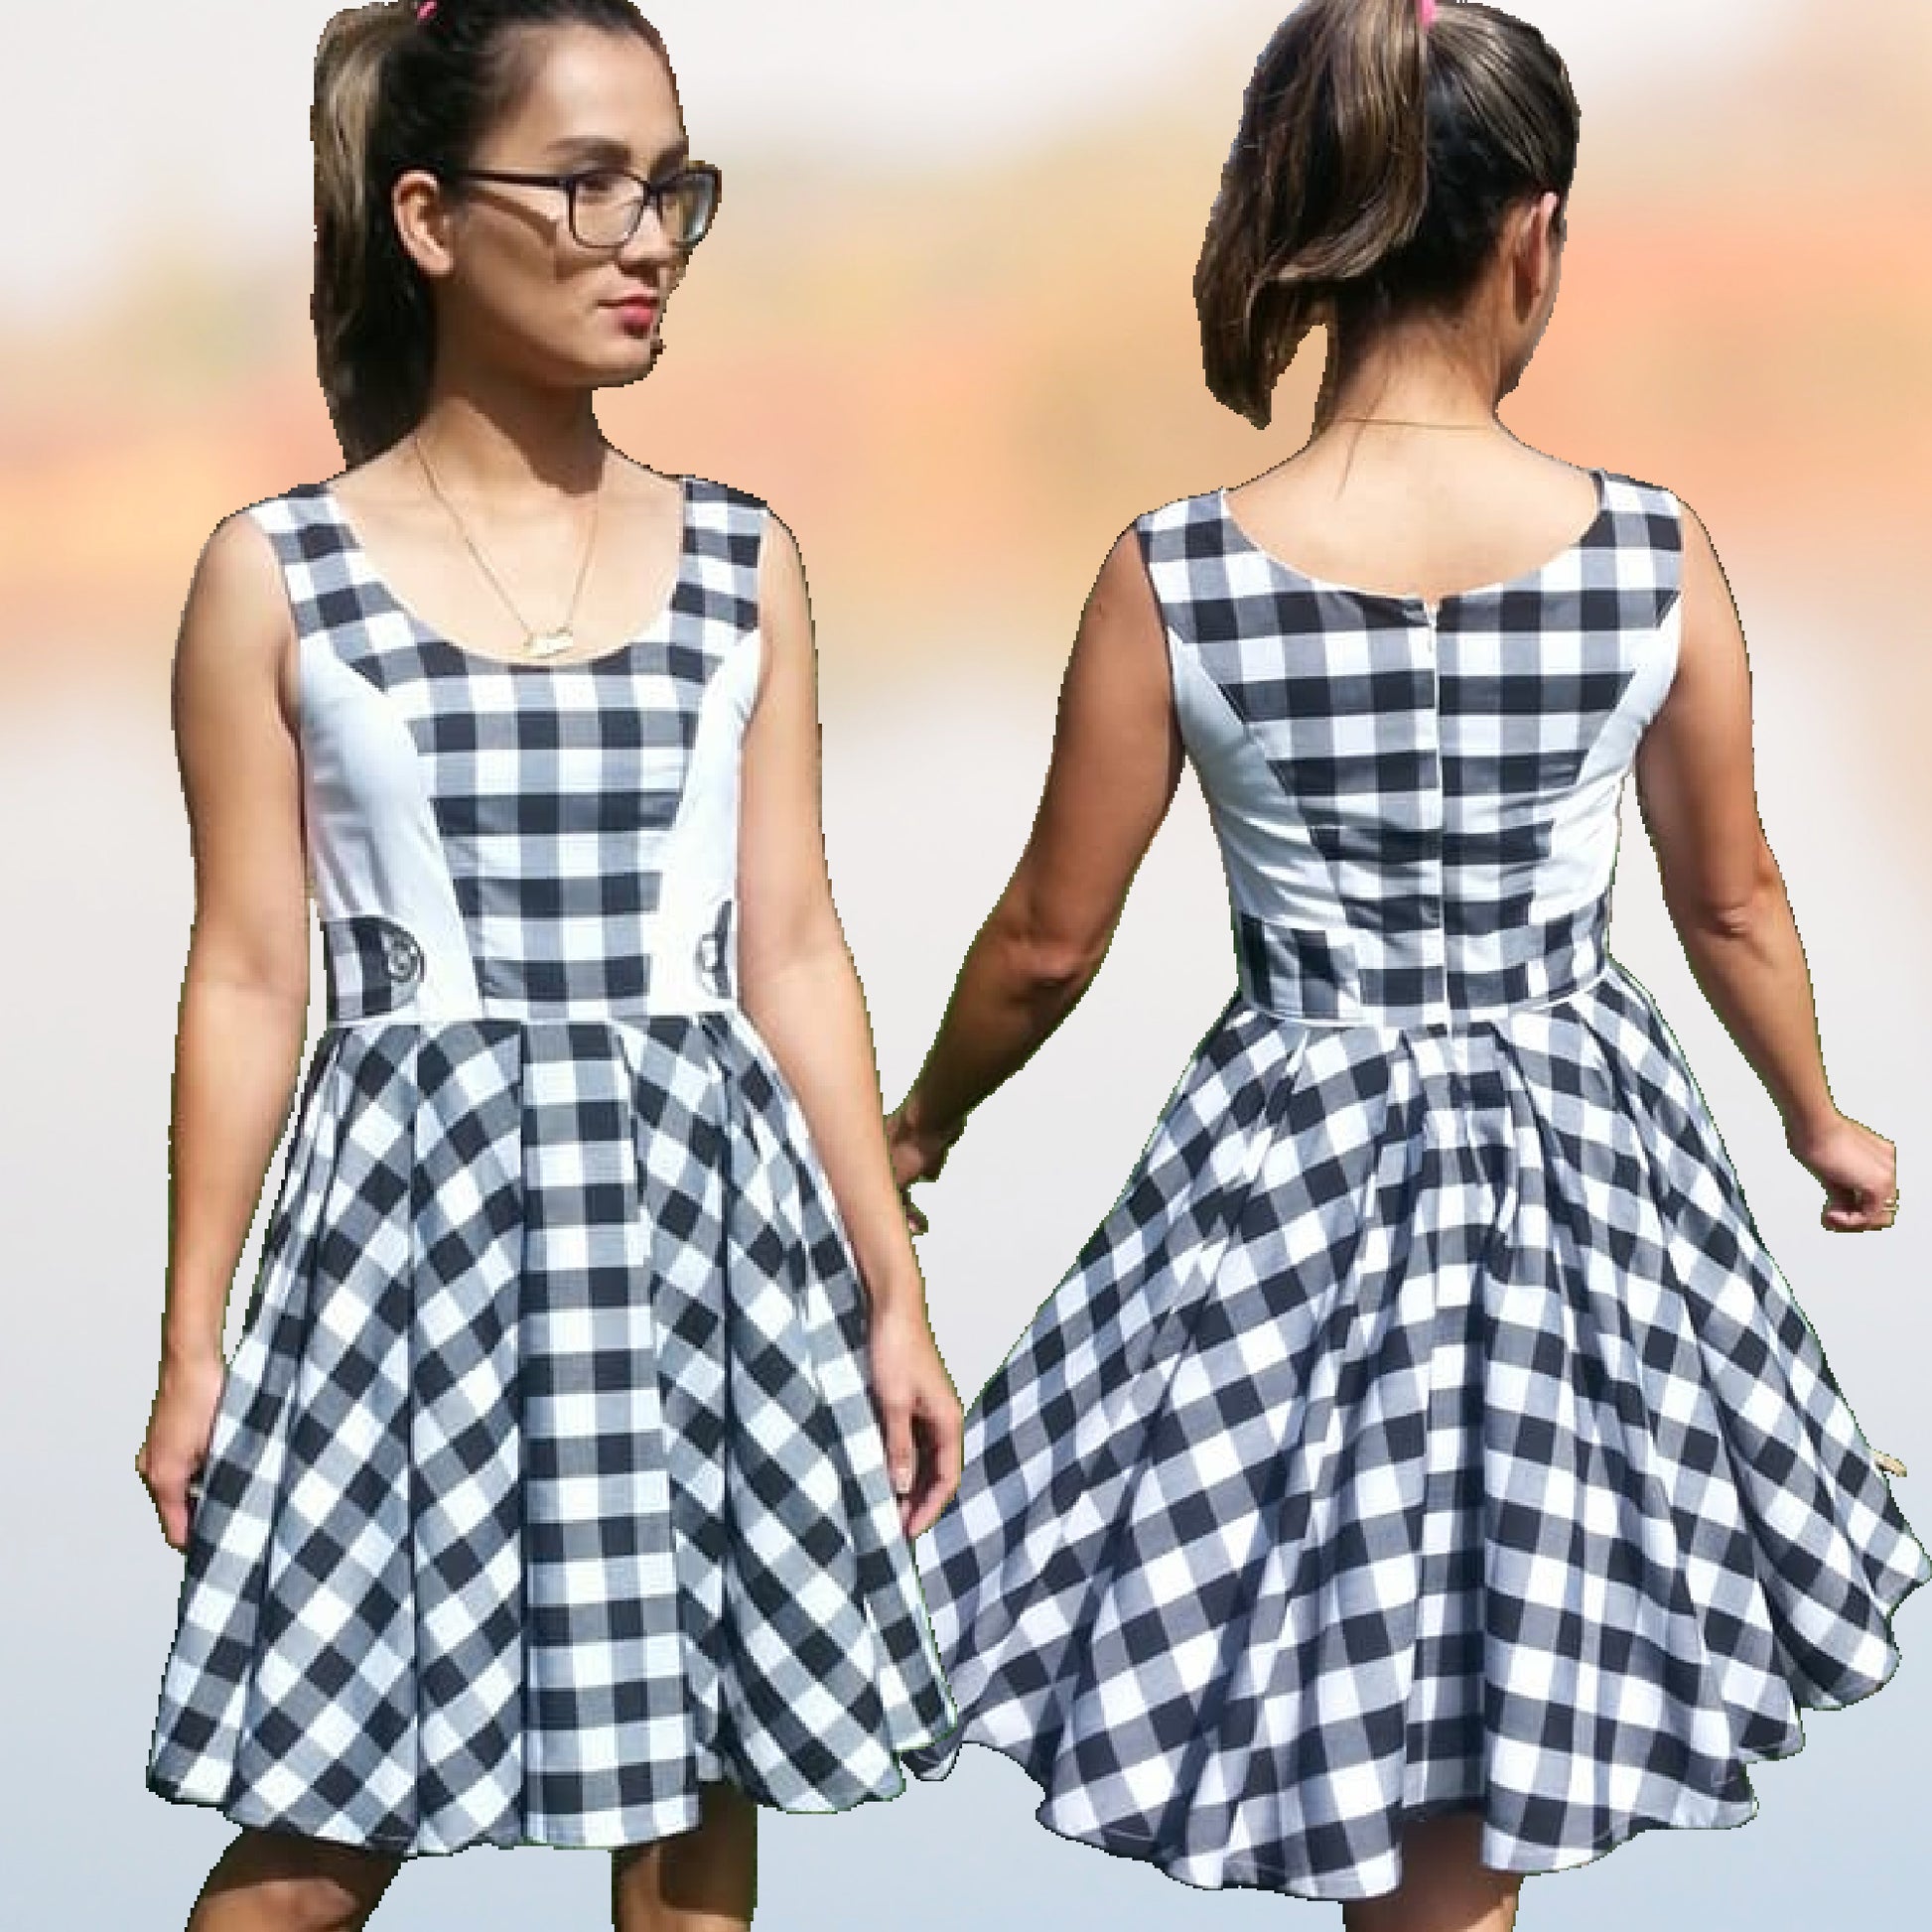
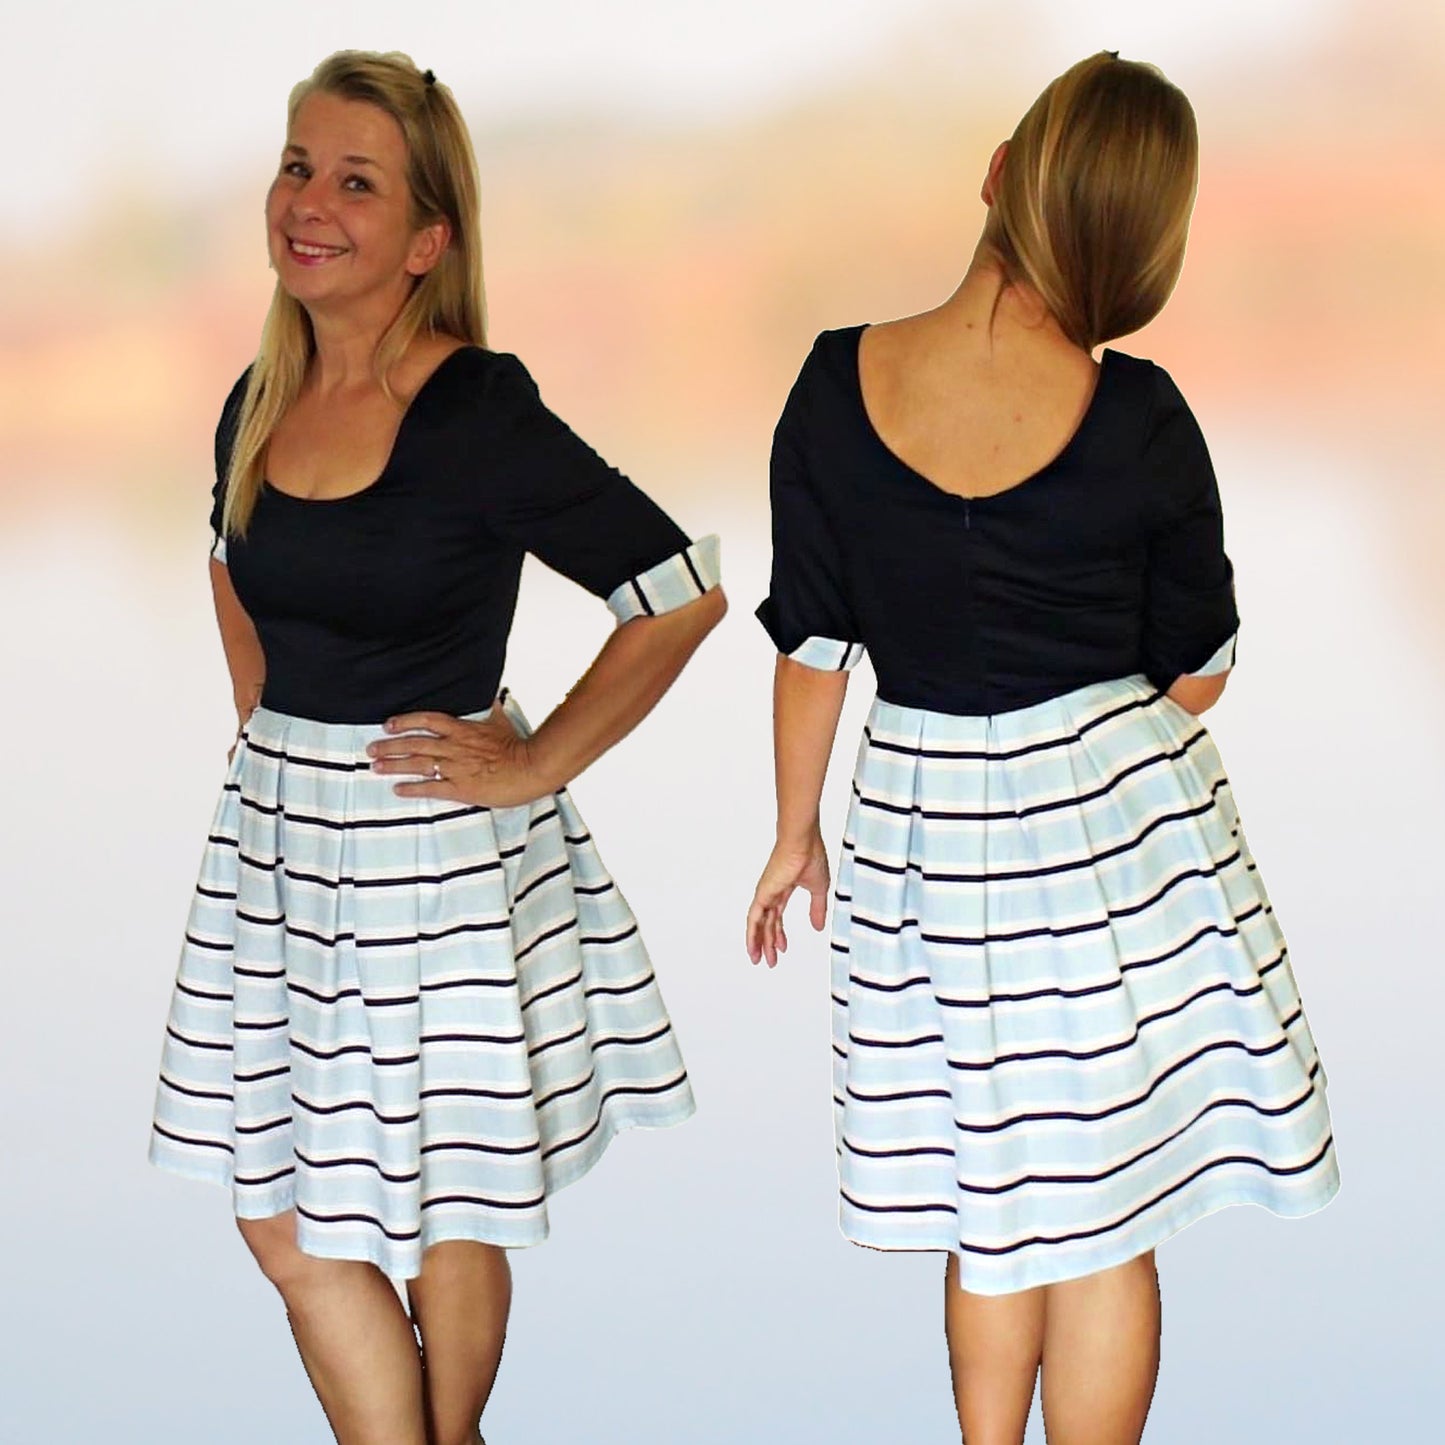
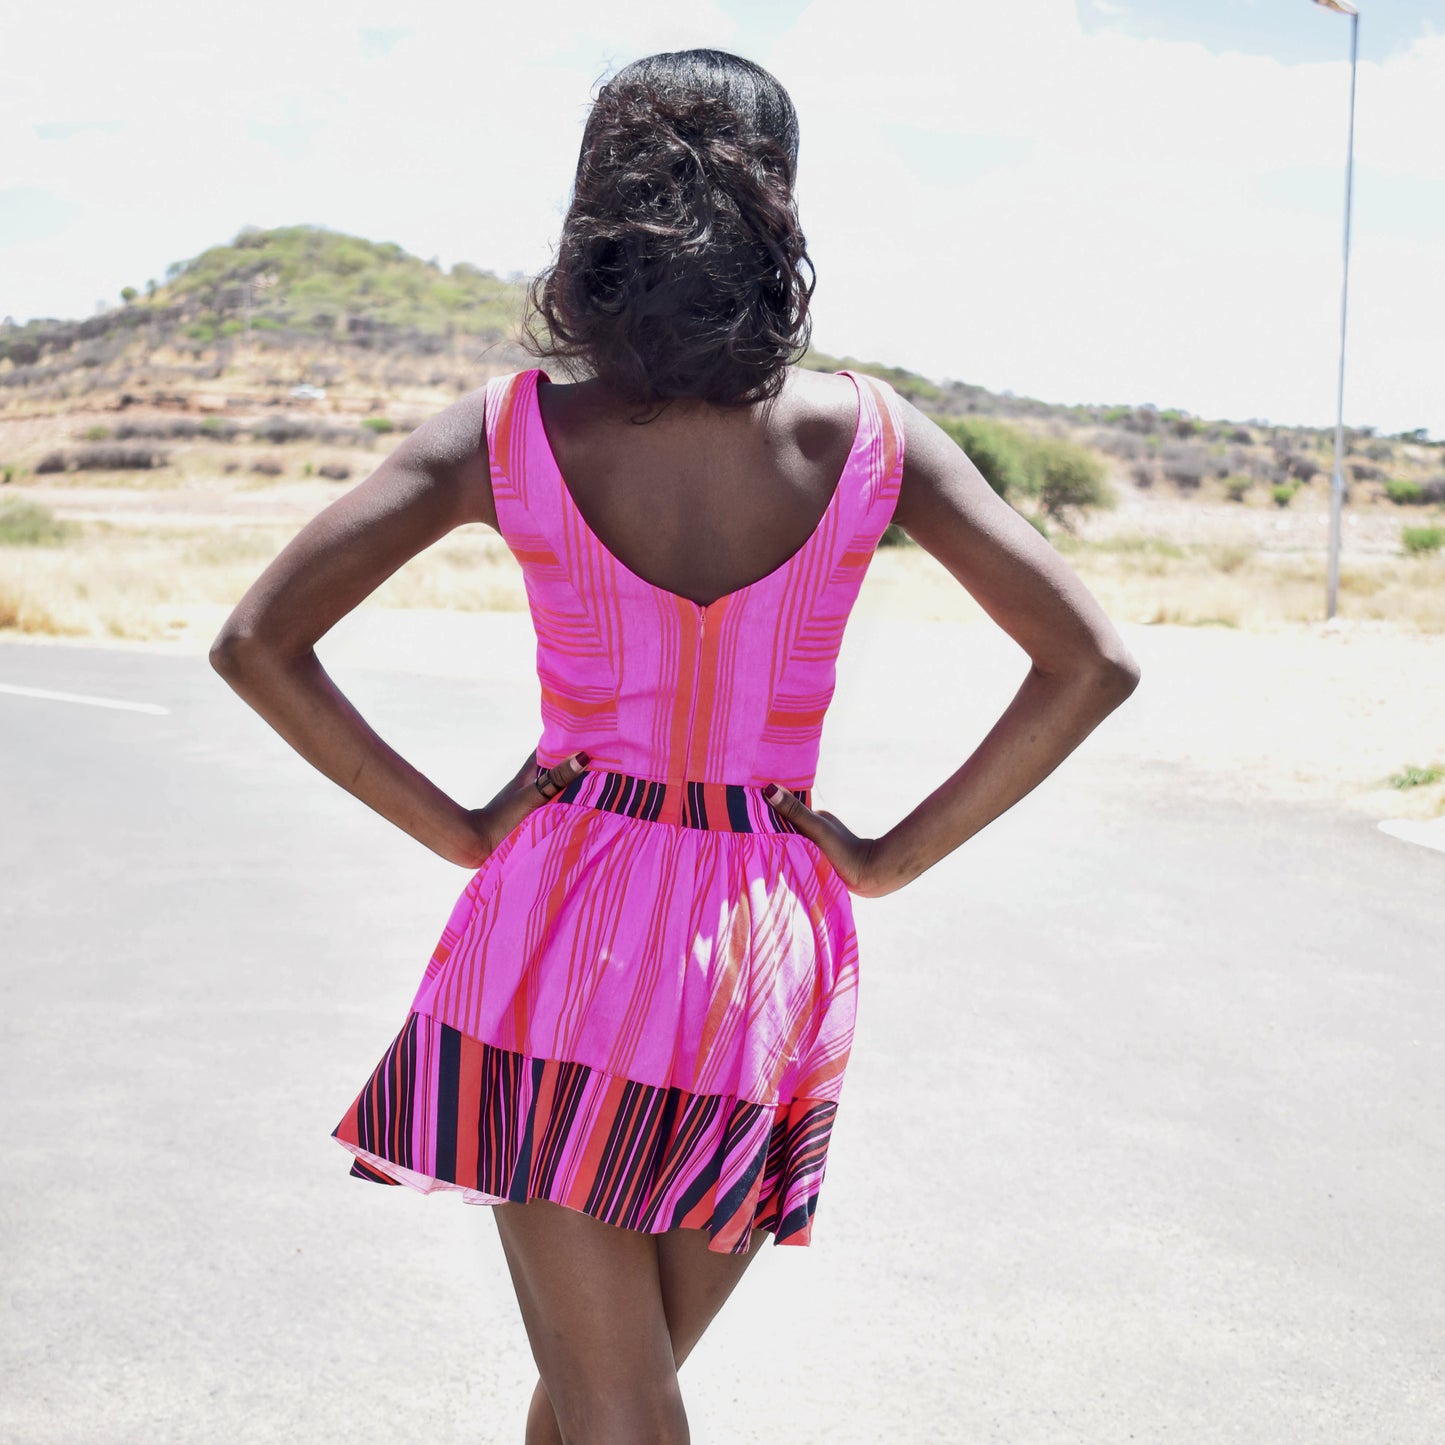
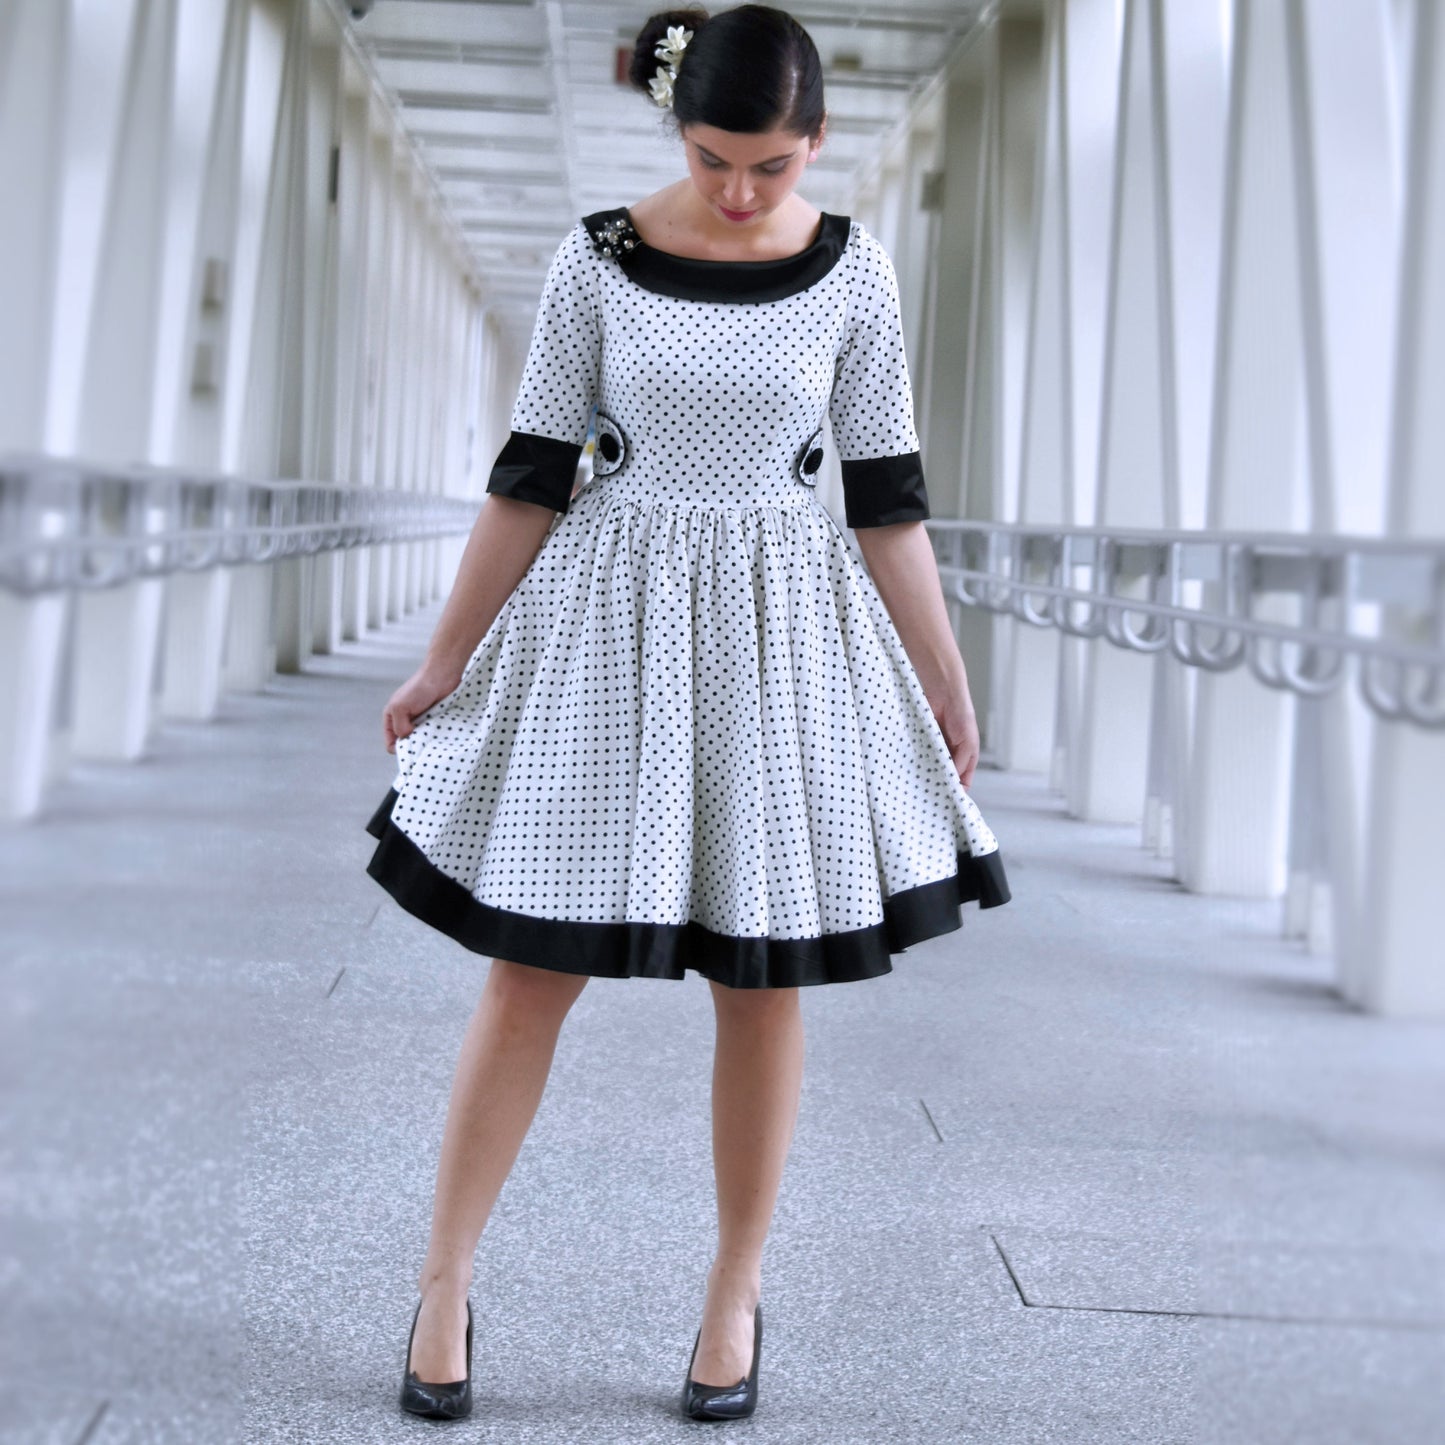
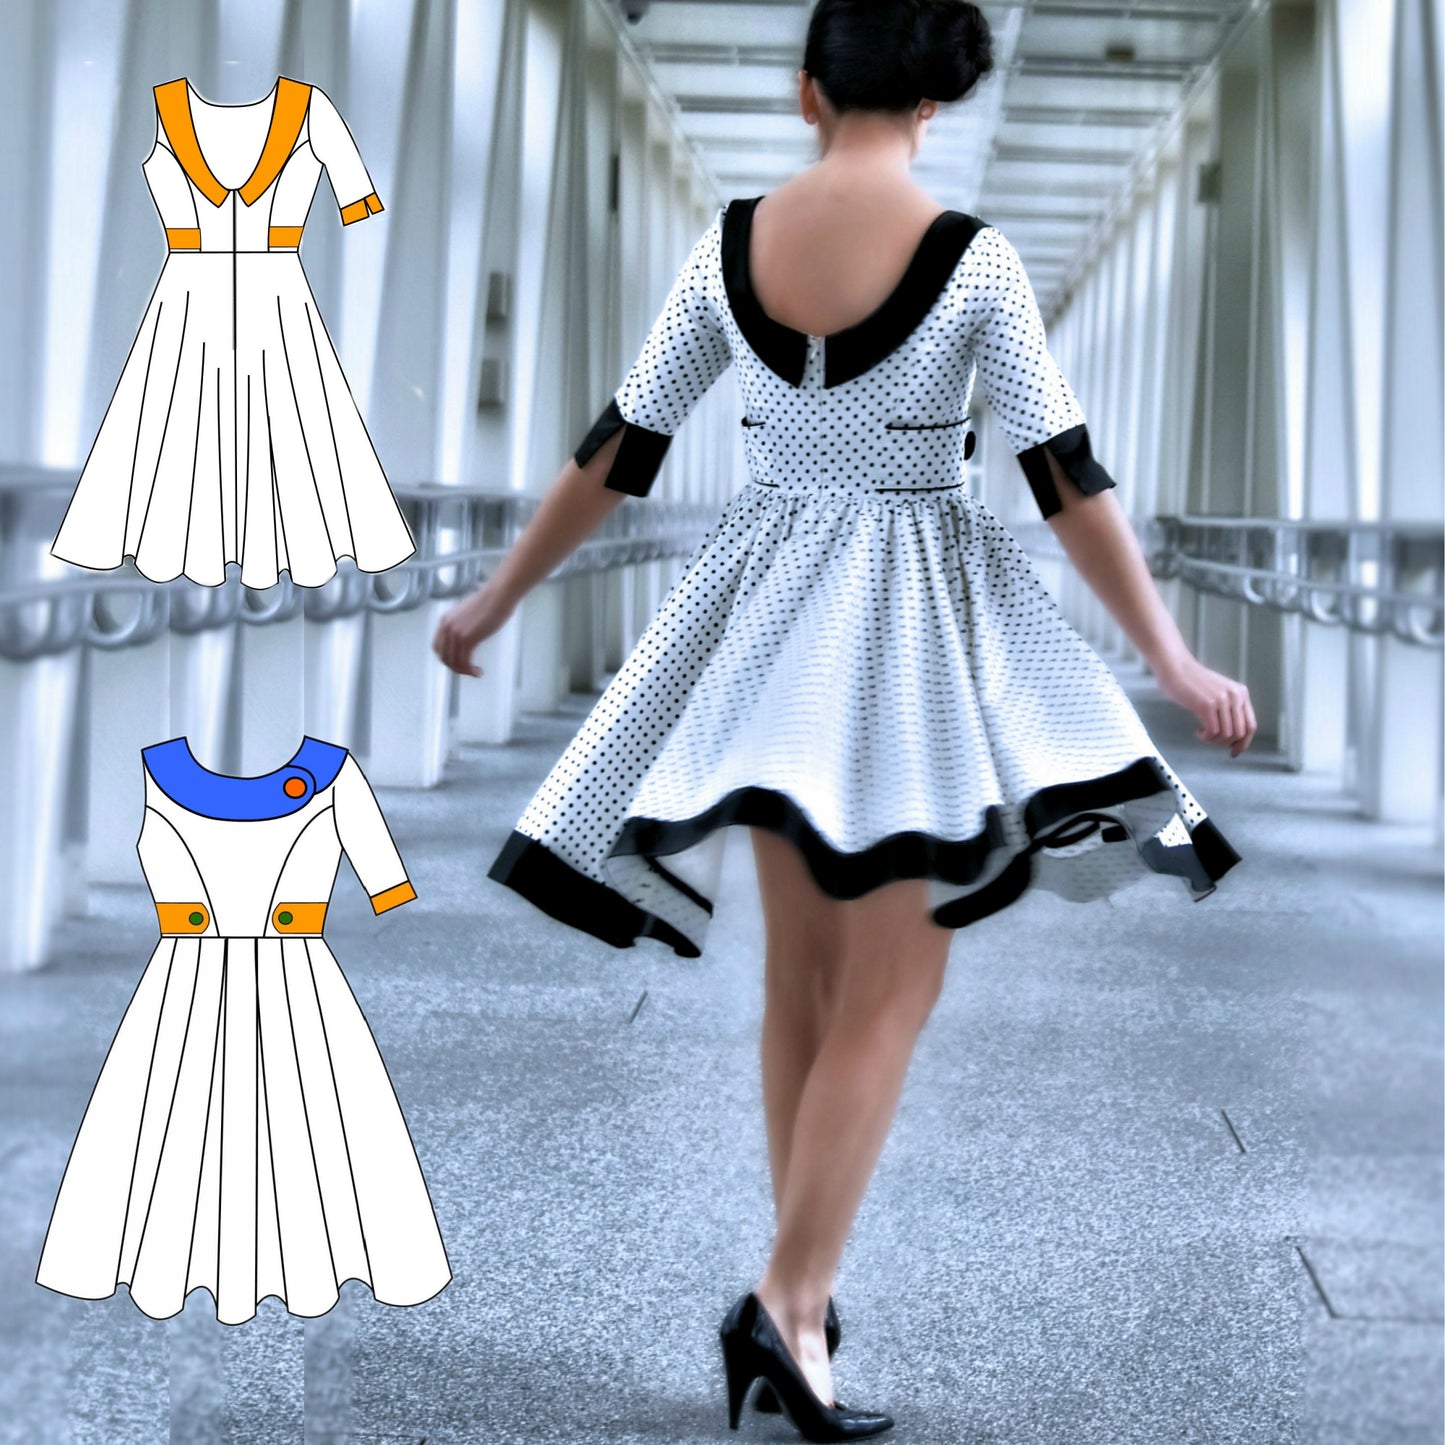
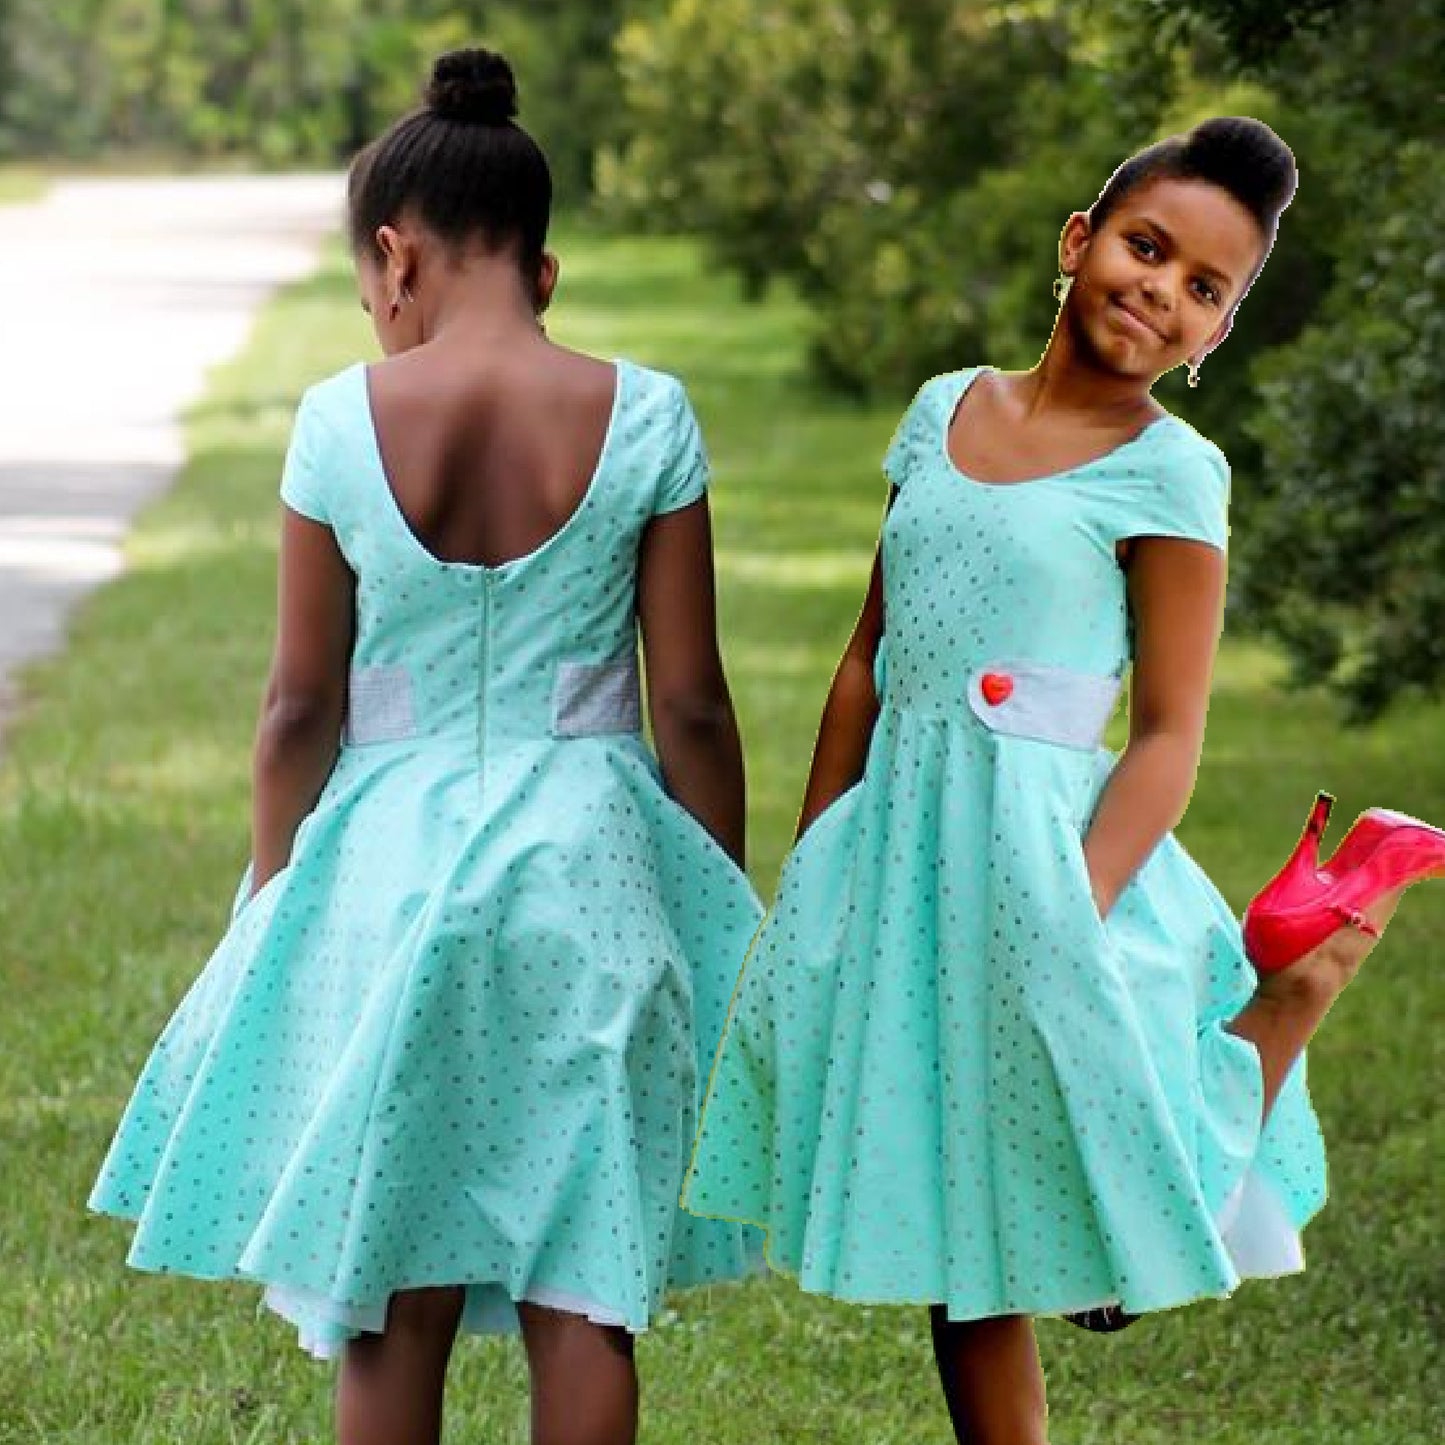
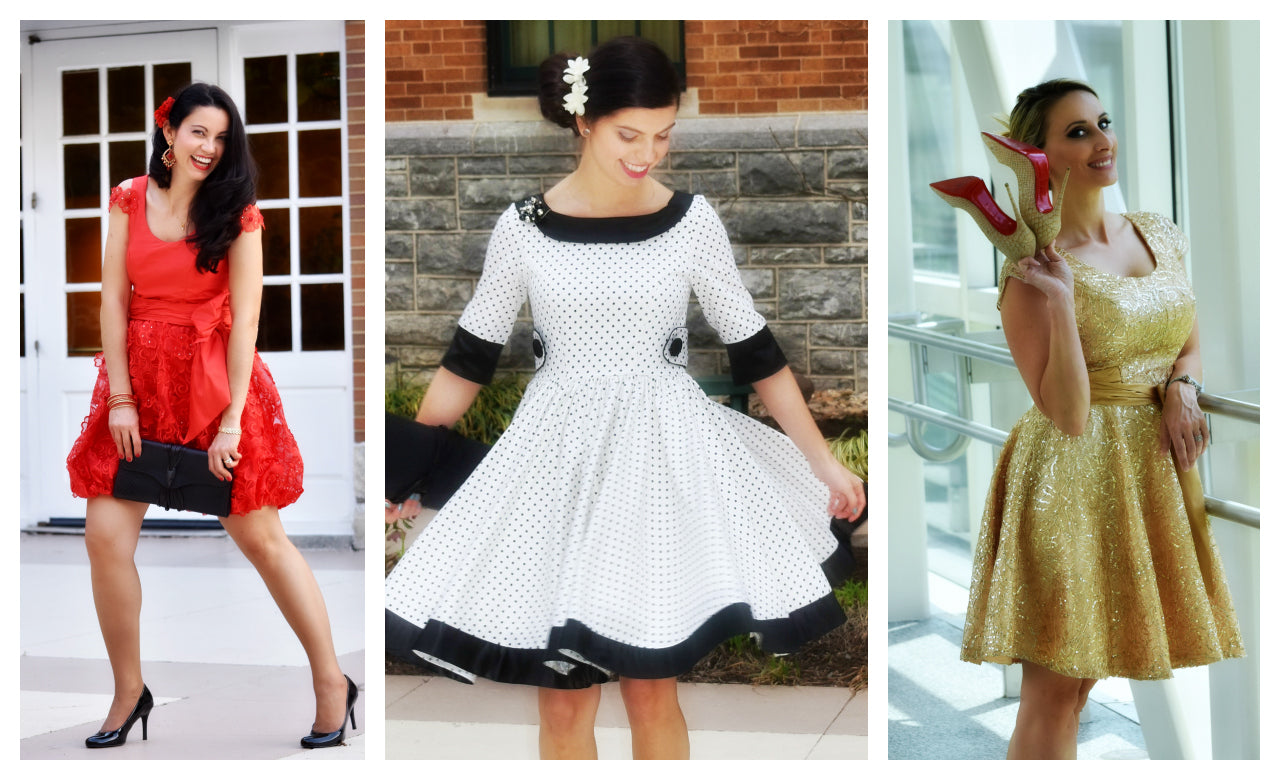
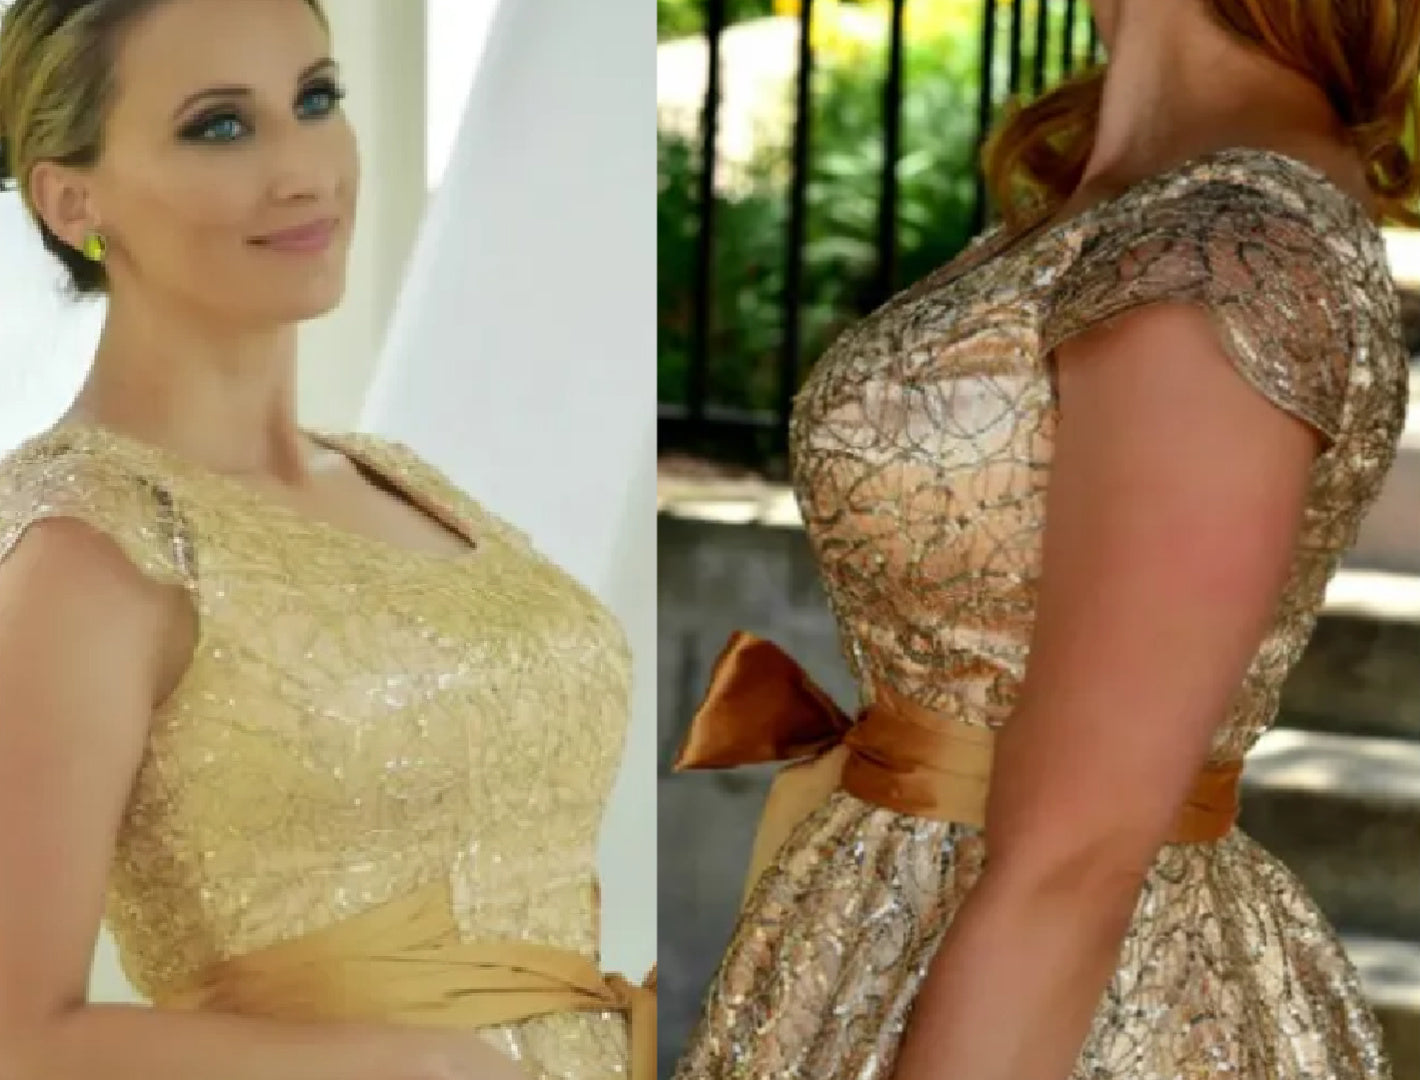
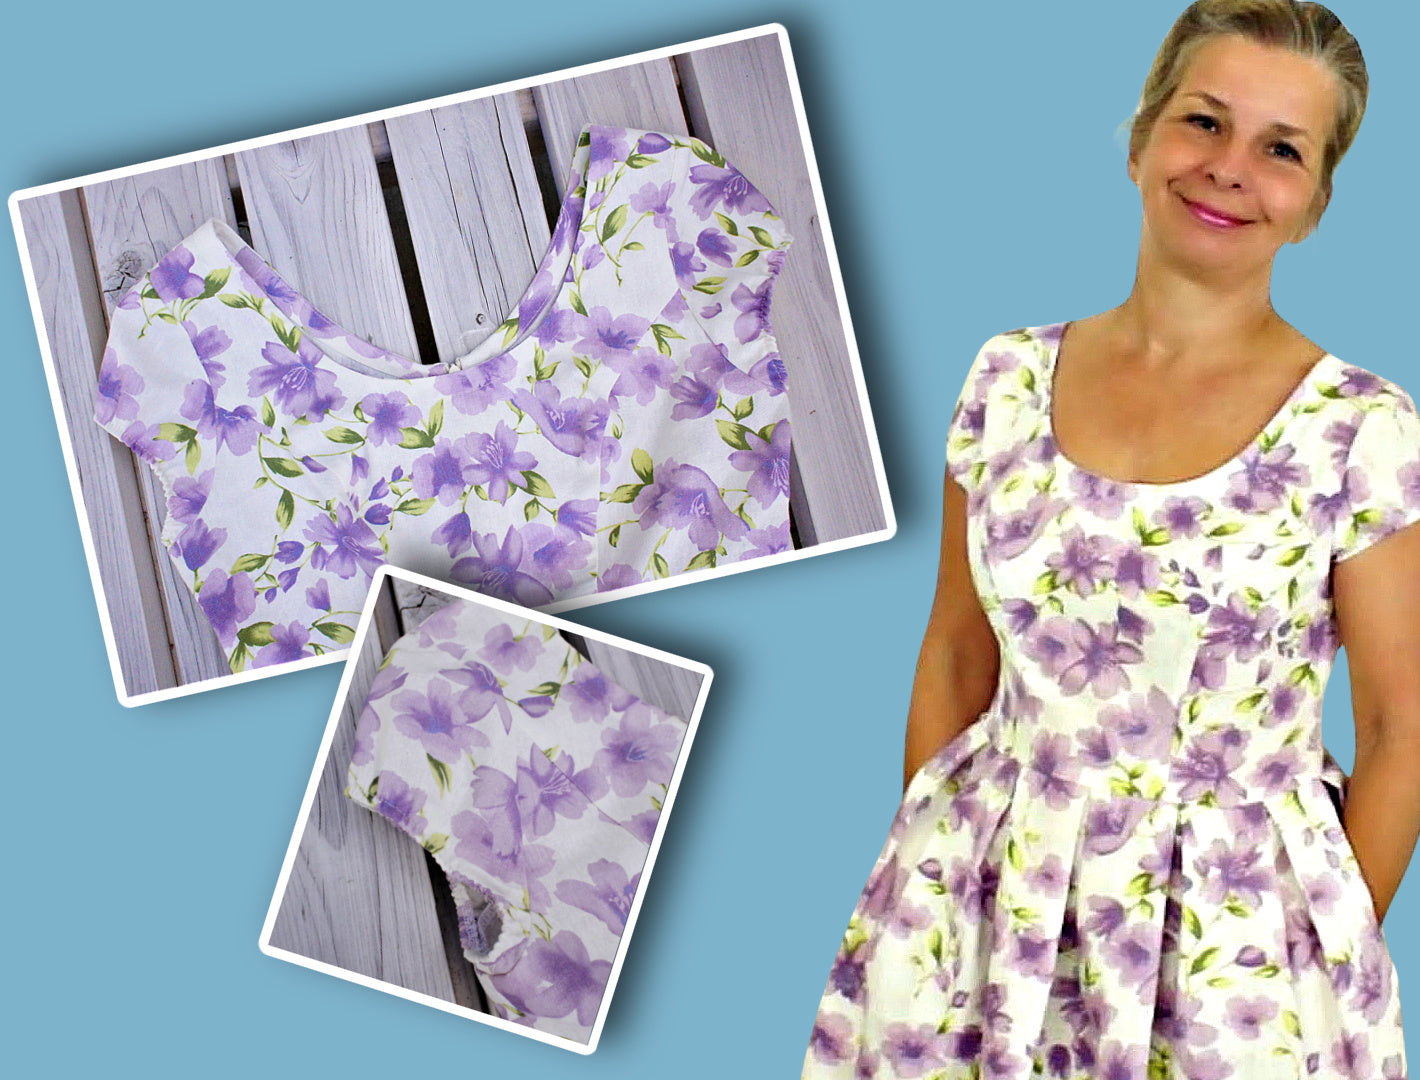
Vivienne is a romantic vintage‑inspired midi dress sewing pattern featuring a beautifully fitted bodice and a full, voluminous circle skirt. The neckline is truly special, offering both higher and lower front options plus a gracefully shaped V‑back that defines the silhouette.
Marina has created individual video tutorials for each variation, so you can follow along at your own pace. The dress also comes in girl sizes, complete with even more inspiring videos to explore.
Pattern Download Includes
Pattern Download Includes
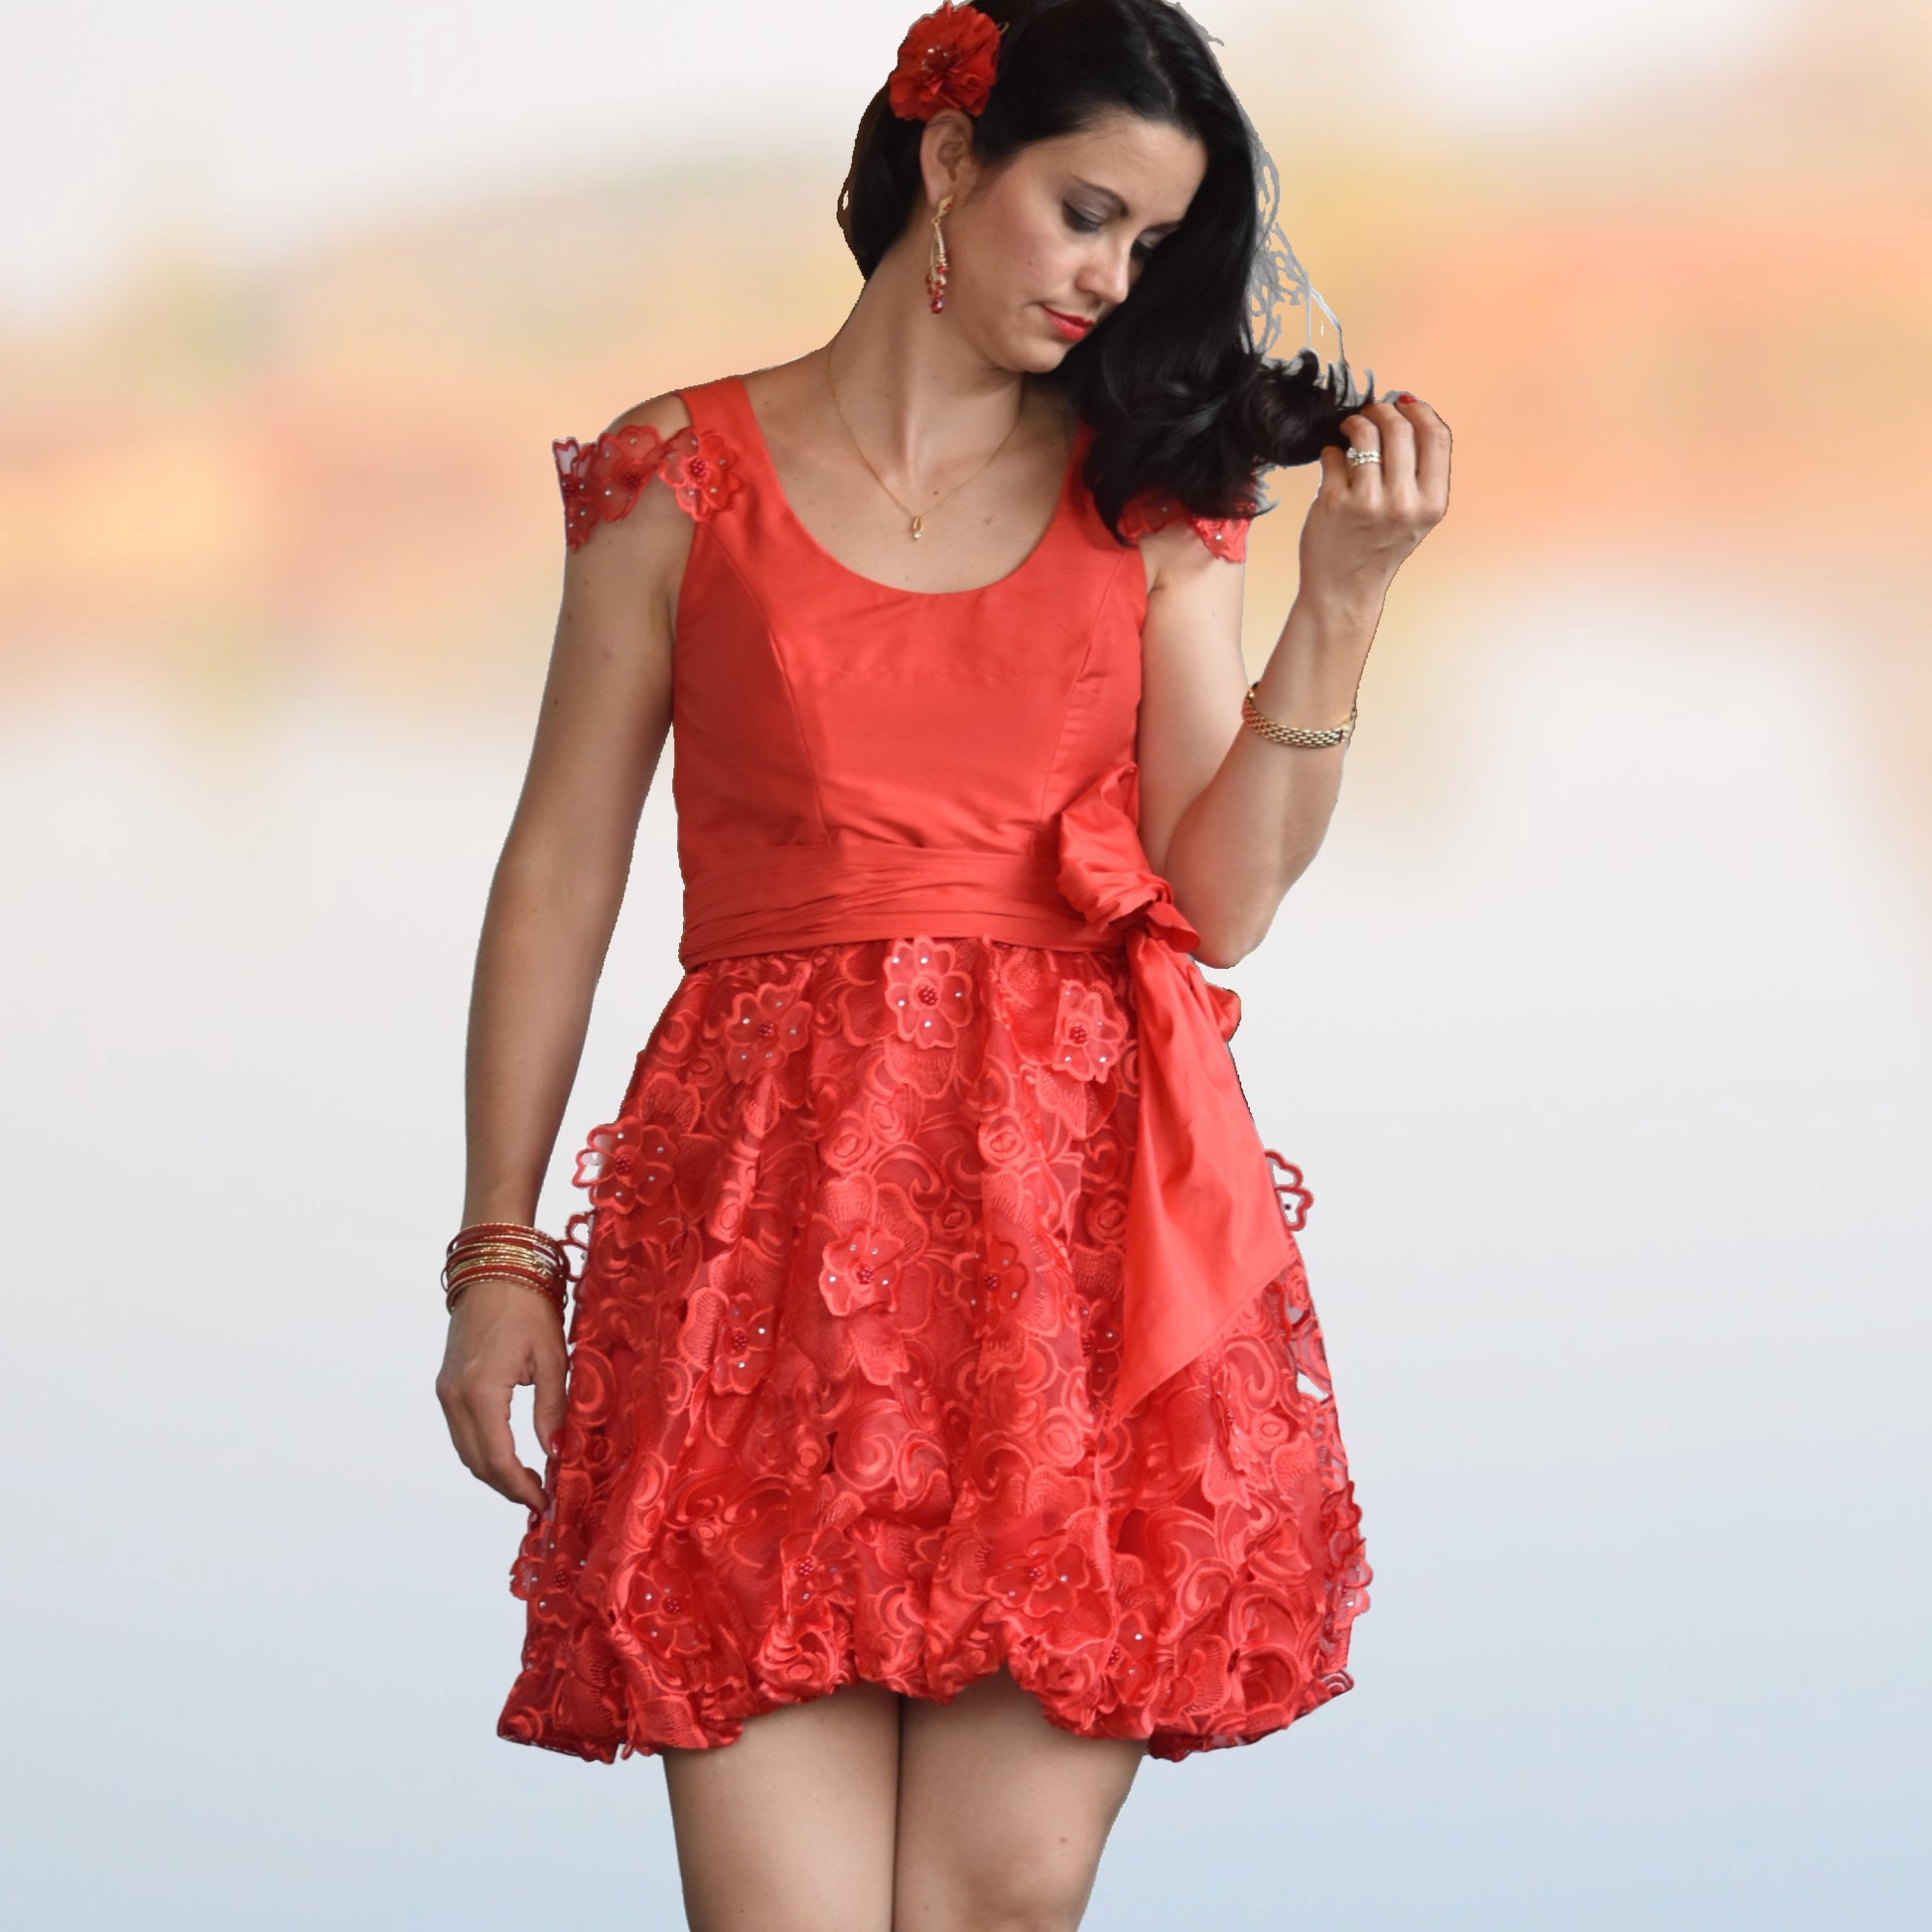
Design Options
Design Options
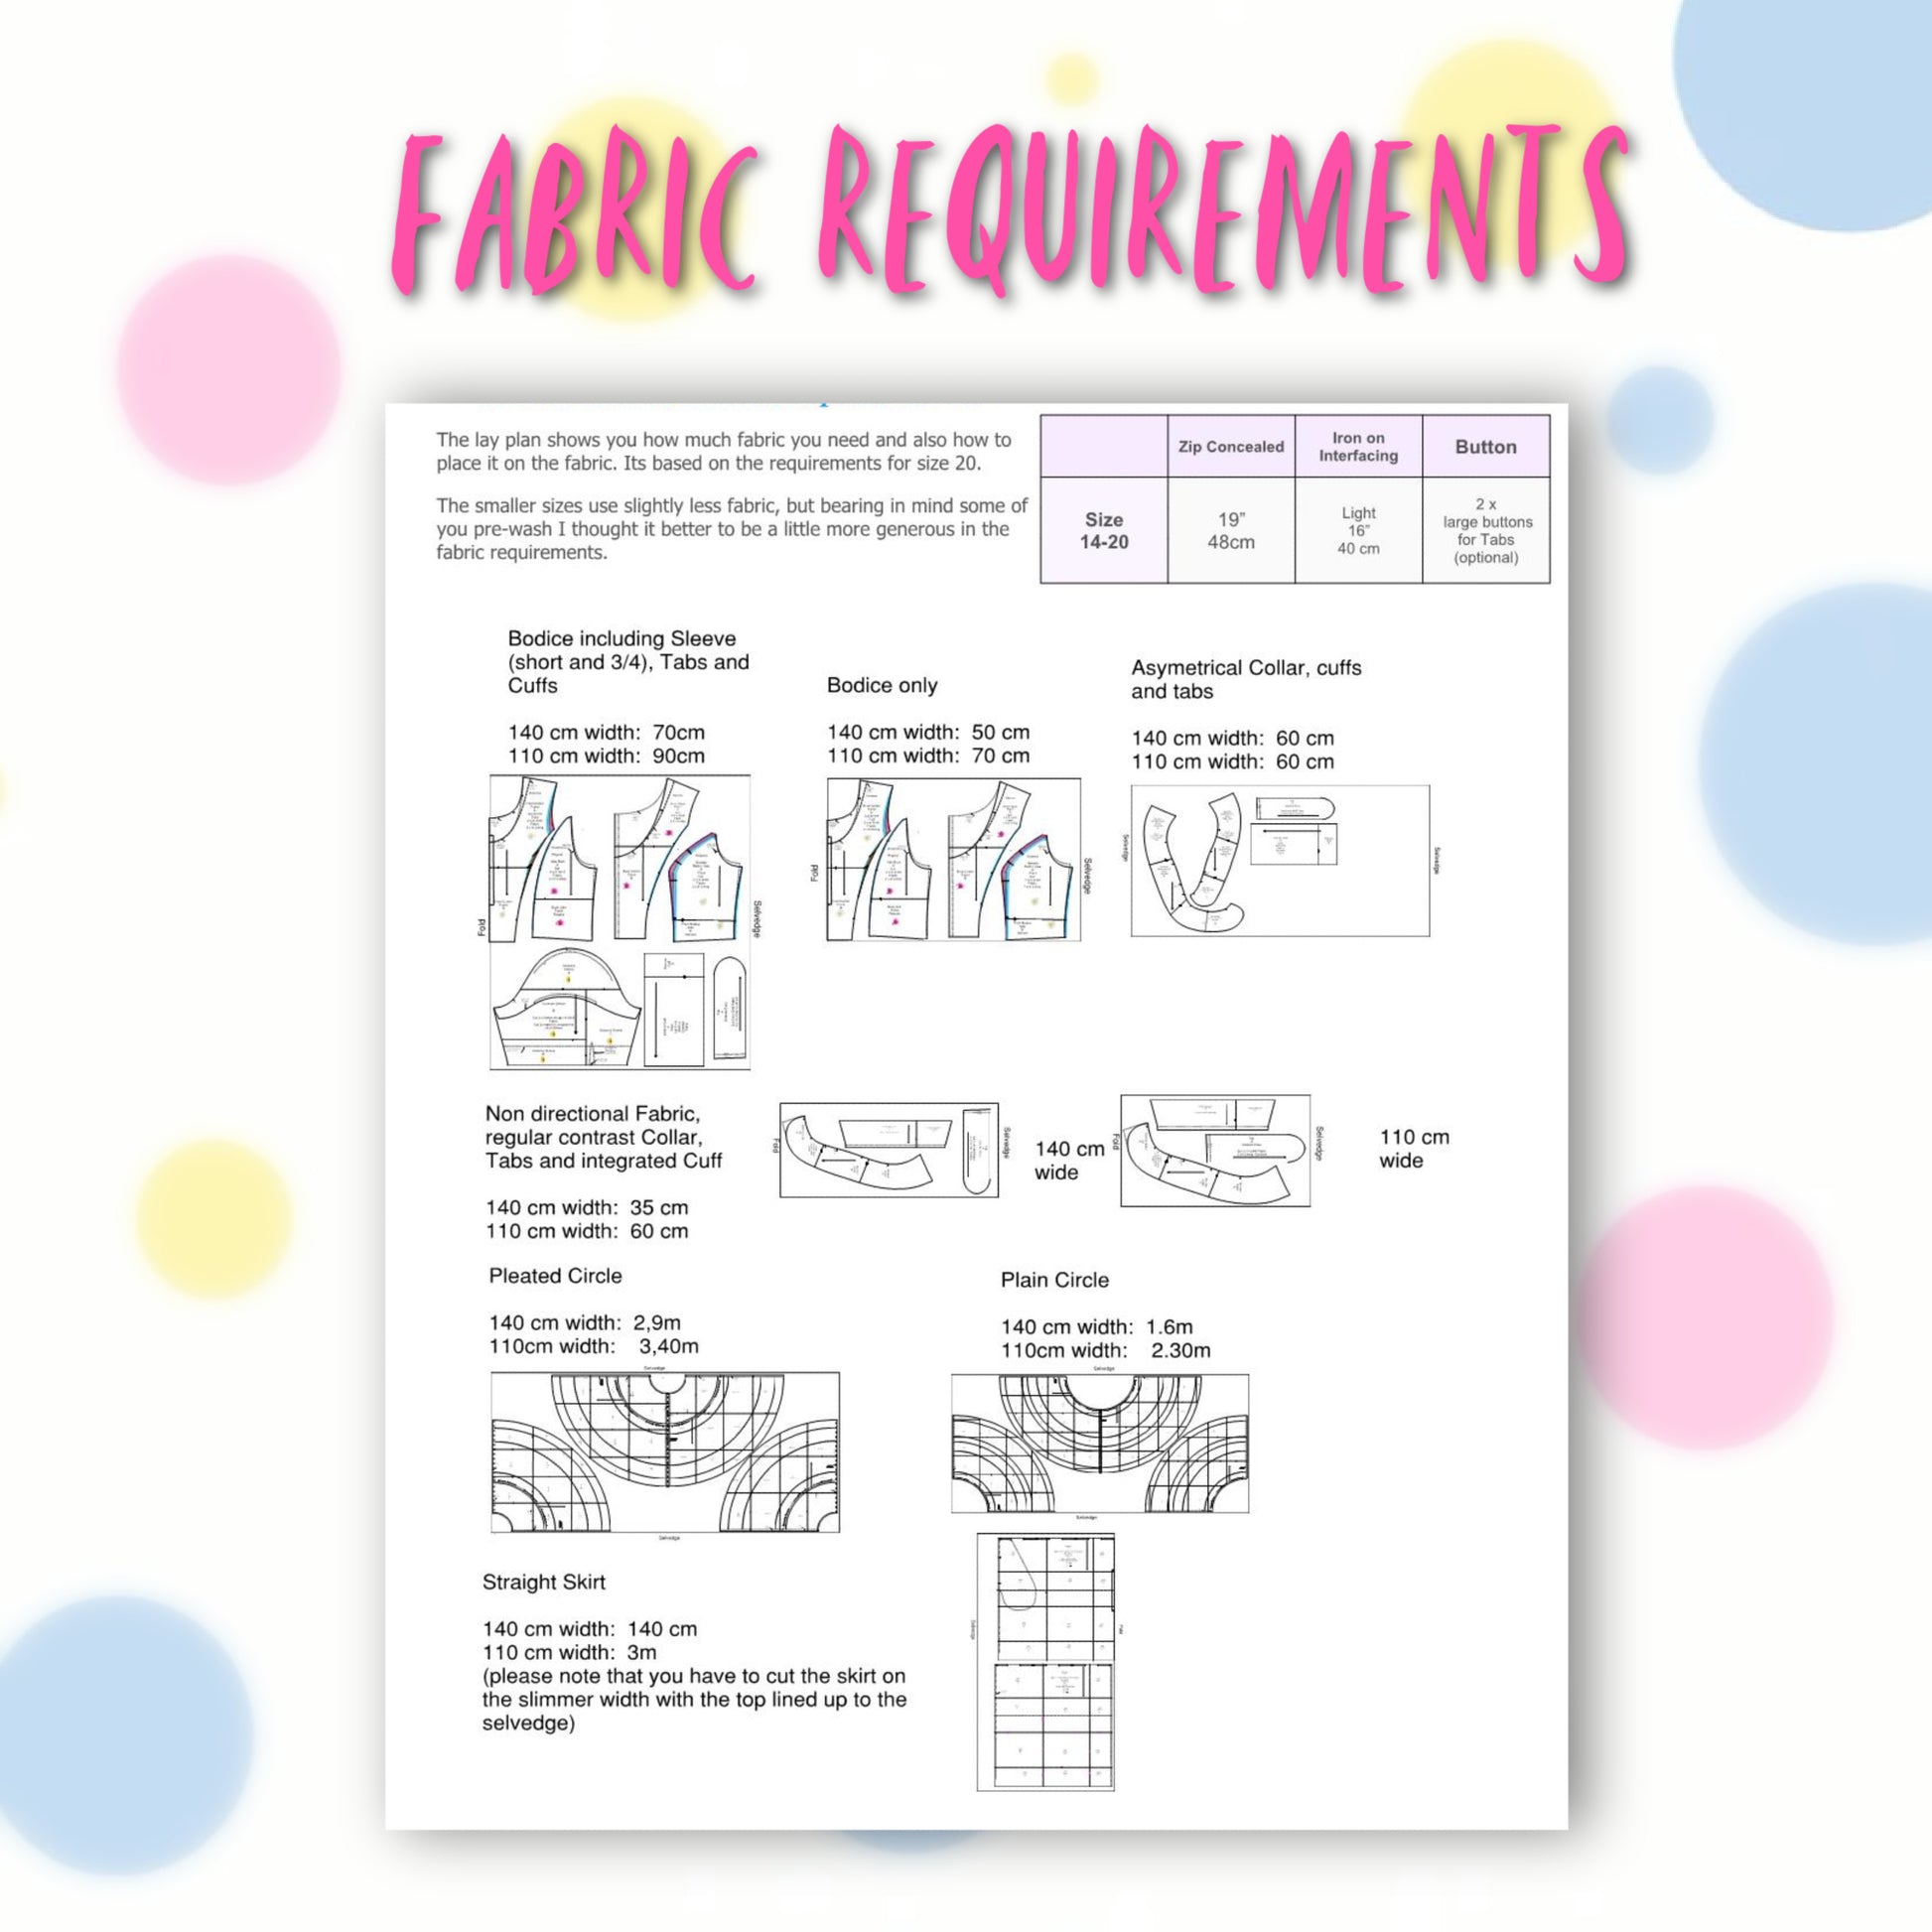
Fabric Requirements
Fabric Requirements
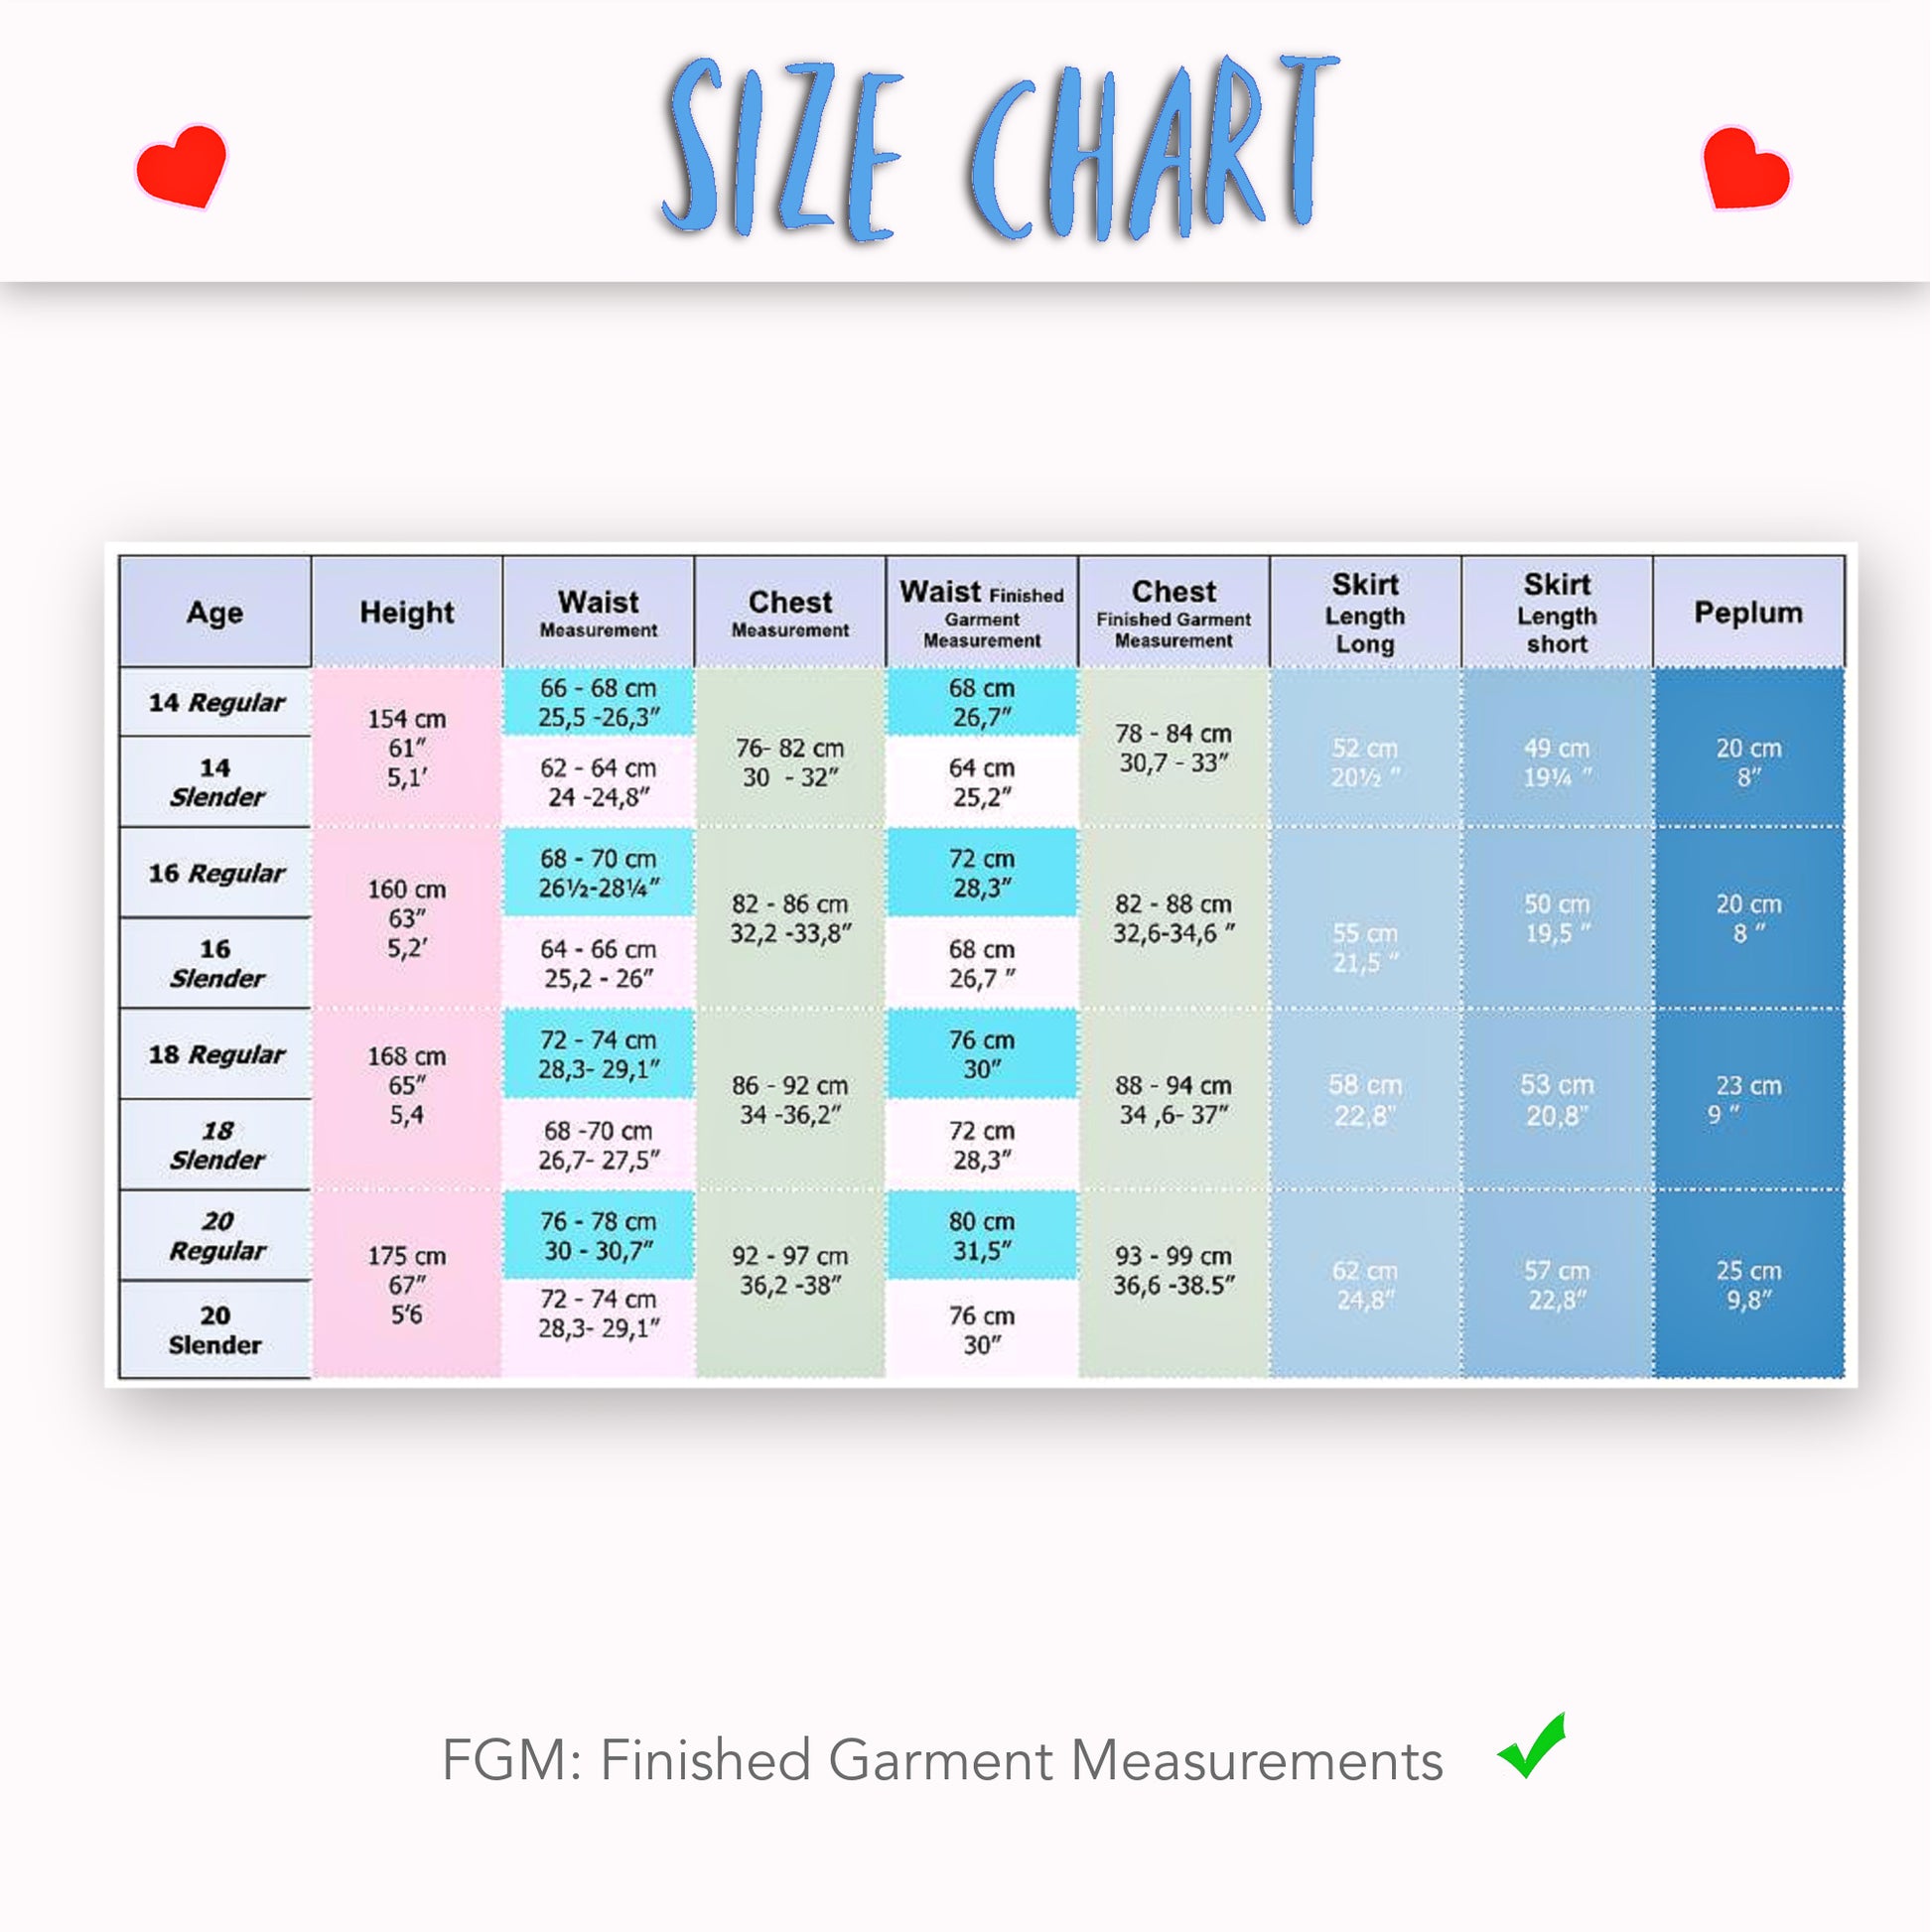
Available Sizes
Available Sizes
Please Read
Please Read


STEP-BY-STEP VIDEO TUTORIALS
INTRODUCTION TO THE PROJECT
ADJUSTING THE BUST SIZE
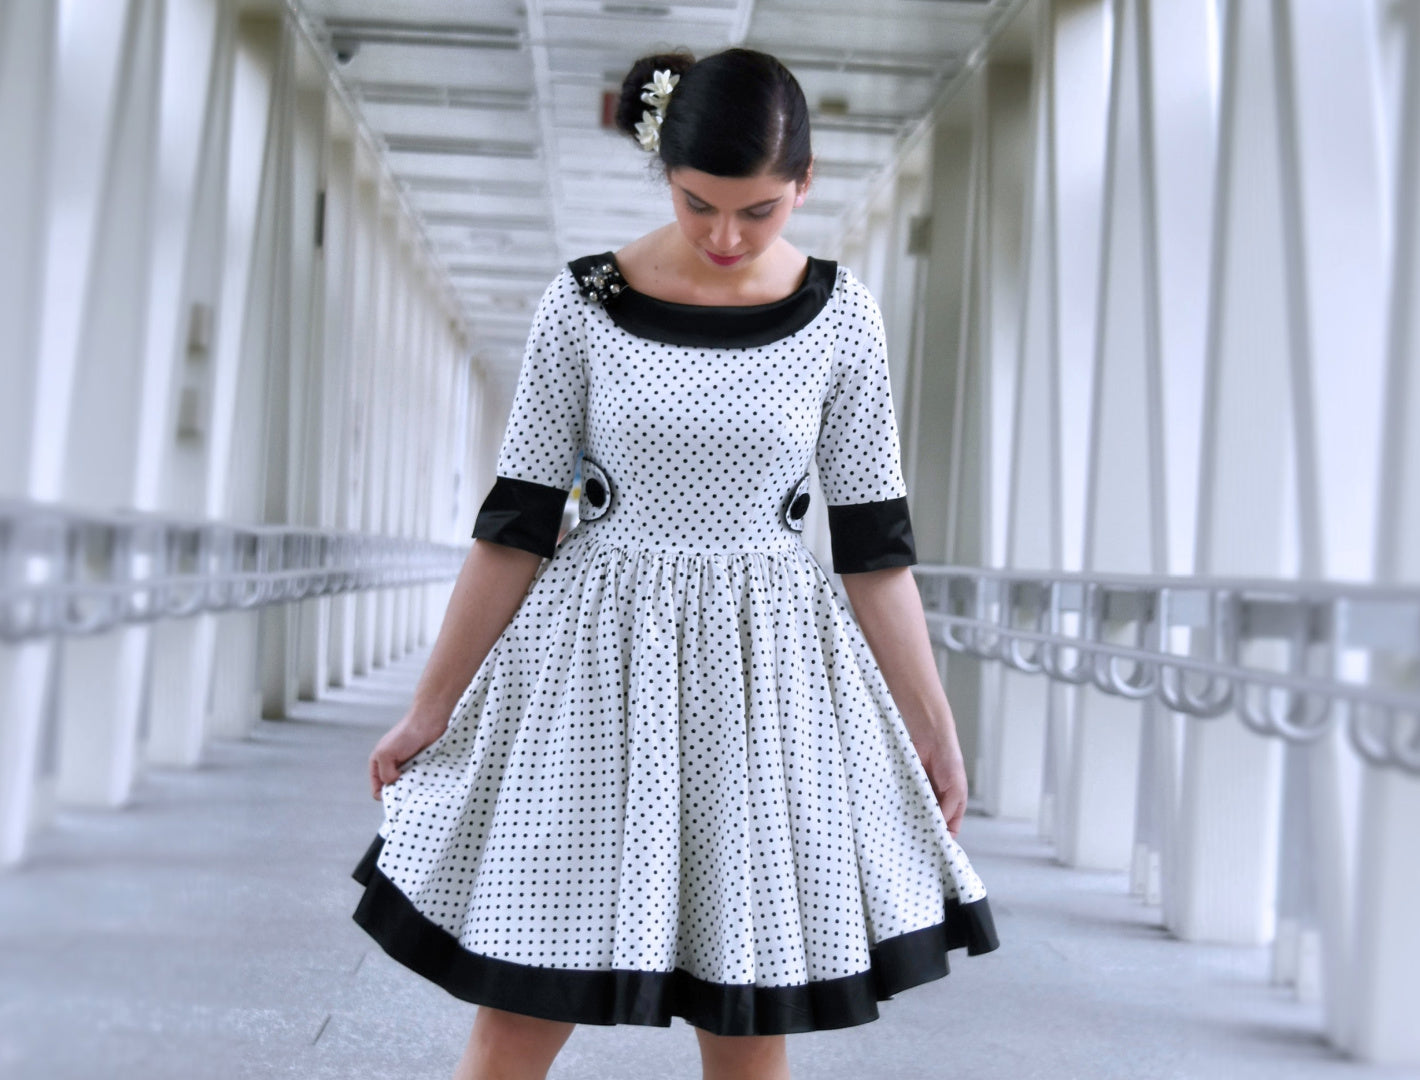
50IES DRESS & PETER PAN COLLAR

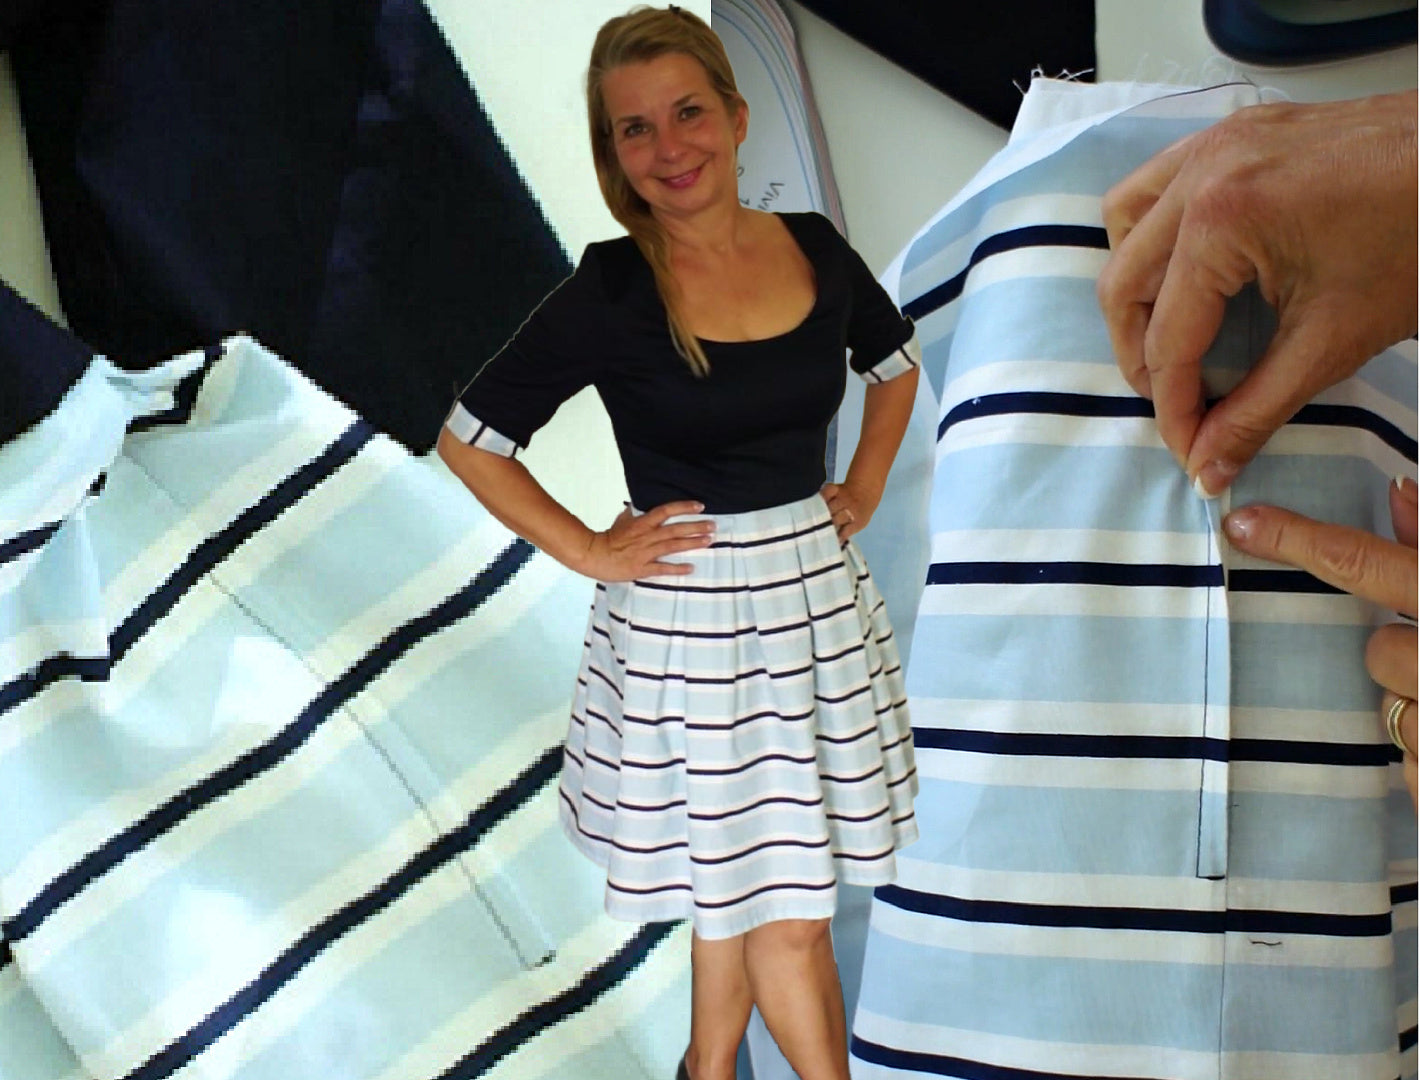
LACE SLEEVE & PUFFBALL SKIRT

CAP SLEEVES & EMBROIDERY OVERLAY
SHORT SLEEVE LINED & UNLINED
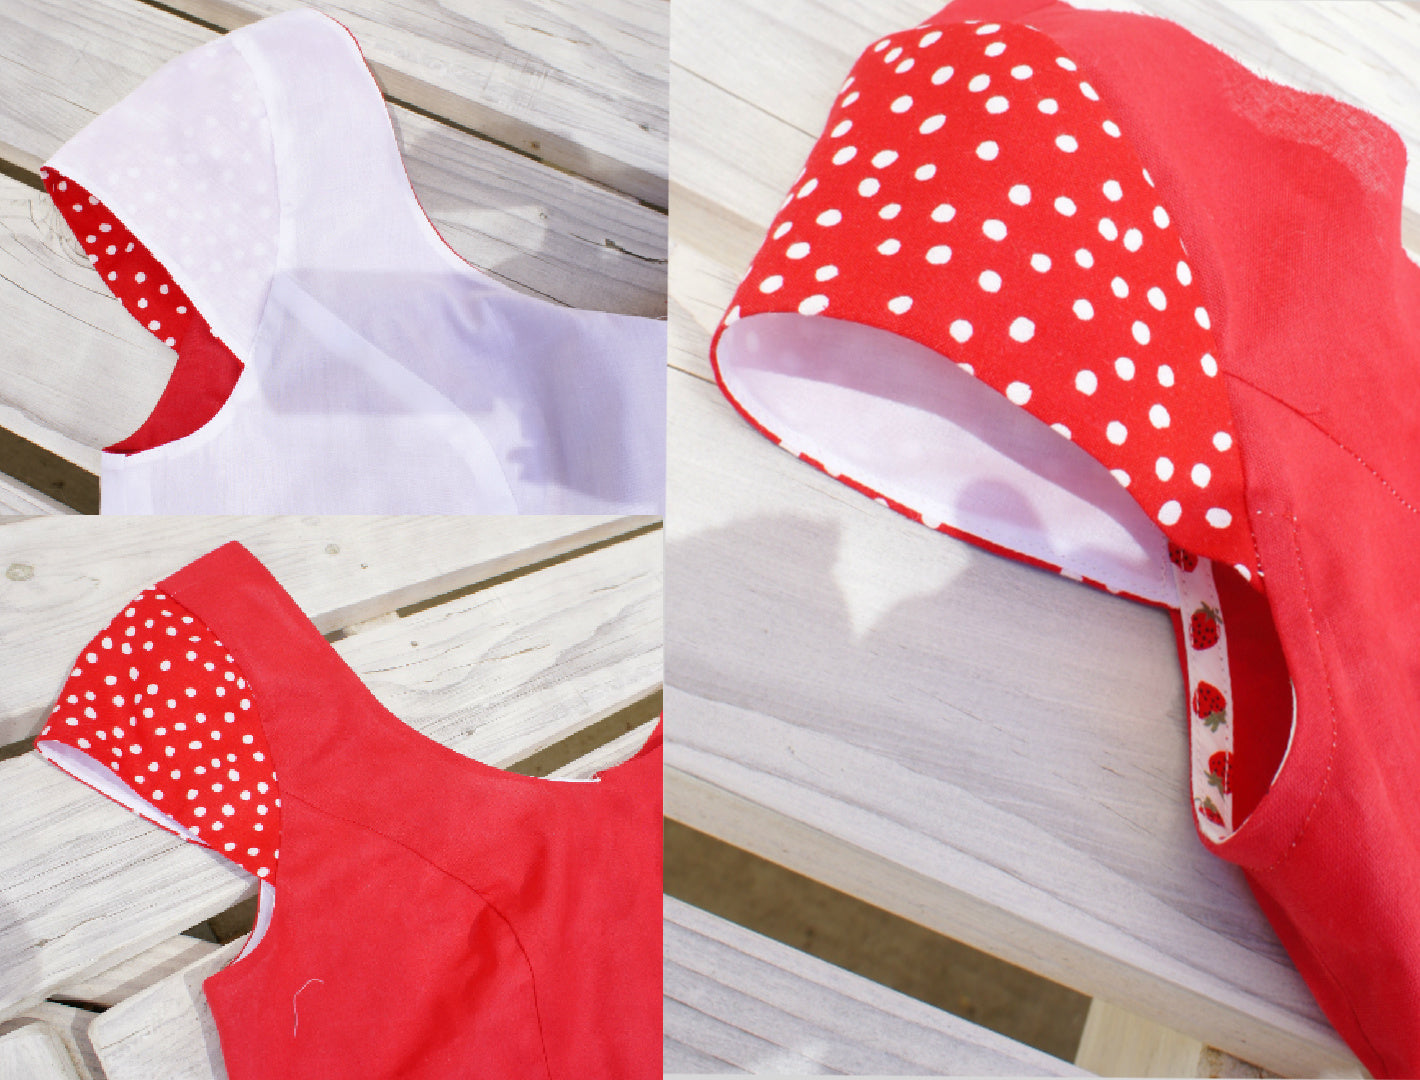
CAP SLEEVE METHODS

NECKLINE WITH PIPING

NECKLINE WITH BIAS BINDING
SIDE POCKETS
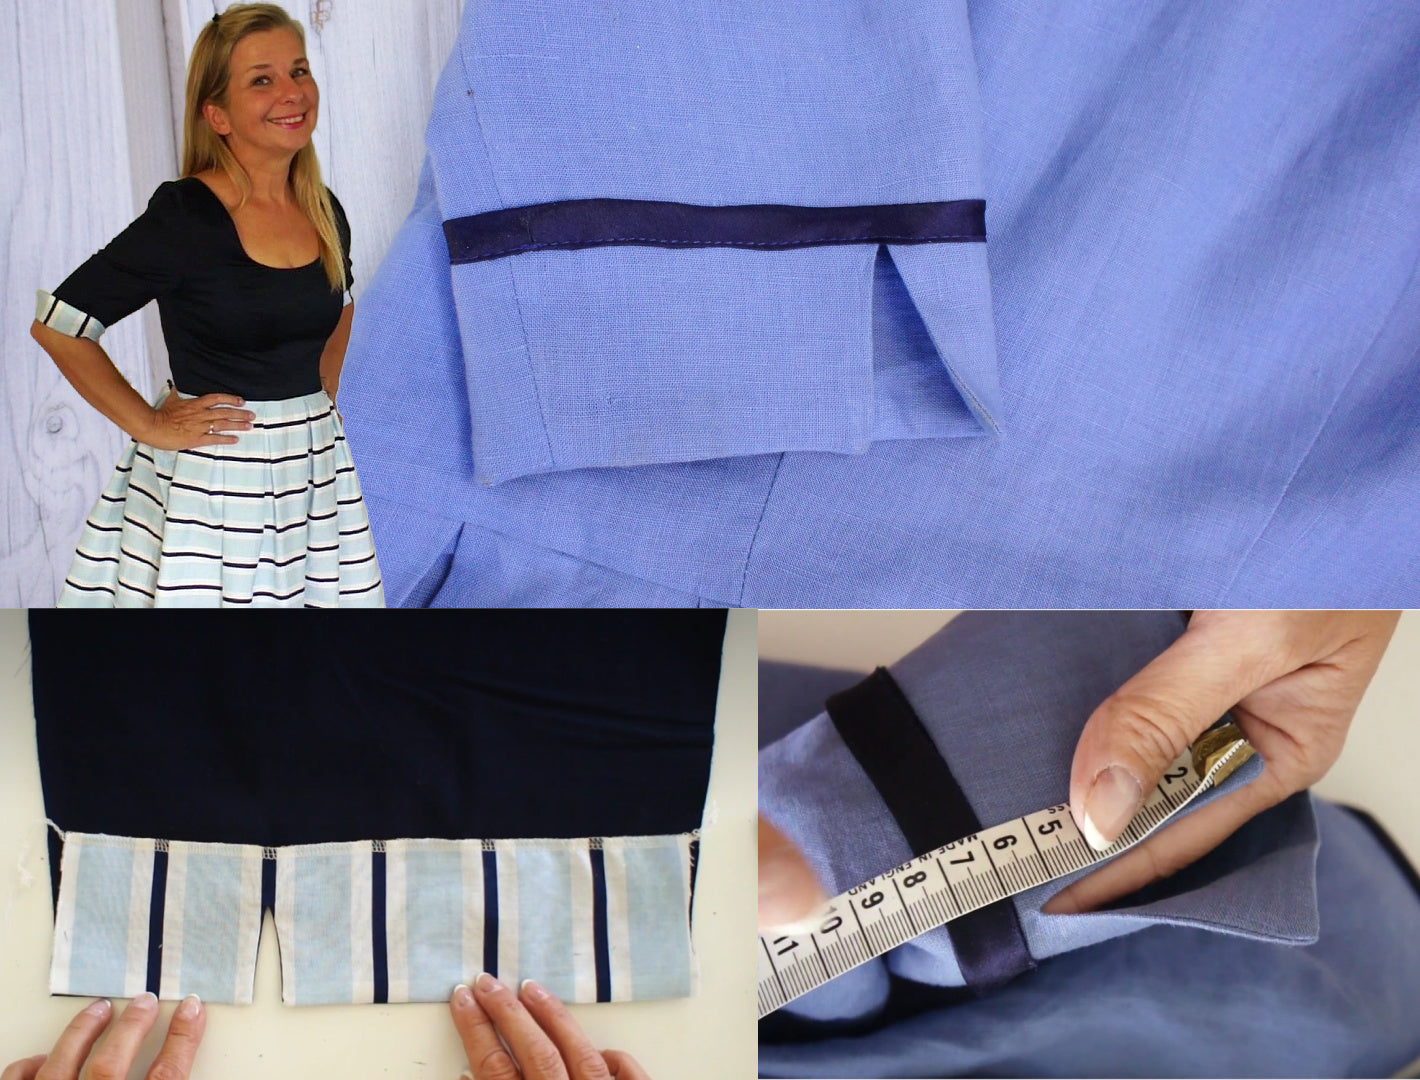
SLEEVE CUFF WITH SLIT
