


LILOU VINTAGE BOW
LILOU VINTAGE BOW


Regular price
€4,95 EUR
Regular price
Sale price
€4,95 EUR
Unit price
per
Couldn't load pickup availability
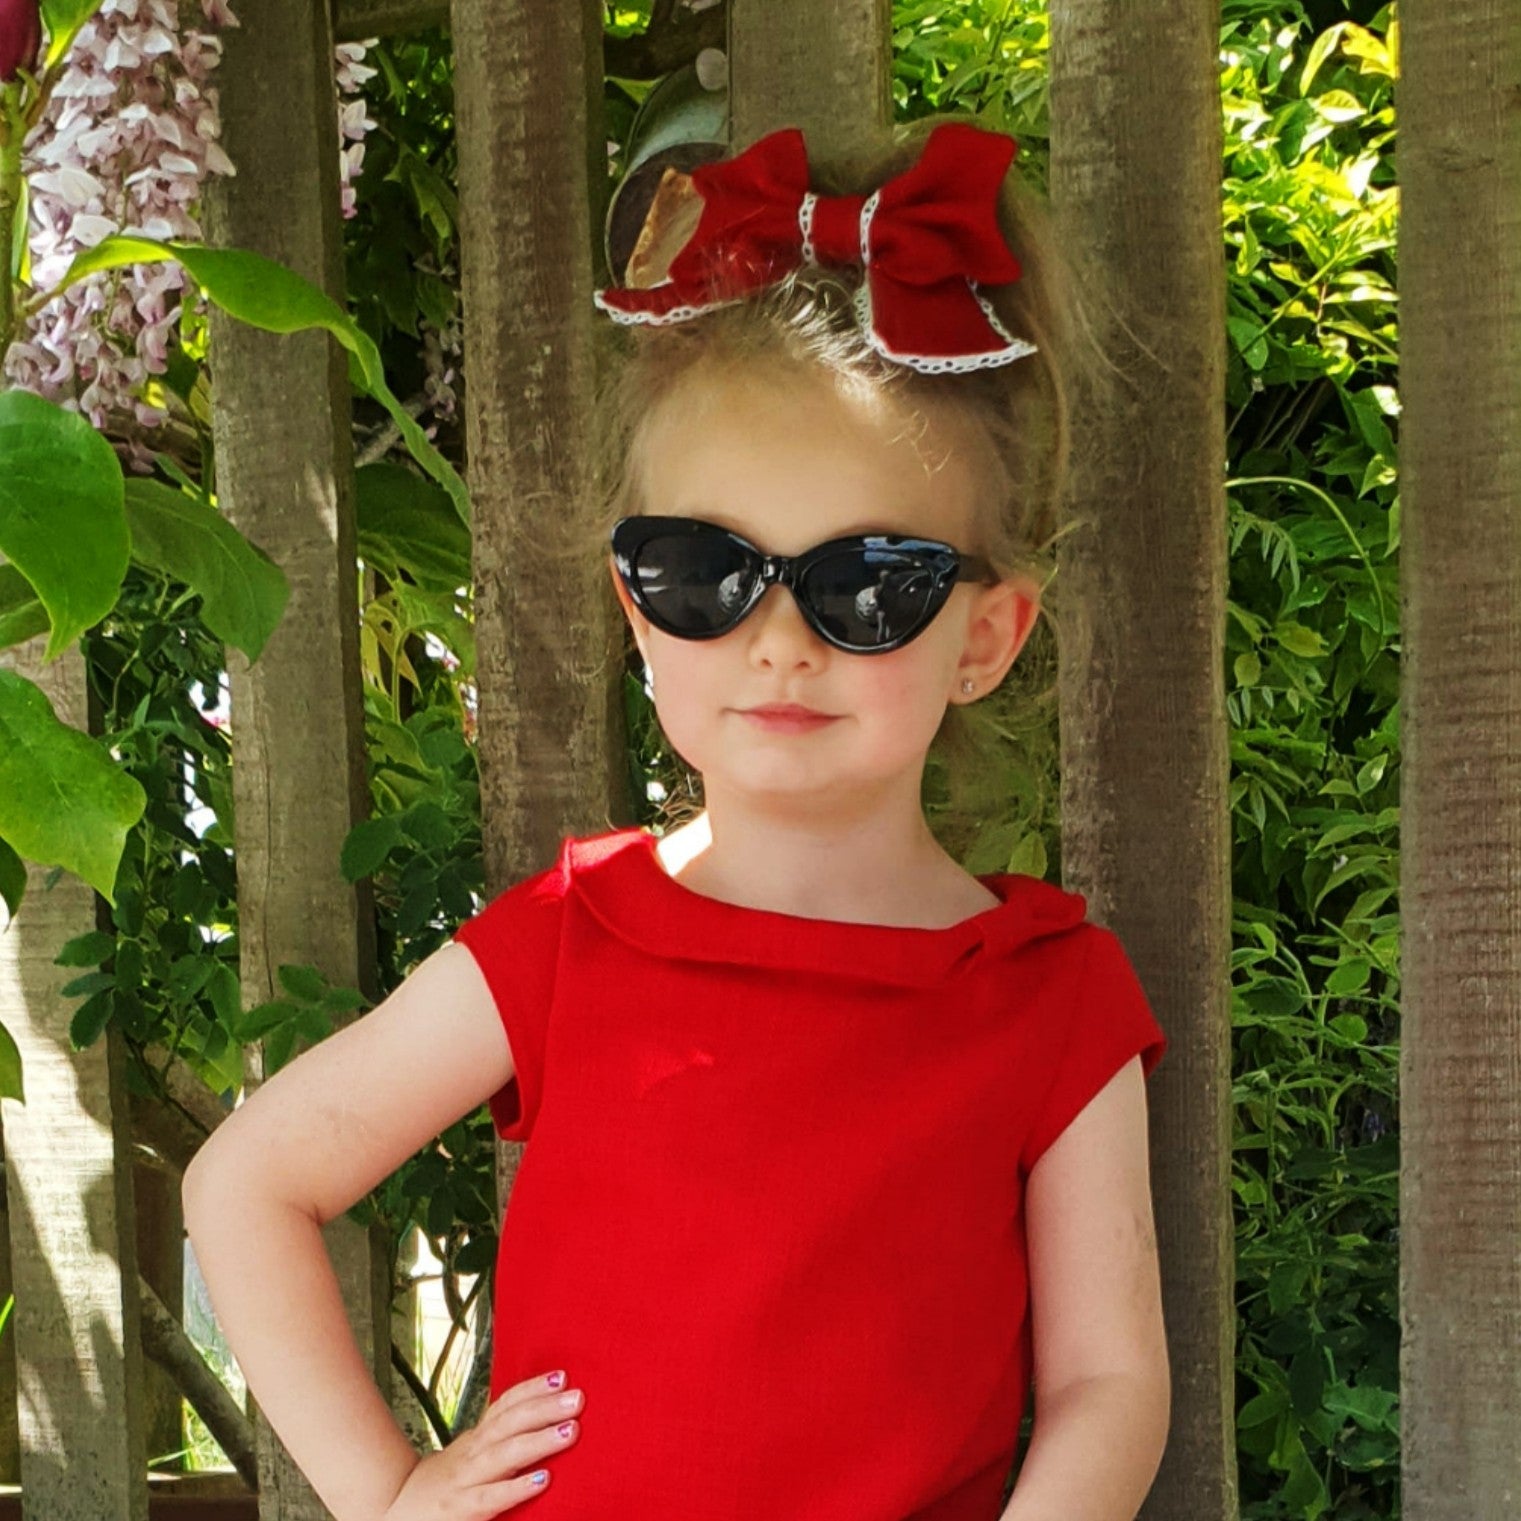
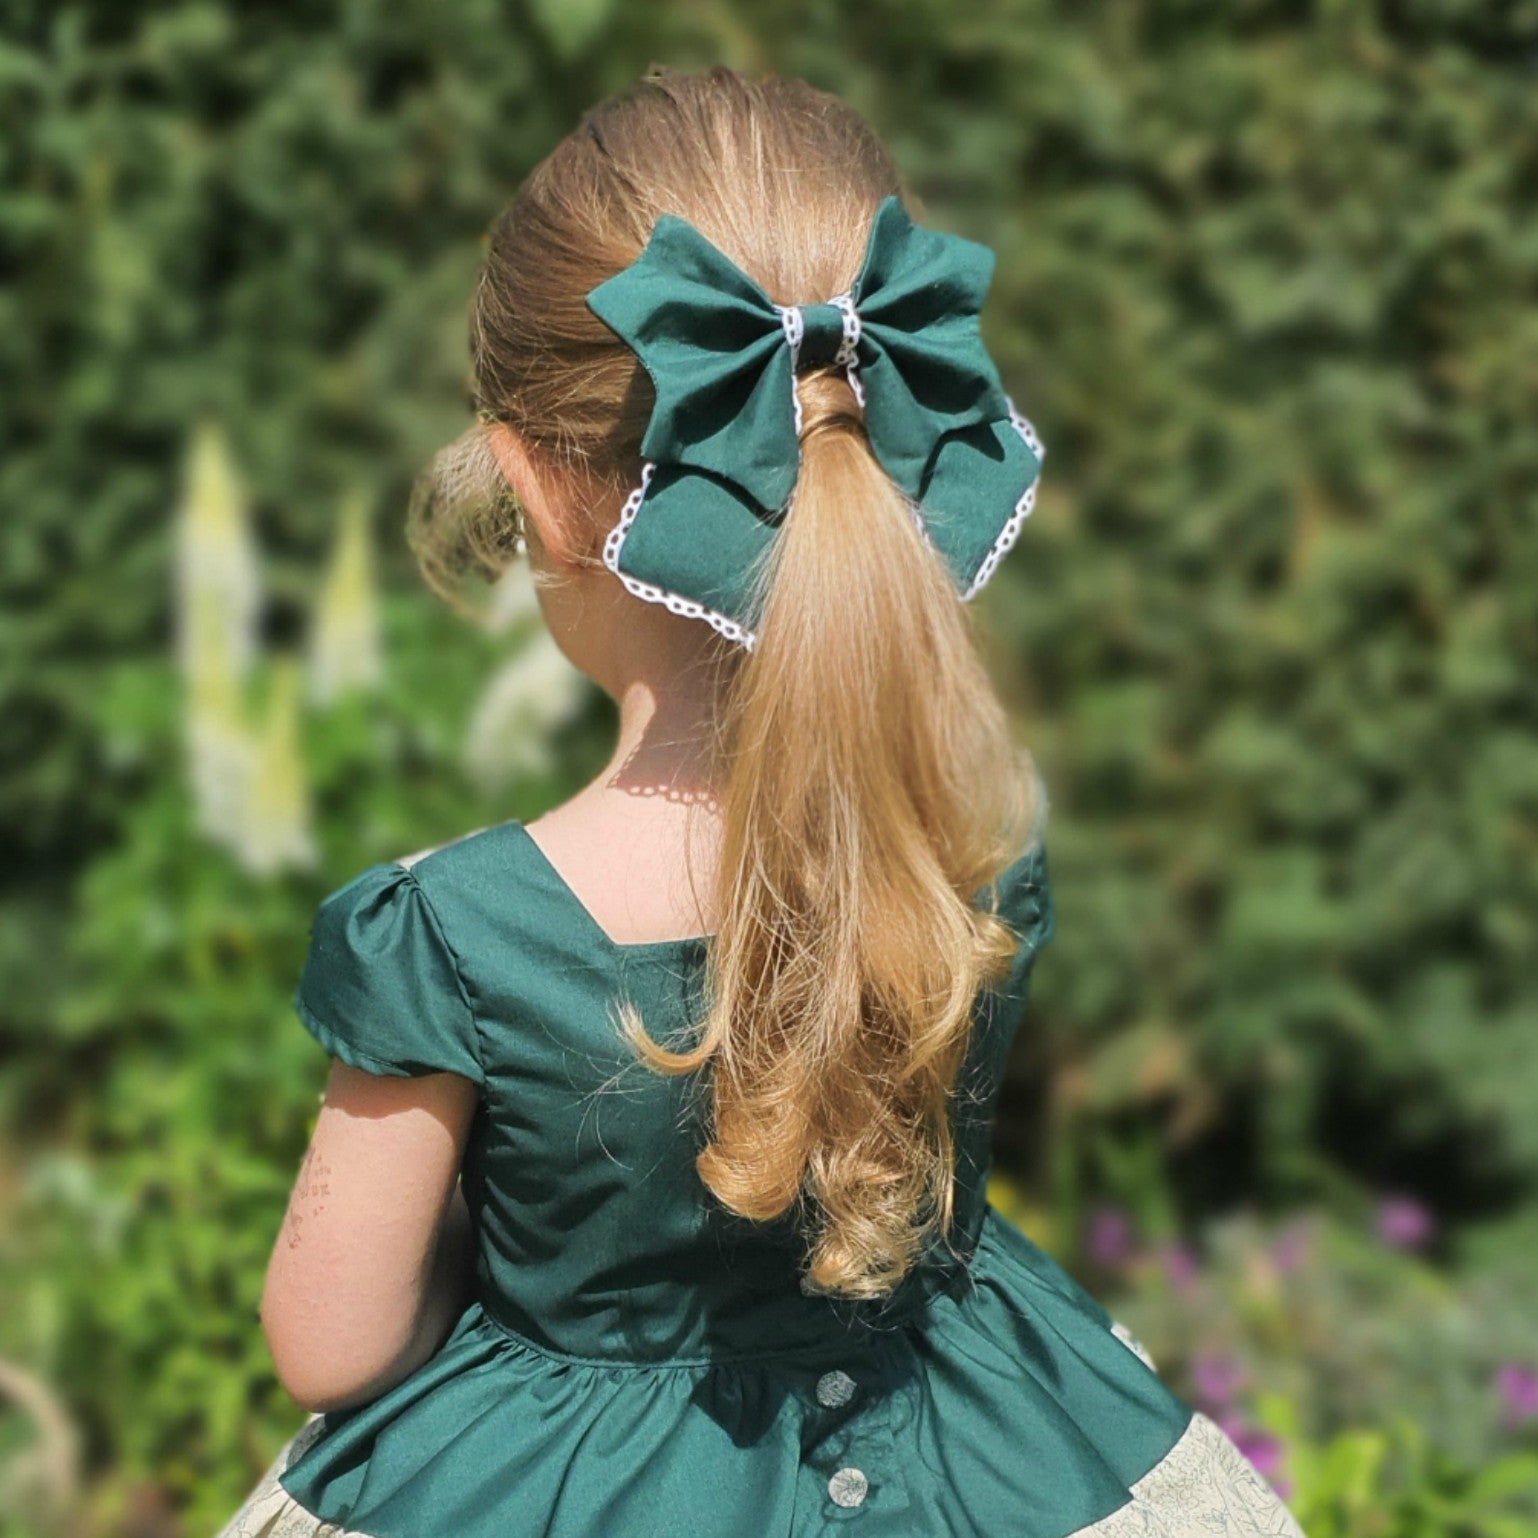
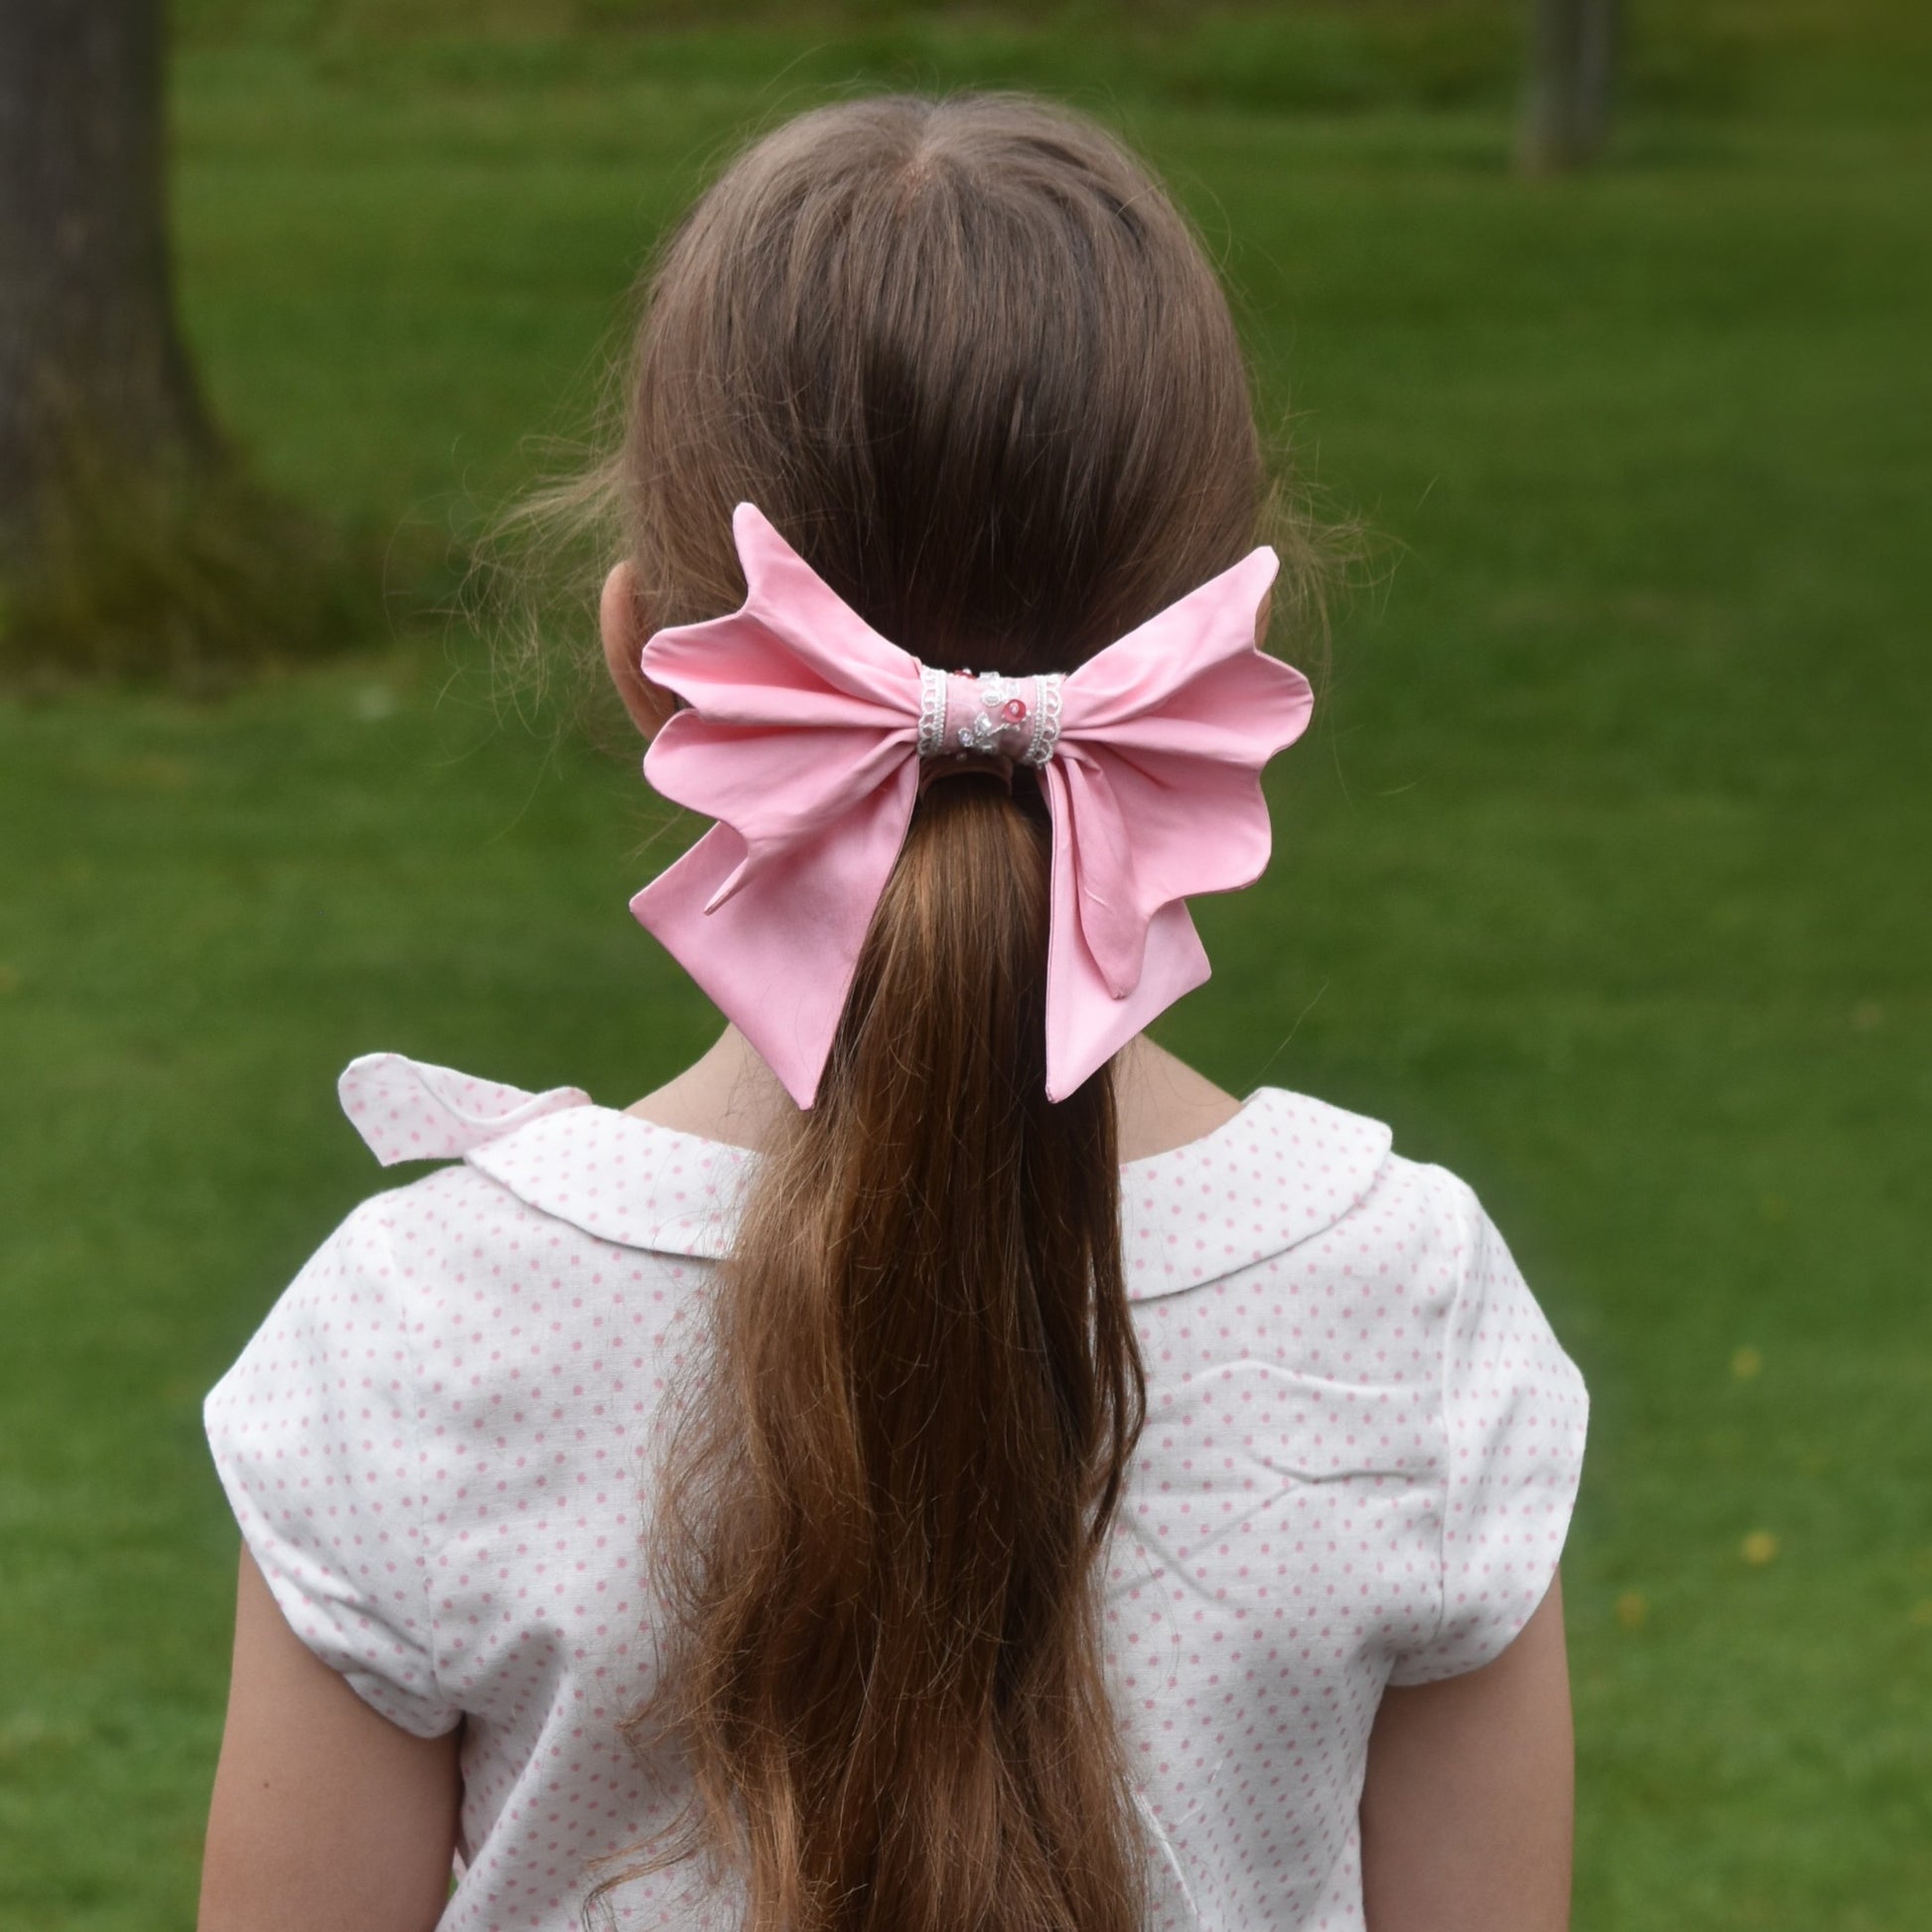
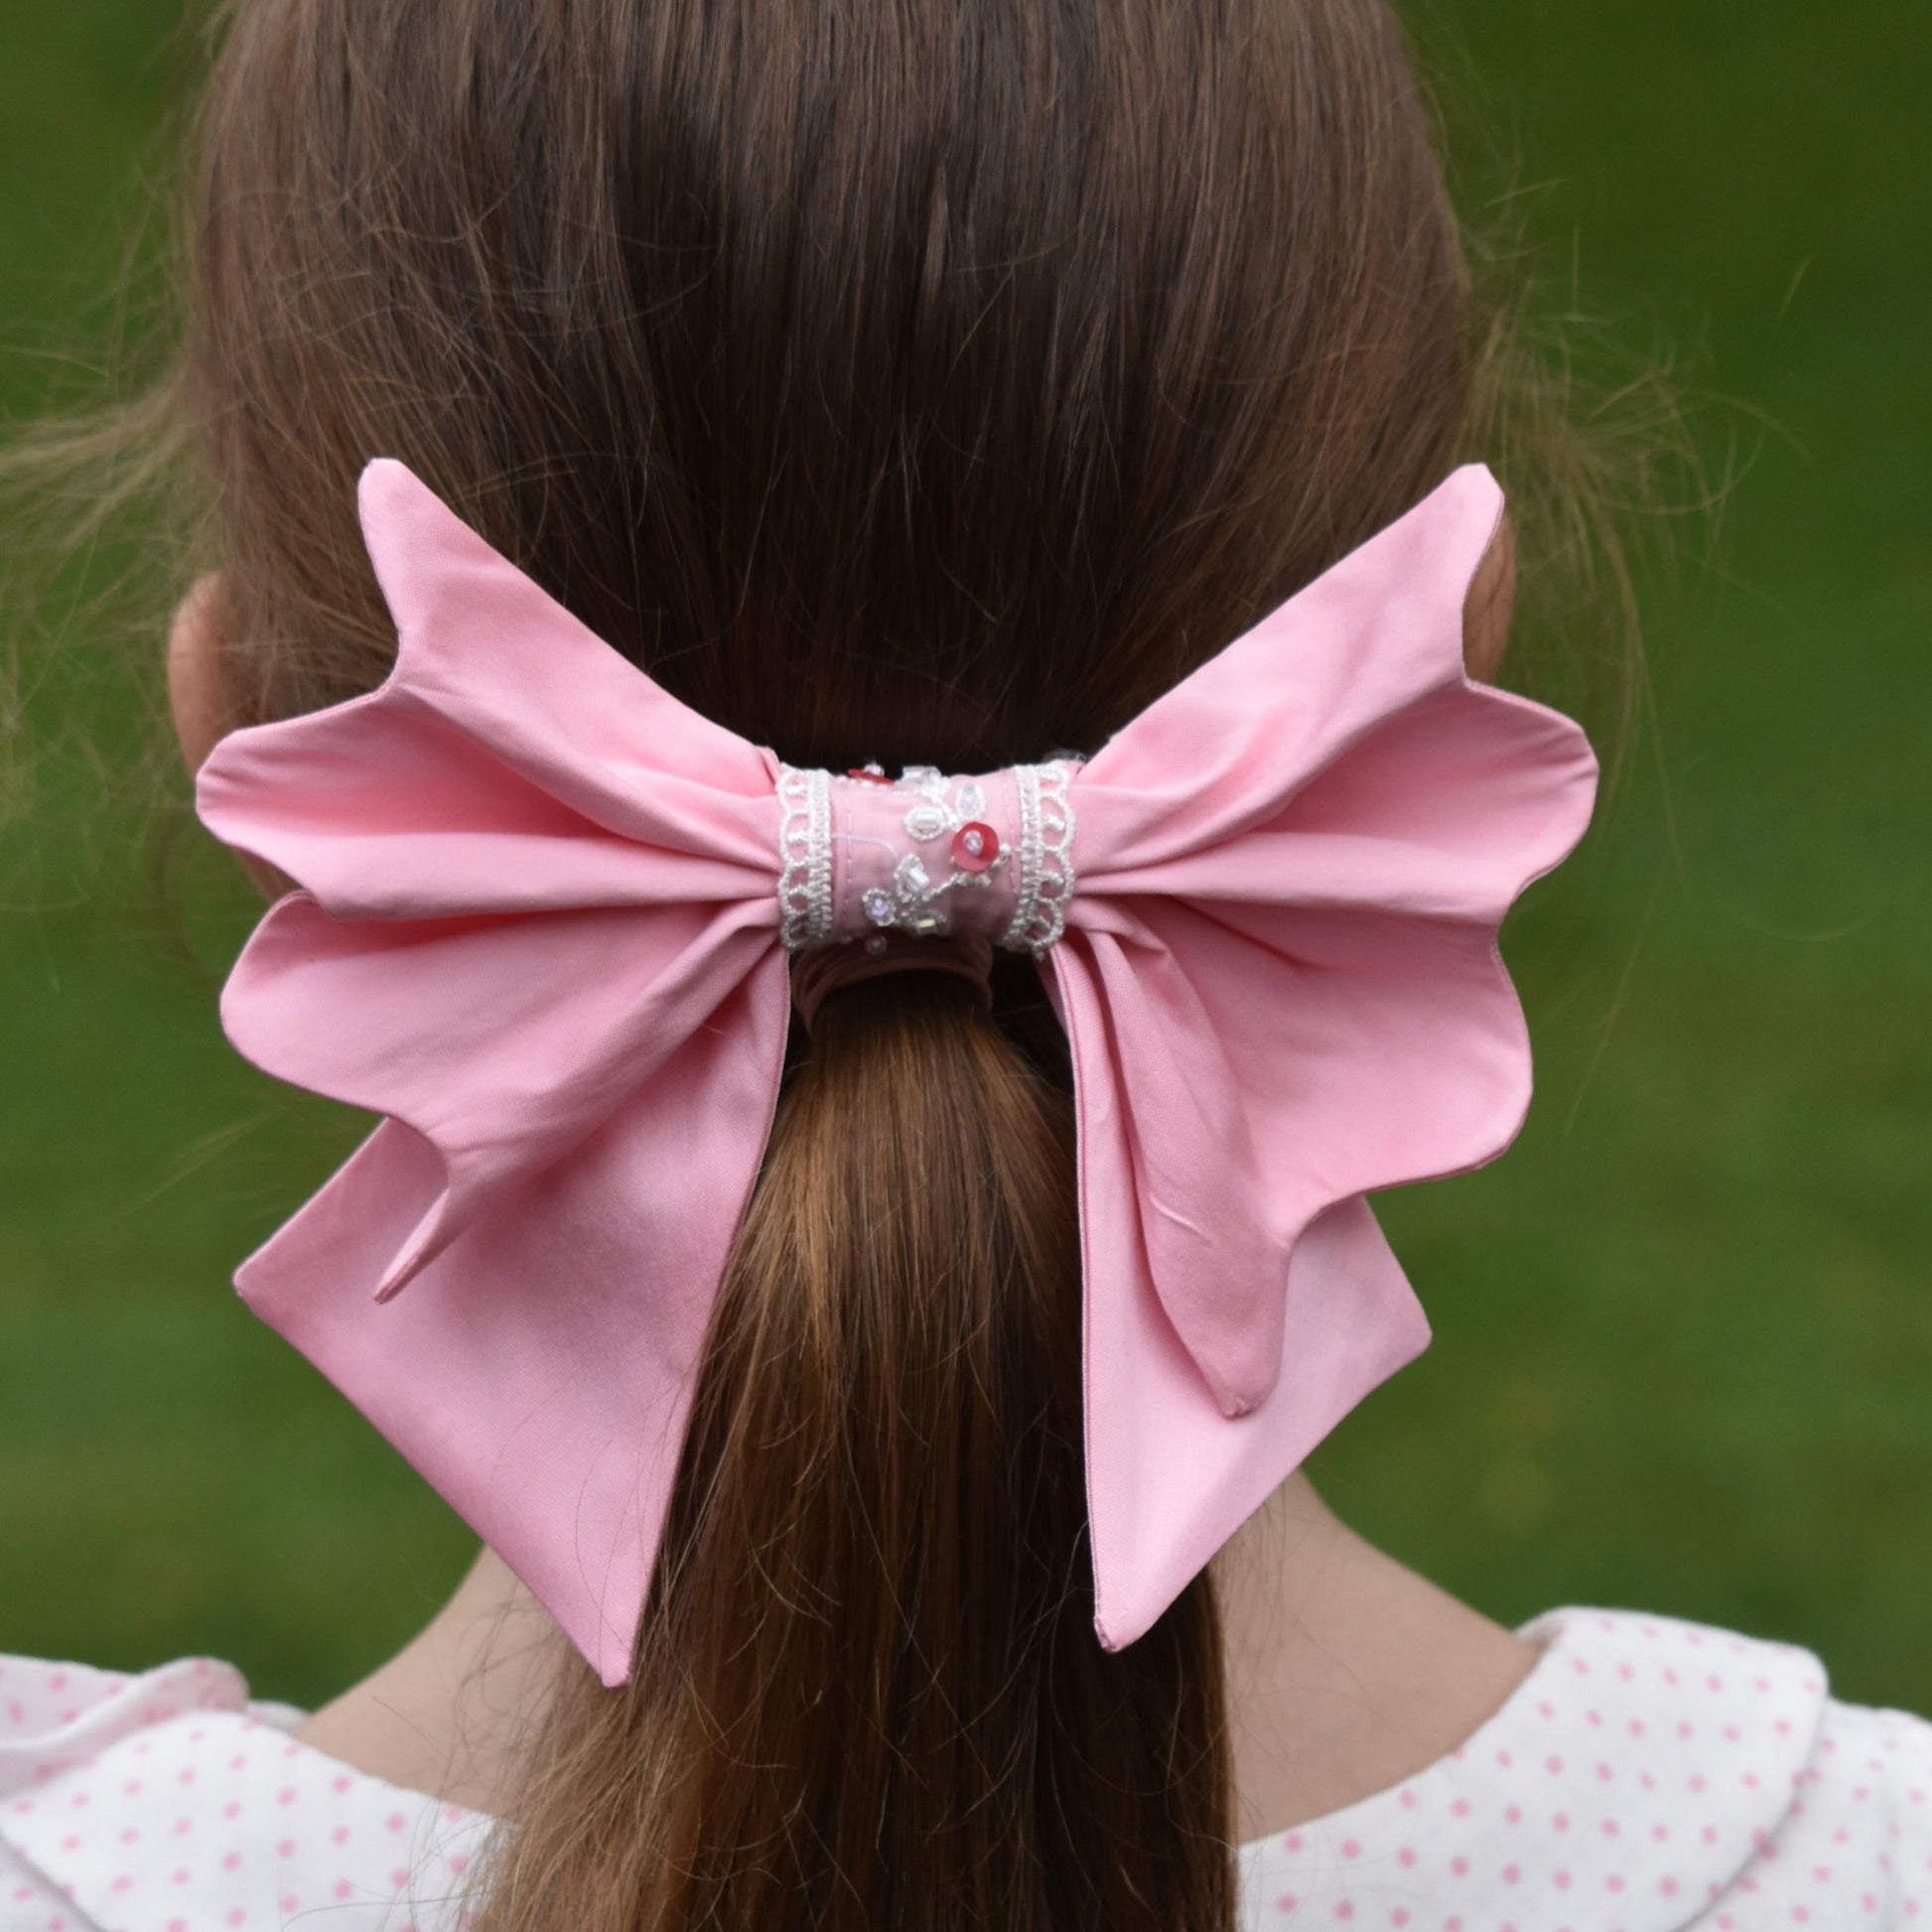
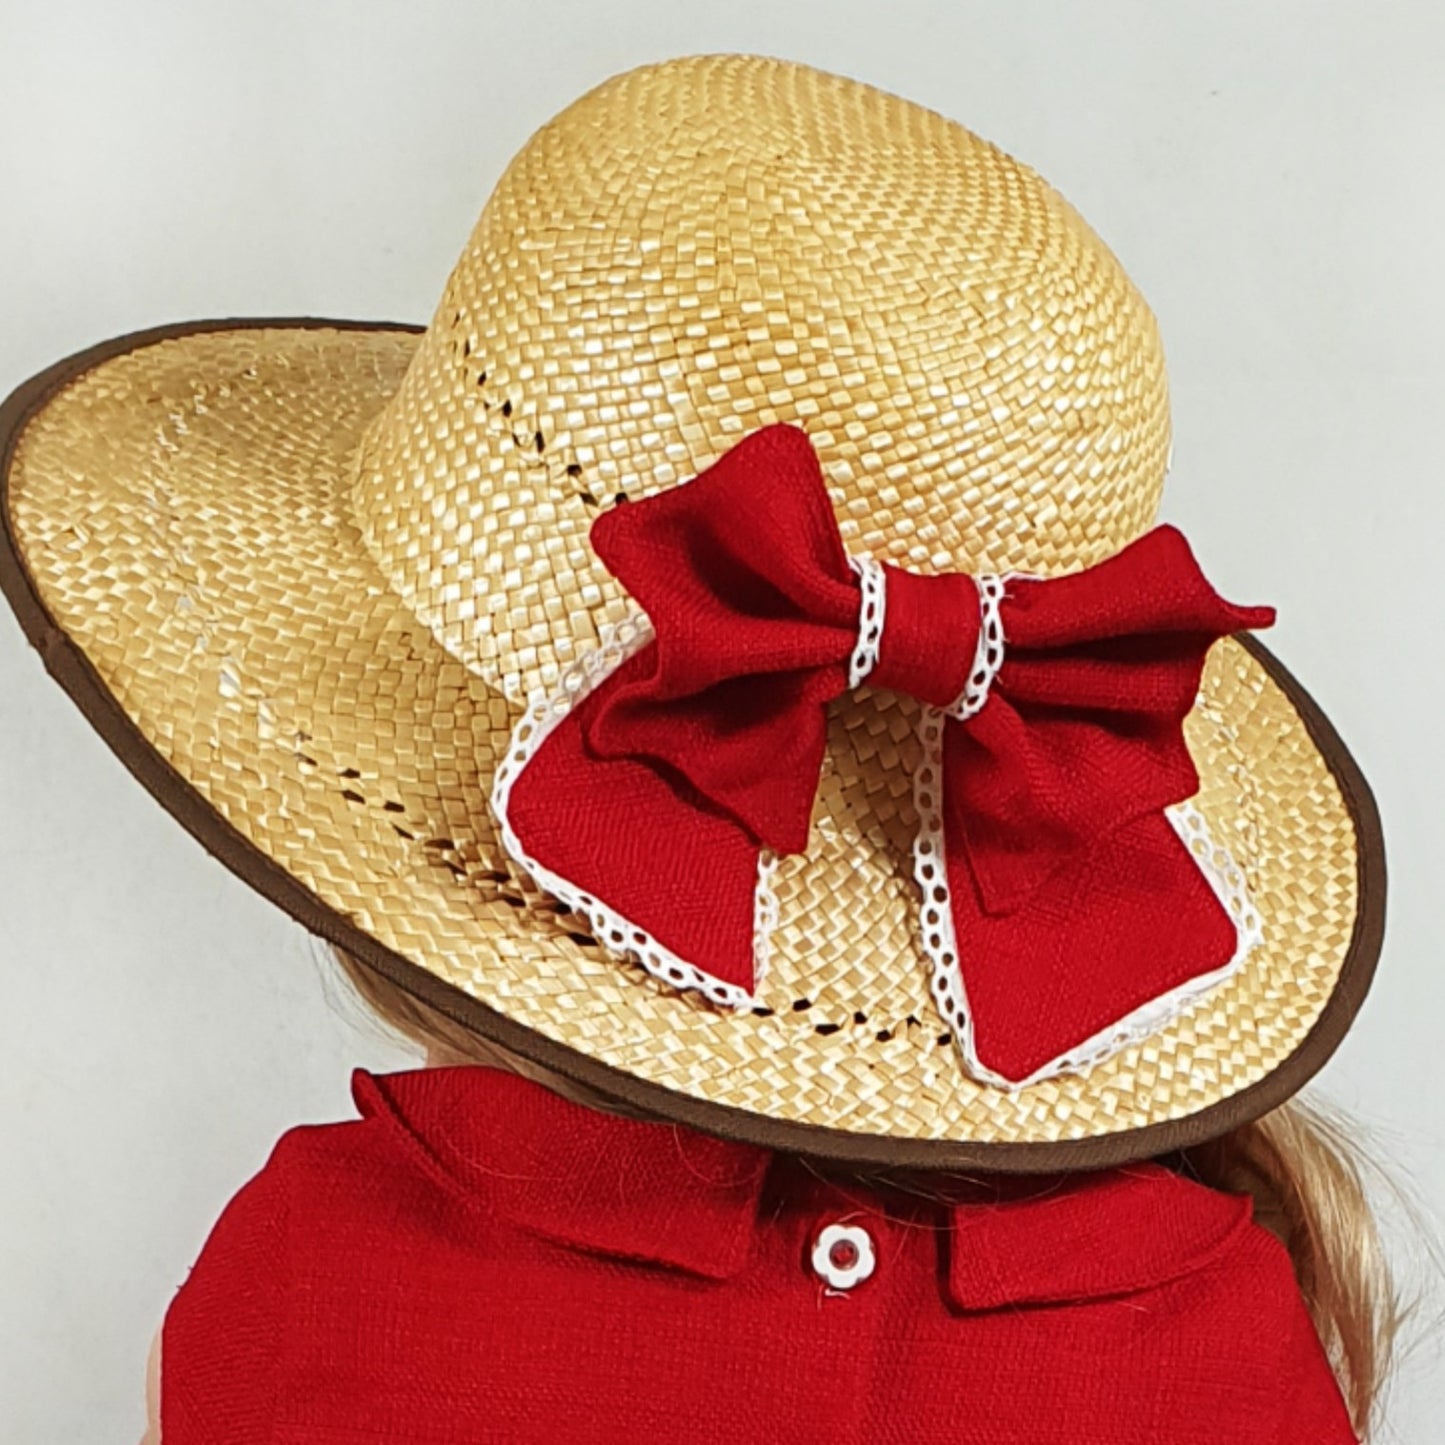
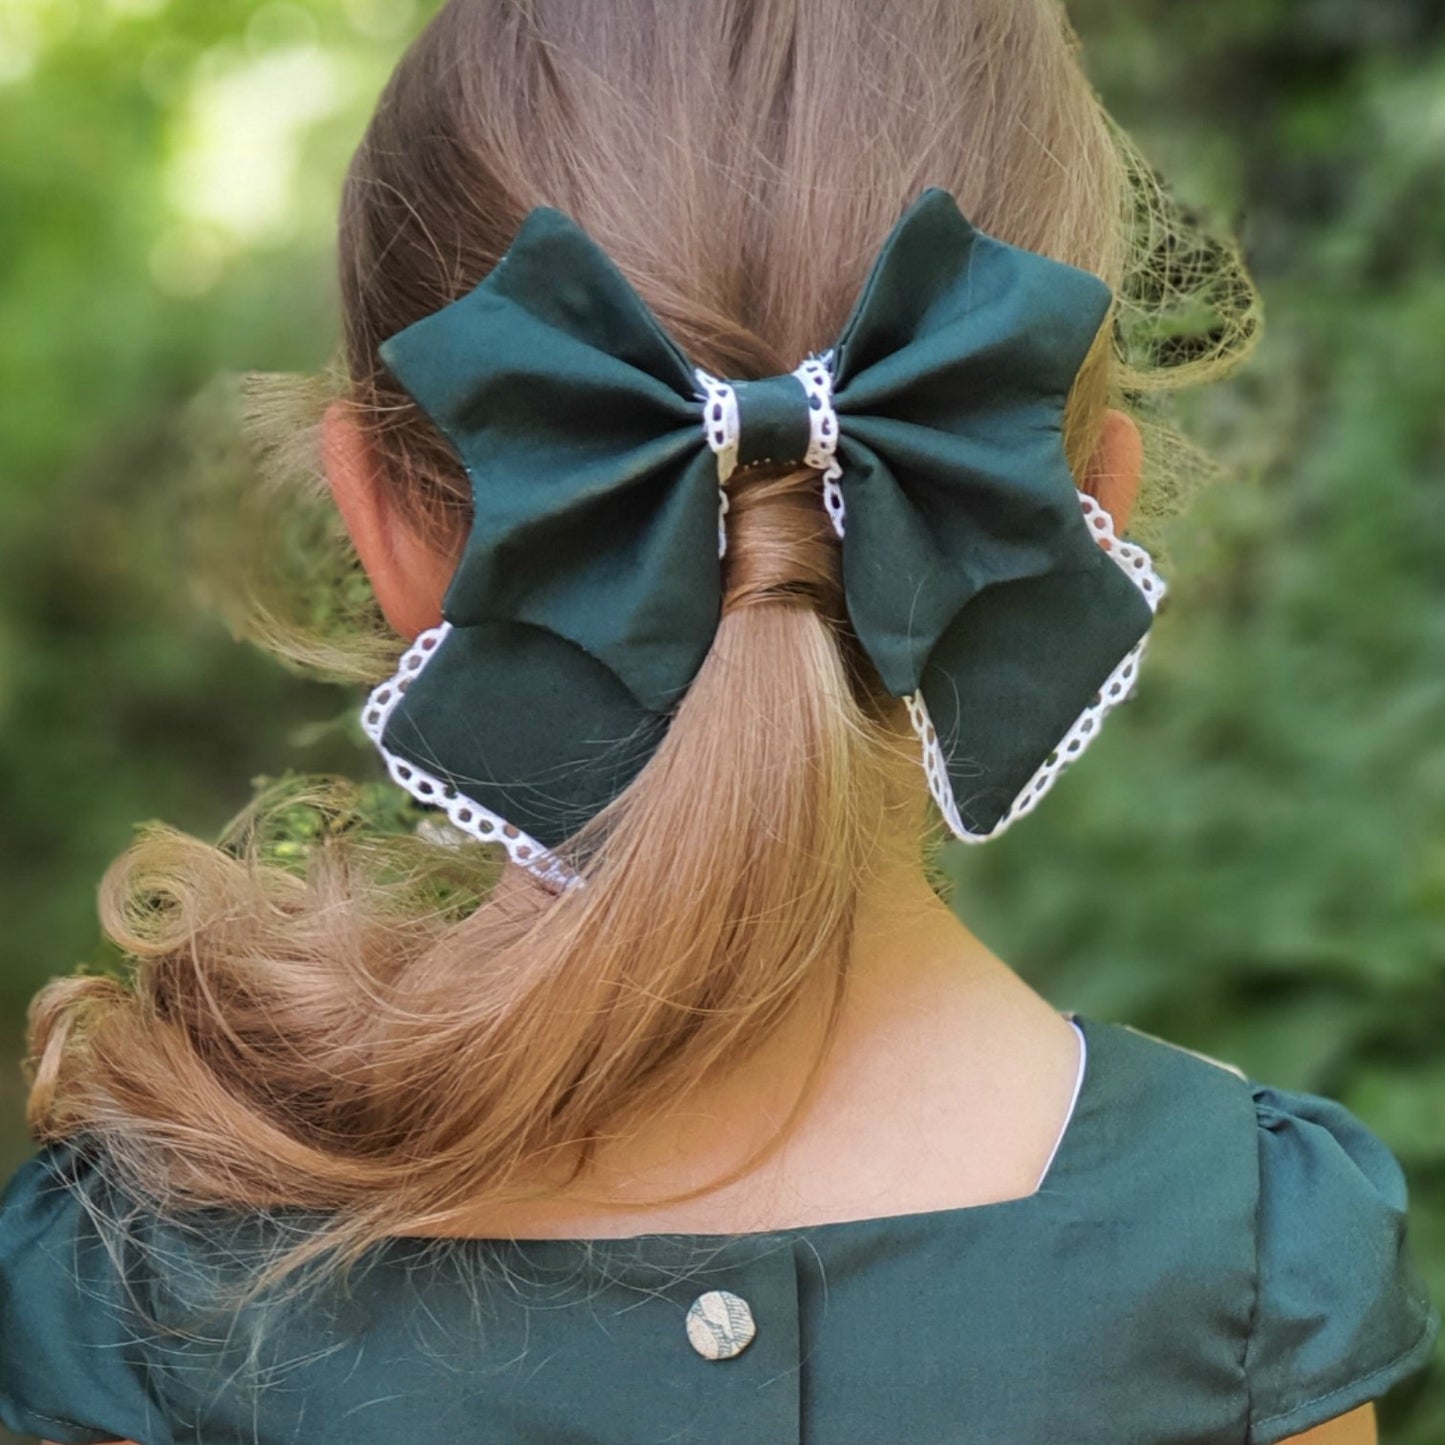
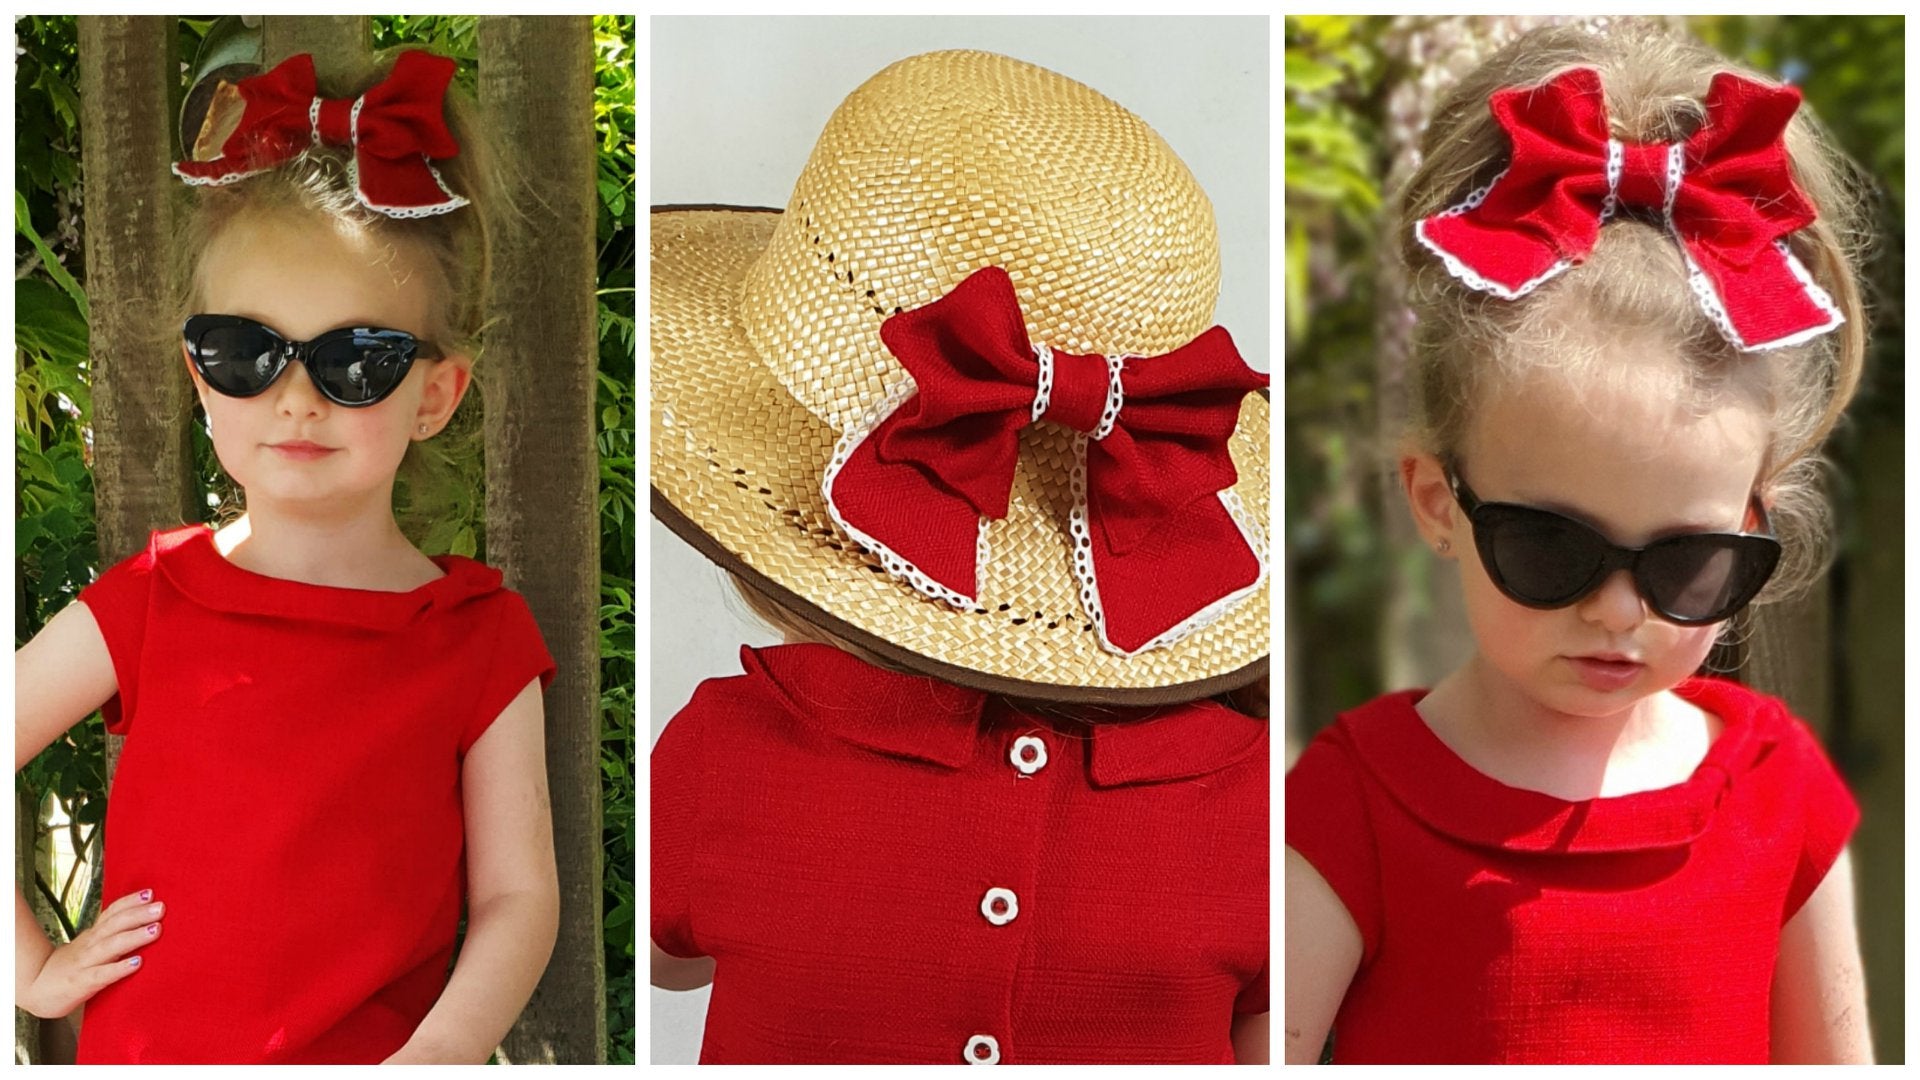
Sew Lilou a darling vintage hair bow sewing pattern for your little girl! Designed by the lovely Emily Holland, this bow is pure cuteness and so versatile — perfect as a dress bow, a hair clip, or even a charming hat accessory. A tiny make with big vintage flair.
This charming pdf sewing pattern includes an eBook and video instructions for creating a large bow with delicate lace trim.
Pattern Download Includes
Pattern Download Includes
Design Options
Design Options
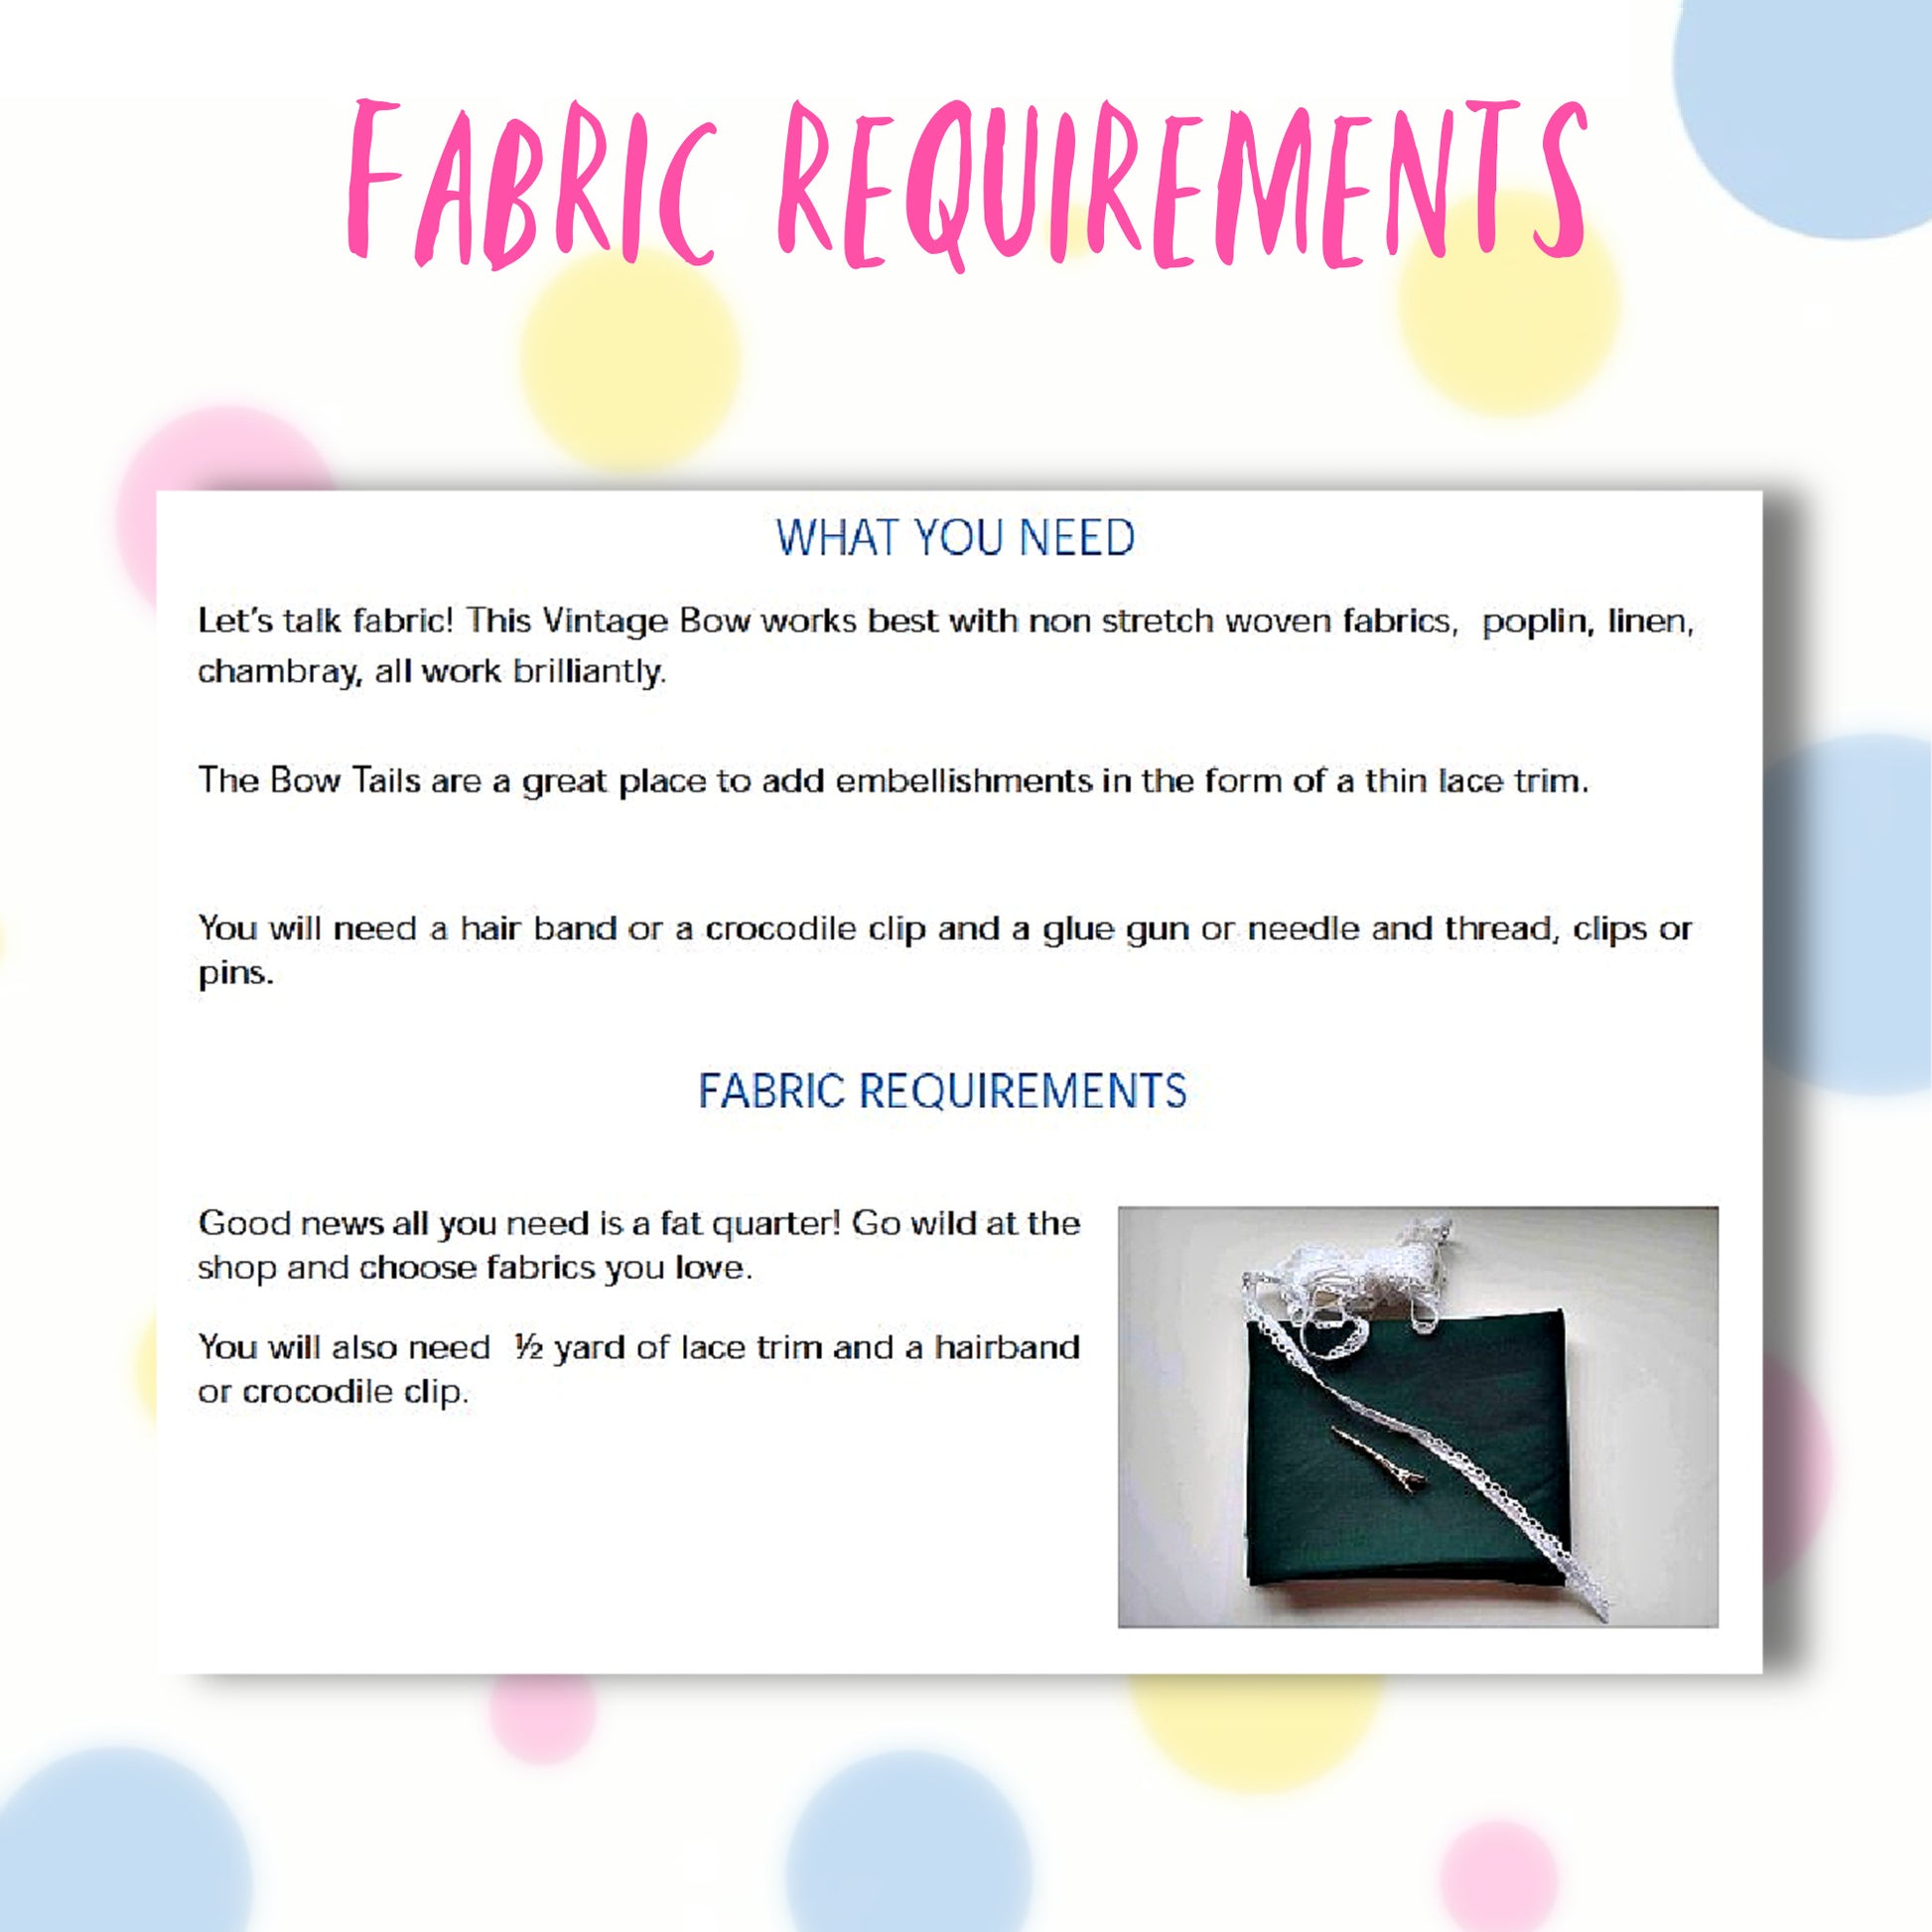
Fabric Requirements
Fabric Requirements
Available Sizes
Available Sizes
Please Read
Please Read


STEP-BY-STEP VIDEO TUTORIALS
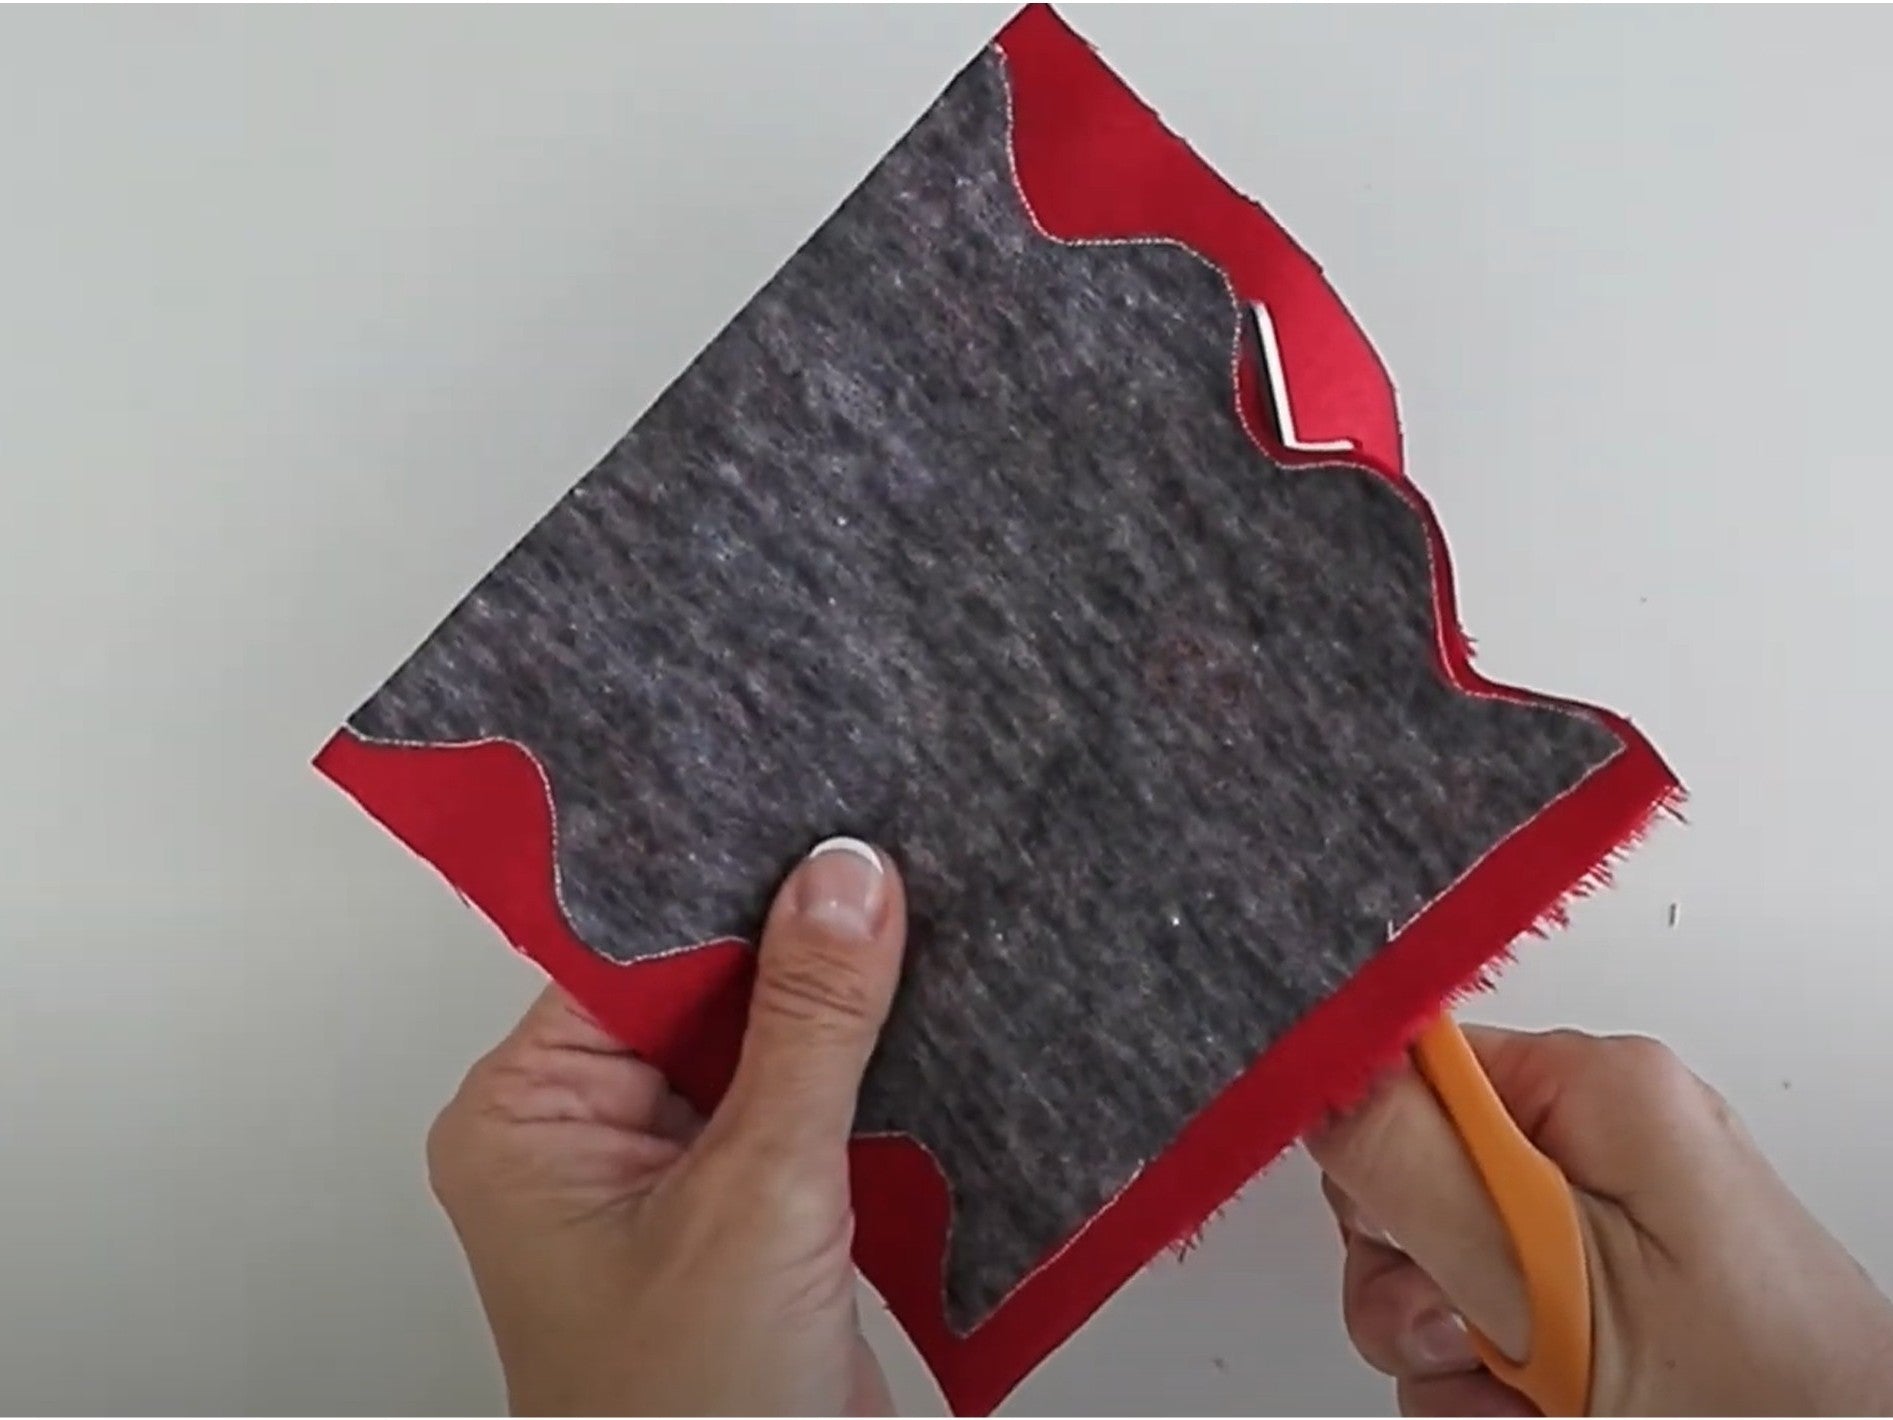
LILOU: THE PATTERN & CUTTING OUT
SEWING THE BOW
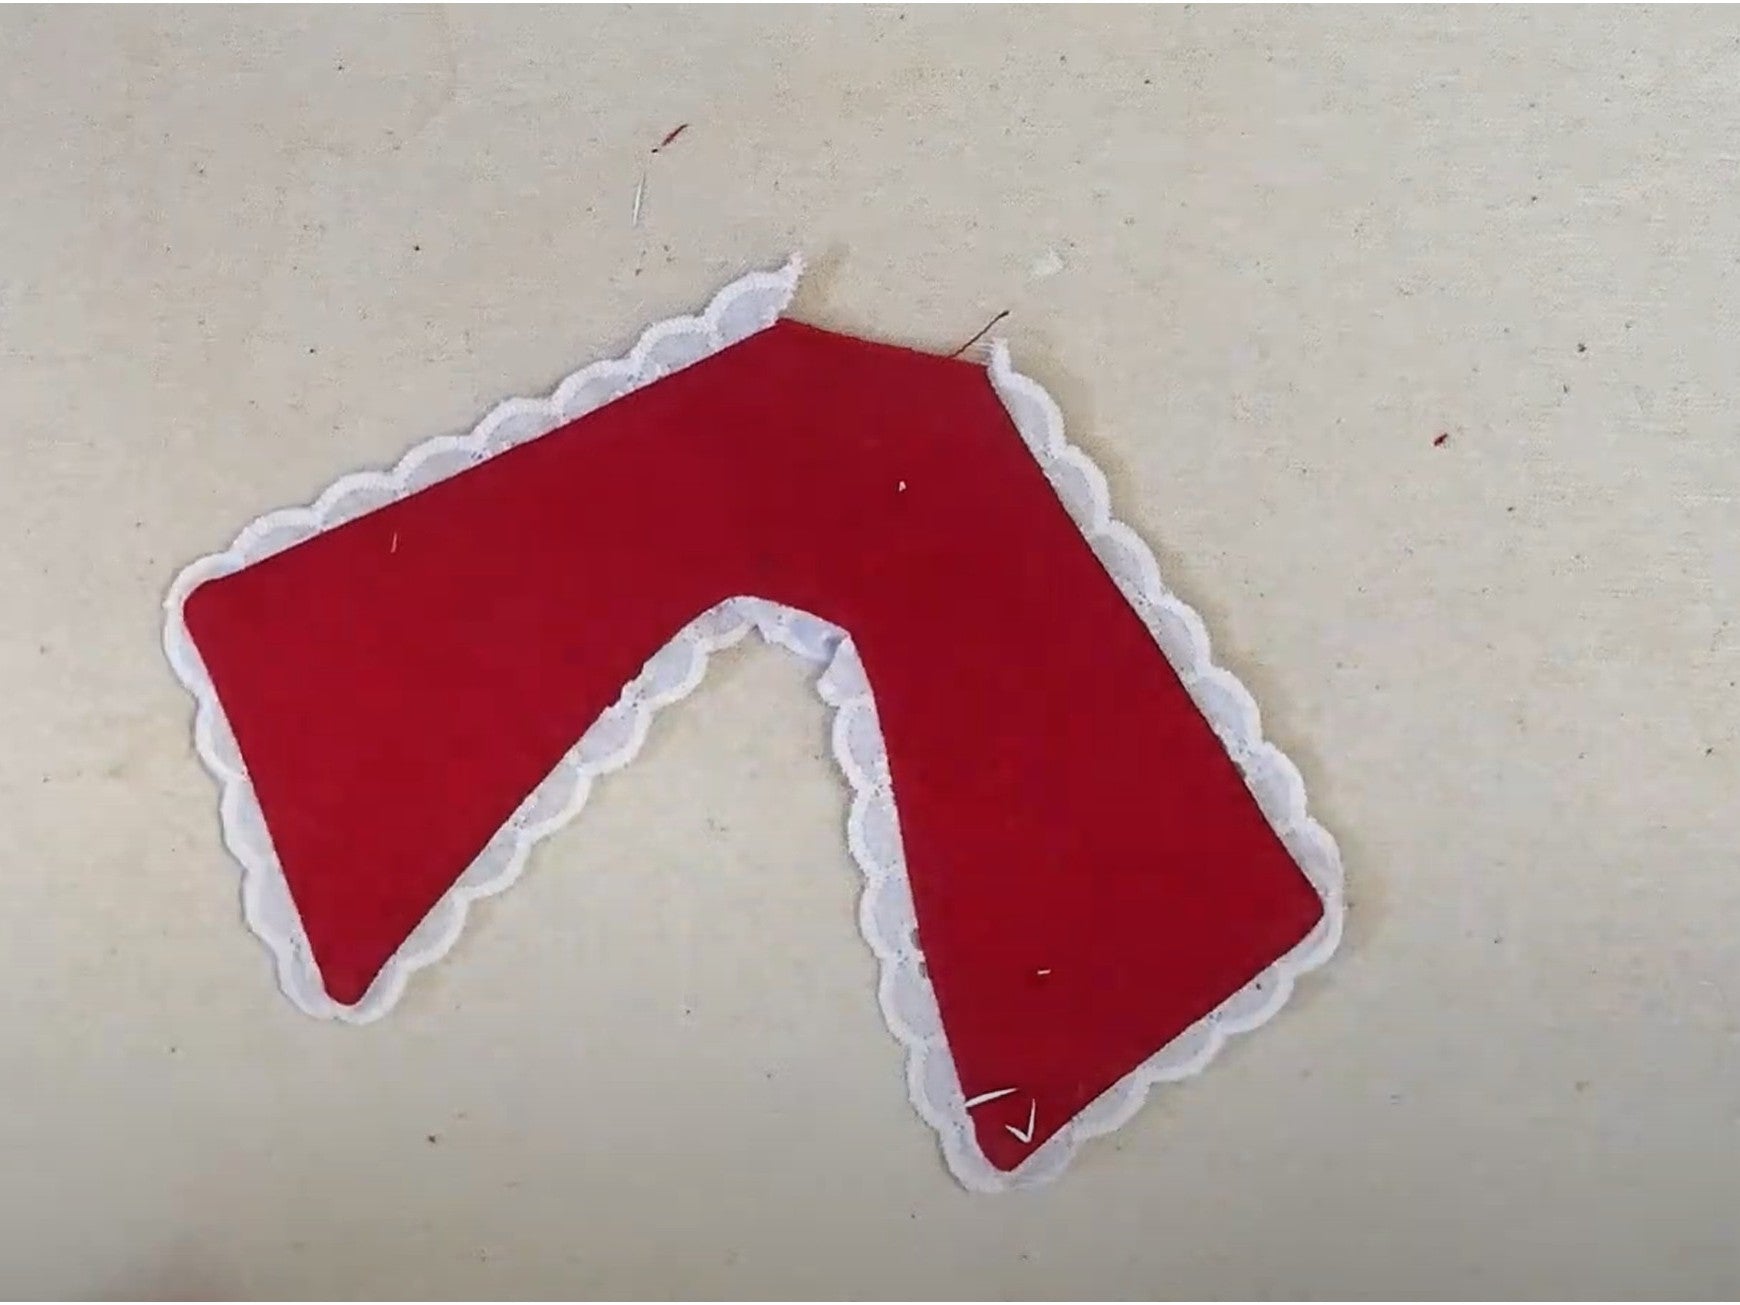
SEWING THE TAILS
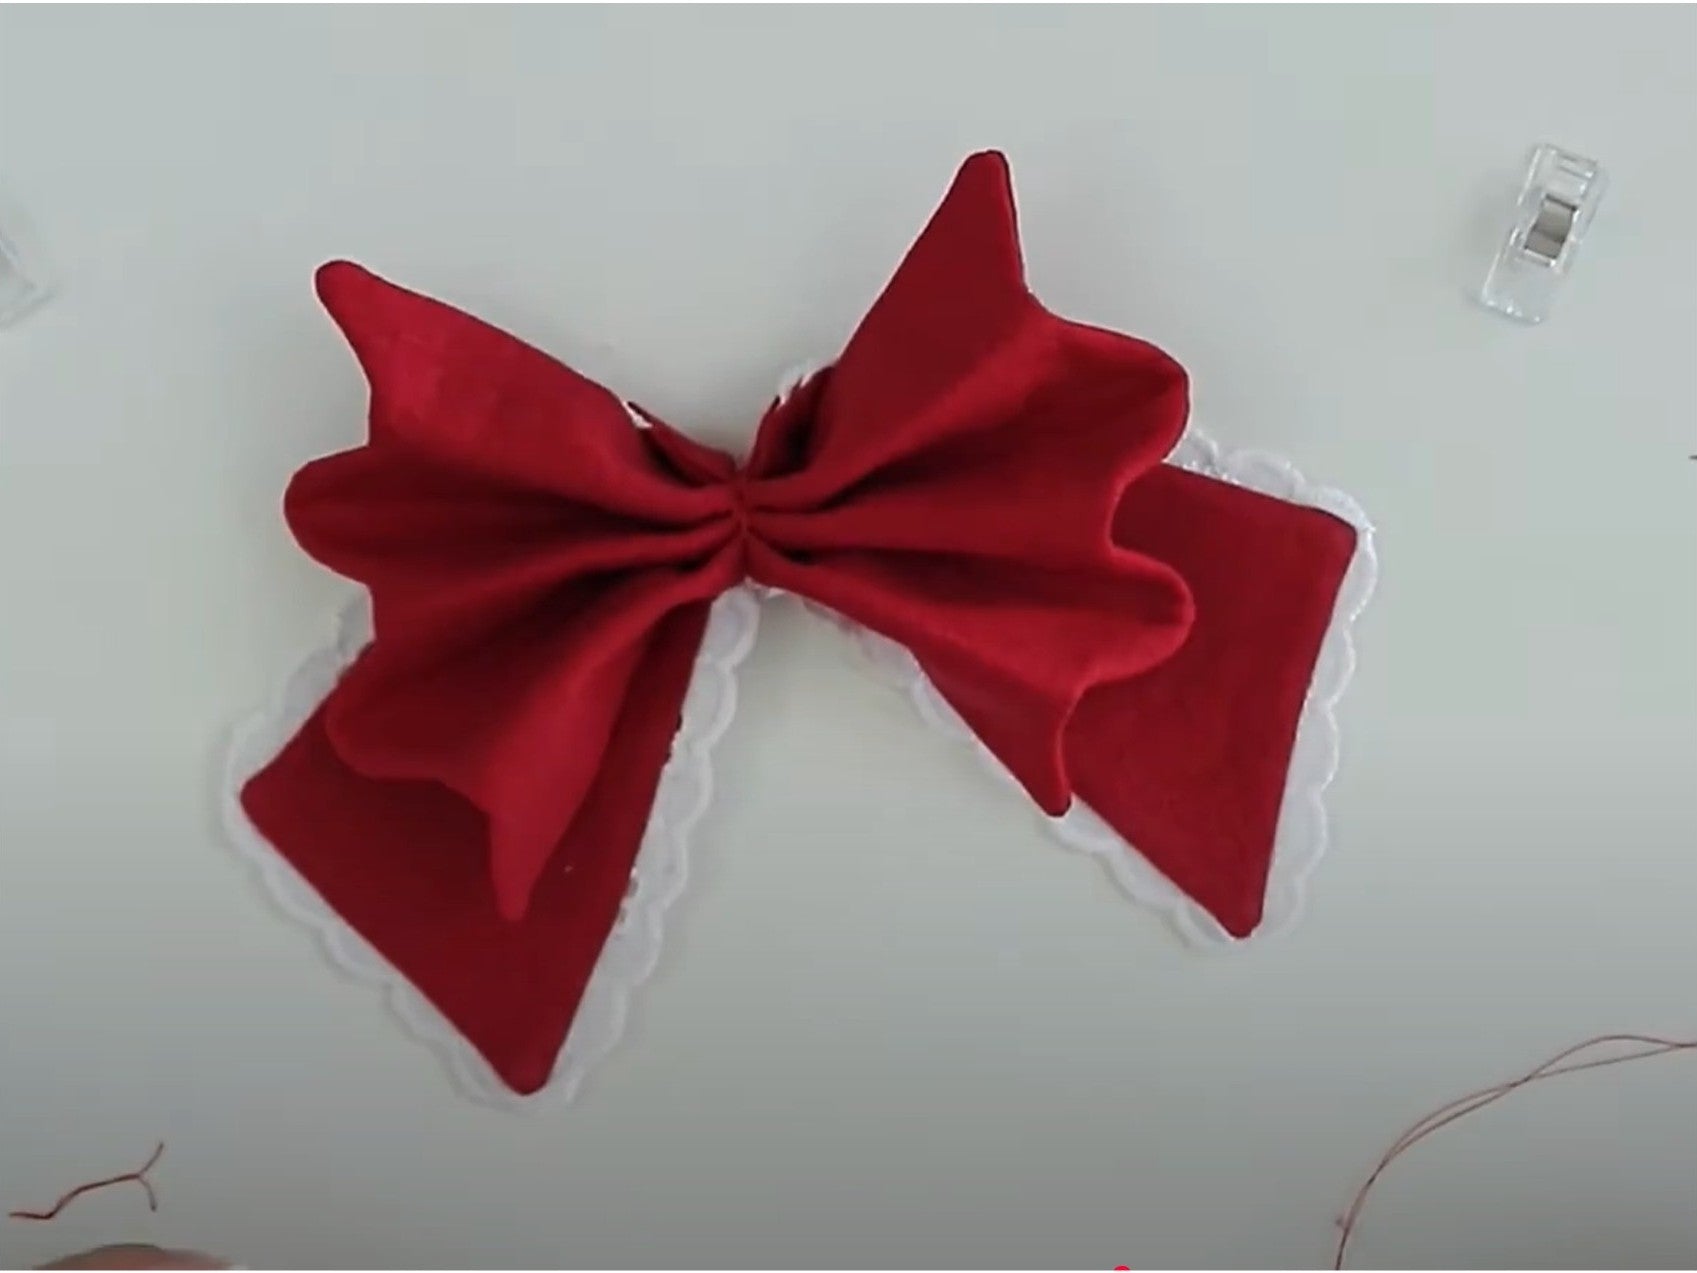
JOINING ALL PIECES

ADDING THE CENTER TIE