


AUDREY CAPRIS
AUDREY CAPRIS


Regular price
€7,95 EUR
Regular price
Sale price
€7,95 EUR
Unit price
per
Couldn't load pickup availability
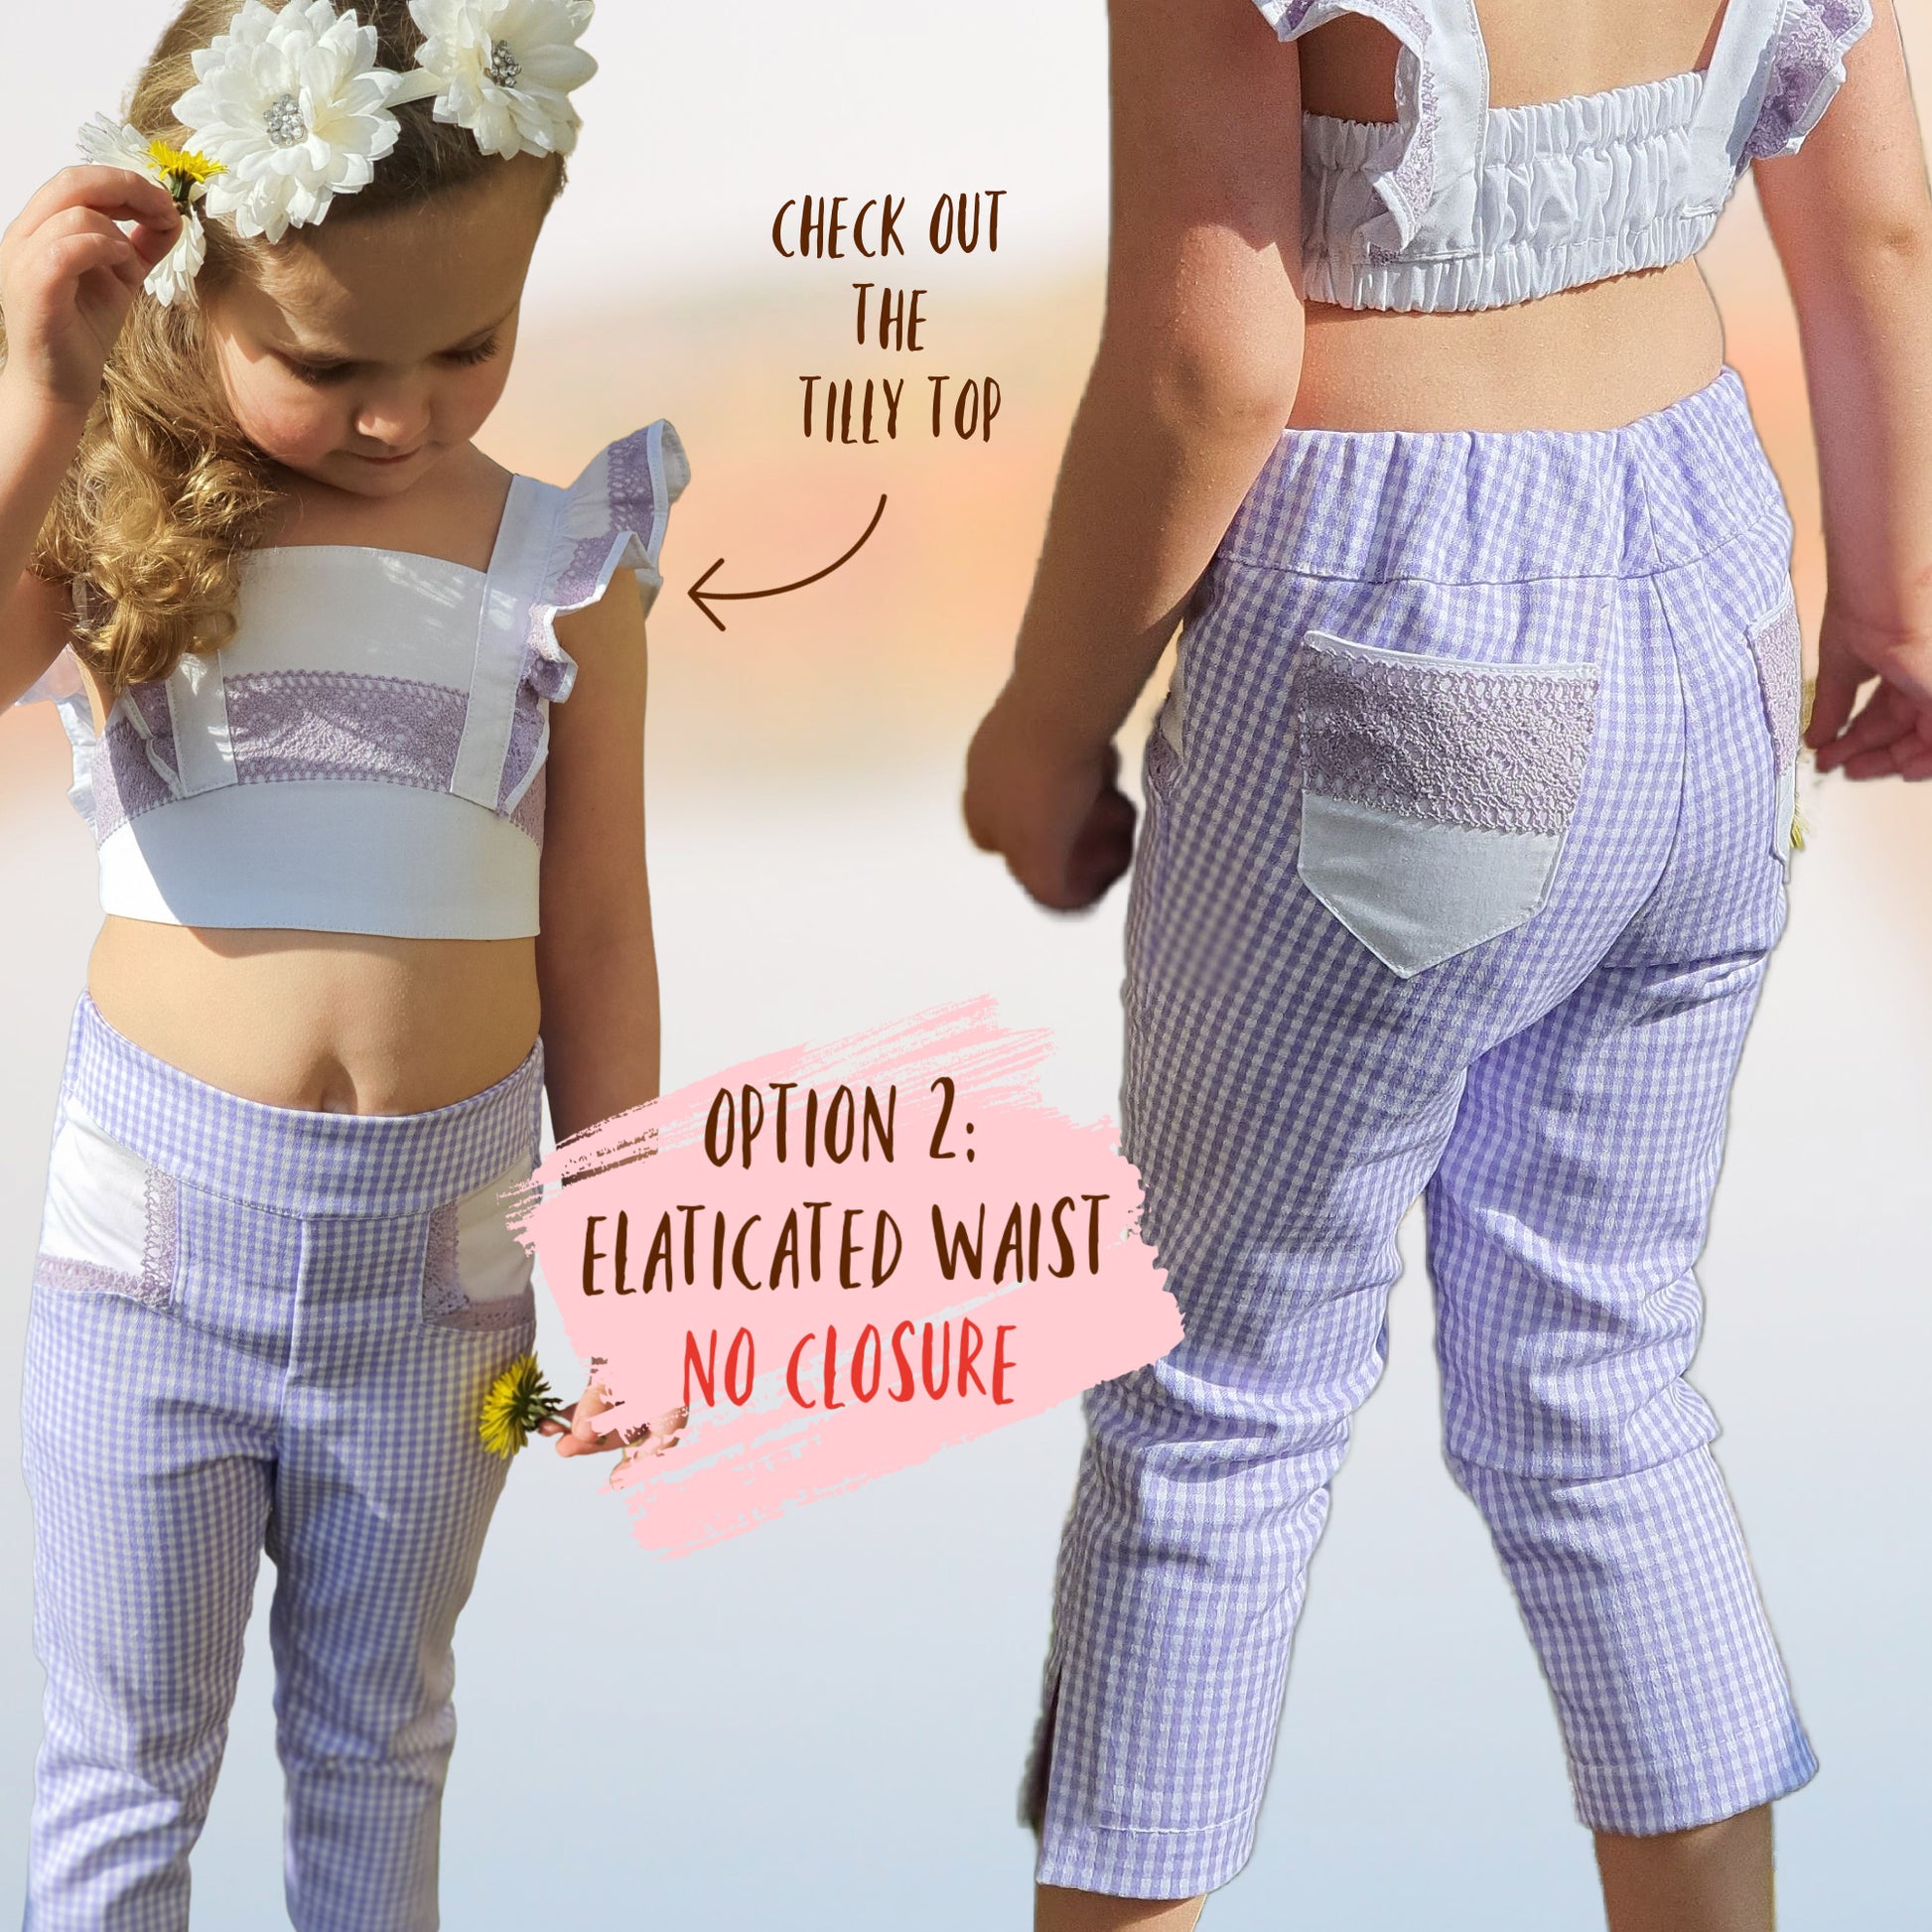
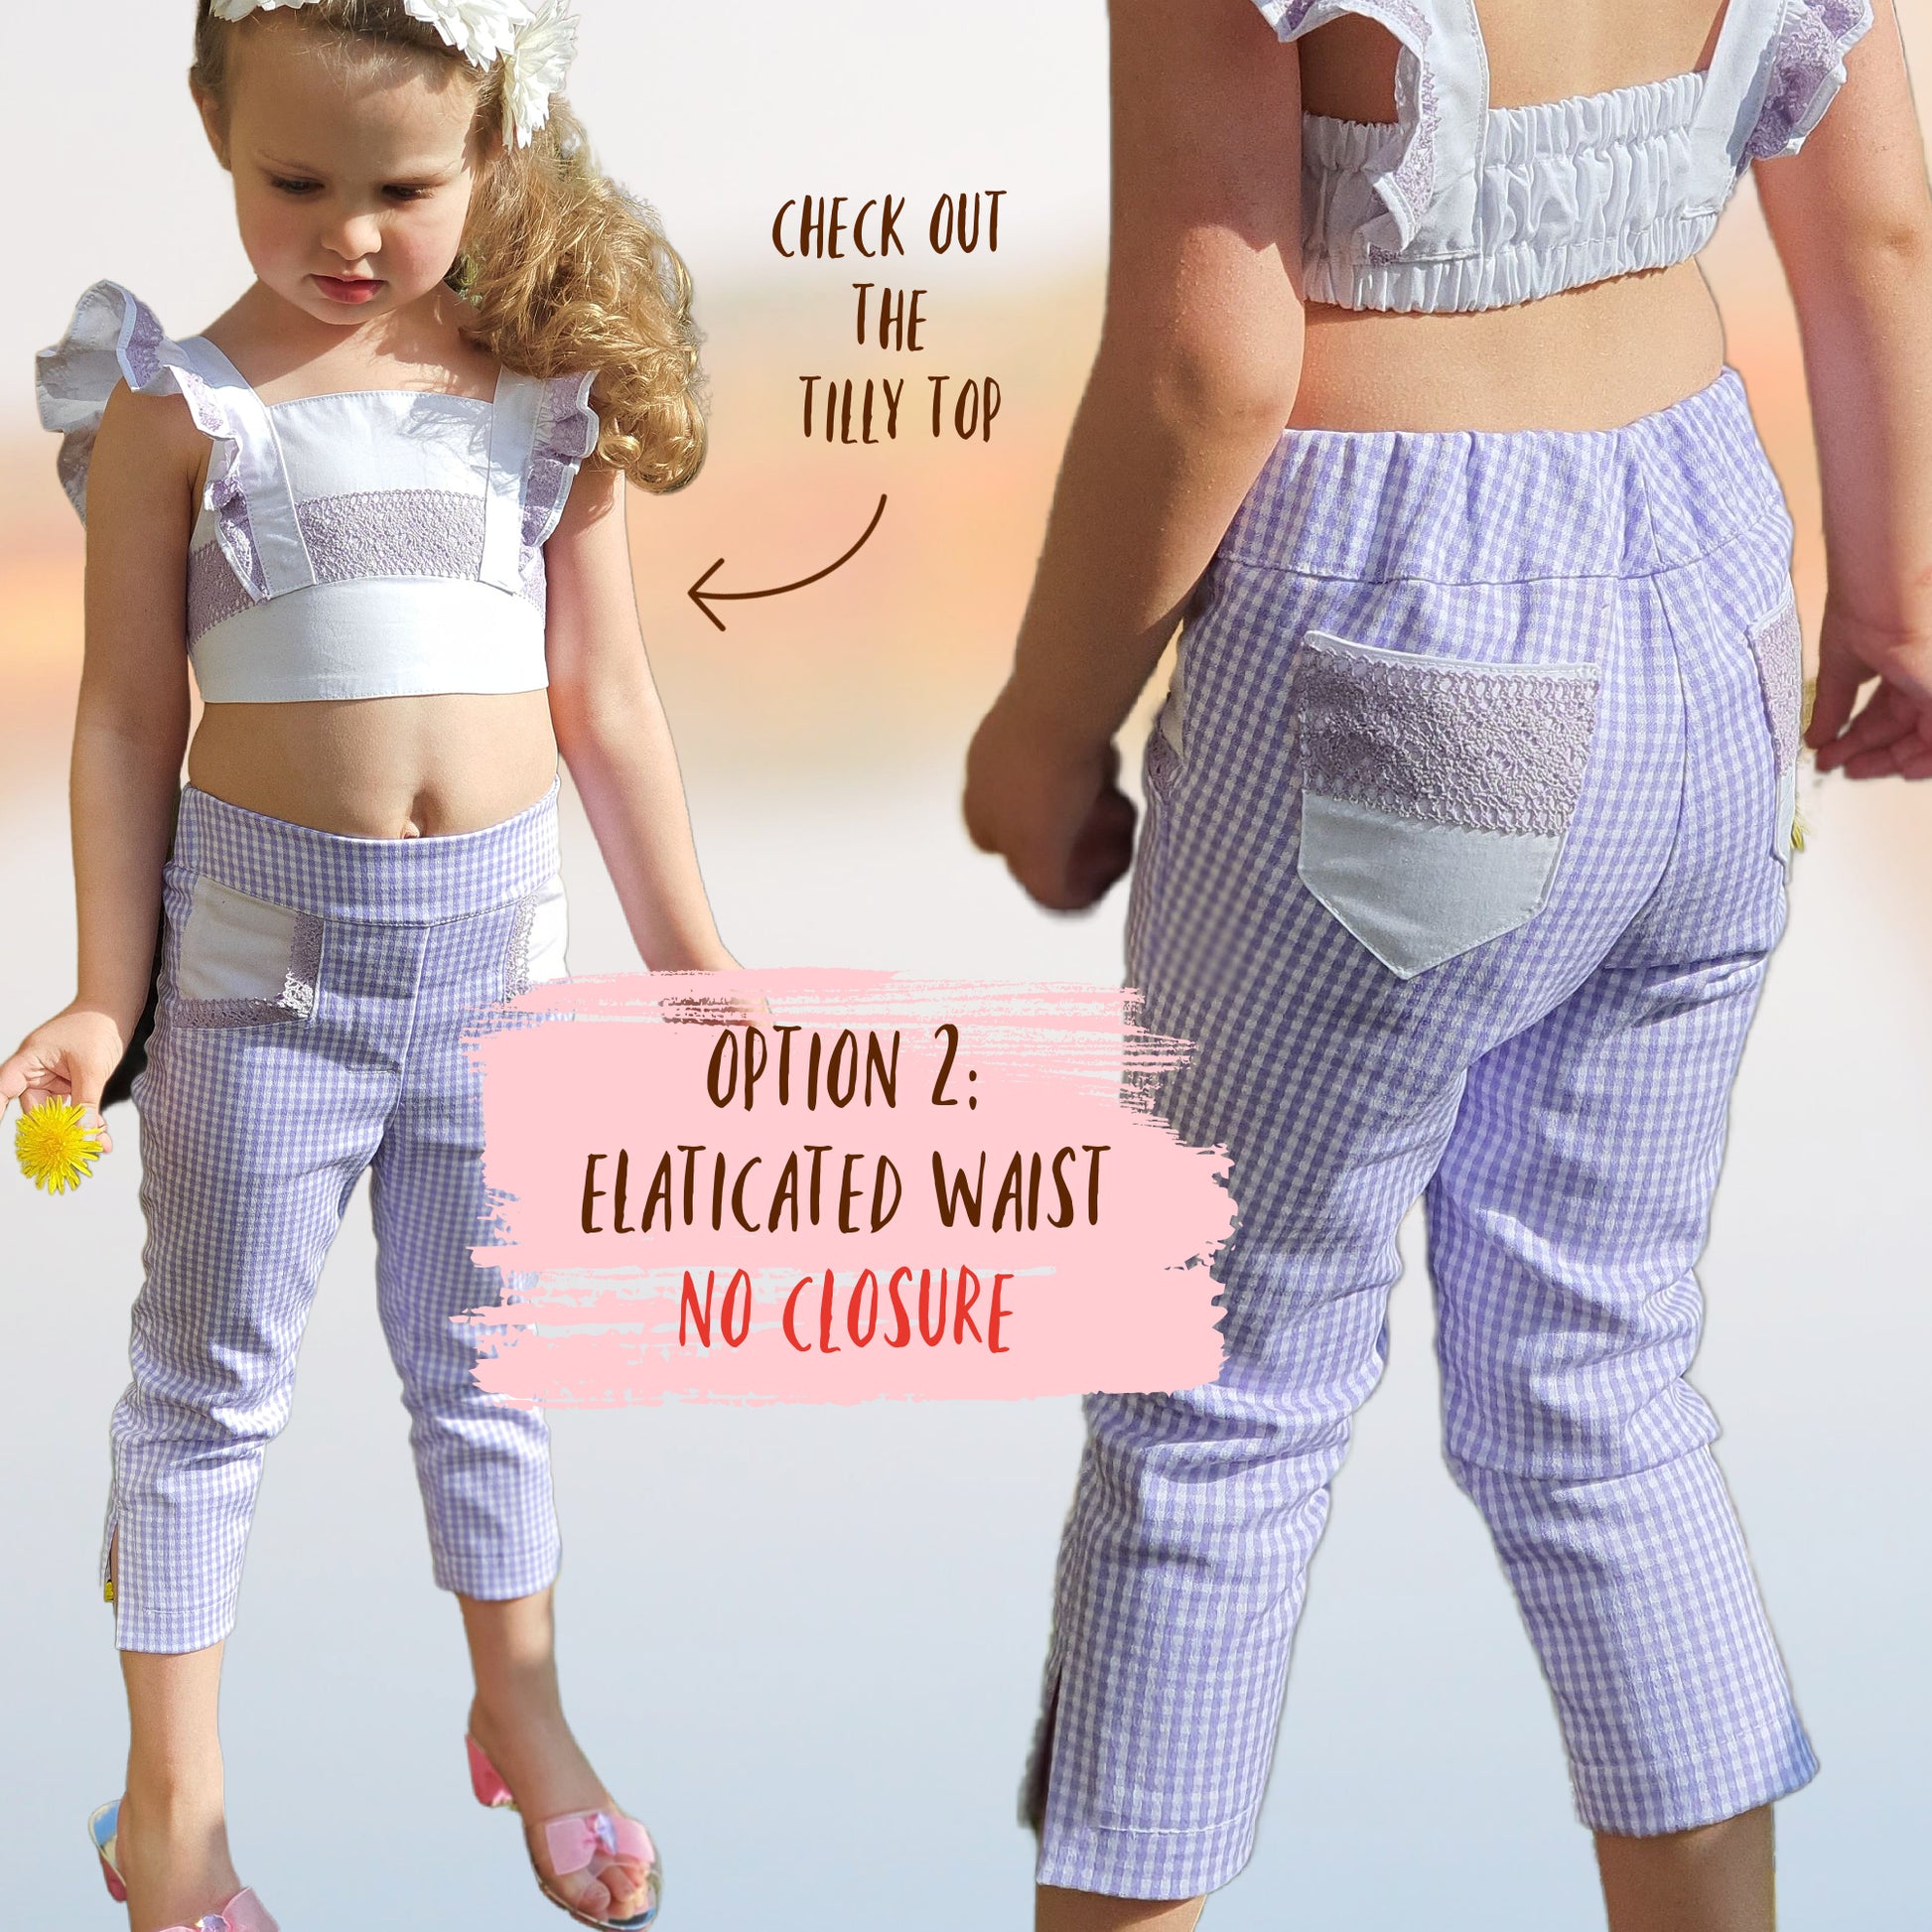
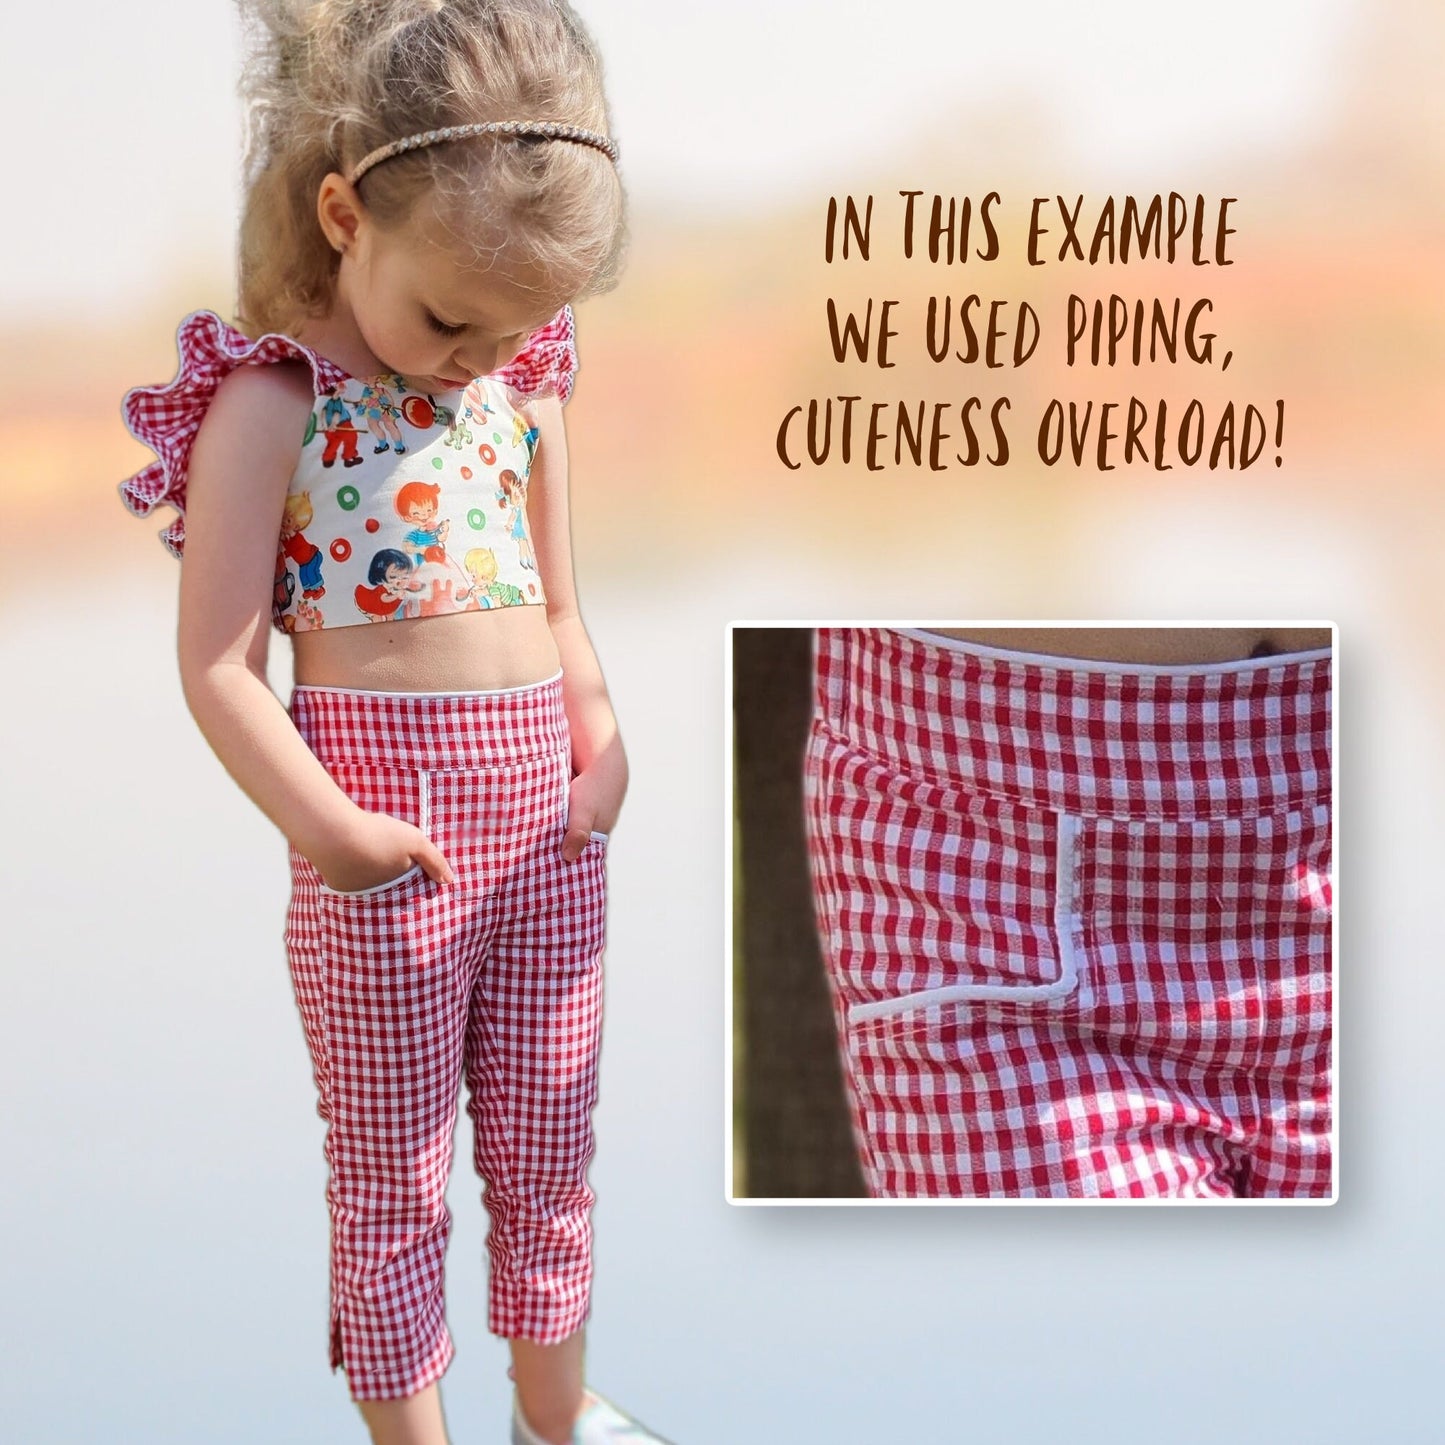
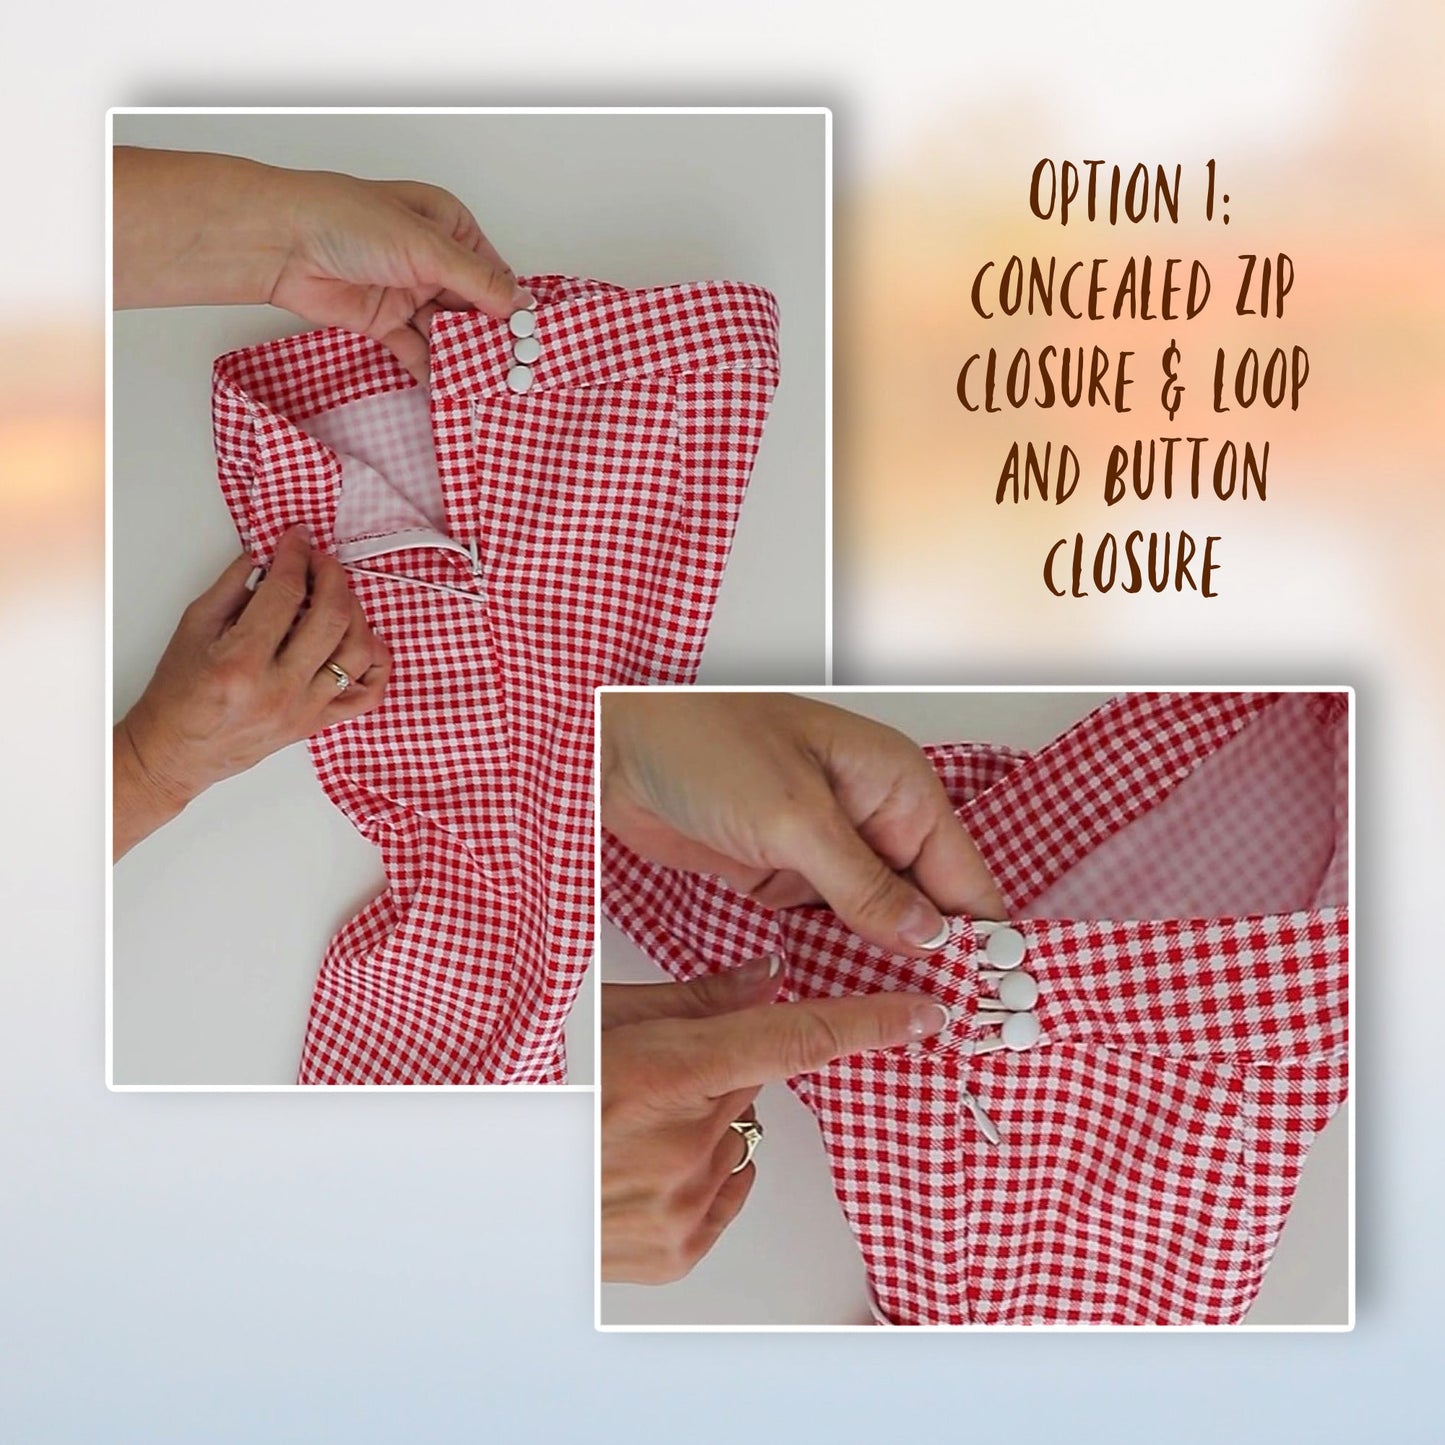
Say hello to Audrey — a sweet and versatile vintage Capri pants sewing pattern designed with two lovely finishing options. You can create a fitted waistline with a concealed zip and dainty loop closure, or keep things simple with a flat front and elastic back waist for easy everyday wear.
Made for beginners and confident sewists alike, this girl's slim‑fit pattern comes with beautifully filmed video tutorials. Just scroll down and start watching Marina sew up some magic.
Pattern Download Includes
Pattern Download Includes
Design Options
Design Options
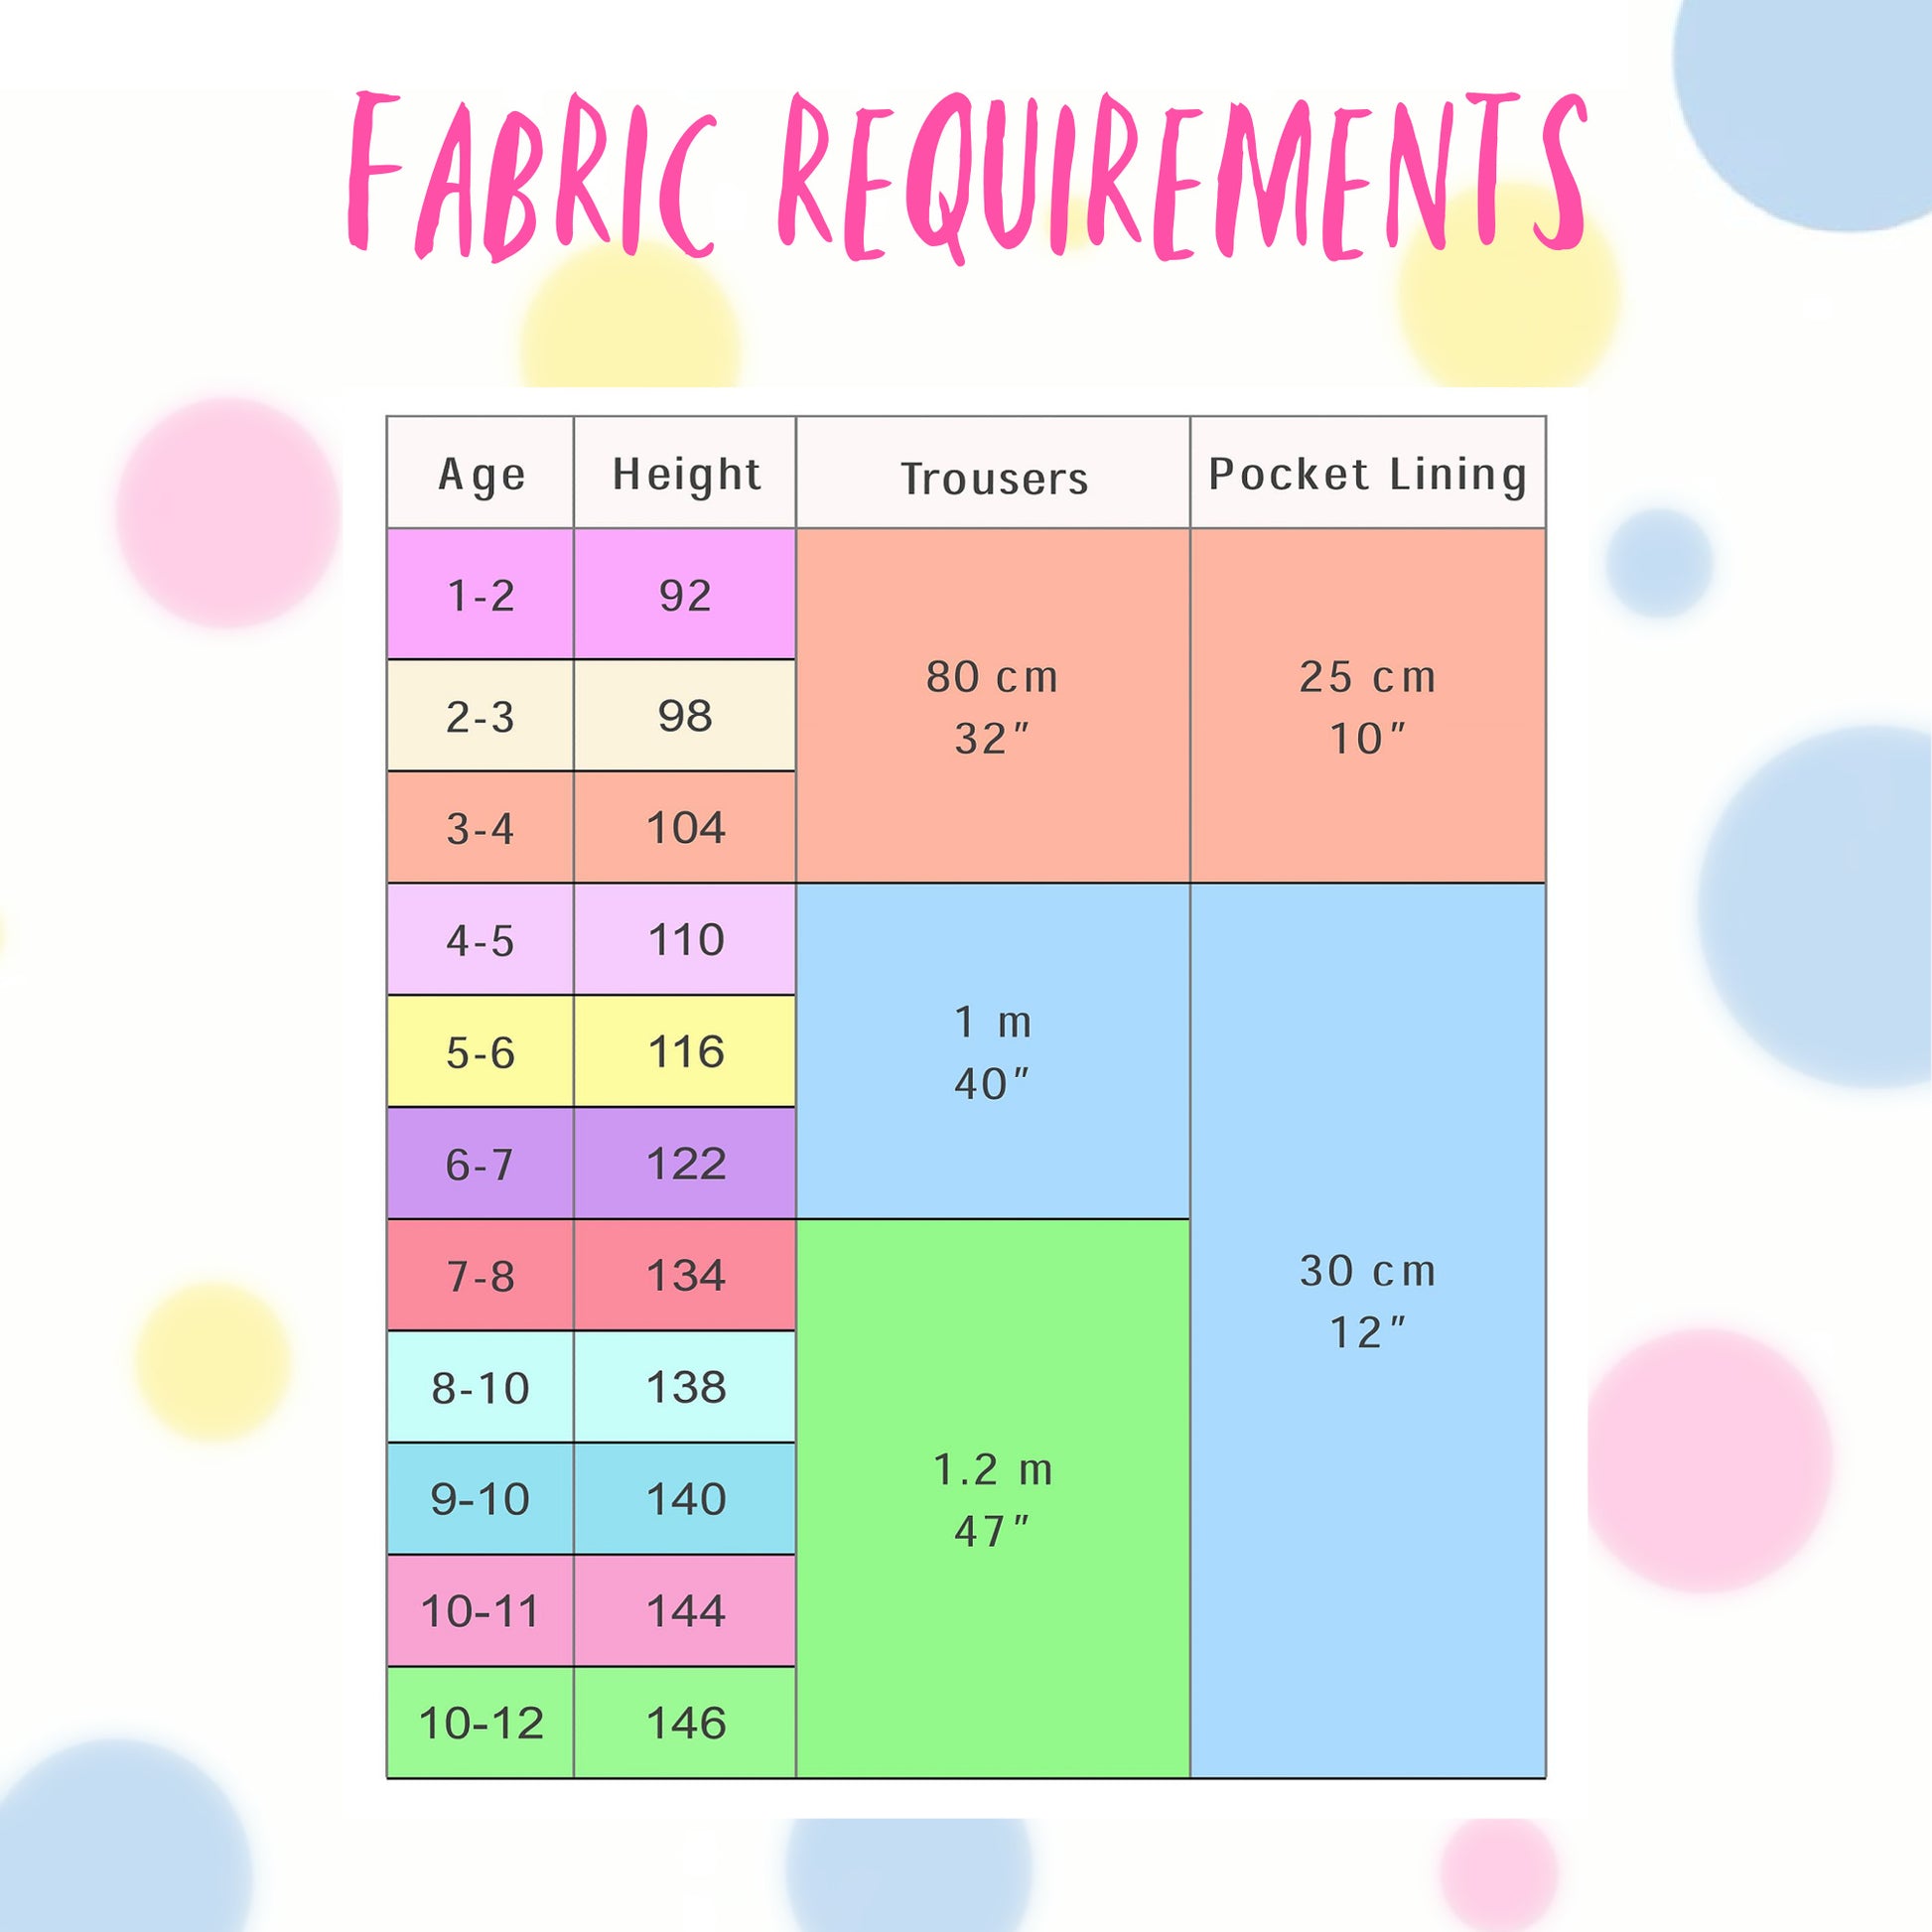
Fabric Requirements
Fabric Requirements
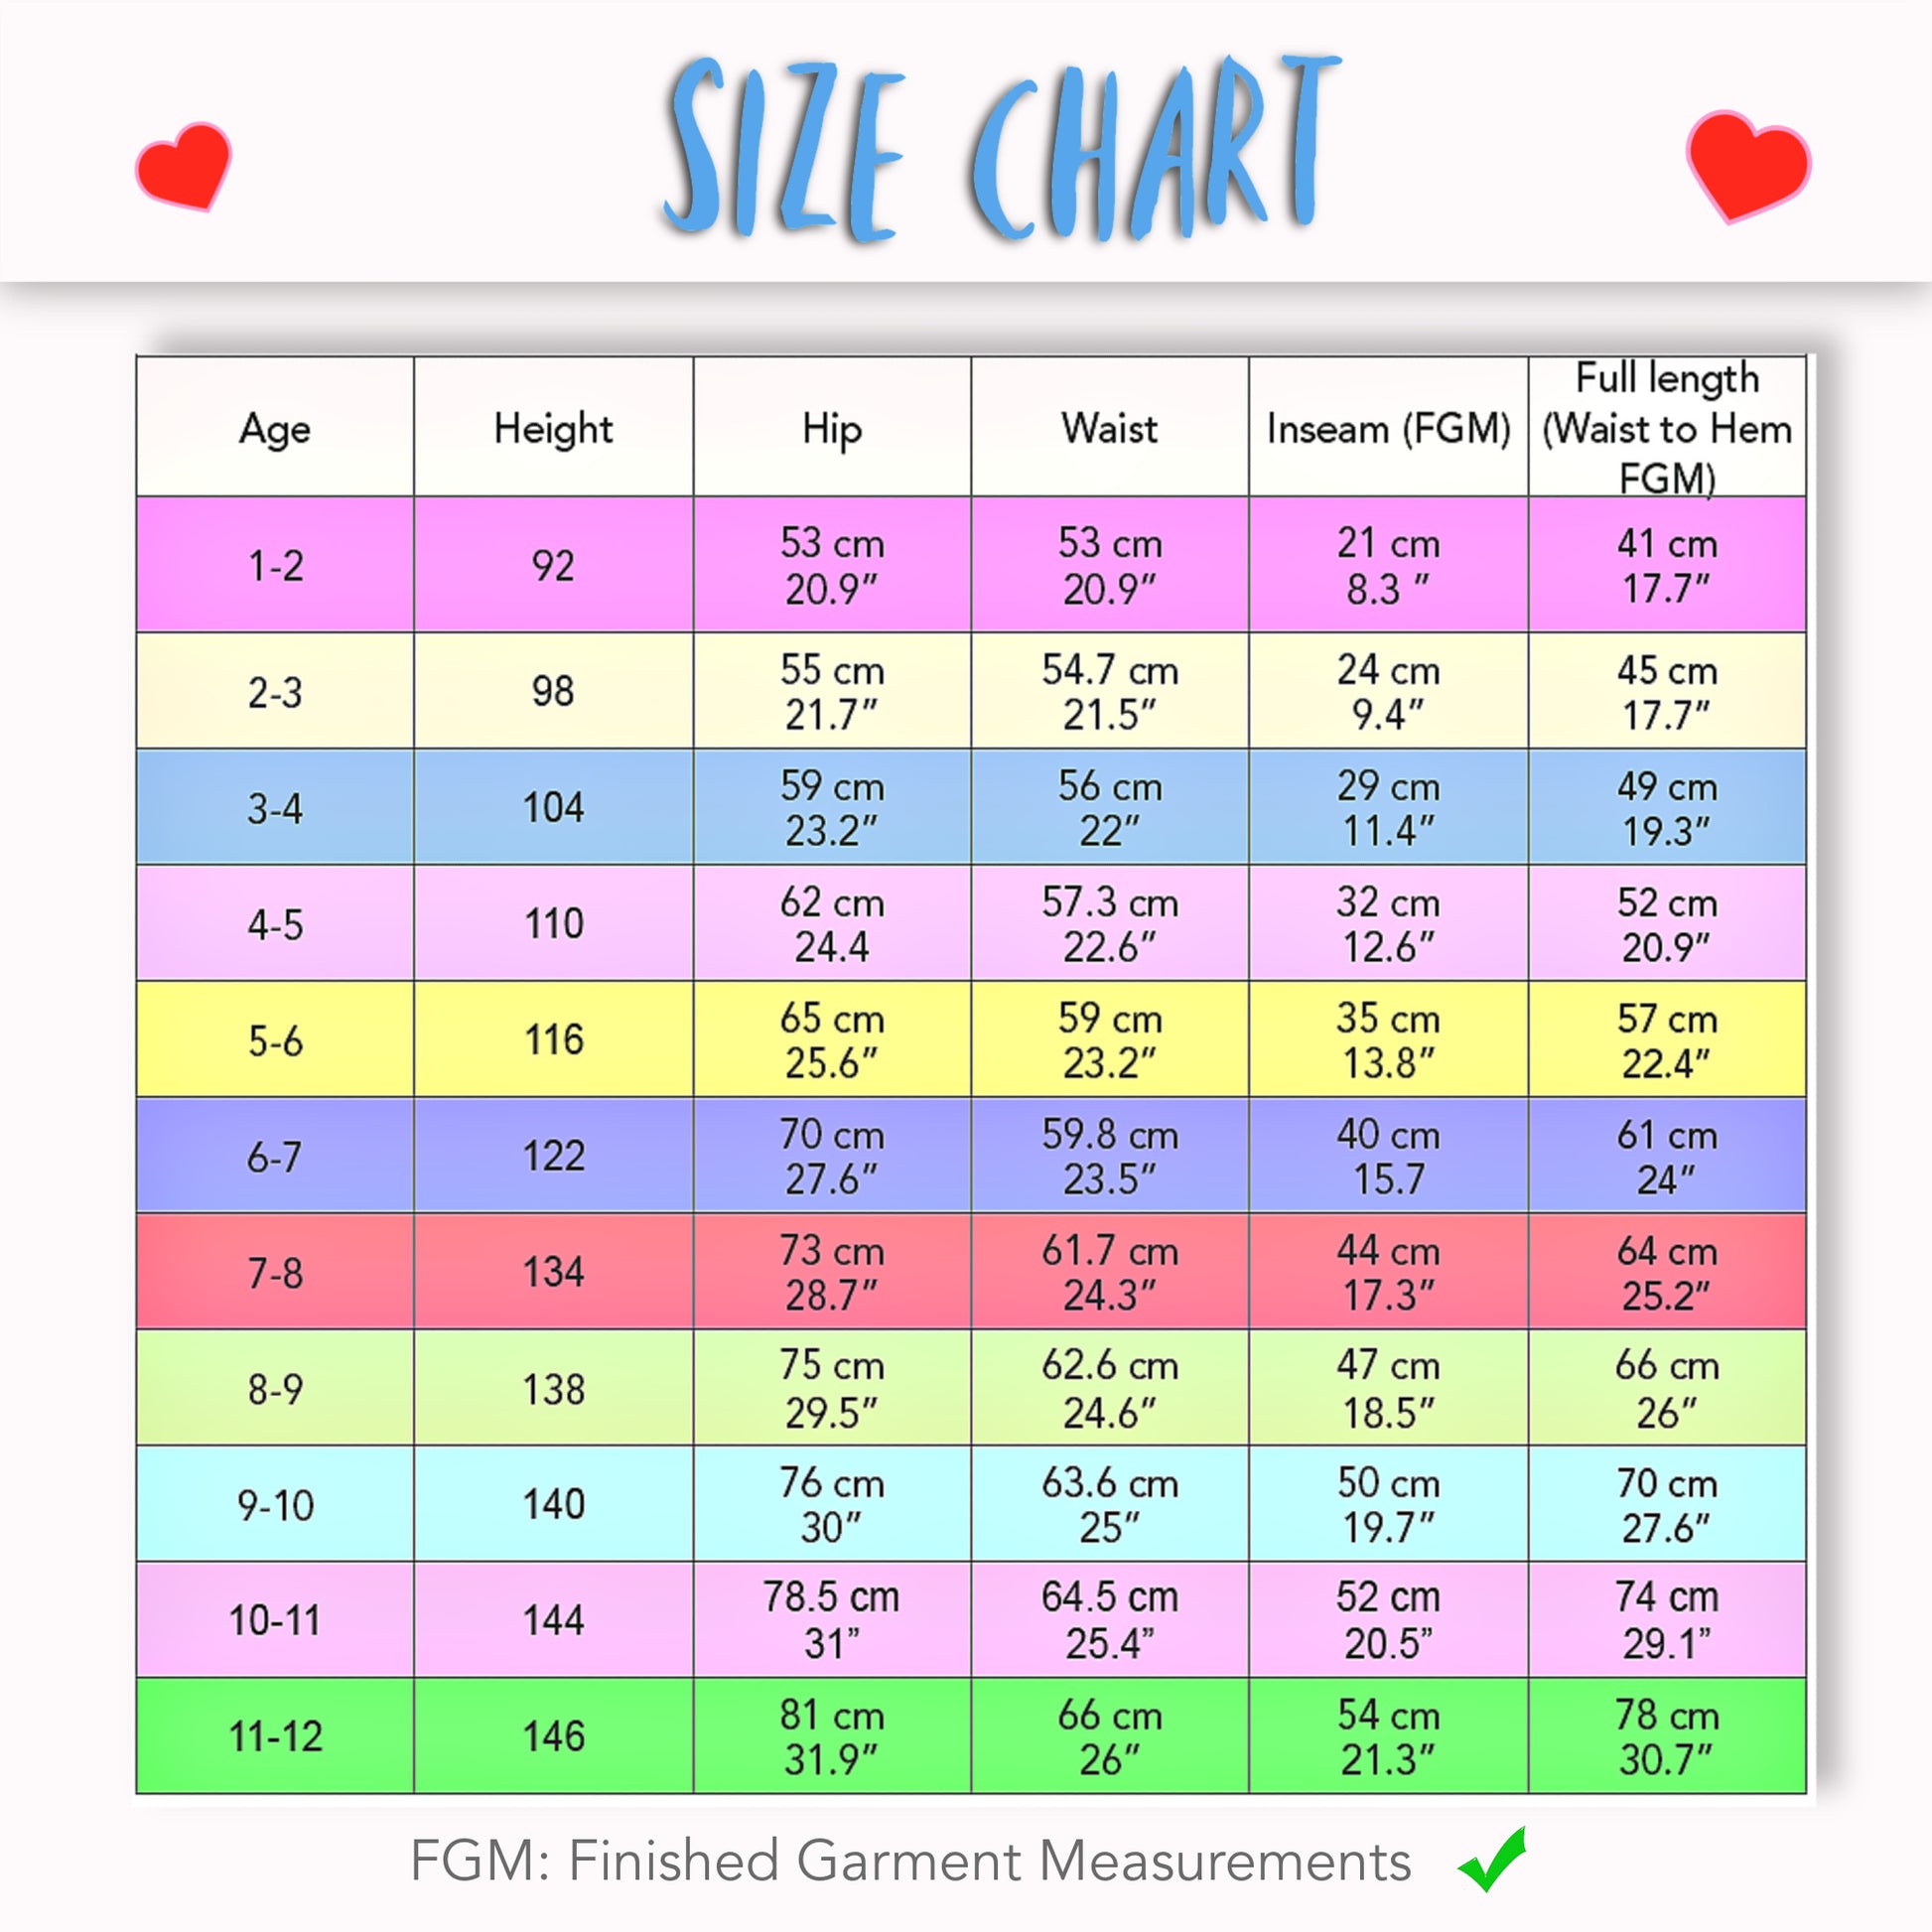
Available Sizes
Available Sizes
Please Read
Please Read


STEP-BY-STEP VIDEO TUTORIALS

THE PATTERN

CUTTING OUT

THE FRONT

THE BACK

CONCEALED ZIP

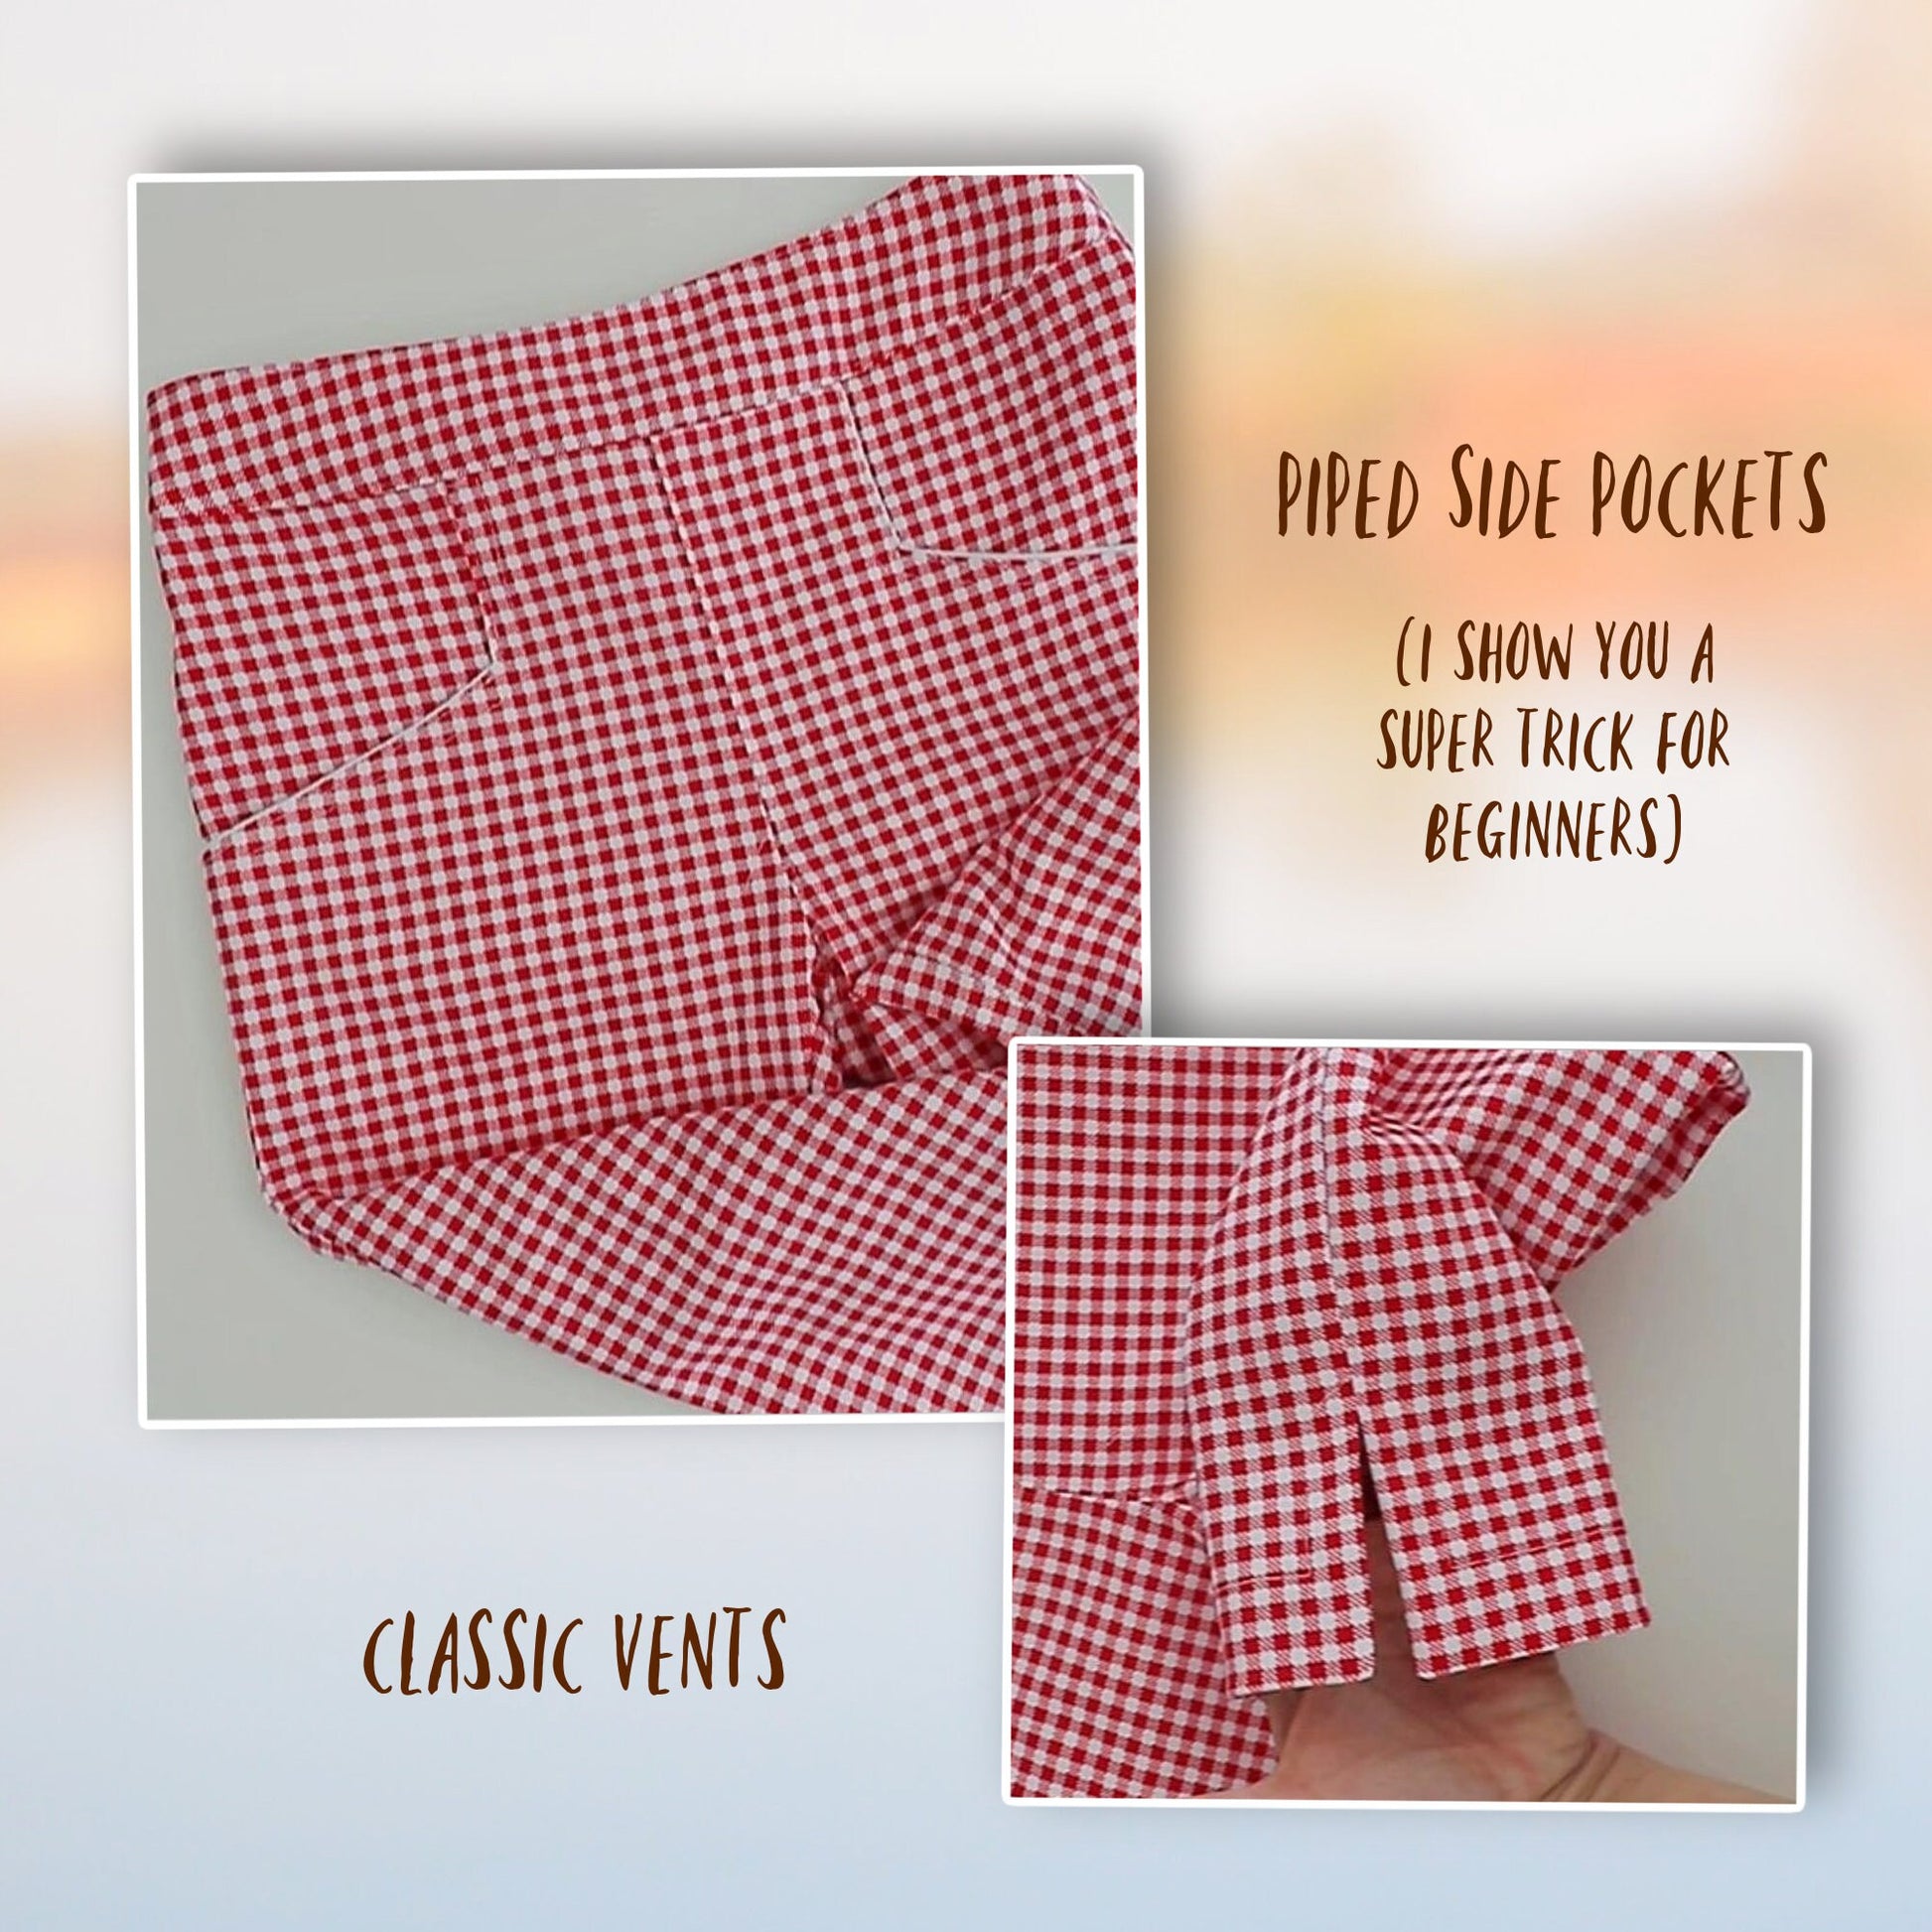
THE VENTS

THE WAISTBAND