Skip to product information
1 of 12

ISABELLA DRESS DOLL

ISABELLA DRESS DOLL

Filled Circle
Filled Circle
Empty Circle
Empty Circle
Empty Circle
Regular price €3,95 EUR
Regular price Sale price €3,95 EUR
Sale Sold out

Isabella is a romantic vintage‑style doll dress, featuring a pin tuck bodice, cap sleeves, and a tiered skirt that swishes with old‑world charm. This PDF sewing pattern is a lovely addition to your 18‑inch doll clothes collection, and she’s also available as a matching girls’ dress.

Isabella comes with Marina’s free video tutorial, sitting just below the listing, ready to guide you through every step of this charming doll sewing pattern.

Pattern Download Includes

  • Instant Download
  • DIN A4 & US Letter Size
  • Detailed eBook
  • Video Tutorials

Design Options

•  Classic square neckline
•  Decorative pintucks
•  Sweet cap sleeves
•  Full circle skirt yoke
•  Customizable with lace or pearl details
•  Quick unlined version with facings
•  Fully lined version (matches girls' dress technique)

Fabric Requirements

BEST FABRIC CHOICE

  • Light to medium-weight cotton, Batiste or lawn fabric

FABRIC REQUIREMENTS

  • Flat Yoke: 18 inches (45cm)
  • Gathered Yoke: 22 inches (56cm)
  • Hook & loop tape (slim): 5 inches (12cm)
  • Thread: One reel
  • Lining: 1 fat quarter (15cm)
  • Optional: lace, beads, petticoat materials

Available Sizes

Professionally designed to fit American Girl®, Truly Me, and My Generation dolls

FITS 18" DOLLS PERFECTLY

• Chest: 28 cm (11")
• Waist: 27 cm (10.6")
• Shoulder to waist: 10 cm (4")

Please Read

  1. This is a digital pattern or PDF file, not a physical product. It will be delivered electronically via a download link delivered to the email used for the purchase.
  2. To ensure the pattern prints at its actual size, it's recommended that you use Adobe Acrobat Reader.
  3. The pattern creator, Frocks & Frolics, welcomes small-scale production using their patterns. 

Customers are encouraged to tag Frocks & Frolics when sharing projects made using their patterns on social media.

@frocksandfrolics #frocksandfrolics

View full details

STEP-BY-STEP VIDEO TUTORIALS

Thumbnail
THE PATTERN
Thumbnail
ISABELLA DOLL BEGINNER
Thumbnail
ISABELLA DOLL ADVANCED

VIDEO TEXT

Introducing the Doll Clothes Pattern

Transcript for the video: Isabella Dress Doll - The Pattern

Hi, this is Marina from Frocks and Frolics, and we're going to make some awesome doll clothes. Before we start sewing, we need to understand our pattern, and that's exactly what we're going to do now. I’m going to explain what you can do with this wonderful pattern and what each version looks like.

You can see blended in what it looks like when you make it for your girl doll. Here we have the full version and the quick doll version.

Full Version vs Quick Doll Version

In the full version, we have a fully lined doll dress. It has a velcro closure at the back, but you could also use buttonholes or cam snaps. This version includes pin tucks on the front and a gathered skirt.

In the quick doll version, we have an unlined bodice with a simple vertical back fastening, a flat yoke, and instead of pin tucks we use lace. We also add a bit of embroidery on the lace so you can learn that technique too.

Skirt Differences and Hem Finishes

There is also a difference in the skirt construction. The full version has a standard hem, while the quick version uses a recessed hem. The length stays the same because the lace adds visual length. This gives a slightly different finish without changing proportions.

Doll Size and Fit

This pattern is designed using an 18-inch doll or a 50 cm doll as reference. You can also adjust it for other dolls using the measurements provided in the instructions. The fit is flexible as long as you match the torso and waist measurements.

What You Get in the Pattern Ebook

When you buy the pattern, you get a detailed content guide. It includes both versions: the full lined dress and the quick doll version. You also get instructions for printing, and everything is designed to be printed at 100 percent scale.

There is a “before you start” section that explains the basics, followed by detailed breakdowns of every pattern piece, including how many to cut and whether to cut on the fold or in mirror image.

Fabric Requirements

The fabric requirements are simple and beginner-friendly. For the flat yoke dress you need about 45 cm of fabric, and for the gathered version around 56 cm. You can also mix fabrics, for example using a different fabric for the yoke and skirt.

You will also need about 12 cm of Velcro, one spool of thread, and optionally a fat quarter for lining.

Doll Measurements Guide

To ensure a good fit, you can measure your doll:

  • Torso circumference: 28 cm (11 inches)
  • Torso length: 10 cm (4 inches)
  • Waist: 27 cm (10.6 inches)

If your doll is slightly different, you can adjust using these measurements.

Layout Plans and Cutting Guide

The pattern includes layout plans for both versions. The lined dress follows a more traditional construction, while the quick version simplifies the process for beginners.

For the gathered skirt, you will need more fabric because it uses more volume. This is normal since gathering increases the circumference significantly.

The back construction also differs between versions. The full dress uses an overlapping back, while the quick version uses a center-back seam with Velcro or snap closure.

Bodice and Pattern Pieces

The front bodice can include pin tucks or be replaced with lace in the quick version. If you are making pin tucks, mark the center lines so you can fold and press them accurately before stitching.

If you are making the unlined version, you will use facings instead of lining. If you are making the lined version, you do not need facings.

Sleeves and Construction Notes

The sleeve is gathered at the top and attached to the bodice. Make sure you mark the sleeve notches clearly on both front and back pieces so you know exactly where to attach it during sewing.

Final Notes Before Sewing

Once all pattern pieces are cut out, you’re ready to start sewing. Make sure you check the test square first (2.5 cm or 1 inch) to confirm correct print scaling.

At the end of the ebook, you’ll also find a full layout of all pattern pieces so you can double-check everything before you begin.

Now that you understand the pattern, we can move on to sewing the dress.

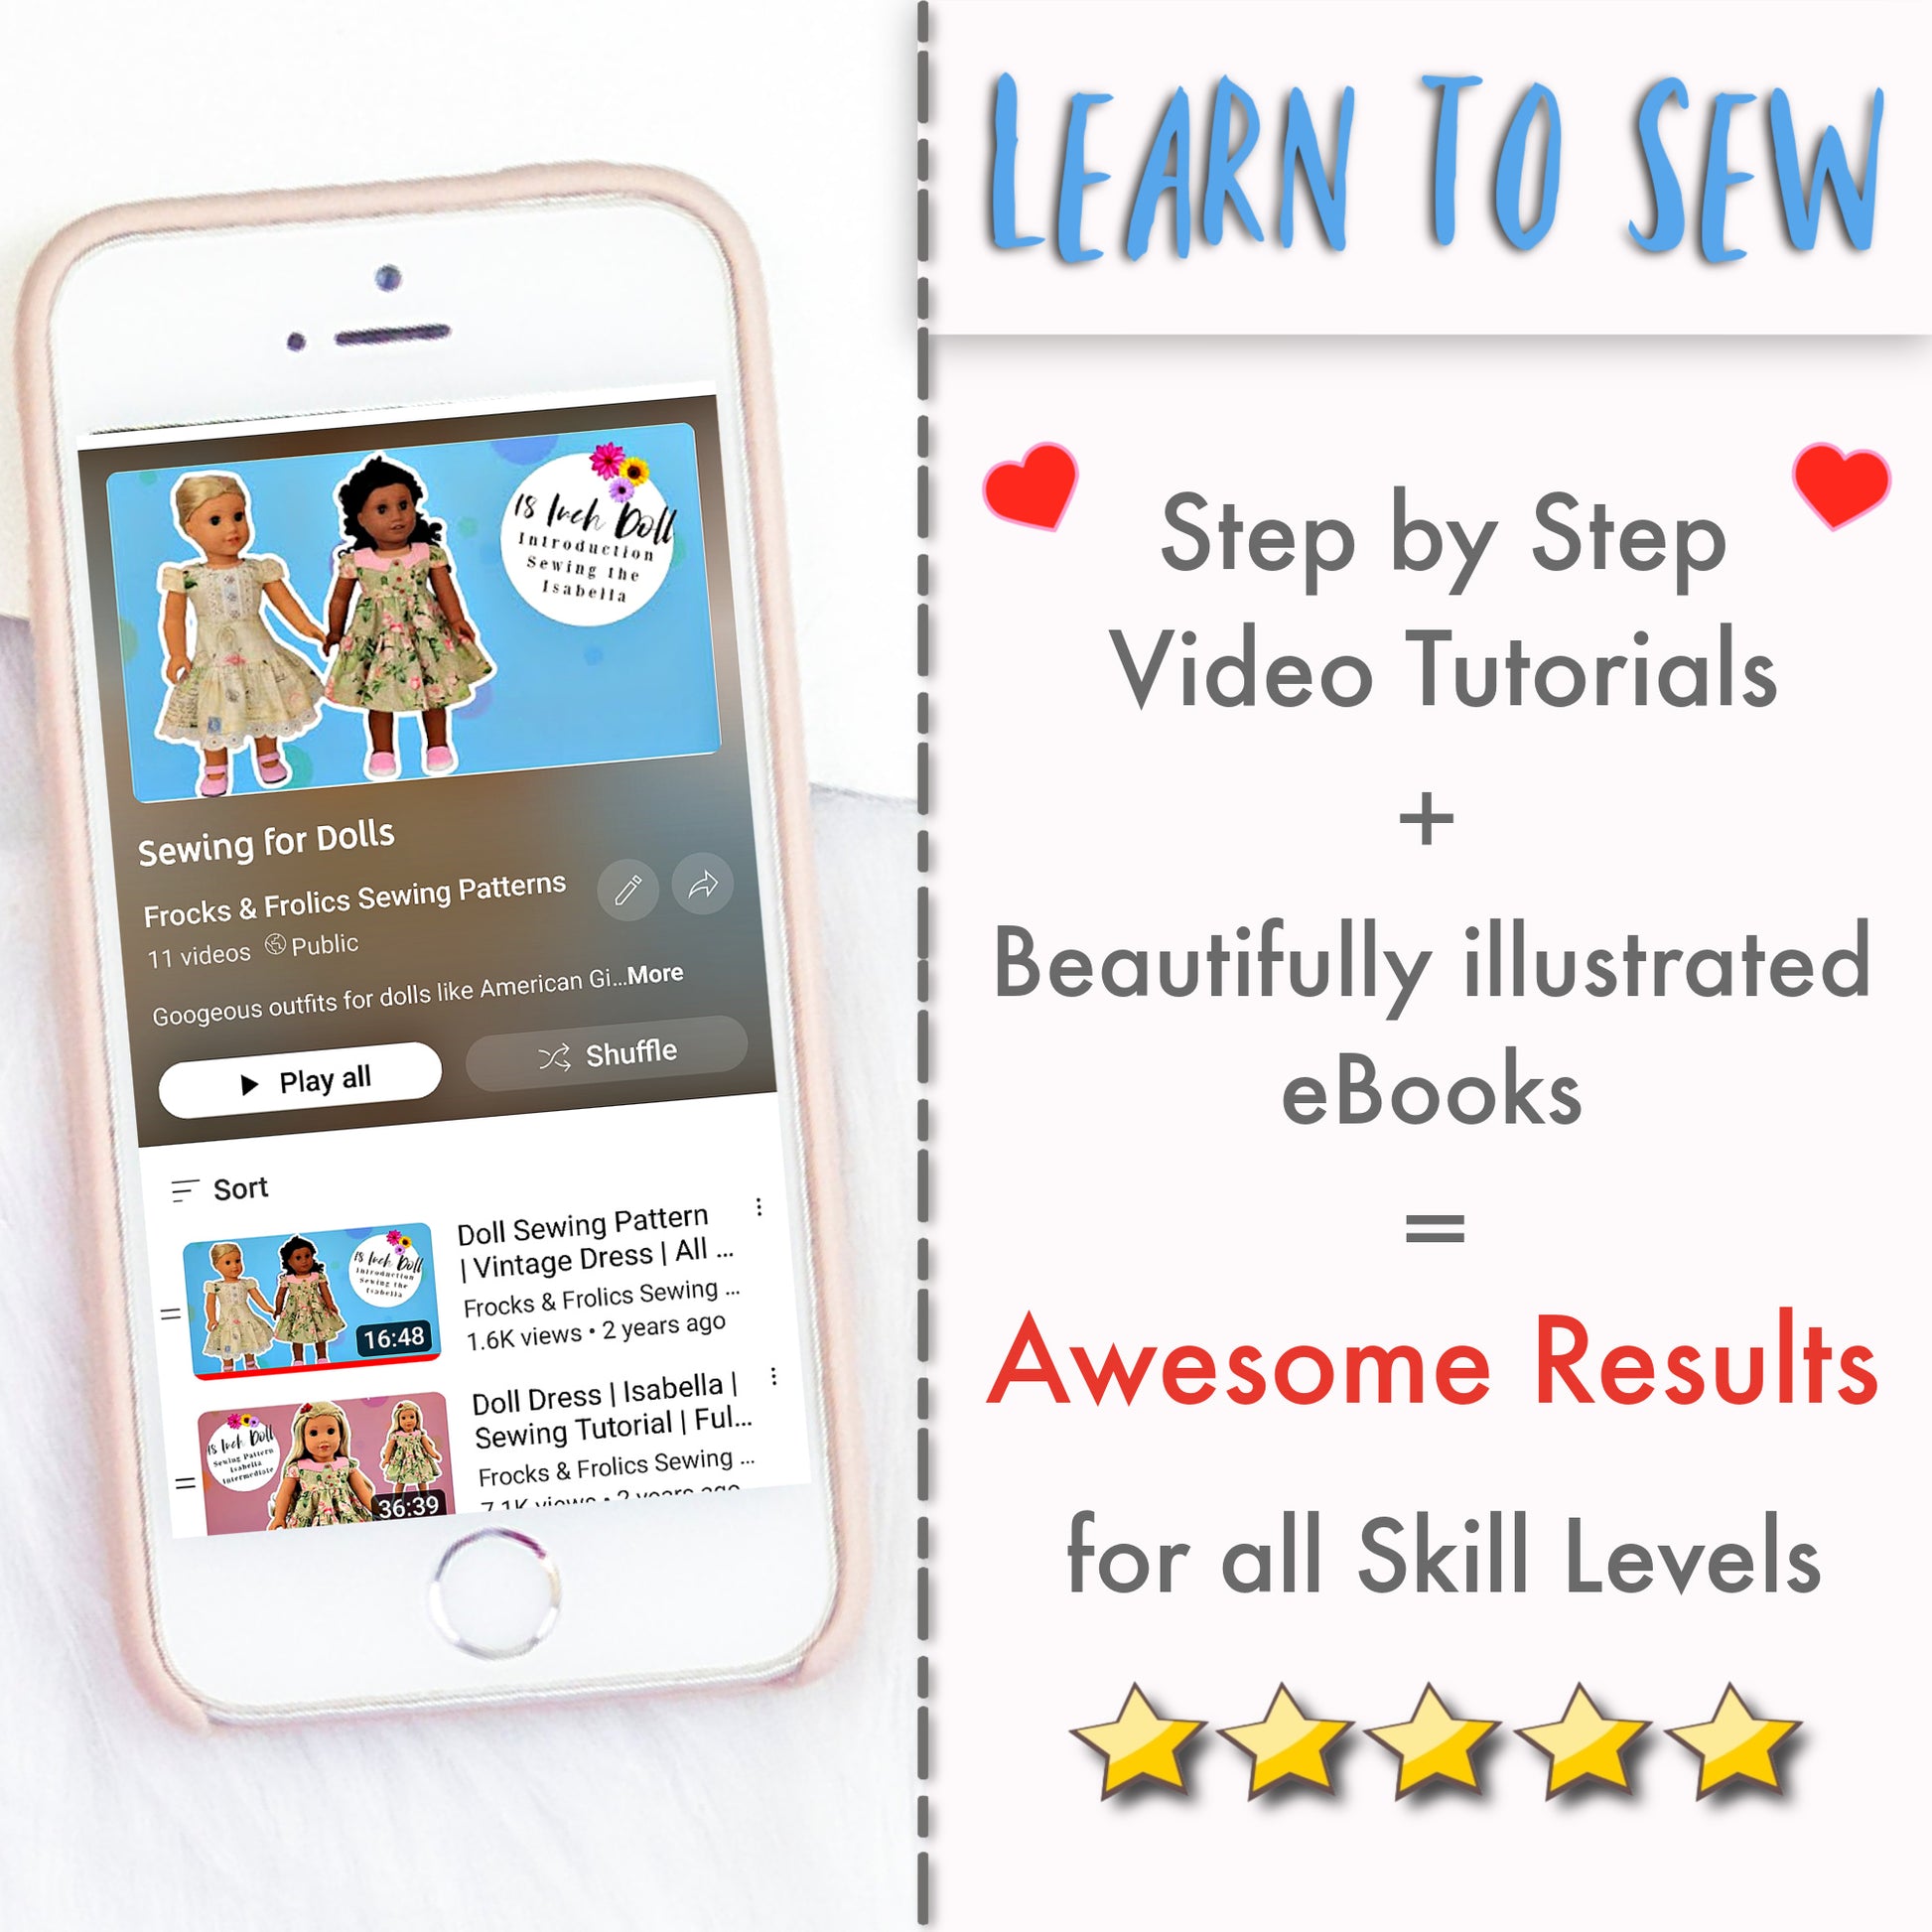
Transcript for the video: Isabella Dress Doll - Beginner

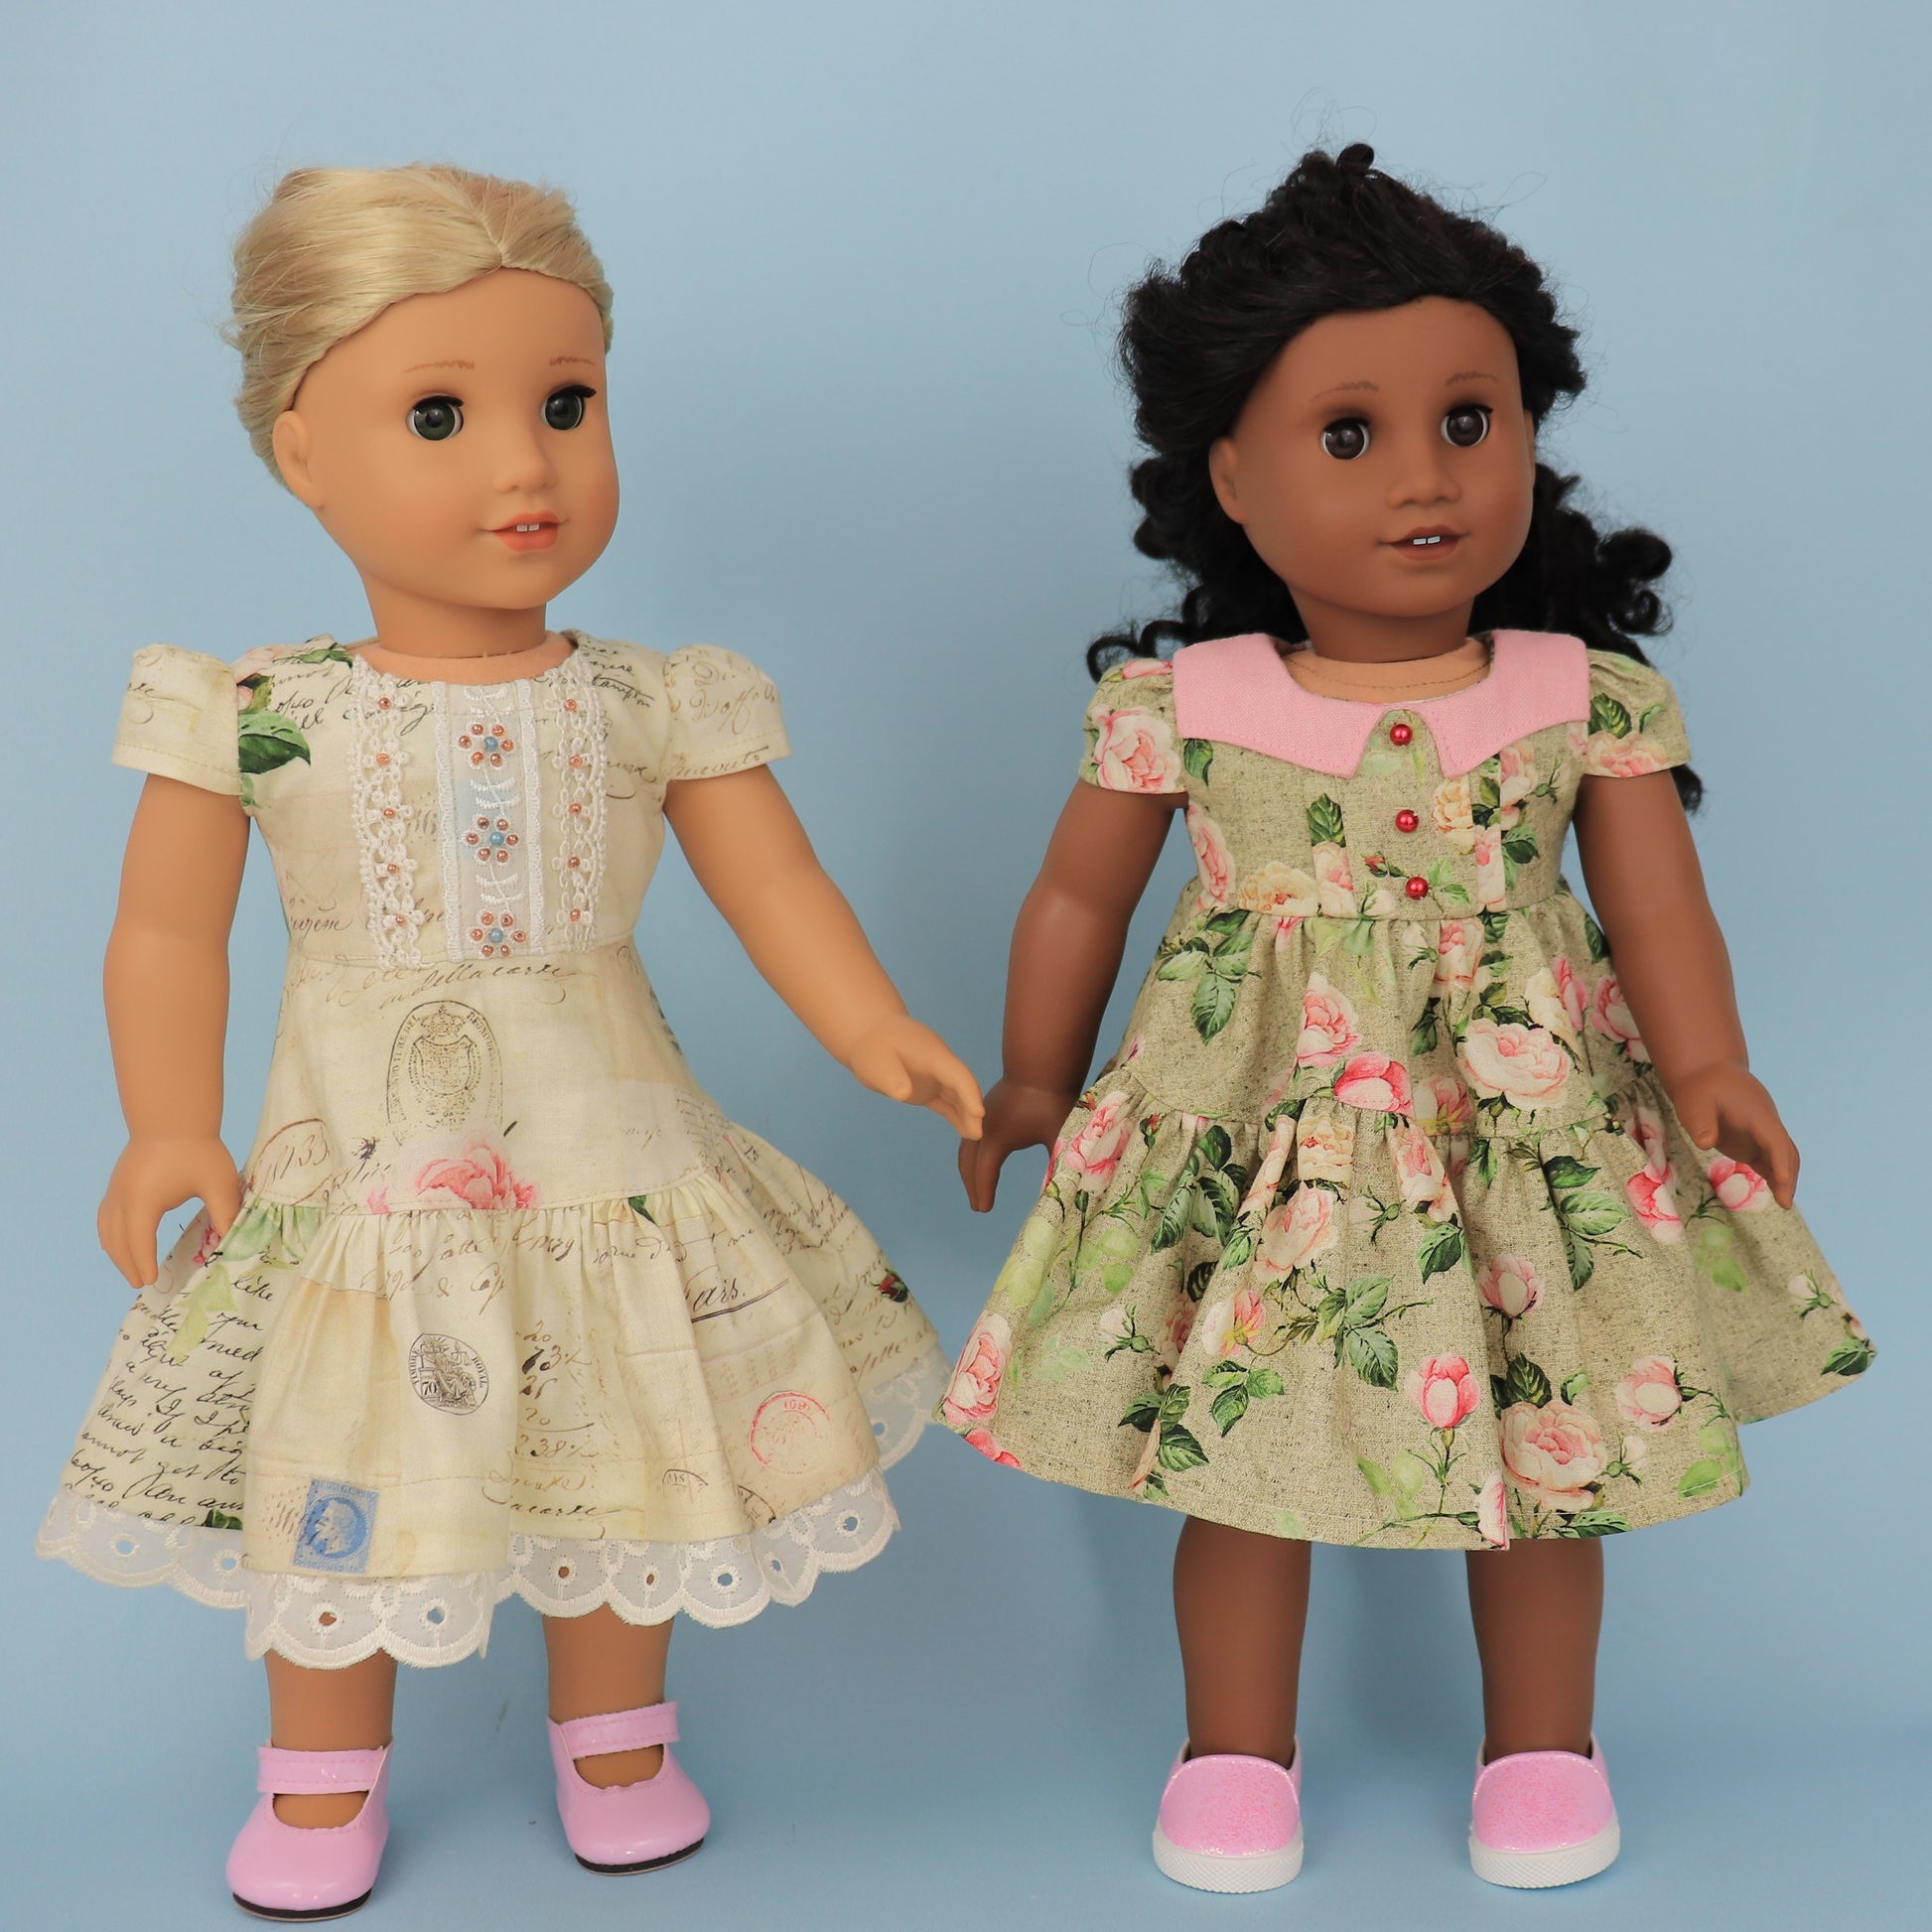
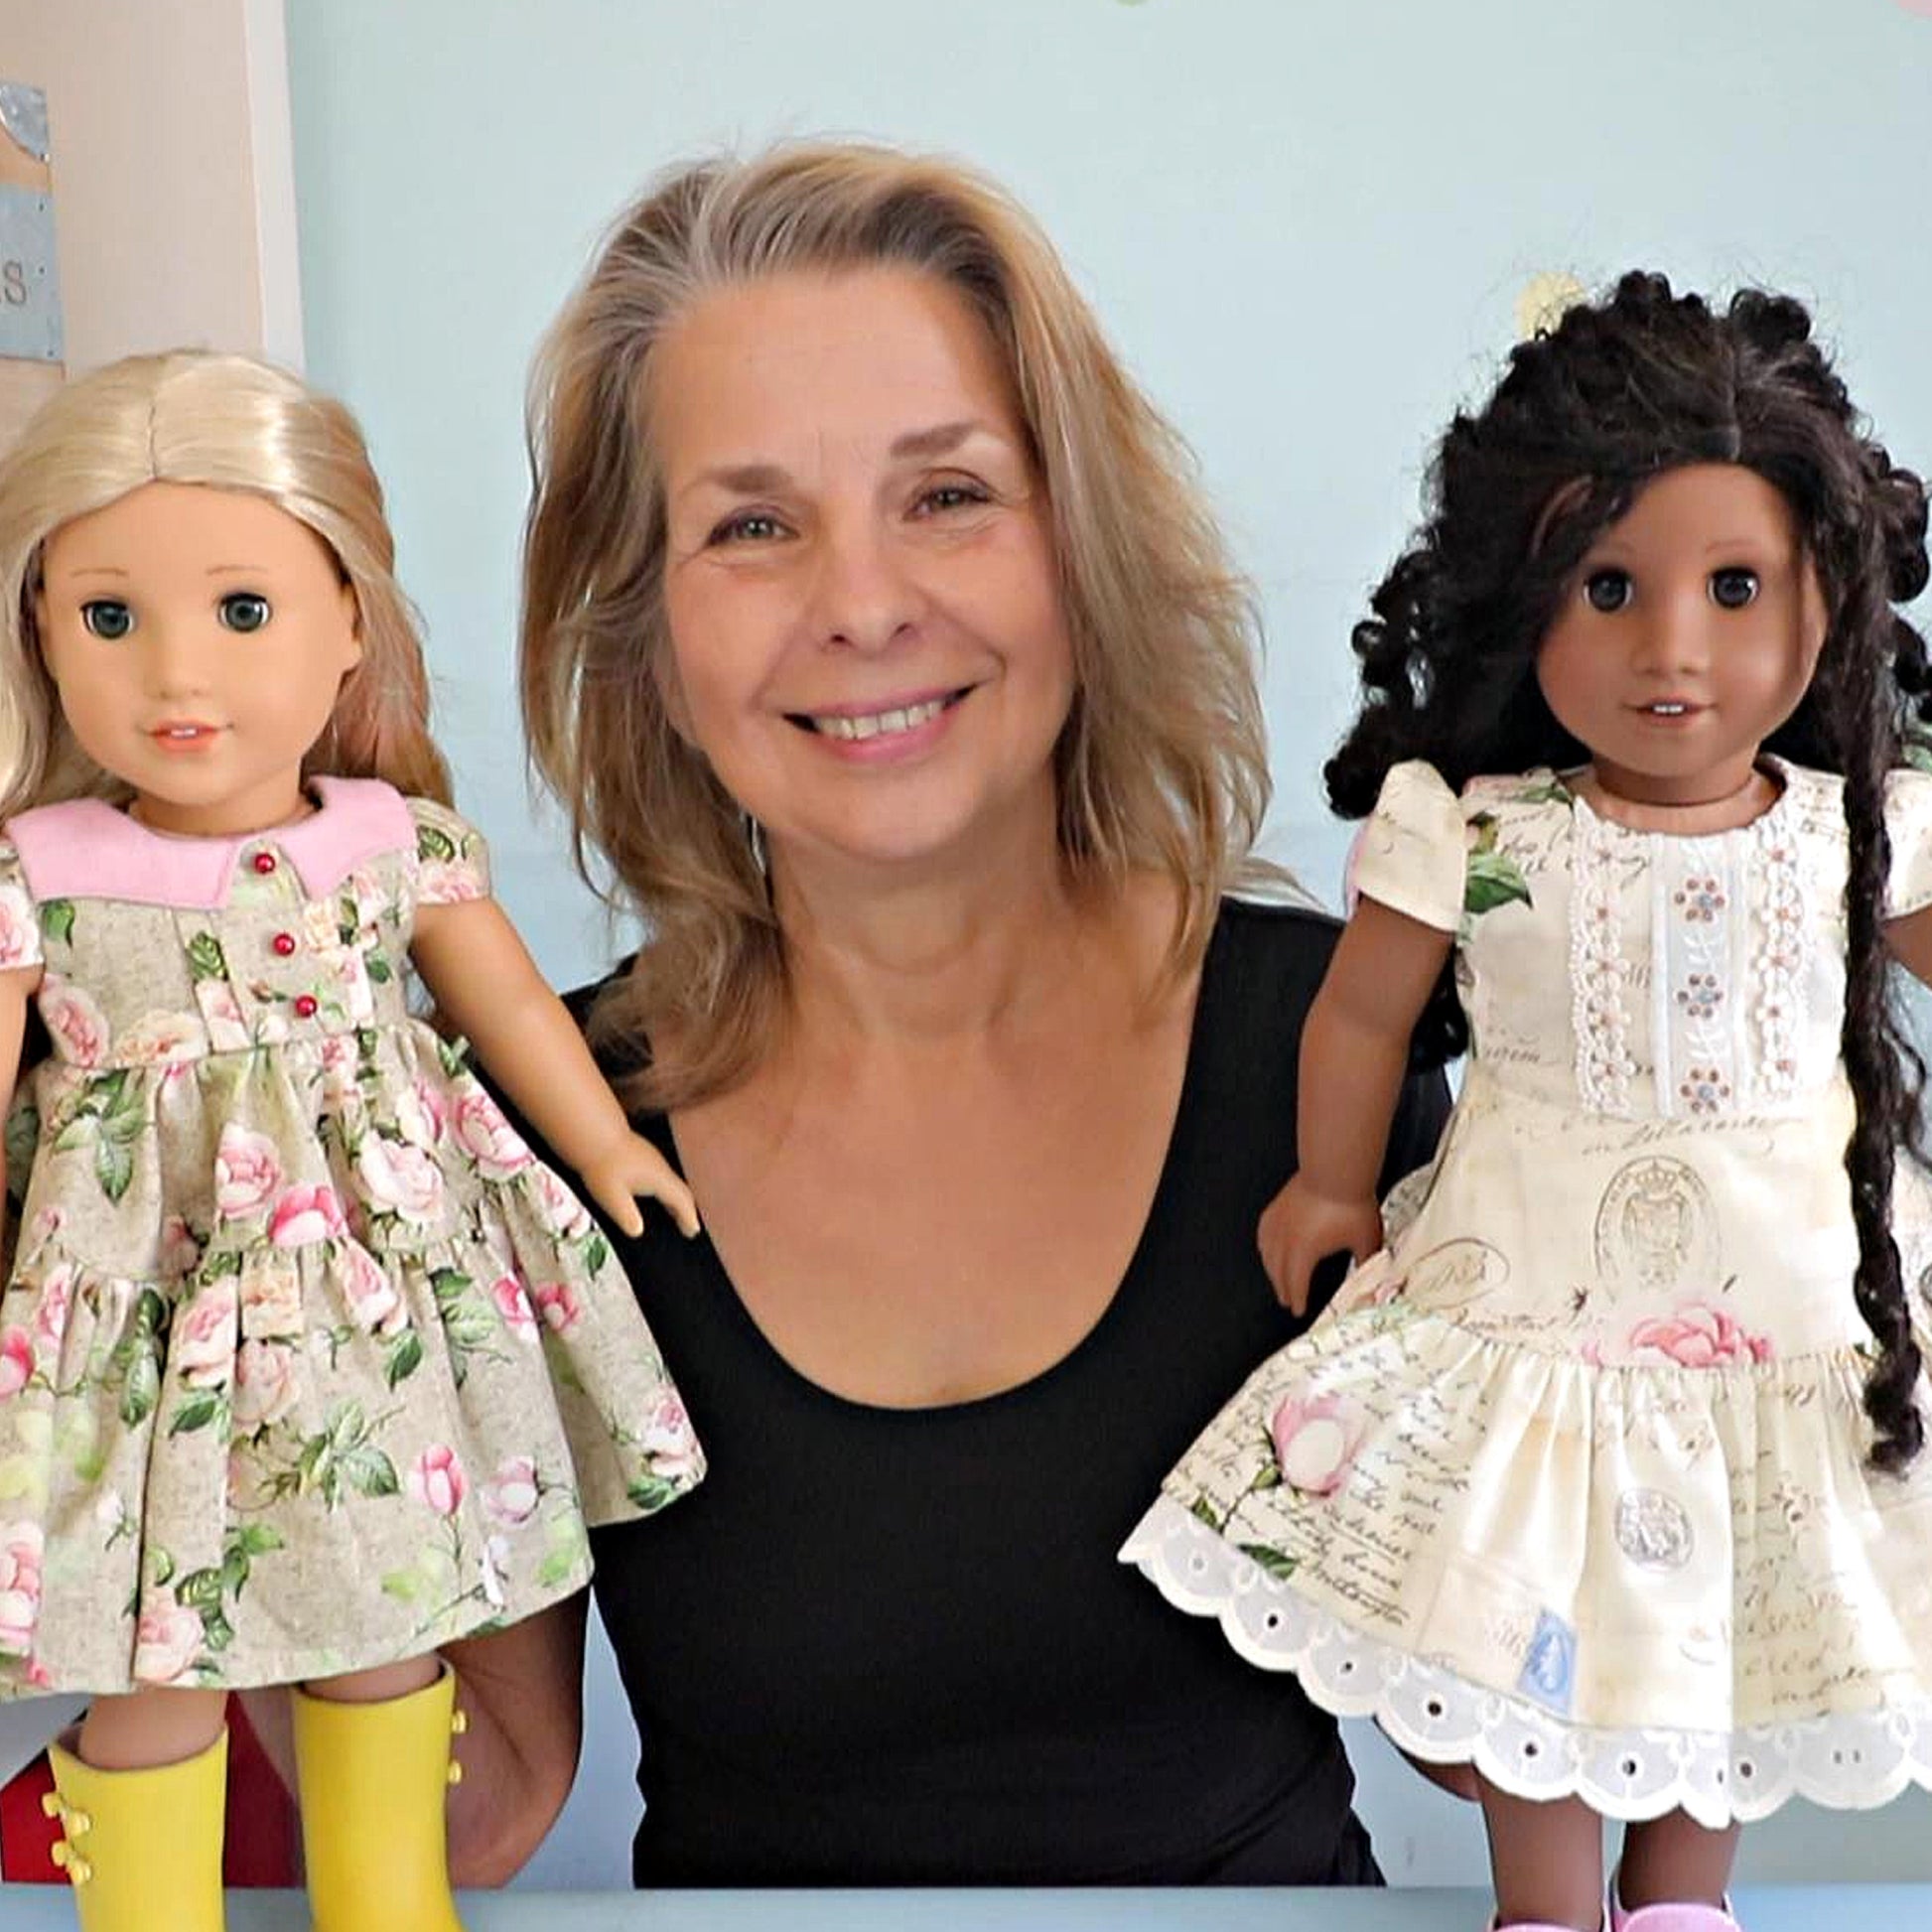
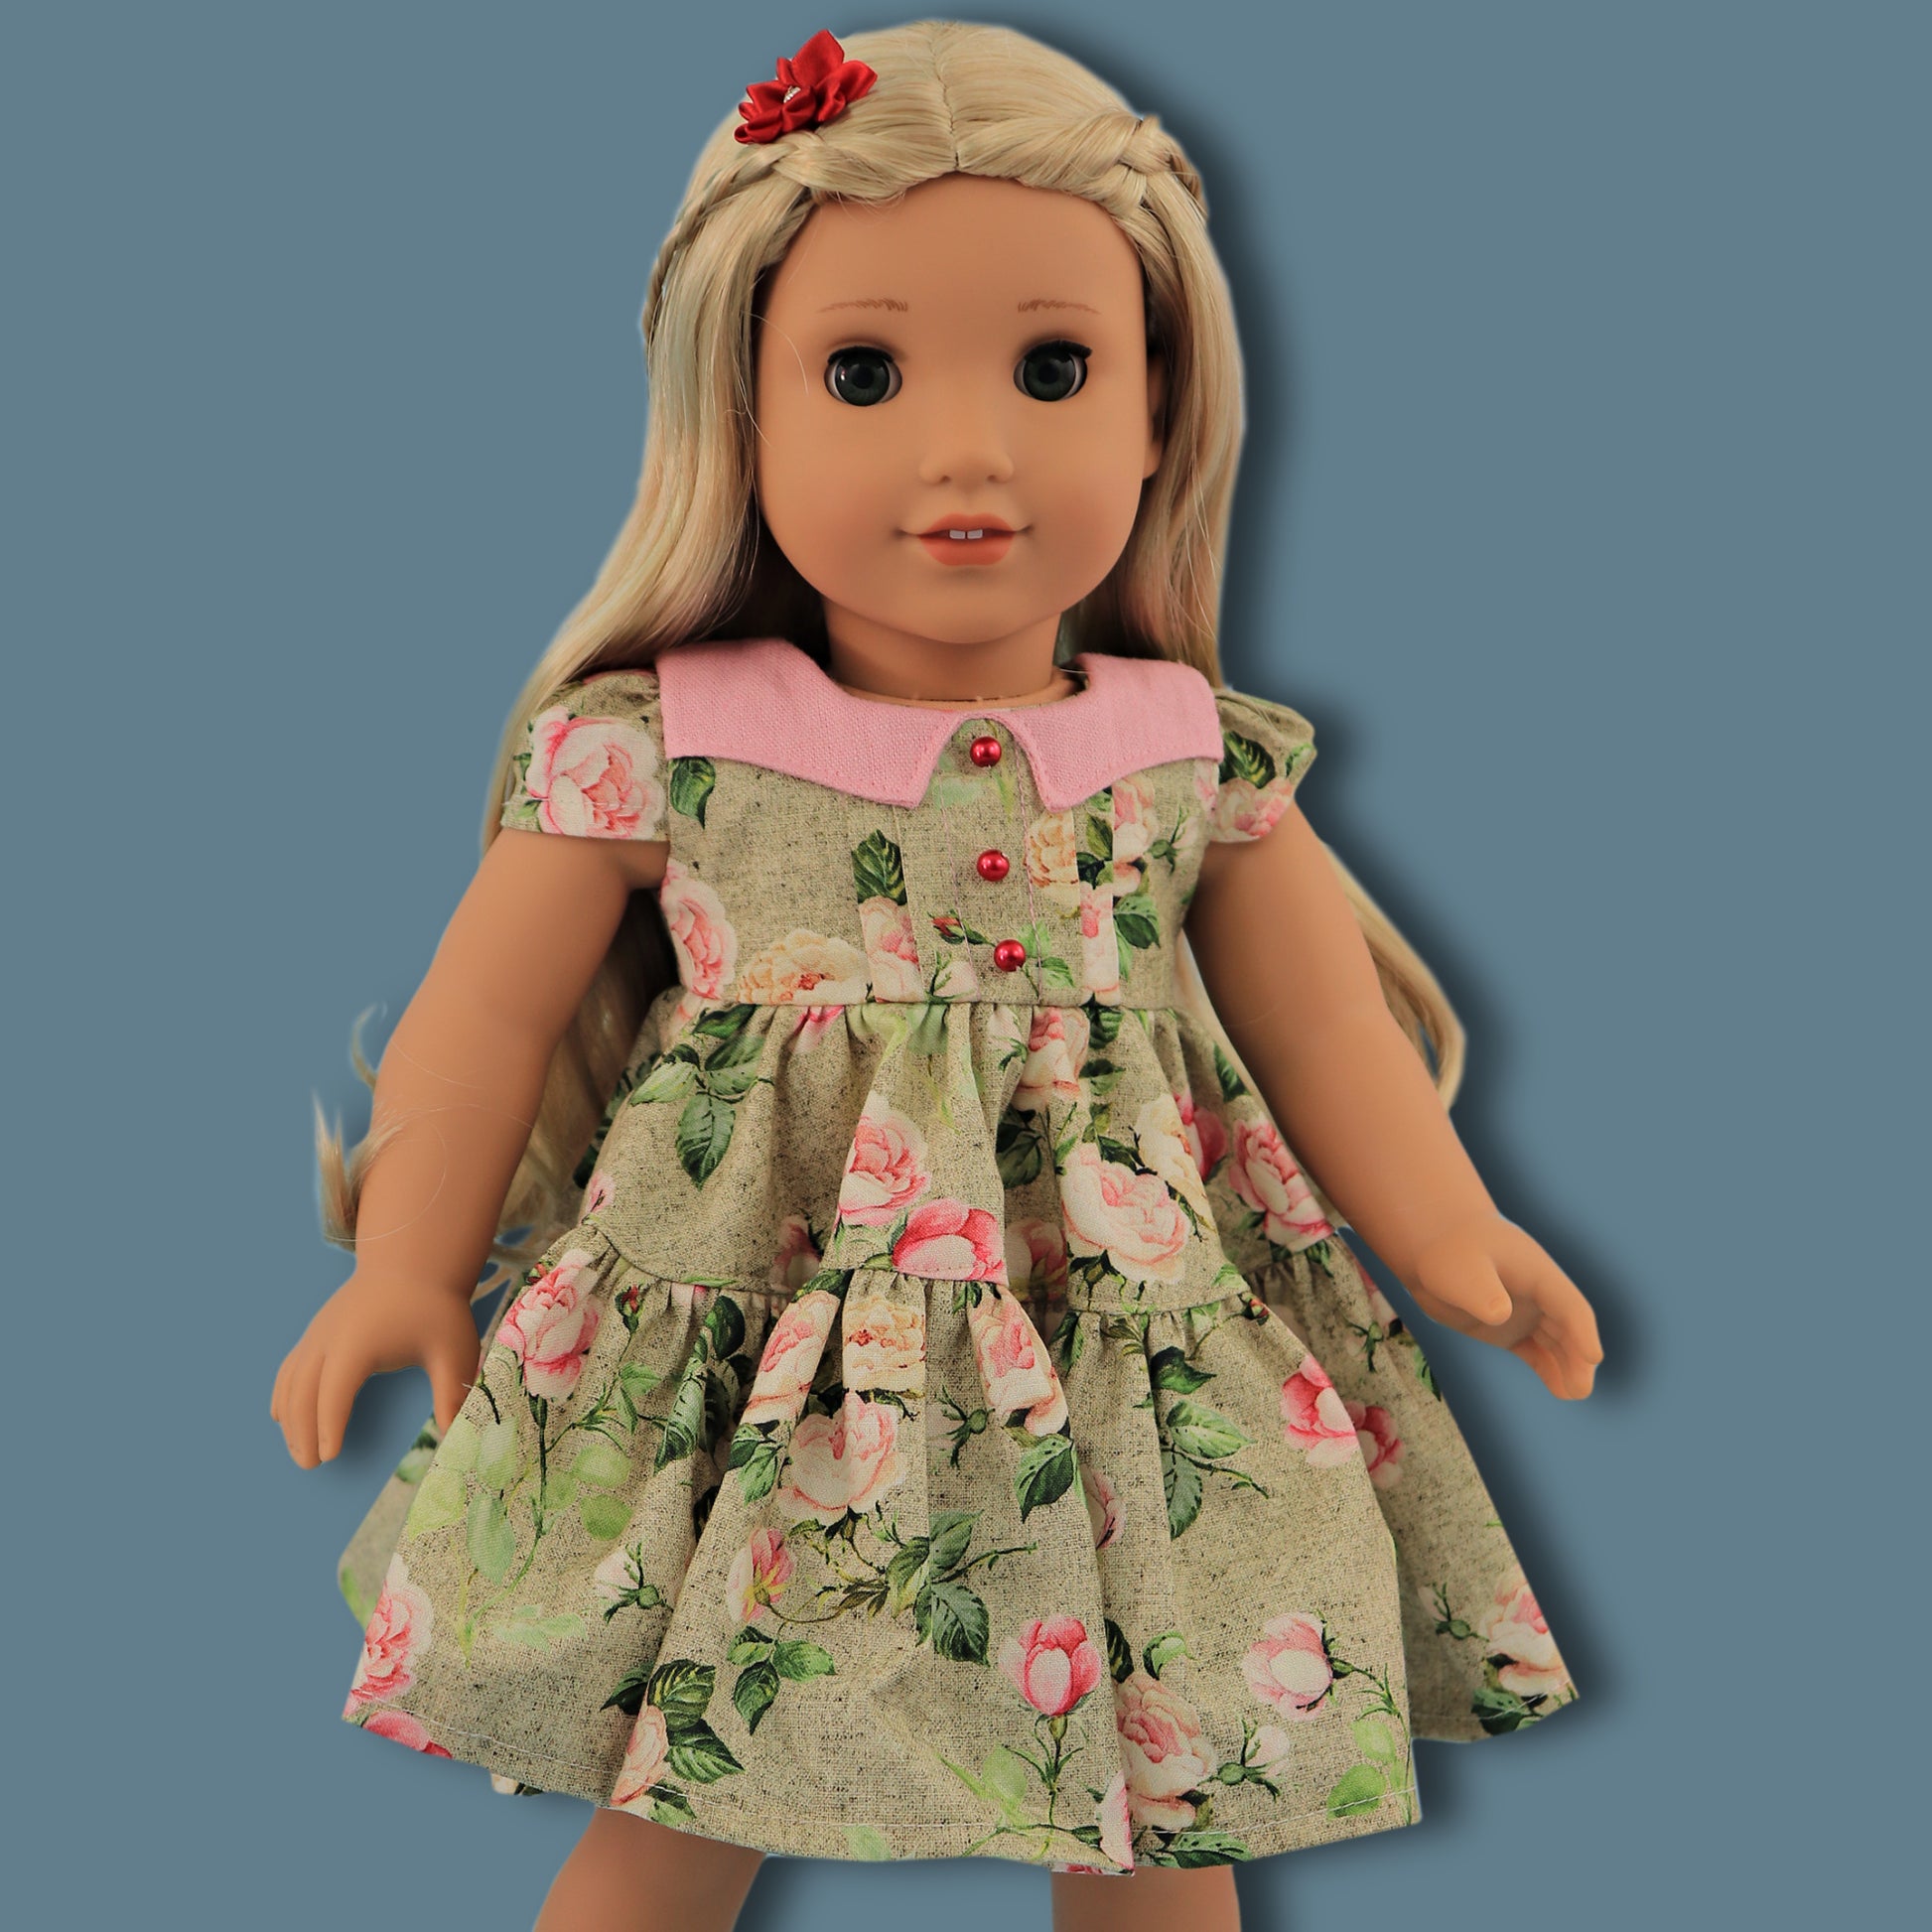
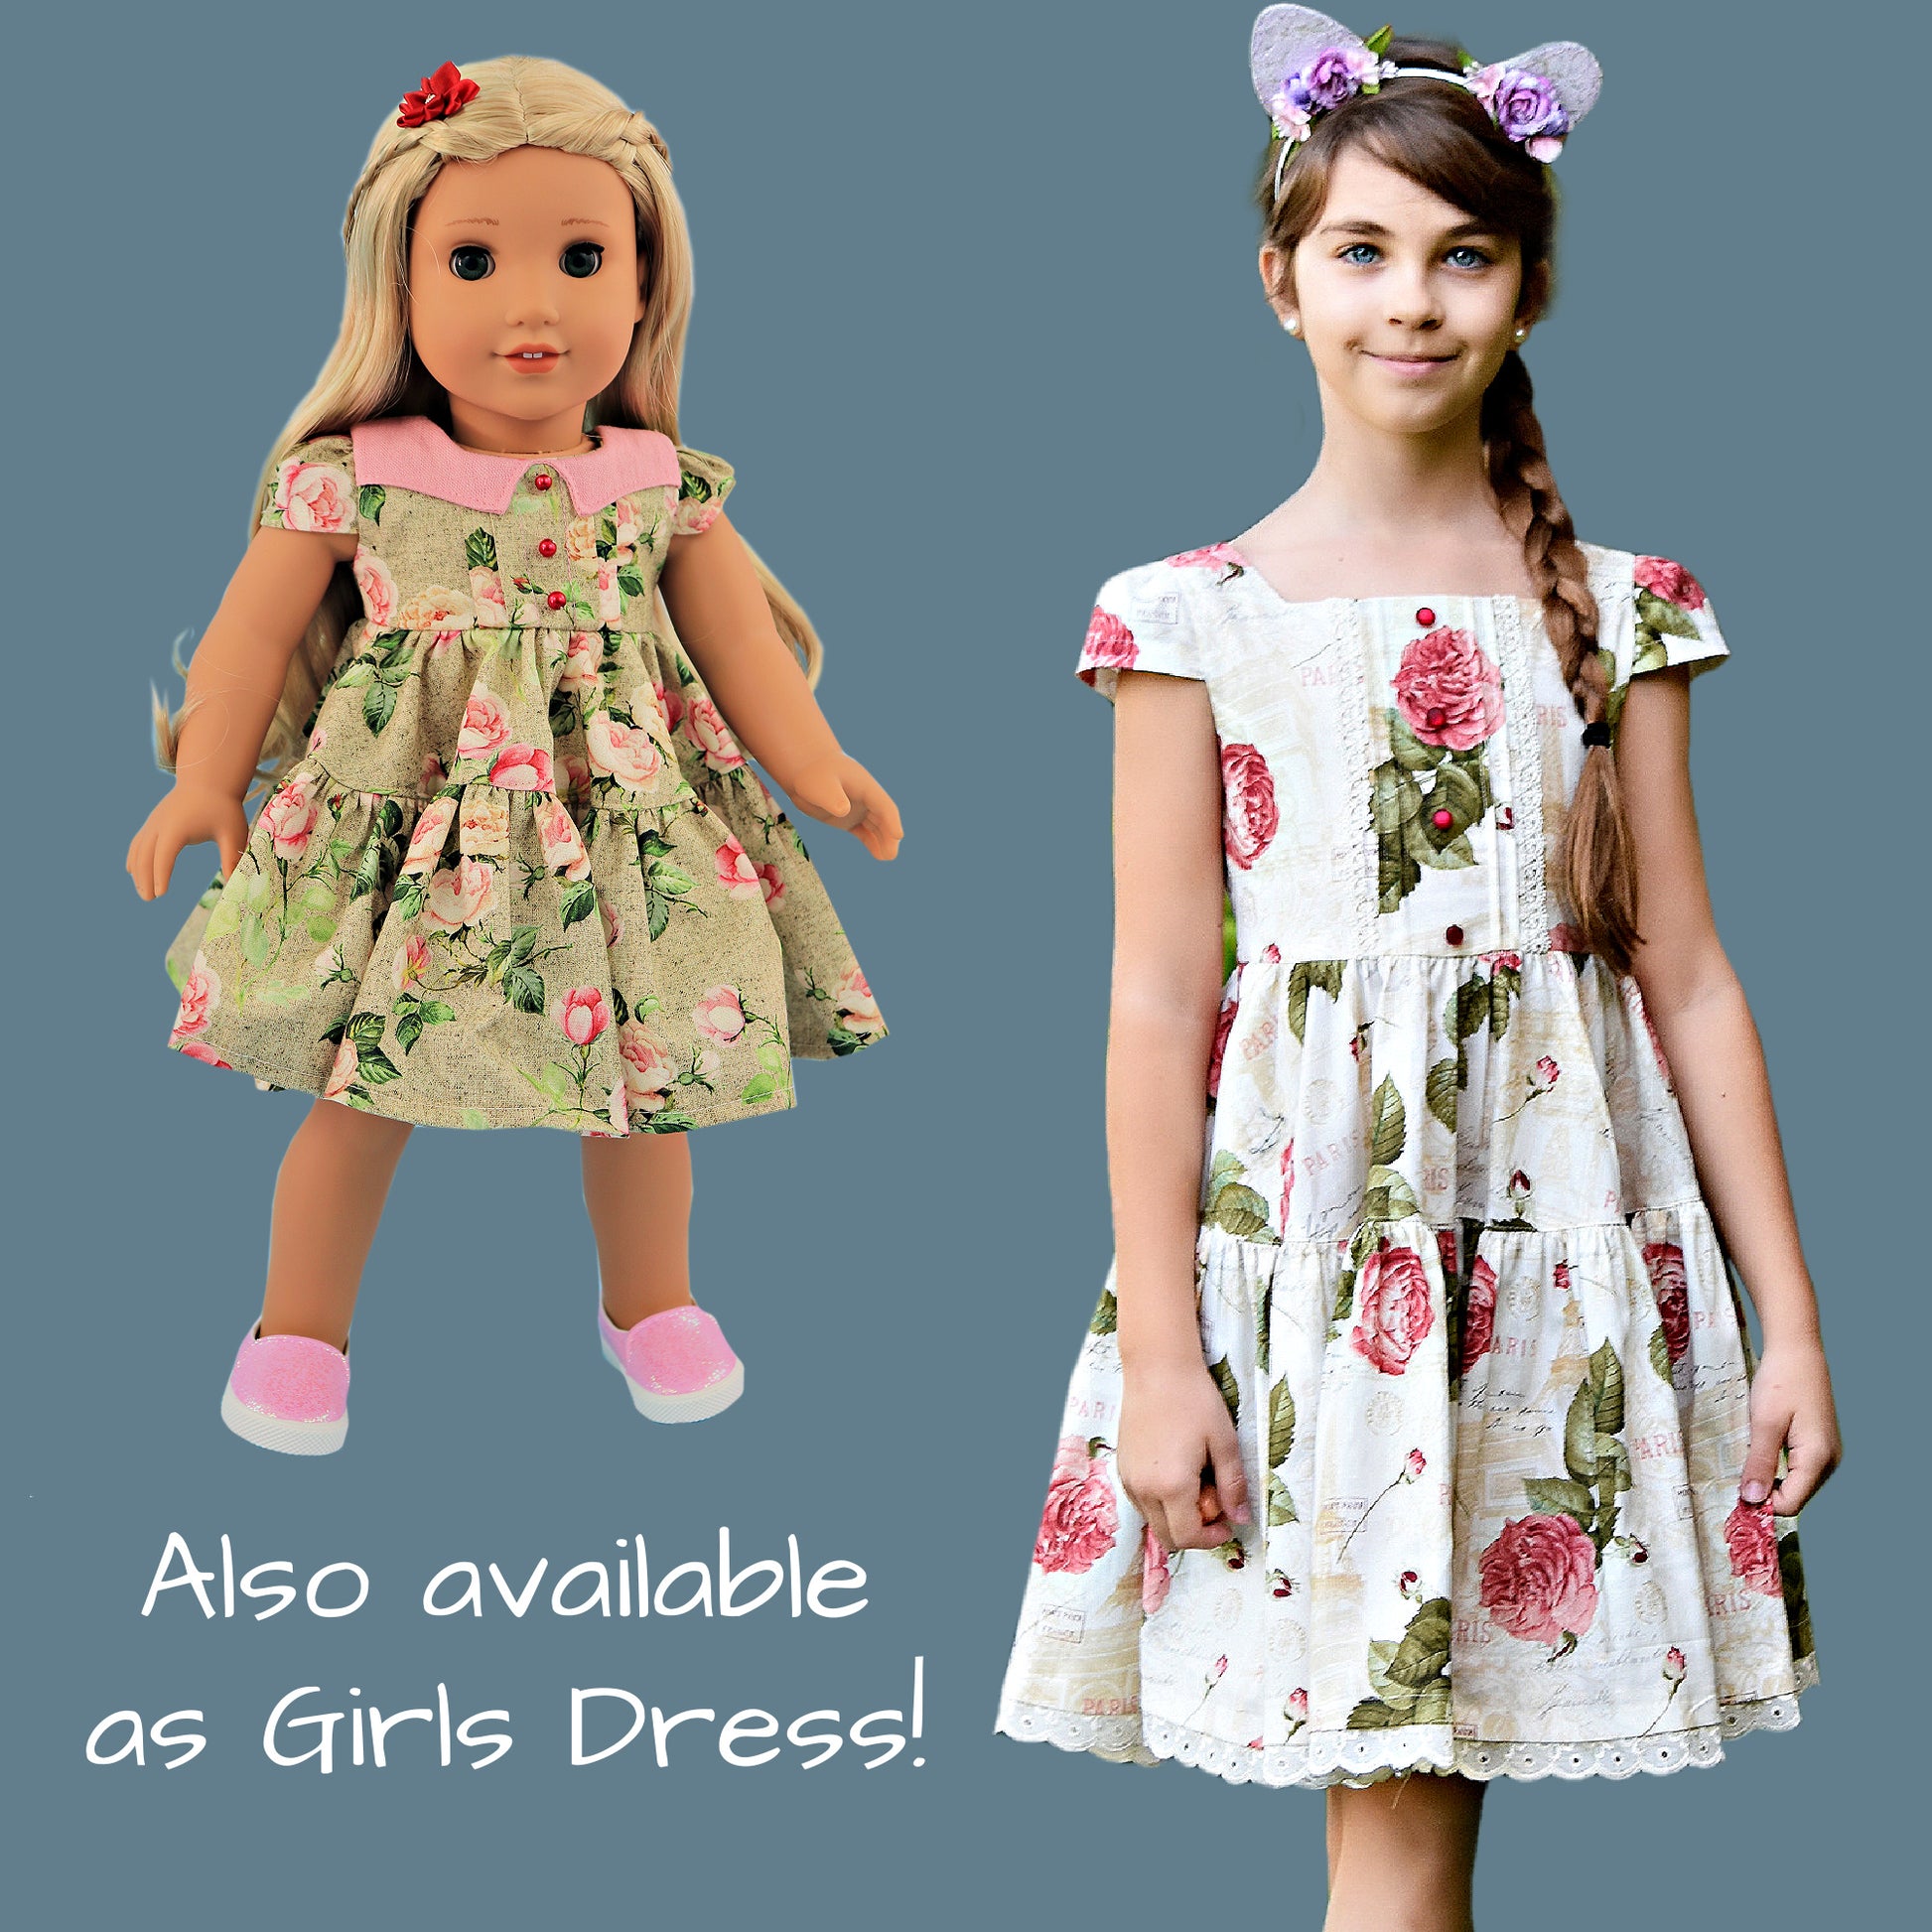
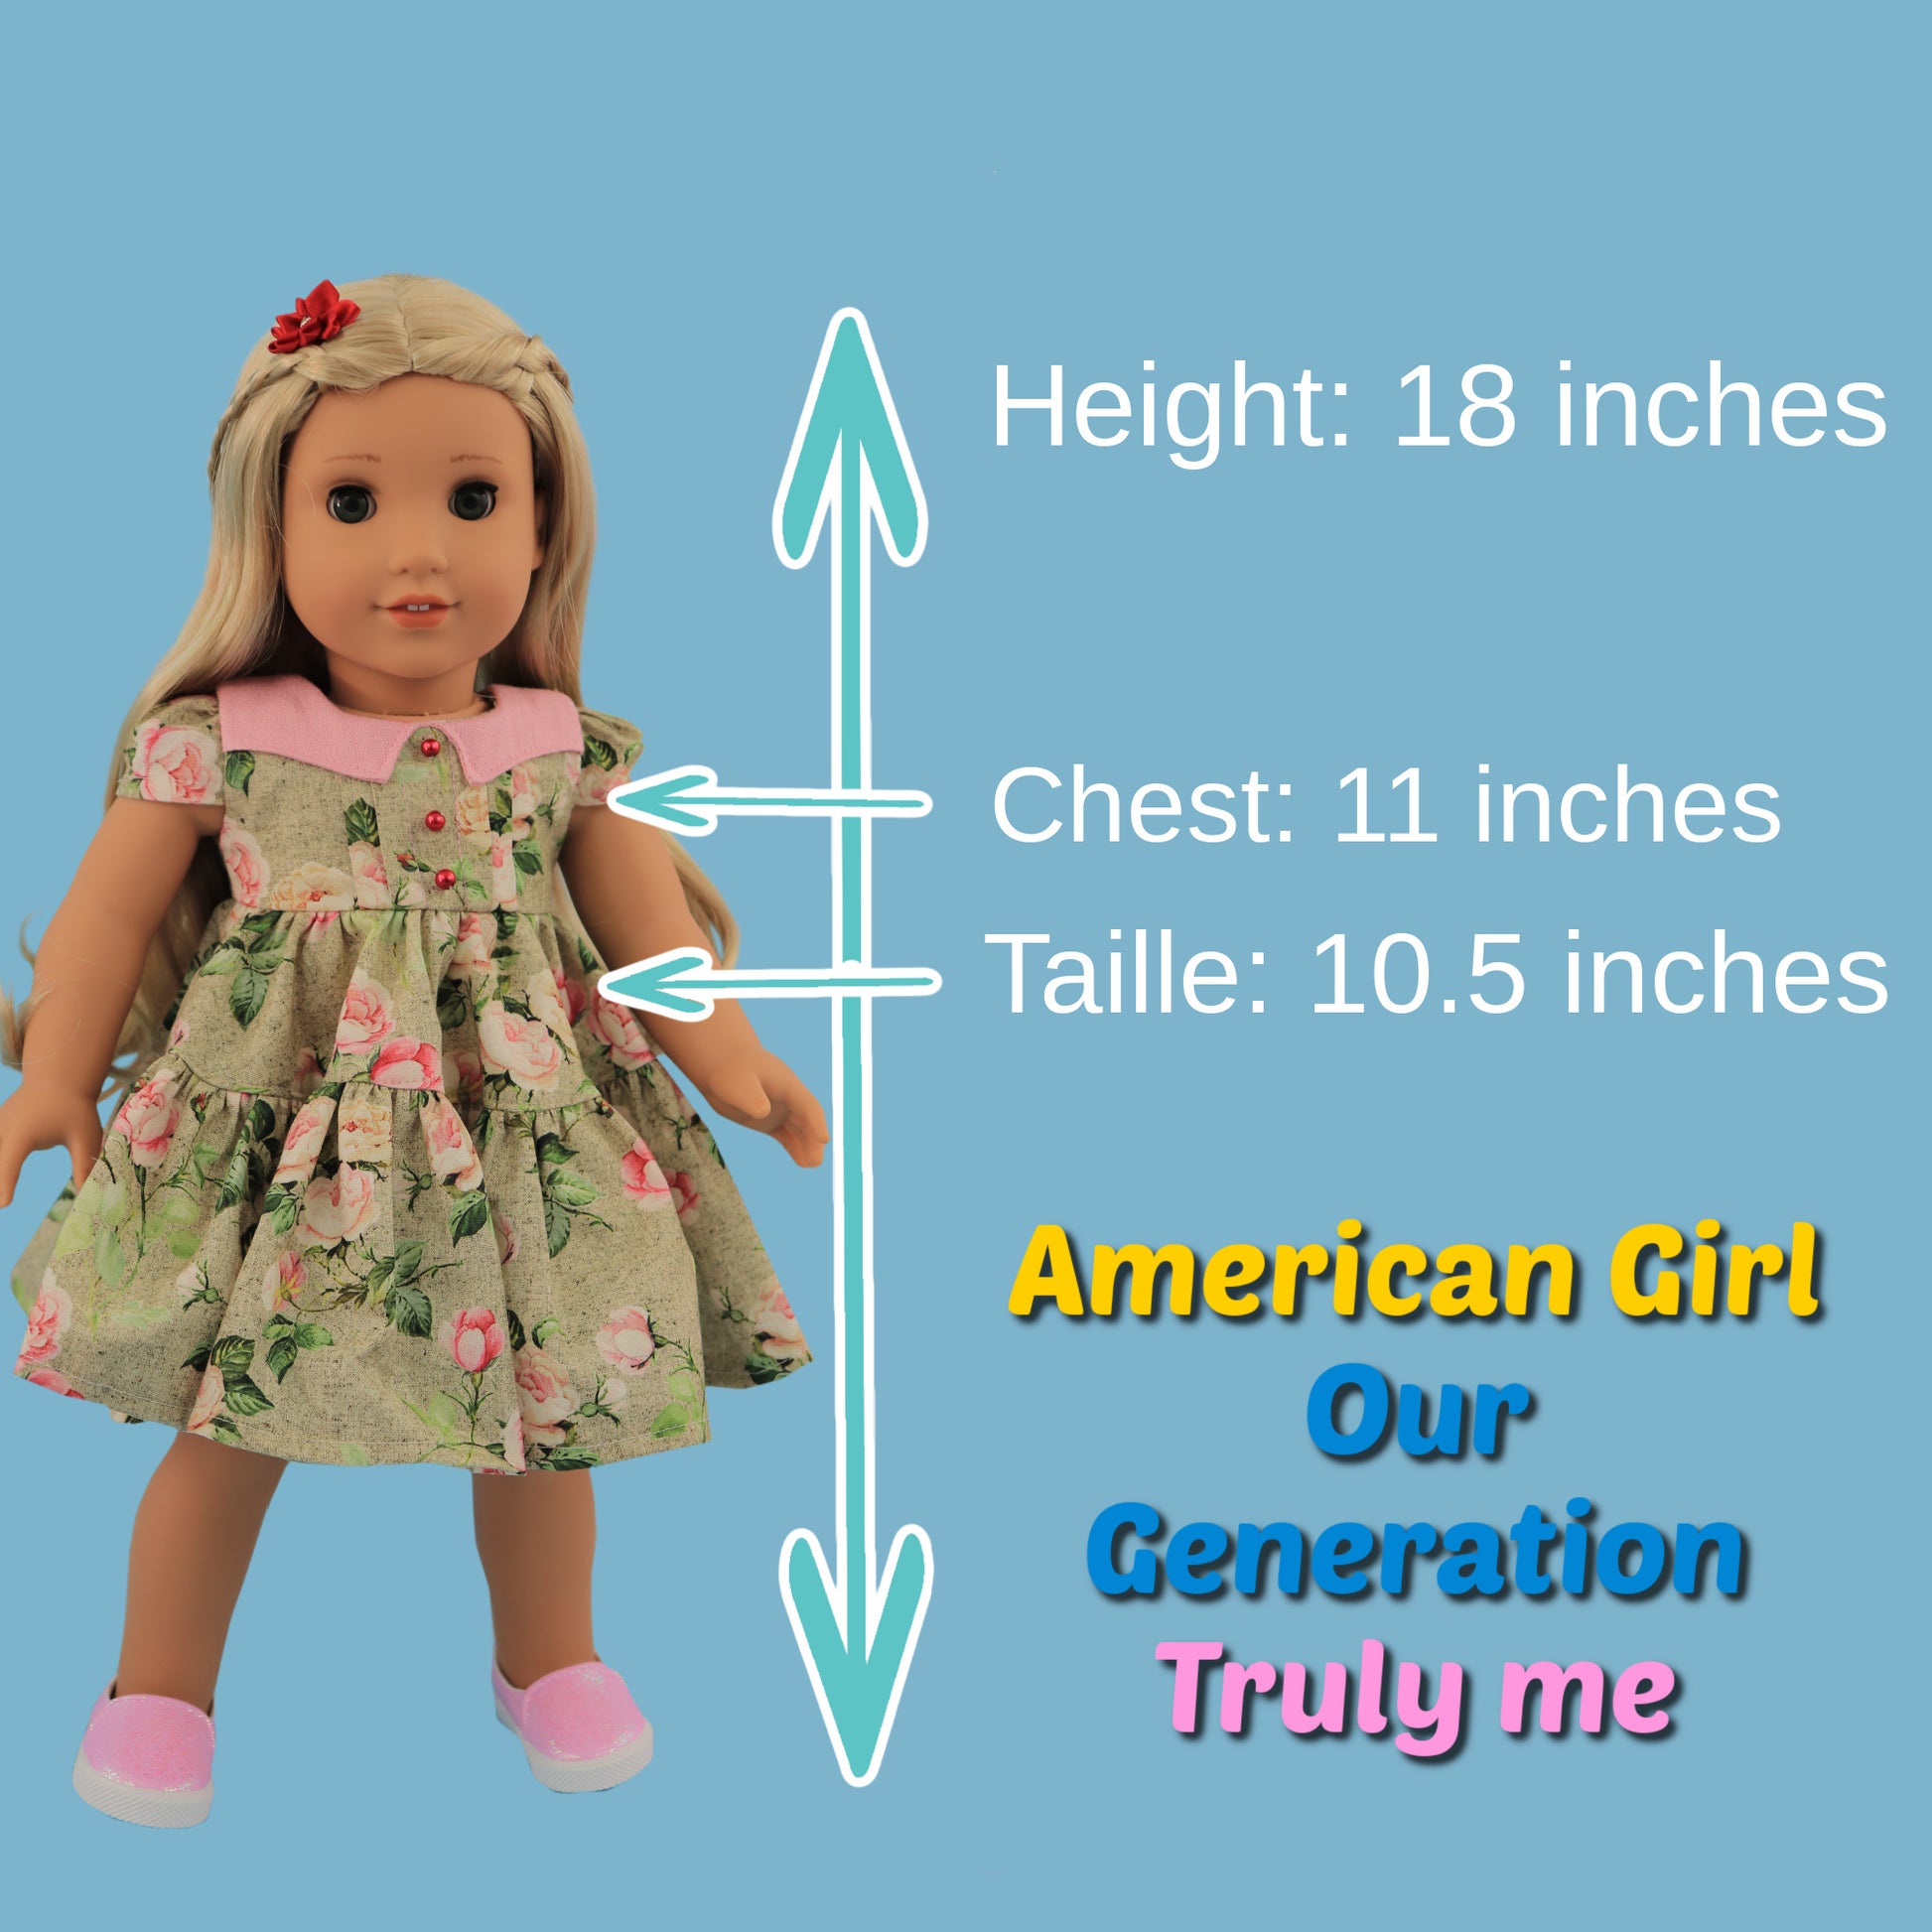
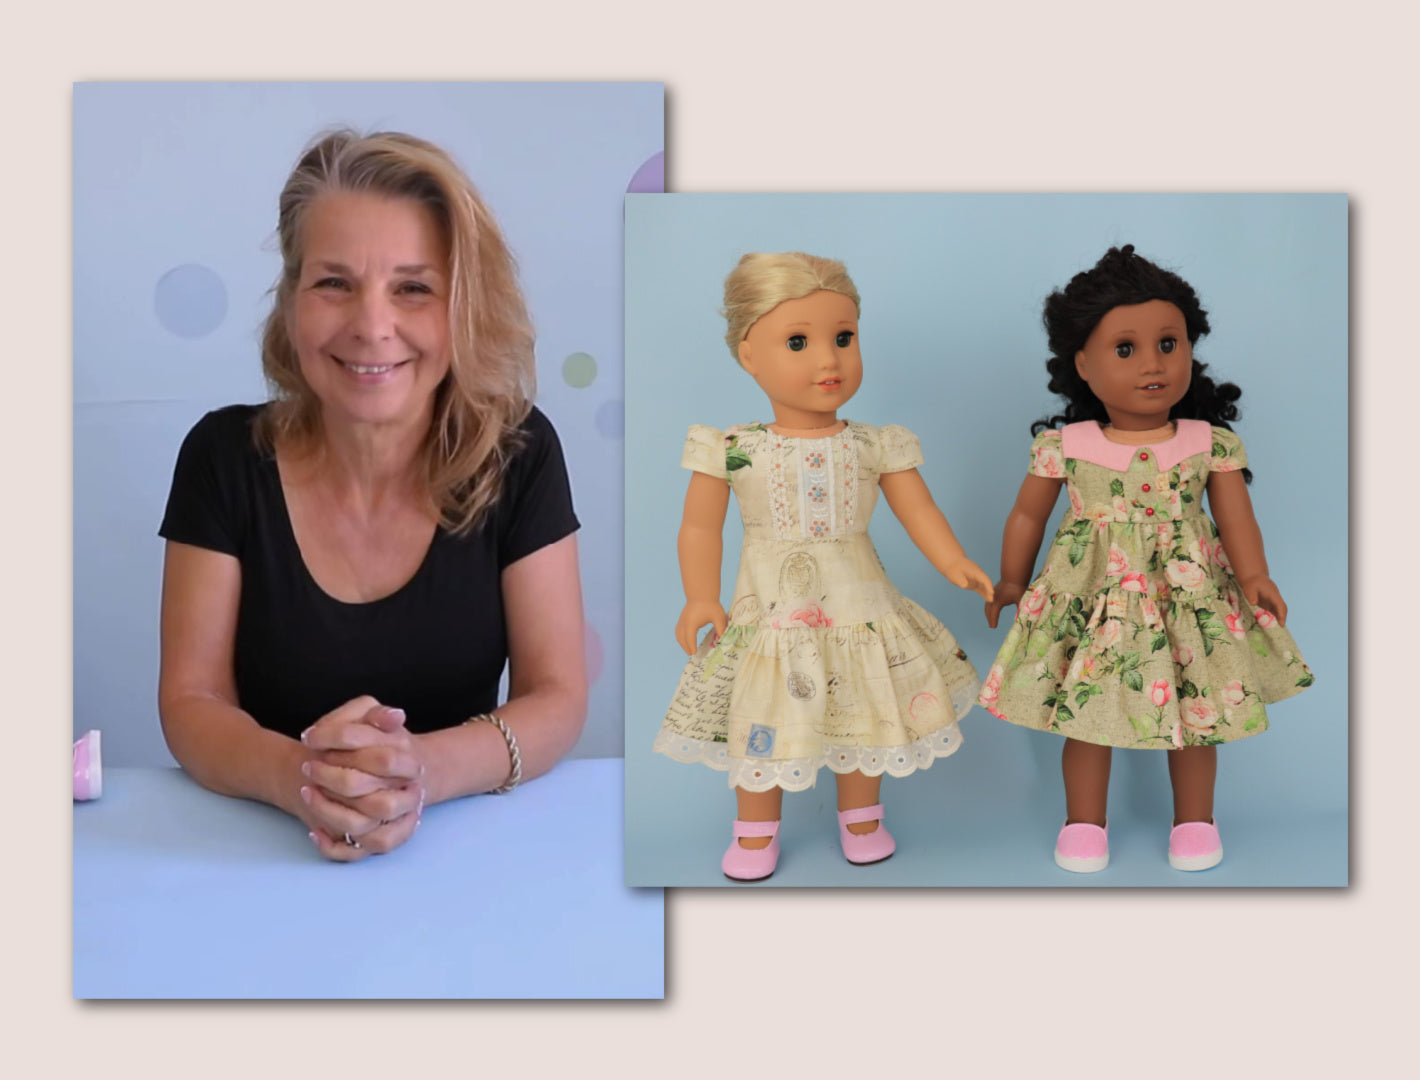
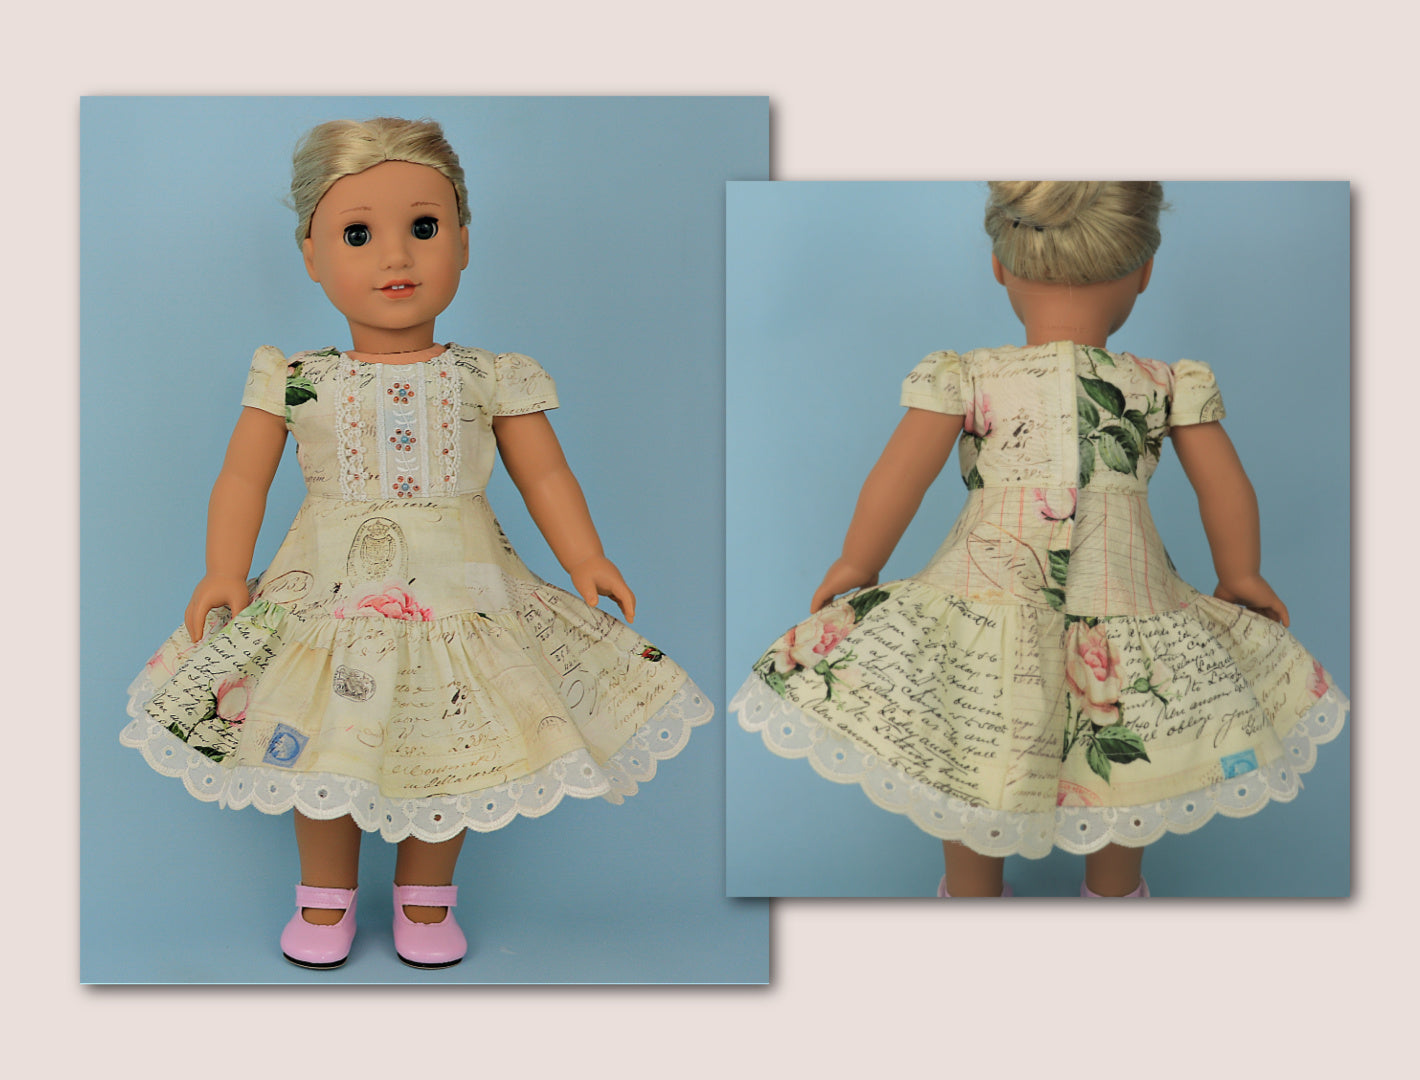
Hi, I’m Marina from Frocks and Frolics, and today I’m going to show you how to make this lovely little dress. In this video, we’re making the Quick Isabella dress, which matches the girl dress pattern available in ages 1 to 12. I’m using an 18-inch doll here, and you can check the instructions for exact measurements if you’re using a different doll so you can adjust as needed.

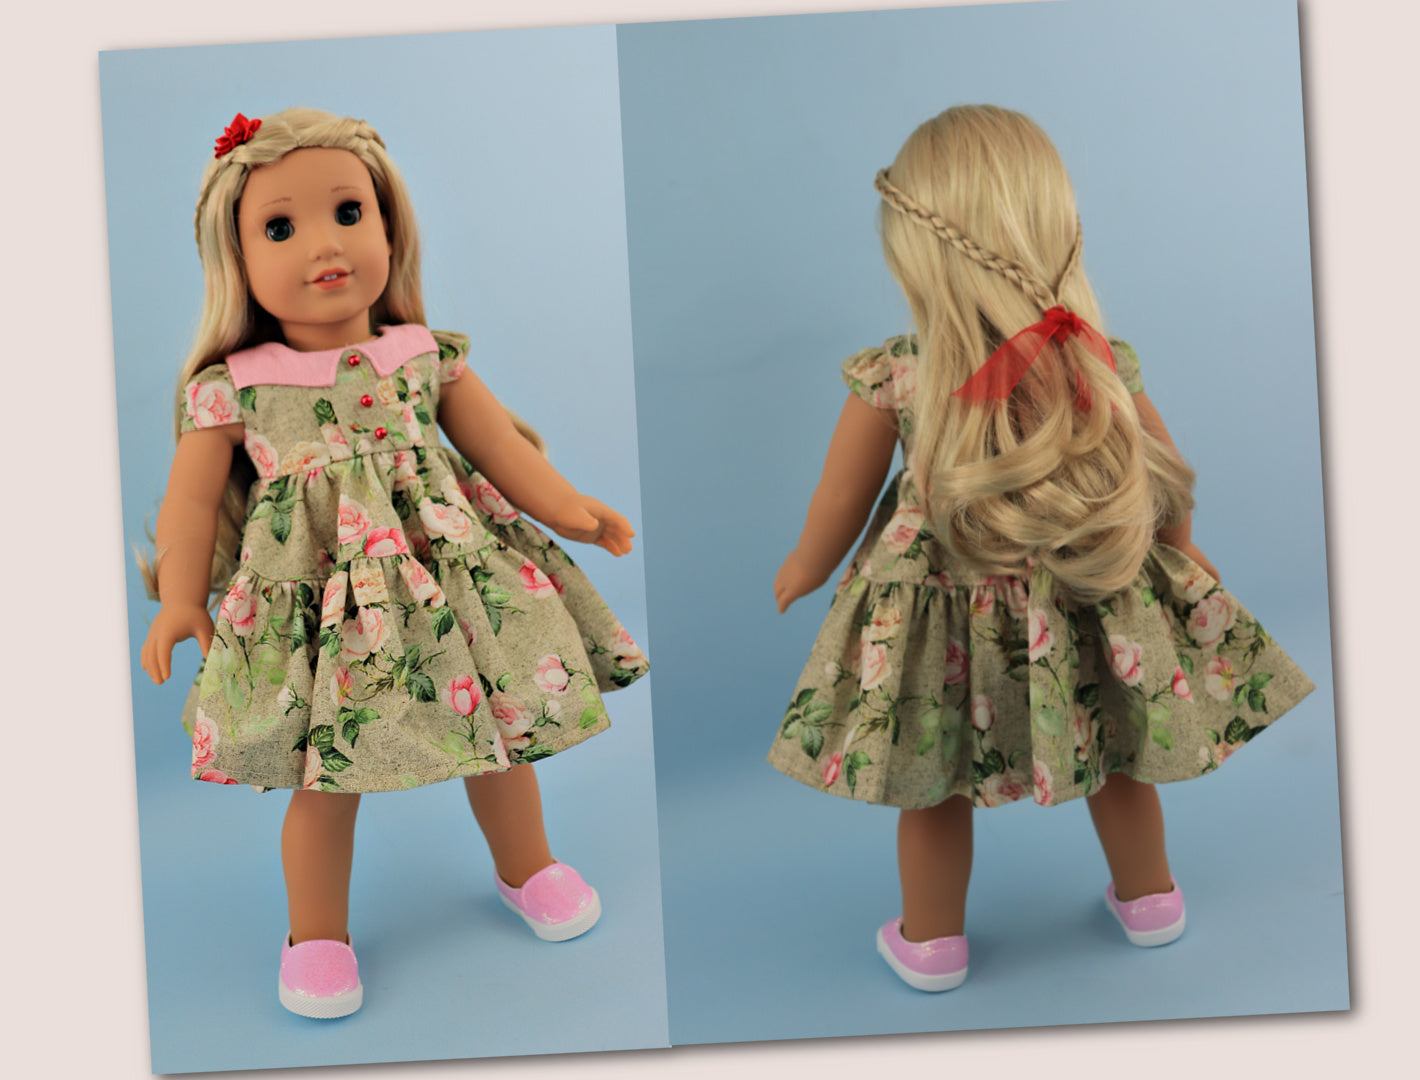
This quick version is designed to be simple for beginners. It has no pintucks, and I’ve added lace instead, which is much faster. I’ve also used a flat-waisted skirt instead of a gathered one, but you can choose either style, and you can also make the dress lined or unlined depending on your preference.

Pattern Overview and Cutting Pieces

Let’s start by looking at the pattern pieces. For the bodice, the front yoke is cut on the fold so there’s no center seam. The back pieces are cut as mirror images and slightly adjusted depending on whether you are doing the flat waist or gathered version. I’ve marked the blue dashed line to show where you adjust for the flat waist version.

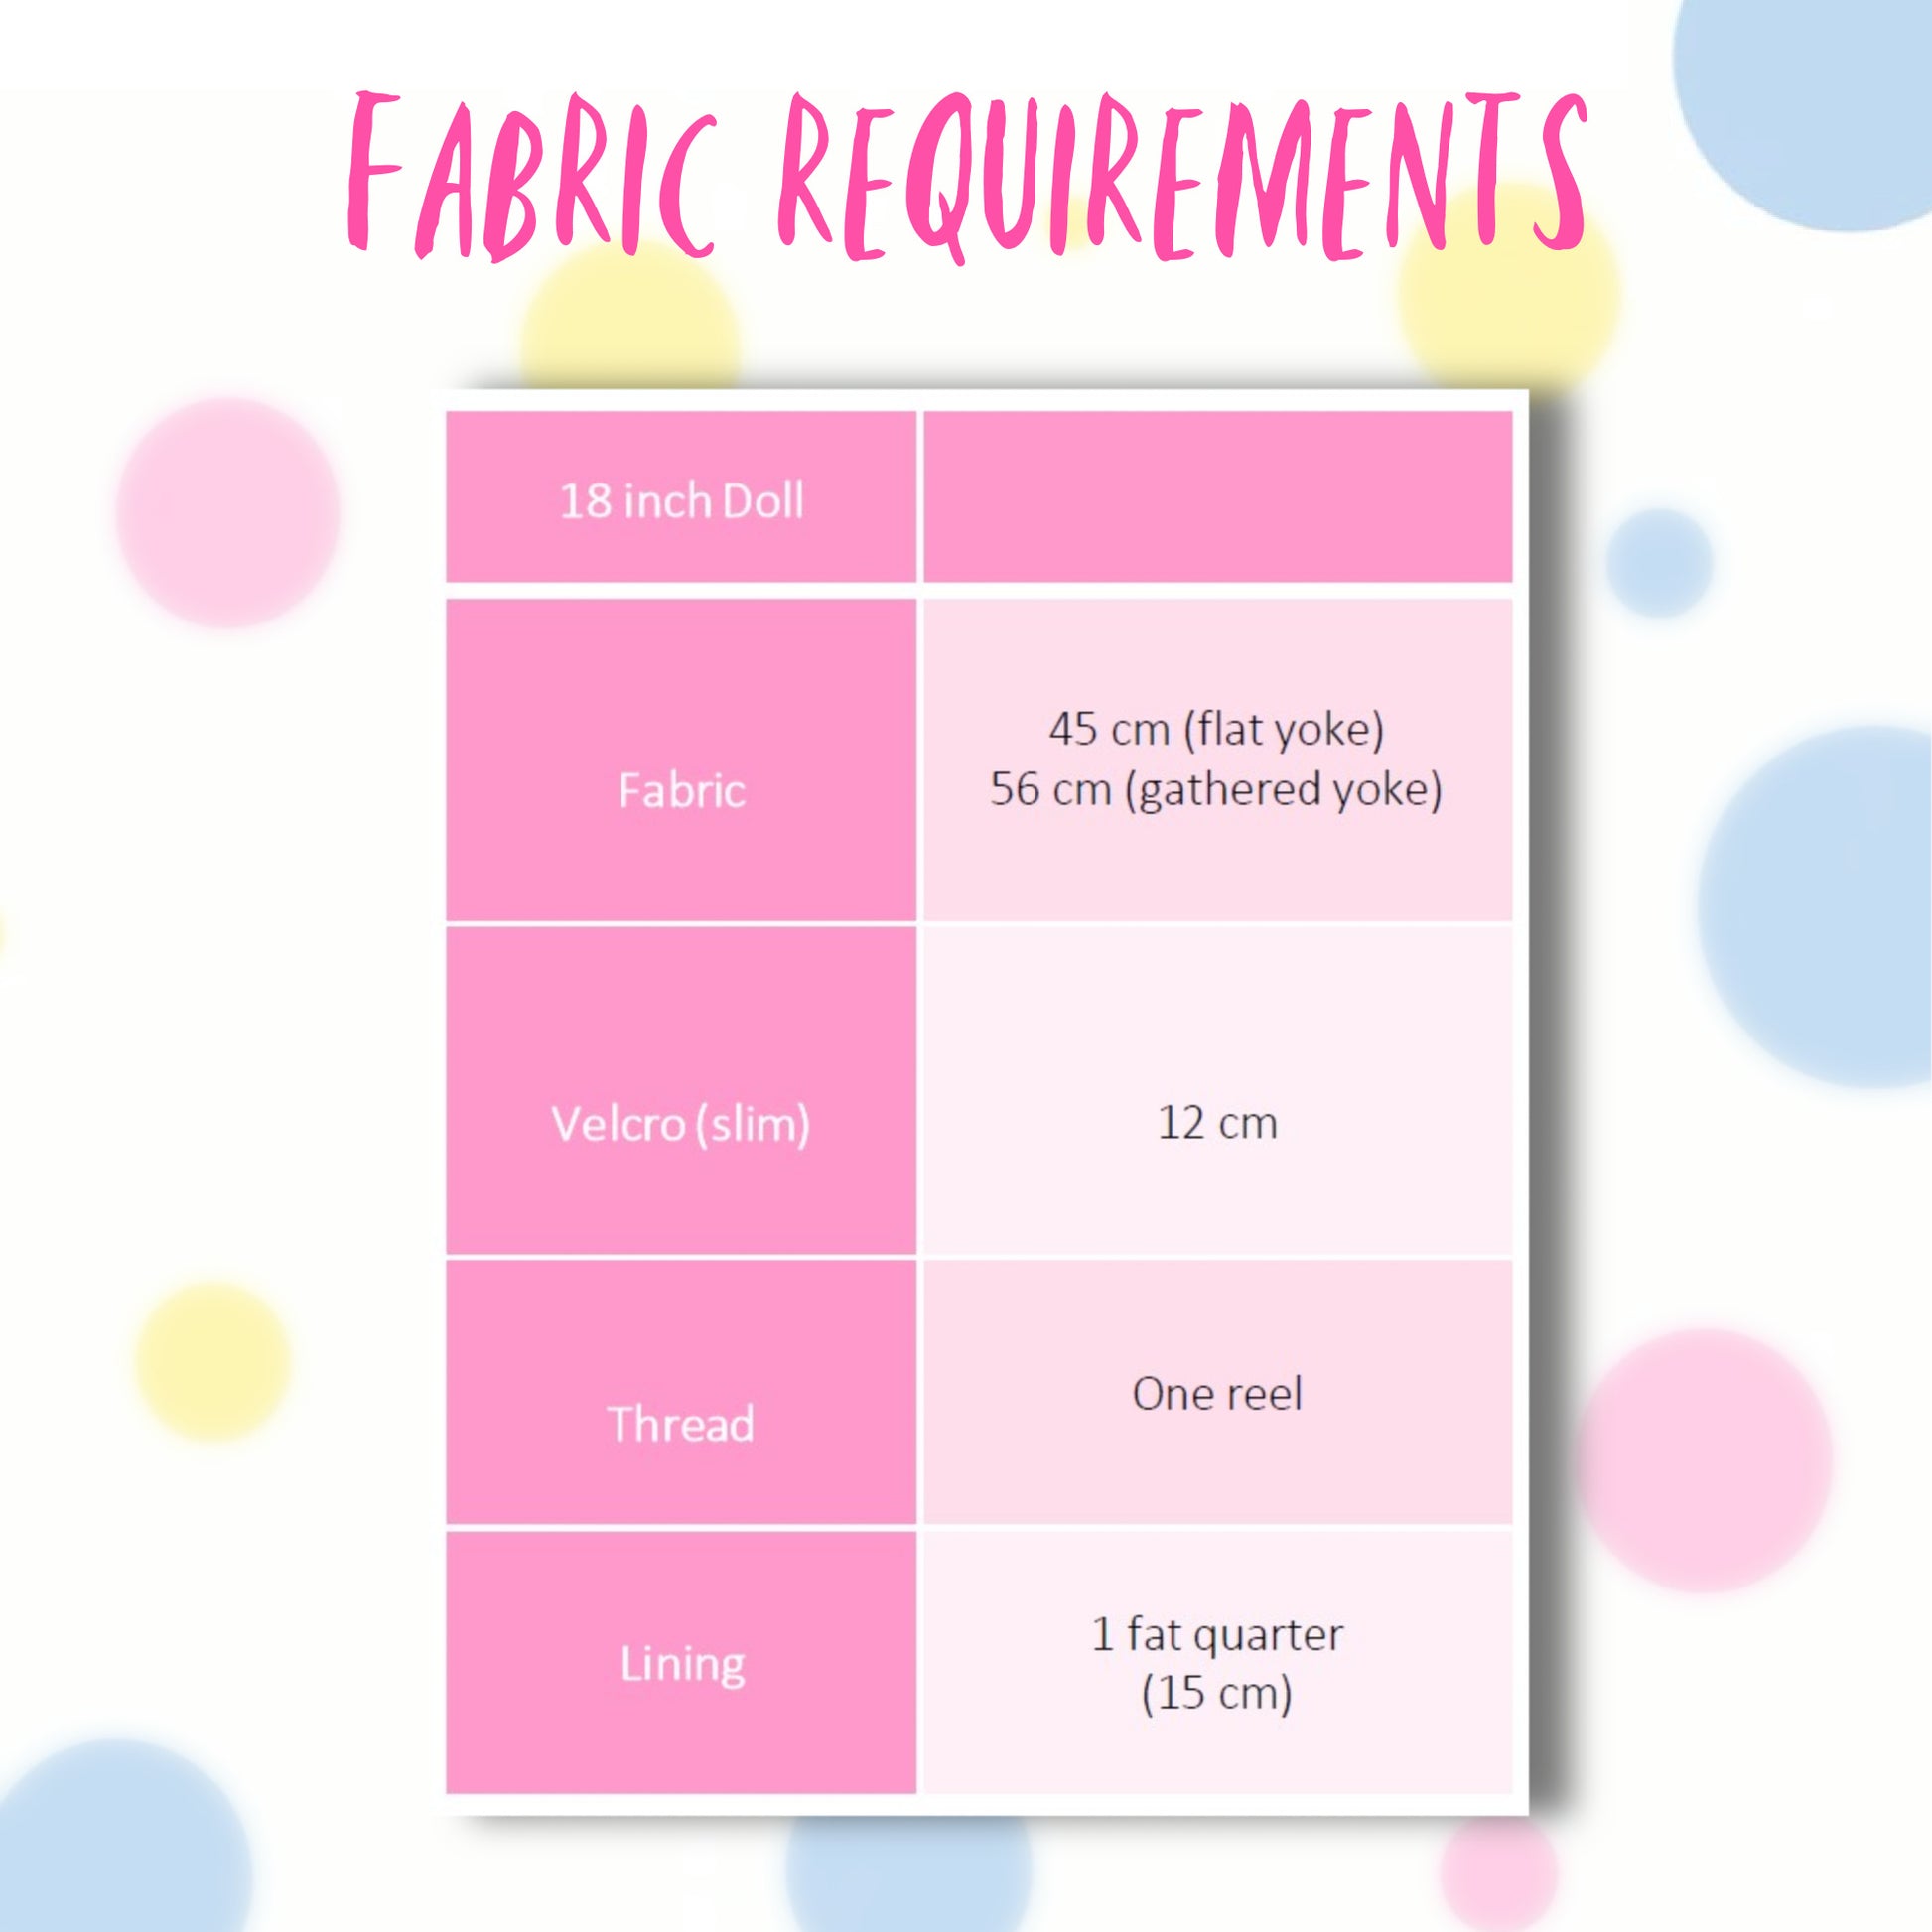
The front piece here is used as the lining for the lined version, but for this quick version we’re using facings instead. You also need to mark where the sleeve starts and ends on both front and back pieces. Velcro is used for the back closure, about 12 centimeters, cut into two strips.

For the skirt, you have two options: a flat skirt cut on the fold across the full fabric width, or a gathered skirt which requires more fabric. For this quick version, we’re using the flat skirt for simplicity.

Bodice Preparation and Decoration

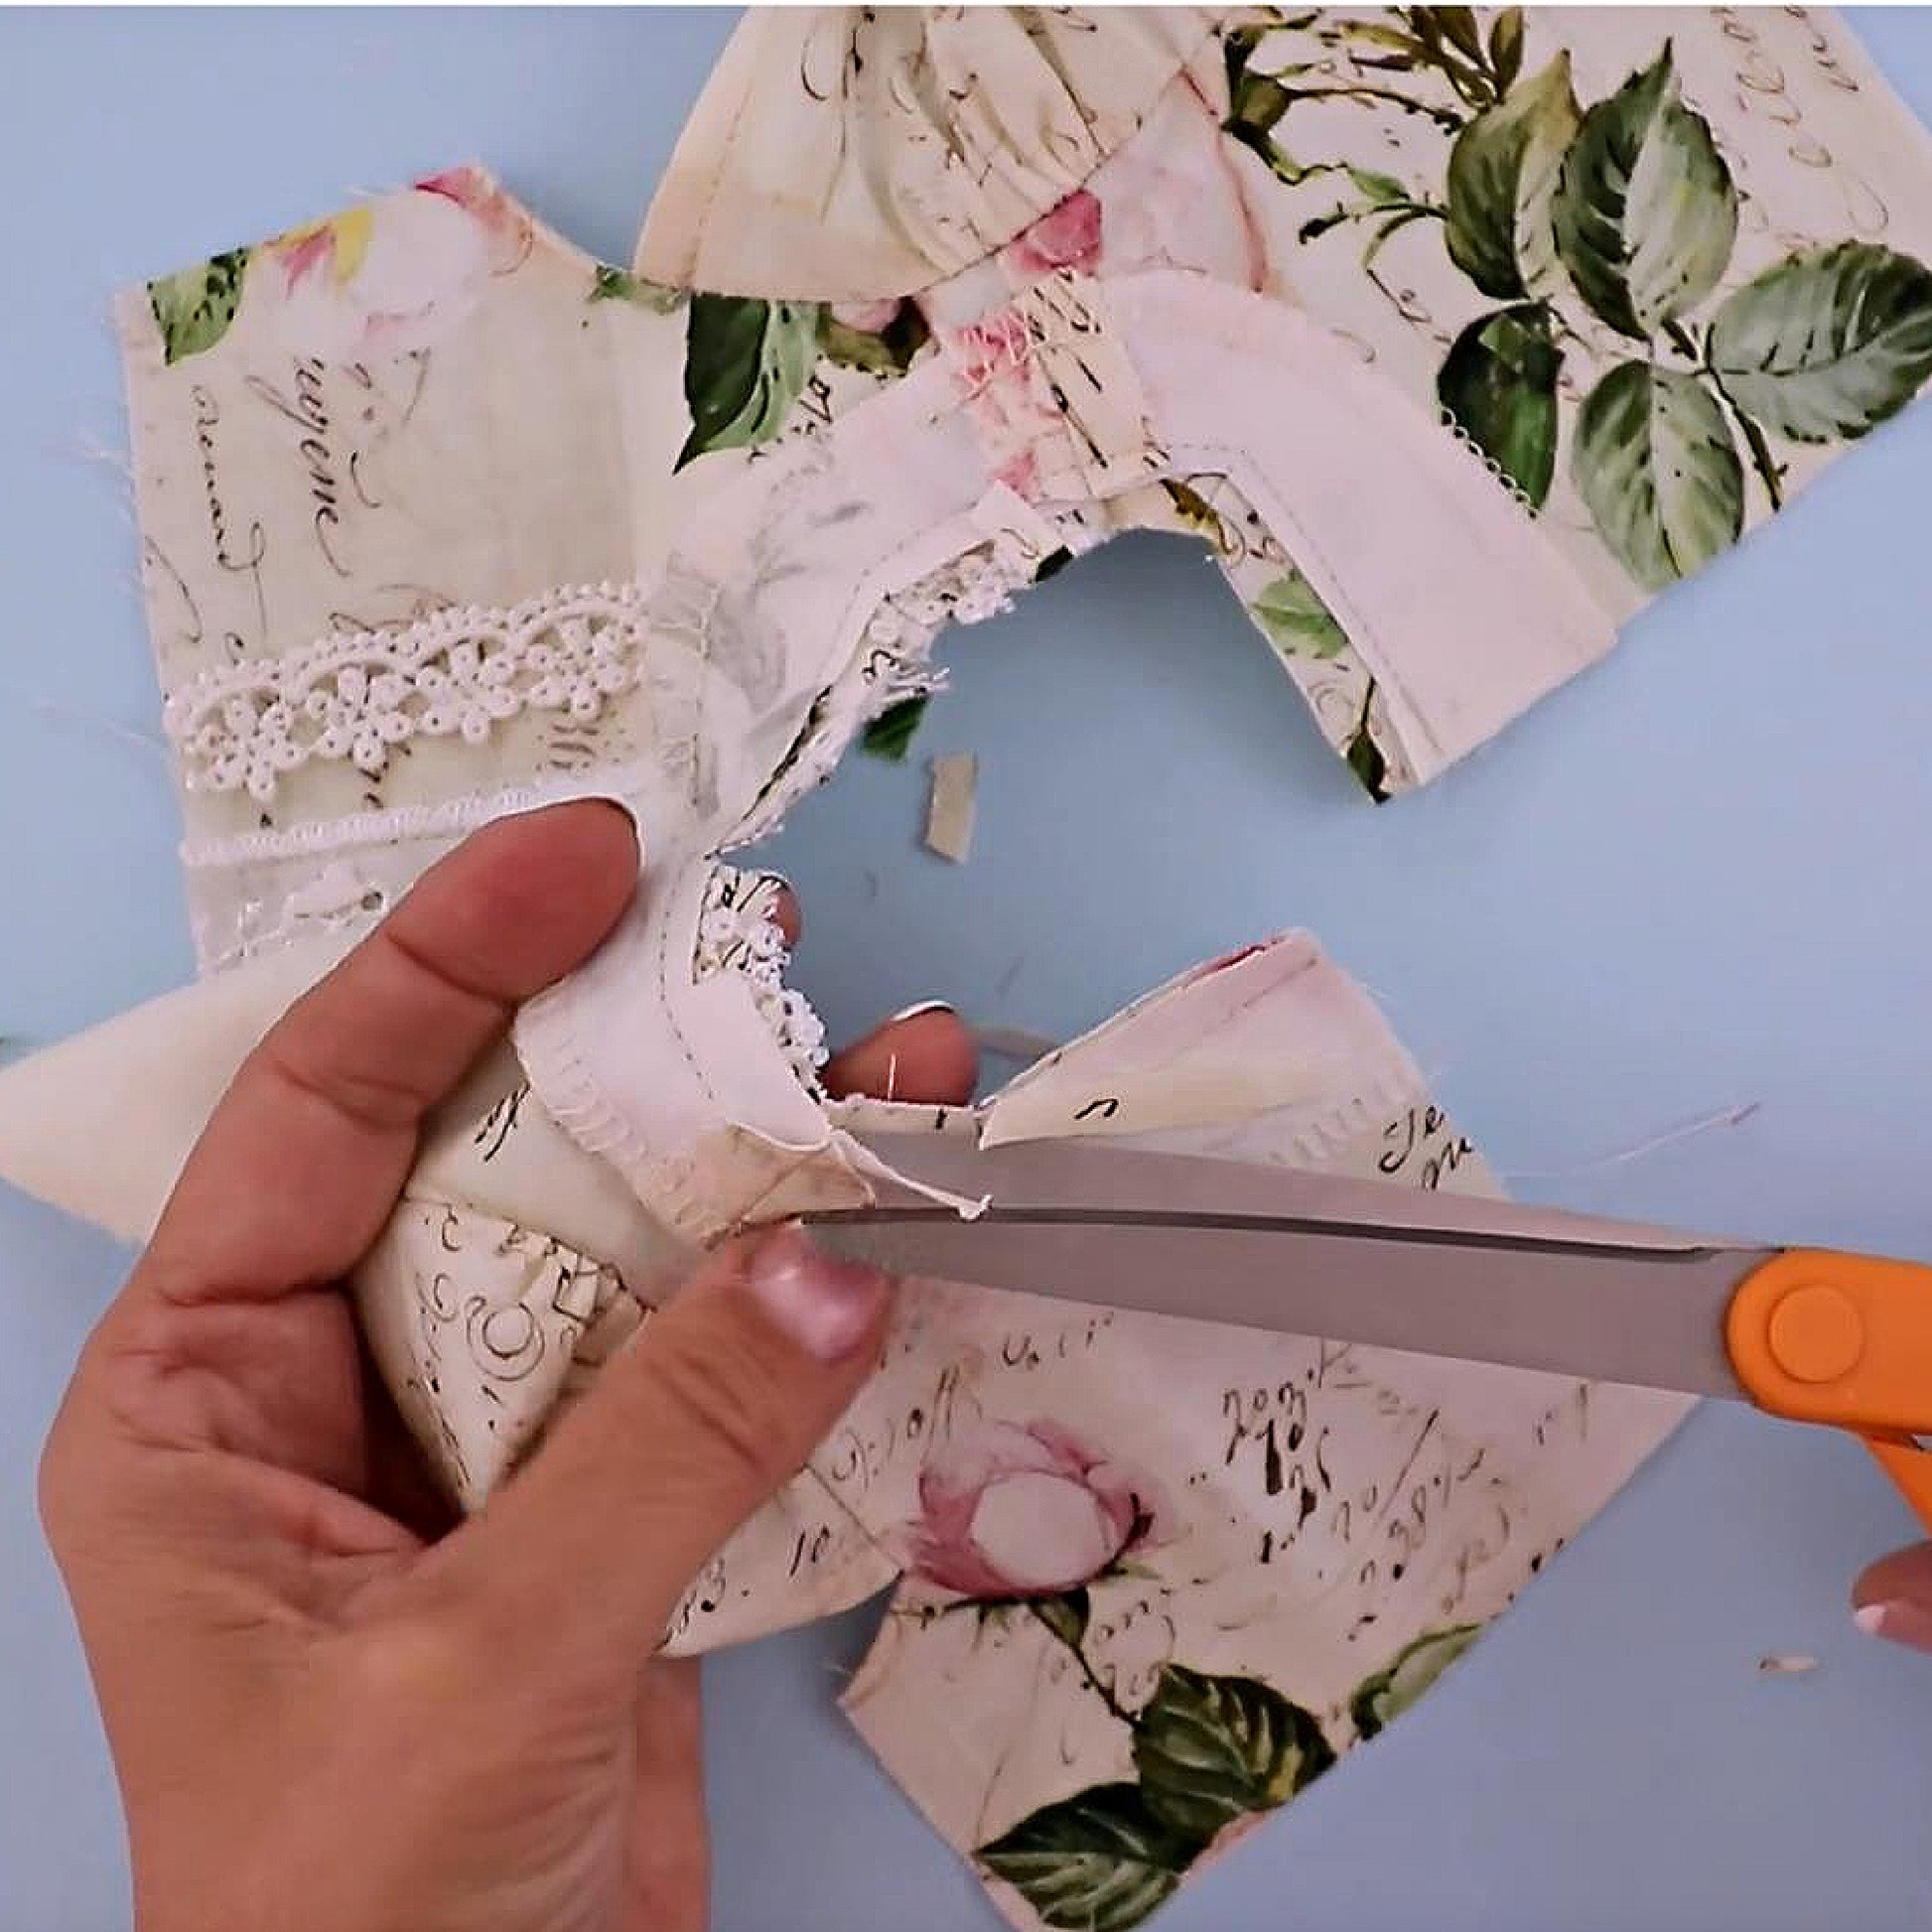
Before assembling, I like to add decoration. Here I’ve placed a strip of lace down the center front and stitched it on both sides. It may not be perfectly straight, but once sewn it blends nicely into the design and gives a decorative finish without extra handwork.

Shoulder Seams

Next, we close the shoulder seams. You can either overlock first and then sew, or sew first and then finish the edges depending on your fabric. For lightweight fabric, sewing first works fine. Place the front and back pieces right sides together, pin the shoulder seams, and sew with a 1 cm seam allowance. Then finish or overlock the edges and press the seams toward the back.

Sleeves and Gathers

Now we prepare the sleeves. If you prefer, you can leave sleeves off entirely and simply finish the armholes with a turned edge and topstitching. To attach sleeves, first hem the sleeve edge, then add two rows of gathering stitches along the sleeve cap.

Pull the bobbin threads gently to gather the sleeve until it fits between the marked points on the bodice. Pin the sleeve in place, ensuring the gathers are evenly distributed, then sew with about a 1 cm seam allowance or slightly less depending on your finishing method.

After sewing, finish the seam, remove gathering threads, and press. You can topstitch the seam toward the sleeve for a clean finish, making sure everything lies smoothly and comfortably.

Neckline Facing

For the neckline, we use facings. Sew the shoulder seams of the facings first, then attach them to the neckline with right sides together. Sew around the neckline carefully, clip curves if needed, and understitch the facing so it rolls neatly to the inside. This helps keep everything flat and clean without visible stitching from the front.

After understitching, turn the facing inside, press well, and optionally topstitch for a more decorative and secure finish.

Side Seams and Final Bodice Assembly

Now close the side seams of the bodice with a 1 cm seam allowance. Make sure all edges match neatly at the armhole and waist. Press the seams open or toward the back depending on your fabric weight. At this point, the bodice is fully assembled.

Skirt and Hem Preparation

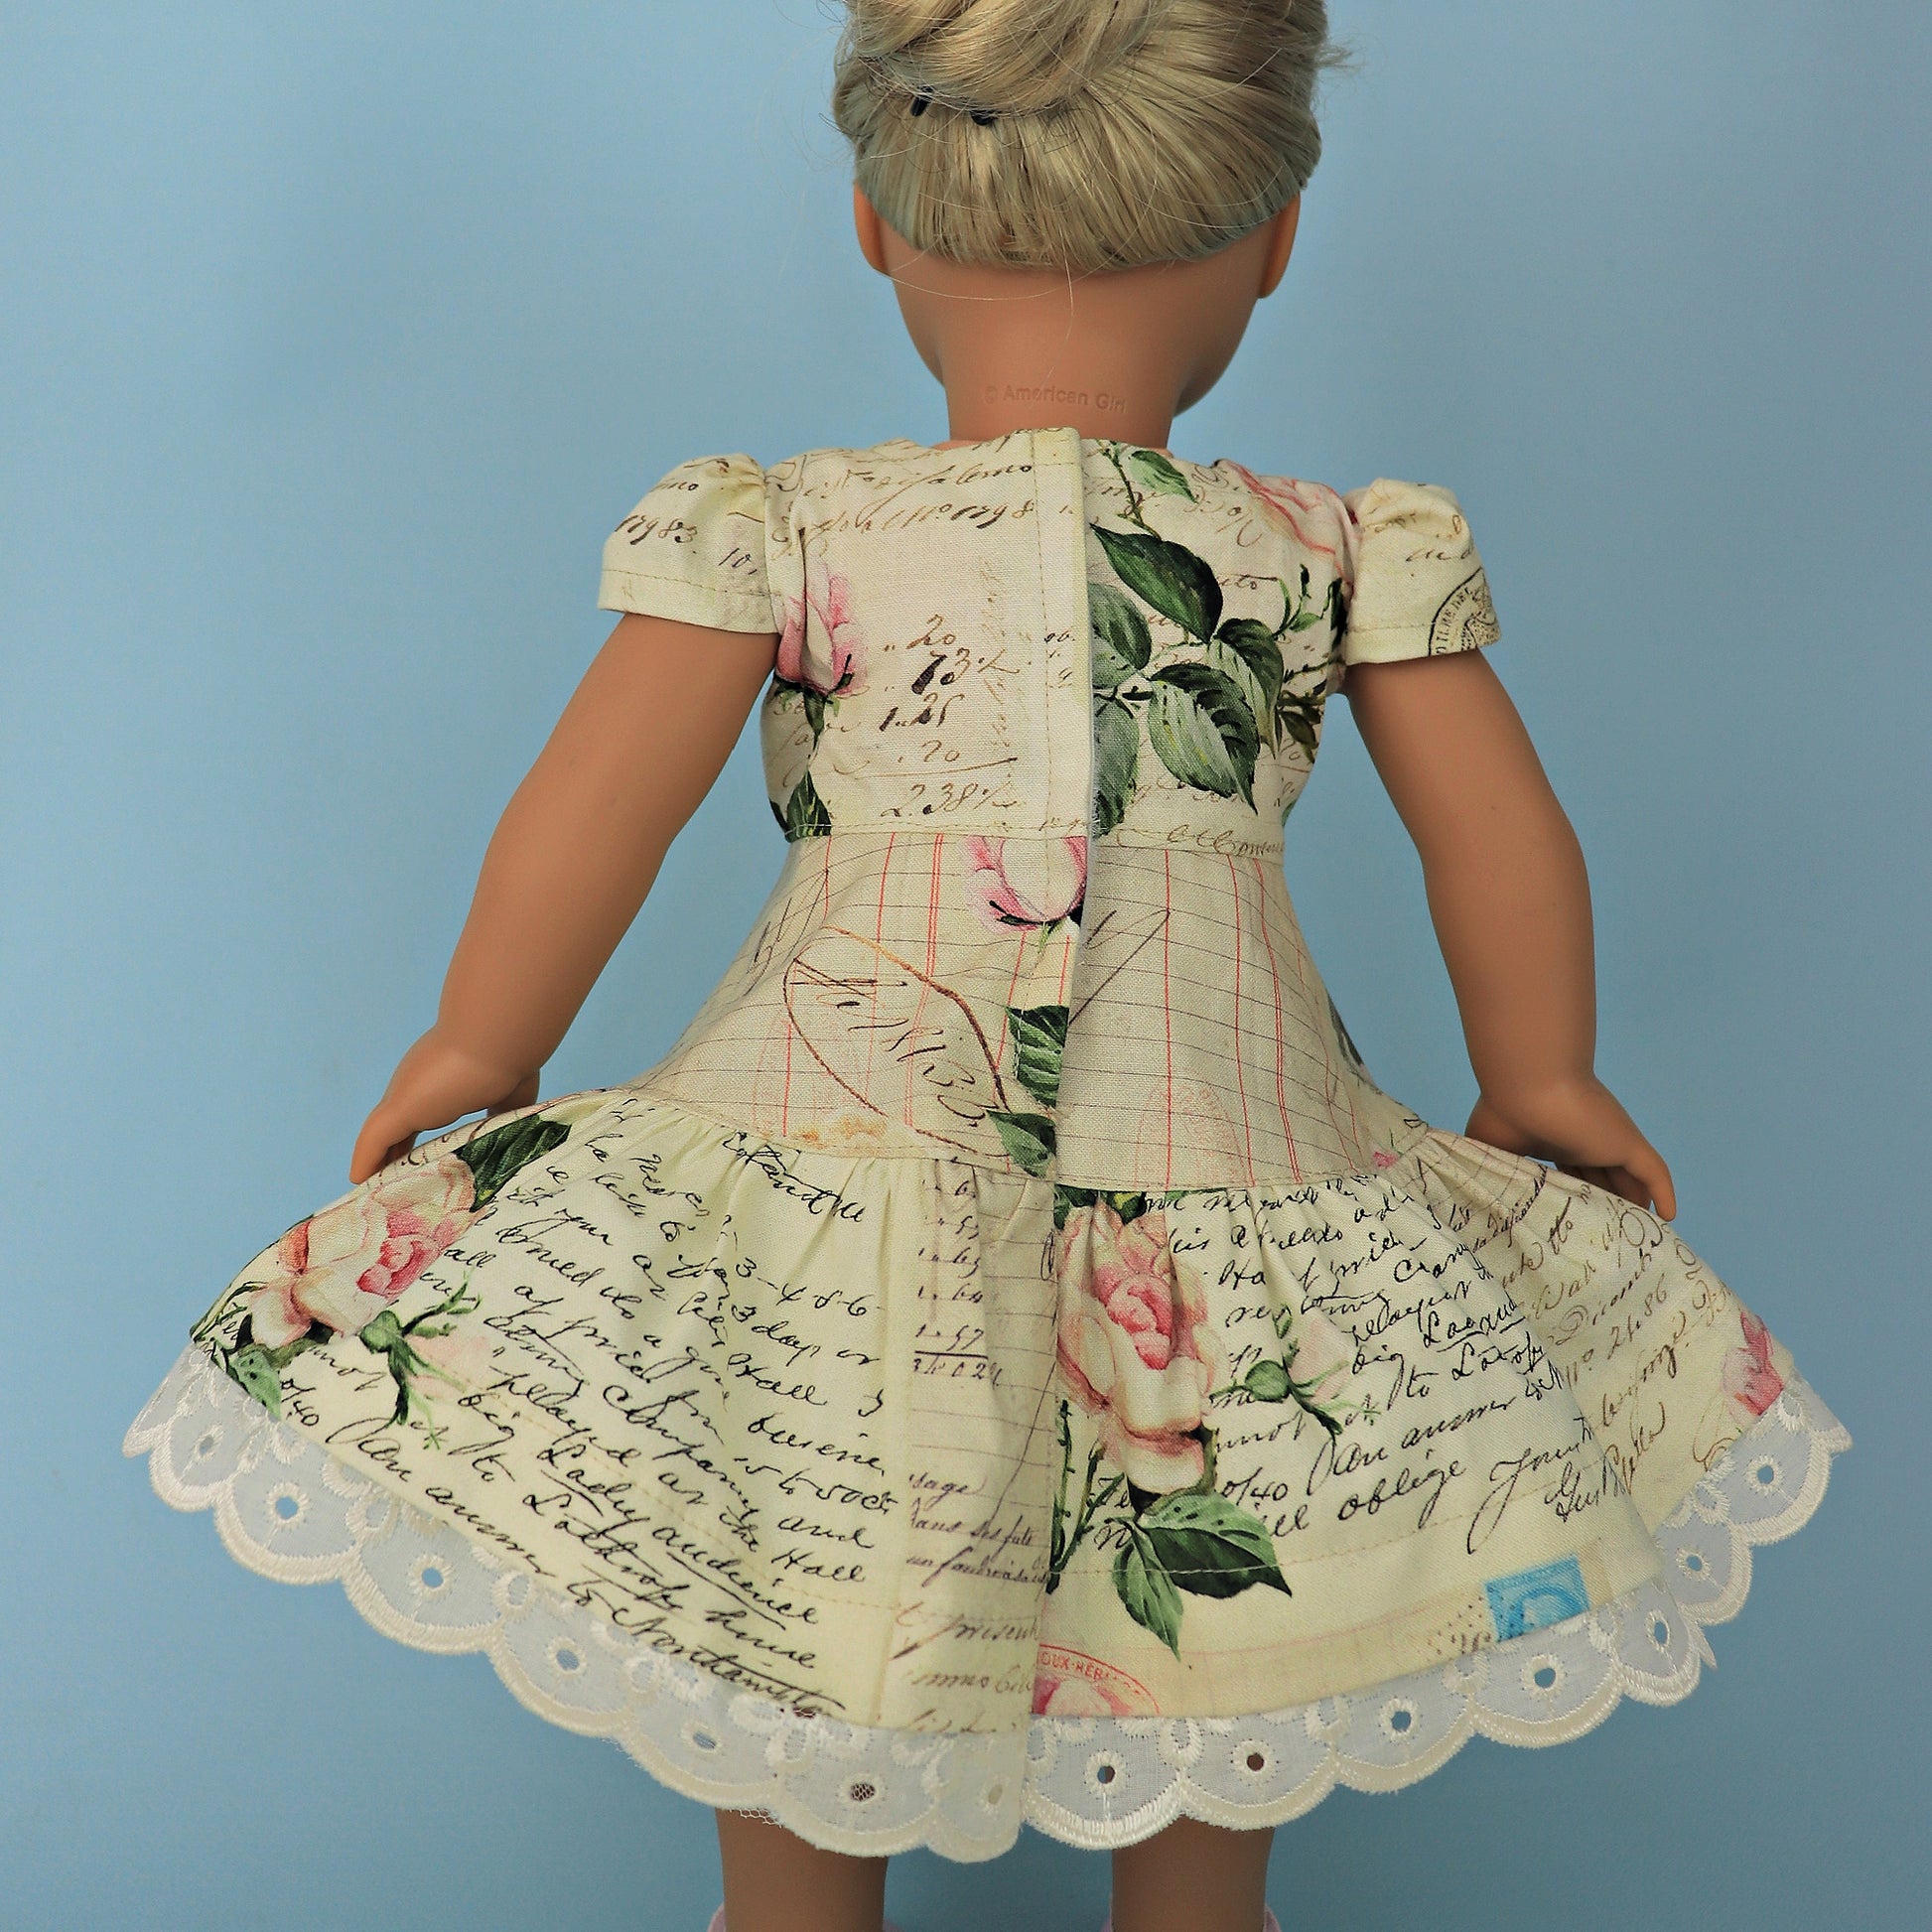
For the skirt hem, I’ve used a recessed hem with lace. First, attach the lace to the raw edge of the skirt. Then fold the fabric up to create a slight recess, press it firmly, and stitch it in place from the underside. This creates a decorative hem that looks layered and polished.

Attaching Skirt to Yoke

Next, gather the top edge of the skirt using two rows of long stitches. Mark the center front of both skirt and yoke, then match them. Pull the bobbin threads to gather the skirt until it fits the yoke evenly, then pin in place, distributing the gathers carefully.

Sew the skirt to the yoke with a 1 cm seam allowance, making sure the gathers stay even and nothing shifts. After sewing, finish the seam and press it upward toward the yoke, then optionally topstitch for a clean finish.

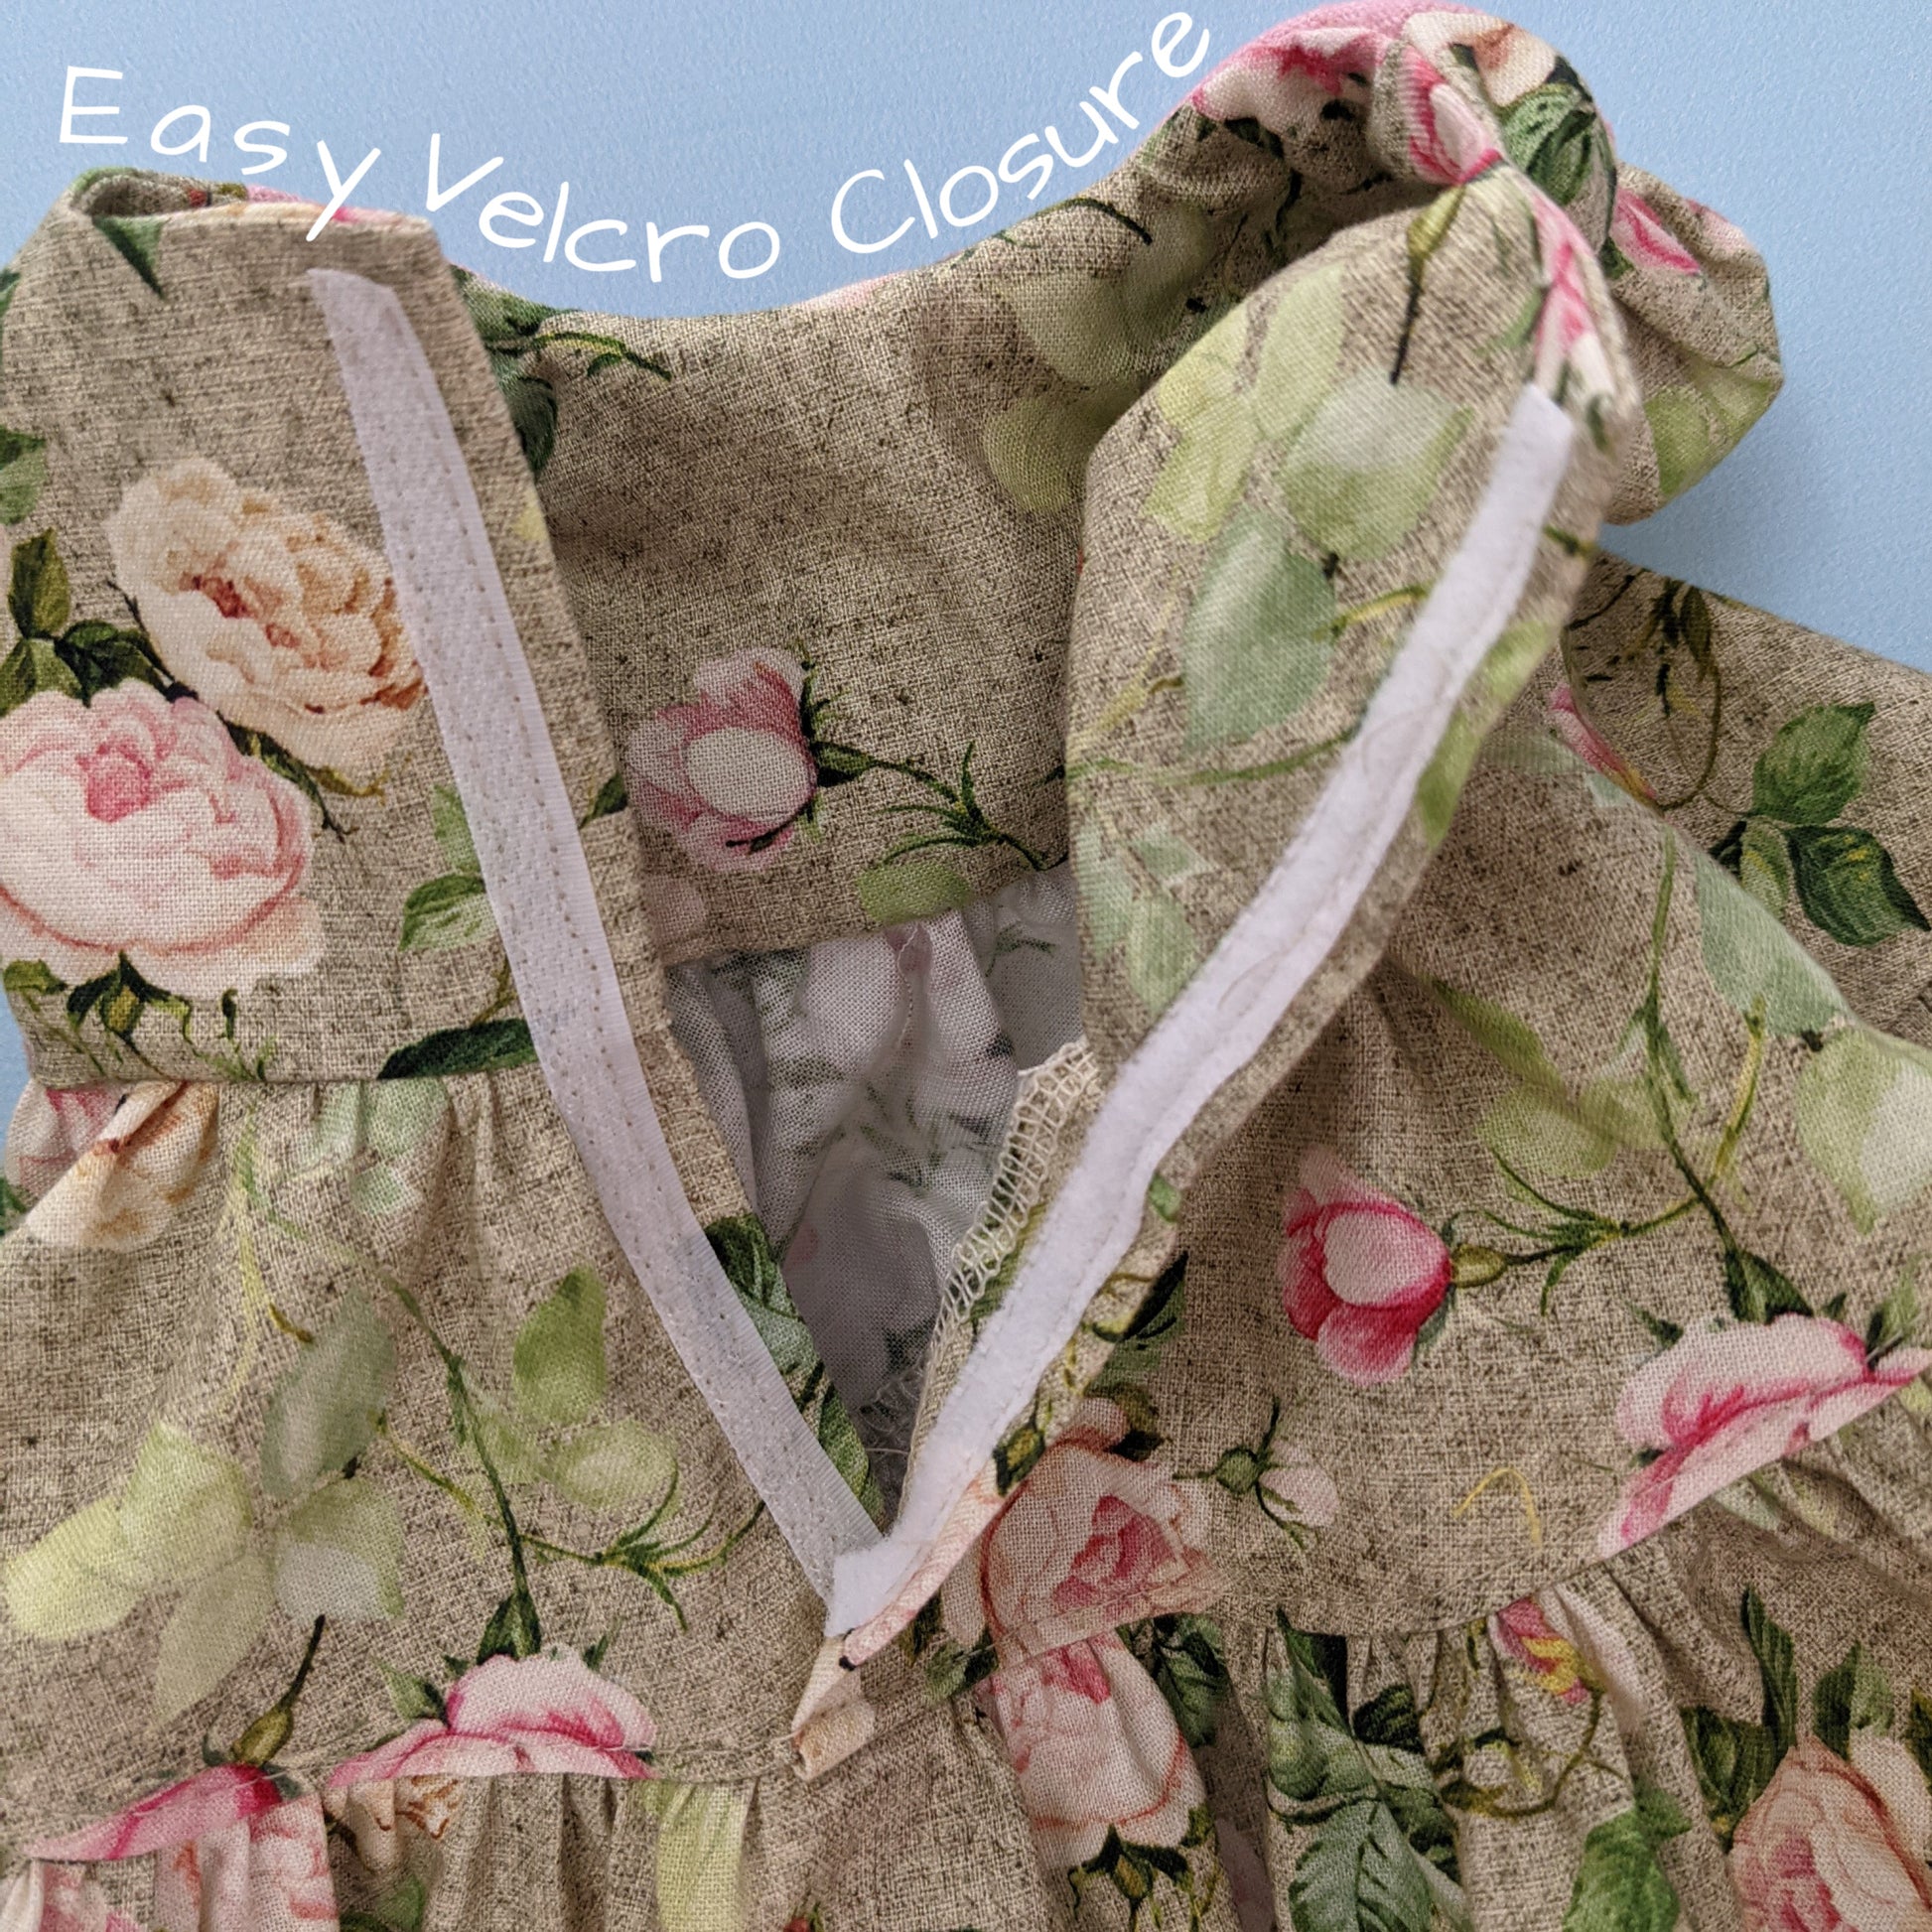
Back Closure with Velcro

To finish the back, attach Velcro strips to each side. One side is sewn fully along the edge, and the other is positioned so it overlaps correctly when closed. After attaching, align the back pieces, sew the center back seam below the Velcro area, and press the seam to one side.

Topstitch lightly if needed to secure the Velcro and give a neat closure.

Embellishment and Finishing Touches

To finish the dress, you can add embellishments such as pearls along the lace or decorative stitching. Hand-sew each pearl securely with a double thread, spacing them evenly for a delicate decorative effect.

Closing

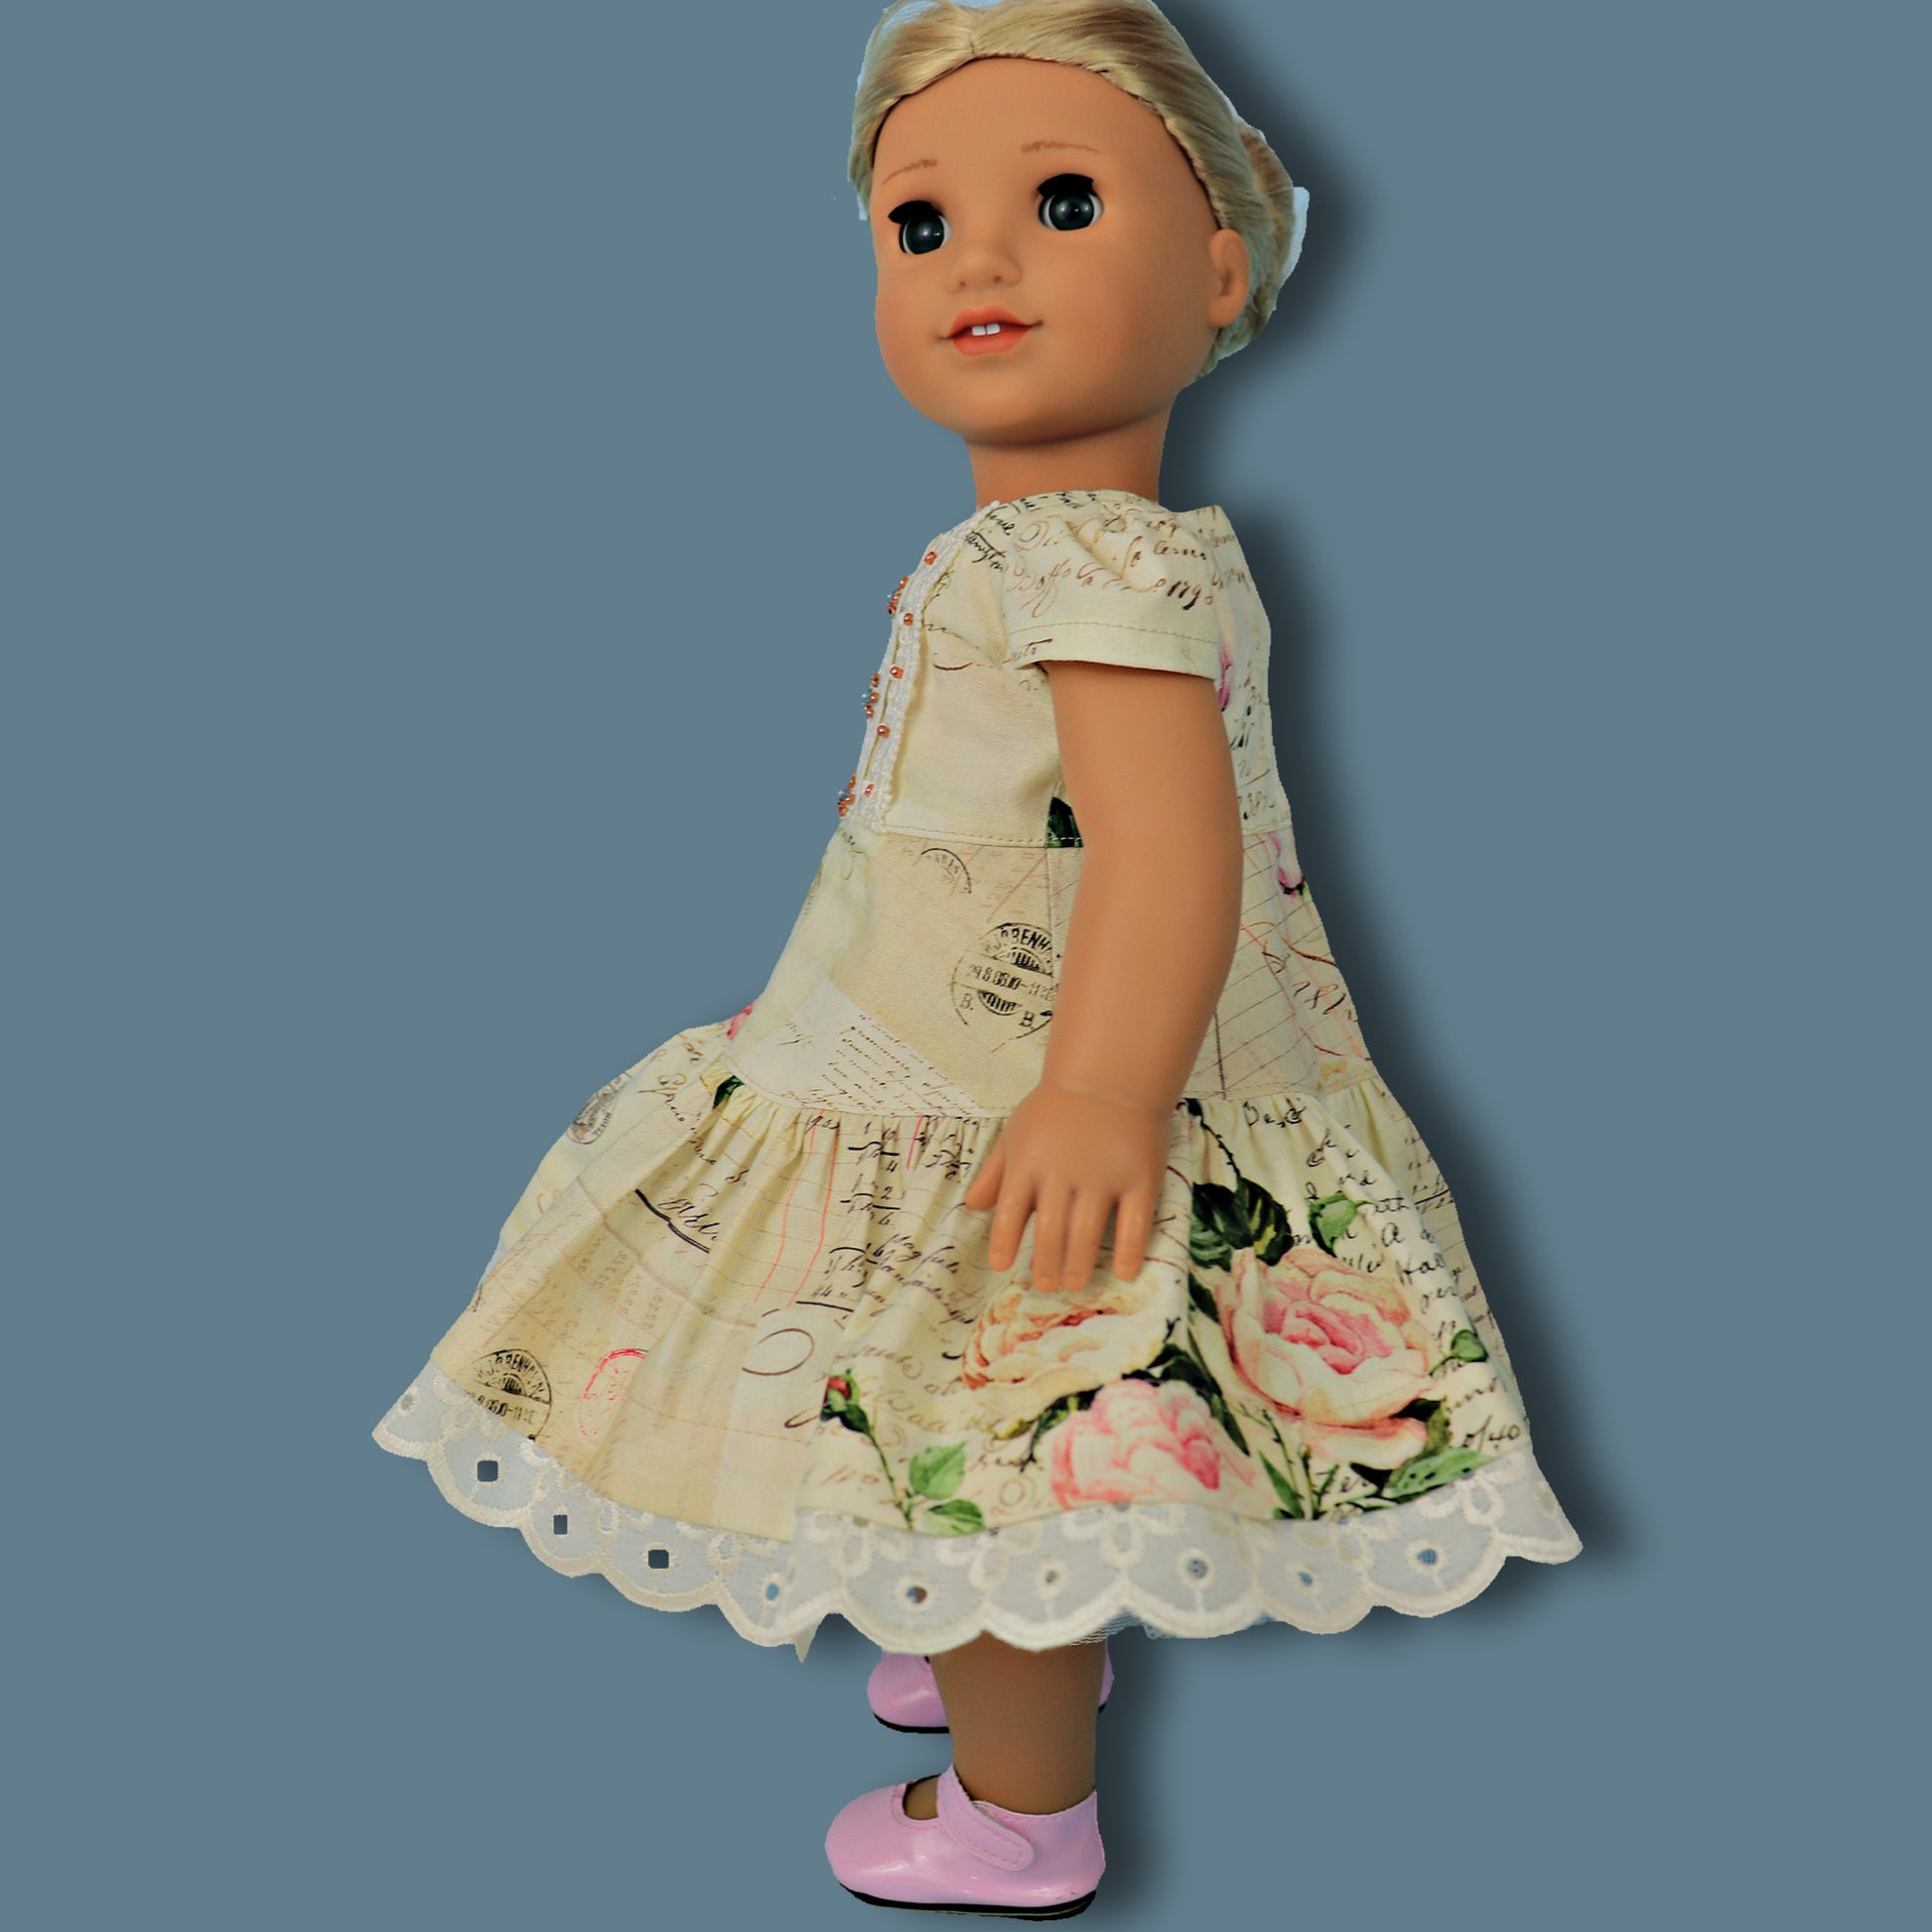
And that’s the Quick Isabella doll dress finished. It’s a simple, beginner-friendly version that still looks beautiful and polished. You can mix and match skirts, add sleeves, or use different embellishments to customize it further.

Thanks for watching, and I hope you enjoyed this tutorial from Frocks and Frolics.

Transcript for the video: Isabella Dress Doll - Advanced

Hi, I’m Marina from Frocks and Frolics and today I’m going to show you how to make this gorgeous little doll’s dress, the Isabella Doll Dress. This is the same design available in girls’ sizes ages 1 to 12. In this tutorial, we are making an almost full version of the dress with a few shortcuts to keep it quicker and easier, especially if you are still learning.

There is also a quick doll version where we skip details like pin tucks and use lace instead, and we use a facing instead of full lining. But here we will focus on the more complete construction so you can build your skills step by step.

Preparing the Collar

First, we prep the collar so it is out of the way. It comes in two pieces and works best in lightweight fabric. If you want, you can mark the seam allowance with a textile marker to make sewing easier, especially for beginners.

Stitch the lower edge with about a 1 cm seam allowance, then trim it back and snip the curves so it turns smoothly. After that, close the short seams of the lining, press them open, and set everything aside.

Front Bodice and Pin Tucks

Now we move to the front piece where the pin tucks are formed. Mark the center lines clearly so you know where to fold and stitch. Fold along the marked lines and press carefully.

Each pin tuck is stitched with a 1 cm allowance from the folded edge. Use a regular stitch length of about 2.5. After stitching, press everything flat and check that the front matches the lining.

Adding Trim or Lace

If your design includes trim or lace, attach it now before final top stitching. Pin it carefully and sew close to the edge, following curves slowly and turning with the needle down. This ensures a smooth and clean finish.

Shoulder Seams

Next, place front and back pieces right sides together and sew the shoulder seams with a 1 cm seam allowance. Press the seams open afterward. Doing this carefully ensures the bodice shape sits correctly.

Center Back Lining

Attach the center back lining to the outer fabric. This creates a neat integrated placket and professional finish. Align carefully, sew, then press and trim seam allowances where needed to reduce bulk.

Neckline

Pin the neckline carefully, especially at shoulder joins. Sew slowly around the curve using a 1 cm seam allowance. Pivot at key points with the needle down to maintain shape. After sewing, trim and clip curves so the neckline turns cleanly.

Sleeves Preparation

Prepare the sleeves by finishing the edges, turning them up 1 cm, and stitching. Add gathering stitches near the top edge using a longer stitch length. Leave long threads at both ends for gathering later.

Inserting the Sleeves

Match sleeve marks with the bodice shoulder seam and distribute gathers evenly between front and back. Pin in place and adjust fullness so it sits smoothly. Then stitch the sleeve into the armhole carefully, ensuring no folds are caught underneath.

Side Seams

With sleeves attached, close the side seams in one continuous line from sleeve edge down to hem. Keep seam allowance consistent at 1 cm. Press seams open afterward for a clean finish.

Skirt Construction

Sew the skirt panels together at the side seams. Finish edges if needed, then hem or add lace depending on your design. Gather the top edge using two rows of stitching and pull threads to fit the bodice.

Attaching Skirt to Bodice

Match center front and center back of skirt and bodice. Distribute gathers evenly and pin in place. Sew carefully around the waist seam, ensuring no fabric folds underneath. Press seam upward toward the bodice.

Finishing the Waist and Closure

Turn in the lining and finish by slip stitching or stitch-in-the-ditch along the inside. You can use Velcro, buttons, or cam snaps for the back closure depending on preference. Make sure the soft and hook sides of Velcro are placed correctly.

Final Details

You can optionally add decorative pearls or embellishments. If doing so, secure them well by stitching through multiple directions for strength. Always consider safety if the dress is for younger children.

Closing

And that is your Isabella Doll Dress finished. Thank you for watching and joining this project. If you enjoyed this, there are more doll dress tutorials coming soon.

YOU MAY ALSO LIKE

Beatrice

SHOP NOW

Audrey

SHOP NOW

Bonnie

SHOP NOW

Connie

SHOP NOW

Isabella

SHOP NOW