JUTTA DOLL SKIRT
JUTTA DOLL SKIRT
Couldn't load pickup availability
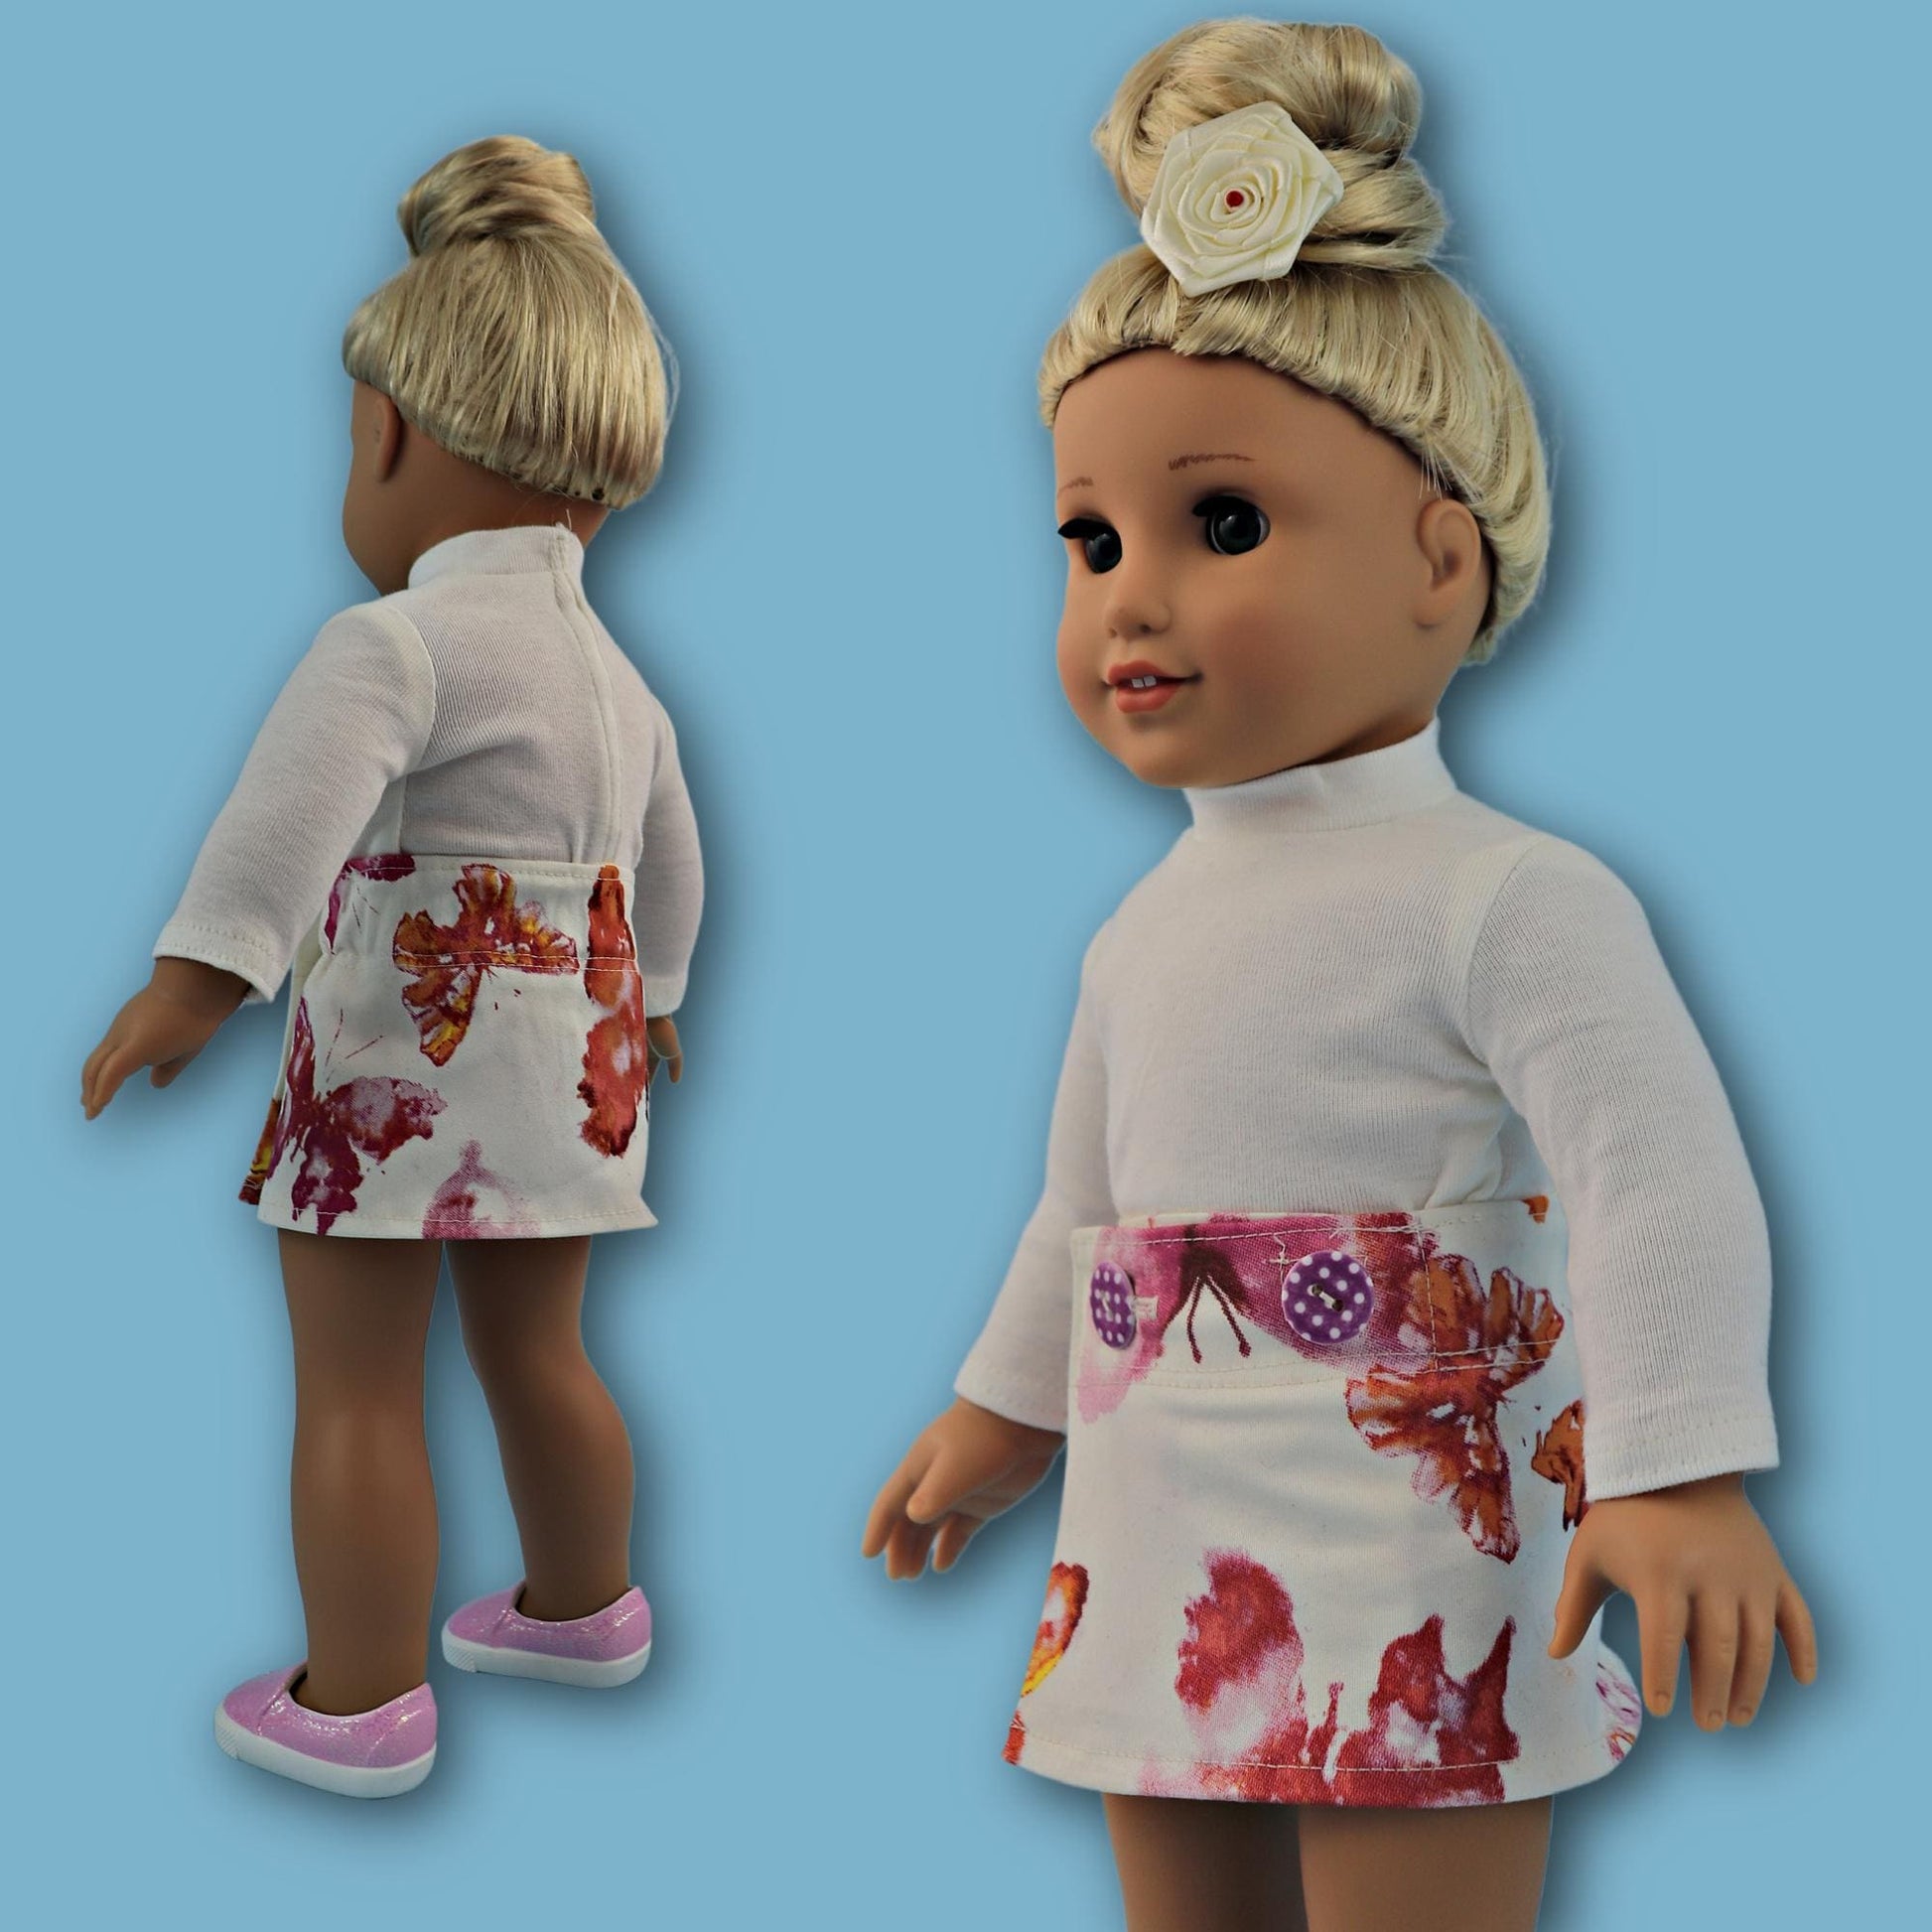
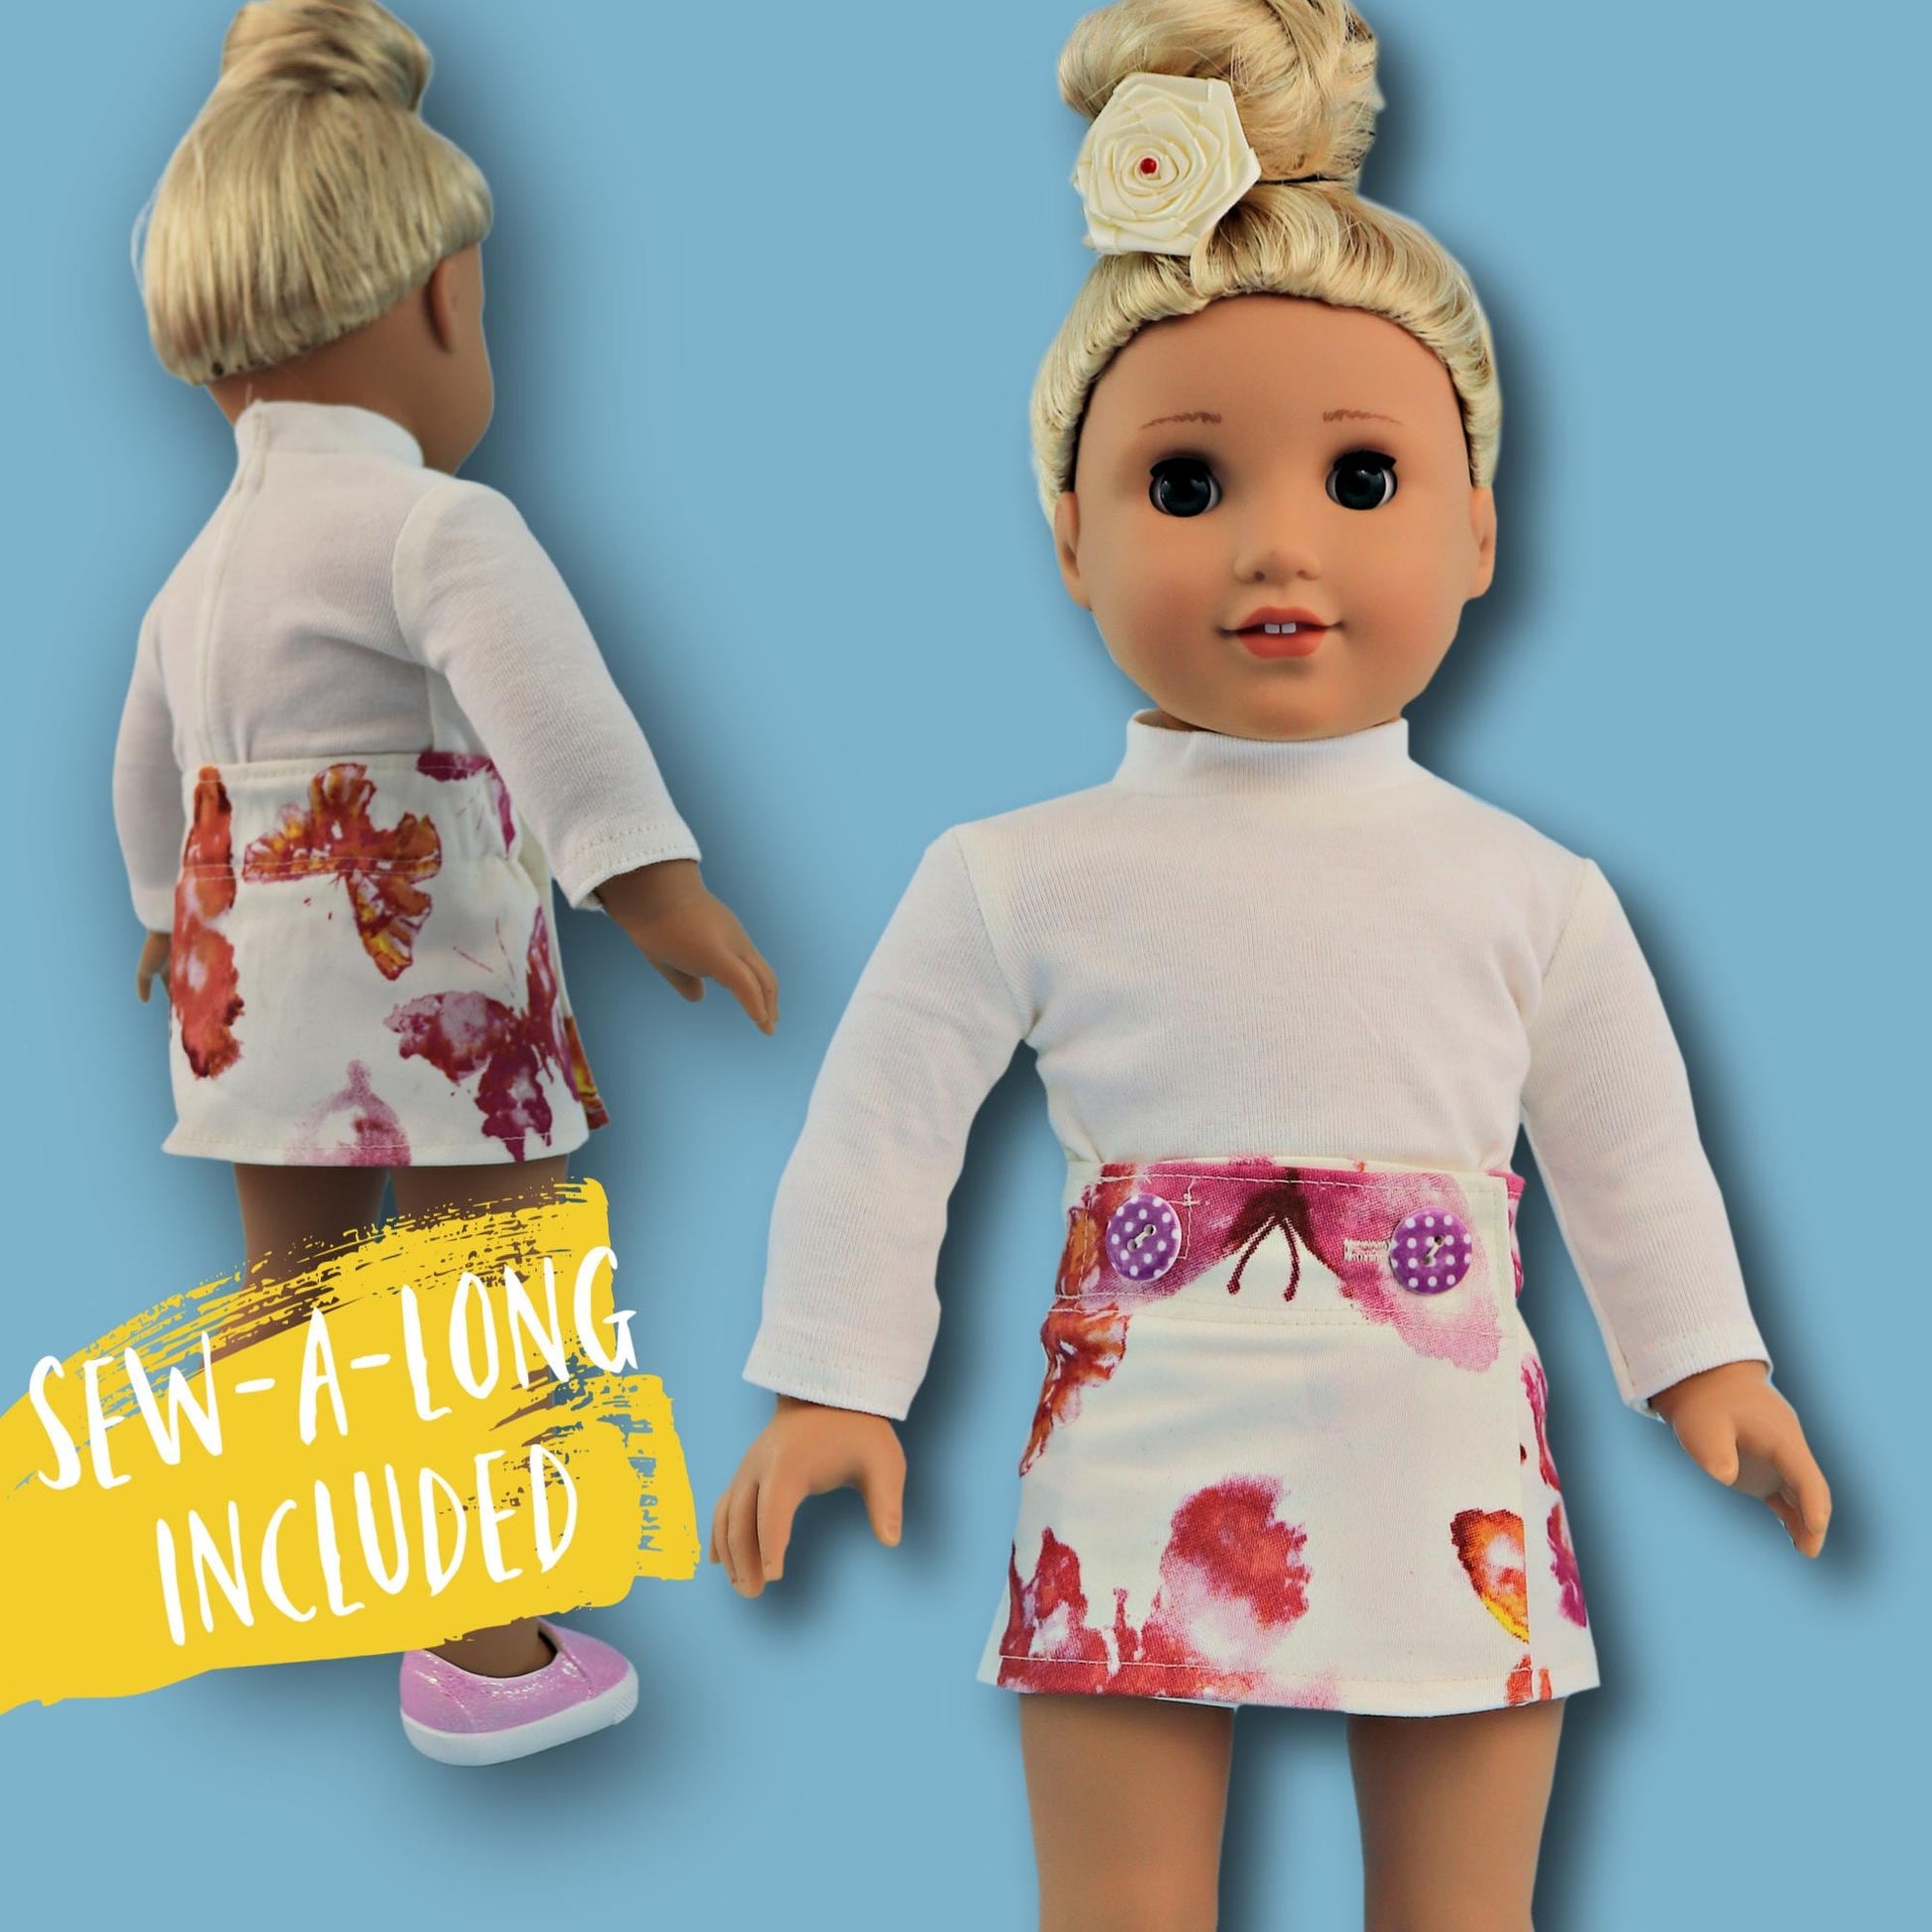
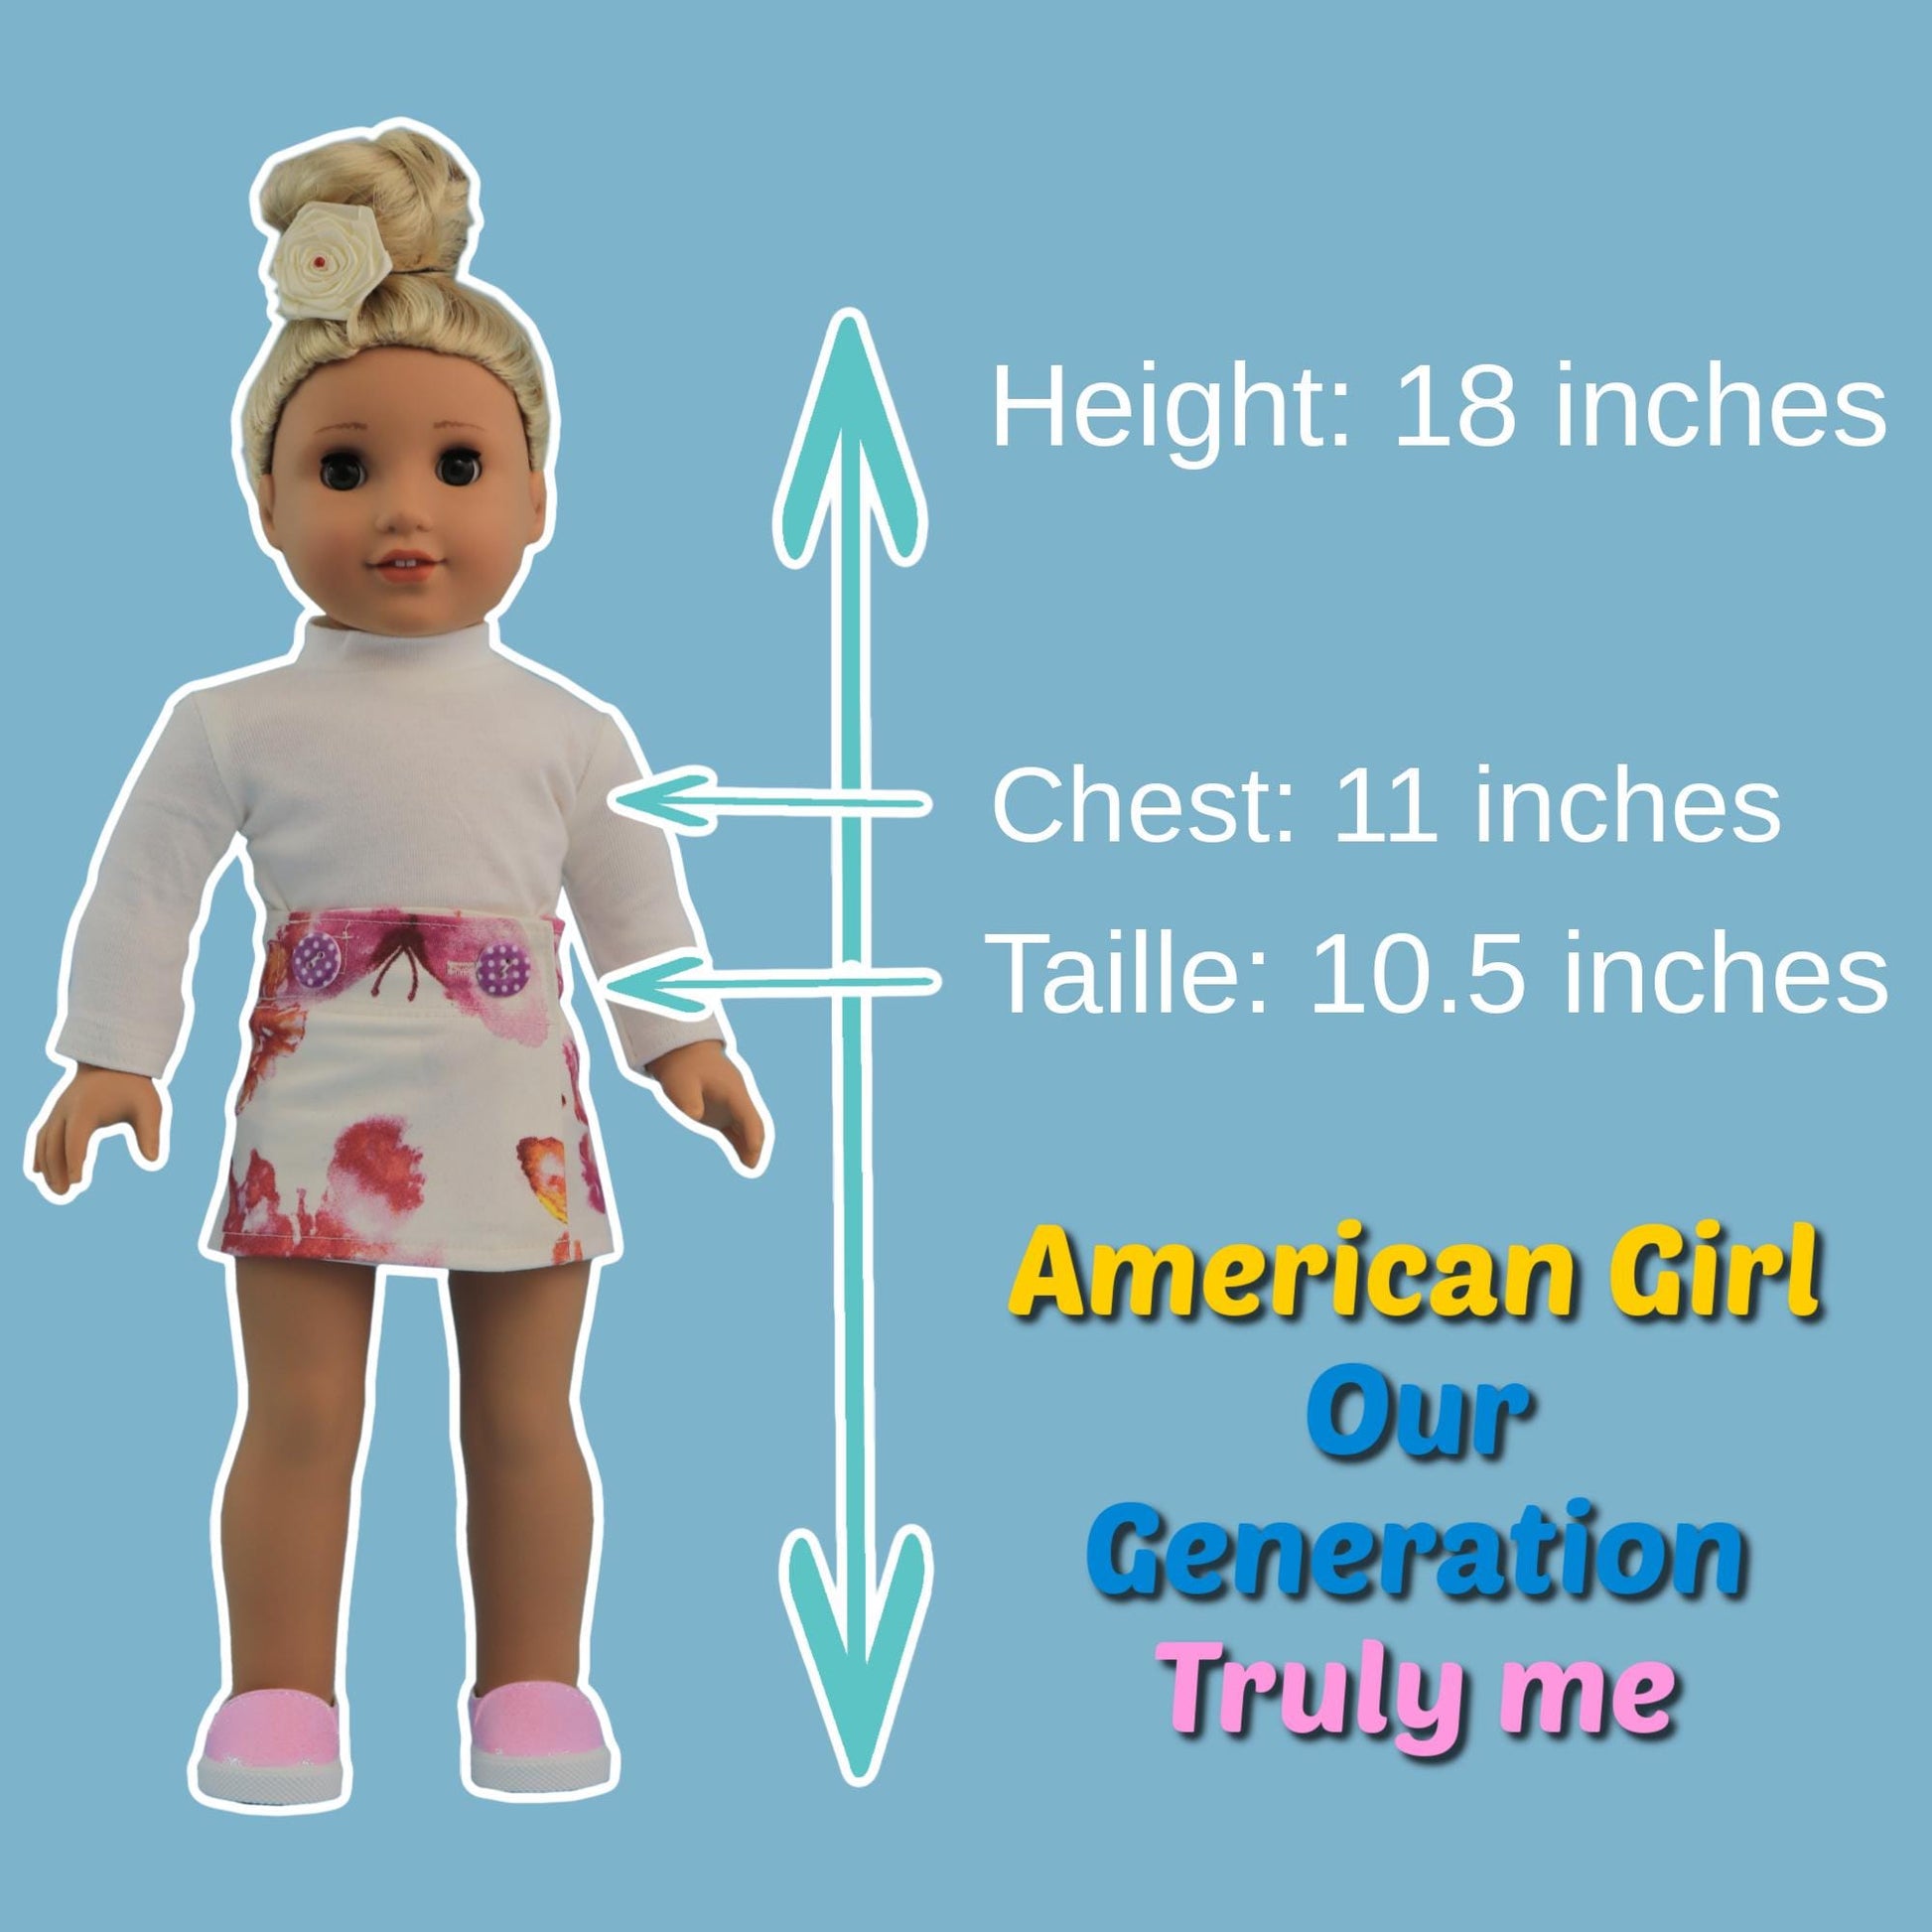
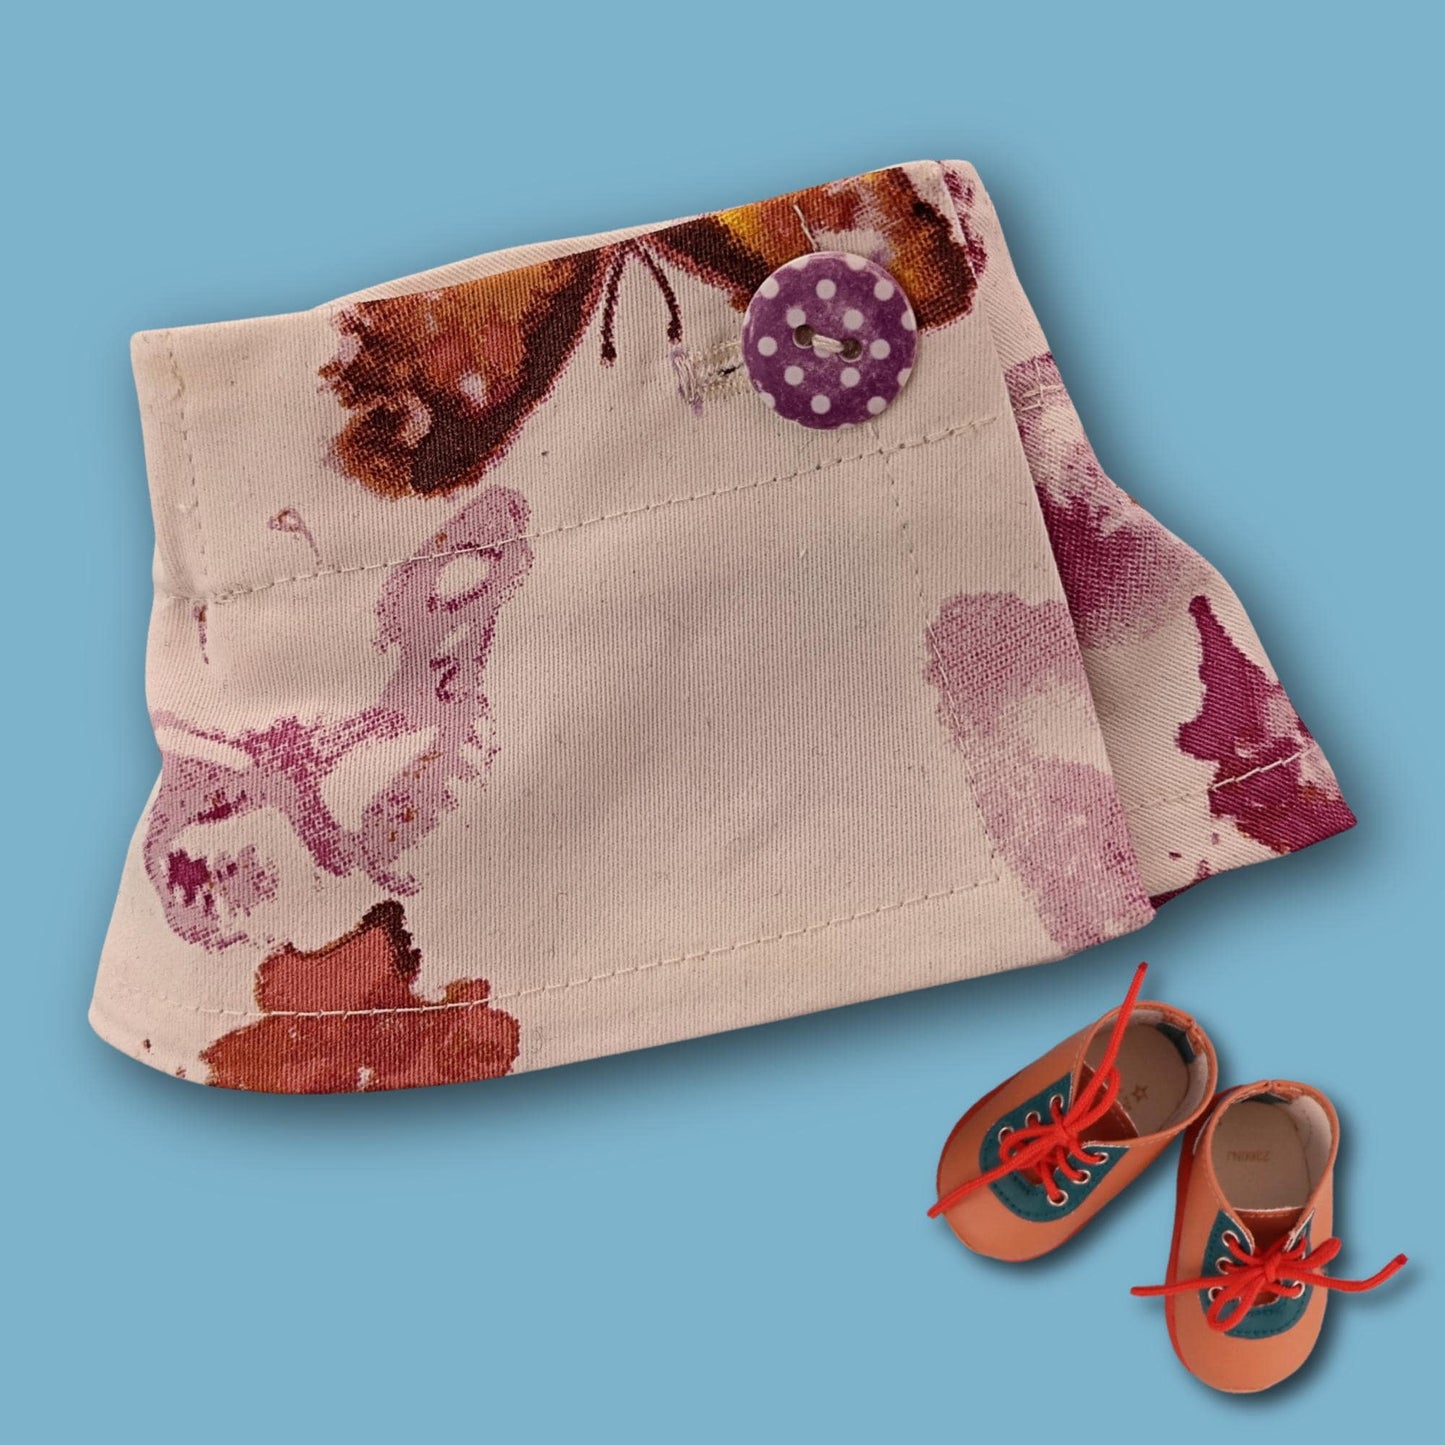
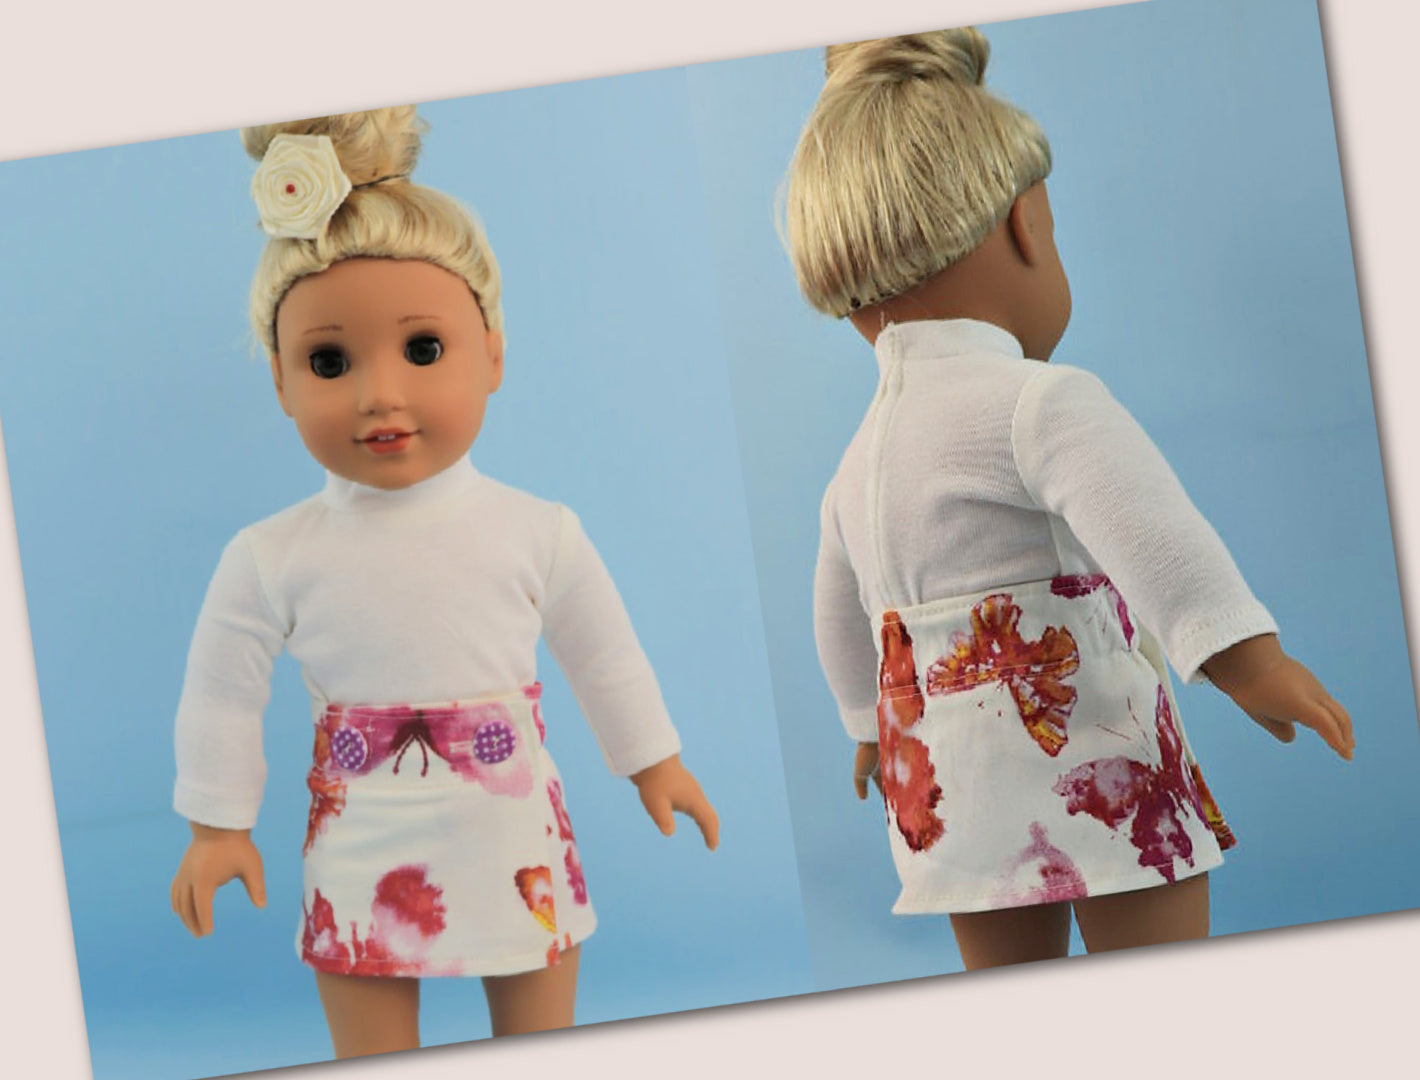
Meet the JUTTA Wrap Skirt Pattern!
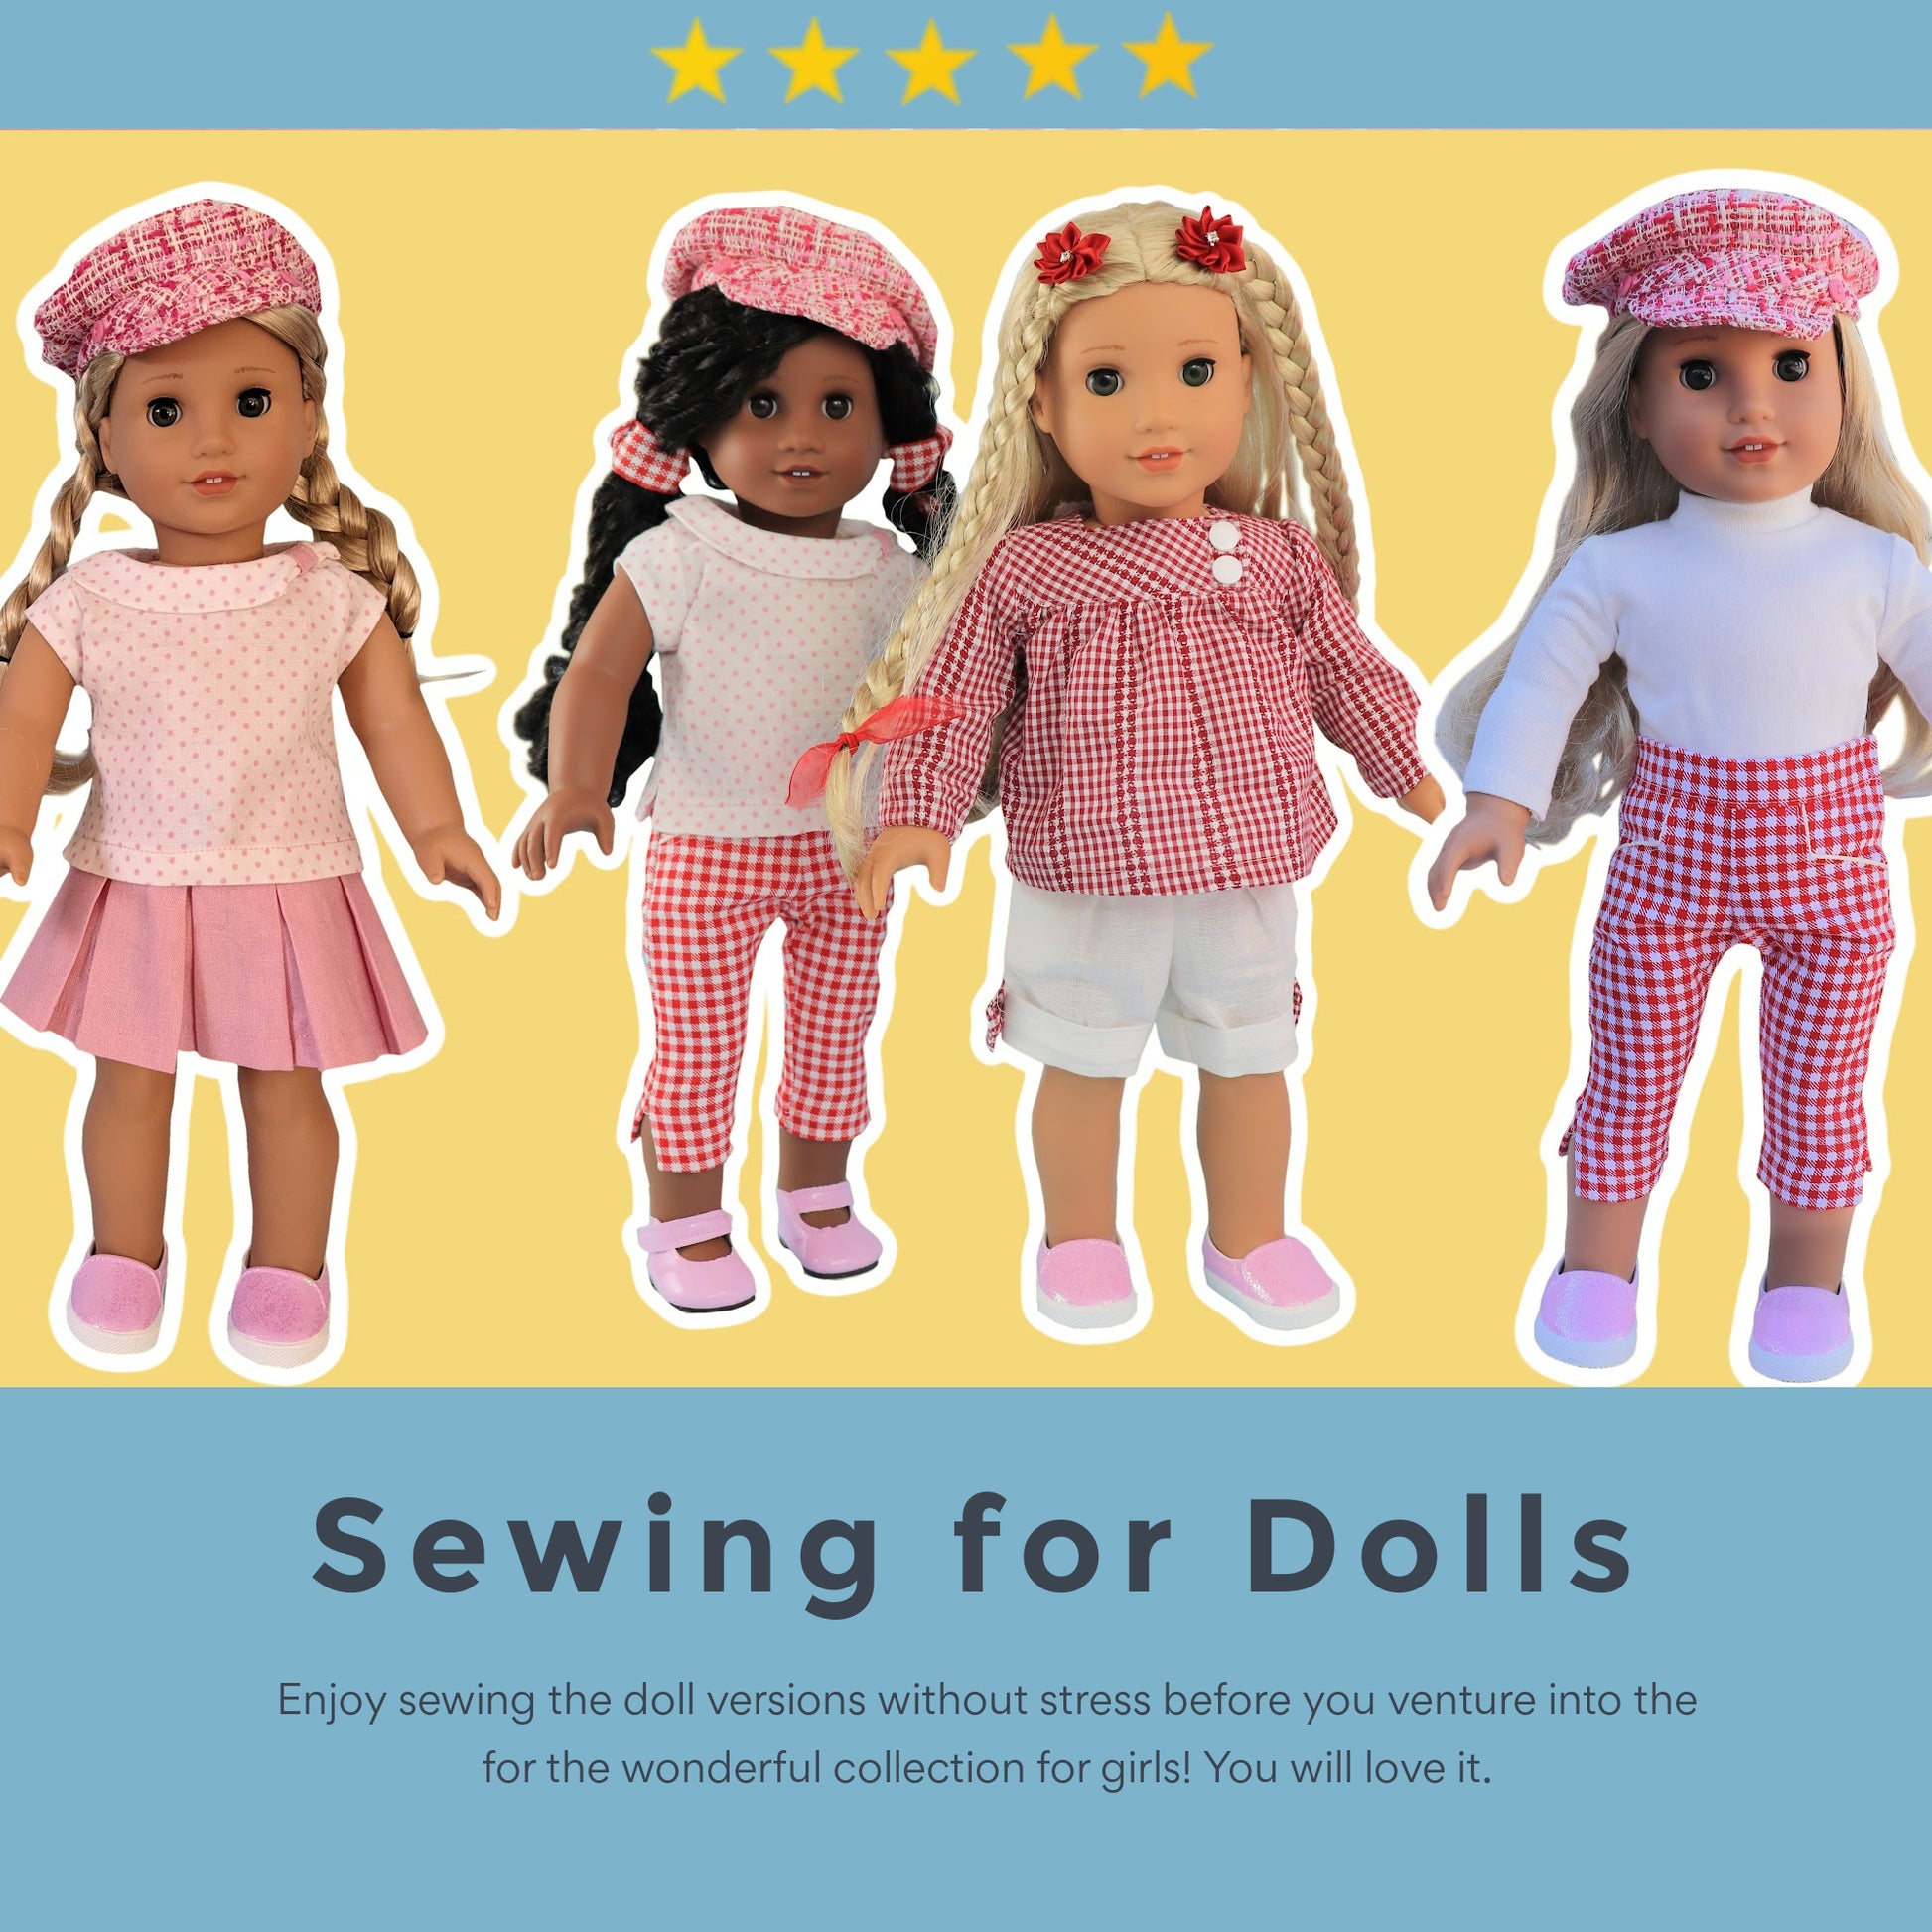
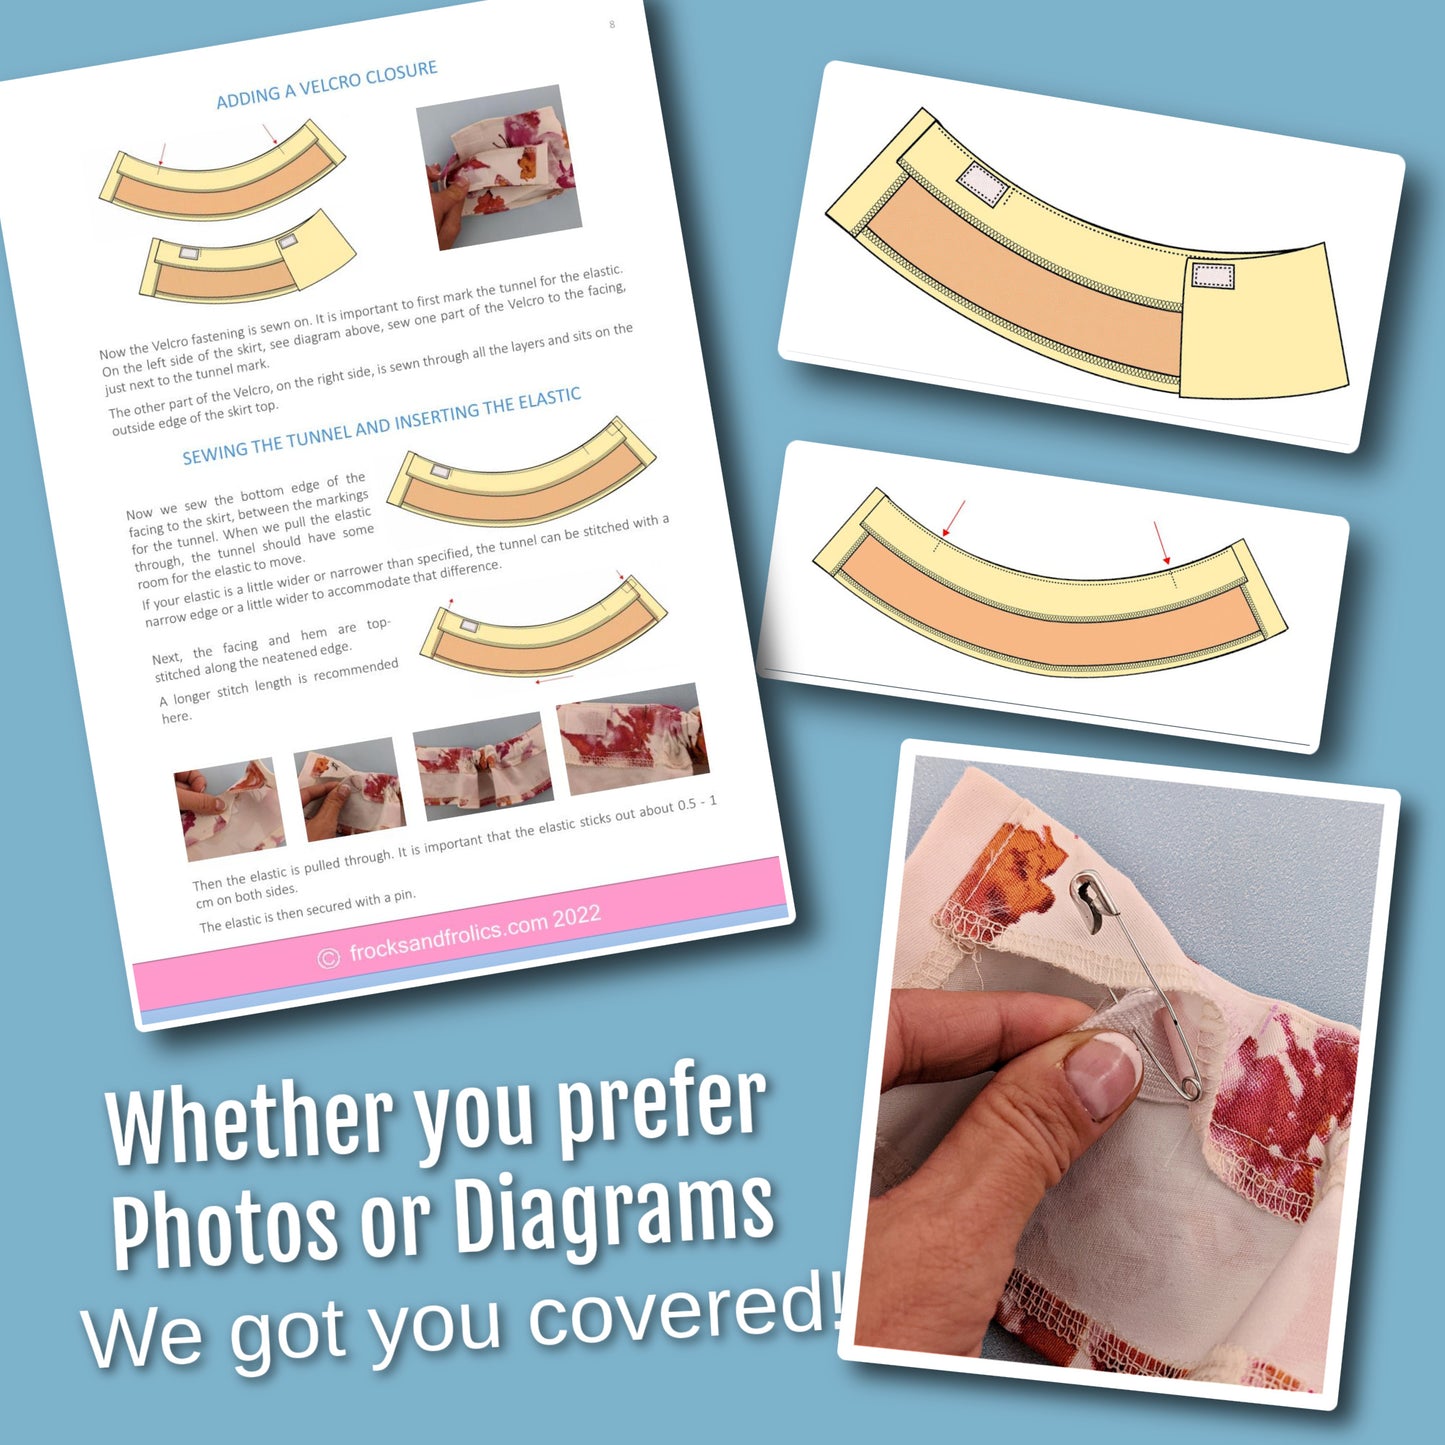
Perfect for beginner sewists, the Jutta skirt features an easy Velcro closure that makes dressing up a breeze. Packed with professional sewing tips just like our popular girls' version, this pattern will be your kiddos' favorite in no time!
Pattern Download Includes
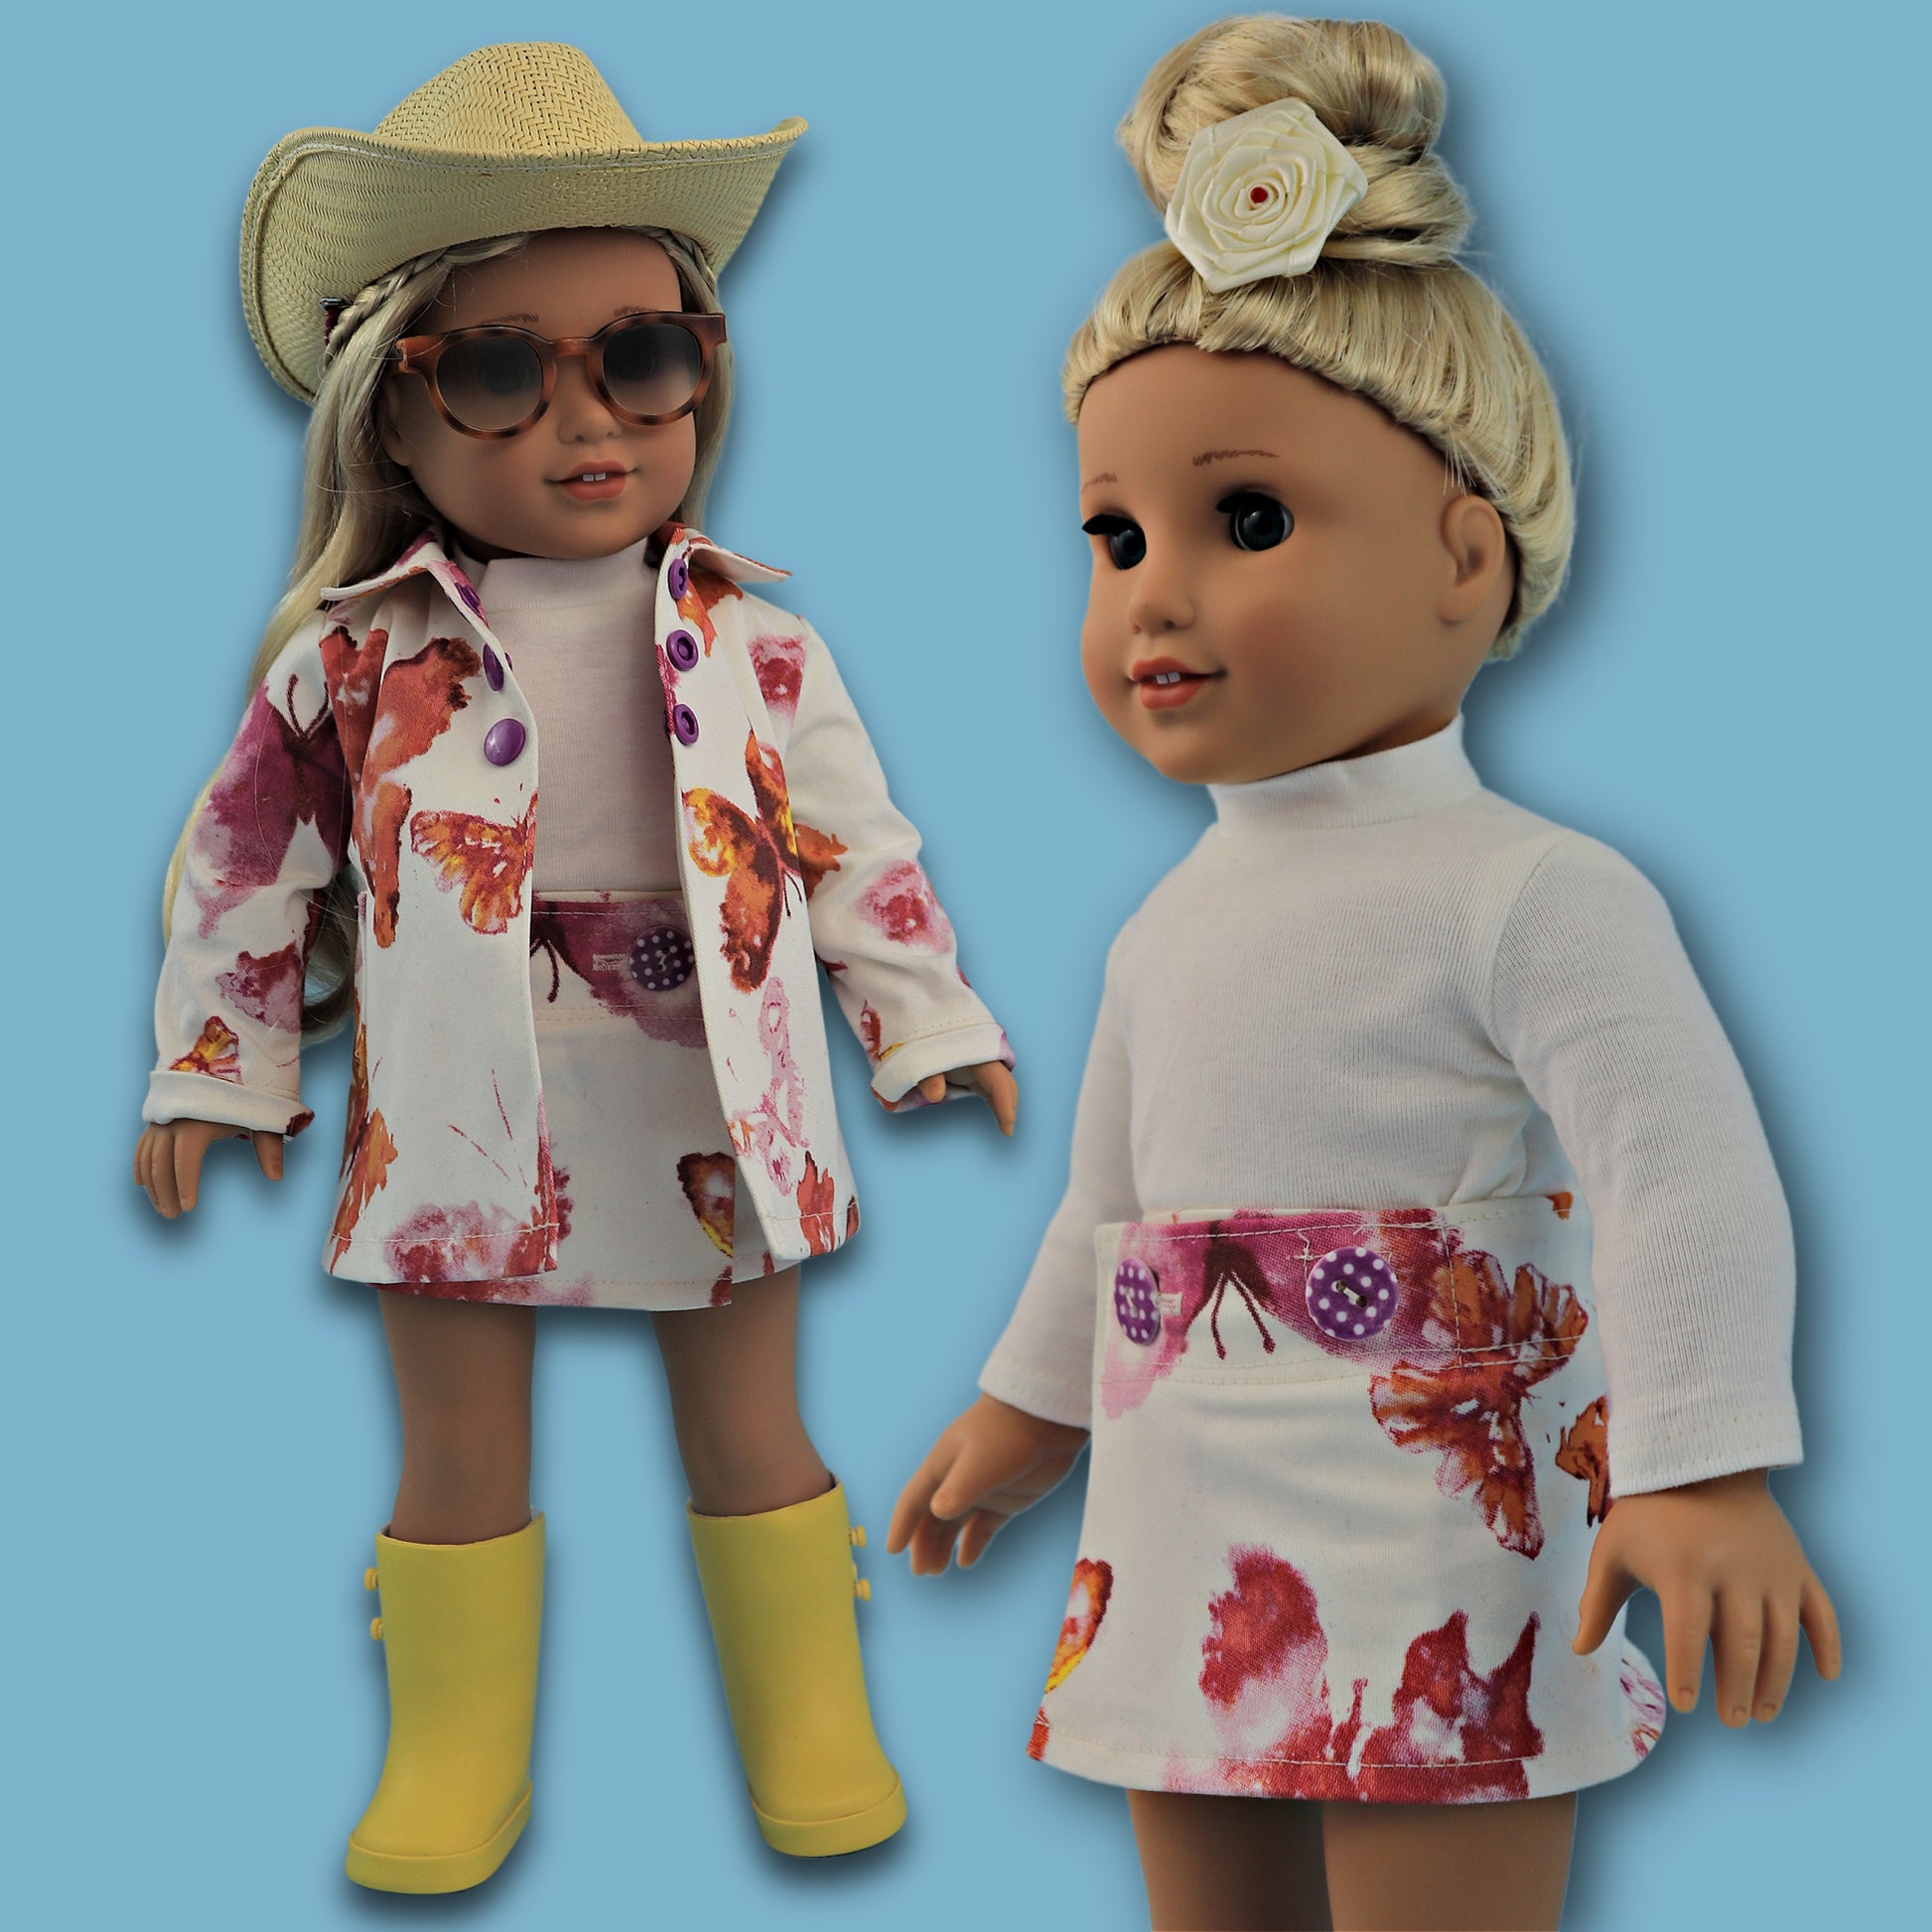
- Instant Download
- DIN A4 & US Letter Size
- Detailed eBook
- Video Tutorials
Design Options
Design Options
- Velcro fastening
- Optional button hole
- Wrap over front
- Waistband facing
- Integrated front facing
- Elasticated back
- Turned up hem
Fabric Requirements
Fabric Requirements
BEST MATERIAL CHOICE
Light to medium weight fabrics such as denim, cotton Sateen, Cord and Chambray.
FABRIC REQUIREMENTS
• Shell: 20cm (8 inches)
• Velcro: 2cm (0.8 inches)
• Elastic 2cm (0.8 inches) wide: 13cm (5.1 inches)
Available Sizes
Available Sizes
FITS 18" DOLLS PERFECTLY
Professionally designed to fit American Girl®, Truly Me, and My Generation dolls
• Chest: 11 inches (28 cm)
• Waist: 10.6 inches (27 cm)
• Shoulder to waist: 4 inches (10 cm)
Please Read
Please Read
- This is a digital pattern or PDF file, not a physical product. It will be delivered electronically via a download link delivered to the email used for the purchase.
- To ensure the pattern prints at its actual size, it's recommended that you use Adobe Acrobat Reader.
- The pattern creator, Frocks & Frolics, welcomes small-scale production using their patterns.
Customers are encouraged to tag Frocks & Frolics when sharing projects made using their patterns on social media.
@frocksandfrolics #frocksandfrolics
Share

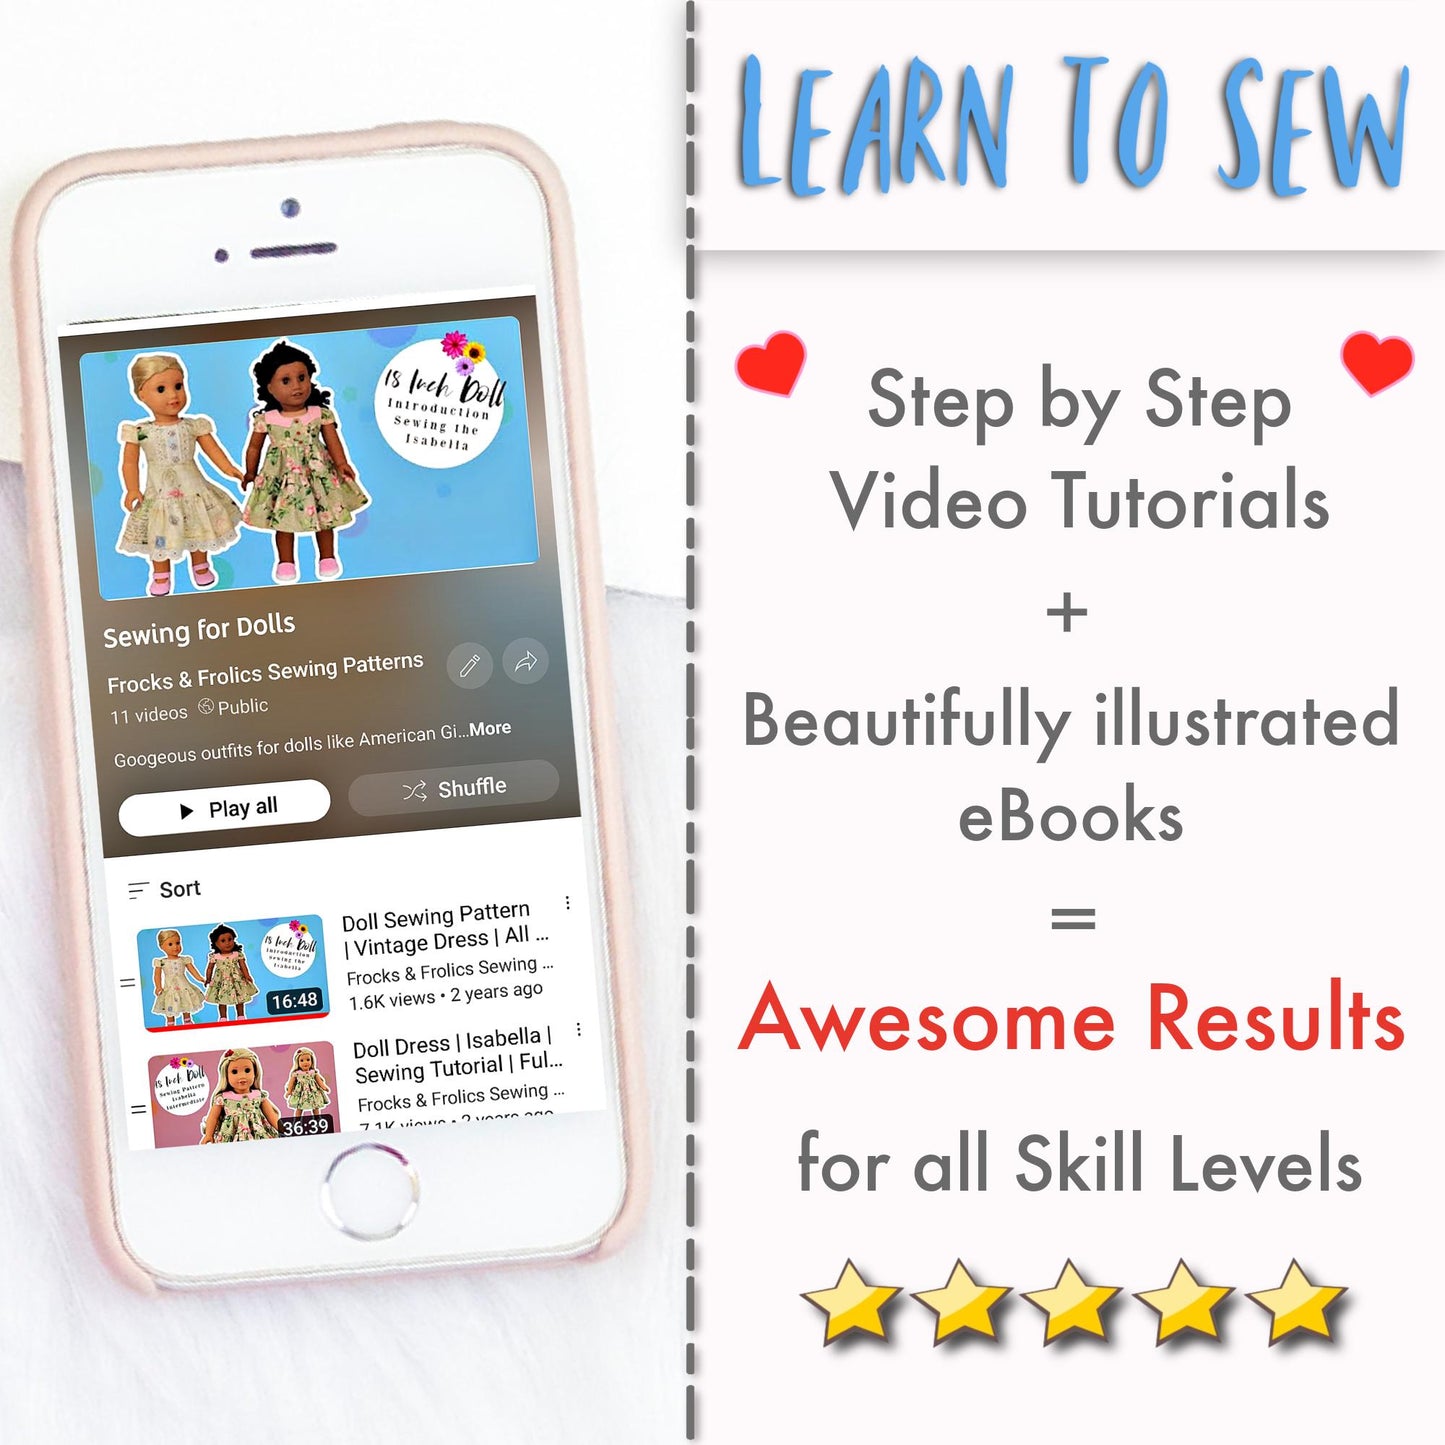
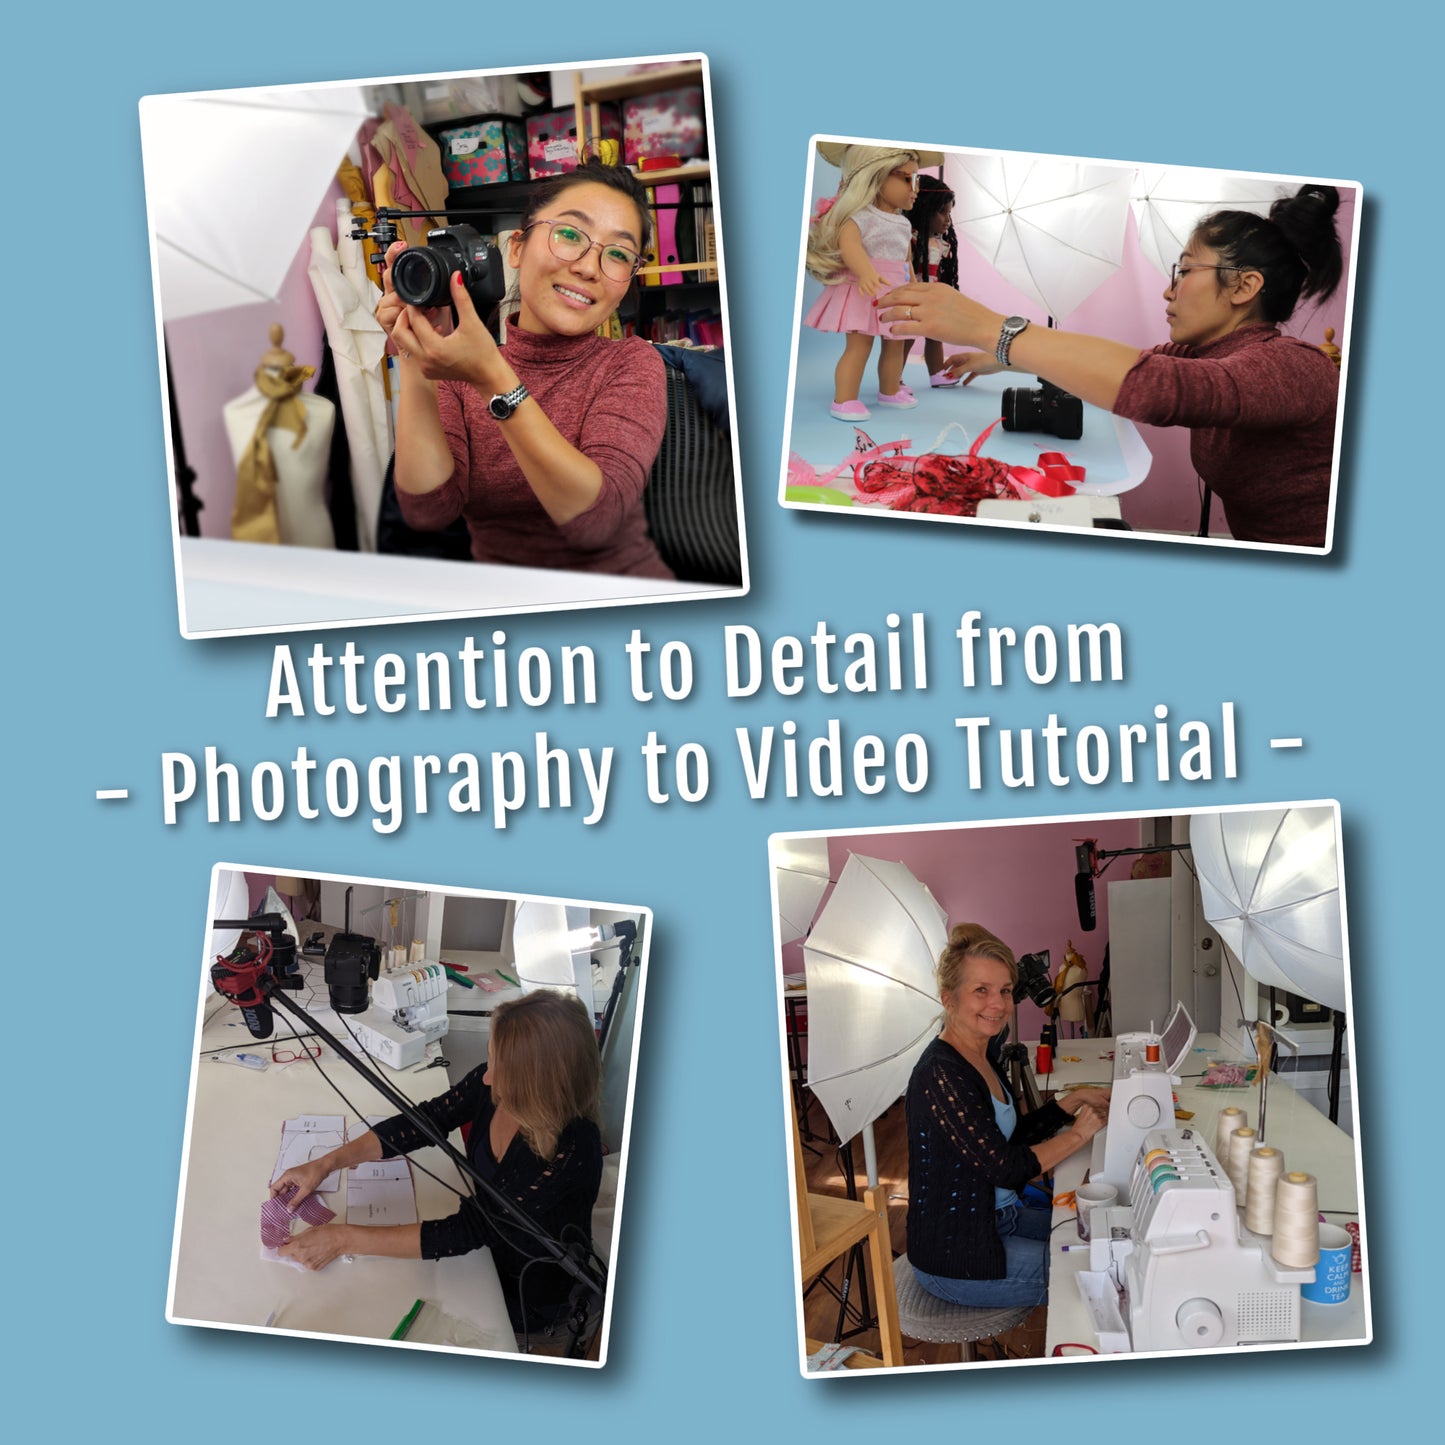
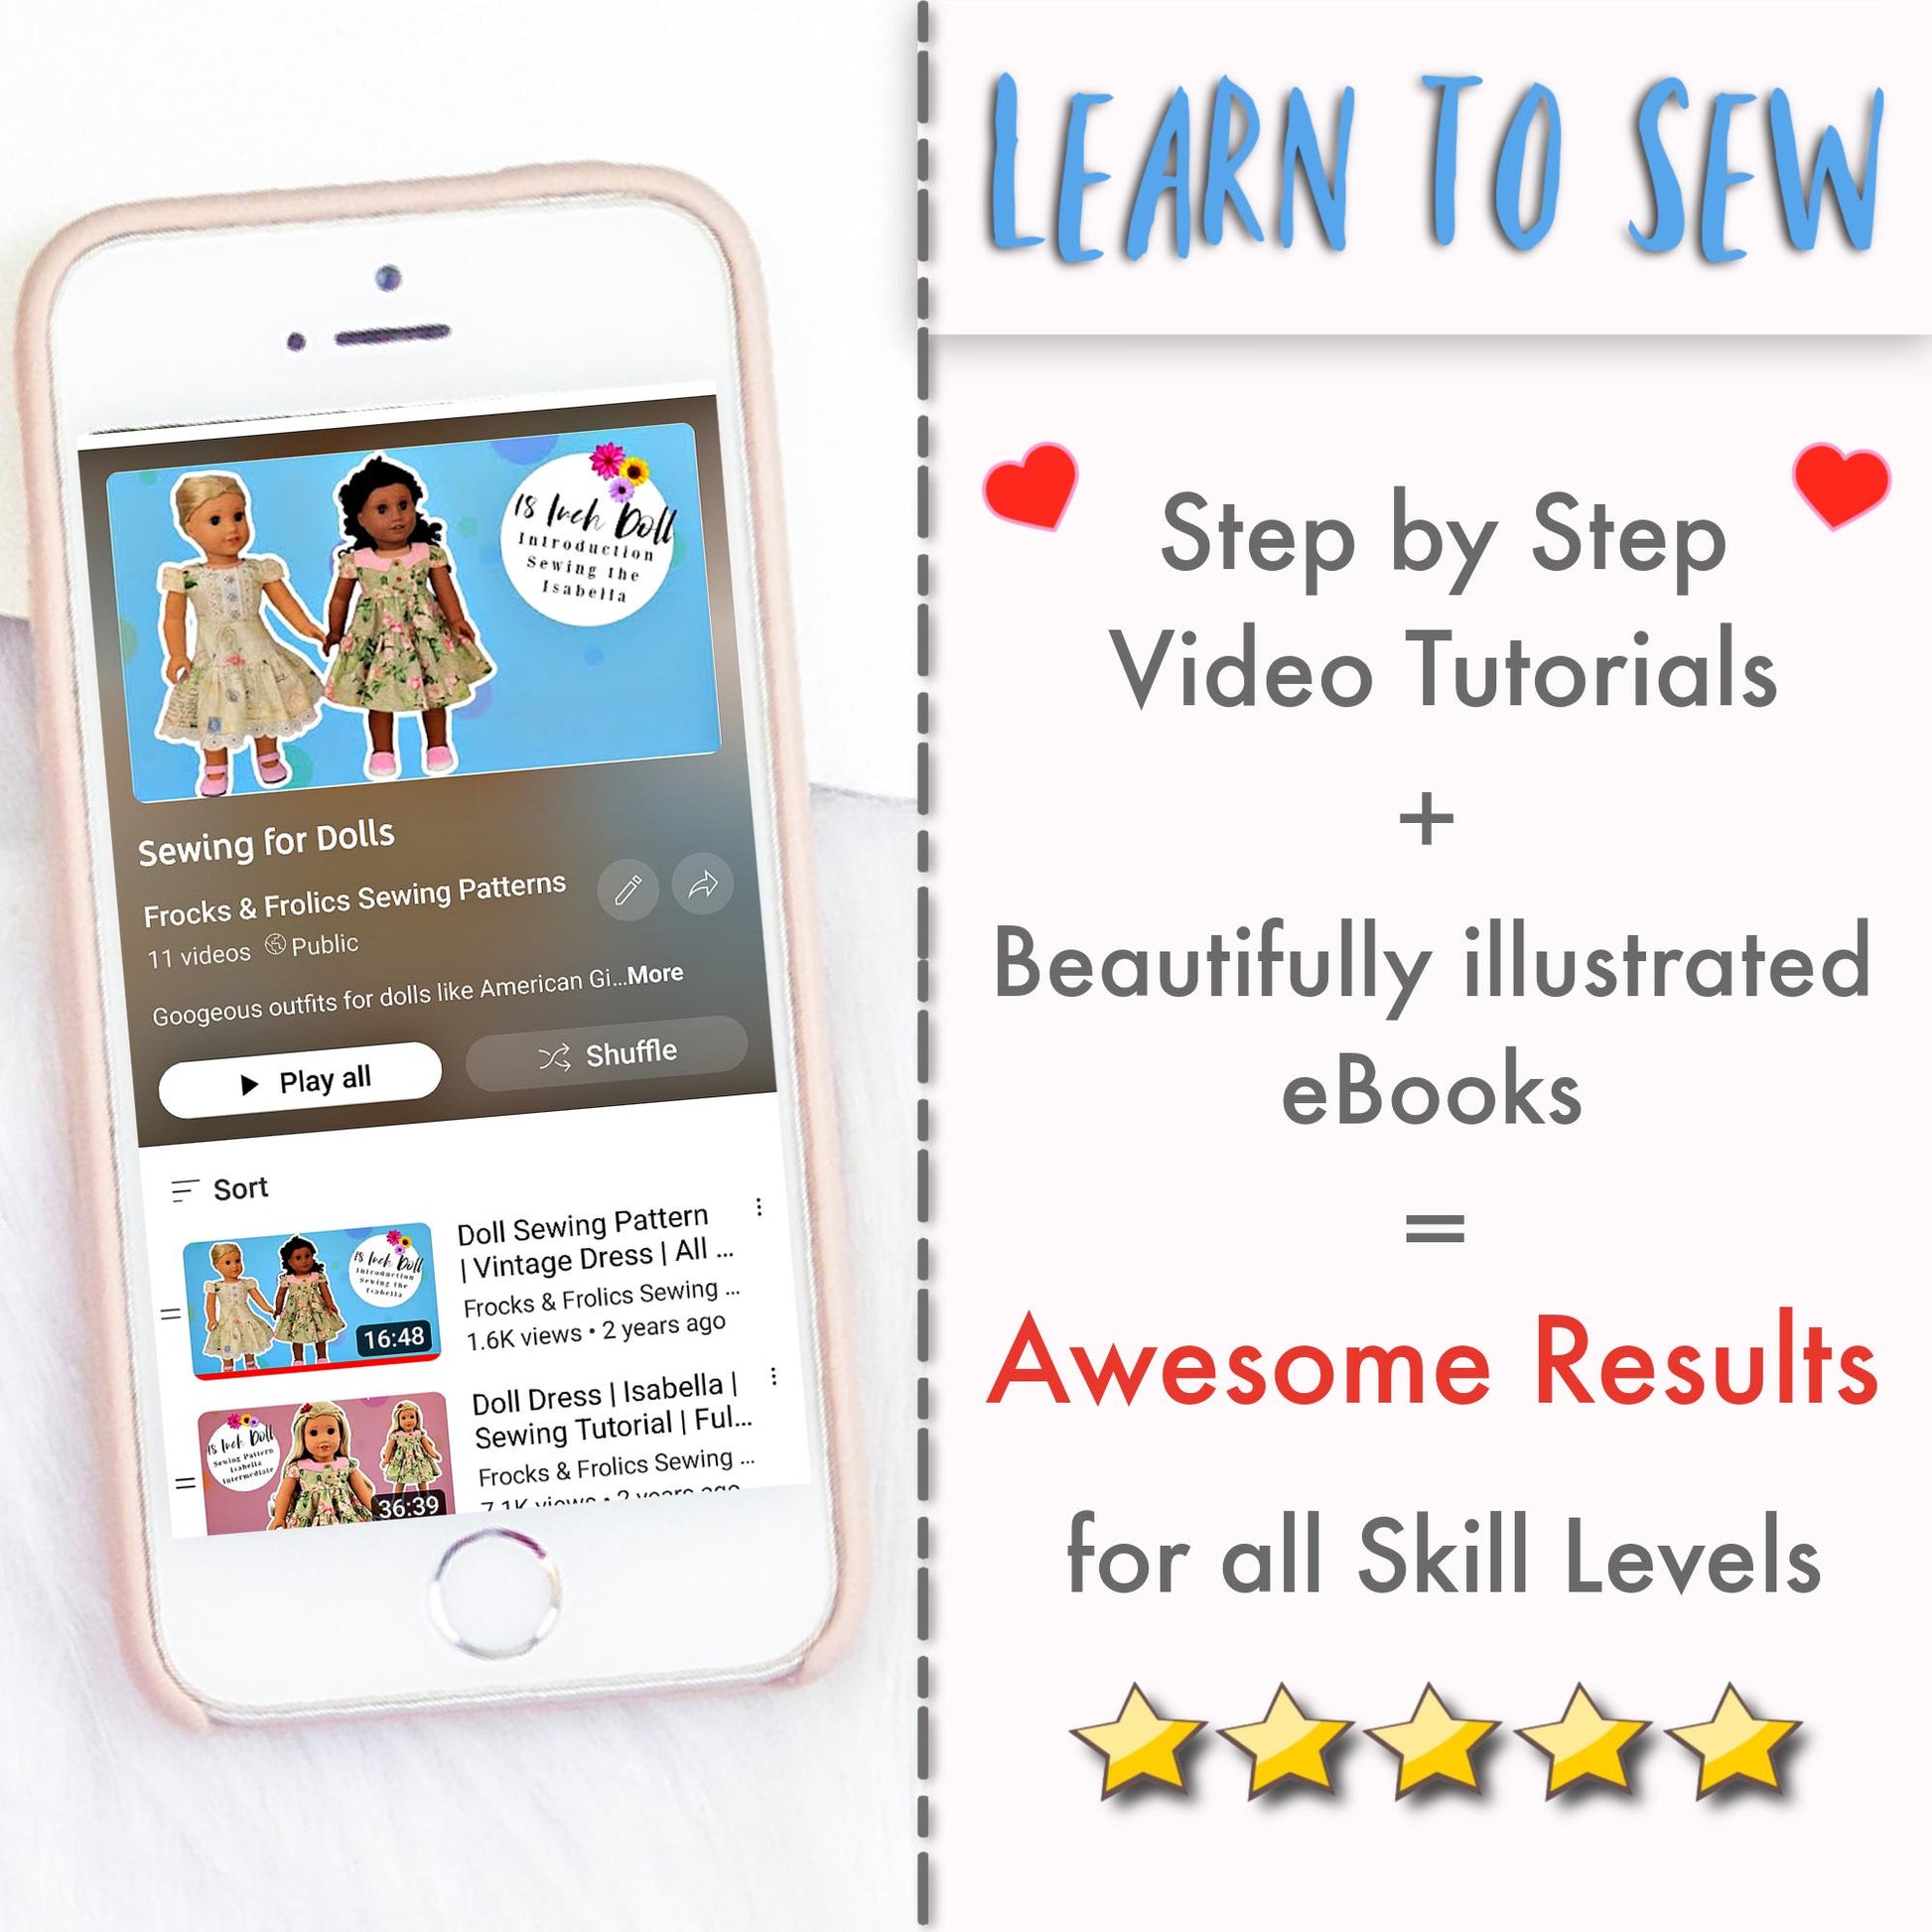
STEP-BY-STEP VIDEO TUTORIALS
VIDEO TEXT
Transcript for the video: Jutta Doll Skirt Video
Hi everyone, in this video I’m going to show you how to make the Jutta skirt for your doll. This is a very quick project—around 20 minutes, or 30 to 40 minutes if you take your time.
It’s a simple wrap-style skirt with a small amount of elastic at the back for shaping. It fits quite snugly, which gives a nice clean look.
You can close it with a button and buttonhole, Cam snaps, or Velcro depending on your preference.
Pattern Overview
This skirt uses only two main pattern pieces plus a facing. The facing includes a marking for the center front, which helps create the wrap-over effect.
The back includes a tunnel for elastic. The elastic is approximately 2 cm wide (0.8 in) and about 13 cm long (just over 5 in), but always follow your pattern markings.
Preparing the Facing
First, overlock both side edges and the lower edge of the facing. Leave the top edge raw for now.
Then attach the facing to the skirt by aligning the center back points. The facing is slightly shorter because it folds over once attached.
Sew both sides with a 1 cm seam allowance and lock your stitches at the start and end.
Next, fold the facing over and sew along the waist edge. This creates the wrap structure of the skirt.
Trim back the seam allowance to about 3 mm so it sits neatly when turned.
Attaching the Facing
Sew the facing to the hem edge on both sides using a 1 cm seam allowance.
Then under-stitch the facing. This means sewing the seam allowance onto the facing close to the edge. This step helps the facing roll neatly to the inside and gives a much cleaner finish.
After this, press the entire piece and turn up the hem by about 1 cm.
Elastic Tunnel
Sew along the marked tunnel line to create the casing for the elastic. Follow the dotted line on your pattern.
Insert the elastic using a safety pin and thread it through the tunnel.
Make sure a small section of elastic is visible on both ends so you can secure it later.
Securing the Elastic
Adjust the elastic evenly so it gathers the back of the skirt nicely.
Pin both ends slightly inside the marked lines (not directly on them), then stitch vertically to secure each end in place.
This keeps the elastic stable and prevents it from shifting.
Closure (Velcro or Button)
Attach Velcro or your chosen fastening.
One side goes on the underside of the wrap so it stays hidden. The other side is placed on the outer wrap section.
If using a button, position it so it does not extend beyond the edge of the skirt. Leave at least 1.2 cm from the top edge for the buttonhole placement.
Always test the buttonhole size first on scrap fabric.
Buttonhole Tips
Place the button in the machine’s buttonhole foot and test the size. The buttonhole should be only slightly longer than the button.
If your machine struggles with thick seam intersections, start your buttonhole from the easier side and adjust placement if needed.
Cut the buttonhole carefully using a pin at the end to prevent accidental cutting through the fabric.
Button Attachment
Sew the button on securely with several passes of thread. Leave a small gap between the button and fabric so it fastens easily without pulling.
Wrap the thread around the base to form a shank, then secure and cut off.
Finishing
Give the skirt a final press. The wrap should sit neatly, with the elastic shaping the back and the front lying flat.
And that’s it—you’re done.
The Jutta skirt is complete, and it pairs beautifully with the matching coat if you’re making the full set.
This pattern worked out great!