EASTER BASKET
EASTER BASKET
Couldn't load pickup availability
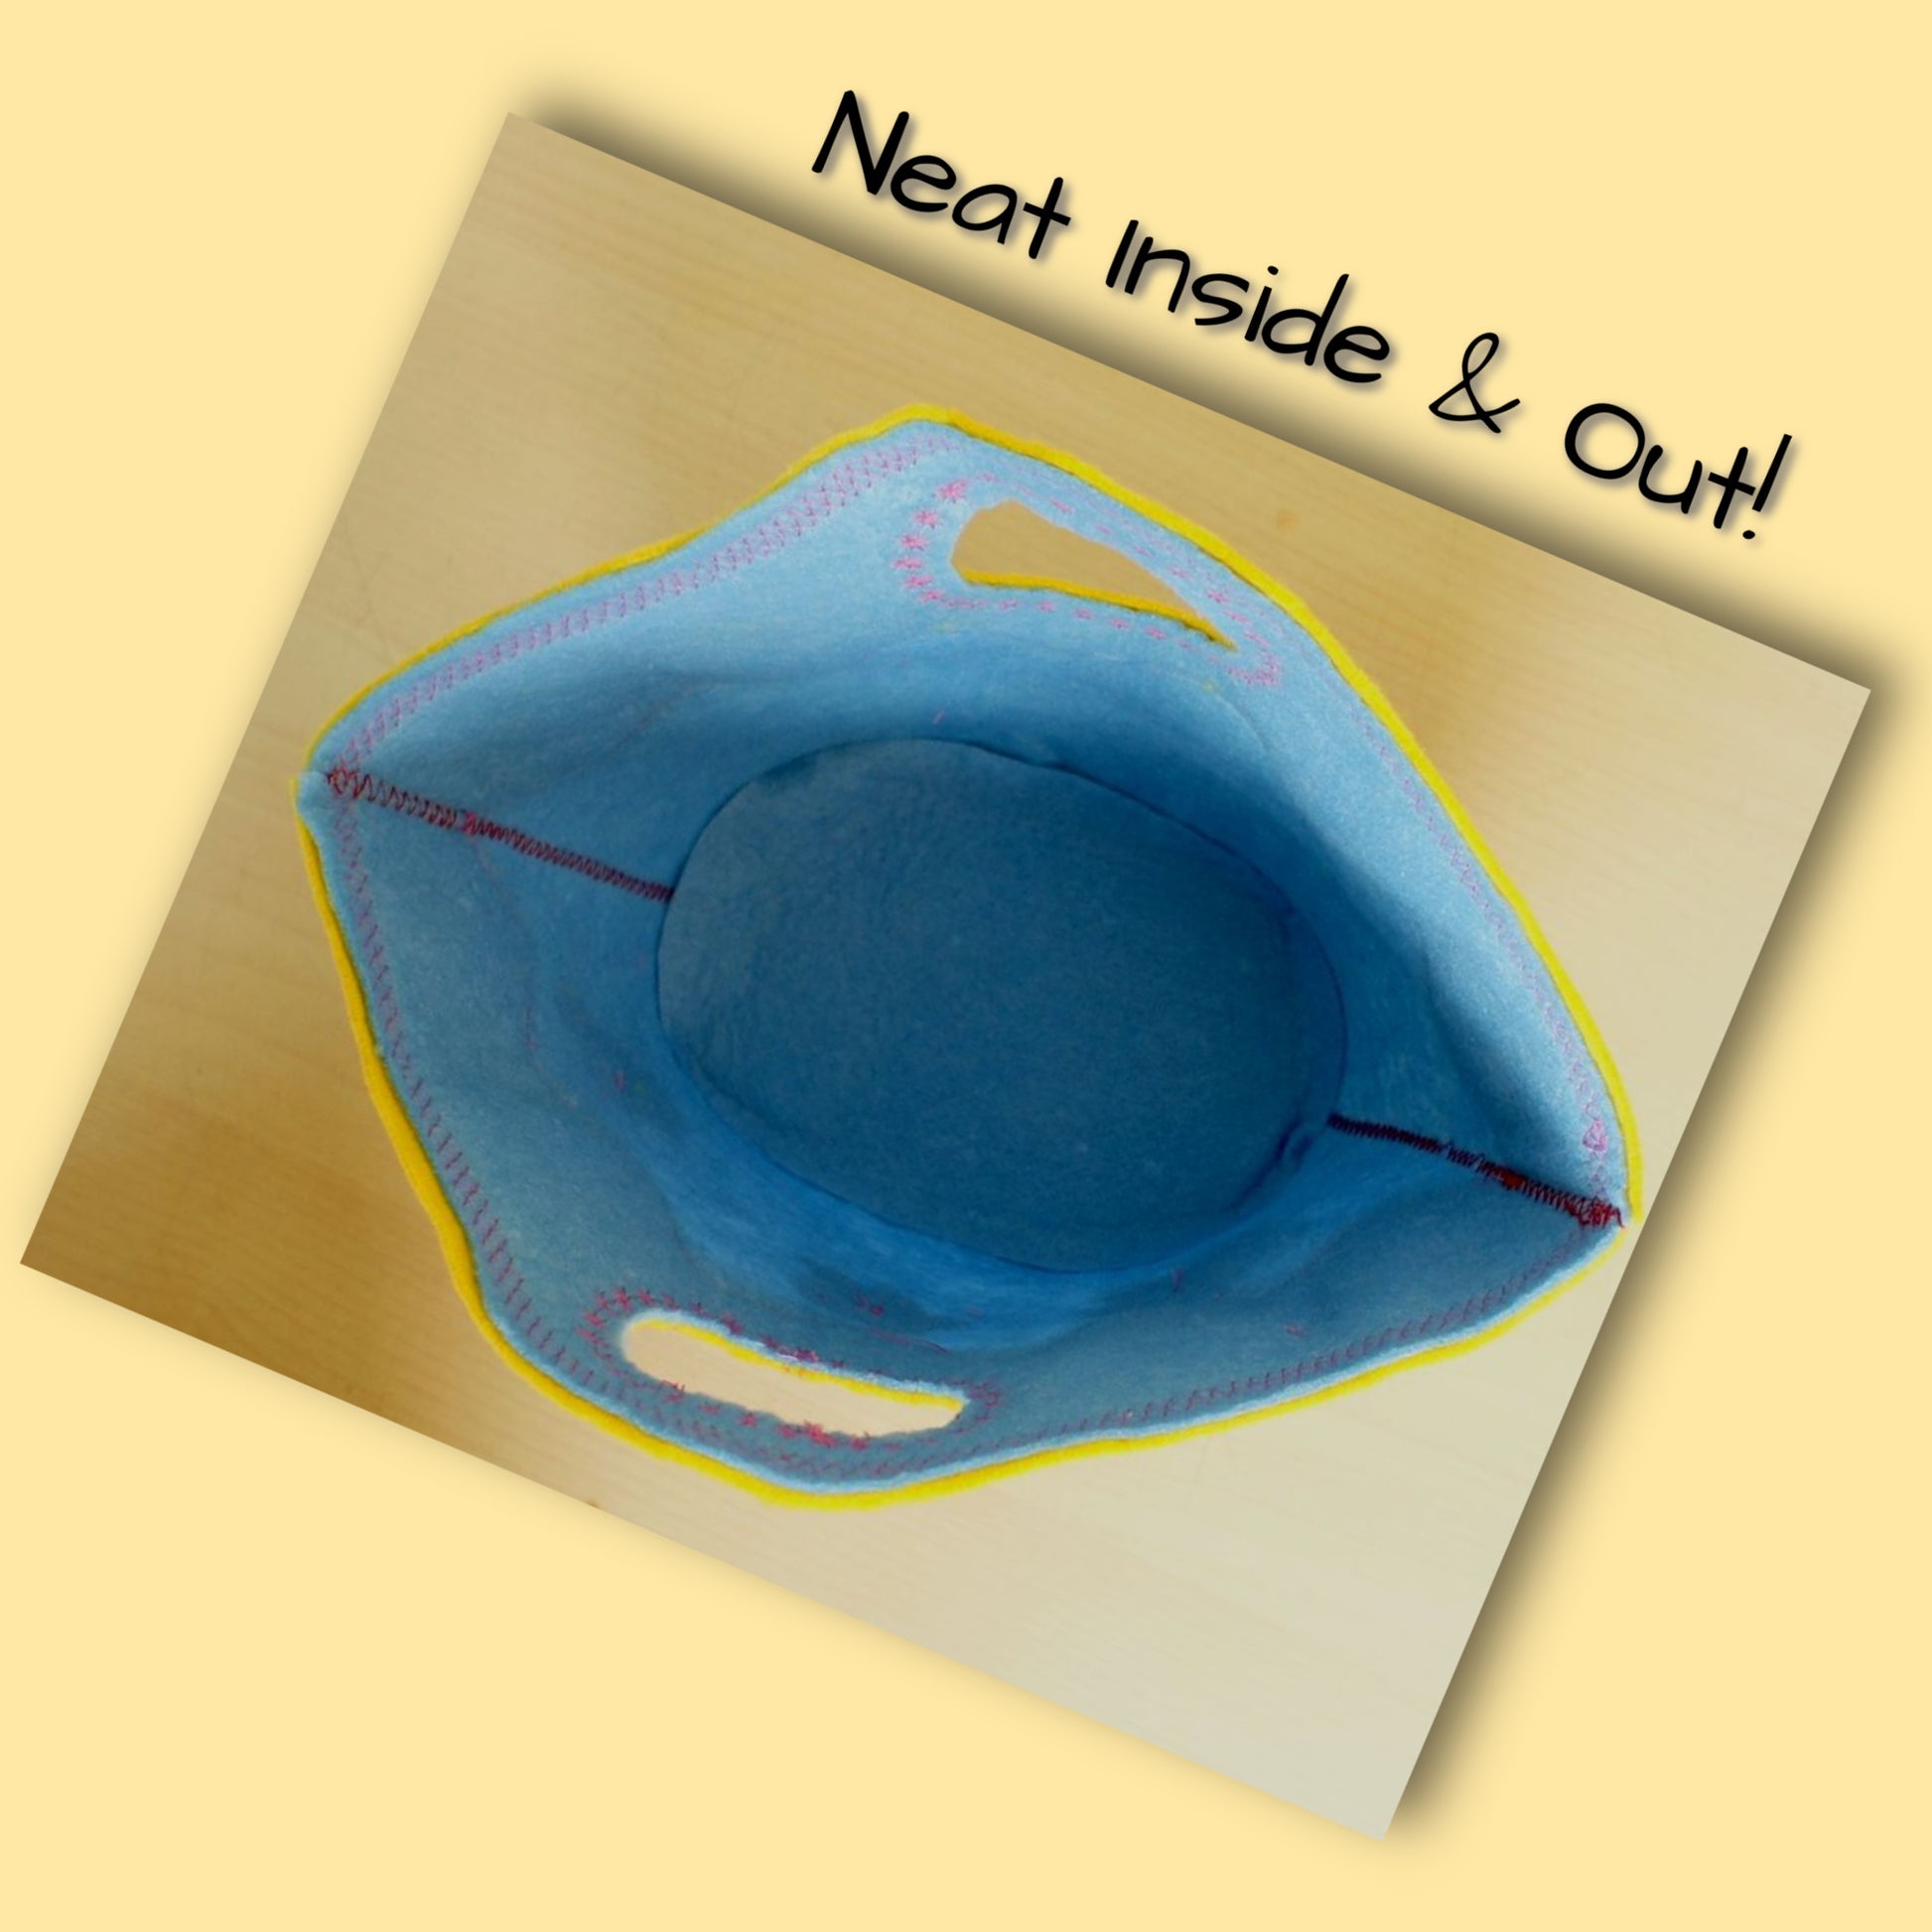
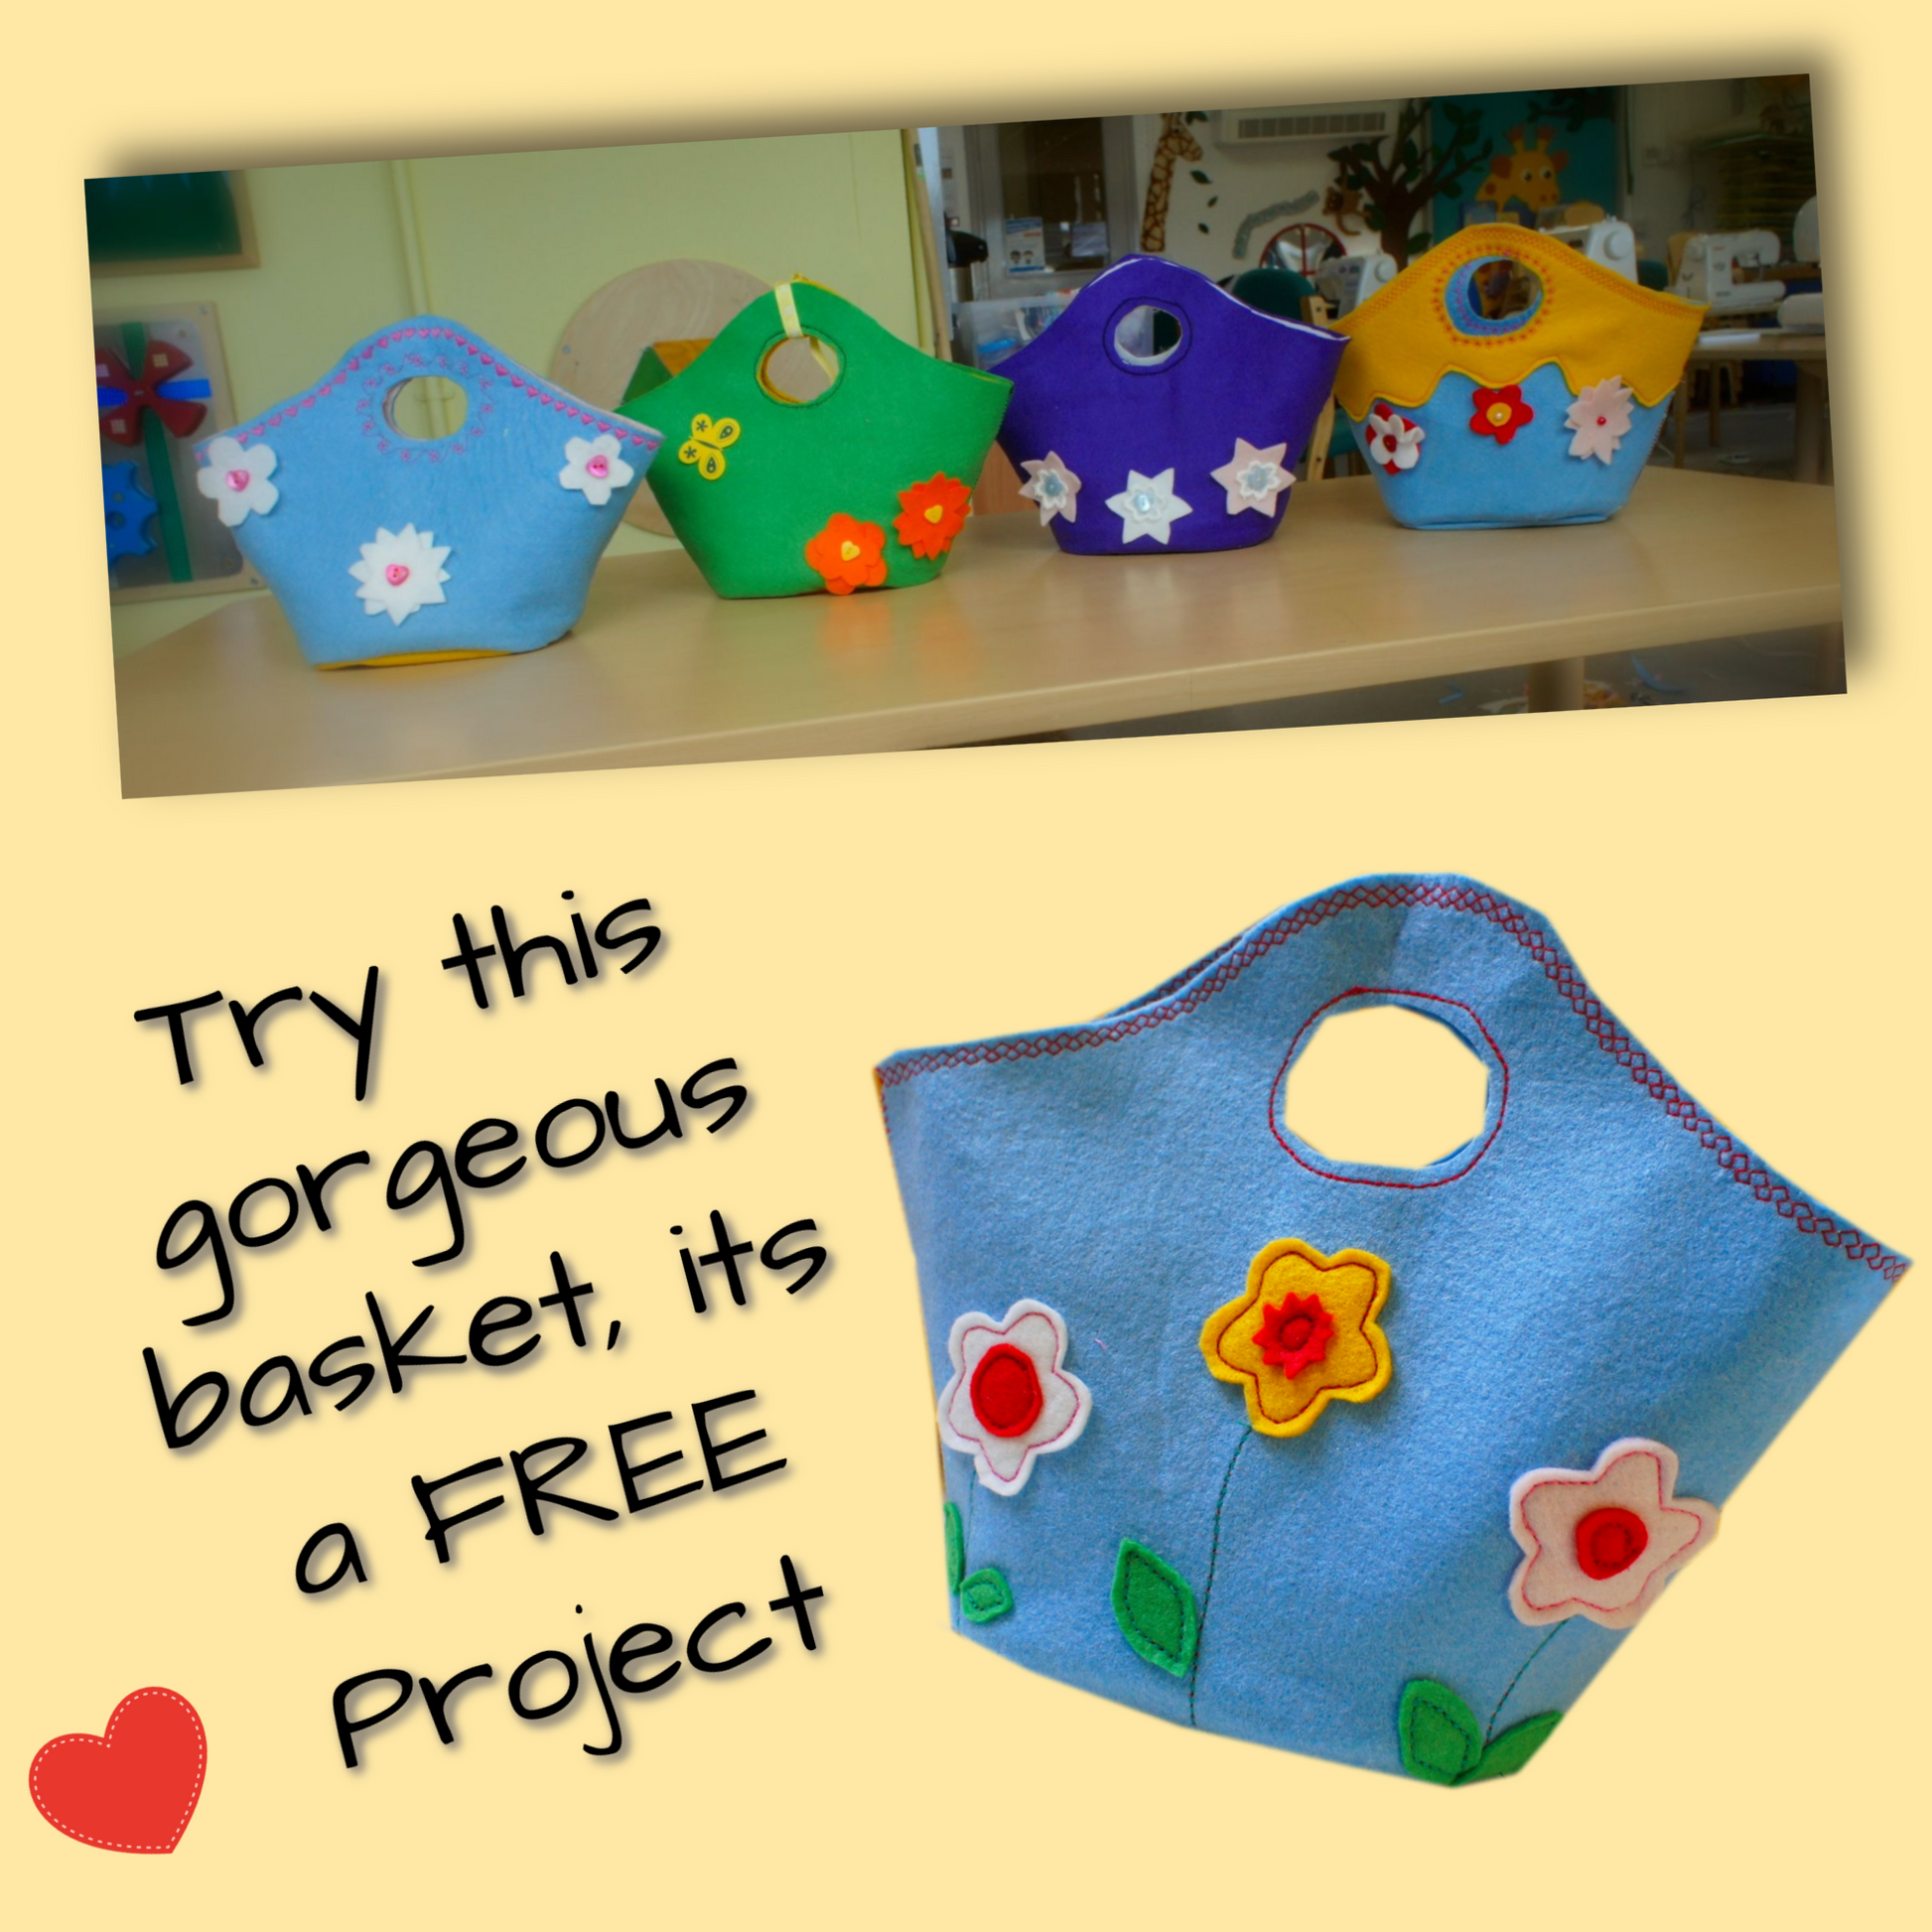
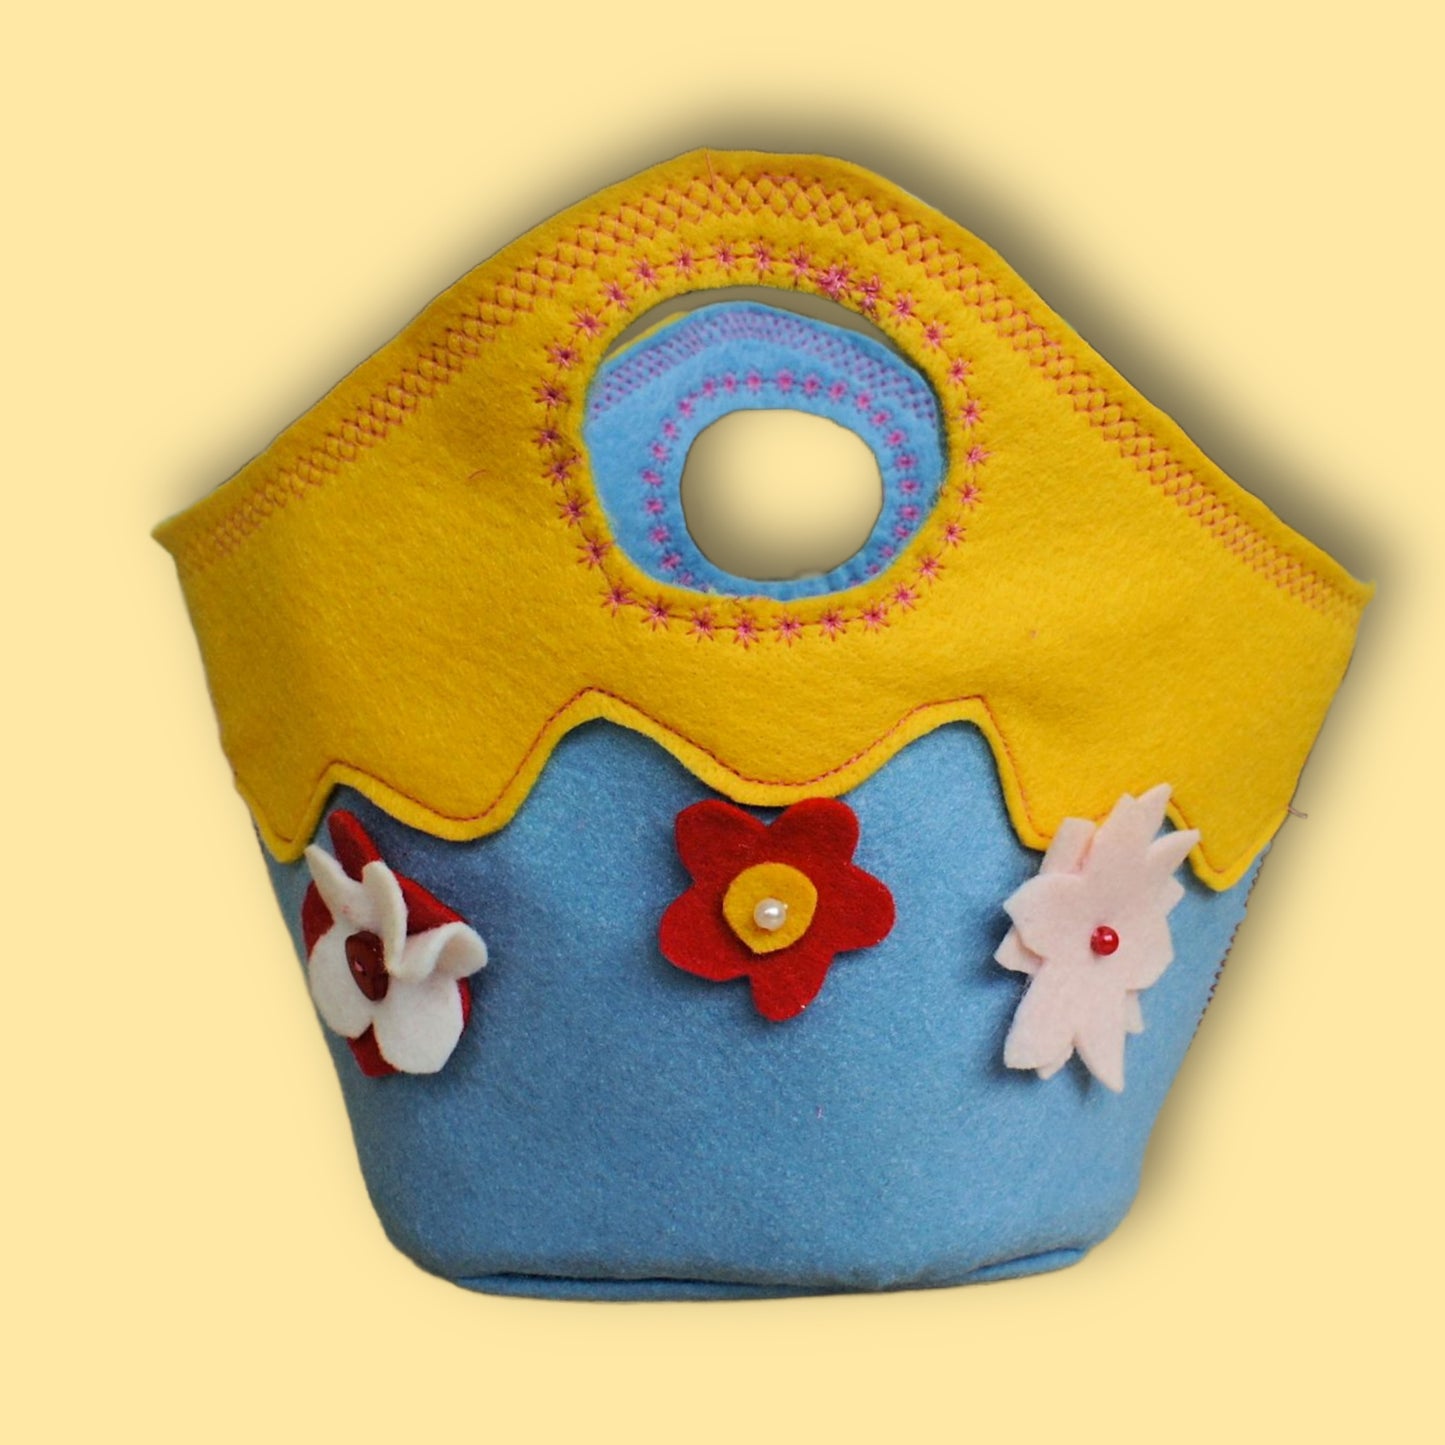
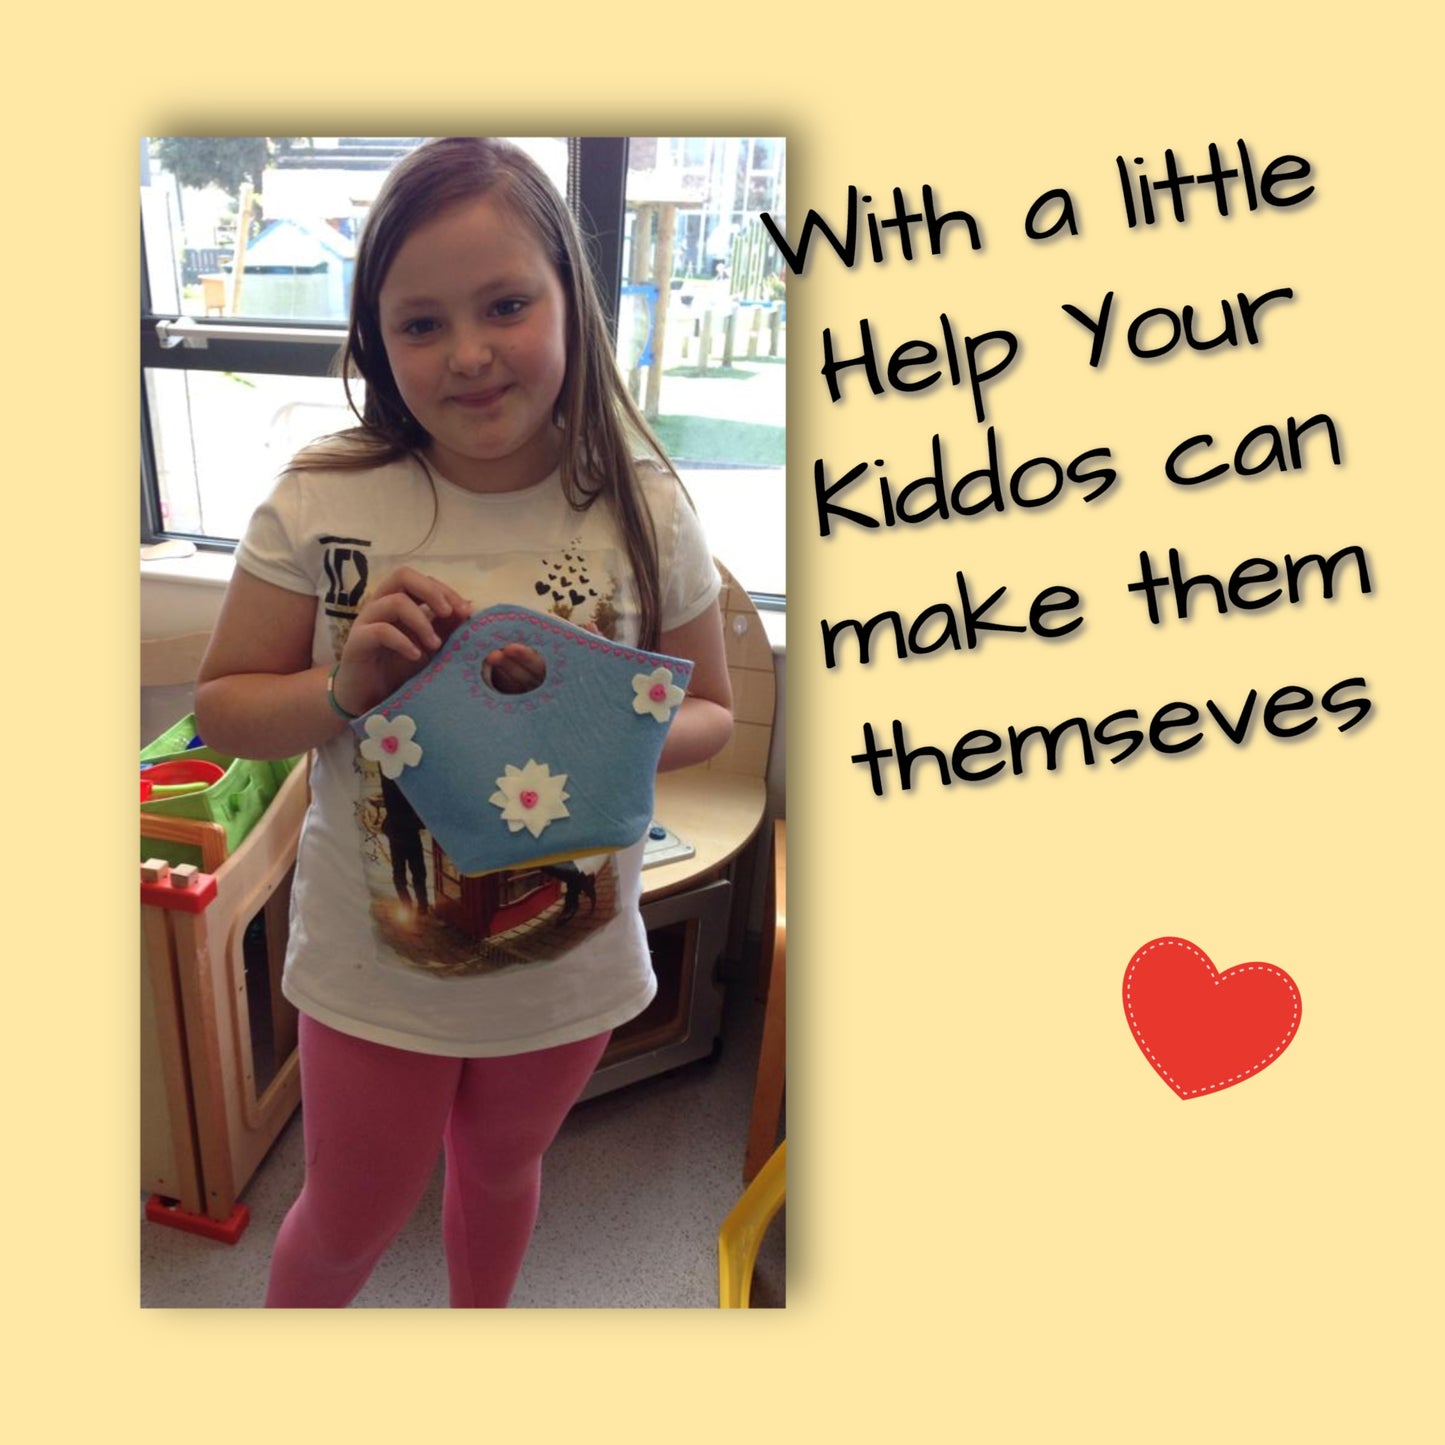
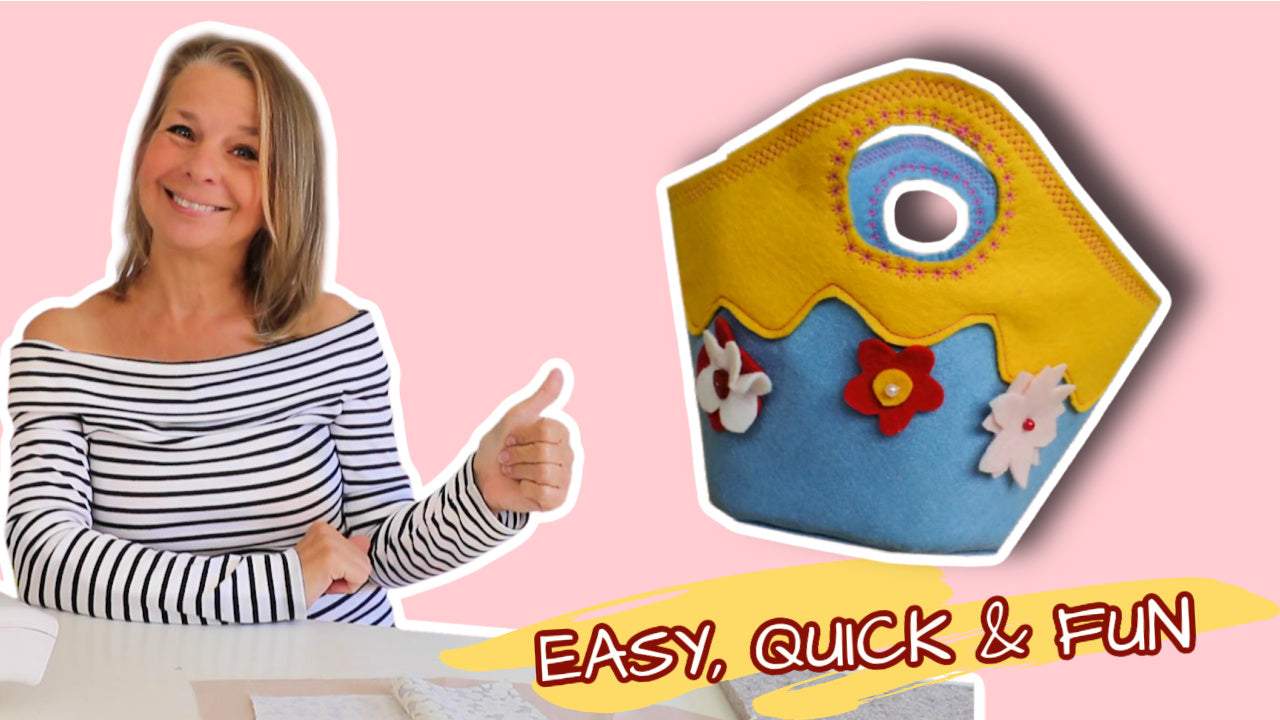
Bring a sprinkle of Easter magic to your home with this felt Easter basket pattern. It’s a quick, cheerful make for kids, beginners, or anyone craving a fun little project. With the step‑by‑step video tutorial, you’ll stitch along with confidence and enjoy every moment.
Our easy-to-follow felt Easter basket pattern transforms a simple craft project into a treasured family tradition that will be remembered for years to come!
Pattern Download Includes
- Instant Download
- DIN A4 & US Letter Size
- Detailed eBook
- Video Tutorials
Design Options
Design Options
- Visible facing with a delicate scallop
- A facing with a straight lower edge, attached to the inside
- Templates for felt flowers and delicate leaves
Fabric Requirements
Fabric Requirements
- Felt in various colors: 1/2 yard (50cm)
- Embroidery floss (optional)
- Basic sewing supplies
- Embellishments (Buttons, ribbons)
Available Sizes
Available Sizes
This pattern is available in one size only to suit children aged 1-12.
Please Read
Please Read
1. This is a digital pattern or PDF file, not a physical product. It will be delivered electronically via a download link delivered to the email used for the purchase.
2. To ensure the pattern prints at its actual size, it's recommended that you use Adobe Acrobat Reader.
3. The pattern creator, Frocks & Frolics, welcomes small-scale production using their patterns.
Customers are encouraged to tag Frocks & Frolics when sharing projects made using their patterns on social media.
@frocksandfrolics #frocksandfrolics ❤️
Share

STEP-BY-STEP VIDEO TUTORIALS
VIDEO TEXT
Spring Backpack – Materials & Cutting
Transcript for the video: Easter Basket Step-by-Step Tutorial
The spring backpack includes various flower decorations and is made entirely from felt. For the main body of the bag, cut the body piece twice in felt. You will also need the facing pieces, also cut twice in felt. For the base, cut it twice in felt, and additionally cut one base piece from plastic to give structure and firmness.
For the design details, you can choose between squiggly decorative lines (as shown in the main version) or simple straight lines. Another option is to cut a scalloped edge if you want a more decorative finish.
Preparing the Decorations
Before assembling the bag, you can add felt flowers to the outer panels. These are applied first if you are using the floral design. The stems and leaves are then stitched on afterwards to build up the design in layers.
A triple stitch is used for most of the decorative sewing, especially around the flowers and edges. This gives a strong, slightly raised decorative finish. You can also use a contrasting thread color if you want the stitching to stand out, or match it for a more subtle look.
Constructing the Flower Details
To create scrunched or layered flowers, fold the felt into layers and stitch across to secure it. Once sewn, the flower can be opened out and shaped. You can then add a button in the center for decoration and reinforcement.
Layered flower variations can also be created by stacking multiple felt pieces. Small lace details can be added underneath for extra texture and decoration.
Sewing the Bag Panels
Once the decorations are complete, the main bag pieces are assembled. Side seams are zigzag stitched together. This helps give the bag structure while keeping the felt flexible and neat.
The facing can be attached on either the inside or outside depending on your preferred finish. After attaching, the edges are topstitched using a triple stitch for a clean and durable finish.
Adding the Base
Mark the center points and align the base with the bag body carefully. Pin all the way around before sewing. This step can be tricky, so small pleats may appear, but they will not significantly affect the final result.
Once sewn, the base is reinforced using a plastic insert. A cutting board works well for this purpose. Glue is applied to secure the plastic base inside the felt structure, then pressed firmly into place.
Finishing the Bag
Finally, trim the handle openings, leaving a small seam allowance around the edges. The bag is now complete and ready to use.
Different variations are possible depending on how the facing is placed and how the decorations are styled. Some versions use inner facings, others use outer facings, and some omit them entirely for a simpler finish.
This is a quick and flexible project that can be customized easily with different flower designs and stitching styles.
Transcript for the video: Halloween Basket Introduction
Hi, this is Marina from Frocks and Frolics, and today I’m going to show you how to make these fun trick-or-treat bags. There are four variations you can choose from: a cat, pumpkin, bunny, or a princess basket design. All versions use the same basic construction, so it’s easier than it looks.
Choosing Your Version and Materials
You can line the bag for extra structure, or leave it unlined. If you skip the lining, it’s best to add a reinforced base to give the bag stability.
You will need fabric or felt for the body pieces, facings, and handle, plus an optional plastic or stiff base insert. Felt works especially well because it holds shape easily.
Printing and Cutting the Pattern
Print the pattern and check the scale carefully (5 cm or 1 inch reference). Assemble only the pieces you need: the front, back pieces, handle, and base.
Cut the body pieces as required (usually three layers for structure depending on your version). The handle can be cut slightly wider if your material is soft so it gains extra strength when folded.
Marking the Construction Points
Place your pattern back onto the fabric and mark where the base will attach. Snip the notches clearly on both front and back pieces so alignment is accurate later.
Also mark the base circle carefully, including all notches around the edge. These marks help match the base evenly to the body.
If using thinner felt, you can cut the base twice or add a second stabilizing layer for strength.
Preparing and Applying Appliqué
Place the adhesive film (such as Pellon-style backing) over your appliqué designs and trace them.
Roughly cut the shapes and iron them onto the fabric. Felt has no right or wrong side, so placement is flexible.
Peel off the backing and position each appliqué piece on the front panel. Iron them securely in place before stitching around them on the sewing machine.
Sewing the Appliqué and Details
Once all pieces are fused, stitch around each appliqué shape to secure it. You can use a decorative or triple stitch for extra definition and durability.
Add stems, leaves, or layered decorations depending on your chosen design.
Constructing the Bag Body
Close all darts, gently rounding the seams rather than sewing sharp points. This helps create a soft, rounded 3D shape.
If desired, you can topstitch the dart seams before closing the side seams for extra structure.
Next, sew the side seams together using a 1 cm seam allowance. Repeat the same process for the lining if you are using one, leaving a turning gap in one side seam.
Attaching the Base
Match all notches and align the base carefully with the body. Pin all the way around.
Sew slowly around the circular base. Small pleats may form, but they are normal and won’t affect the final look since this is a soft basket-style shape.
You can reinforce the base with a second layer of felt or a plastic insert for extra stability.
Turning and Shaping the Bag
Turn the bag right side out through the opening. Push out the seams gently and tuck the lining inside if you used one.
Press or pin the top edge so it sits neatly in place.
Topstitching and Handle
Topstitch around the top edge using a long stitch length (around 3.5–4.5). This gives a clean and professional finish.
Attach the handle and stitch it securely. If your machine struggles with thick layers, you may prefer attaching the handle after the main structure is complete.
Finishing the Bag
Insert the lining neatly and close the turning gap with a final topstitch around the top edge.
Add decorative lights or finishing touches if desired for a fun Halloween effect.
Final Result
Your trick-or-treat bag is now complete. It’s sturdy, decorative, and fully customizable depending on your appliqué choice. Perfect for Halloween and fun collecting adventures.
Trick-or-Treat Bags
Transcript for the video: Halloween Treat Basket: Step-by-Step Tutorial
This project shows how to make themed Halloween baskets in different styles (cat, pumpkin, bunny, and princess), all built from the same basic bag structure. You can choose whether to line the bag or leave it unlined, depending on how sturdy you want it. Lining adds structure, but if you skip it, adding a reinforced base helps keep the shape.
Materials and Pattern Preparation
Start by printing the pattern and checking the scale (about 5 cm / 1 inch reference). The main pieces include the front panel, back panel, handle, and base. Each design also has separate applique pages, so you only print what you need.
Cut the fabric pieces as instructed (usually multiple front/back panels depending on the version). Mark notches and base positions clearly using the template. These markings help align the base and keep the shape consistent.
Applique Preparation
Use felt or similar non-fraying fabric for applique pieces. Felt is ideal because it doesn’t require edge finishing and is easy to work with.
Trace the applique shapes onto fusible web (Pellon/Vliesofix). Cut them out roughly first, keeping pieces close together to avoid waste. Iron the fusible side onto the wrong side of the fabric, then cut them out neatly once bonded.
Placing the Applique
Mark the center of the front panel using the cross guide from the pattern—this helps position facial features like eyes, nose, or pumpkin details accurately.
Peel the backing off each applique piece and position it on the front panel according to your guide. Once aligned, iron them down securely. If a piece lifts easily, re-press it with more heat and steam until fully bonded.
Stitching the Applique
Once all pieces are fused, sew around each shape to secure them. Use a small stitch length (especially for tiny details like pupils or whiskers). Go slowly around curves, keeping the needle down when turning corners for control.
You can also add decorative stitching details like whiskers using embroidery thread, keeping stitches slightly spaced for a cleaner look.
Constructing the Basket Shape
After applique, sew darts to shape the bag. Curve the darts slightly instead of making them sharp for a smoother 3D shape. This helps the basket sit better and gives a rounded finish.
Close side seams with a 1 cm seam allowance. Repeat the same construction for the lining, leaving a turning gap on one side.
Attaching the Base
Mark alignment points on both the basket and base, then pin carefully. The base is slightly circular and needs to be eased into the bottom edge.
Sew slowly around the base, adjusting fabric as needed to avoid pleats. Small gathers are fine since it’s a basket structure.
For extra stability, especially on flimsy fabric, you can add a second base layer or a plastic insert.
Turning and Finishing
Turn the basket right side out and tuck the lining inside (if used). Press or pin the top edge so it sits neatly.
Top stitch around the upper edge using a longer stitch length for a clean, professional finish.
Adding Handles and Final Details
Attach the handle to the side seams and secure firmly with stitching. If the machine struggles with thickness, add the handle after construction instead.
For decoration, you can add lights or embellishments by weaving them around the top edge and securing discreetly through the lining or seams.
Final Result
Once complete, the basket should hold its shape, stand upright, and display the applique clearly. Each variation (cat, pumpkin, bunny, princess) follows the same base method but changes in applique and decorative finishing.
The final piece is a sturdy, reusable trick-or-treat basket with a handmade, detailed look.