


LOLLIPOP ROMPER
LOLLIPOP ROMPER


Regular price
$8.50 USD
Regular price
Sale price
$8.50 USD
Unit price
per
Couldn't load pickup availability
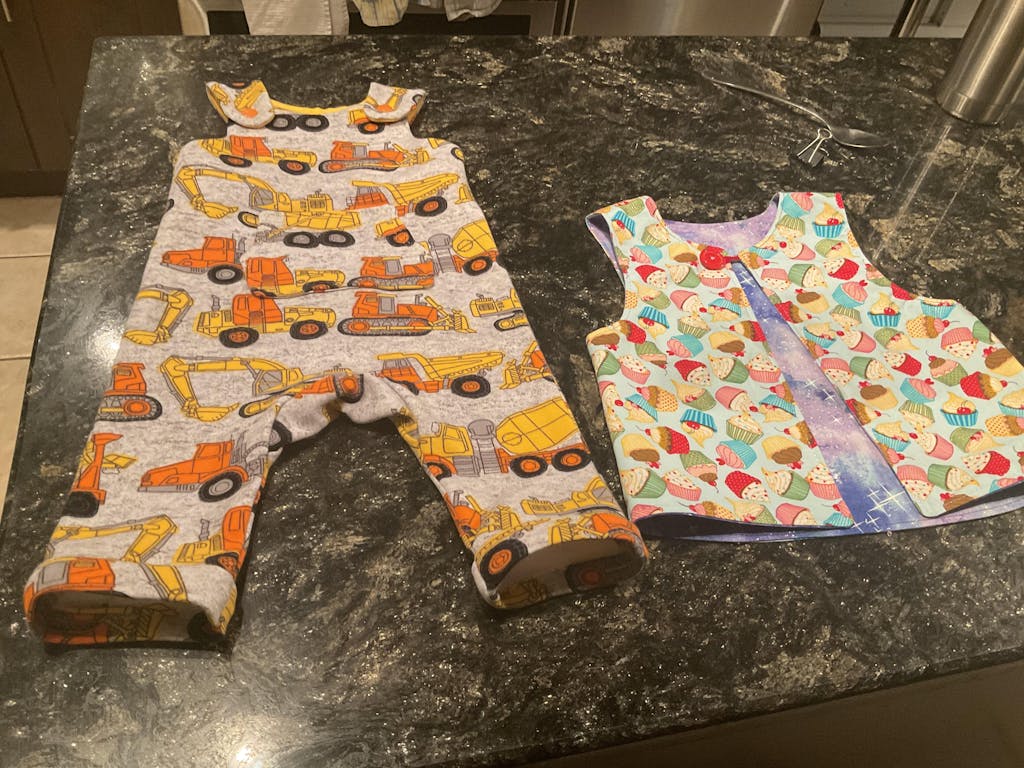
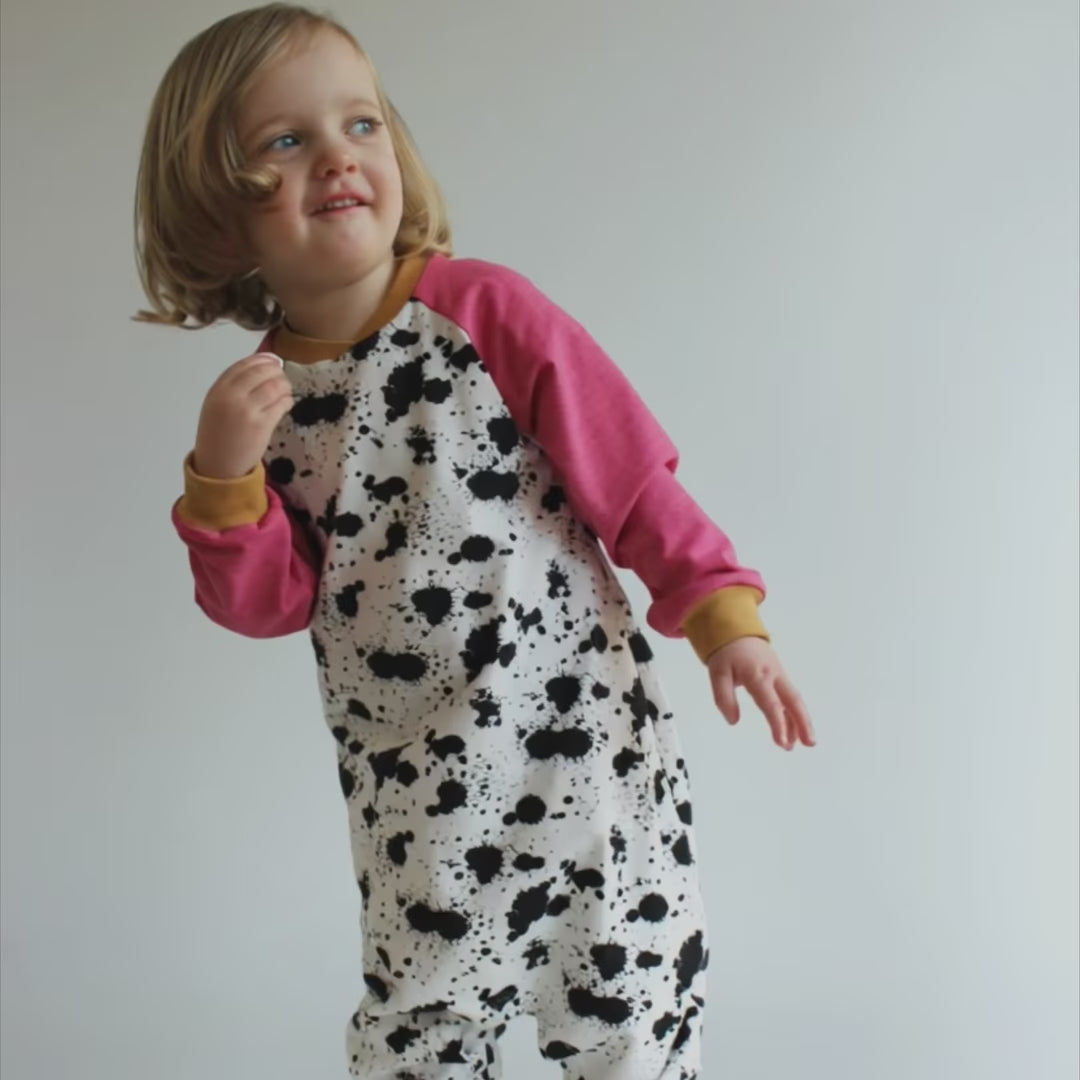
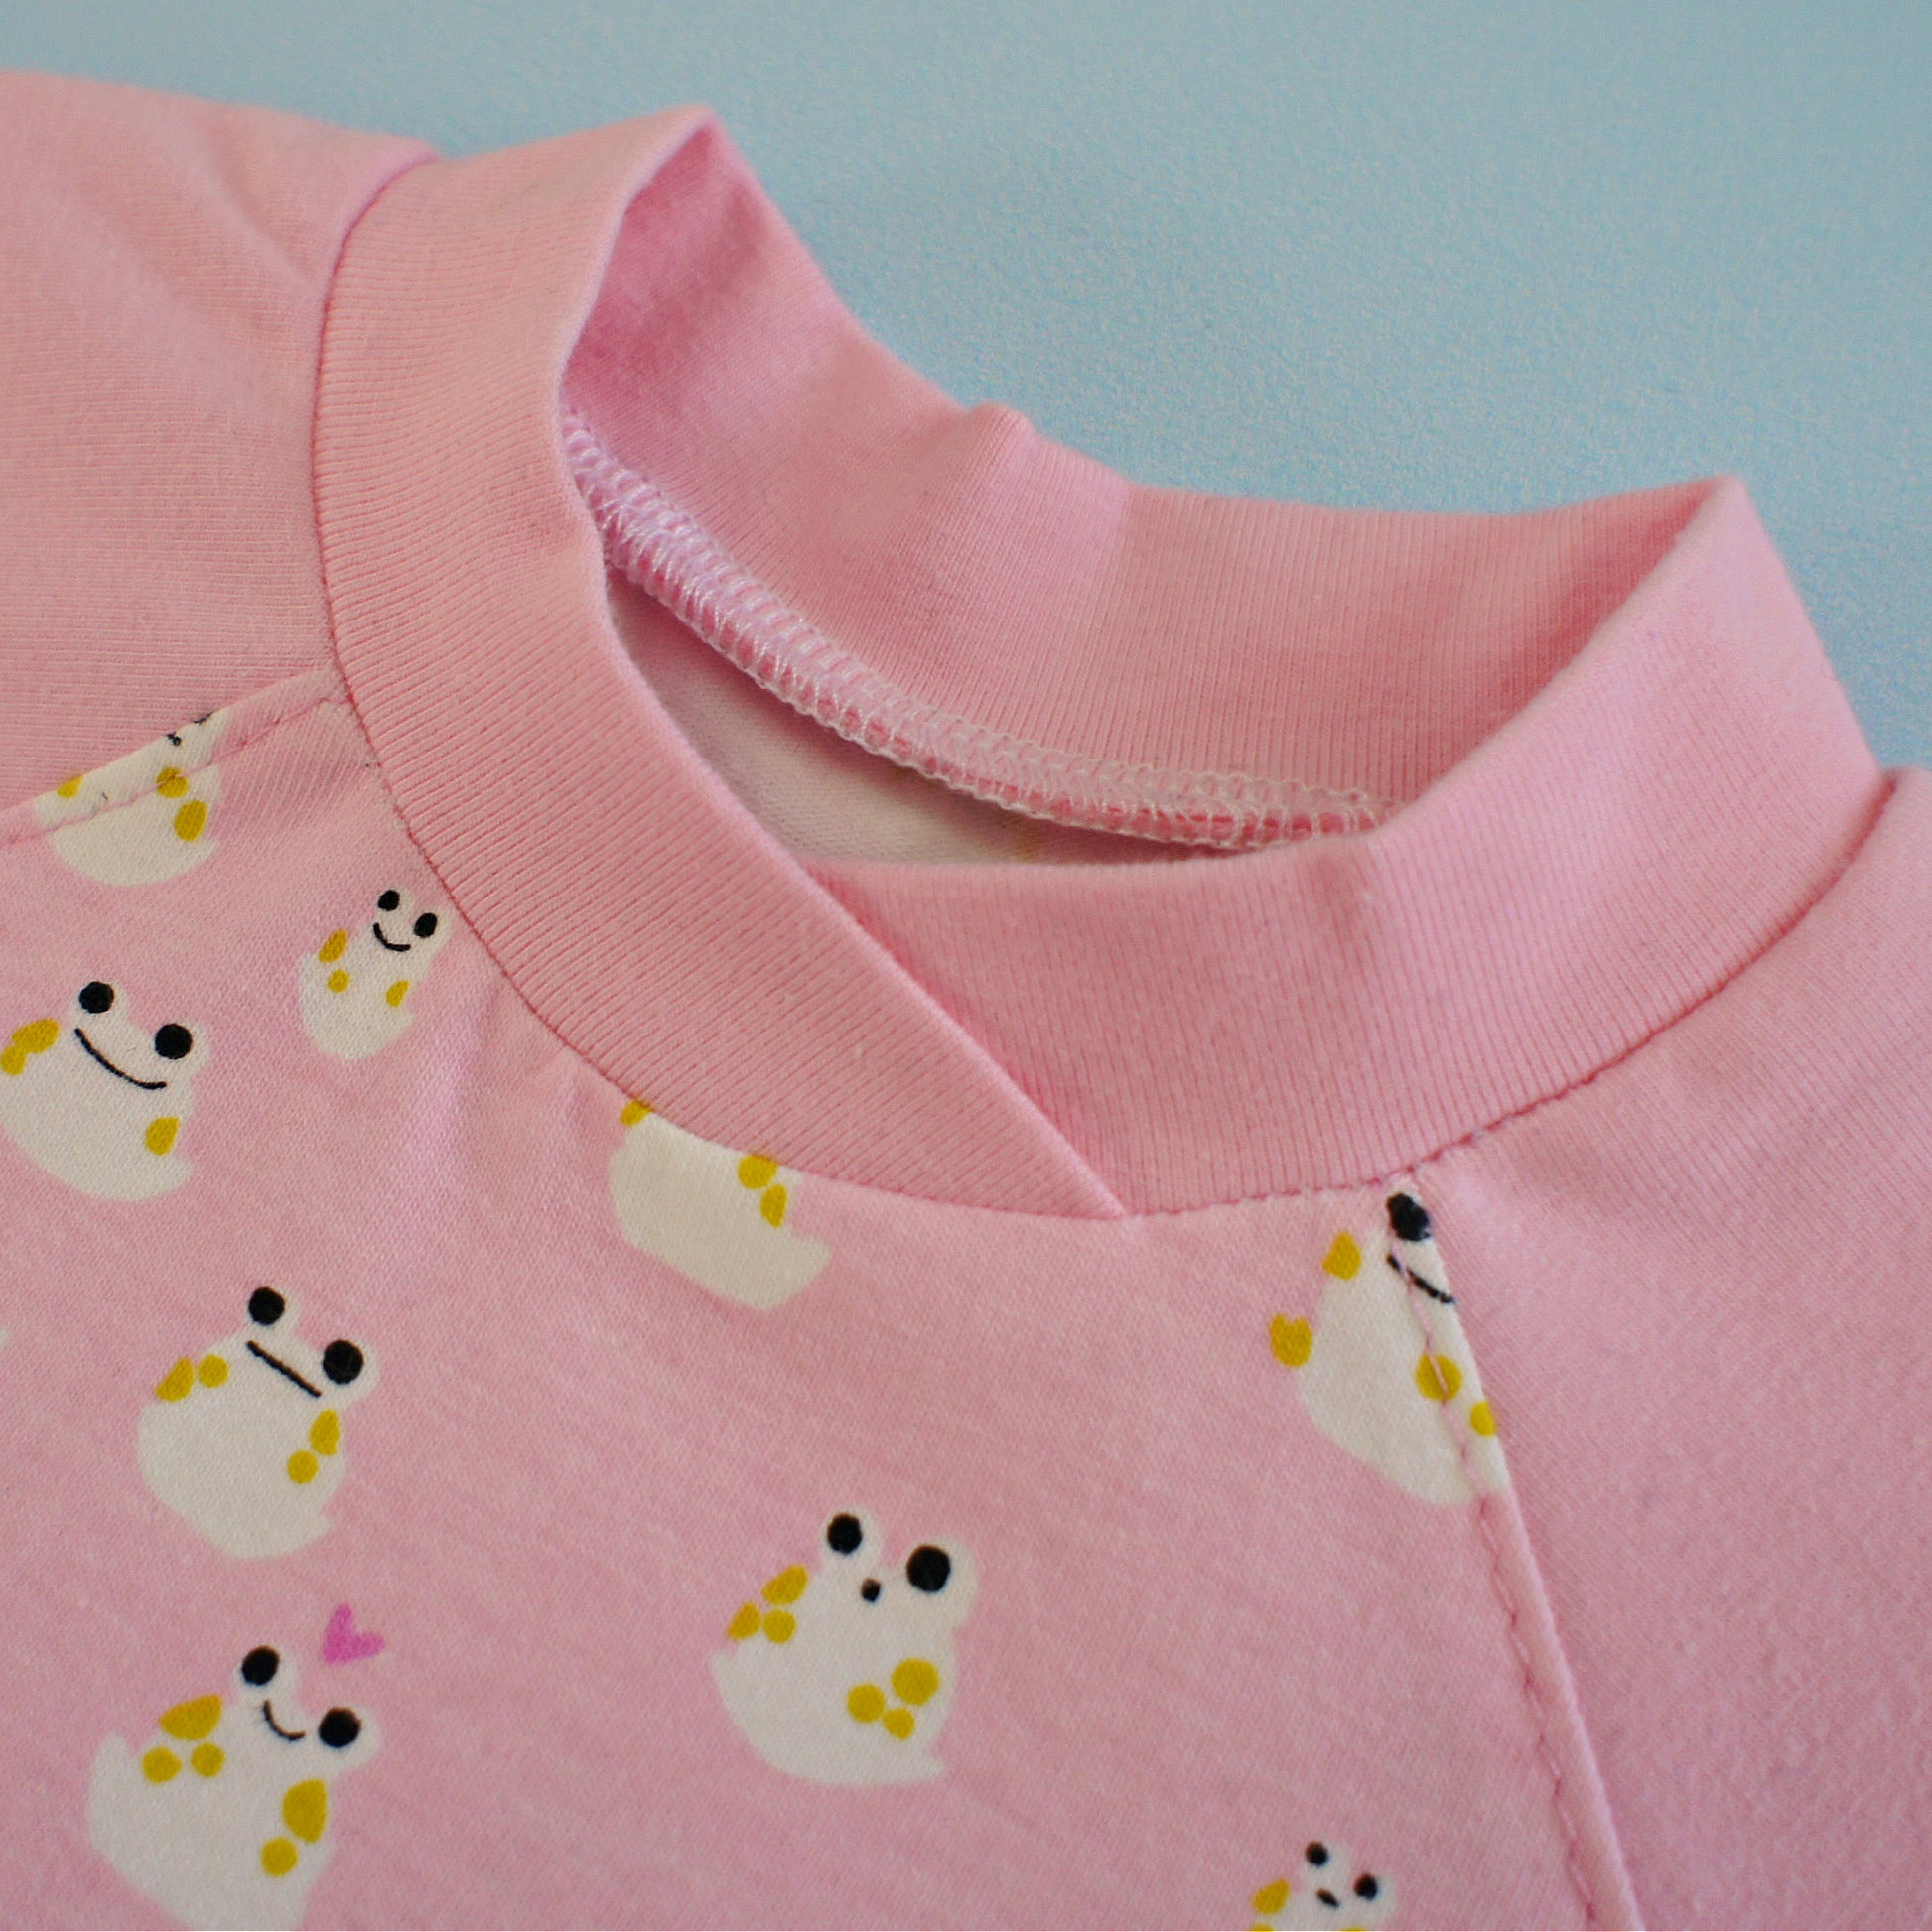
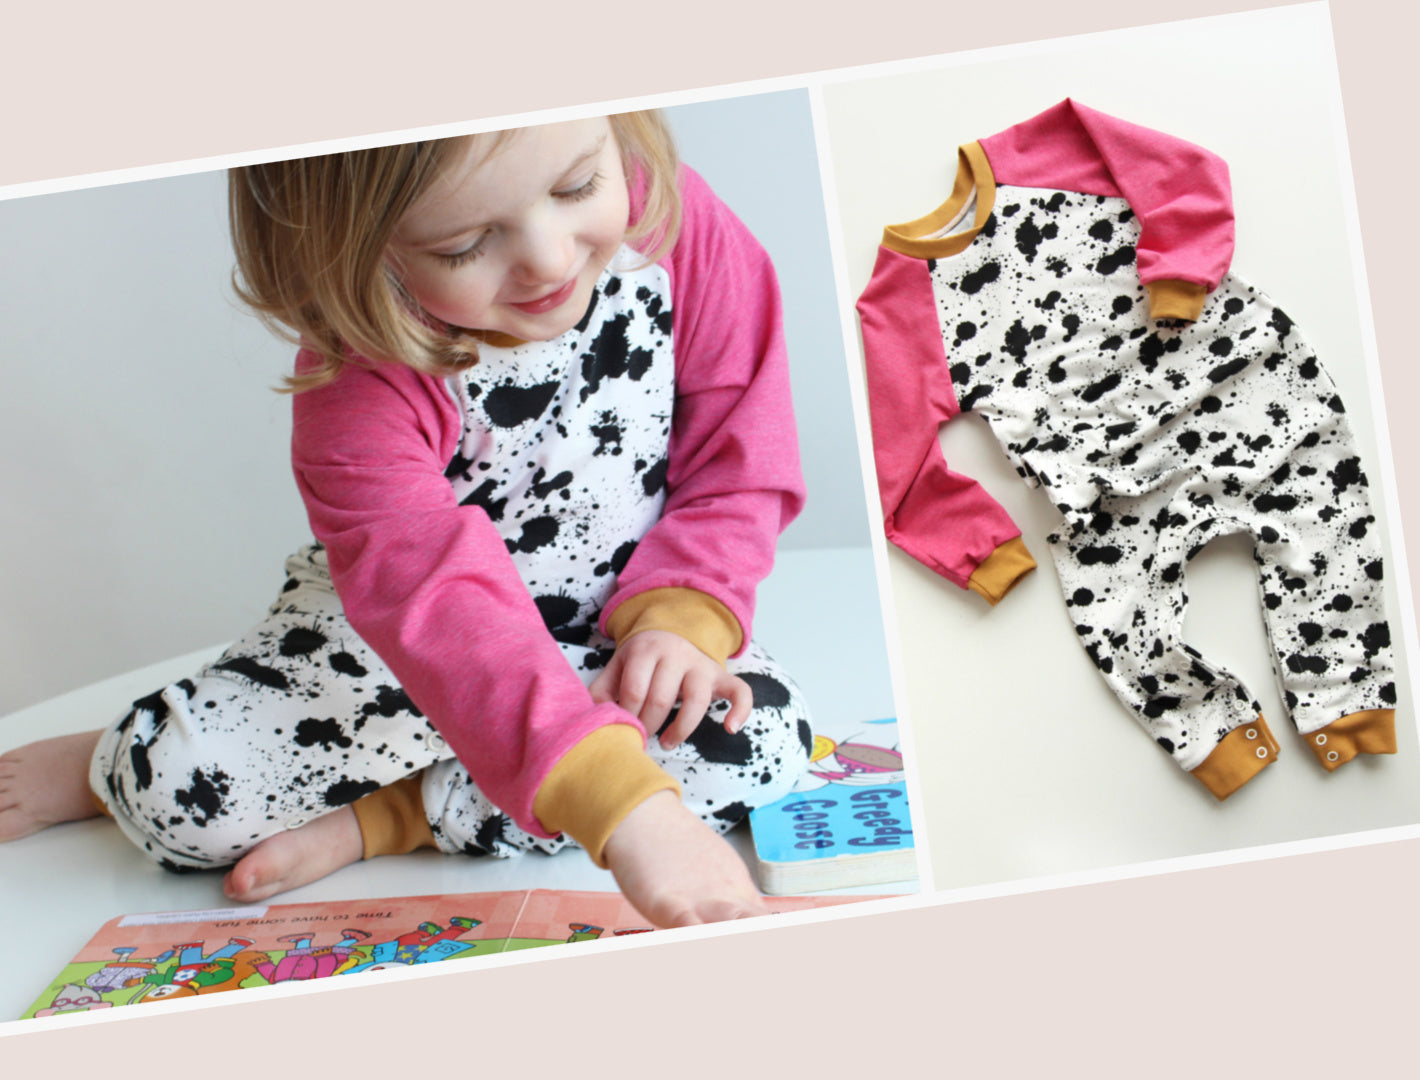
The Lollipop Romper, is the sweetest little PDF sewing pattern for babies and toddlers. Of course I am a little biased but it ticks all the boxes. The raglan sleeves, and handy inner leg snaps work beautifully as cozy pajamas, a cheerful jon‑jon, or an everyday gender‑neutral playsuit.
While the Lollipop Romper isn’t our easiest project, it is packed with support. You’ll find clear video tutorials and a friendly eBook that takes the mystery out of sewing with knits. Scroll down to the video tutorials and see if it’s the perfect next step for you — or one to bookmark for just a little later.
Pattern Download Includes
Pattern Download Includes
Design Options
Design Options
Fabric Requirements
Fabric Requirements
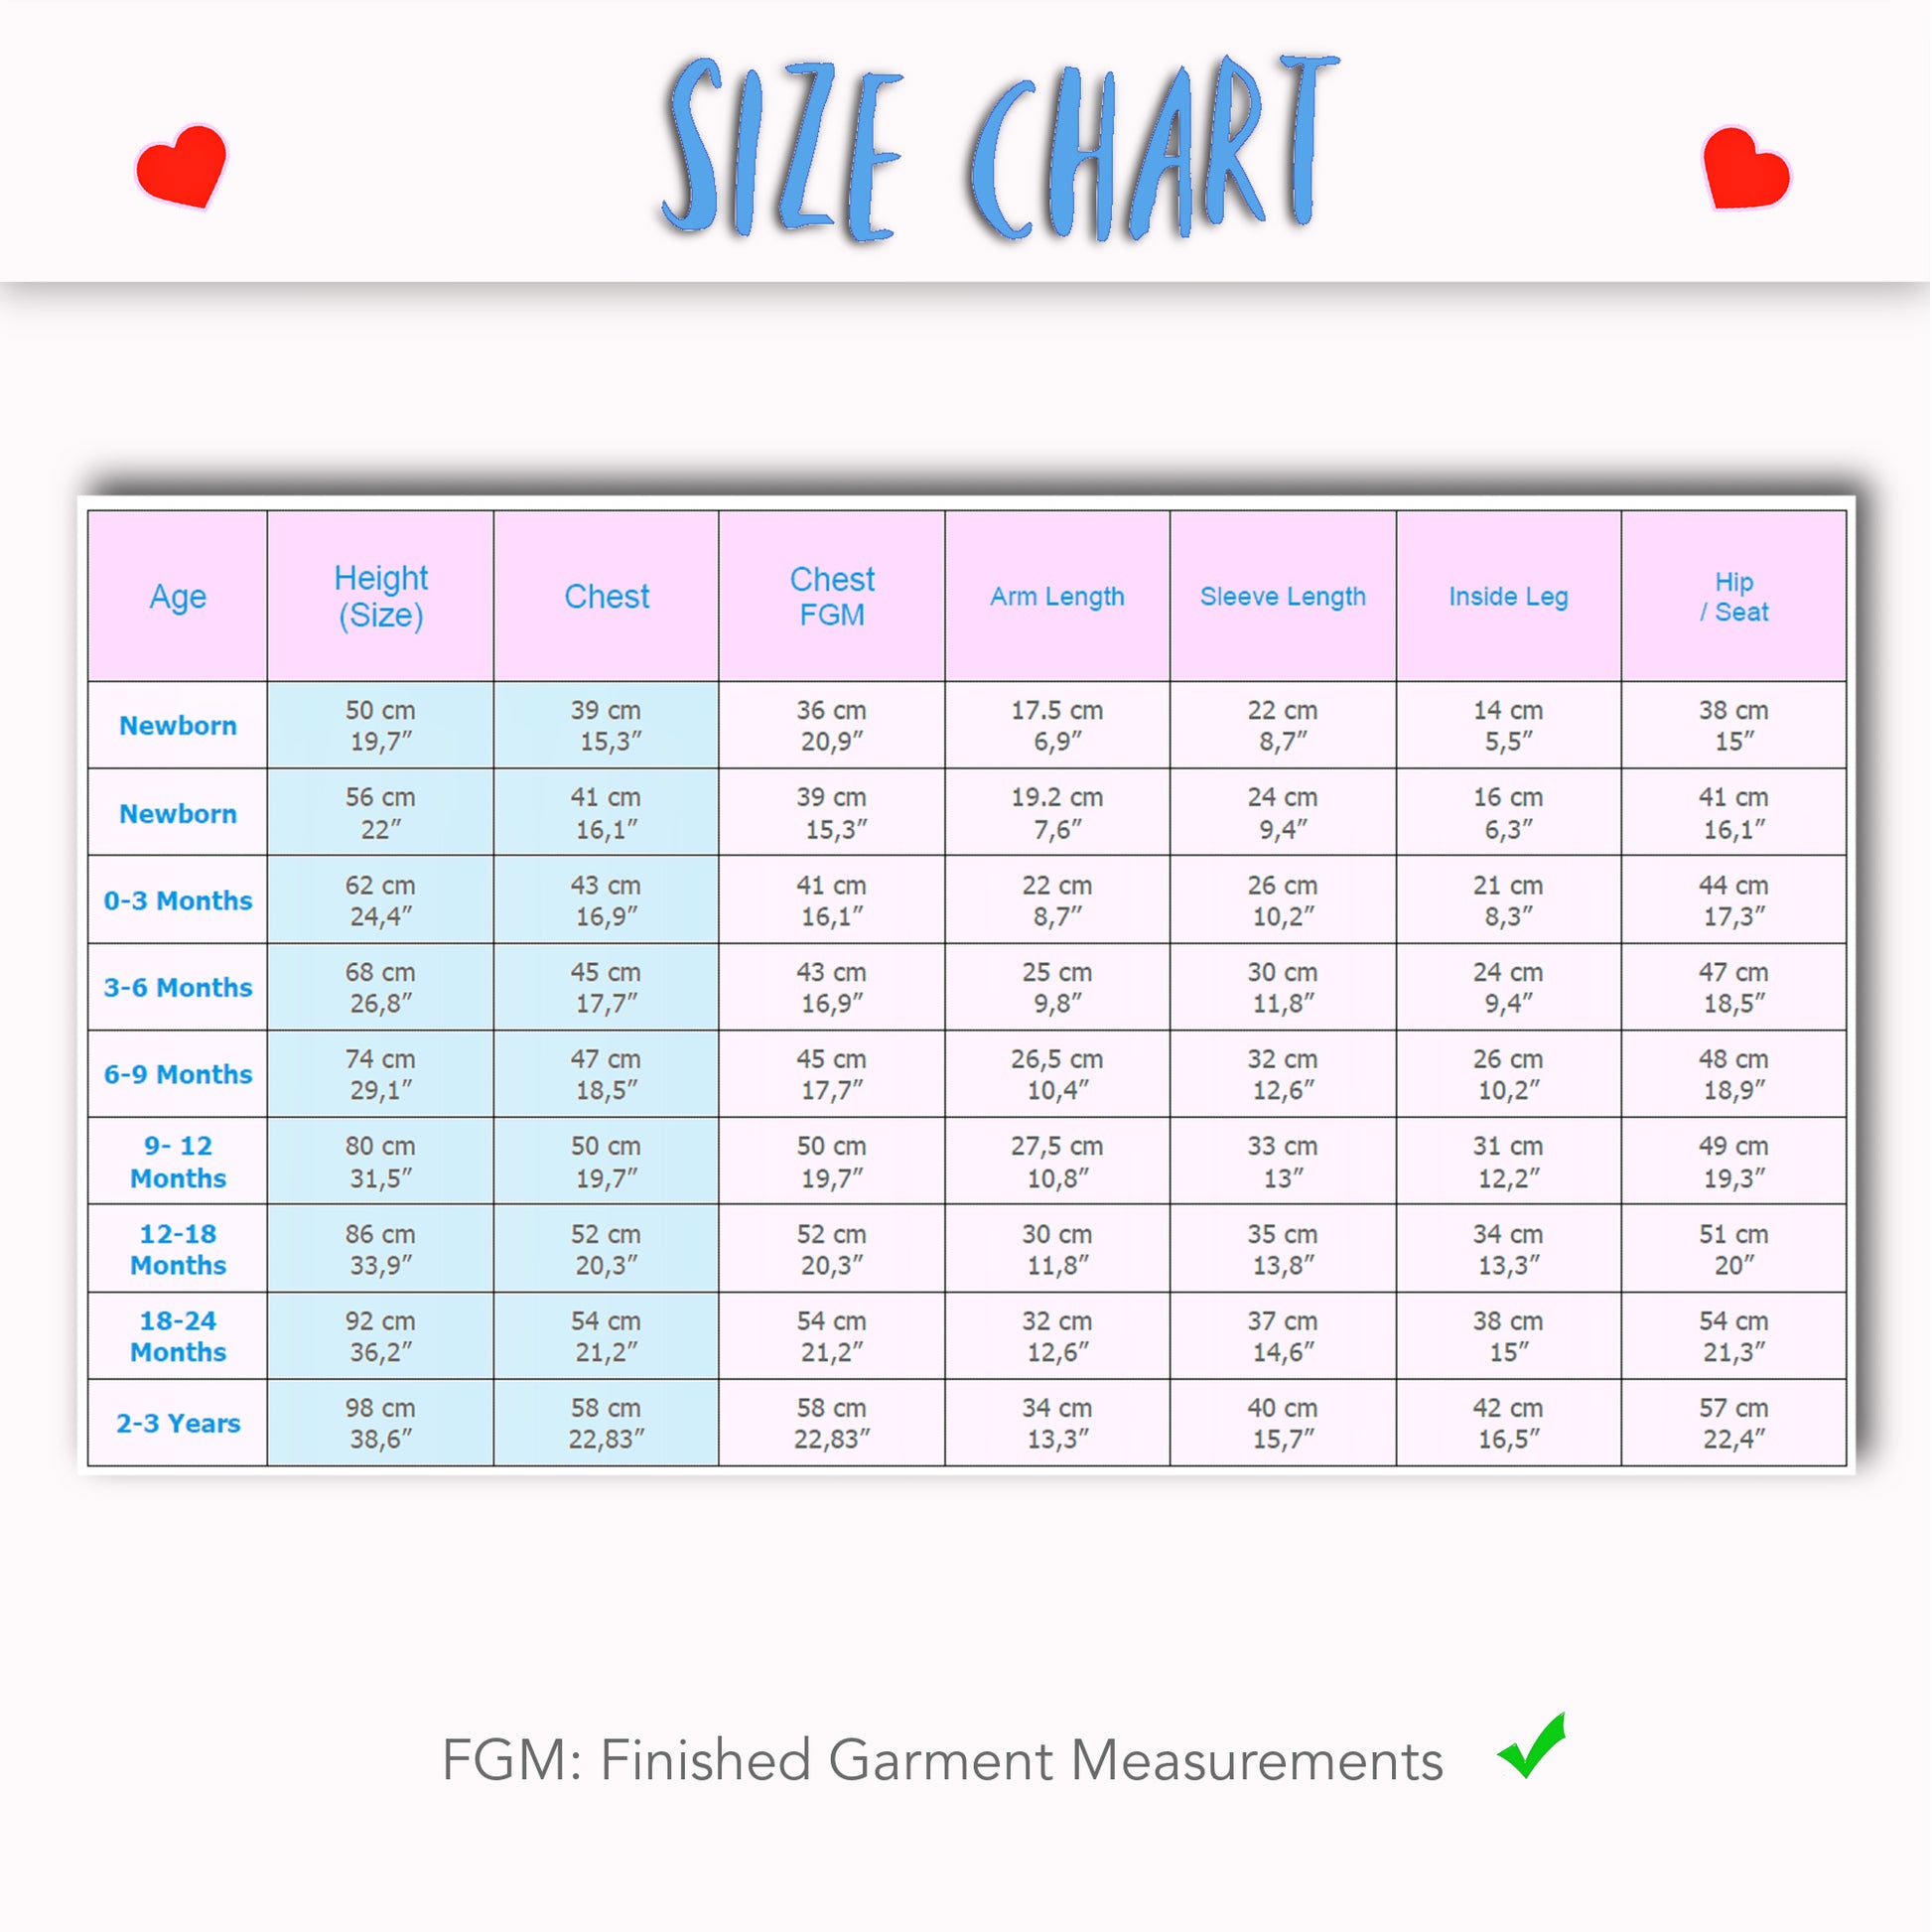
Available Sizes
Available Sizes
Please Read
Please Read


STEP-BY-STEP VIDEO TUTORIALS
INTRODUCTION TO THE PROJECT
THE PATTERN
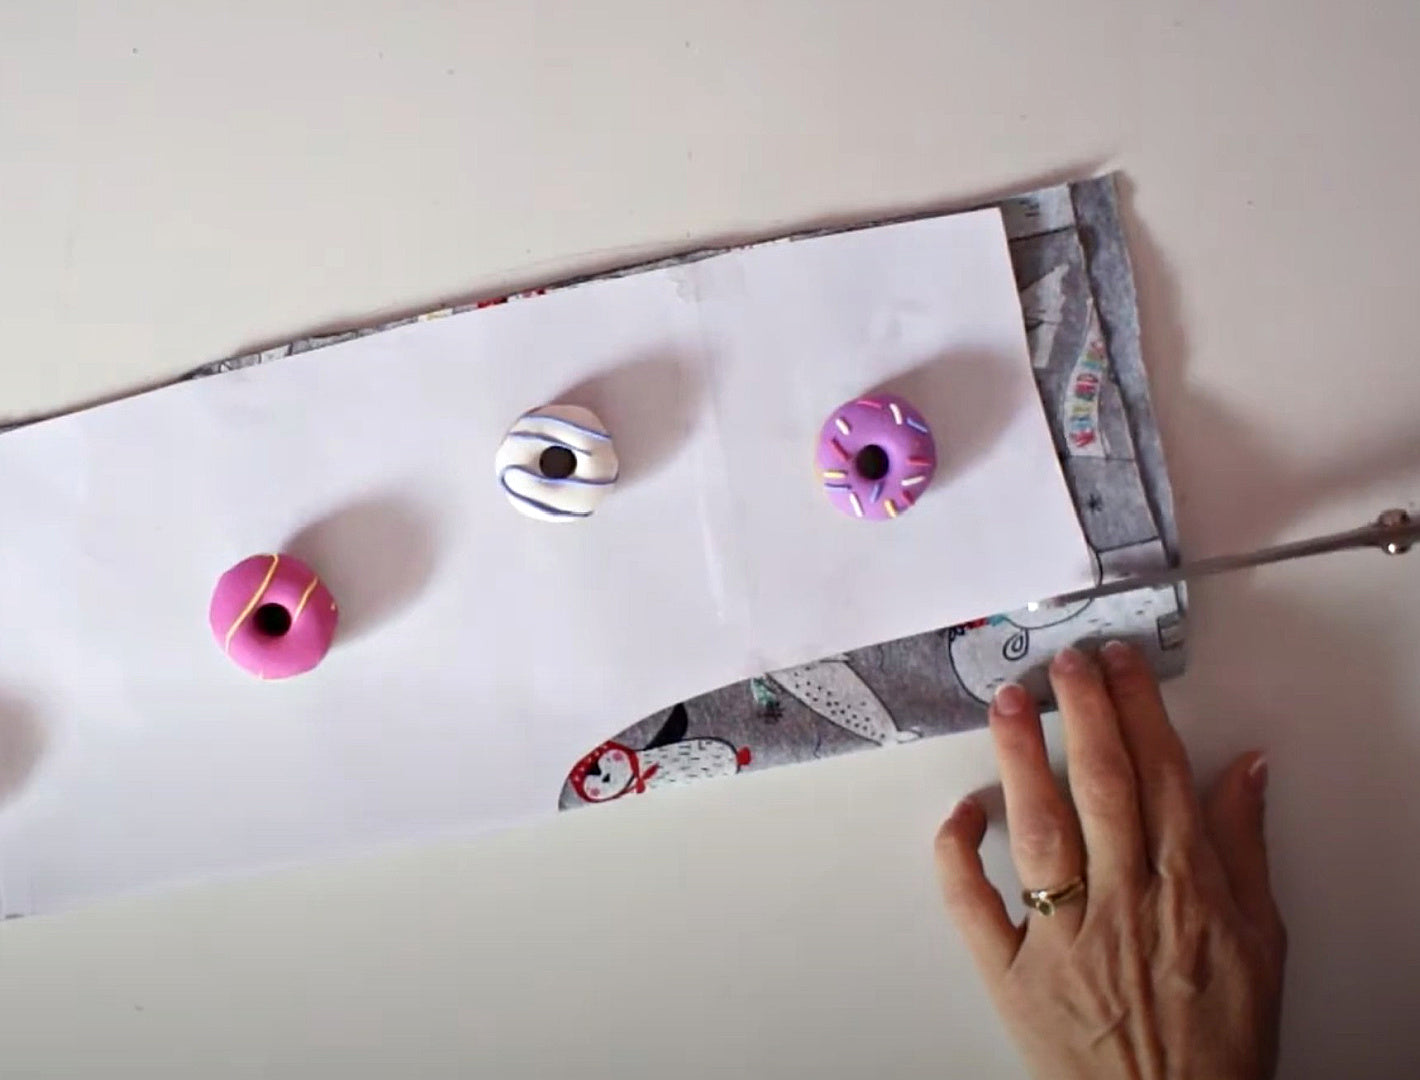
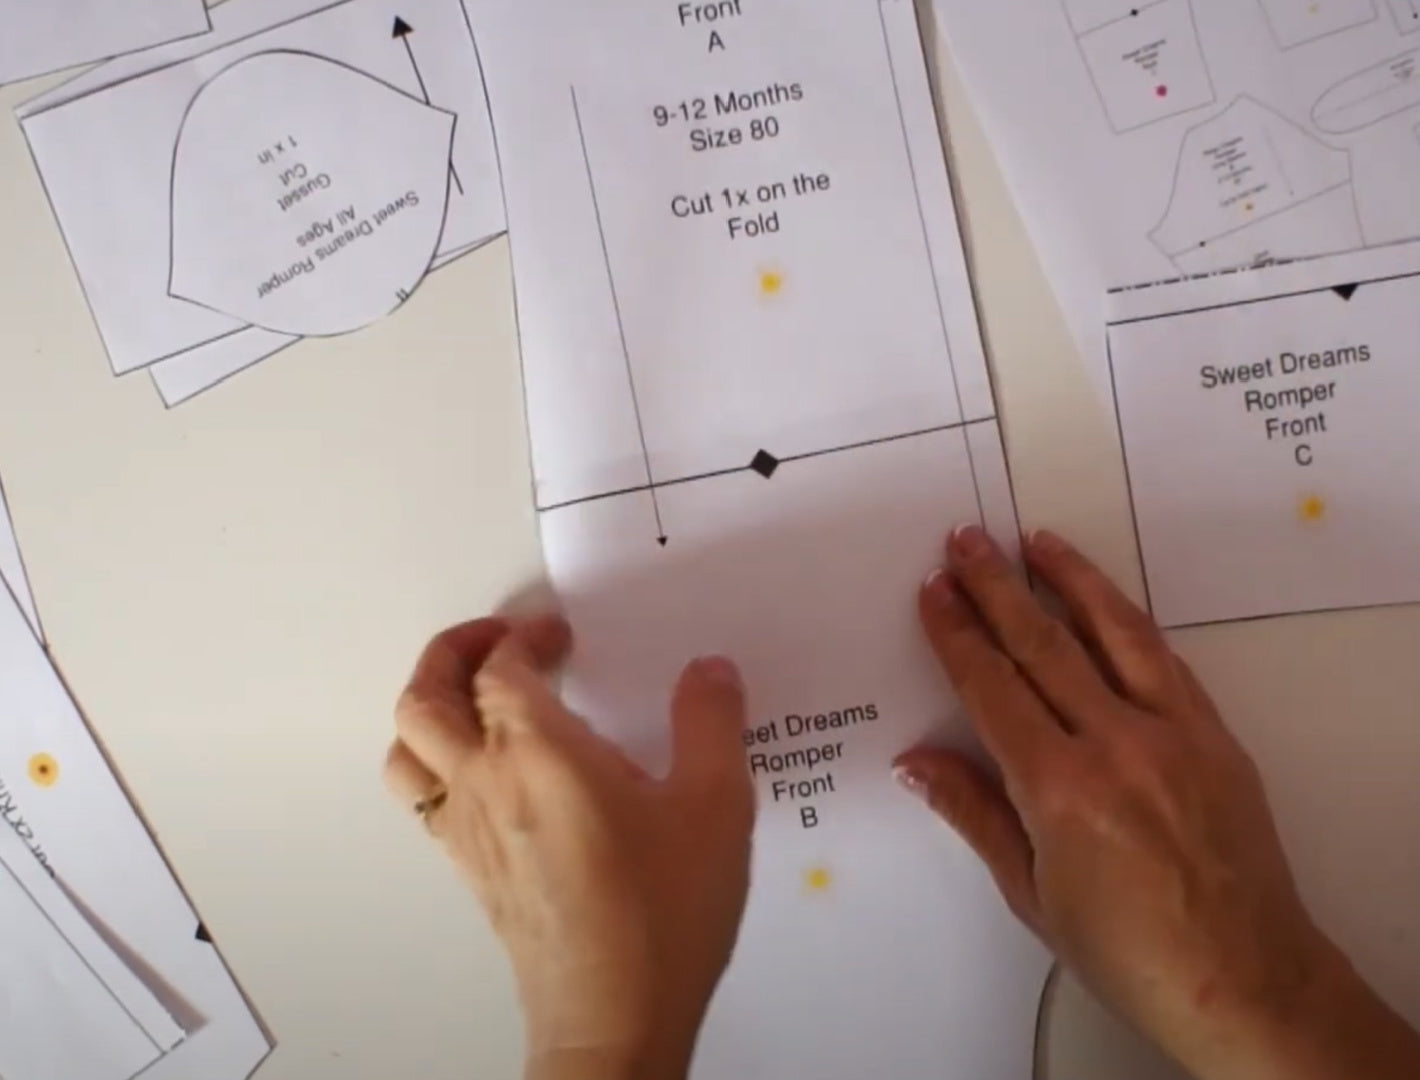
CUTTING OUT
INSERTING THE FRONT FACING

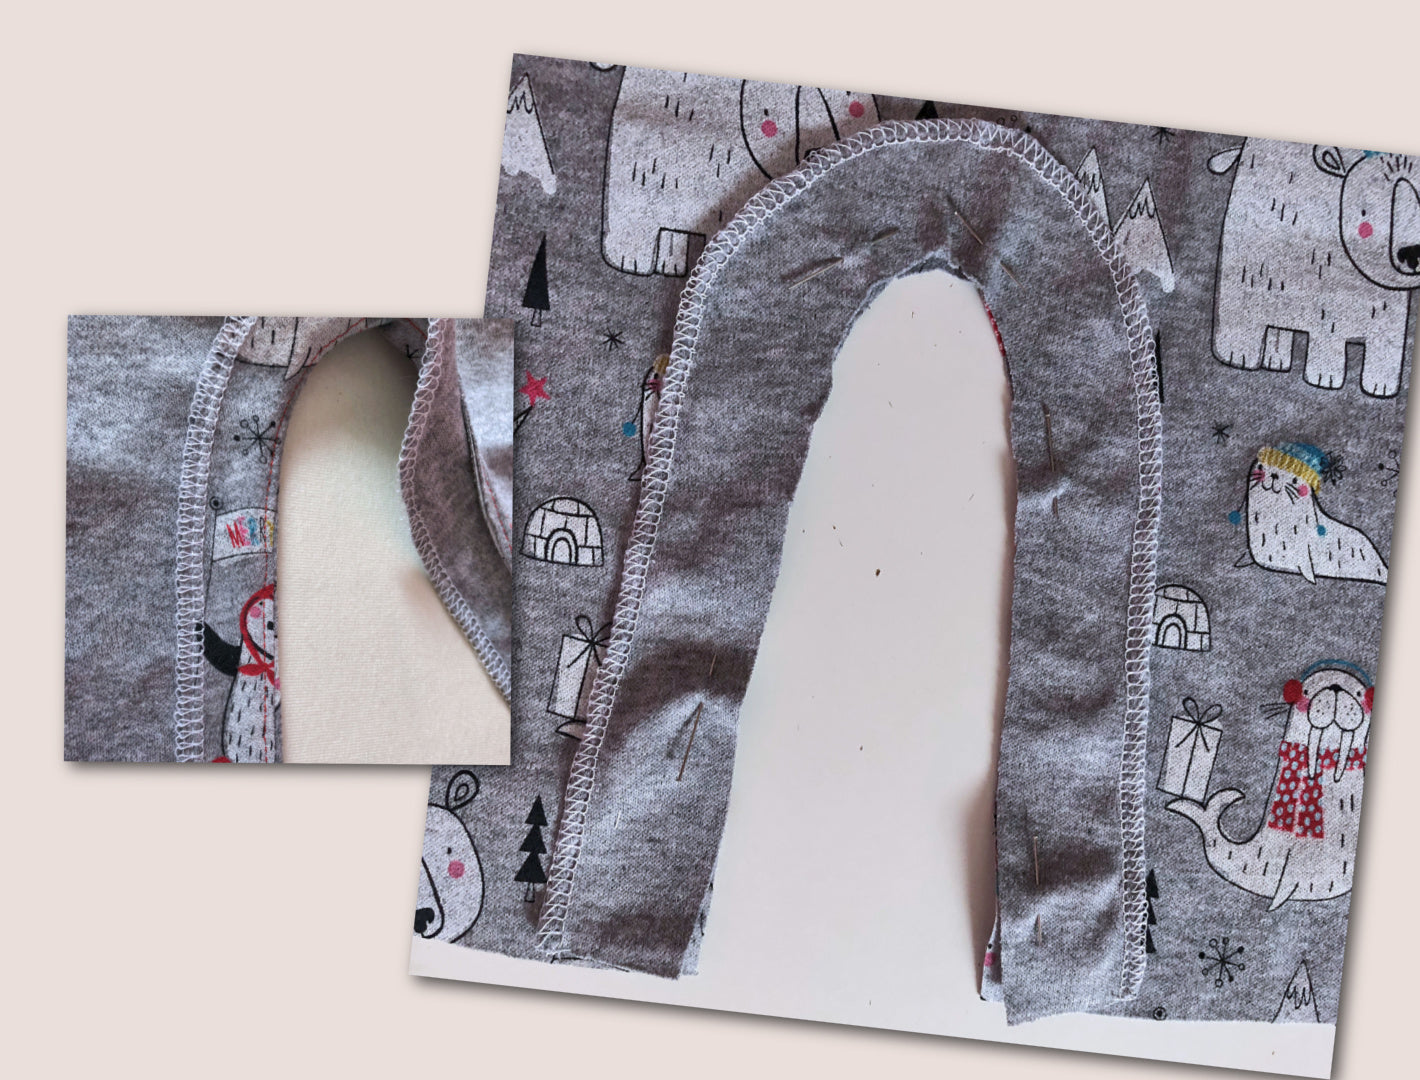
THE GUSSET
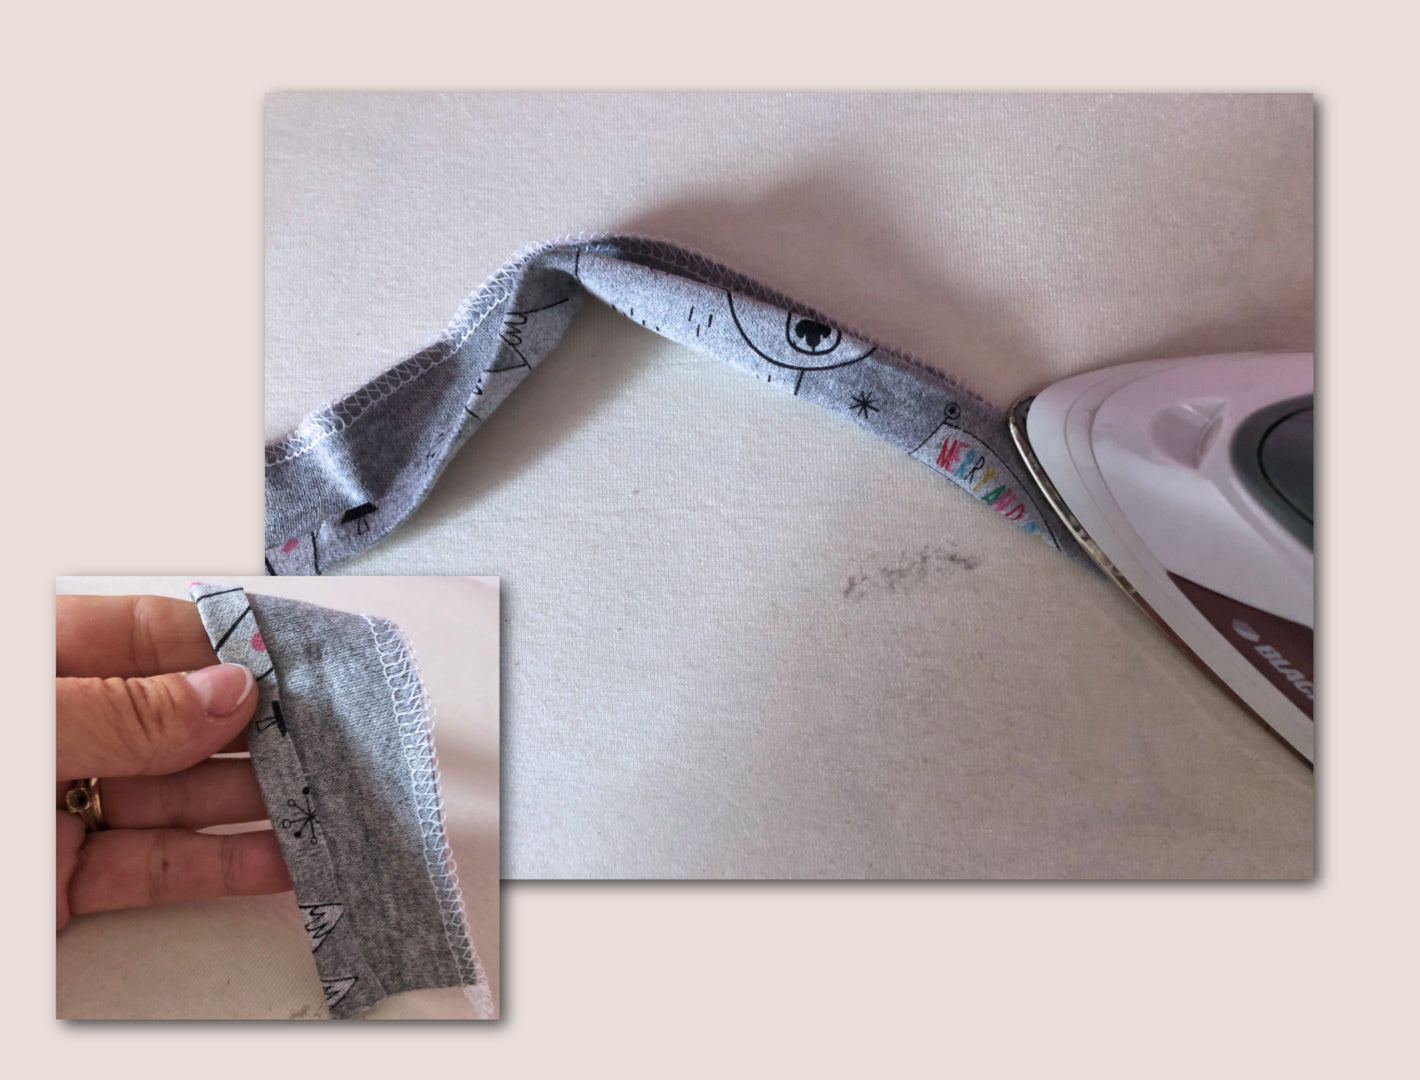
PREPARING THE INNER LEG BINDING
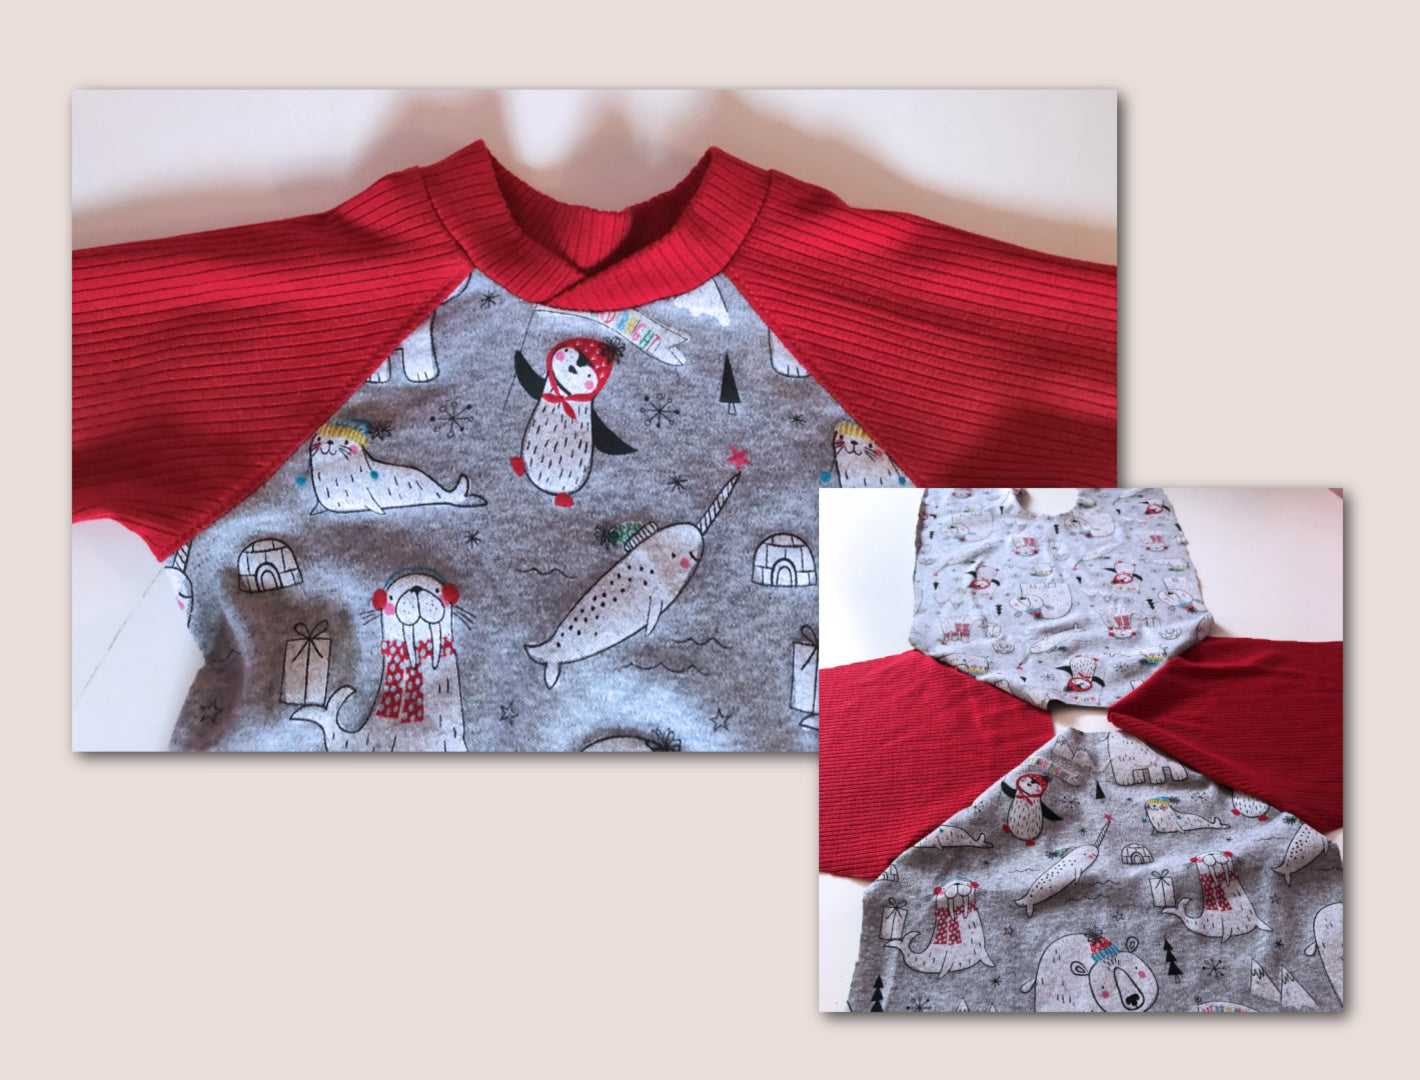
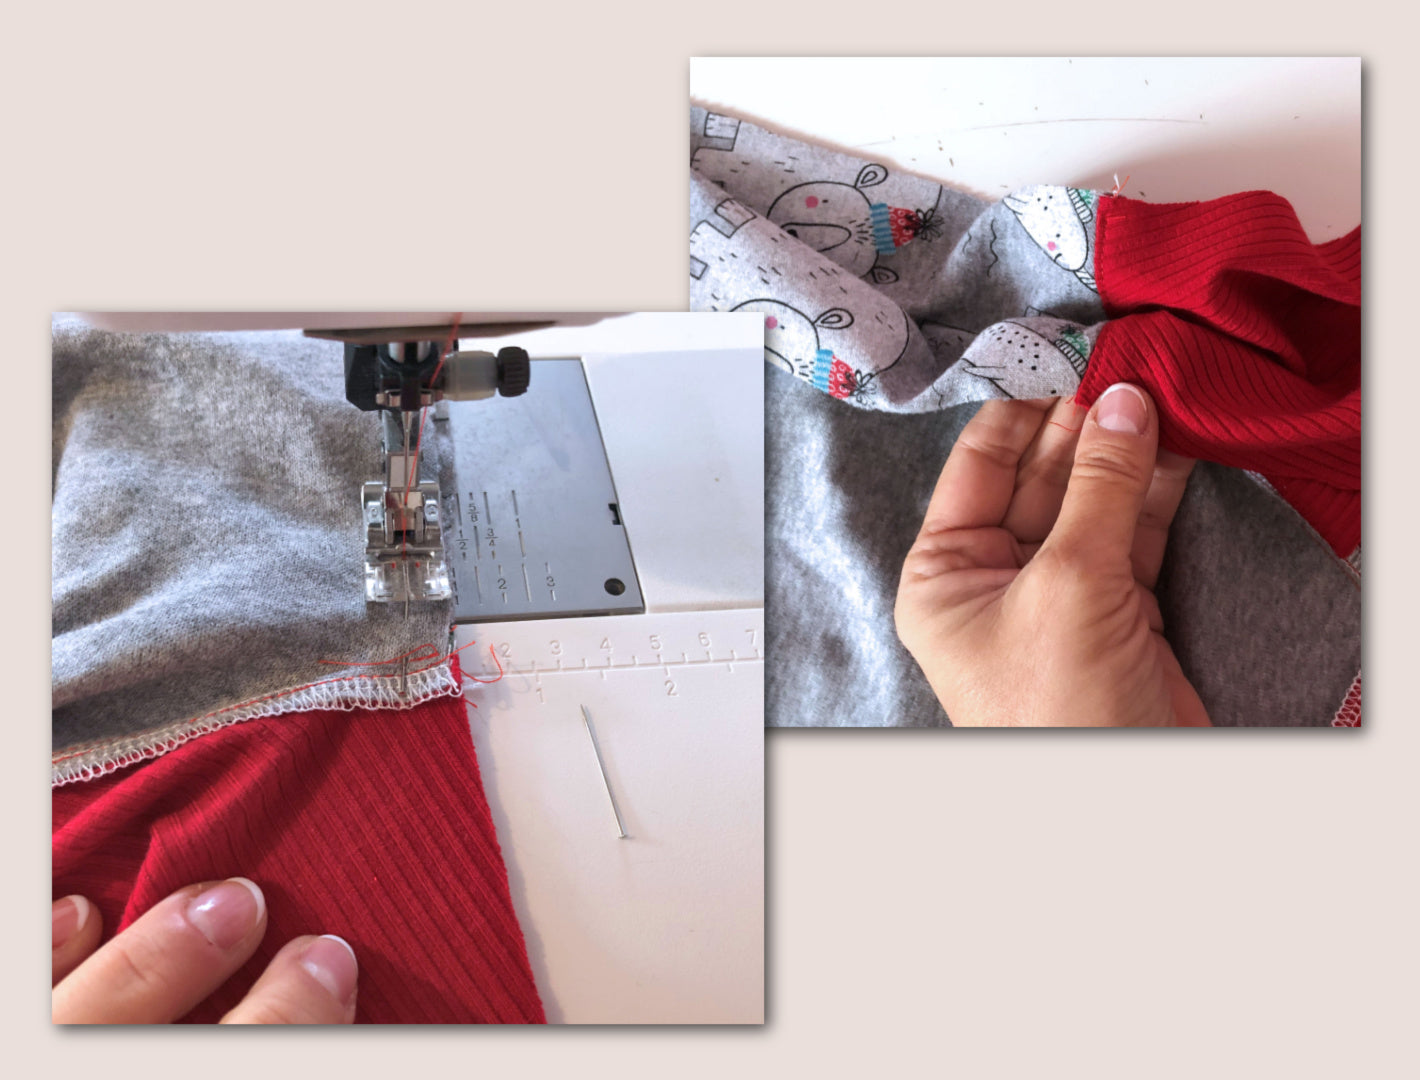
THE RAGLAN SLEEVES

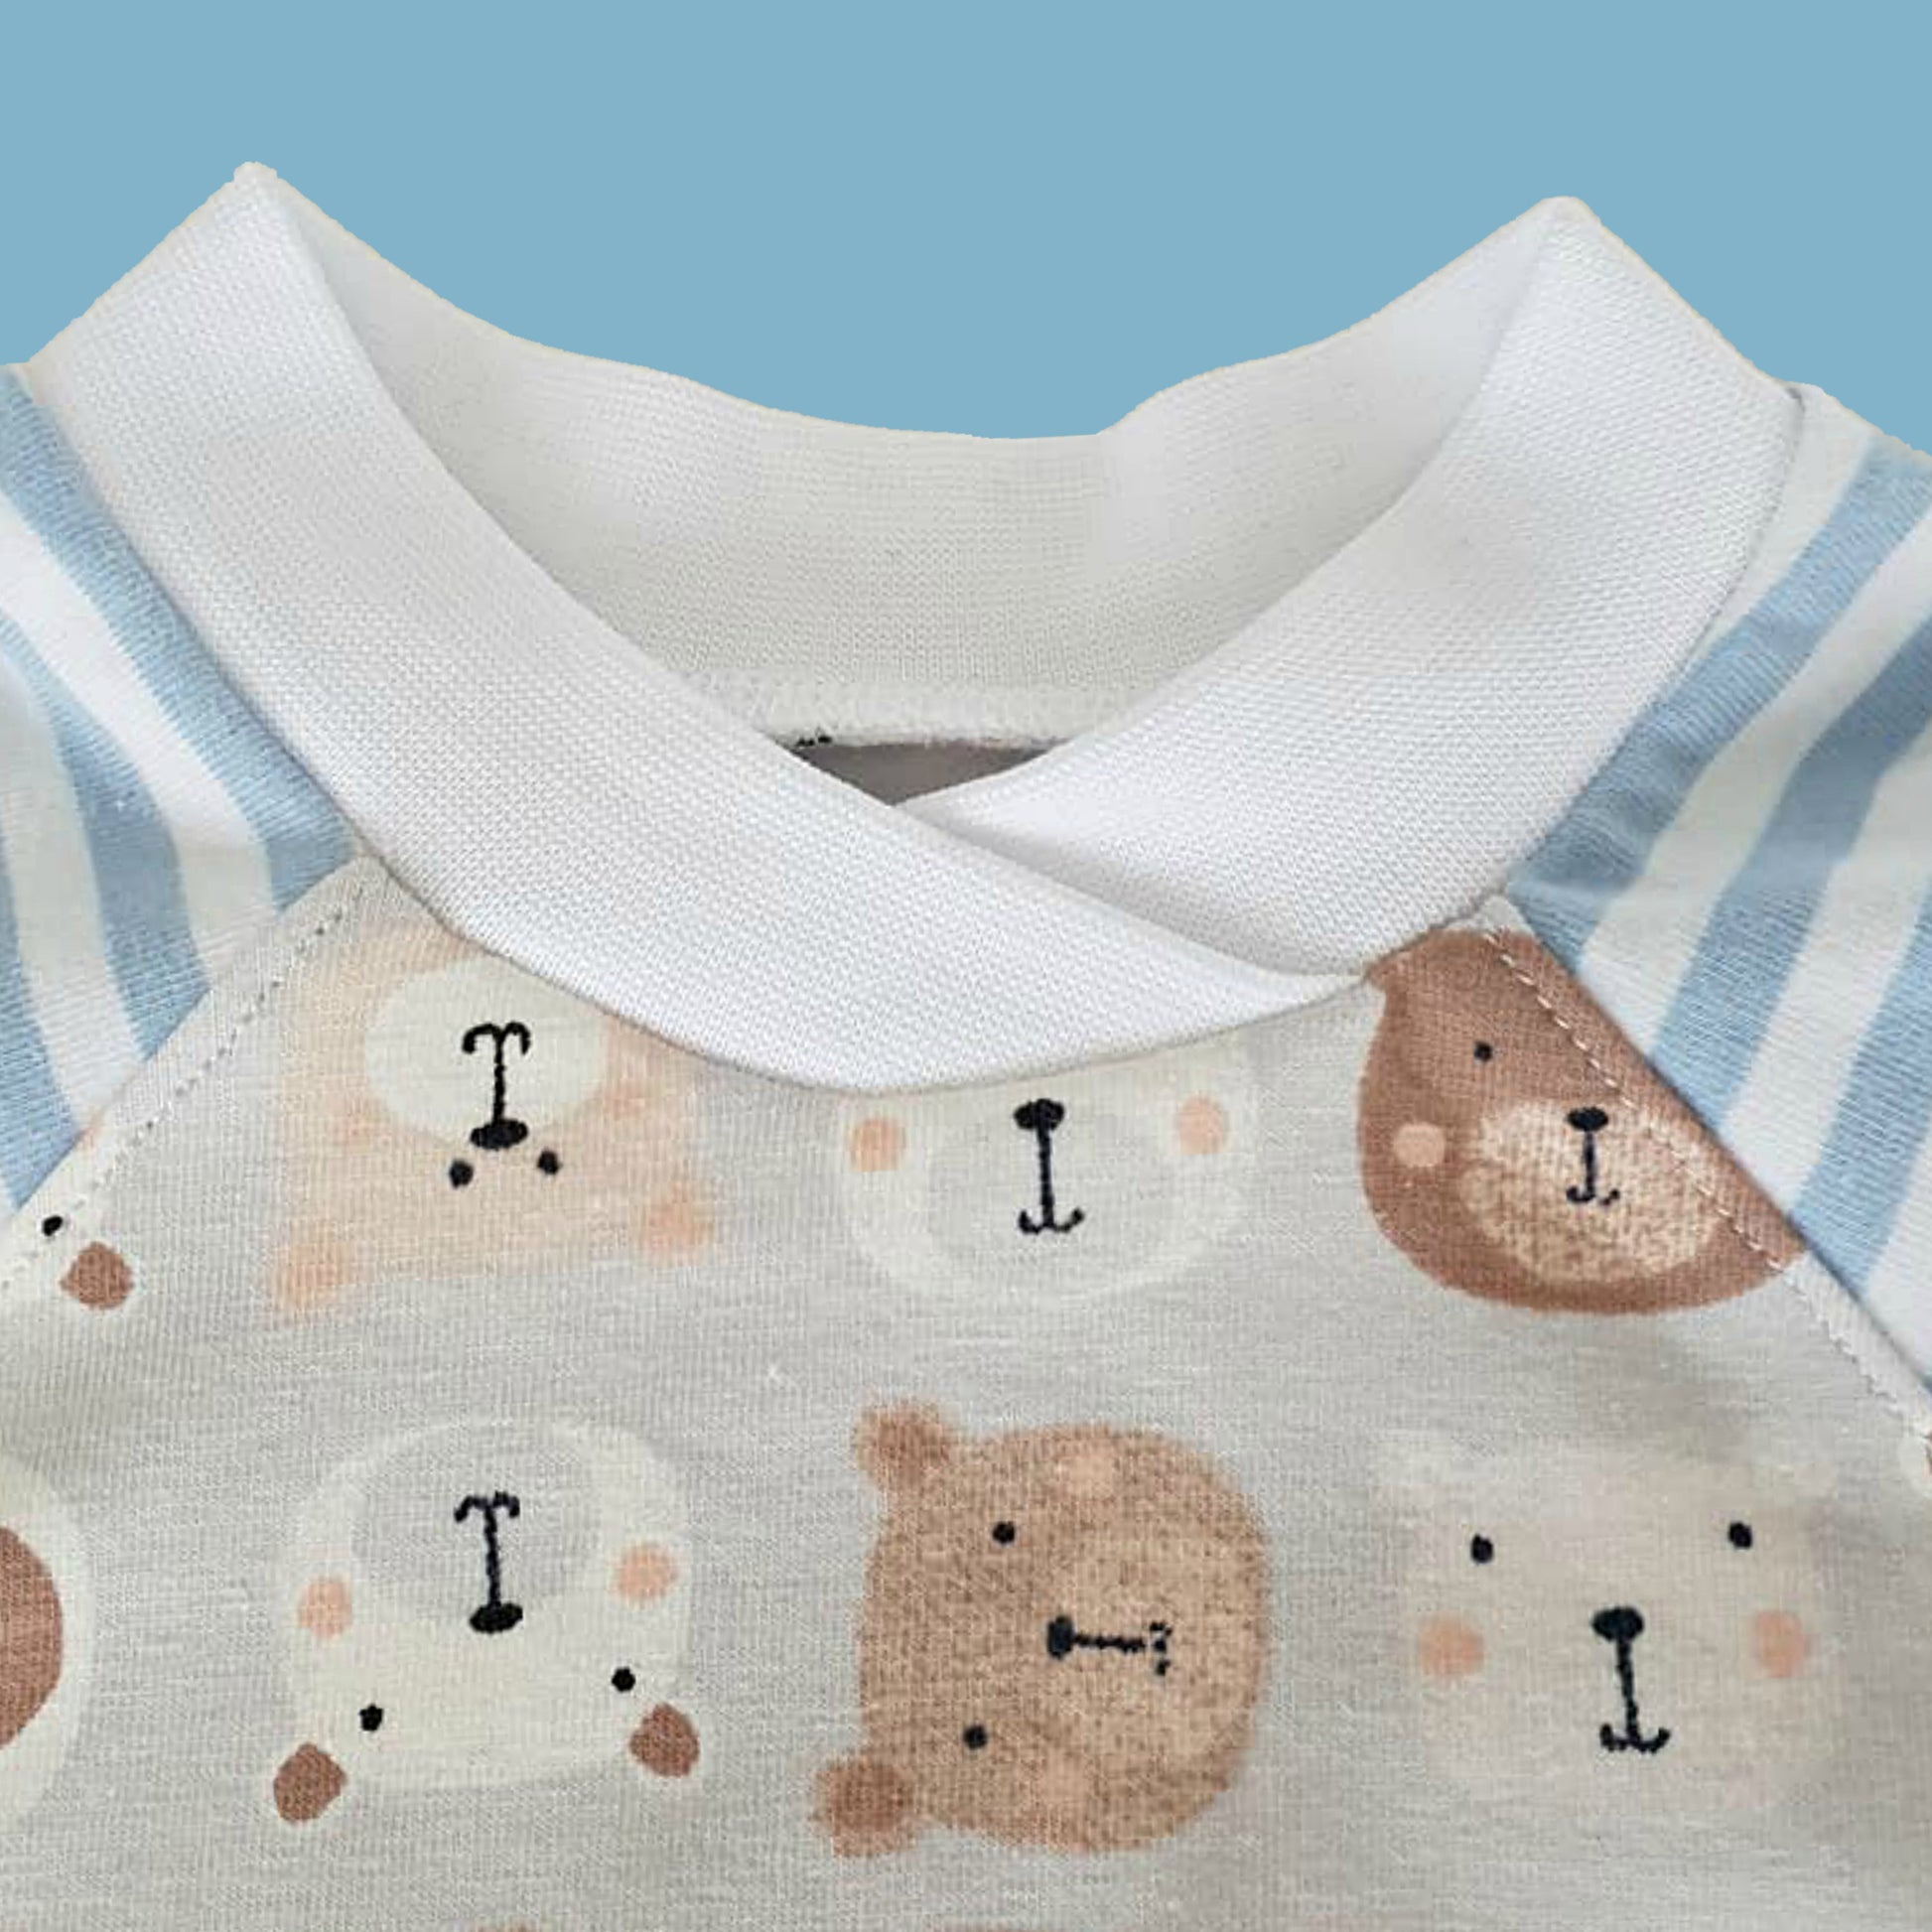
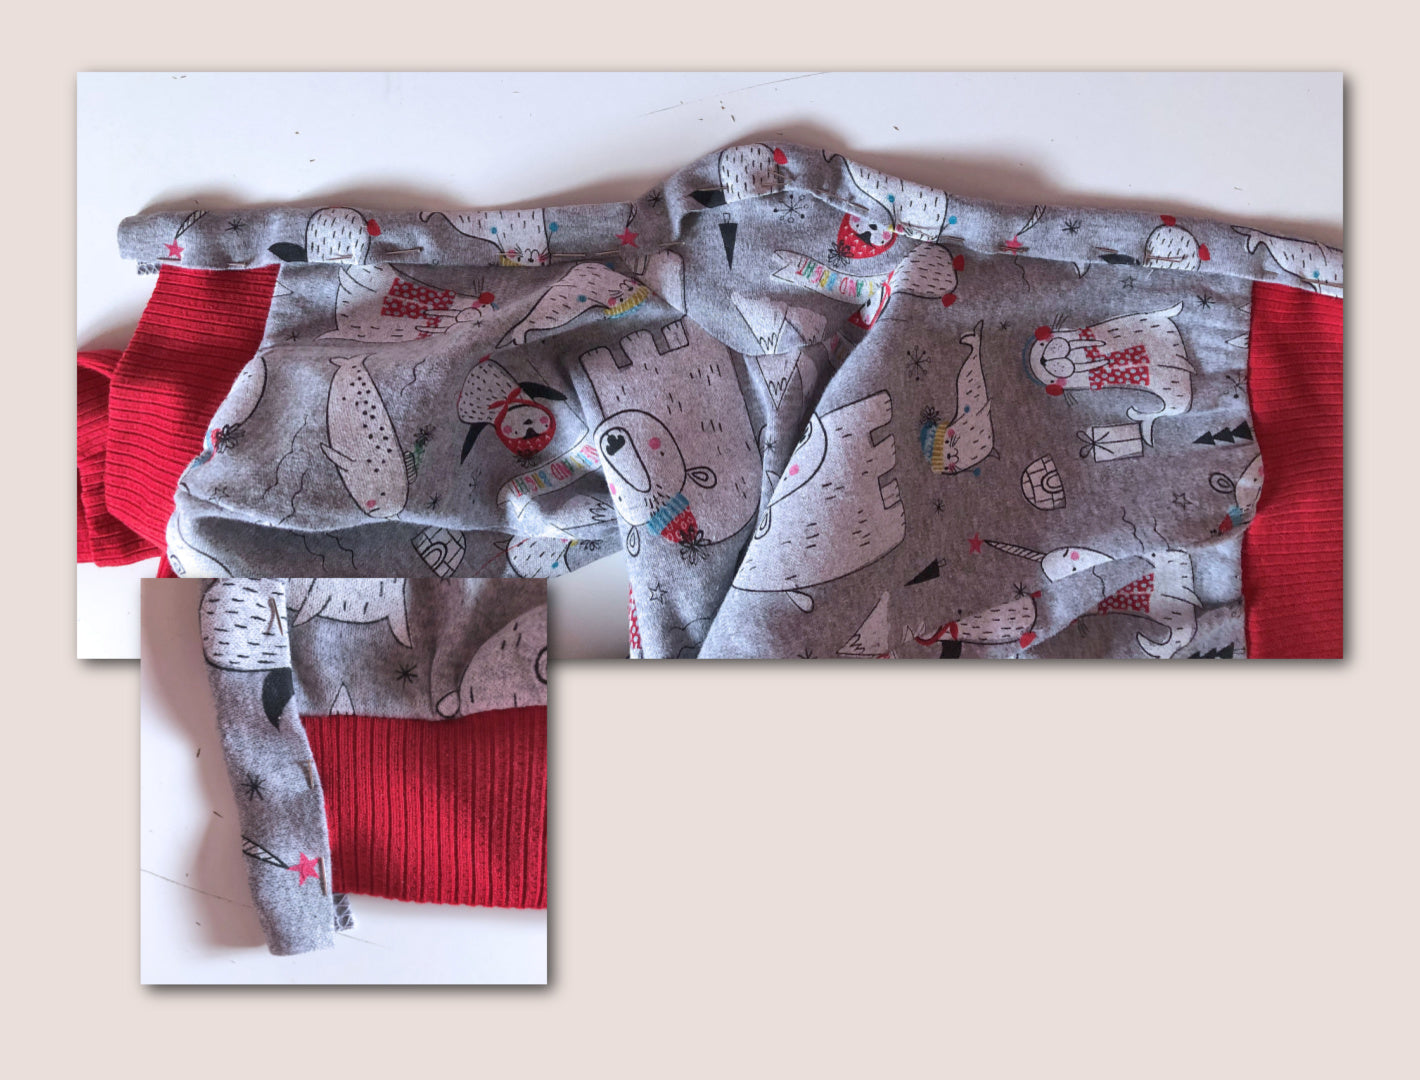
THE NECKBAND
THE SIDE SEAMS
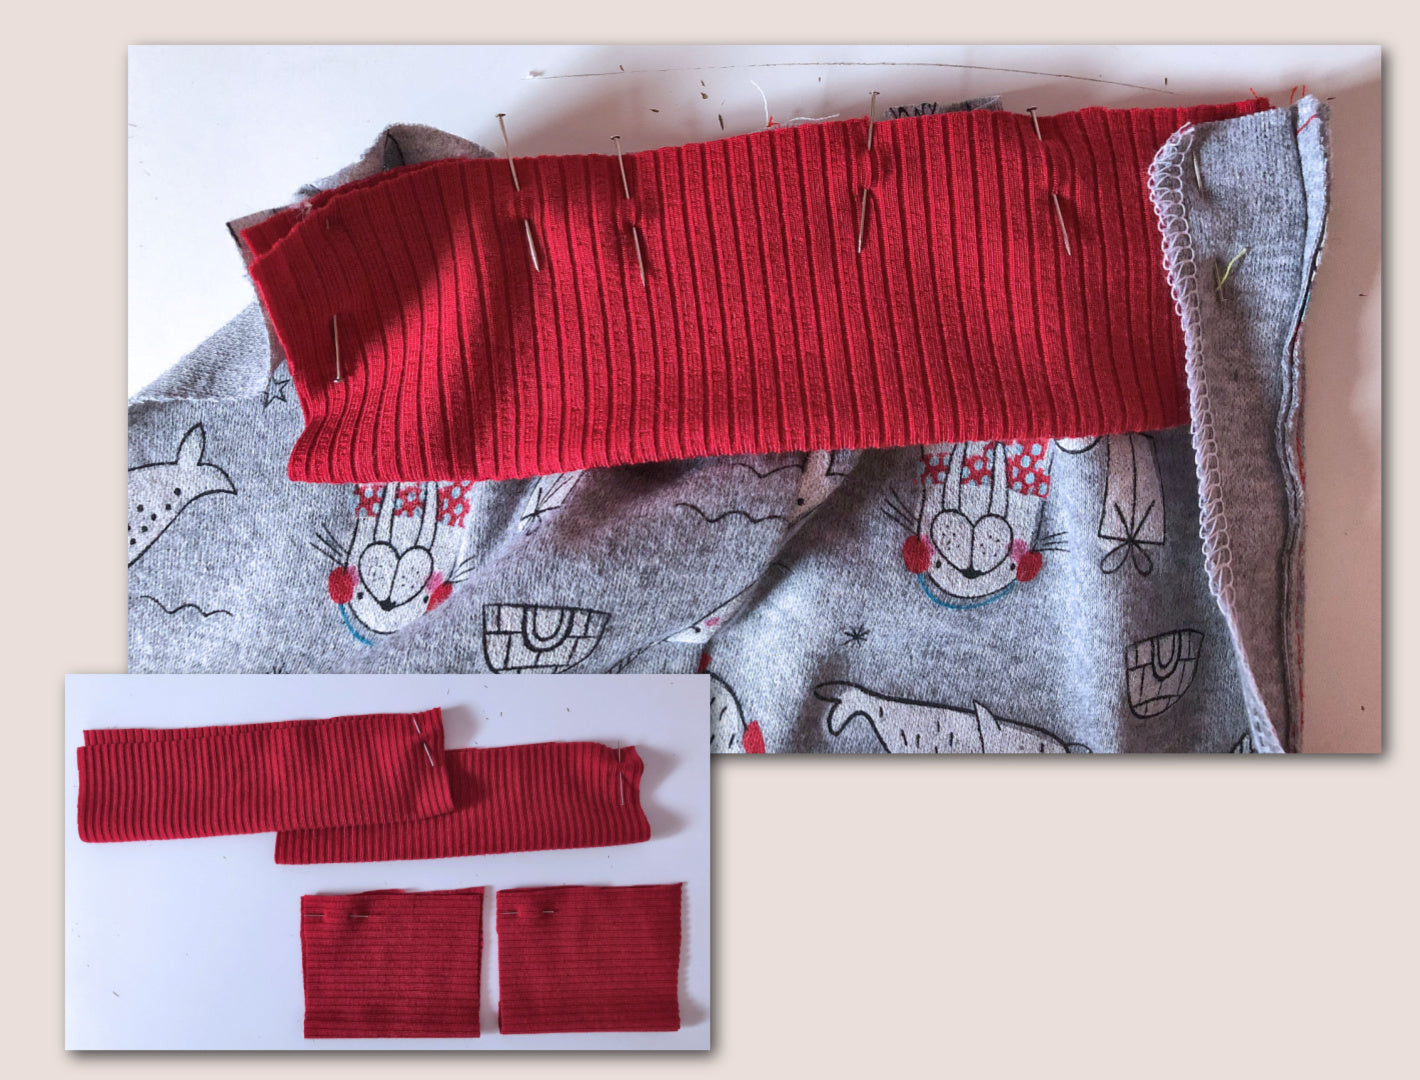
THE CUFFS
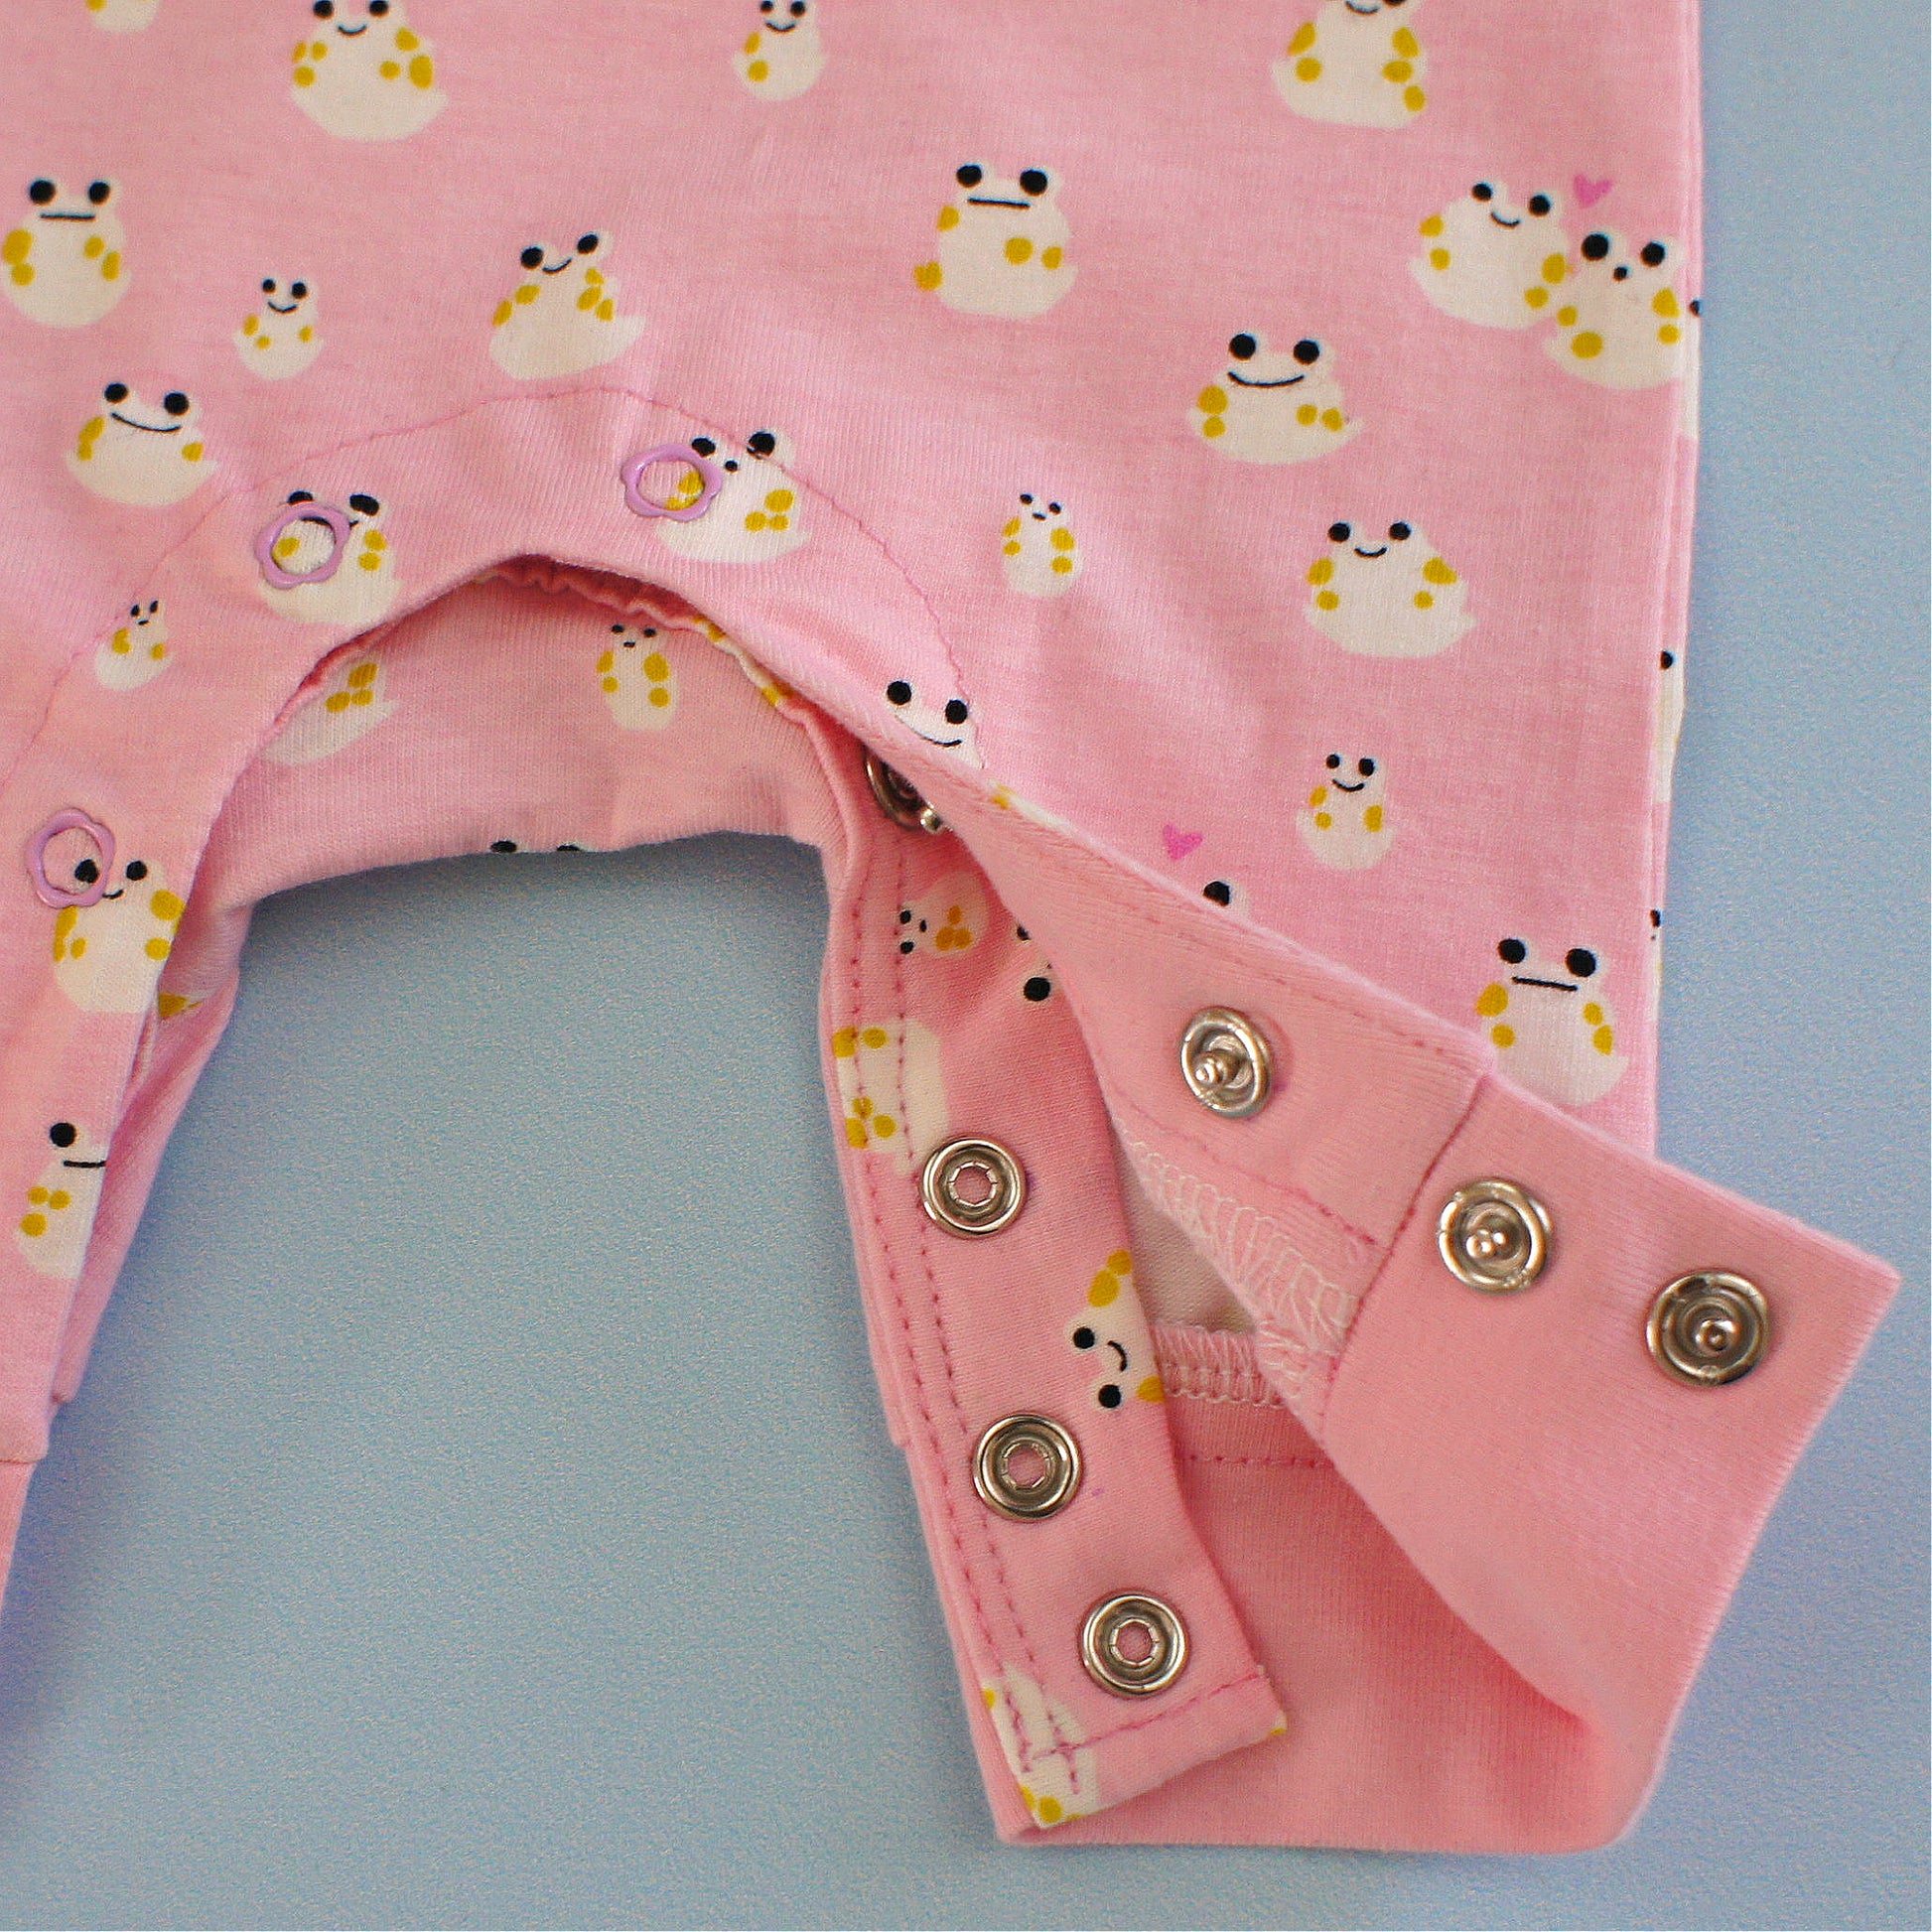
ATTACHING THE INNER LEG BINDING

THE SNAPS