

JUTTA WRAP SKIRT
JUTTA WRAP SKIRT


Regular price
€4,95 EUR
Regular price
Sale price
€4,95 EUR
Unit price
per
Couldn't load pickup availability
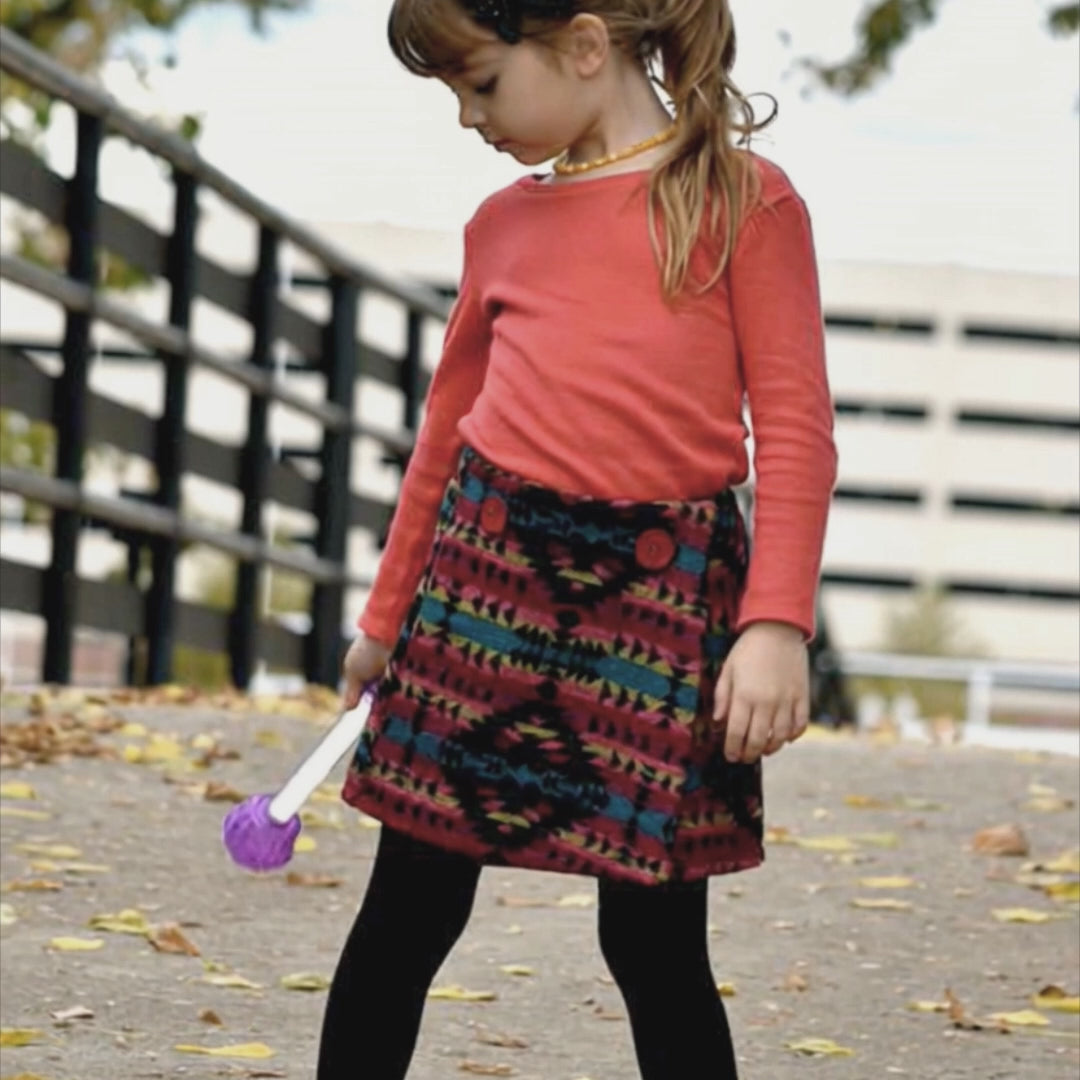
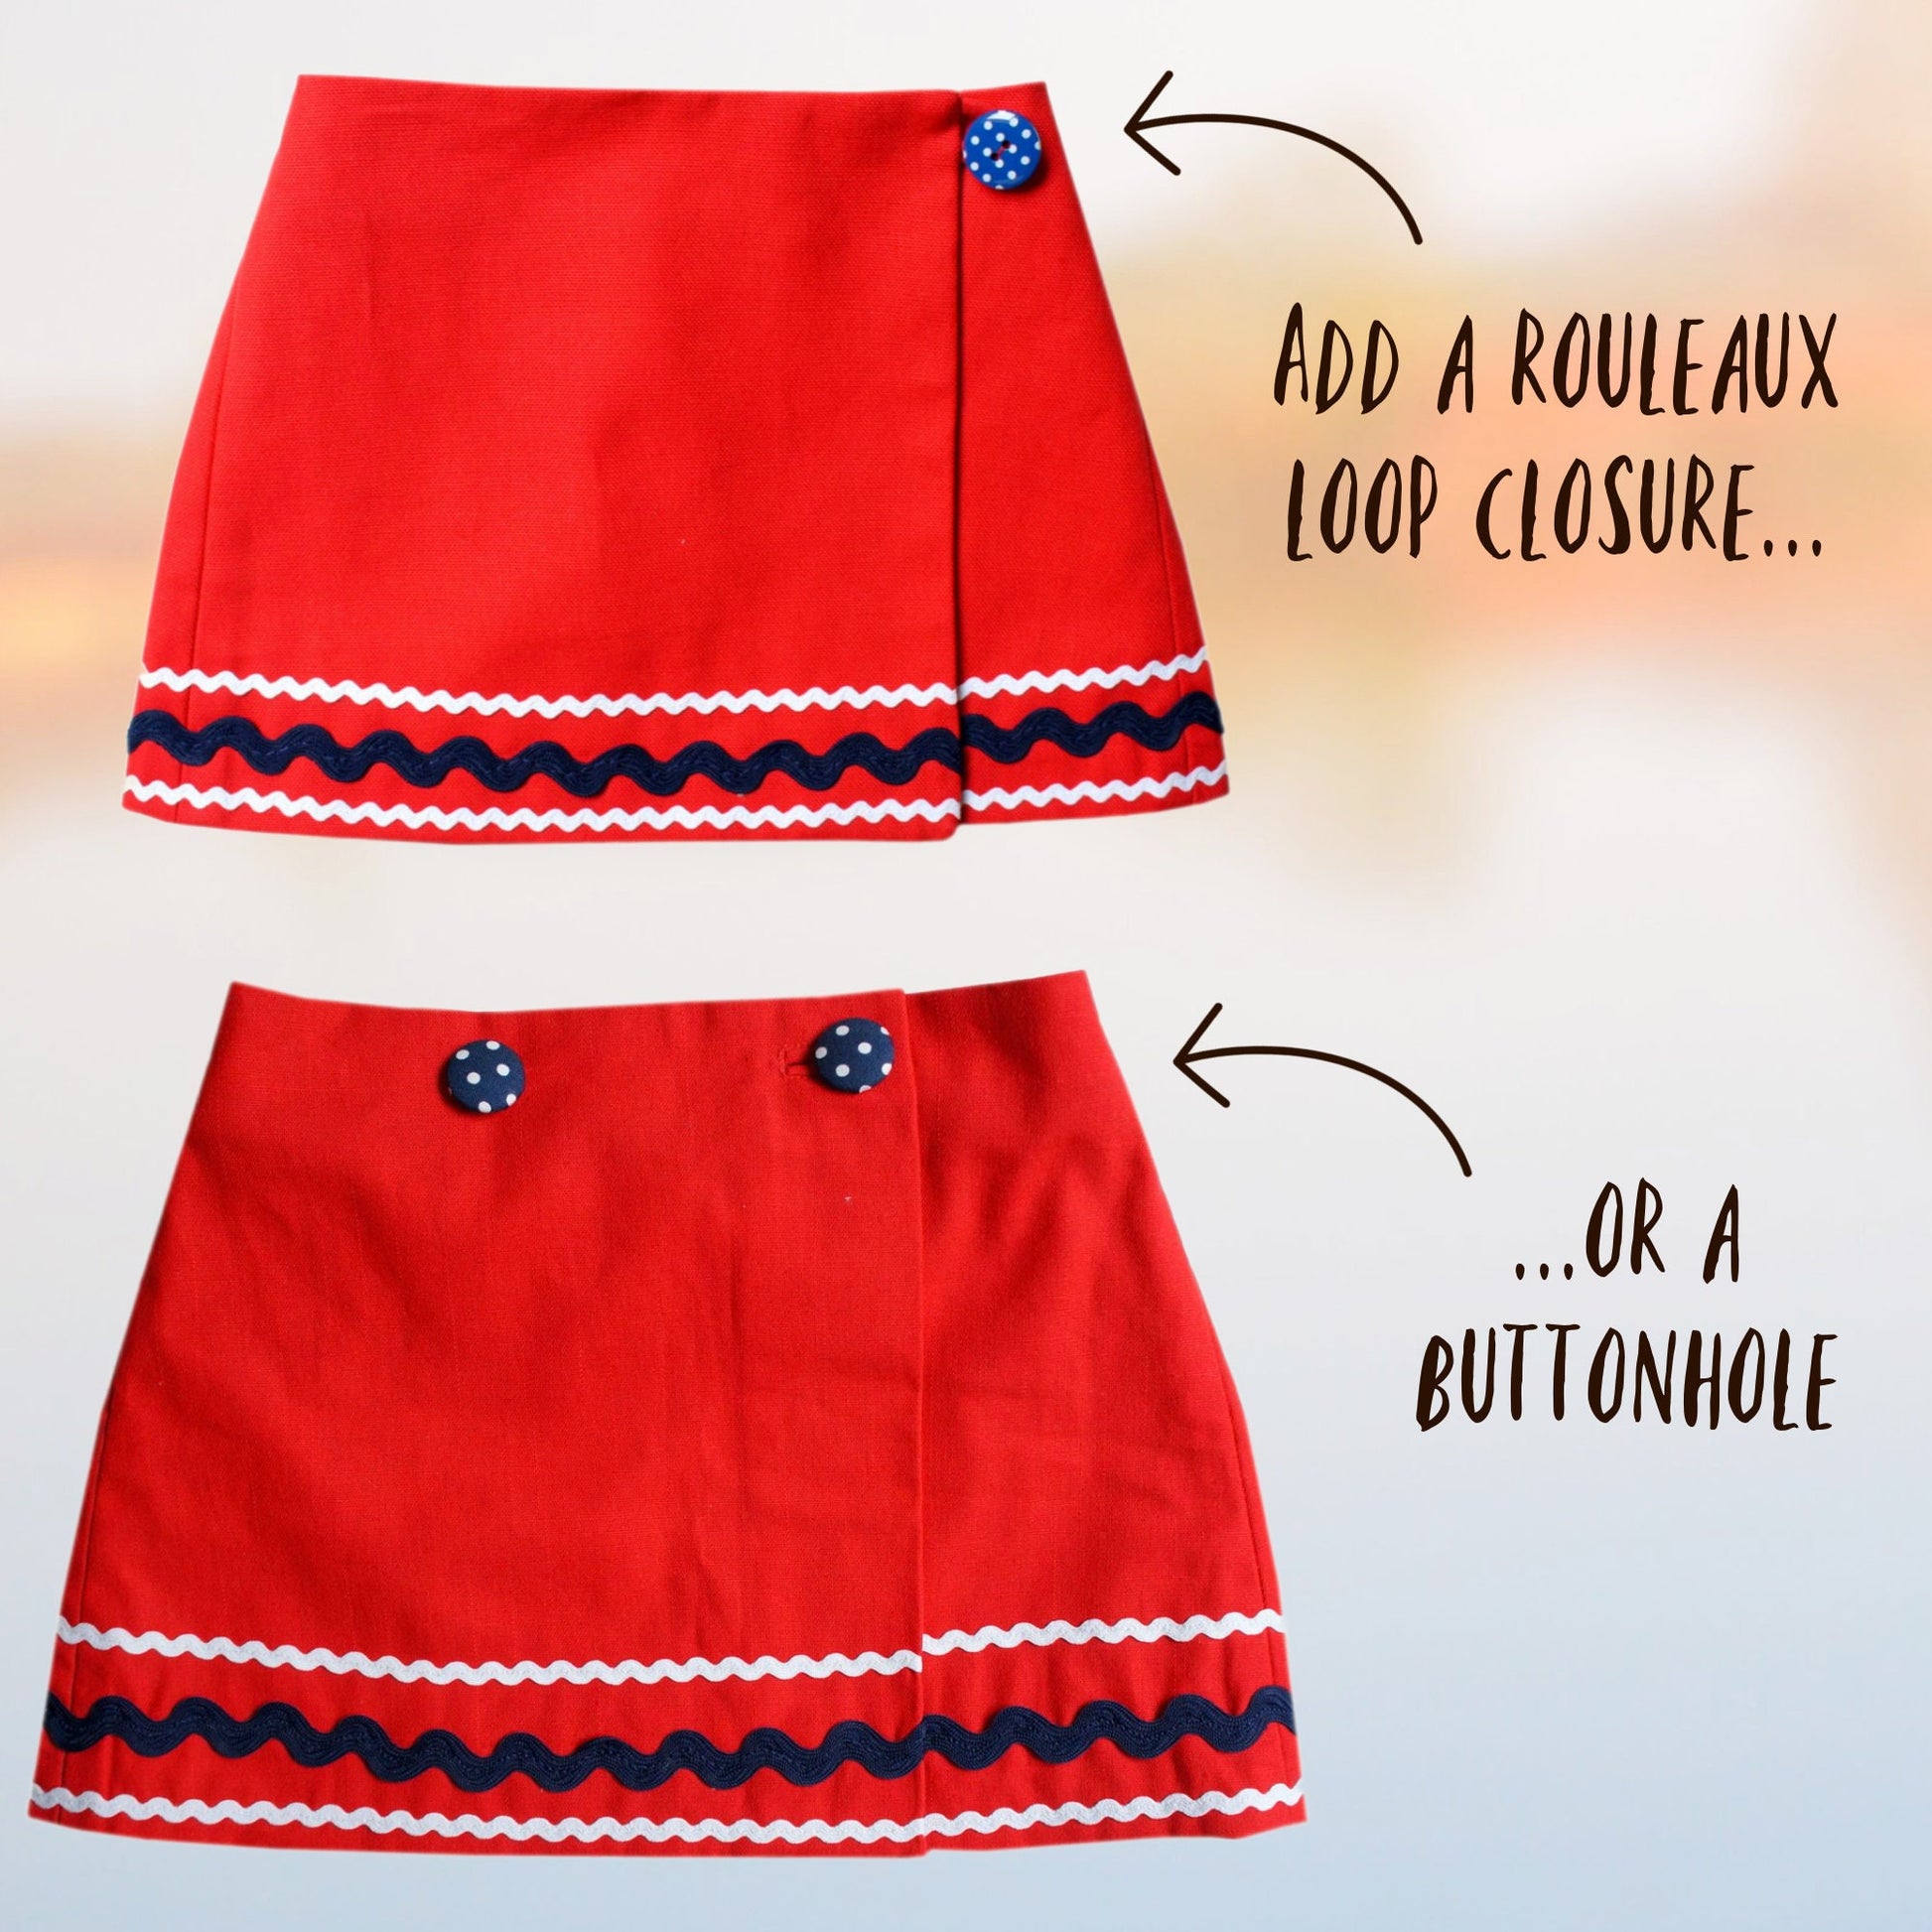
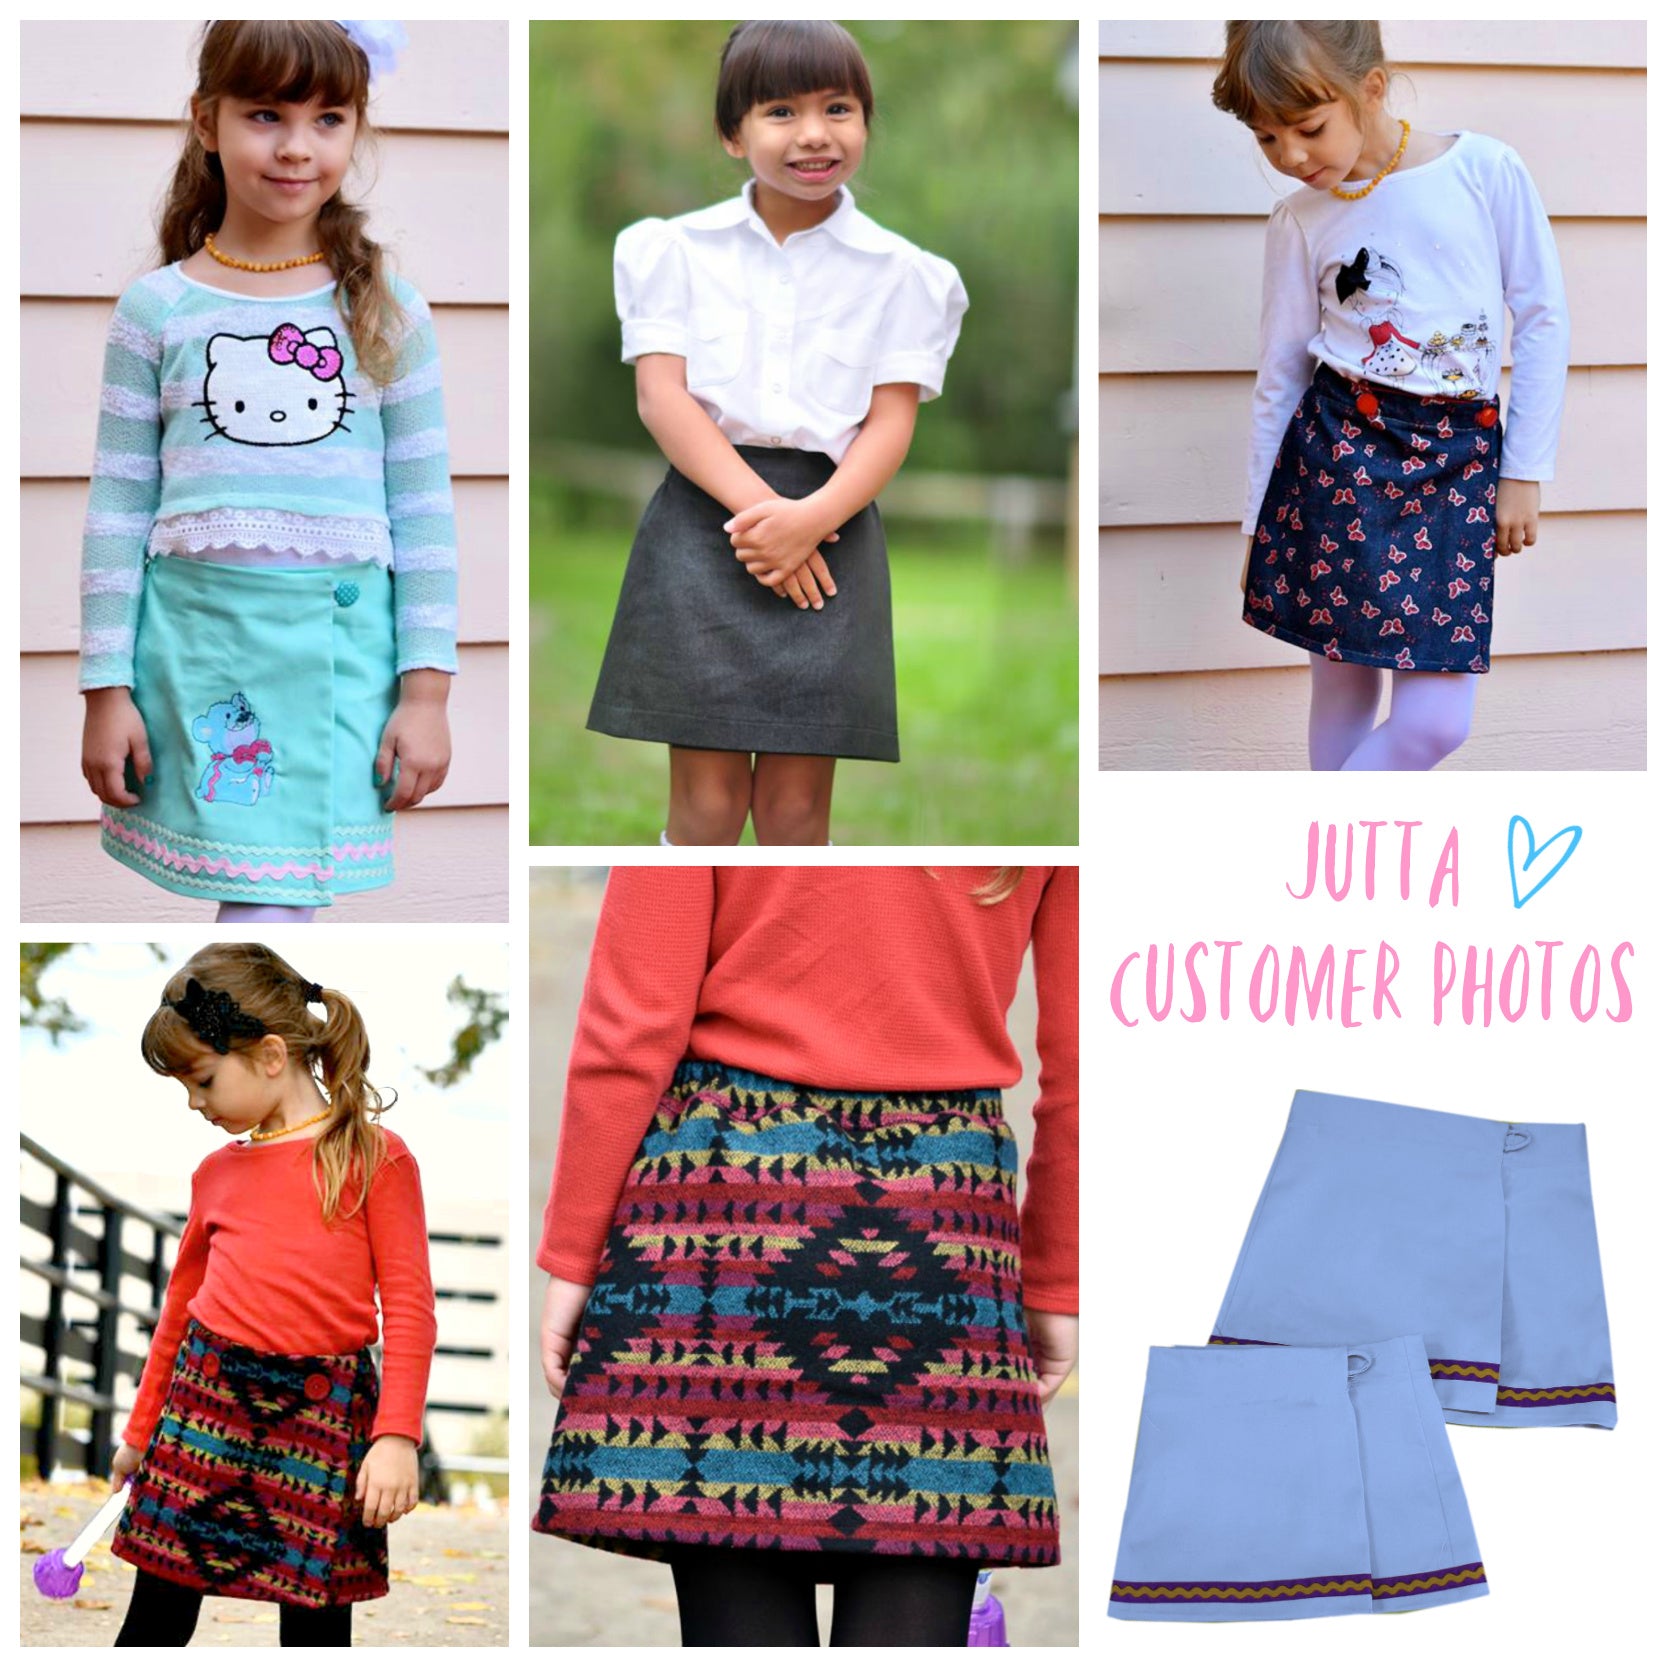
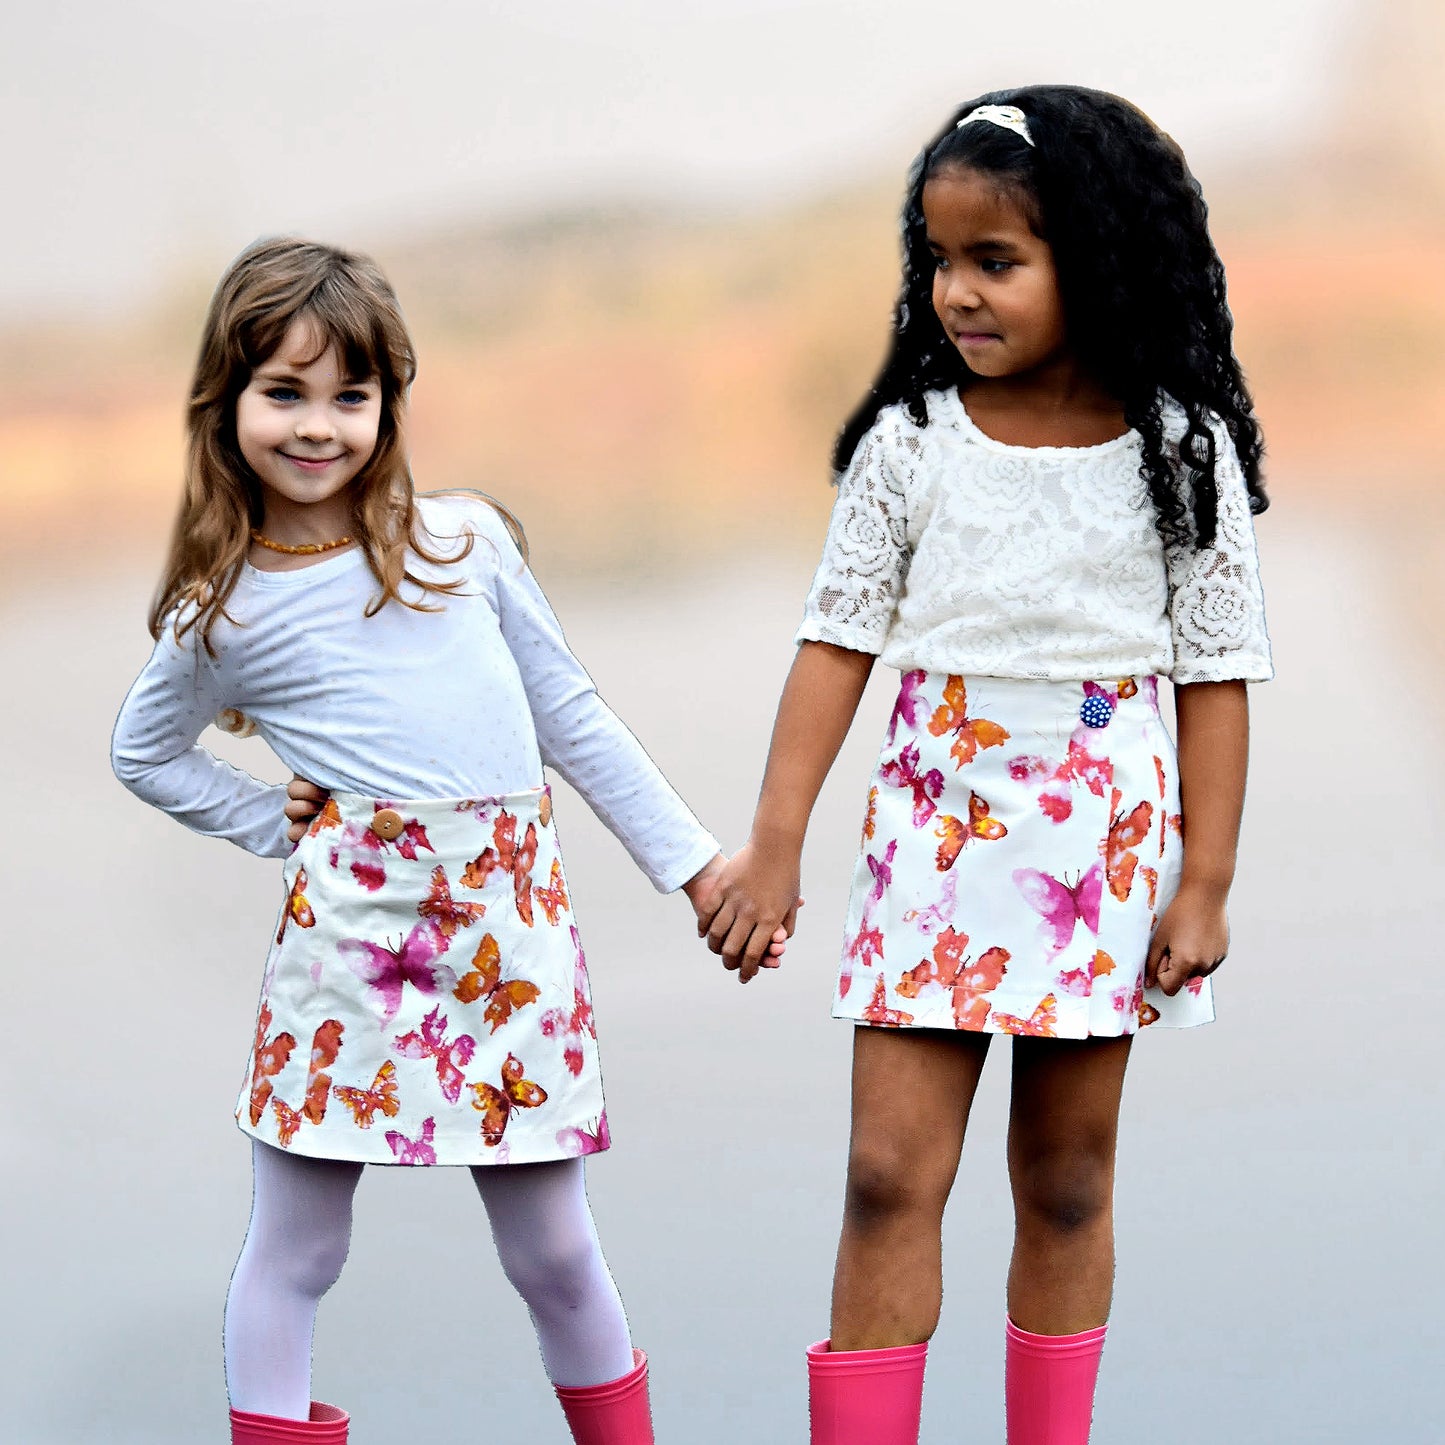
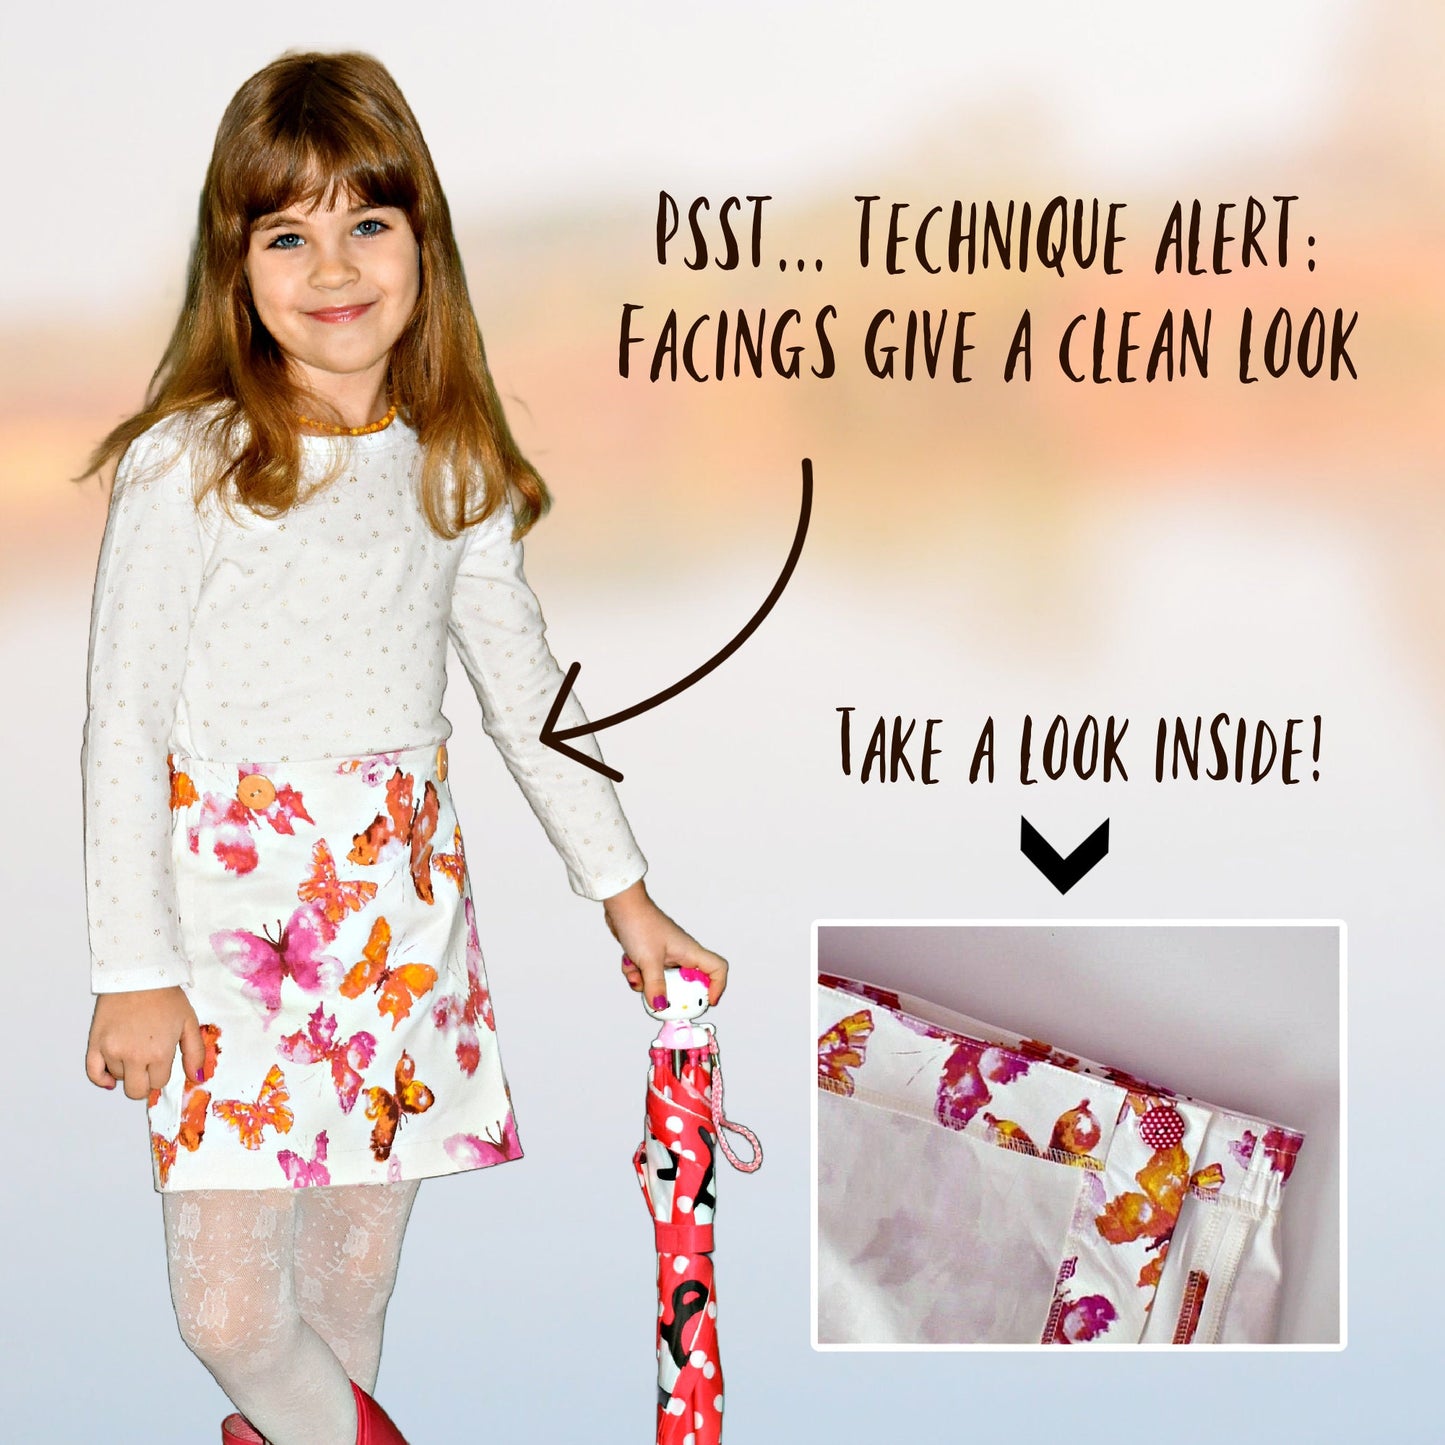
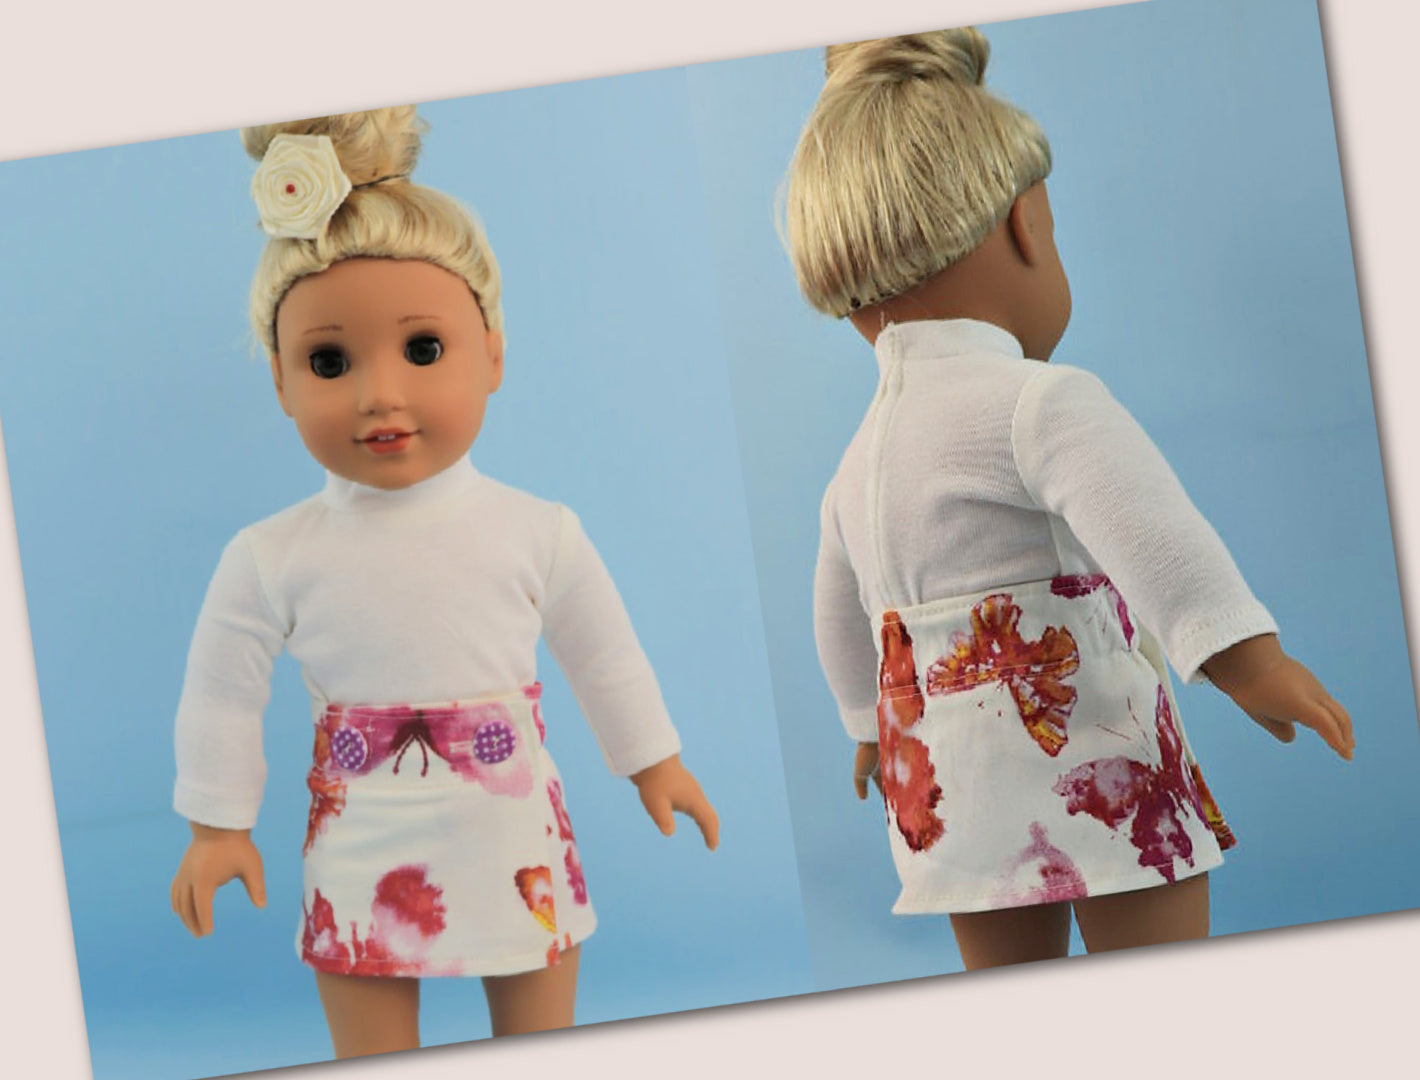
If you haven't made one of these gorgeous skirts, maybe now is the time. Jutta has been a best seller for a long time, because it fits well, looks great and is a breeze to sew up.
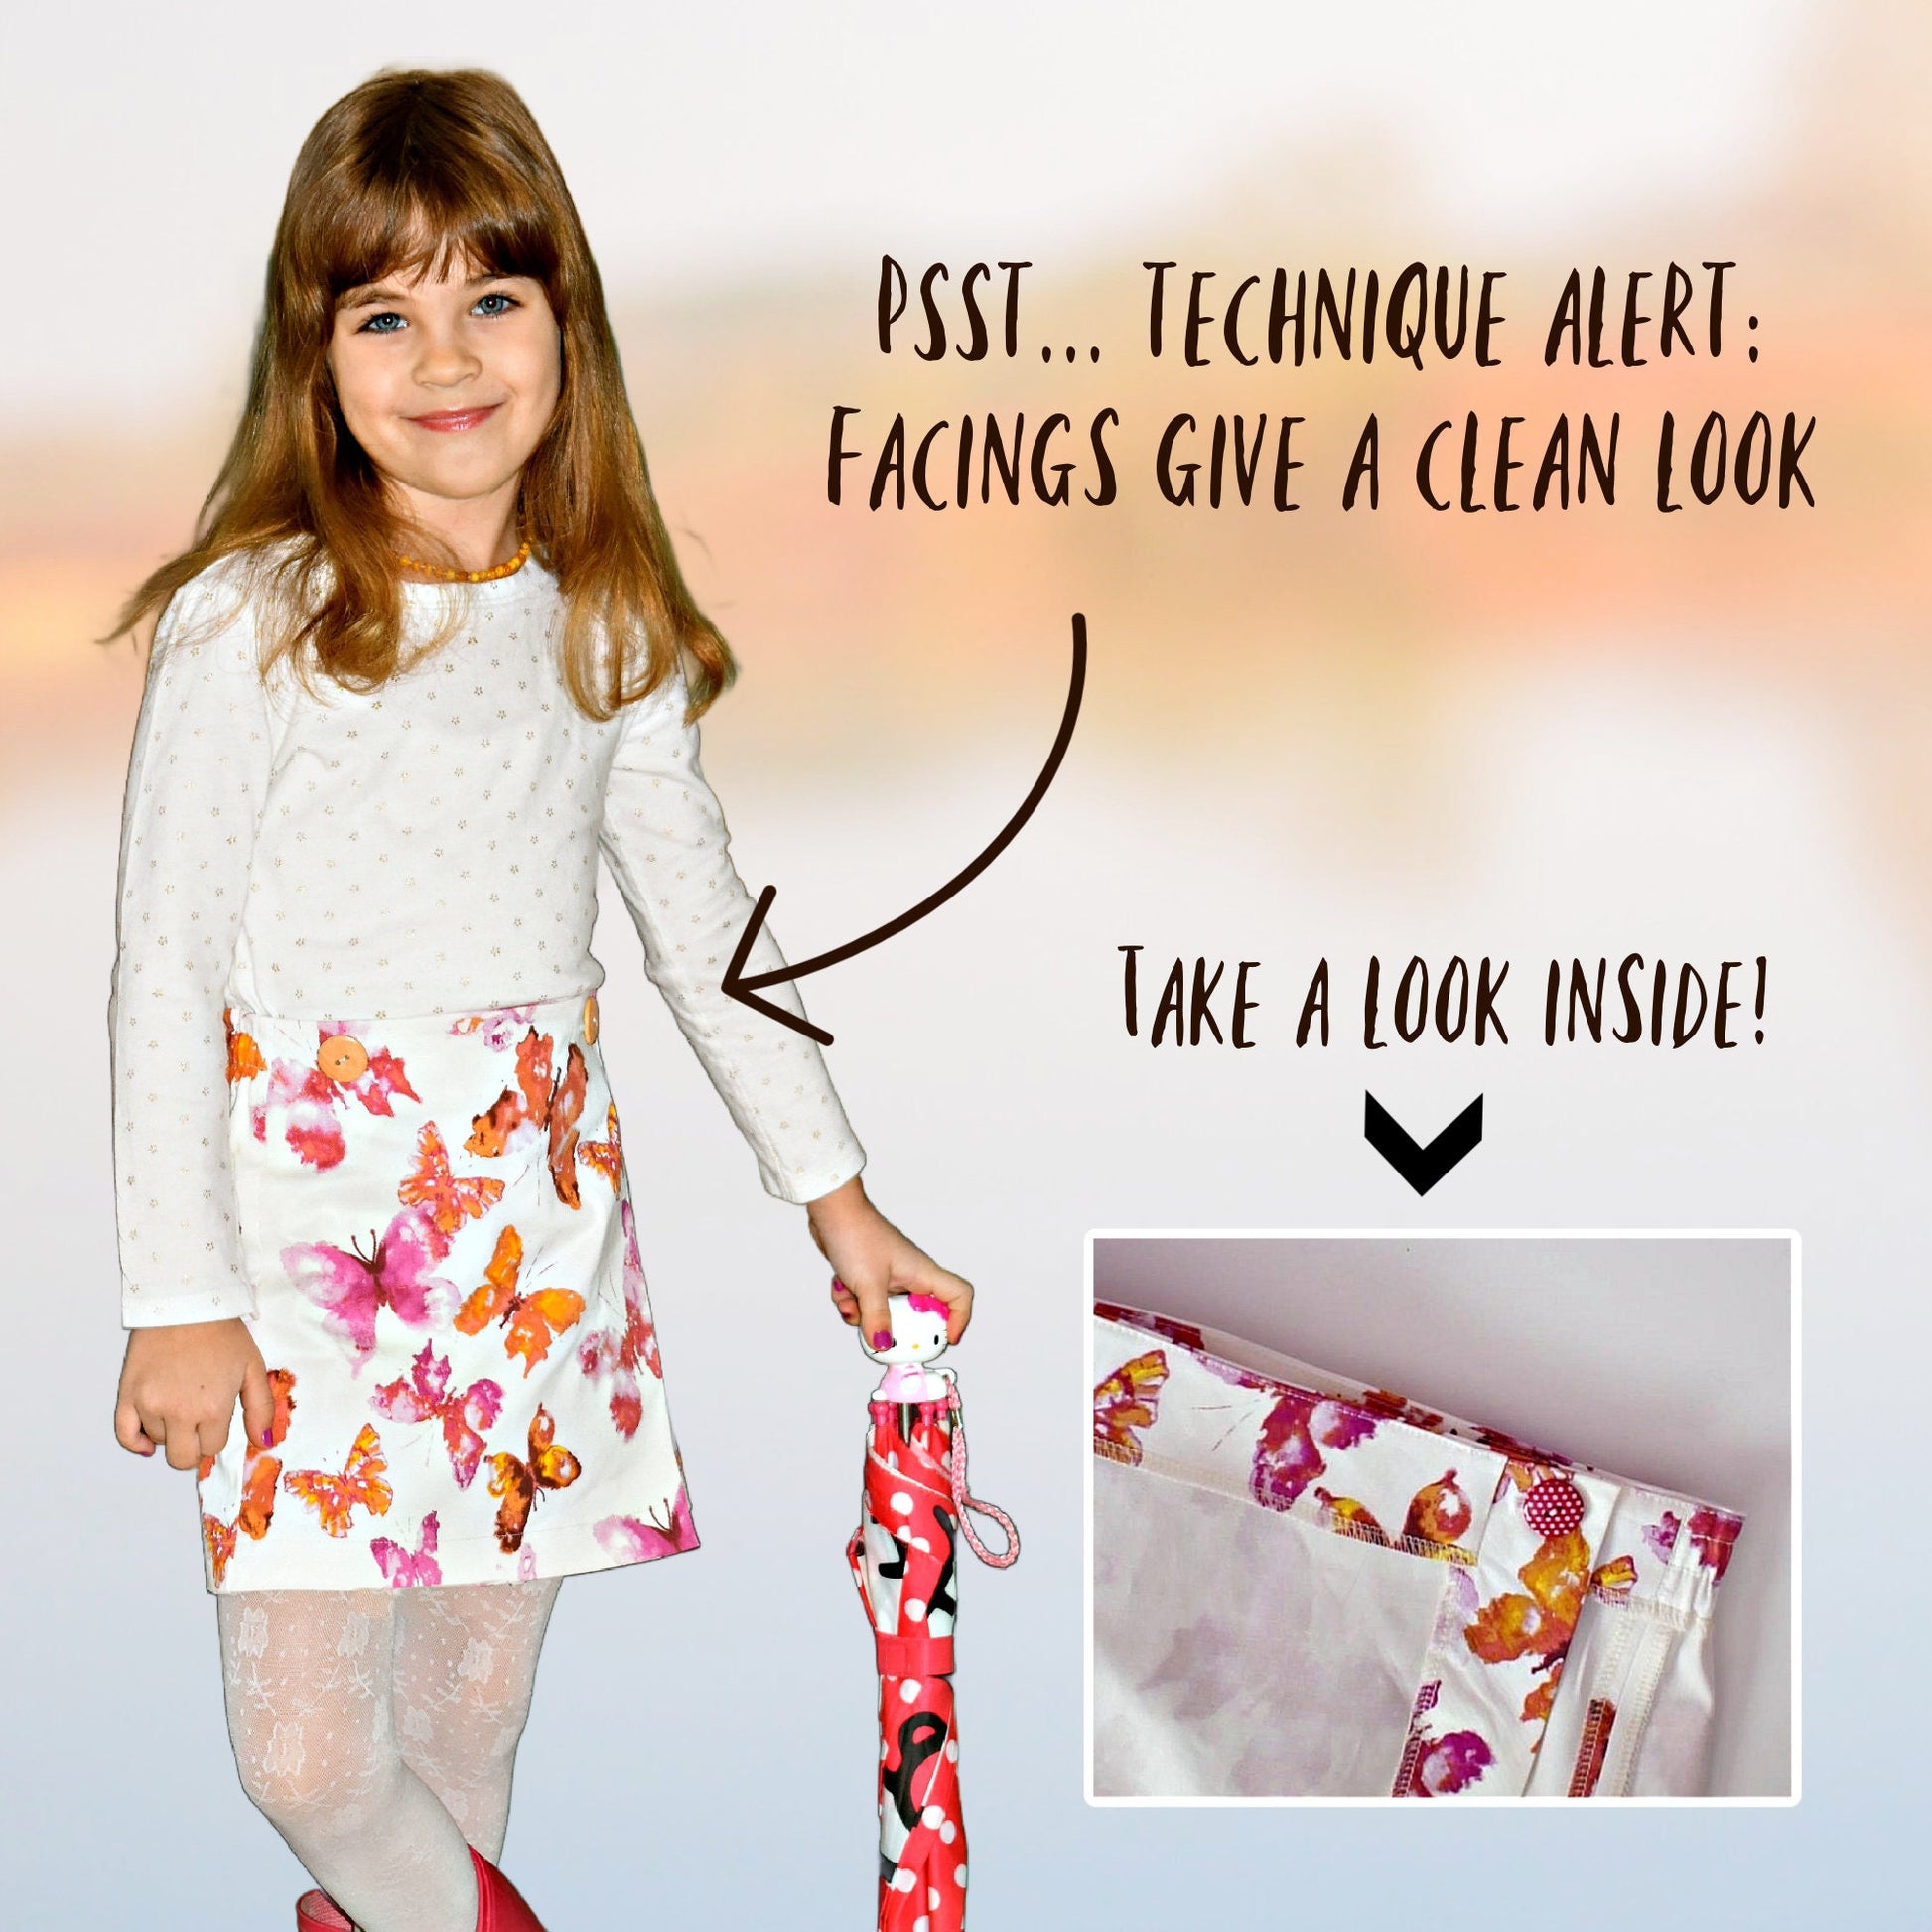
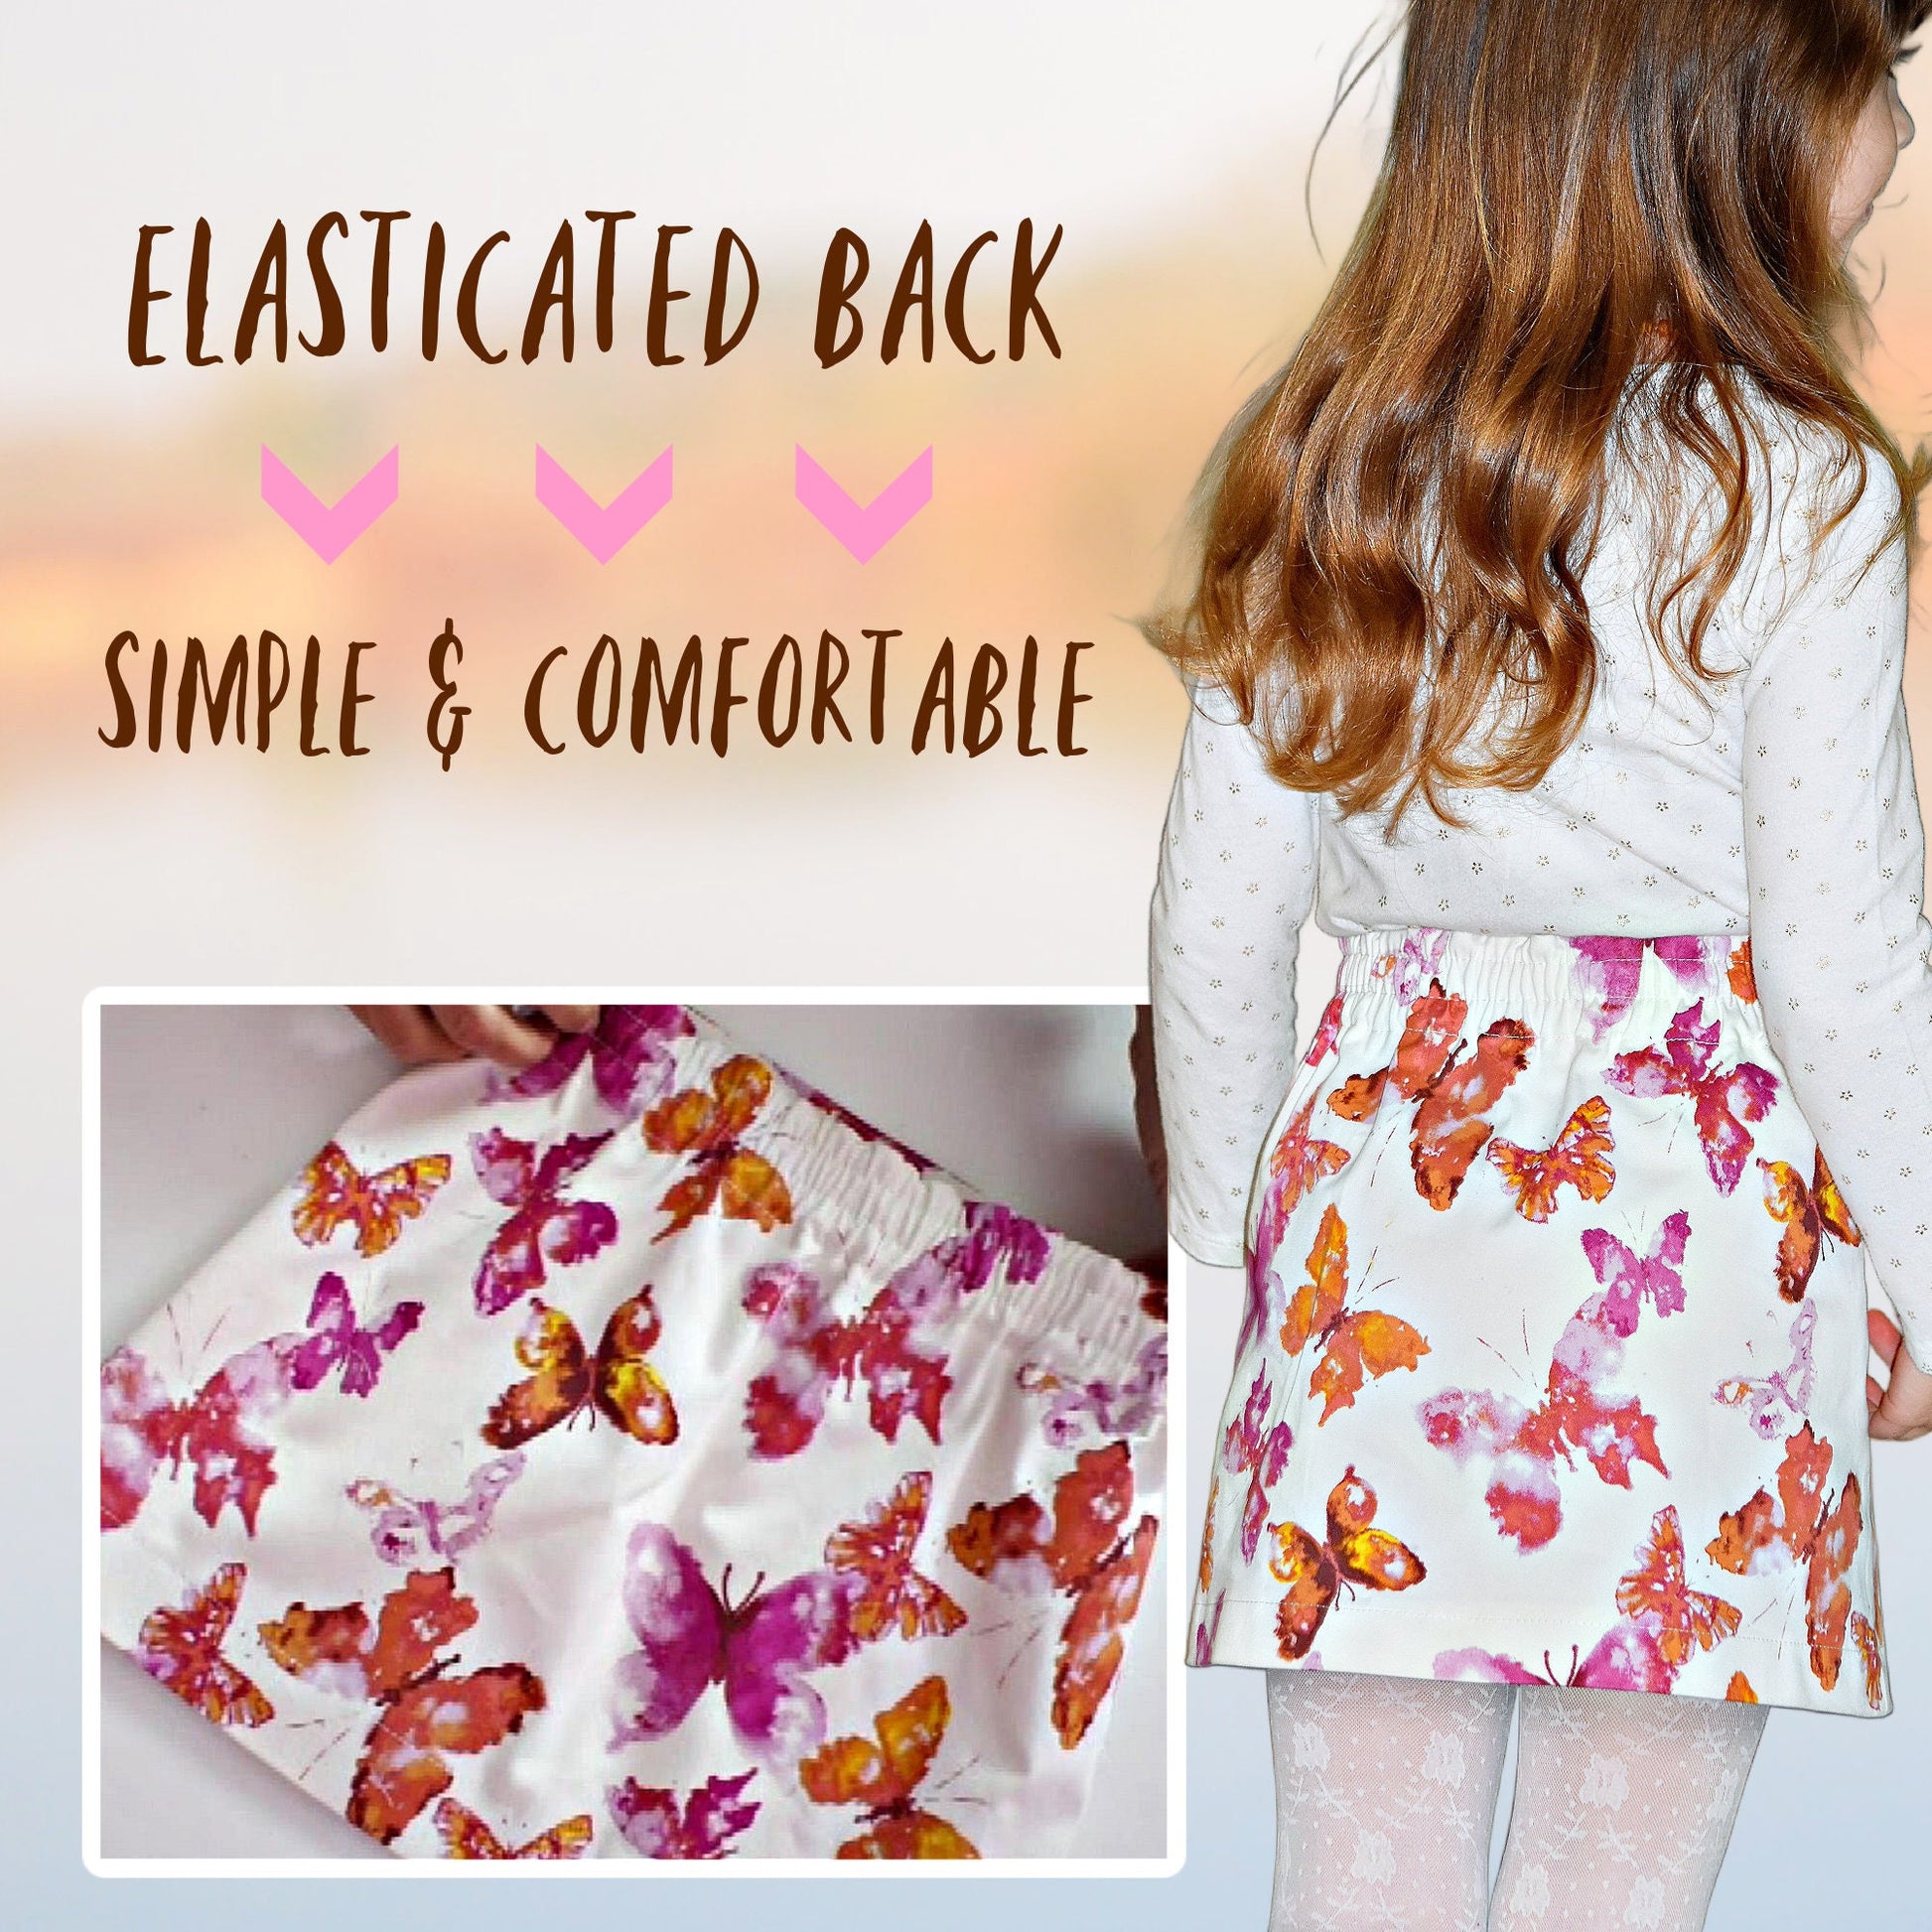
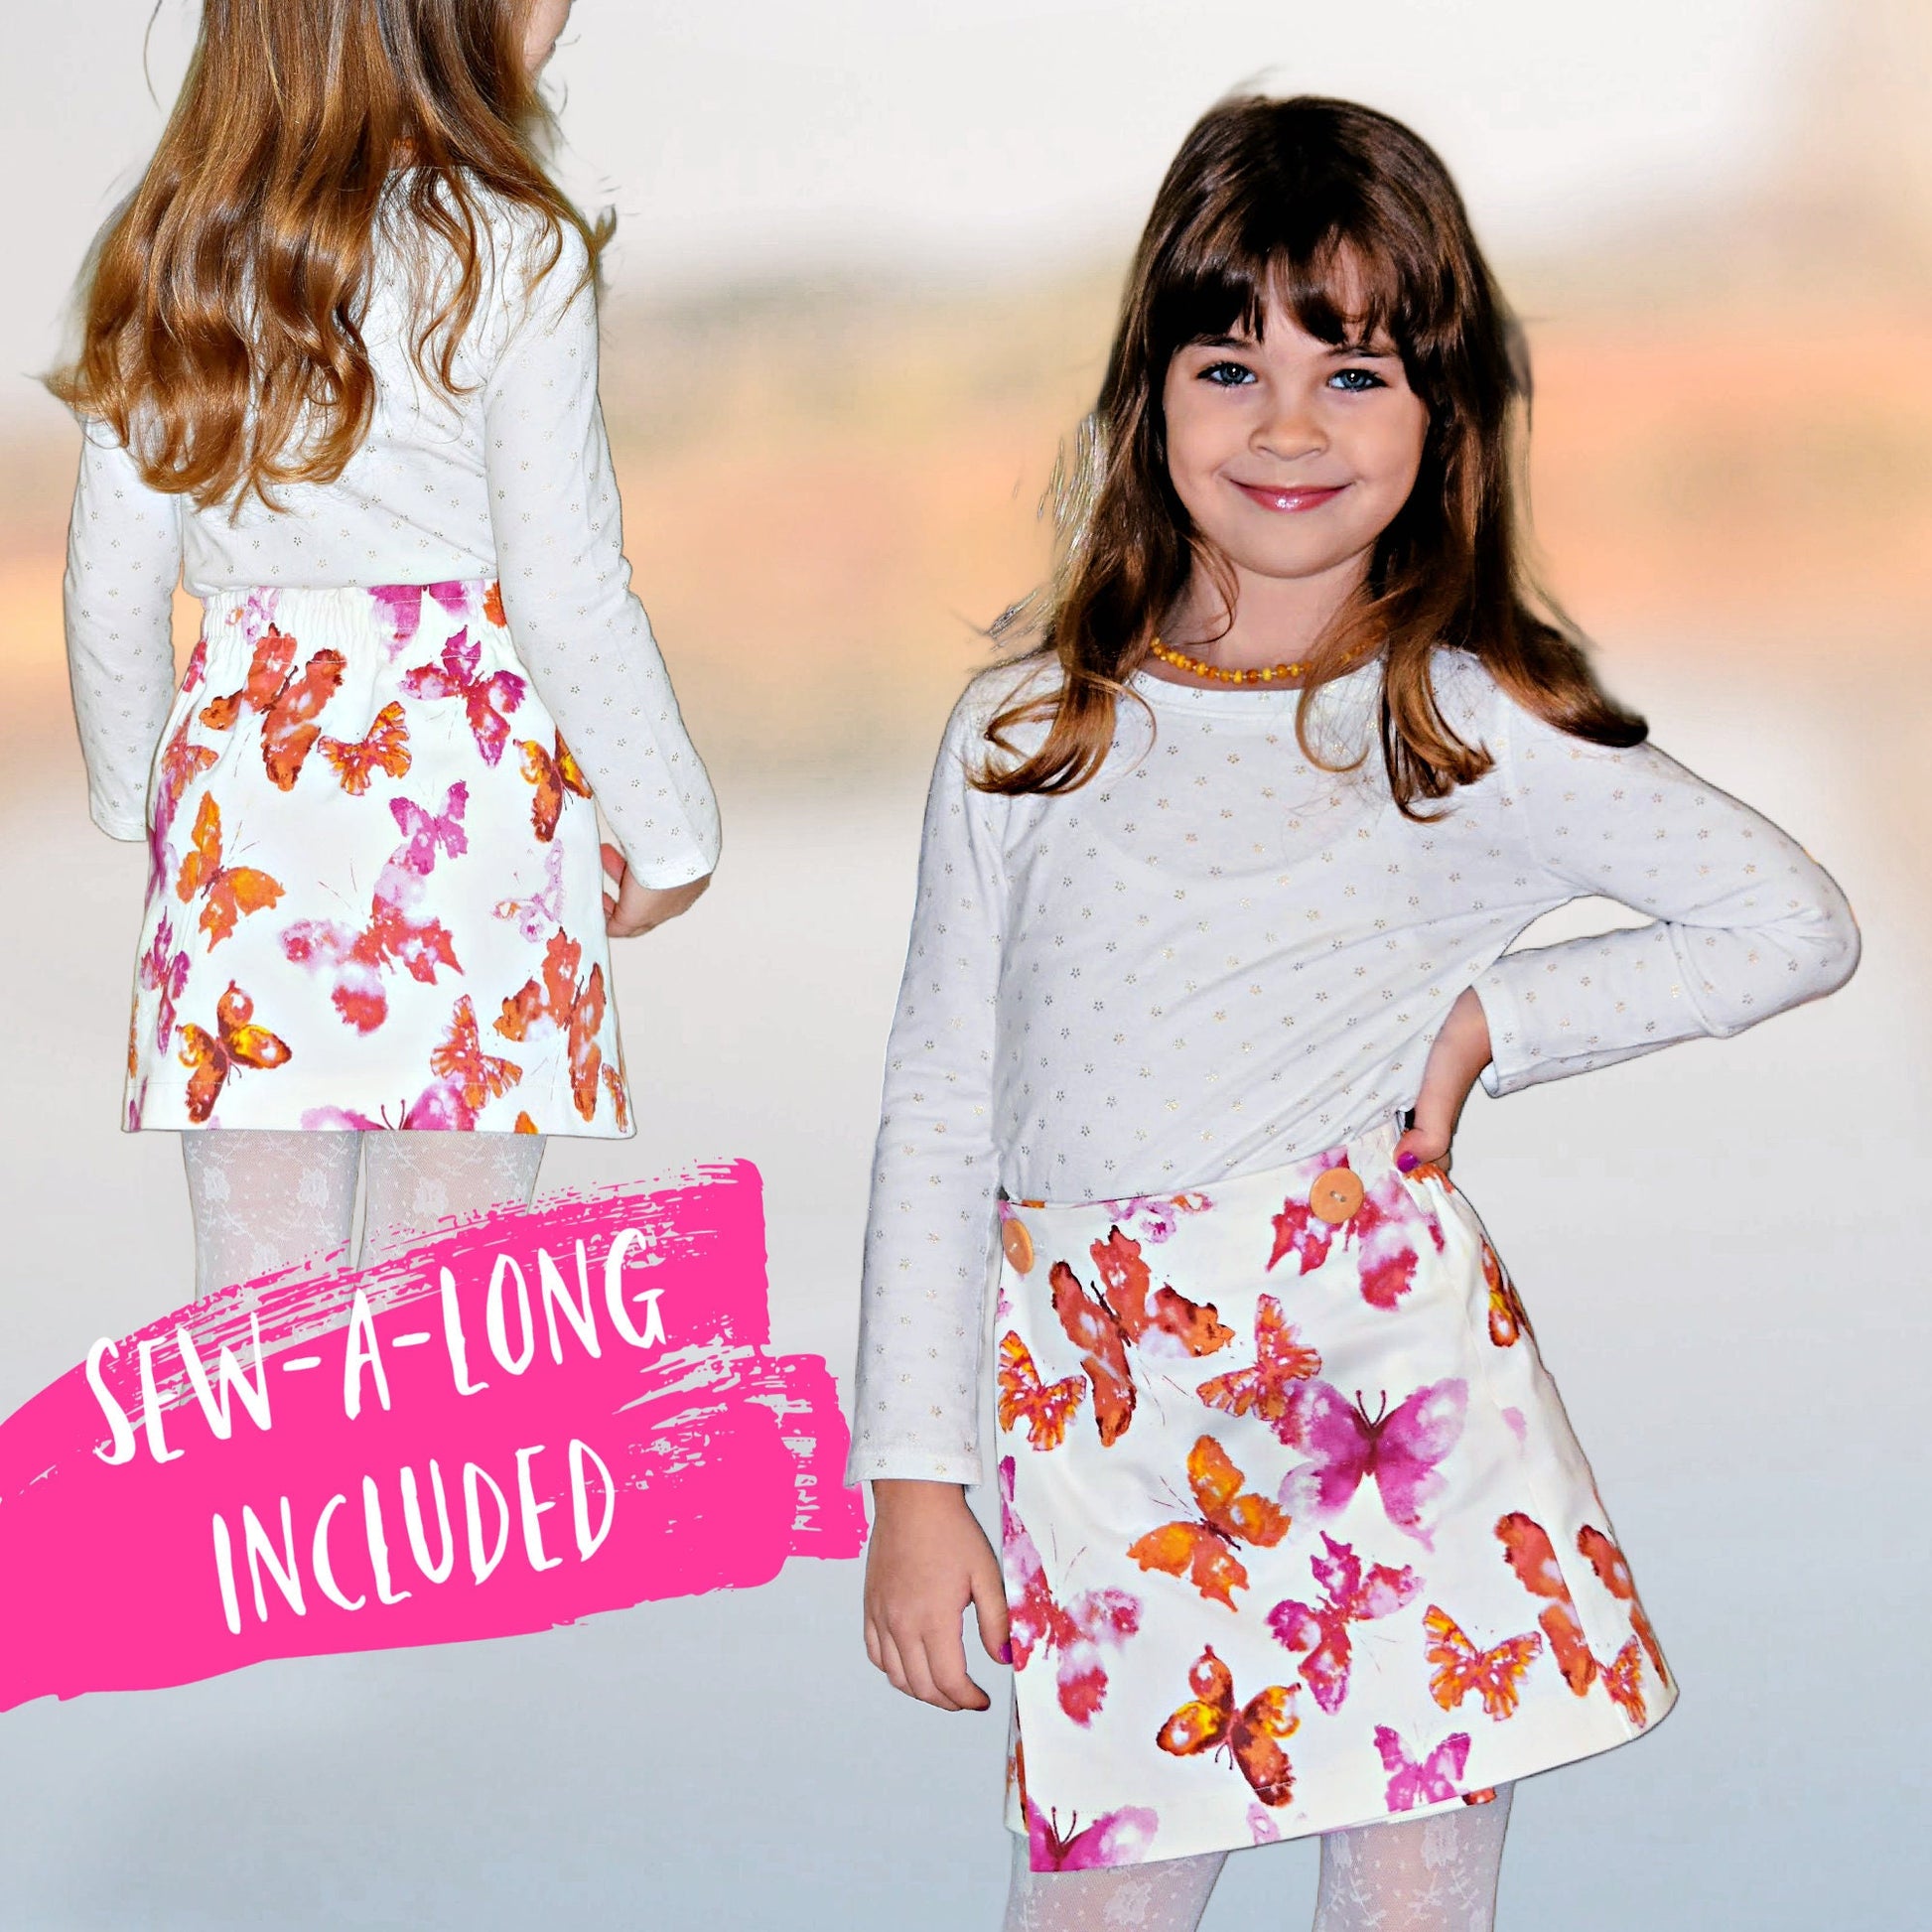
Jutta is a sweet little wrap skirt designed for 18‑inch dolls, featuring a neat and easy Velcro closure, flat front and elastic back waist, that makes dressing a breeze. She’s perfect for mix‑and‑match doll fashion and it’s a joy to sew alongside Marina’s friendly video tutorial, just a scroll away below the listing.
Pattern Download Includes
Pattern Download Includes
Design Options
Design Options
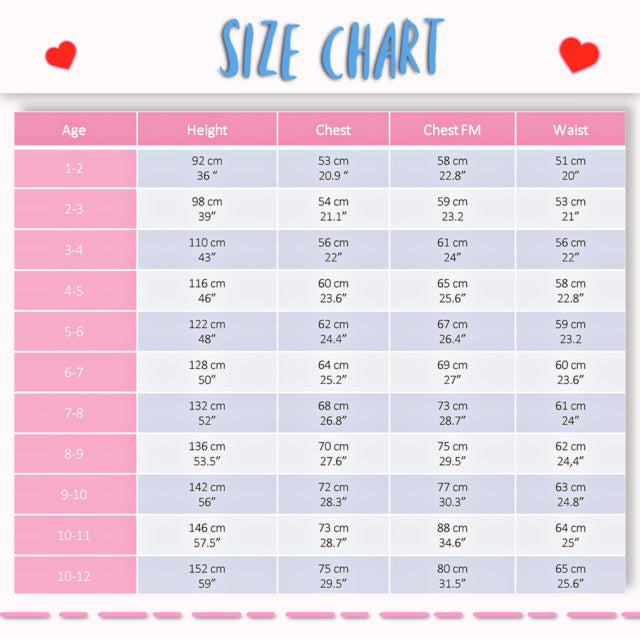
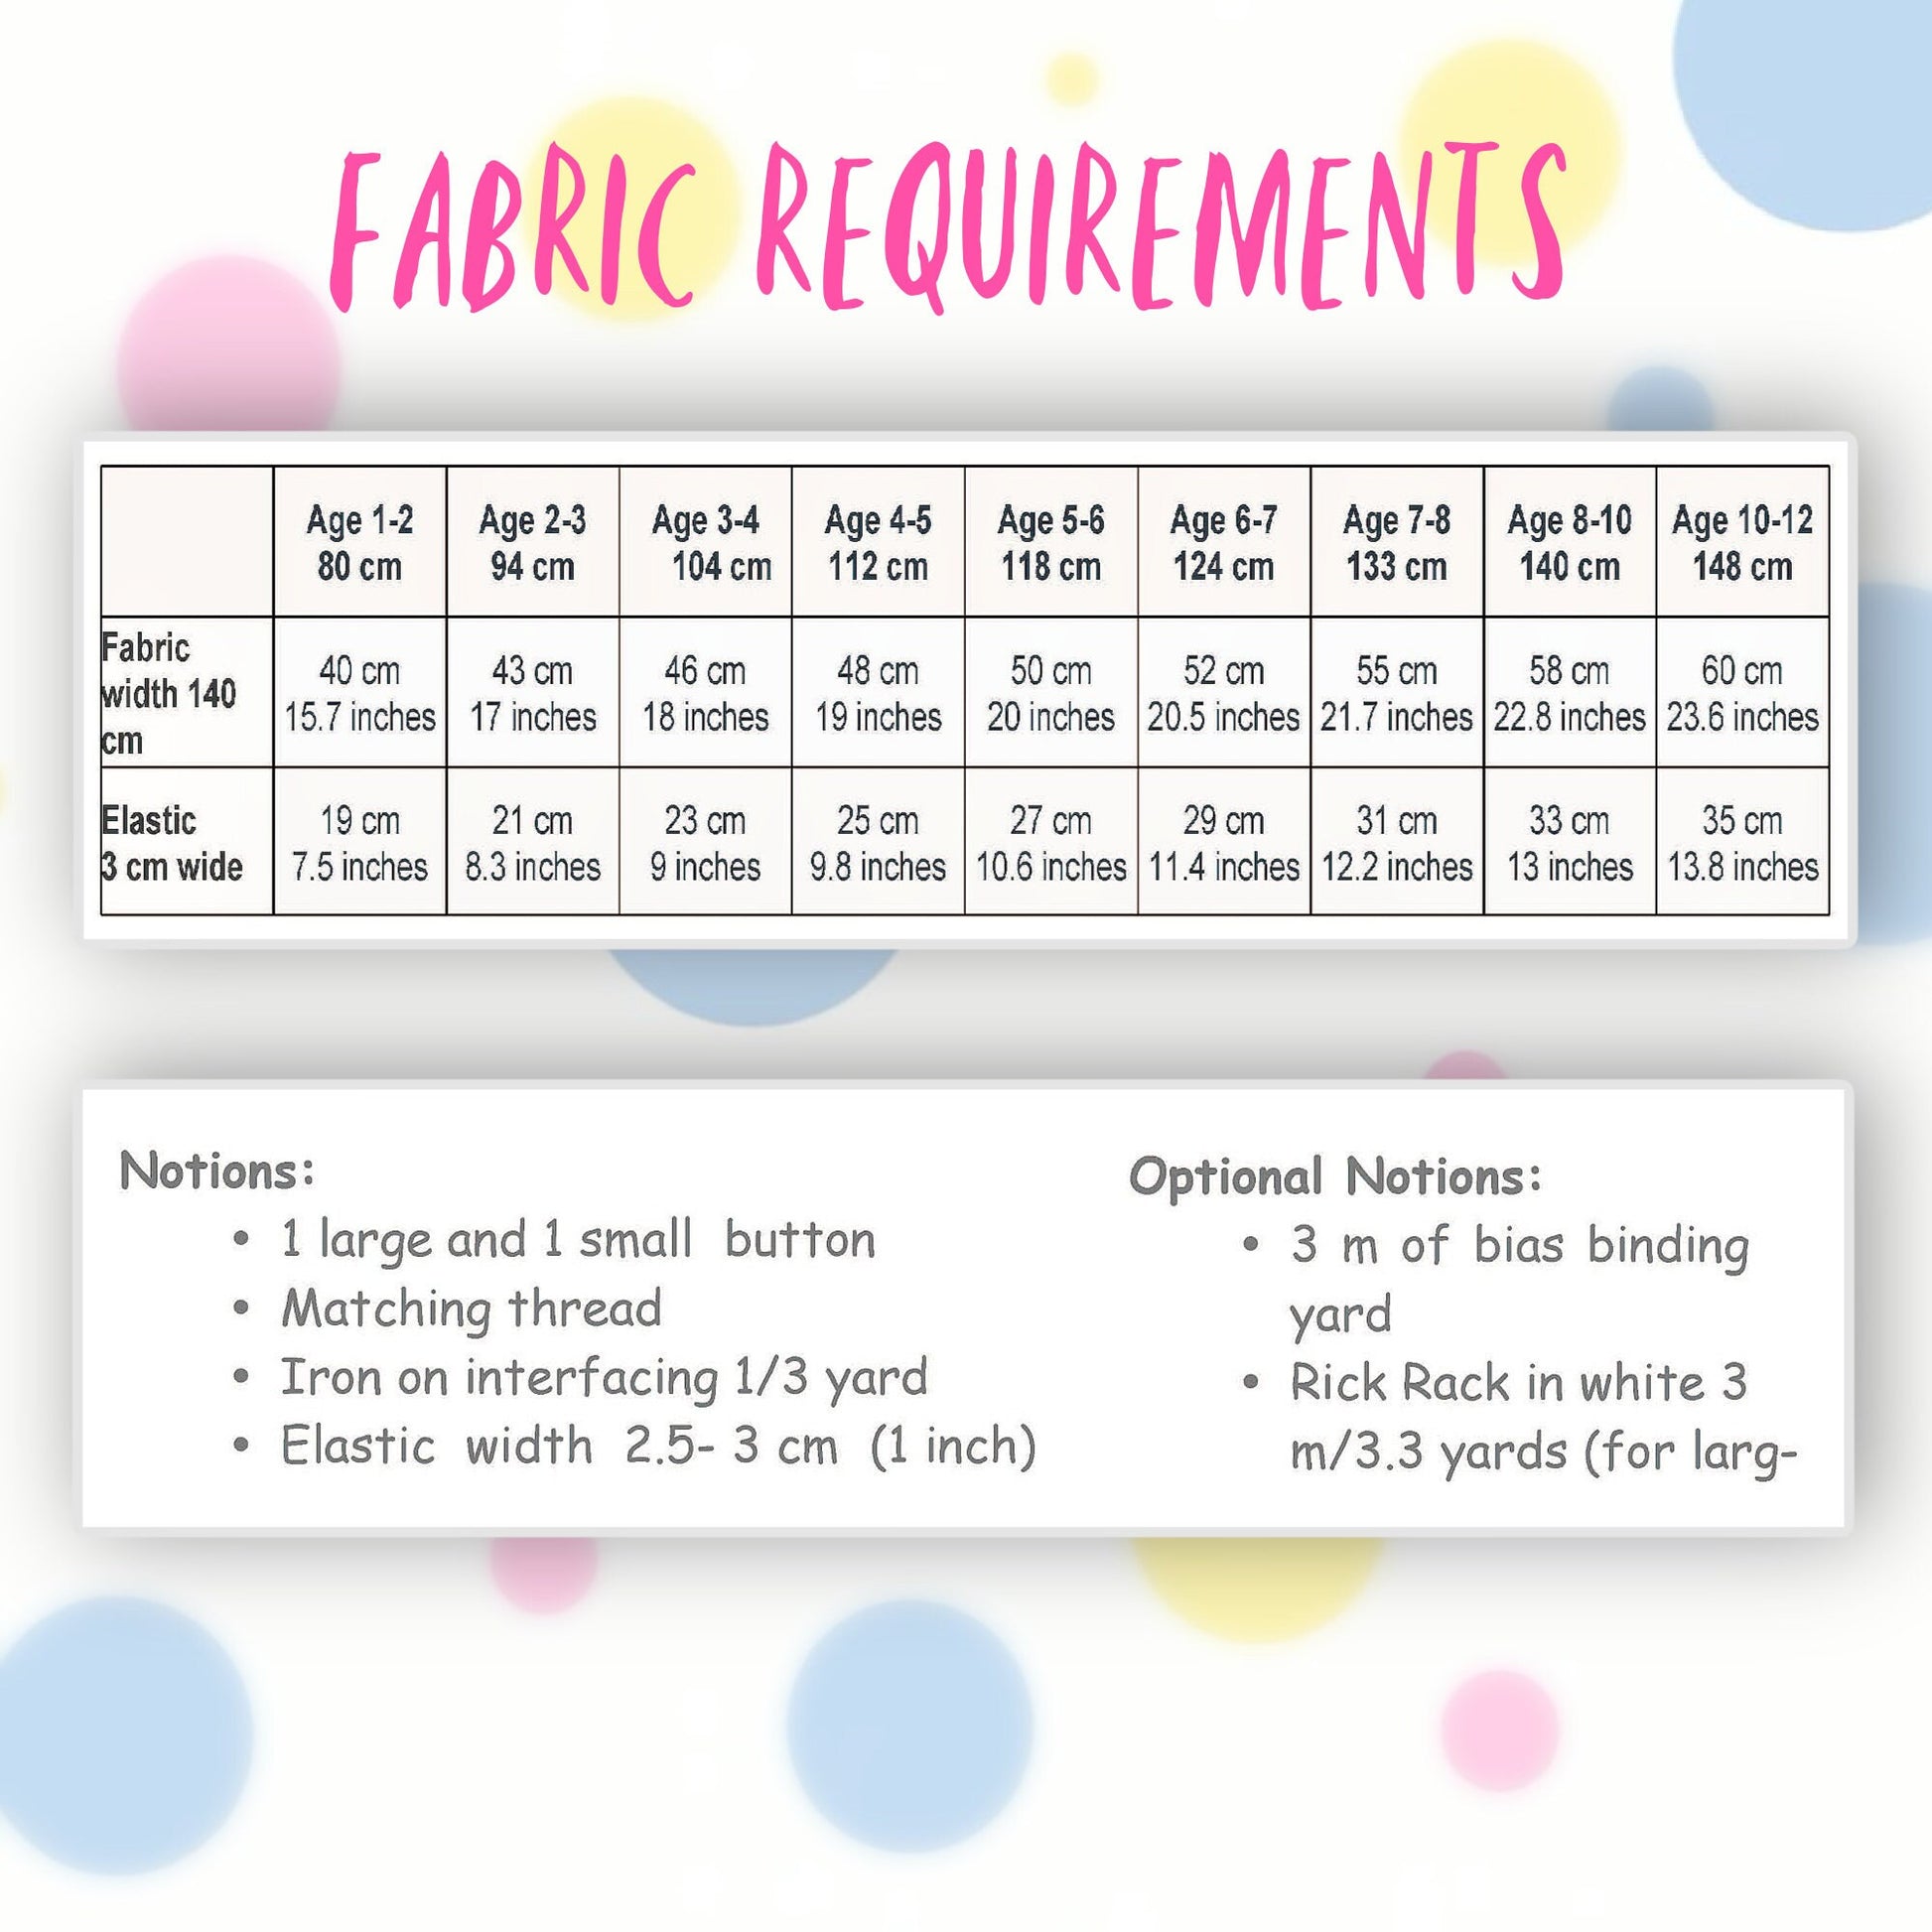
Fabric Requirements
Fabric Requirements
Available Sizes
Available Sizes
Please Read
Please Read


STEP-BY-STEP VIDEO TUTORIALS

JUTTA ALL-IN-ONE TUTORIAL

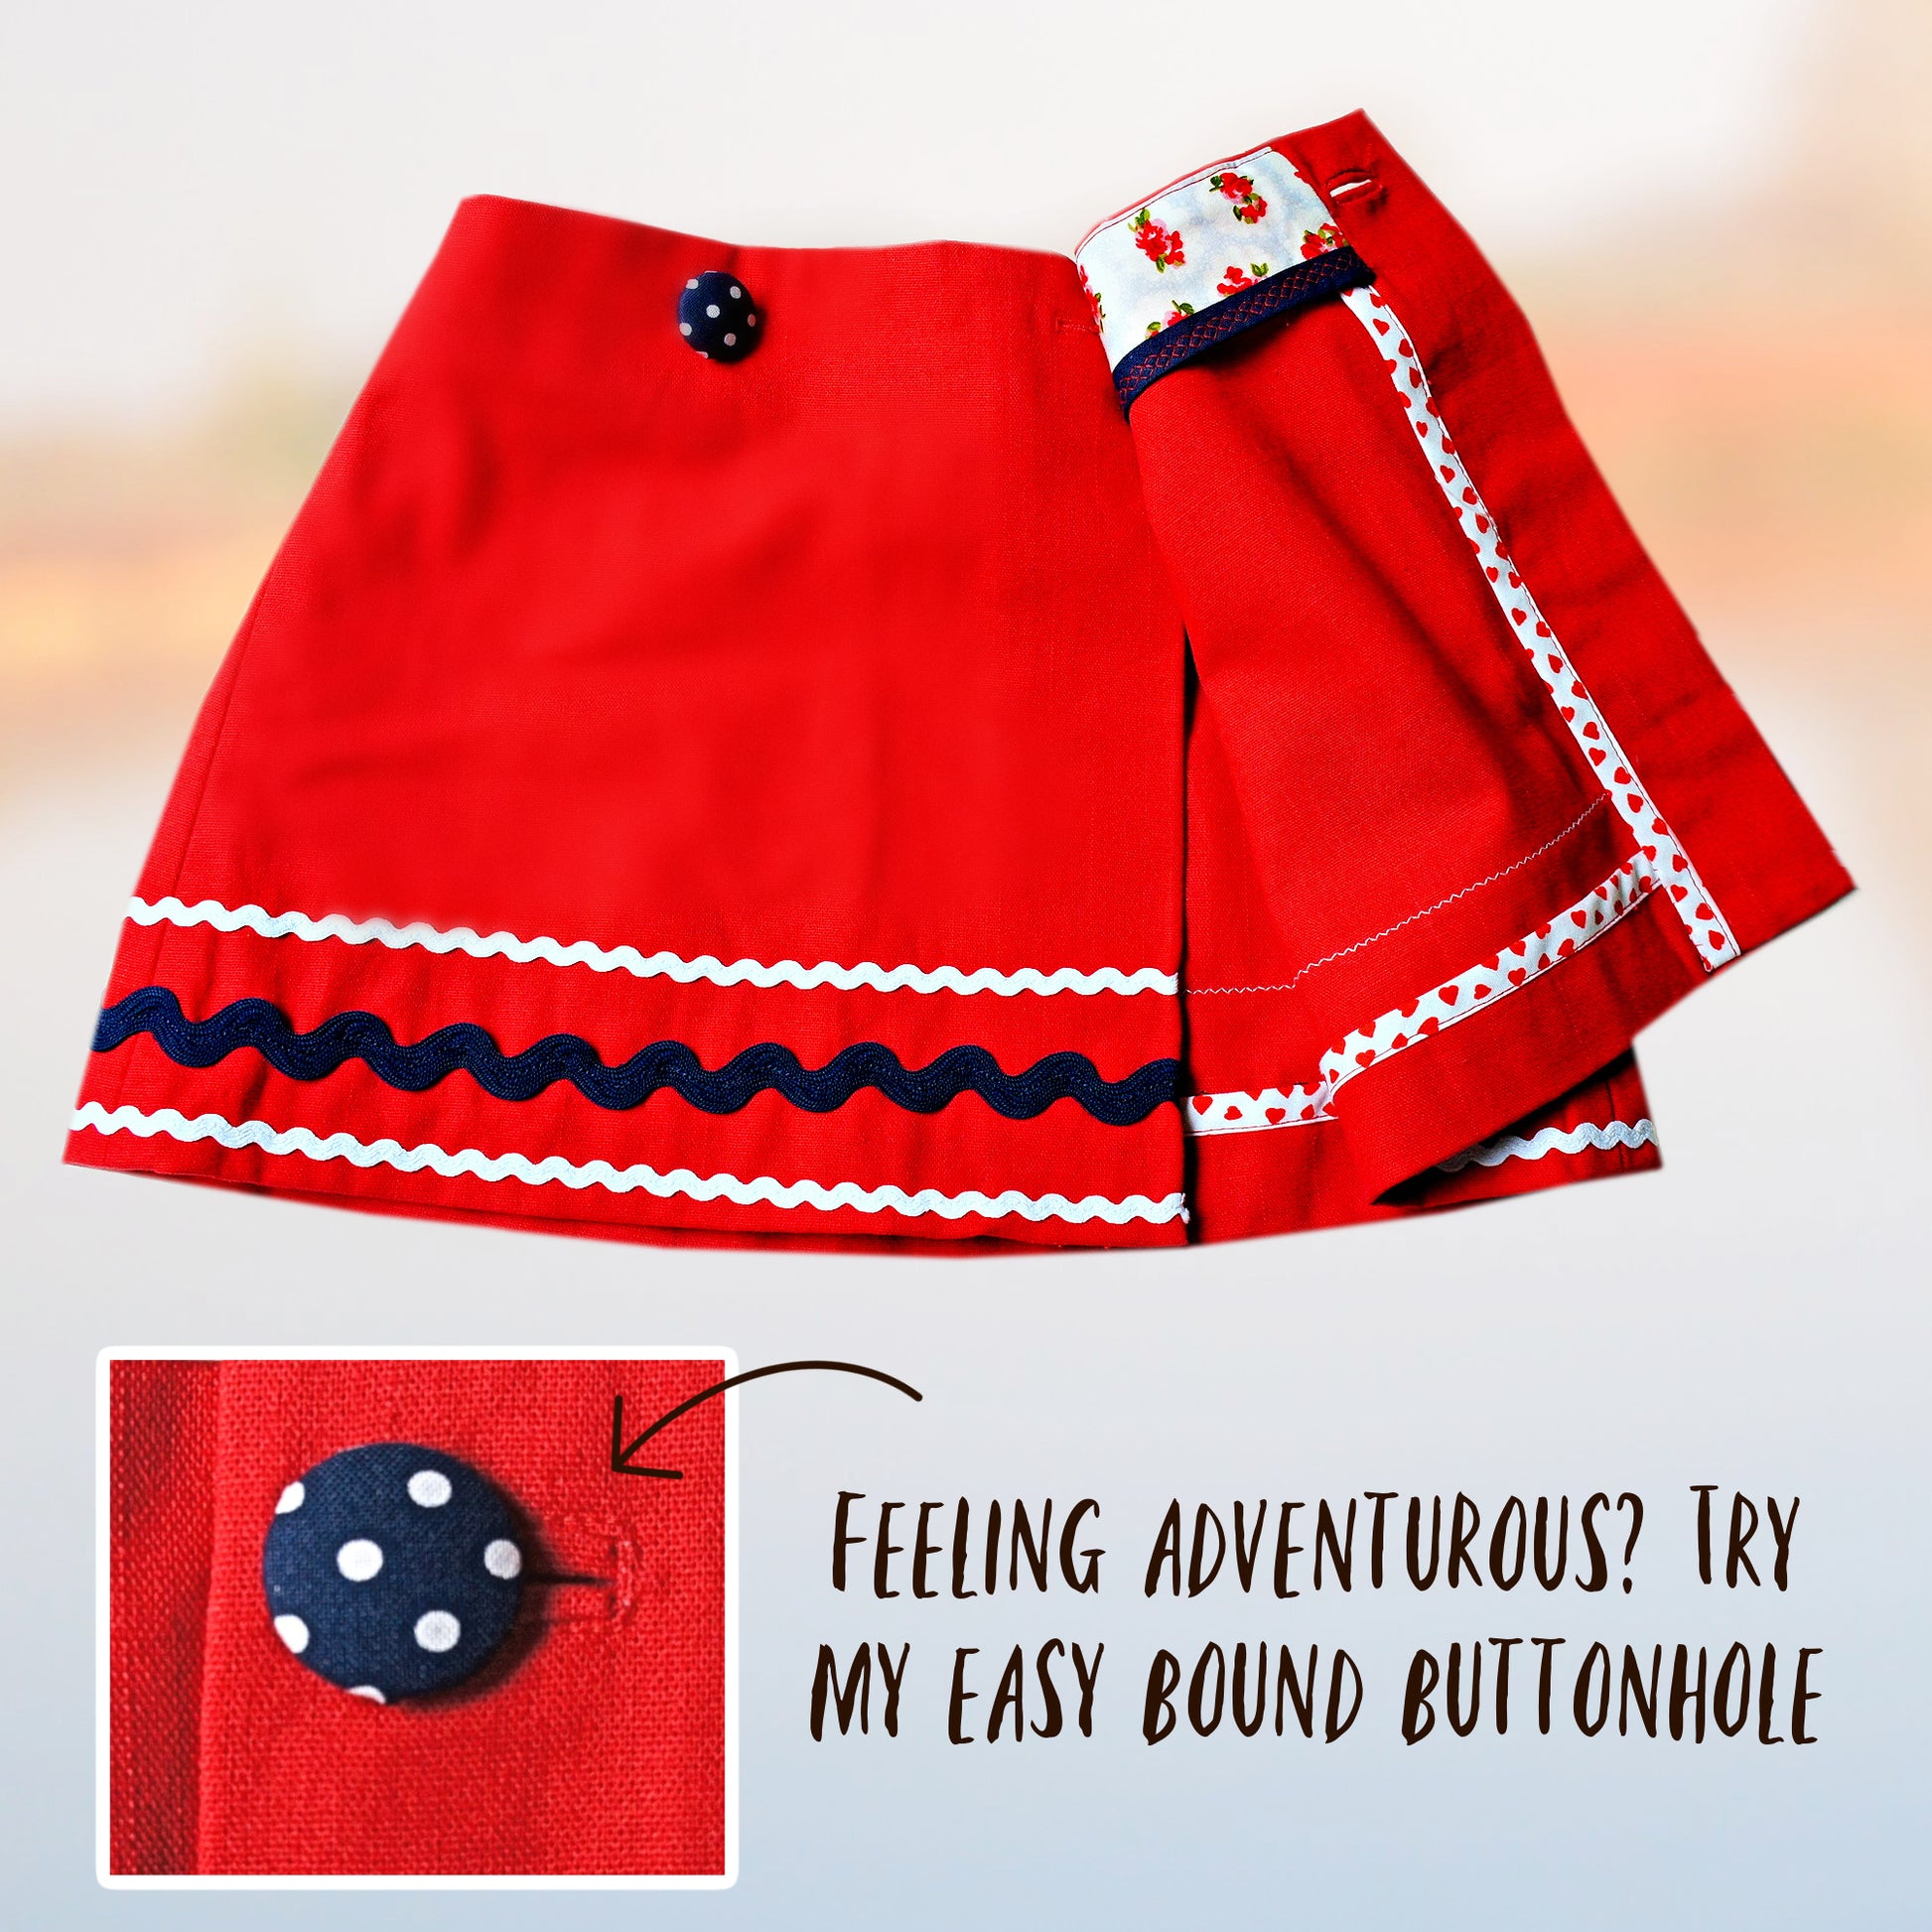
BOUND BUTTONHOLE DIY
JUTTA WRAP SKIRT FOR DOLLS

JUTTA WITH LOOP FASTENING (ORIGINAL VIDEO)

JUTTA WITH BOUND BUTTONHOLES (ORIGINAL VIDEO)