


FLOWER GIRL DRESS
FLOWER GIRL DRESS


Regular price
€7,95 EUR
Regular price
Sale price
€7,95 EUR
Unit price
per
Couldn't load pickup availability
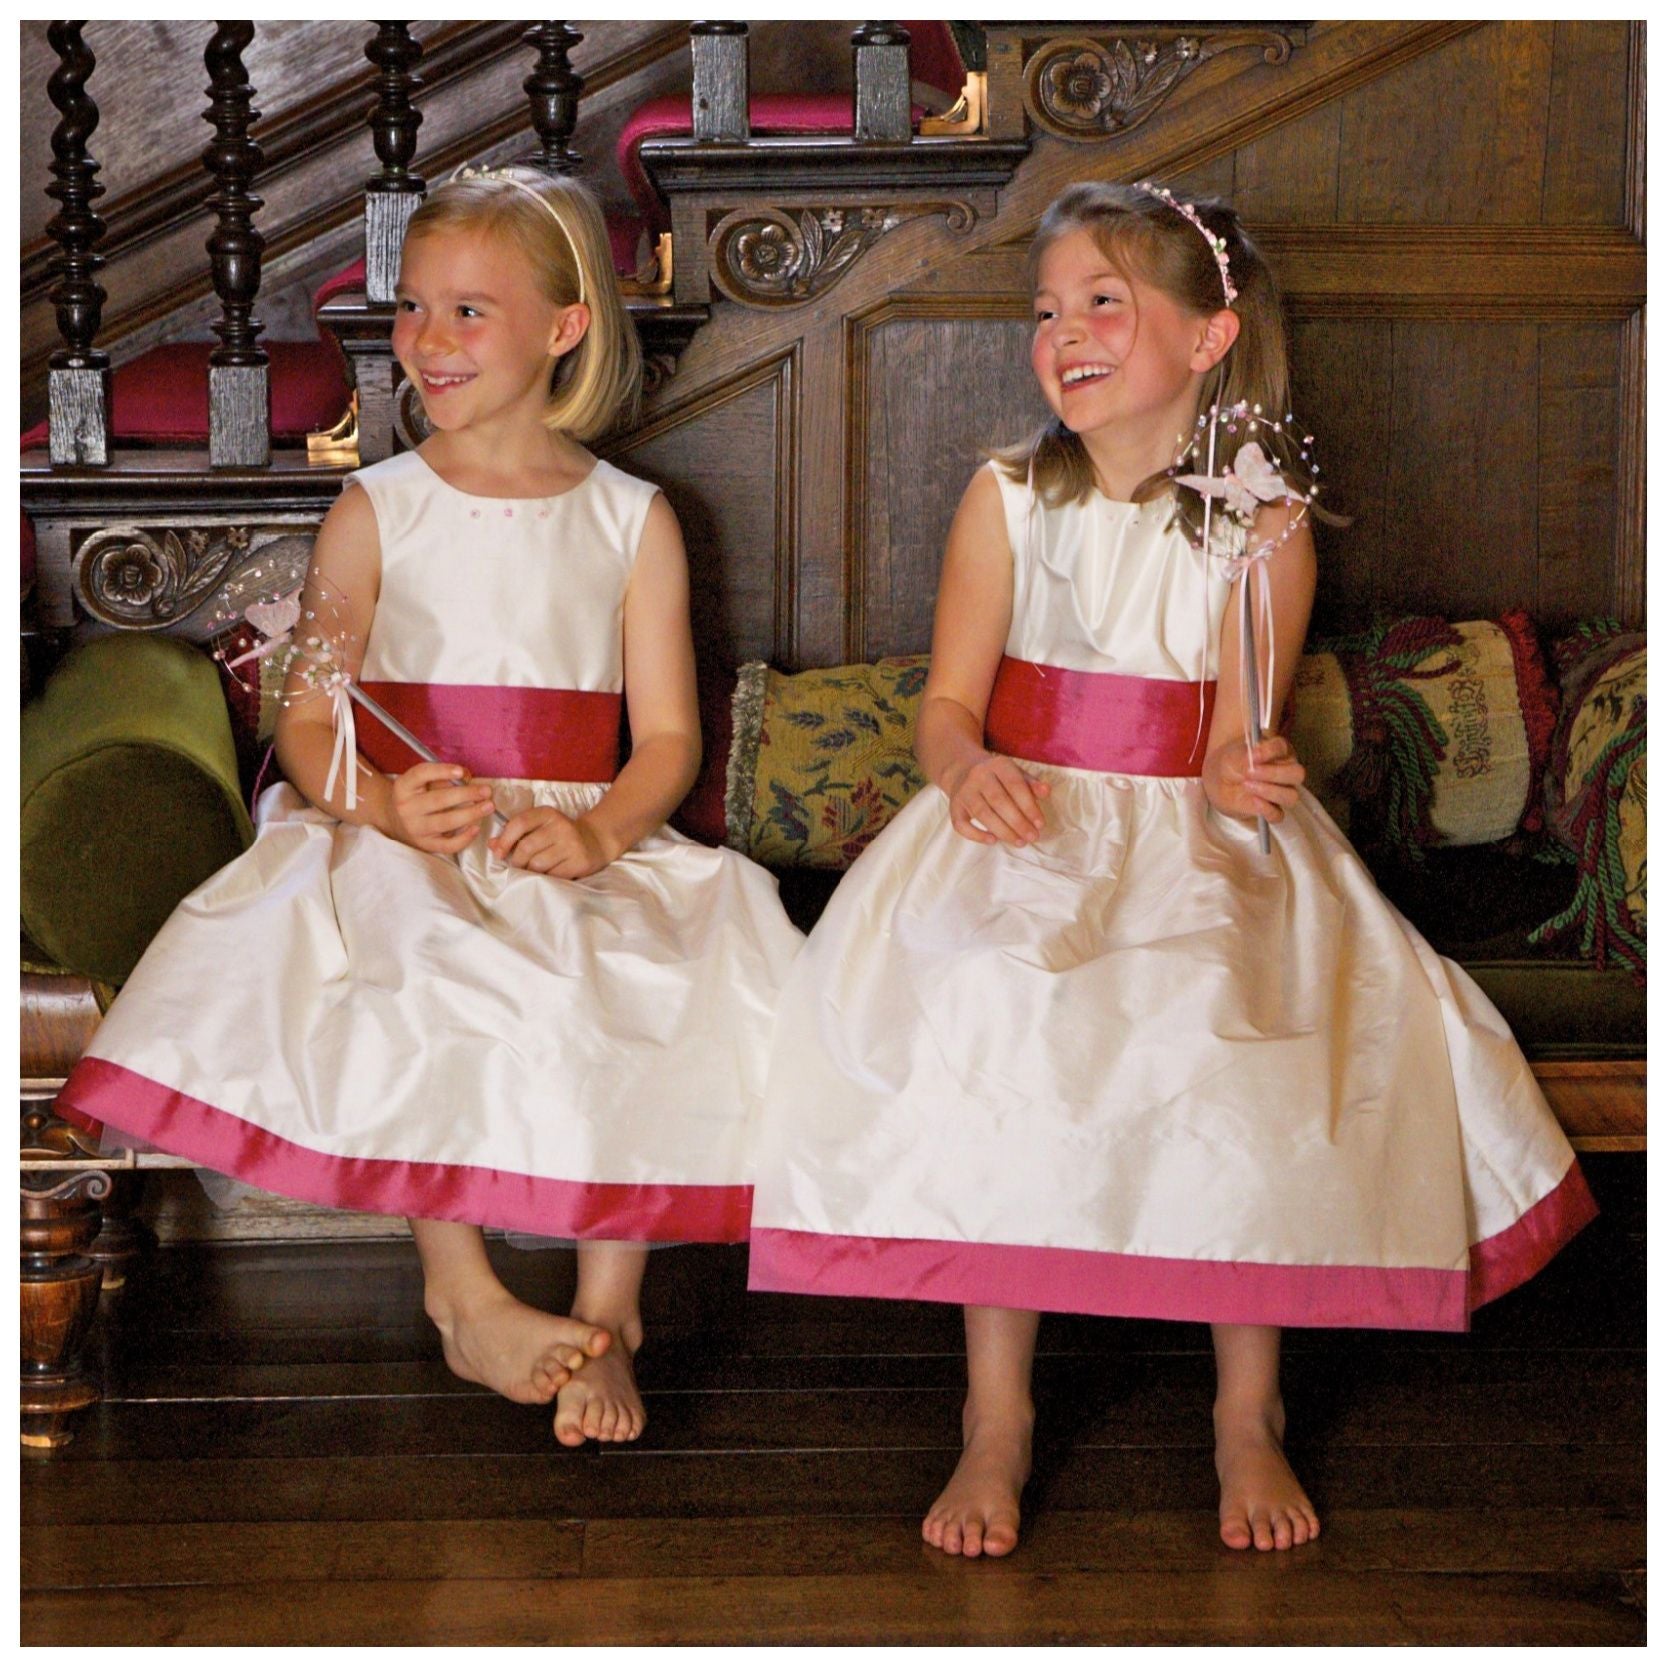
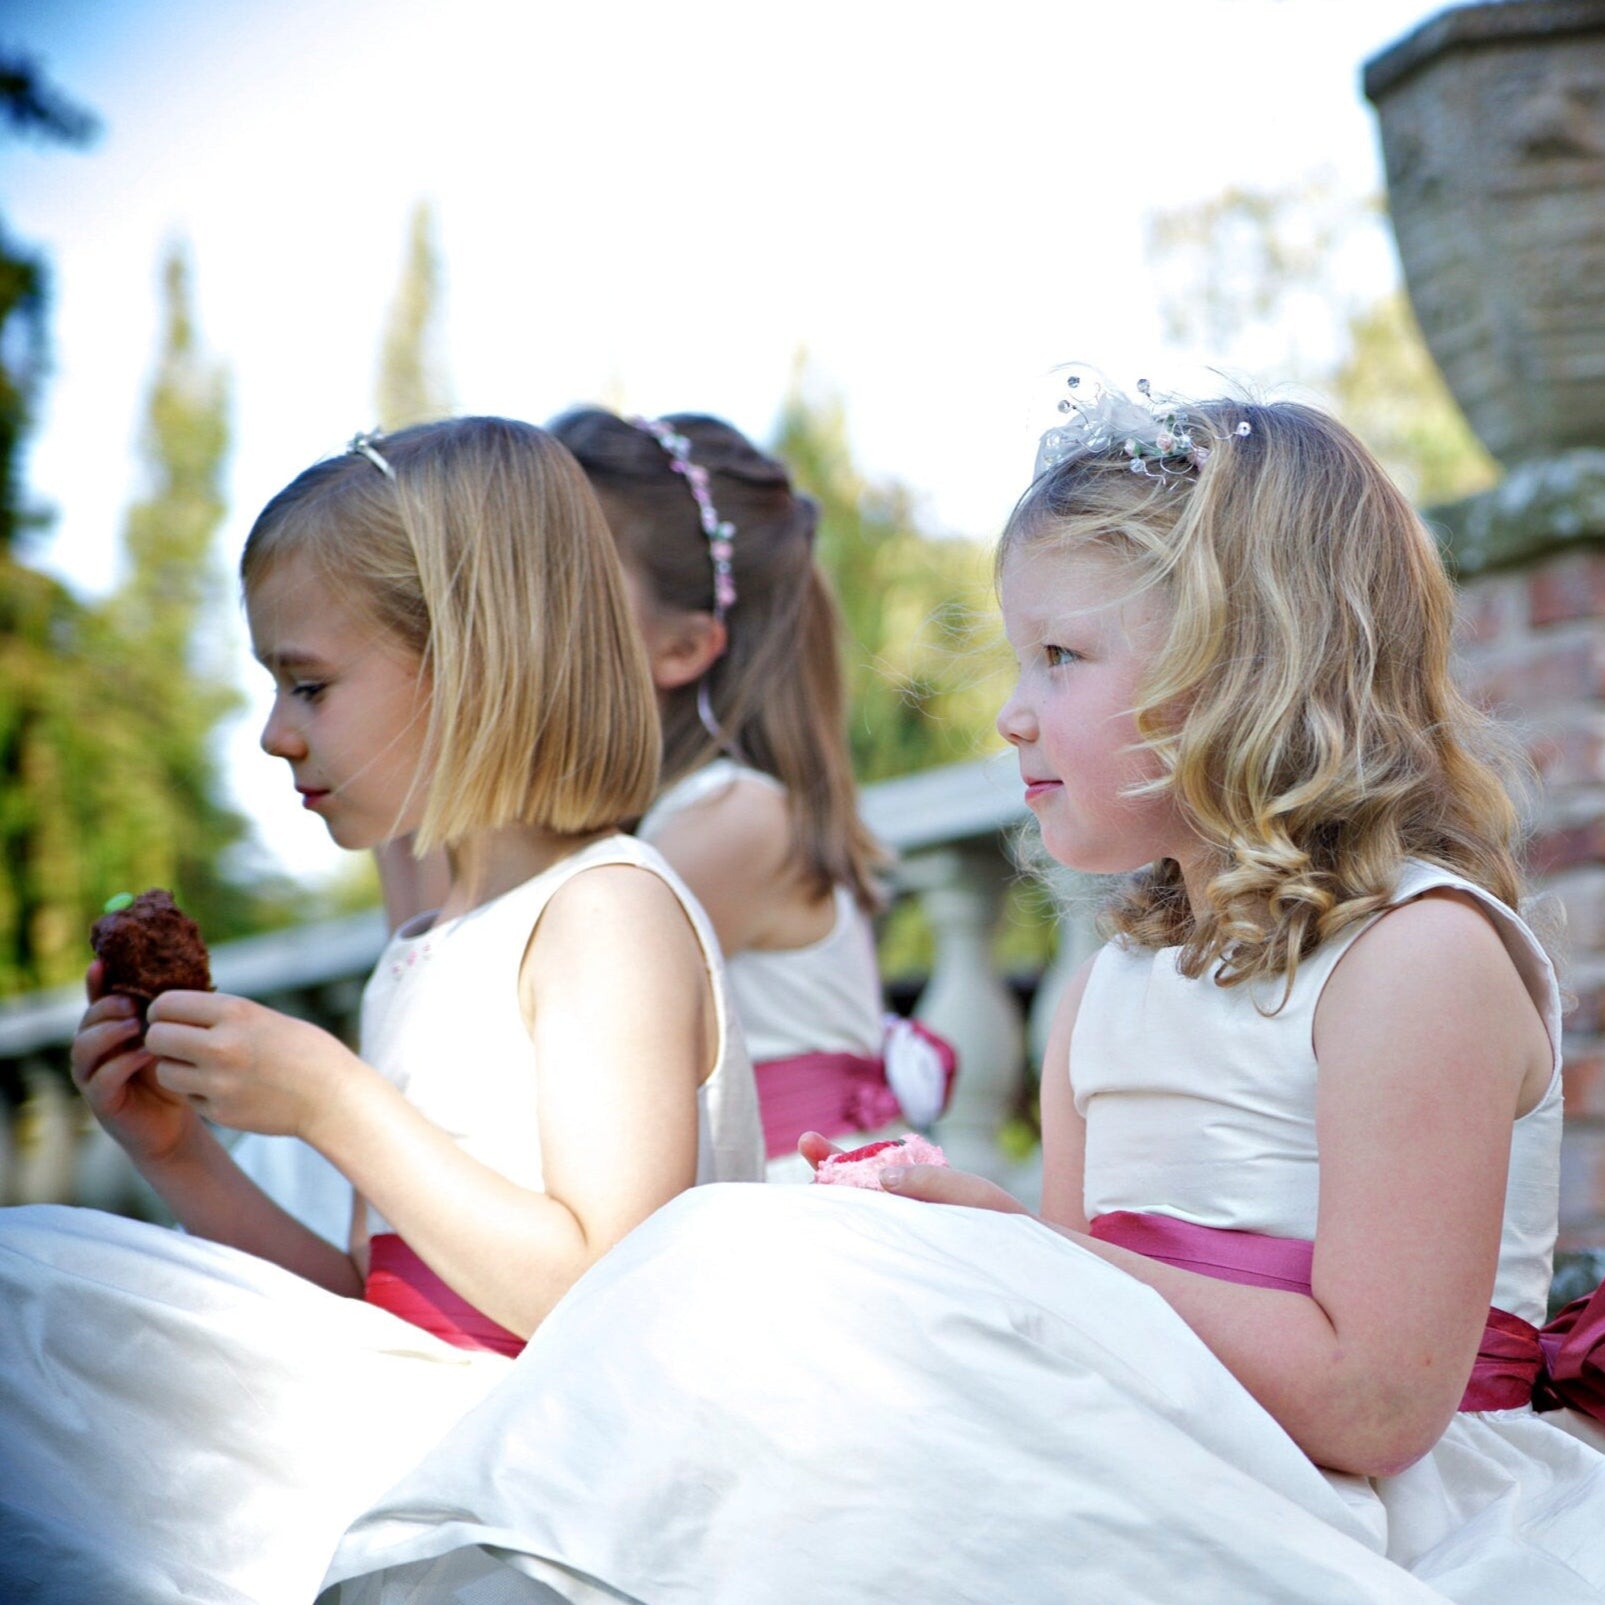
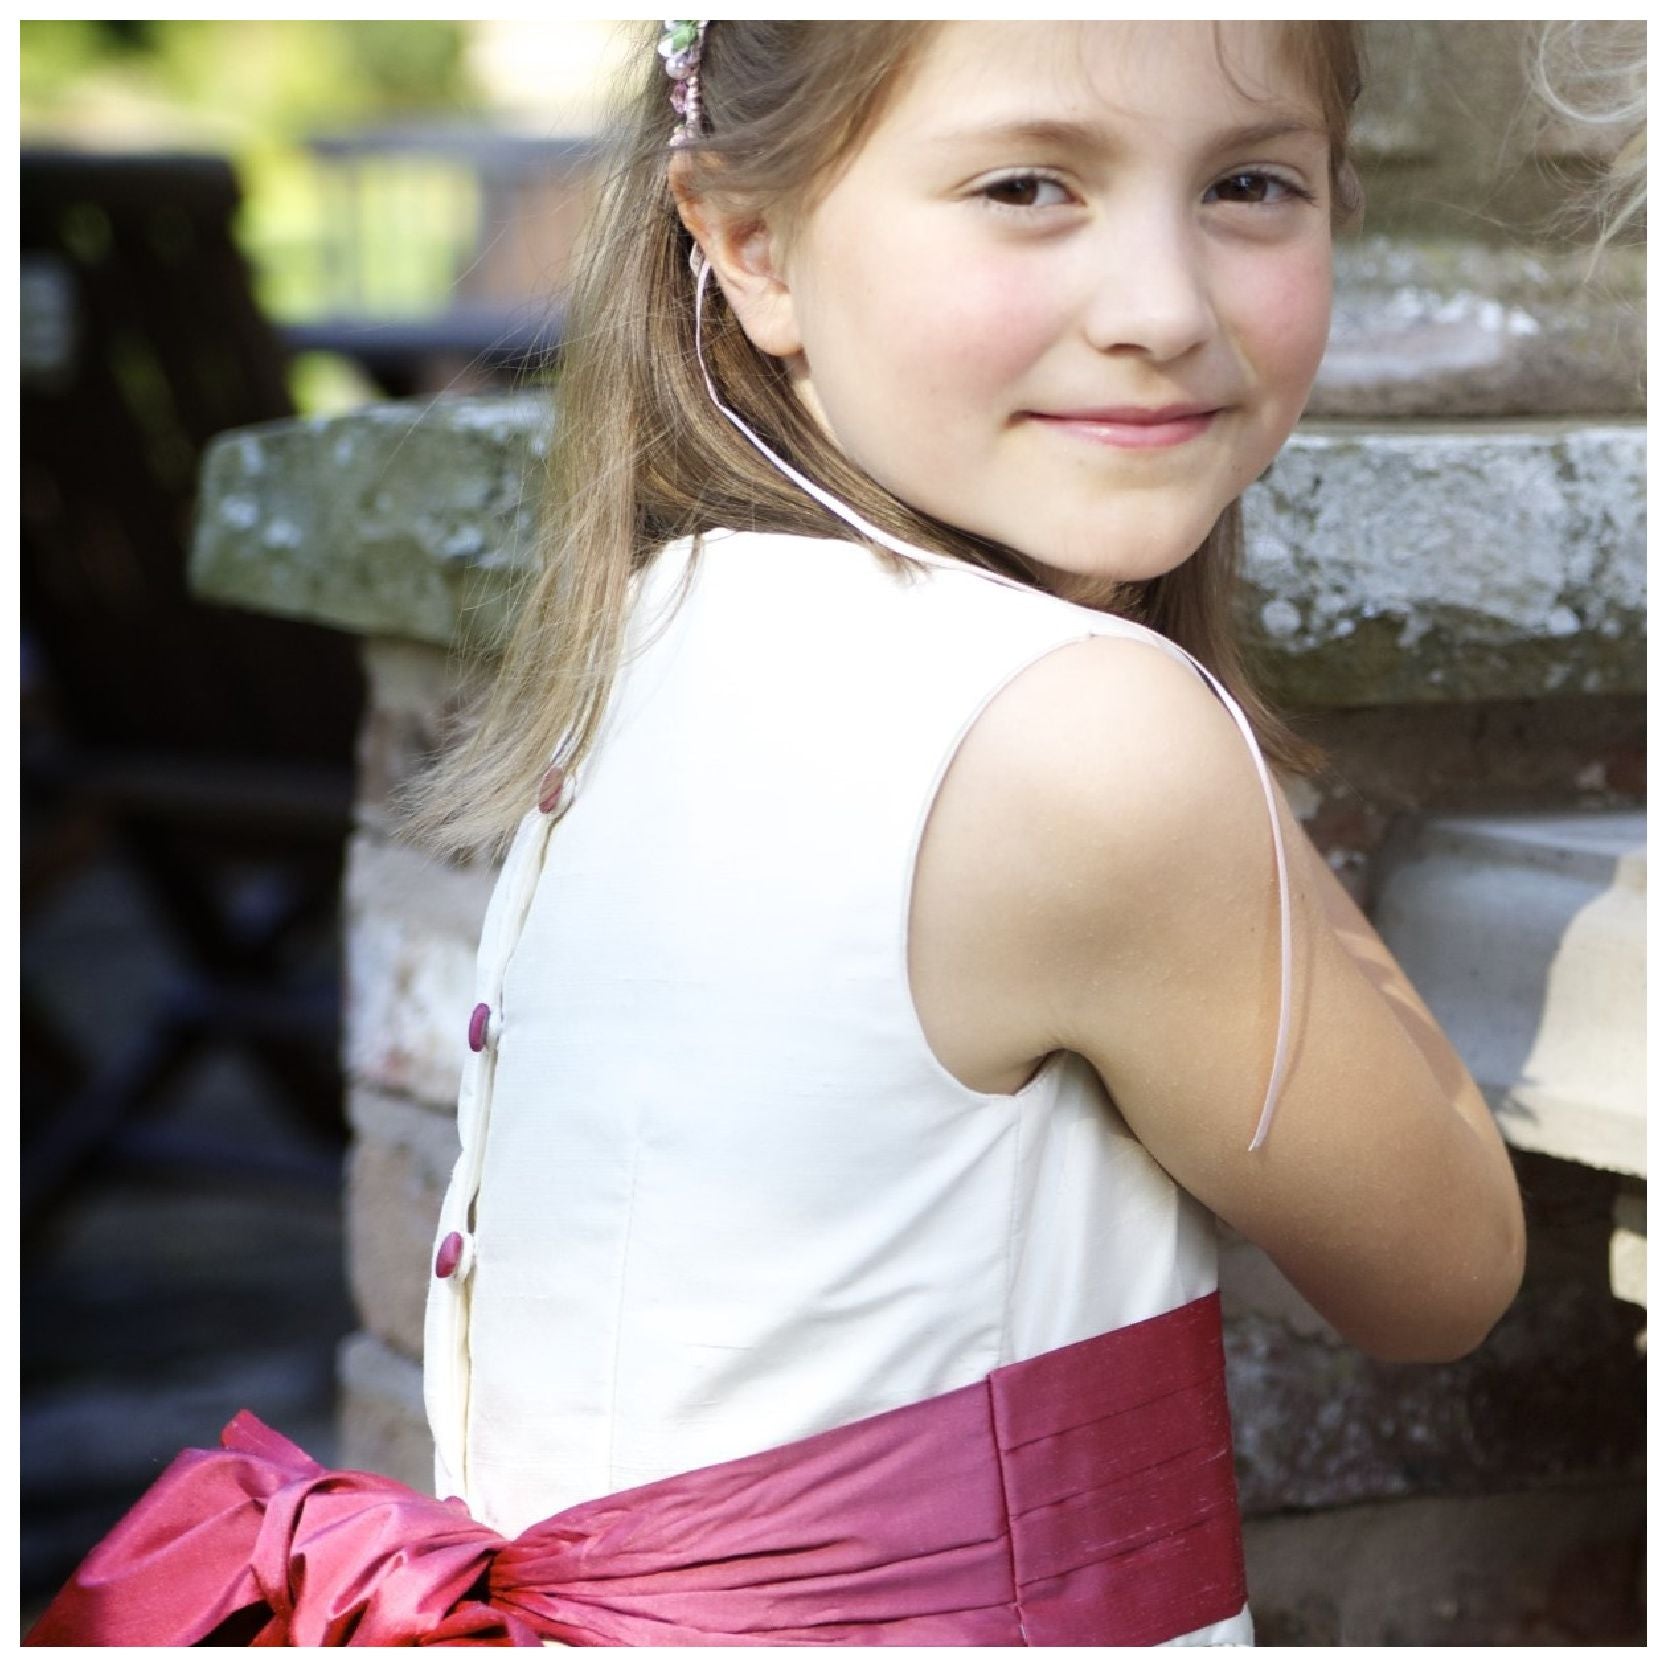
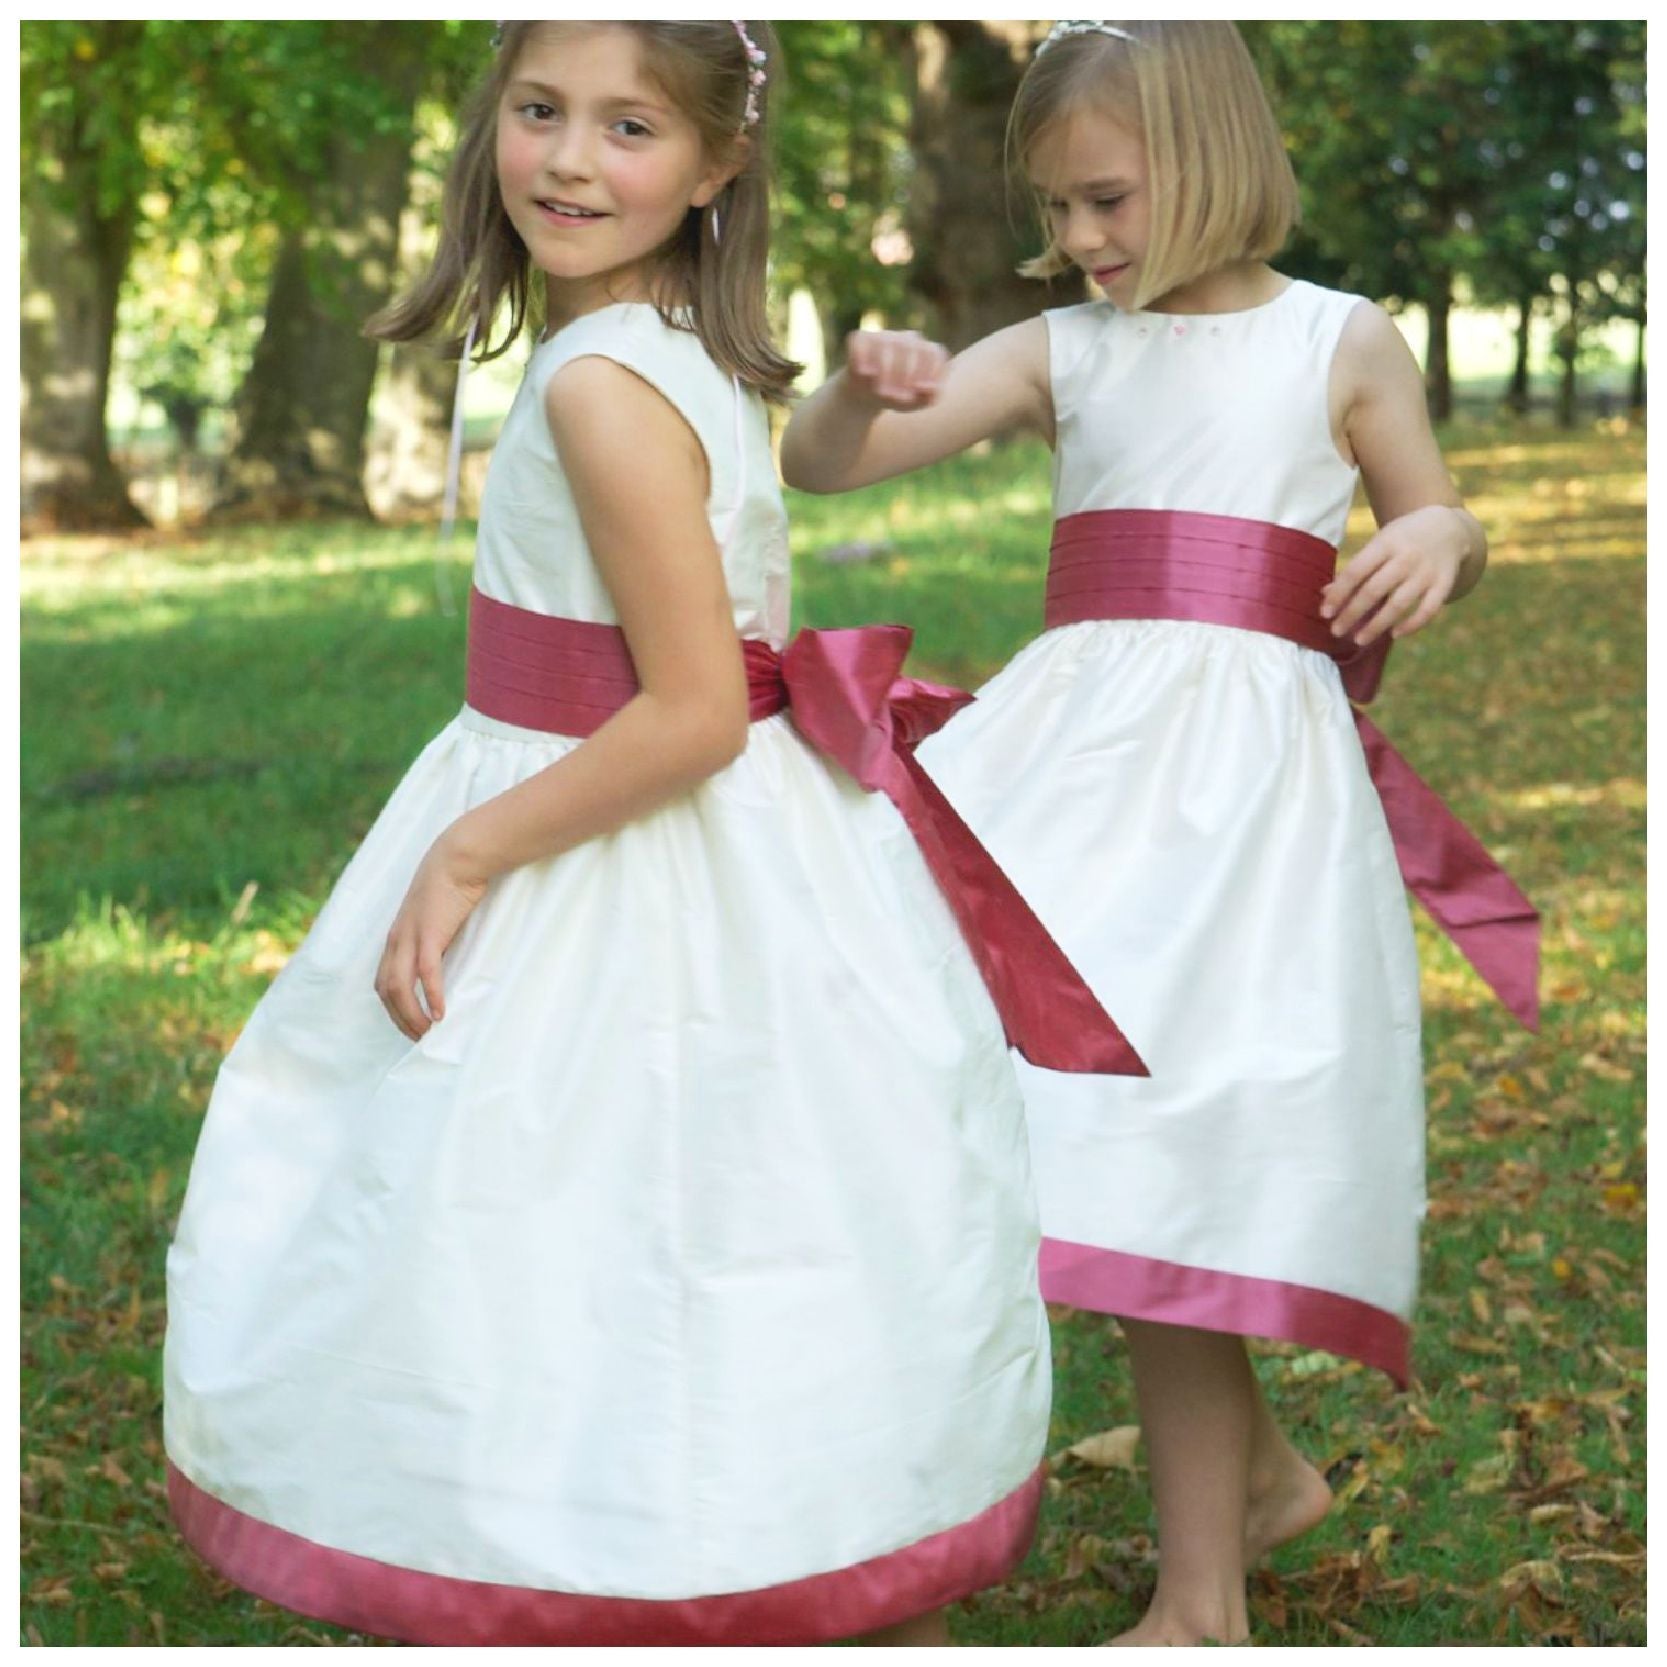
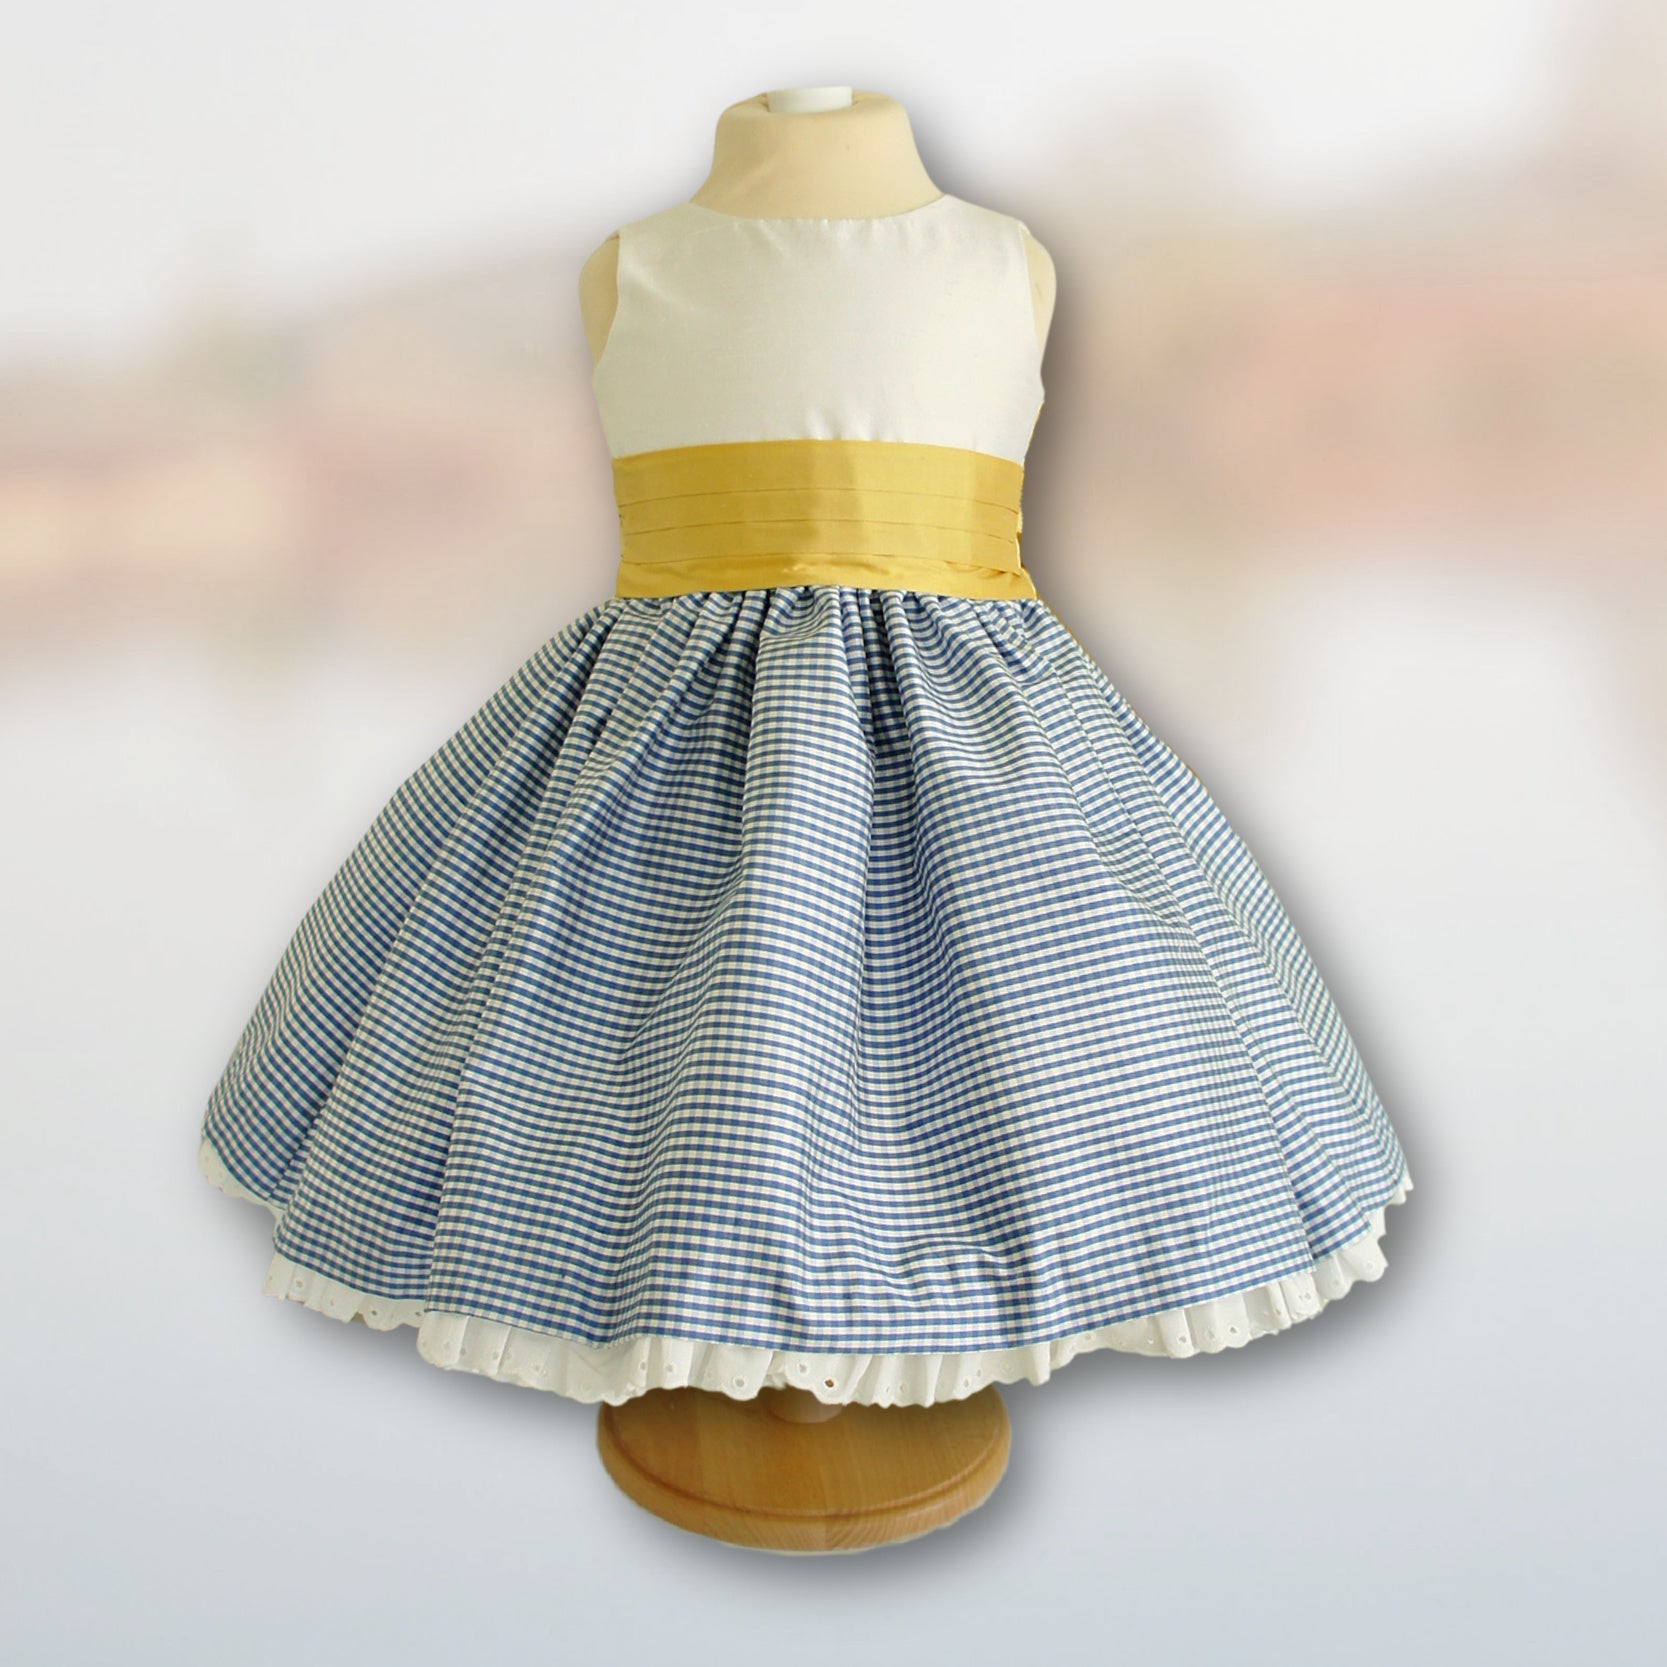
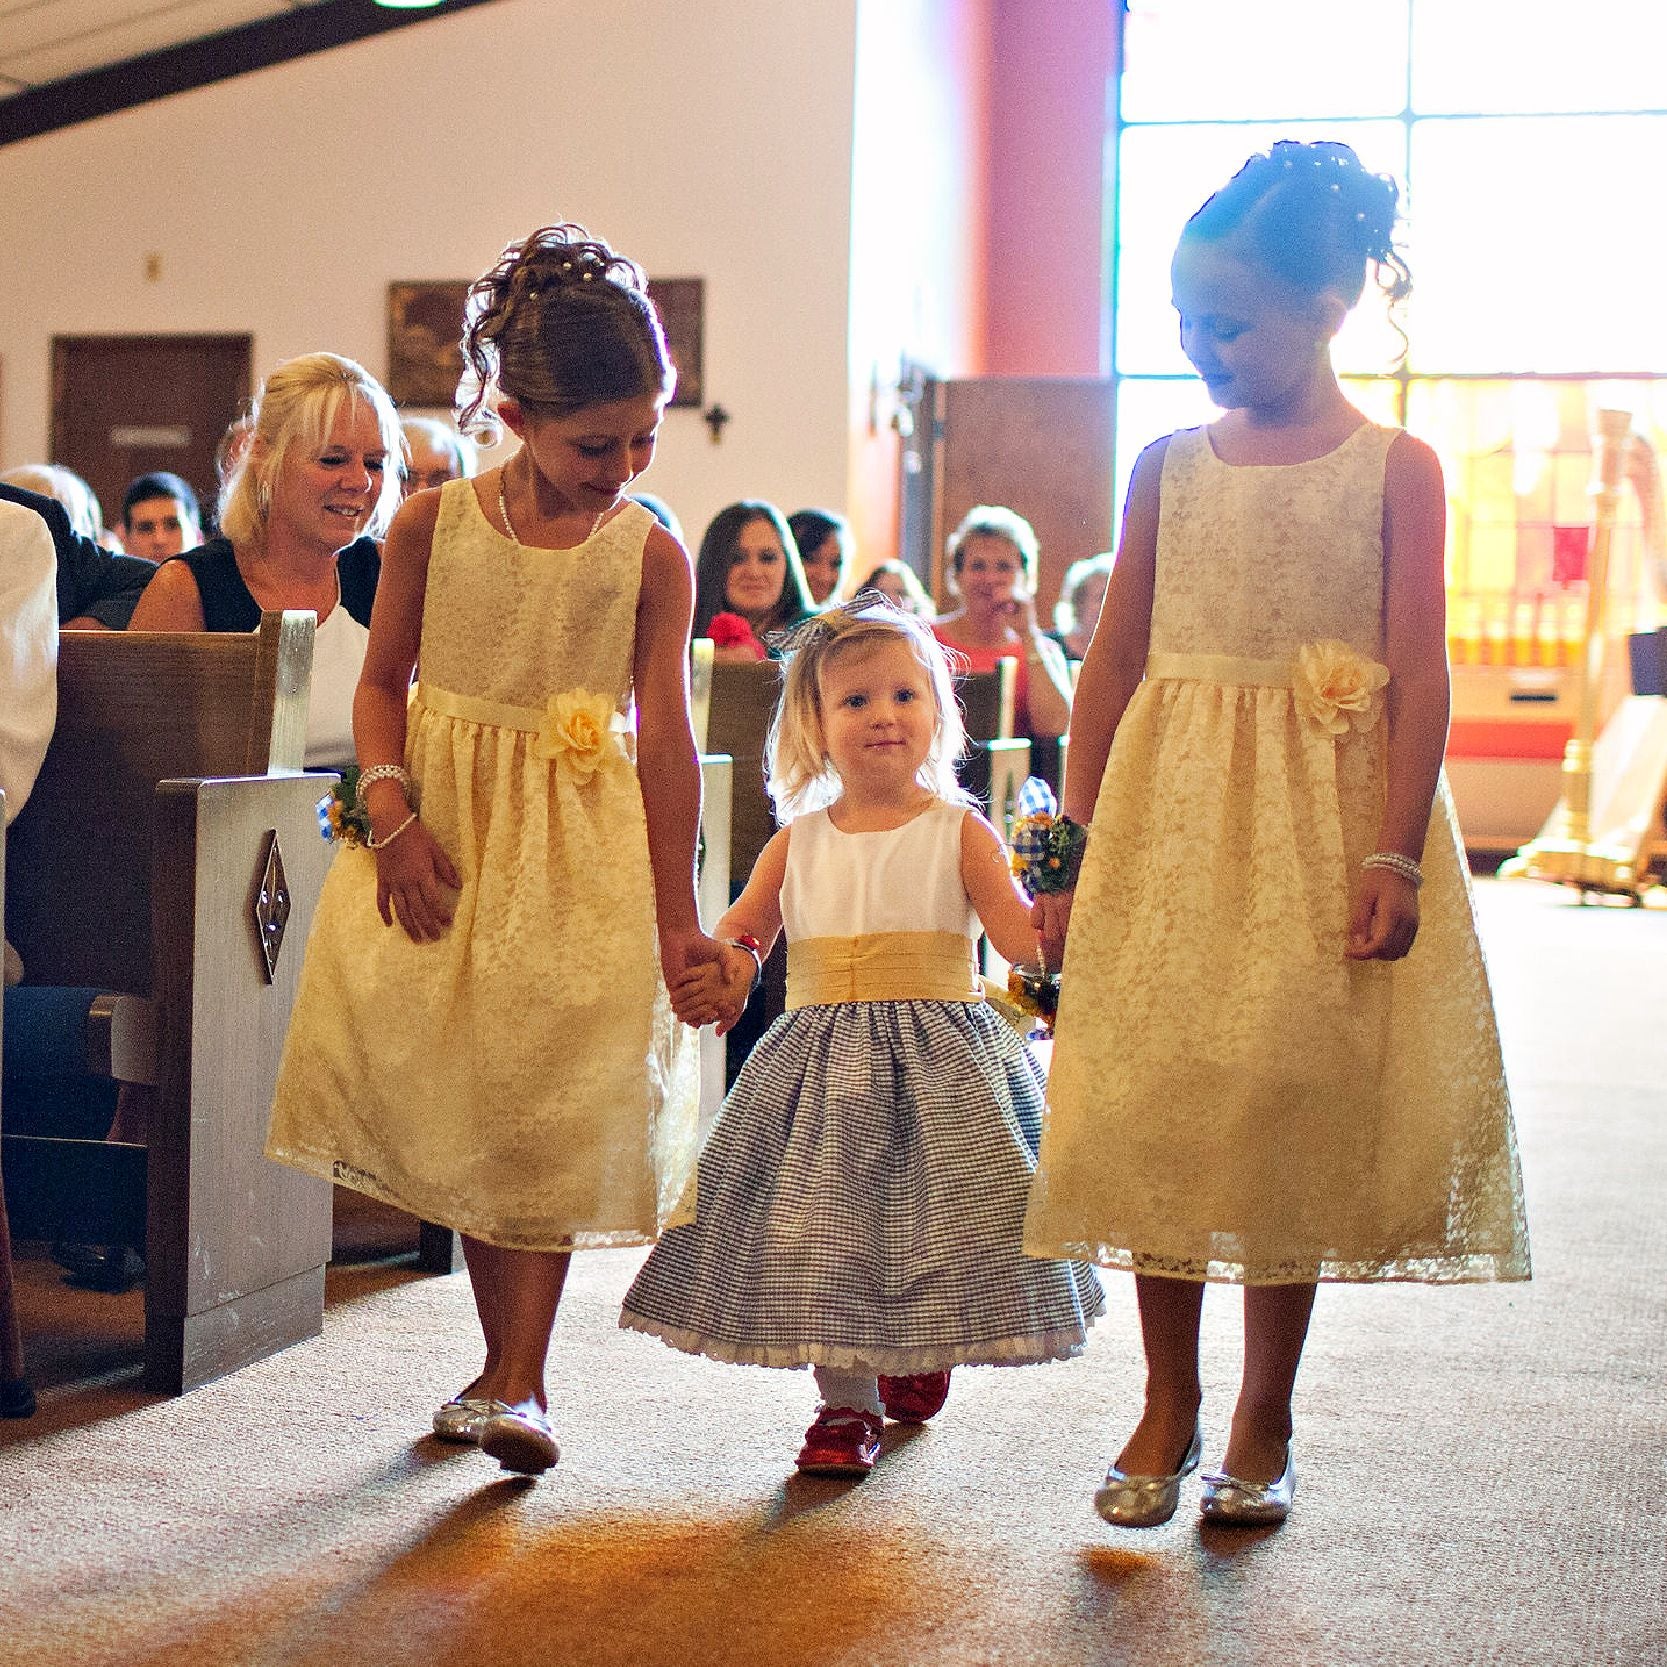
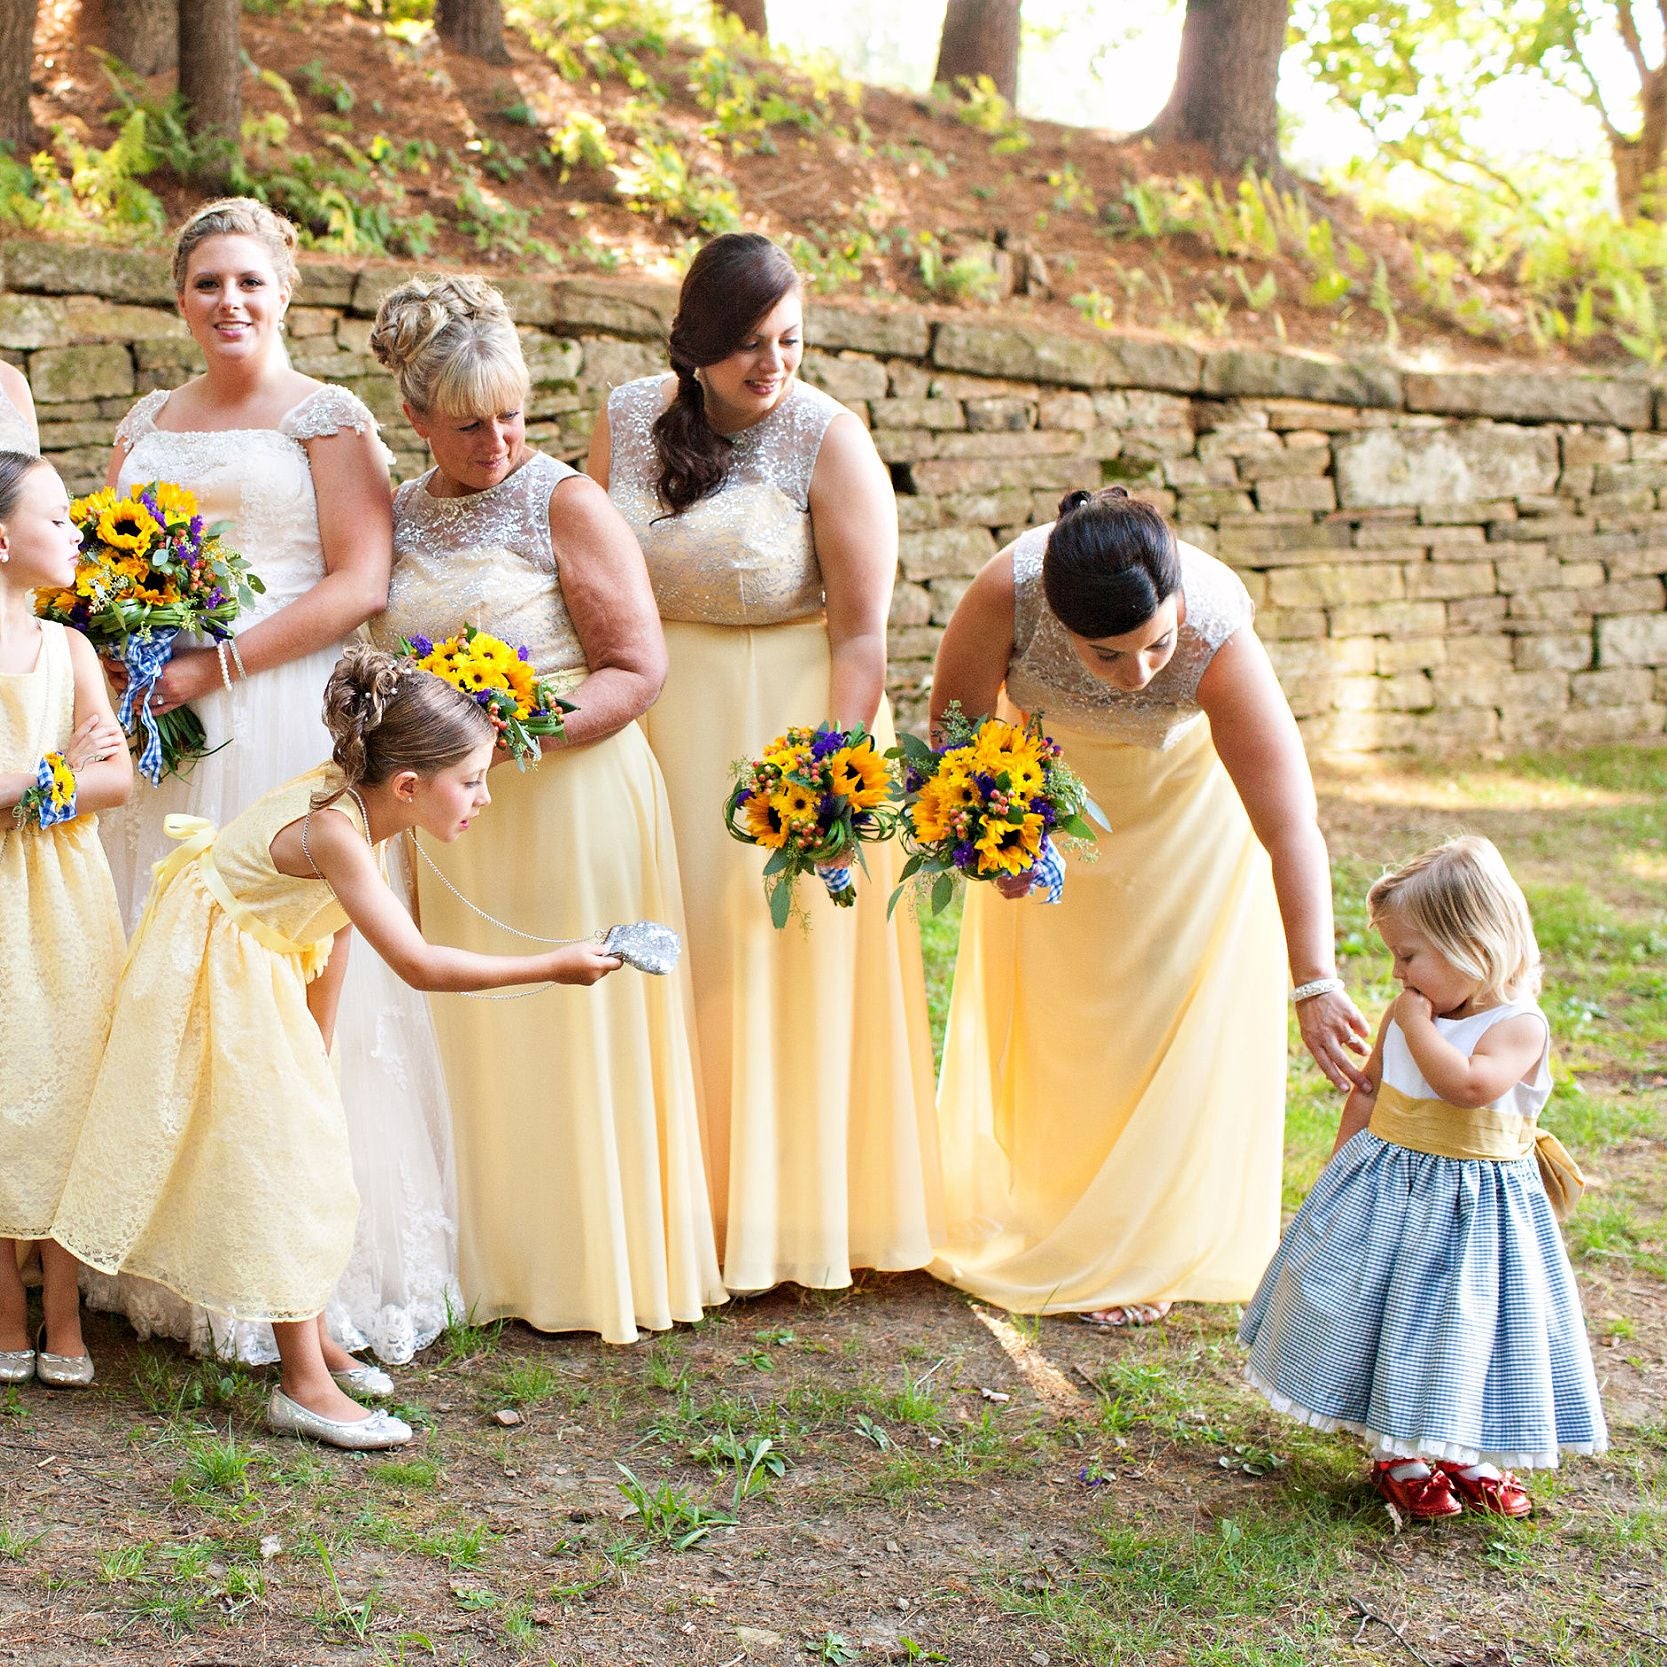
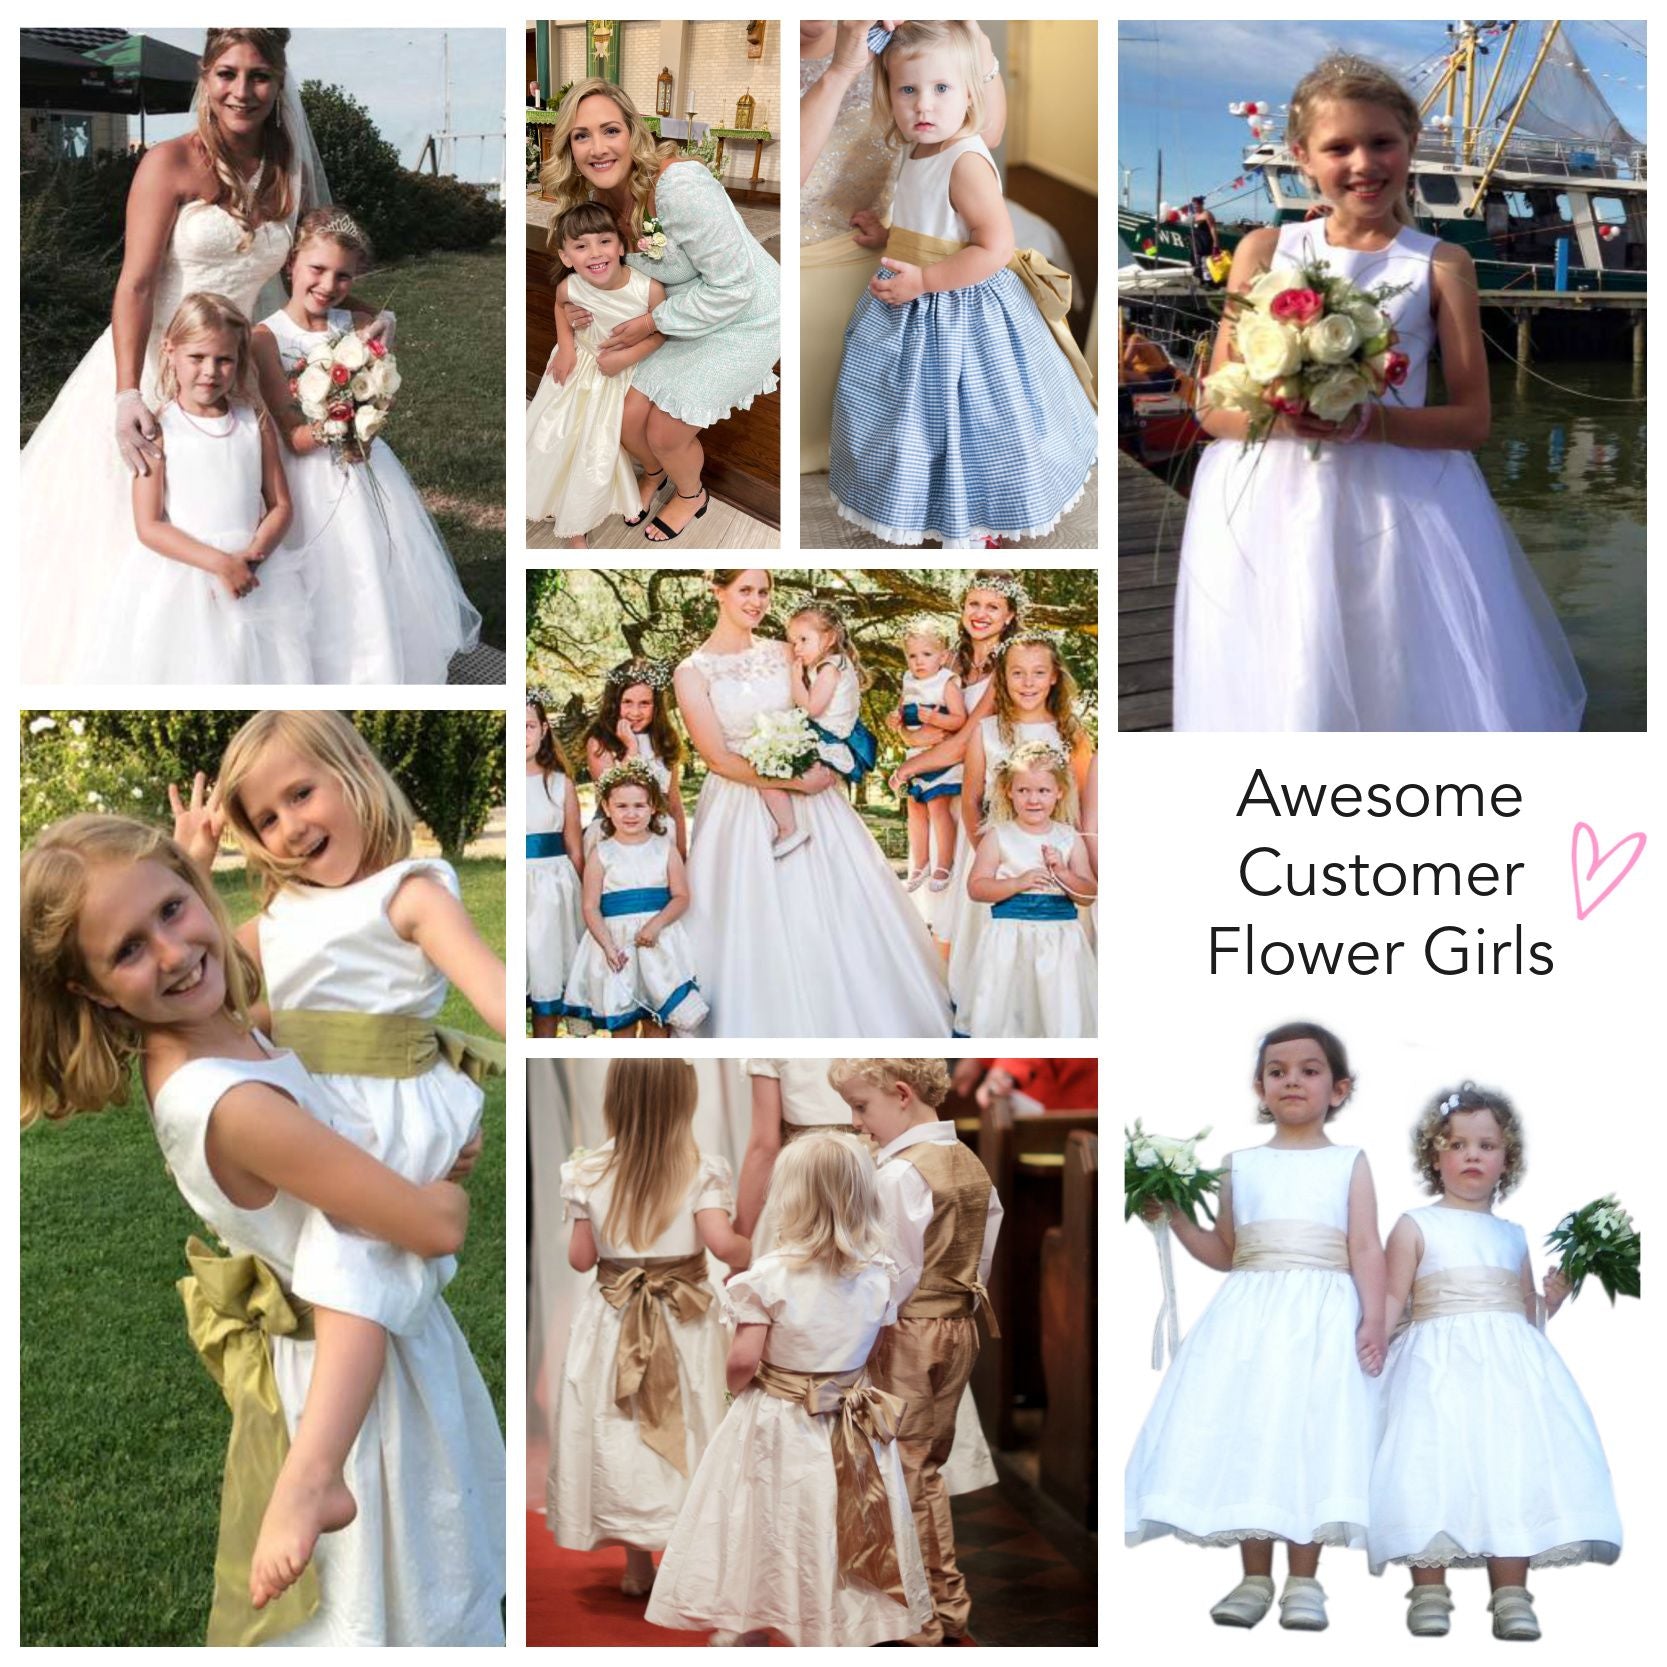
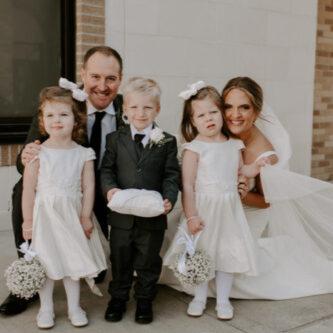
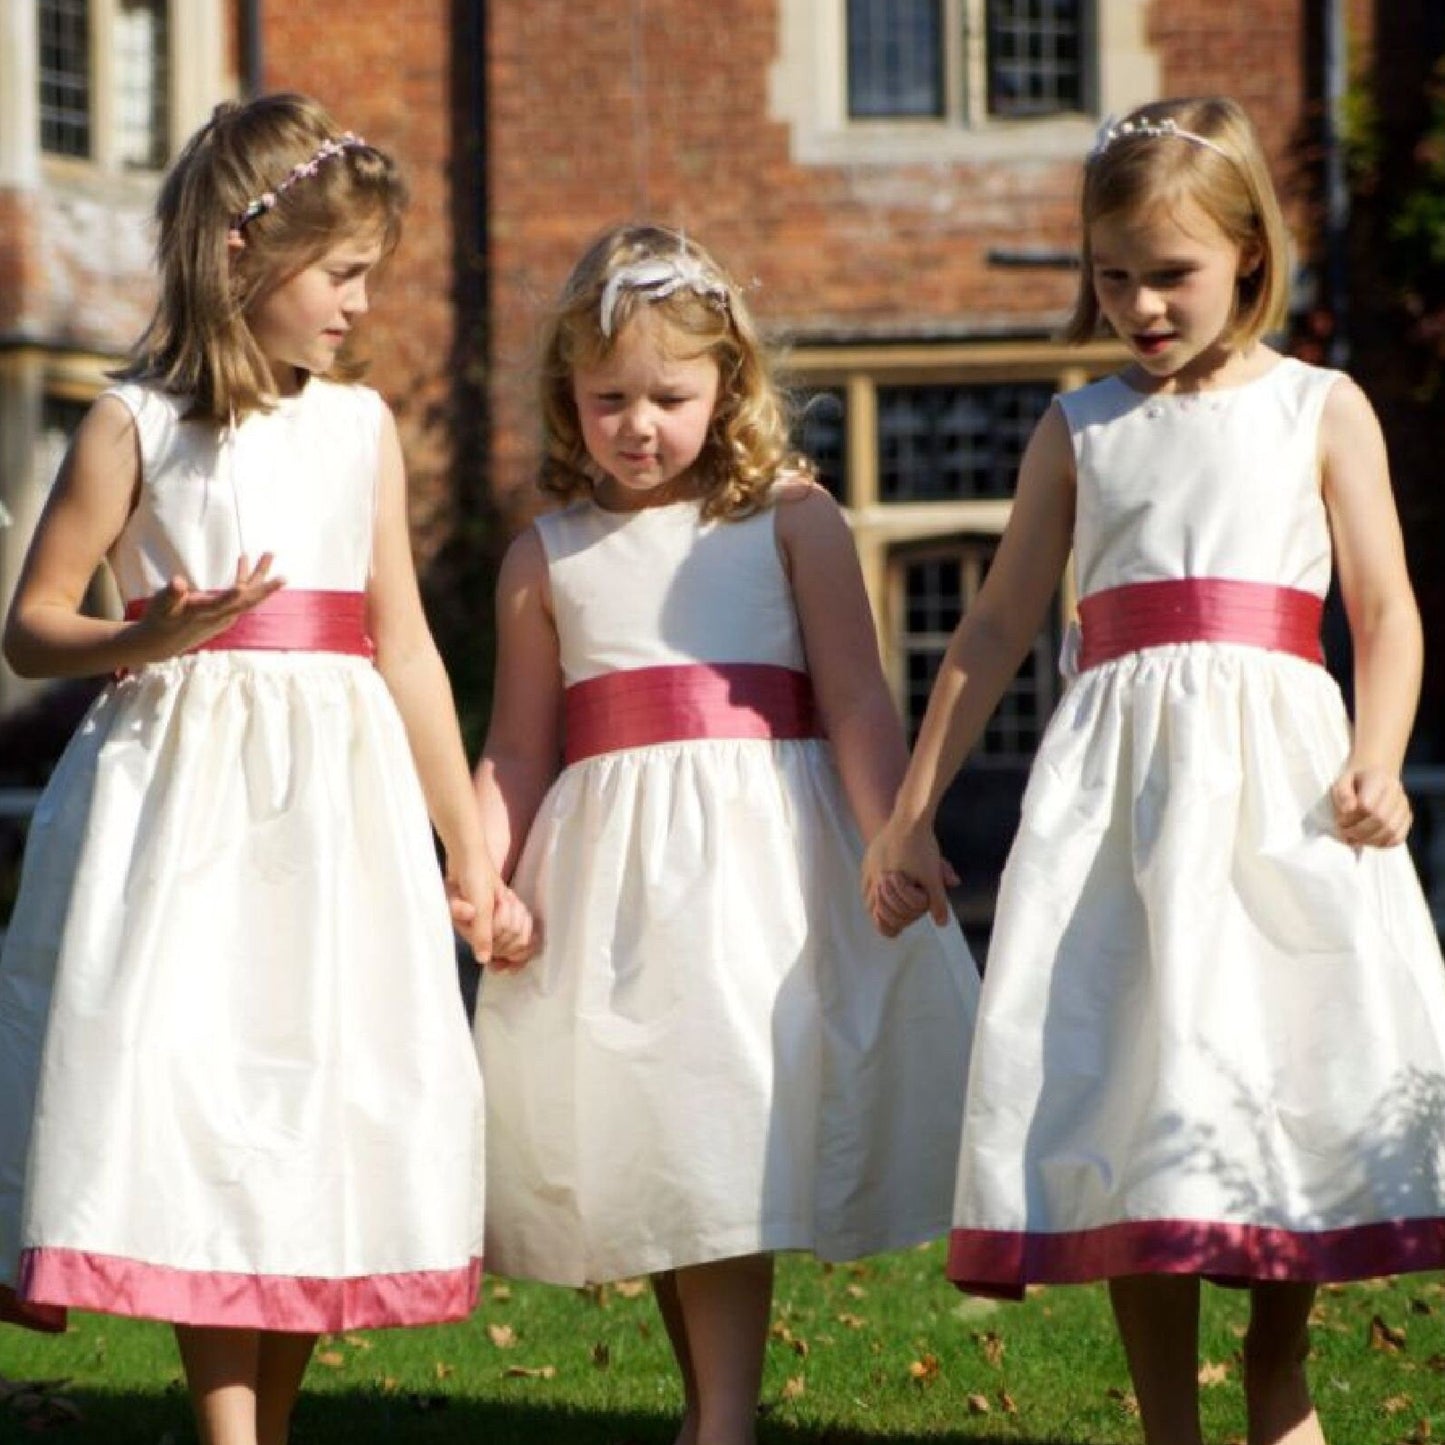
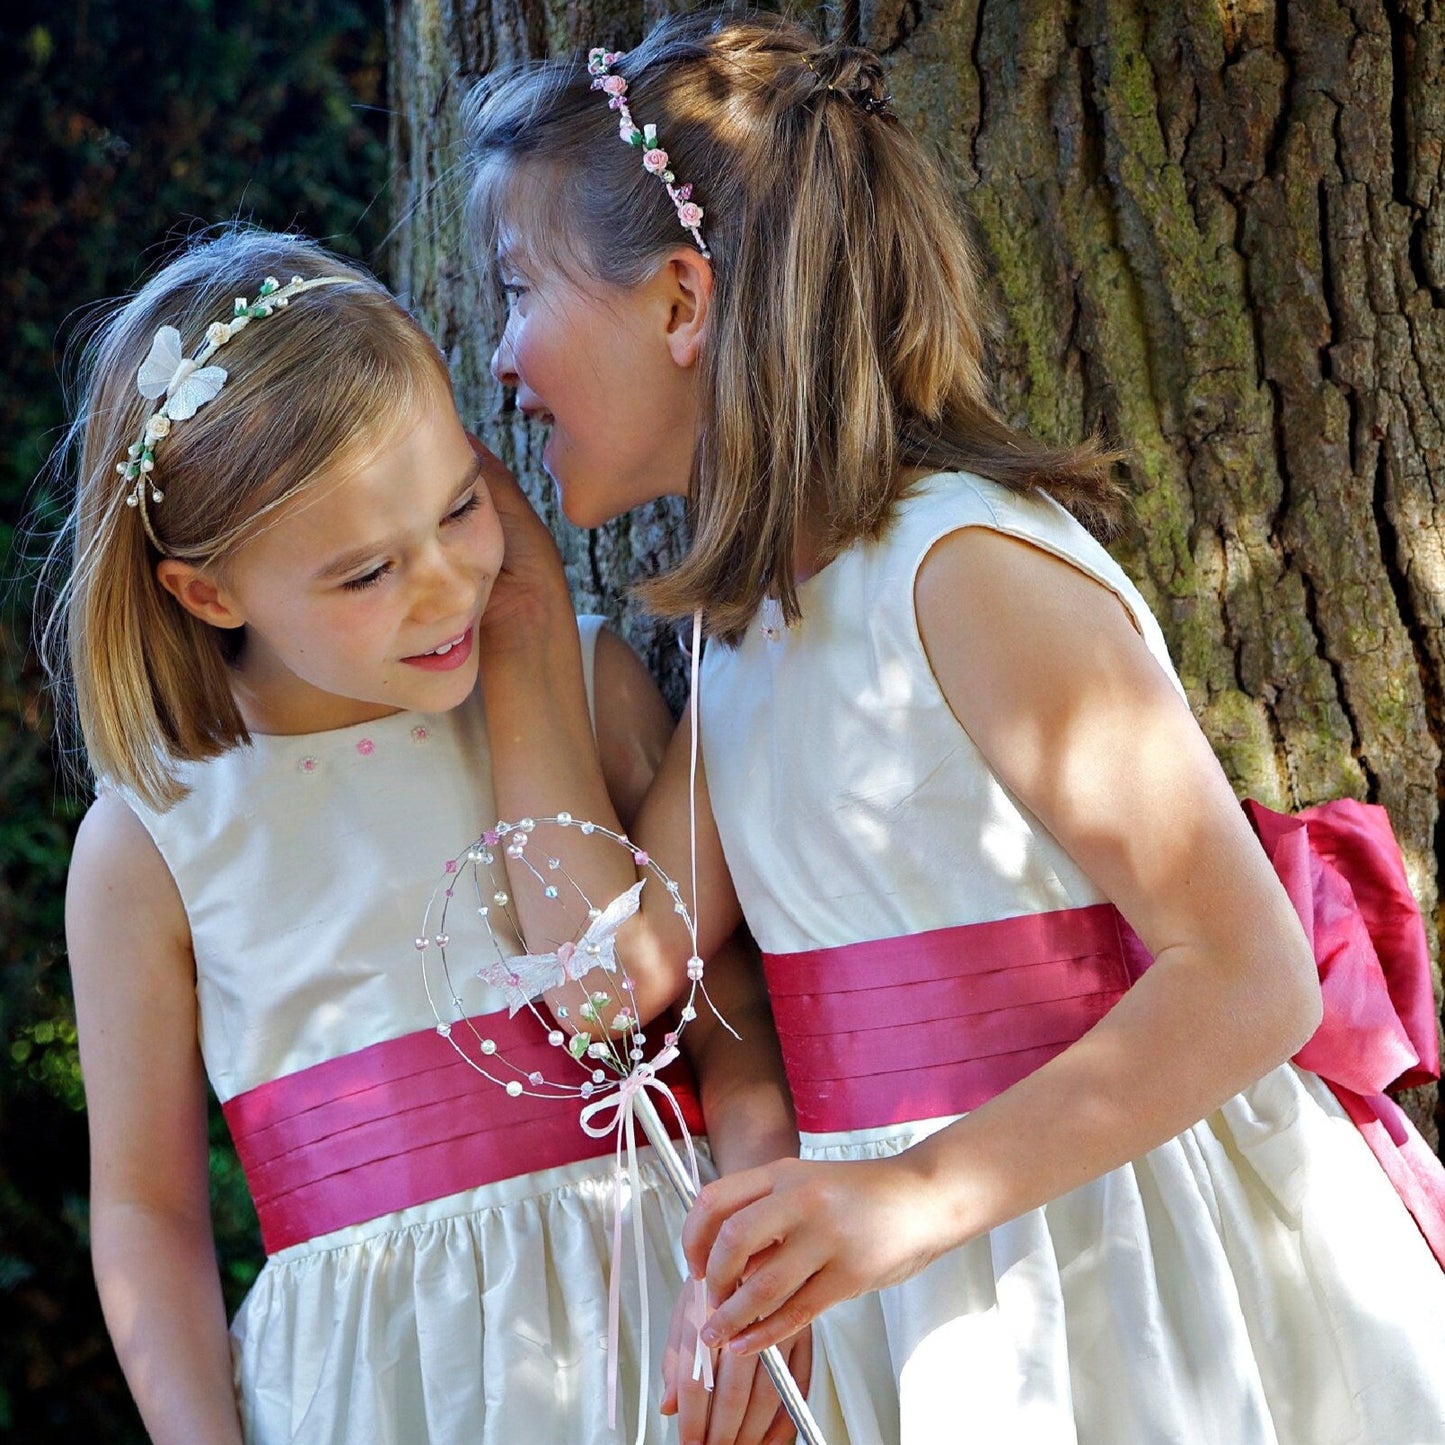
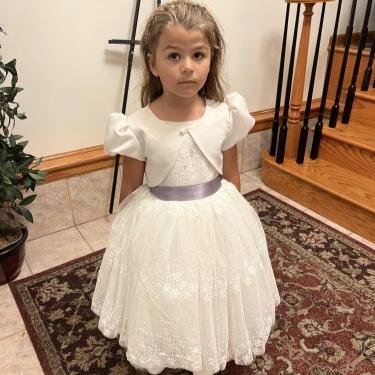
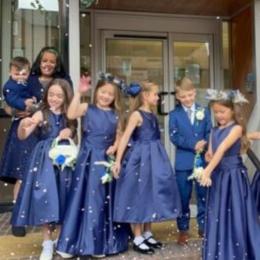
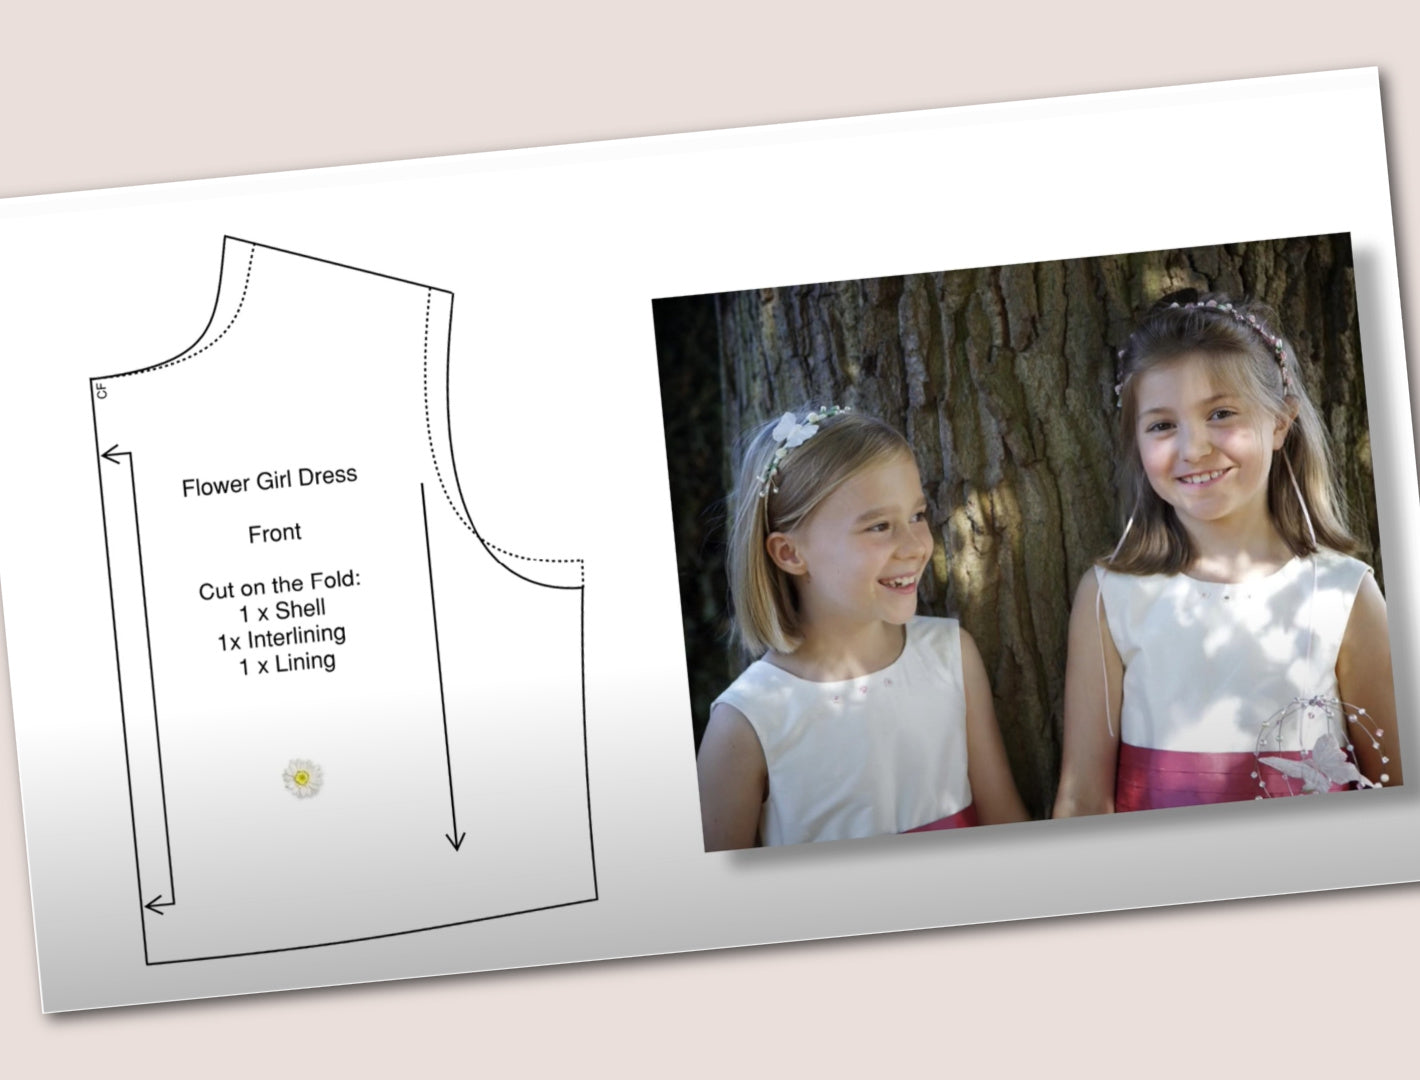
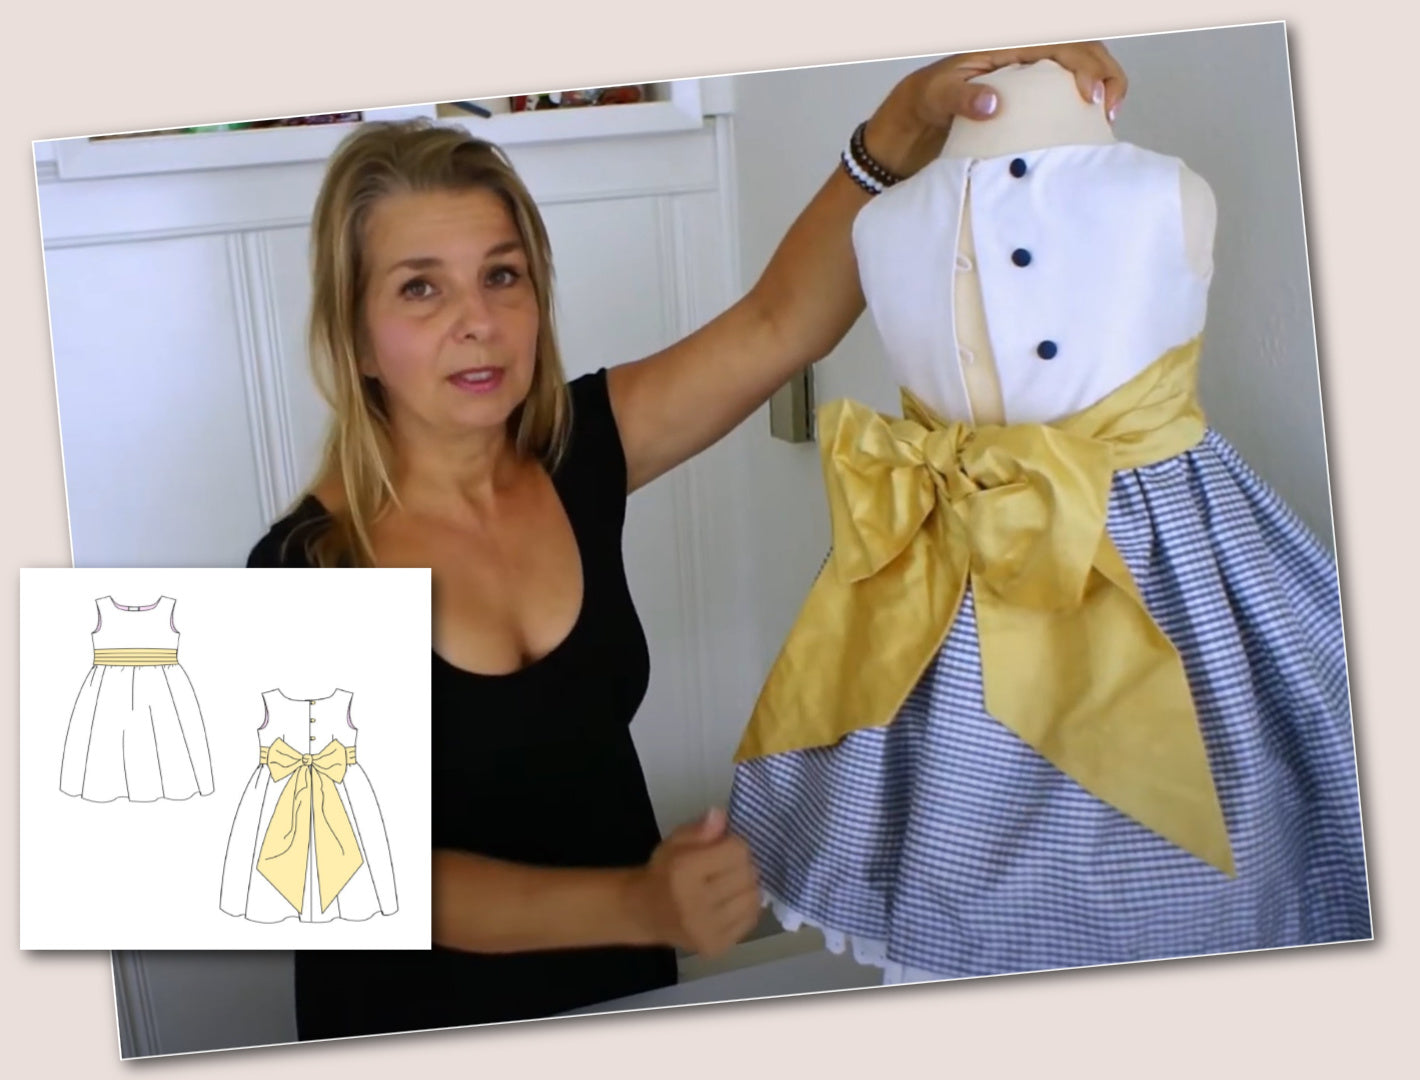
The Flower Girl Dress Pattern is a beautifully crafted design that helps you create a truly unforgettable outfit for her big moment, walking down the aisle at a fairytale wedding.
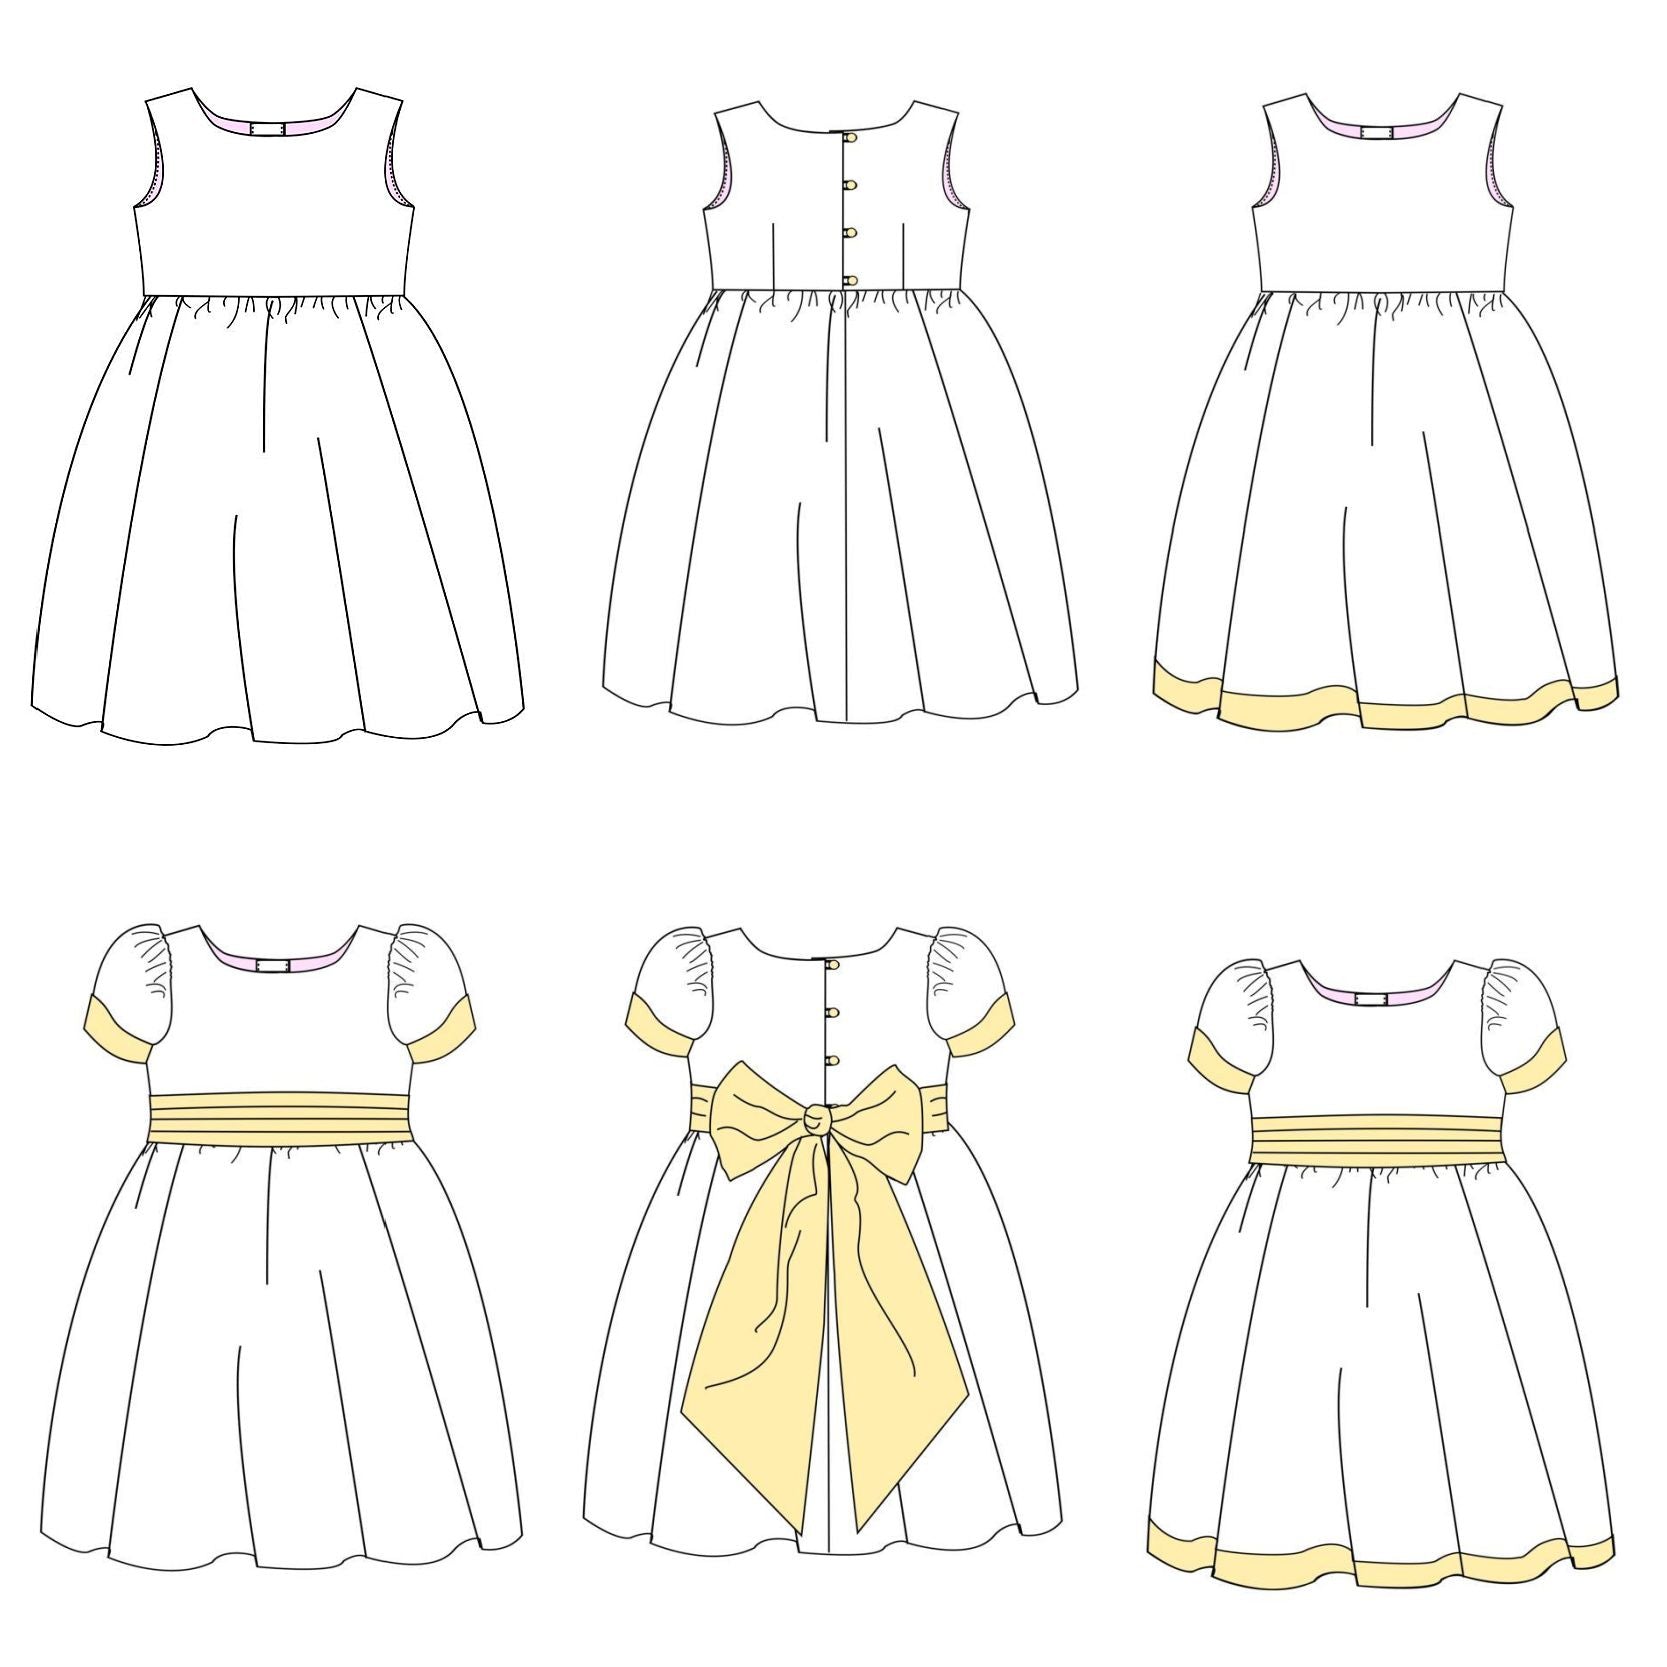
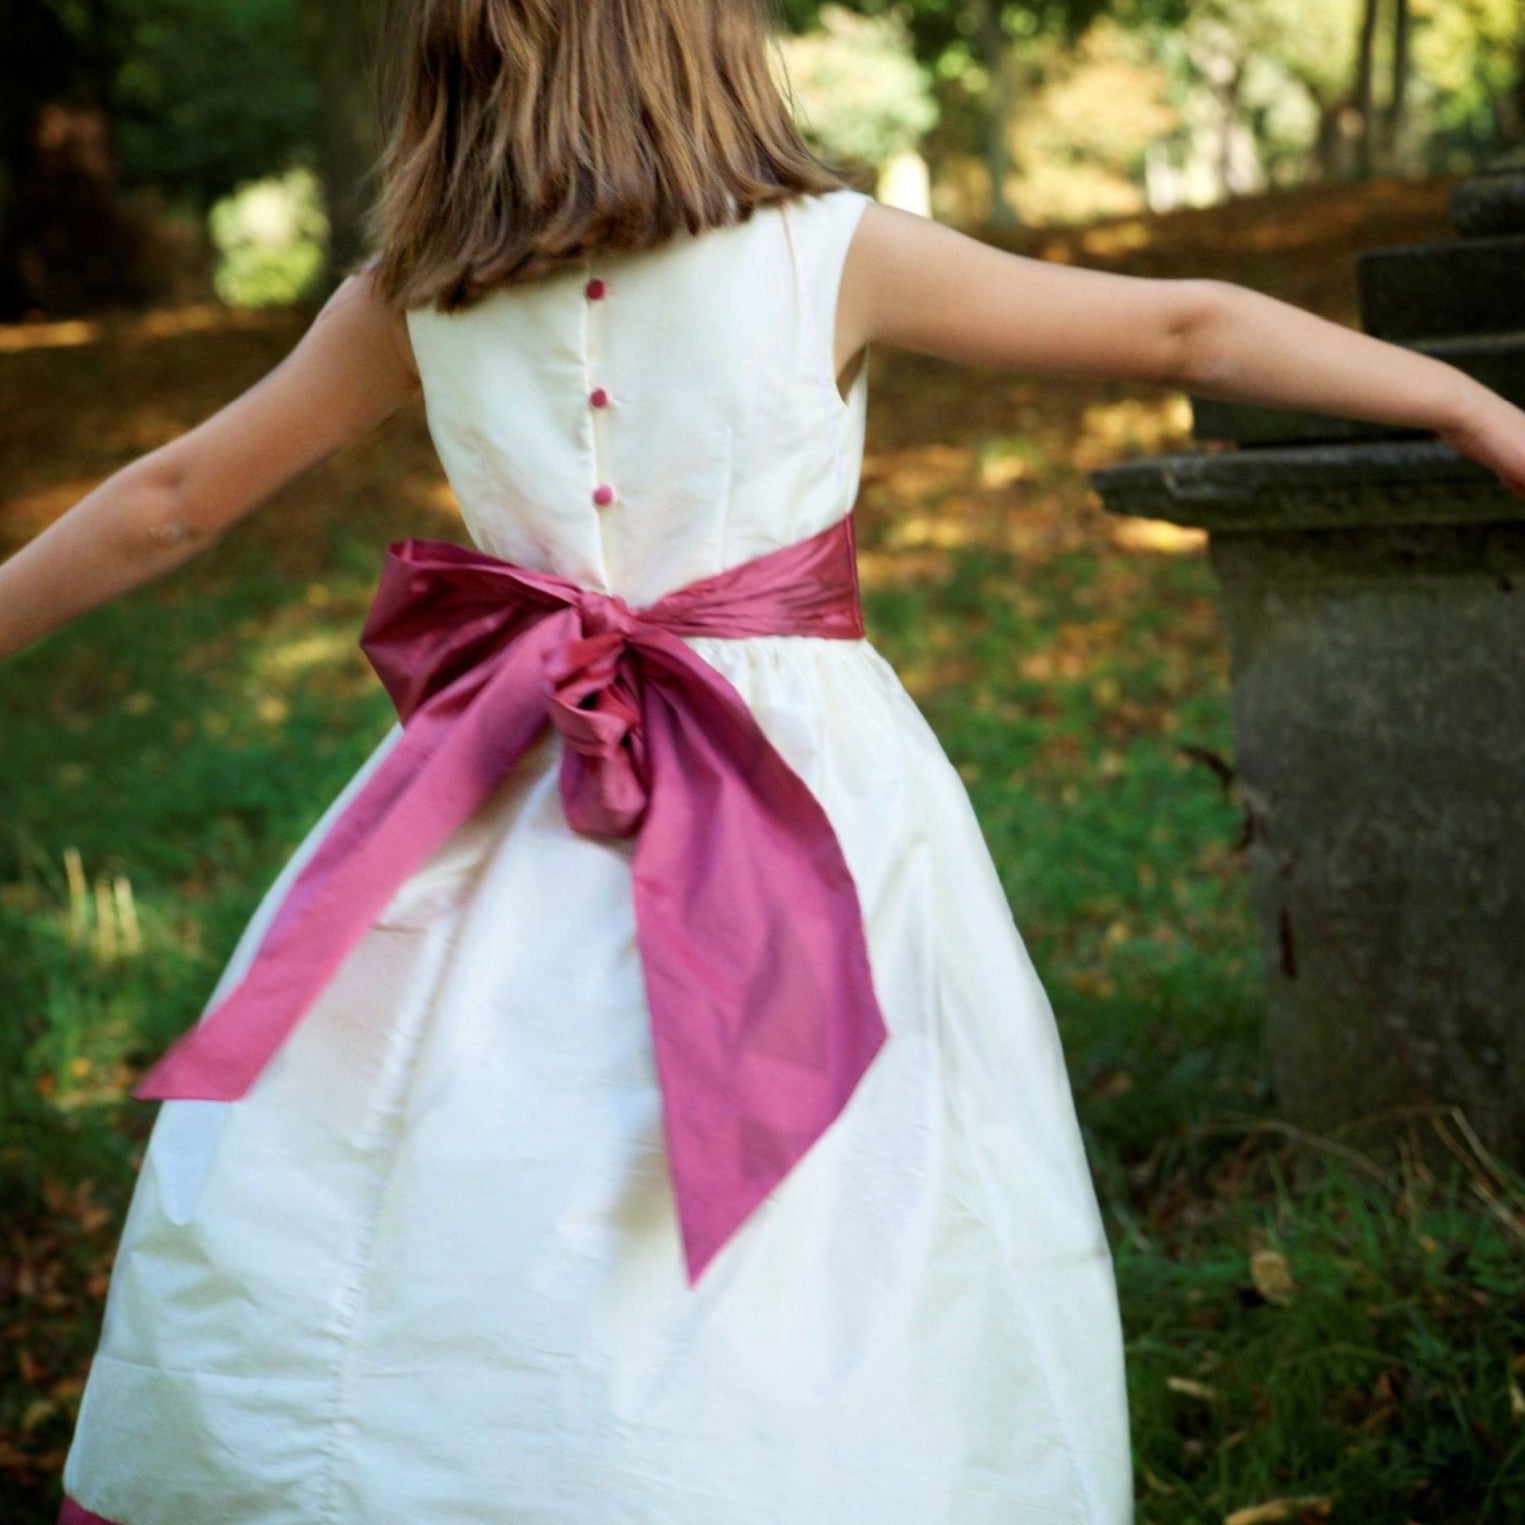
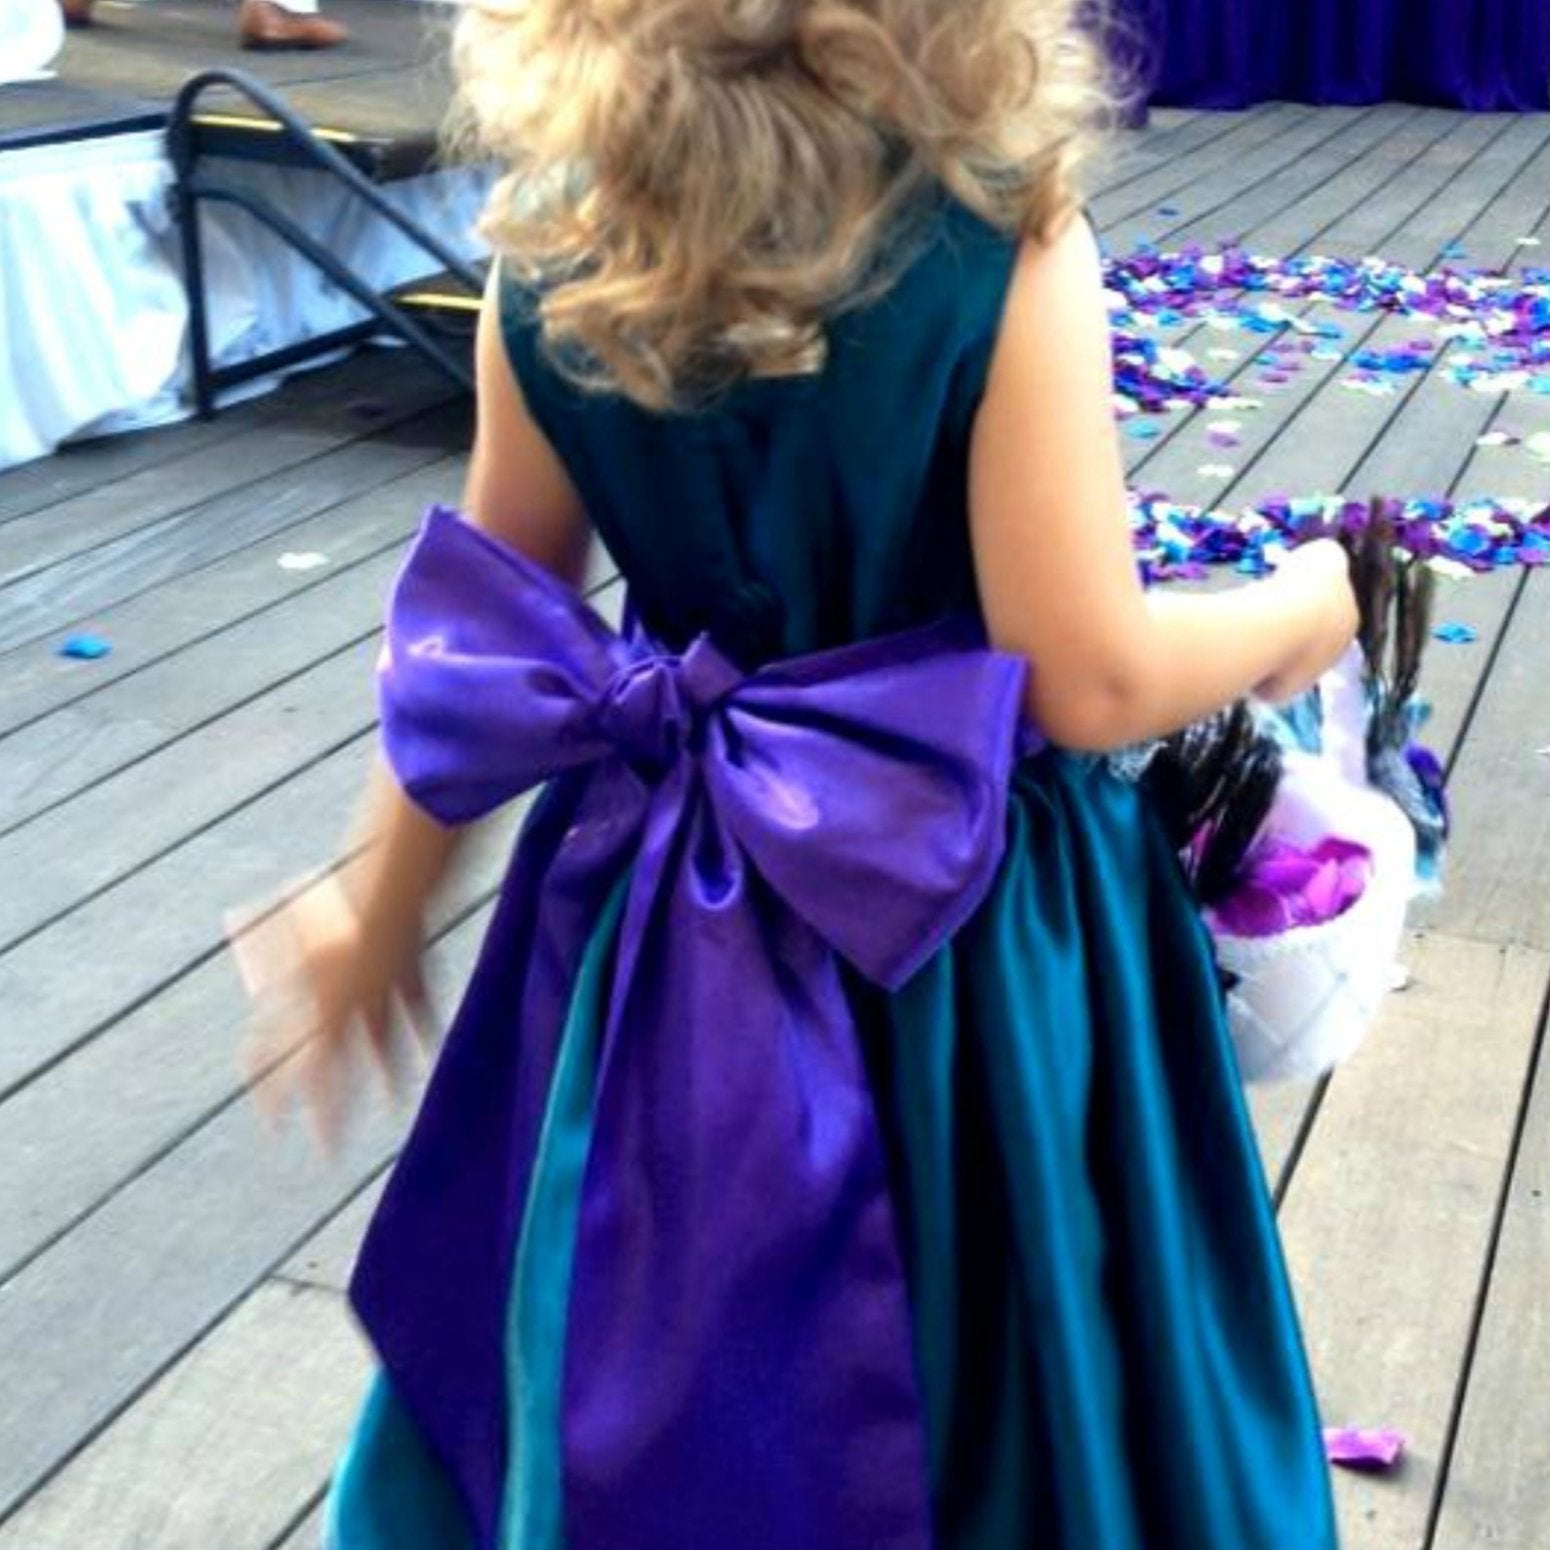
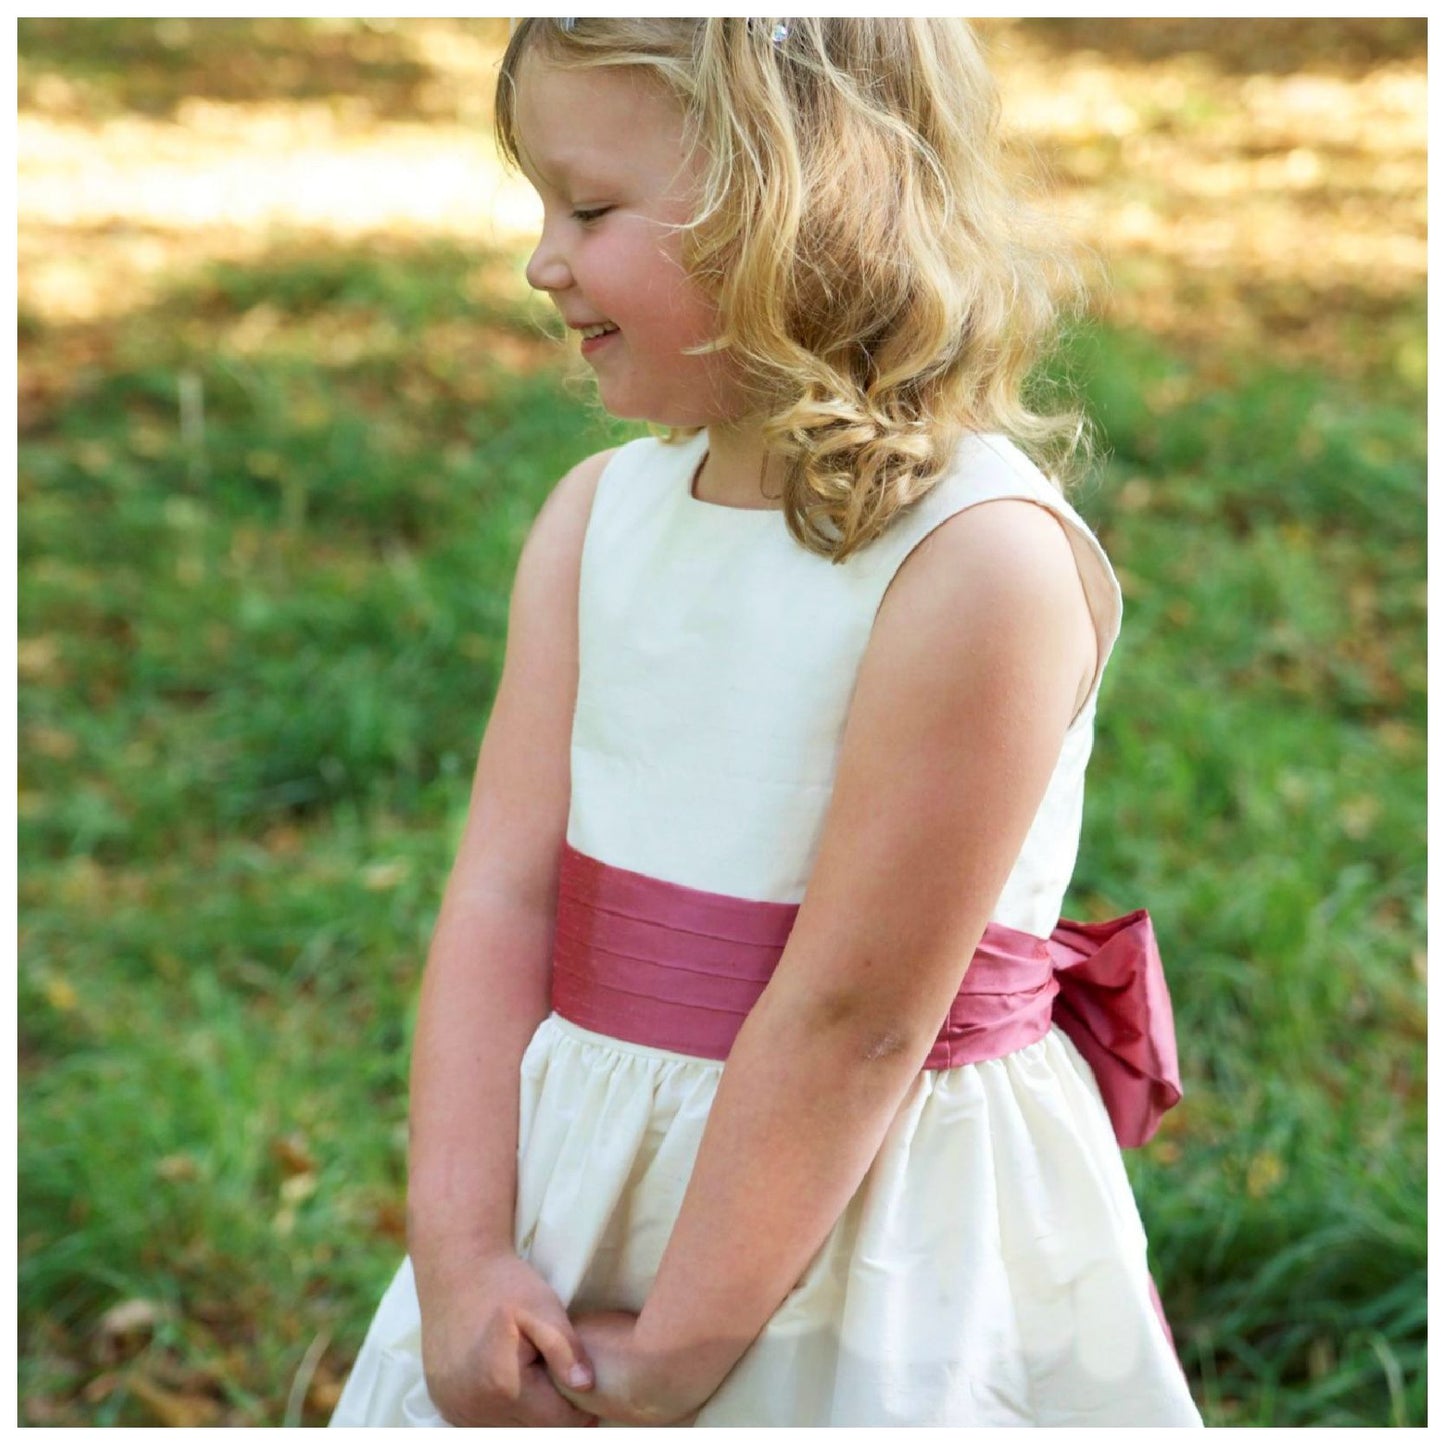
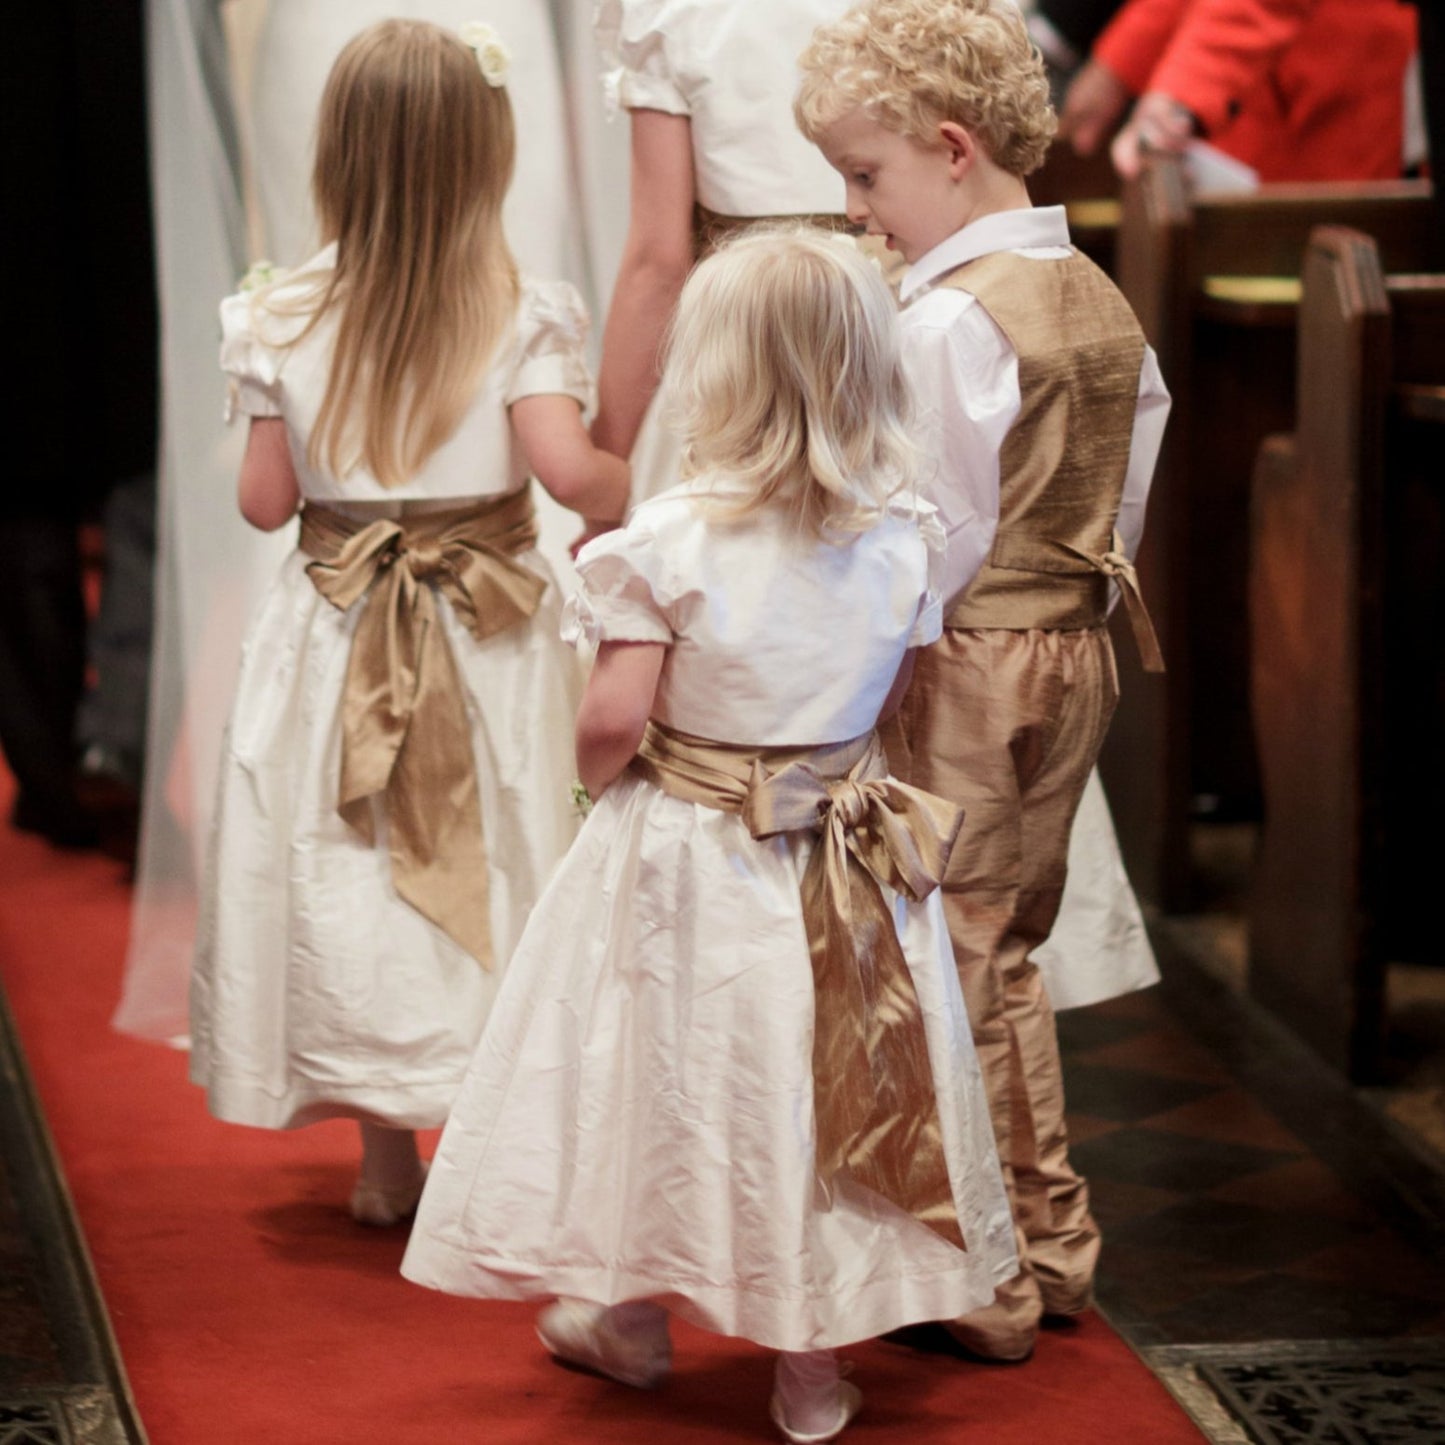
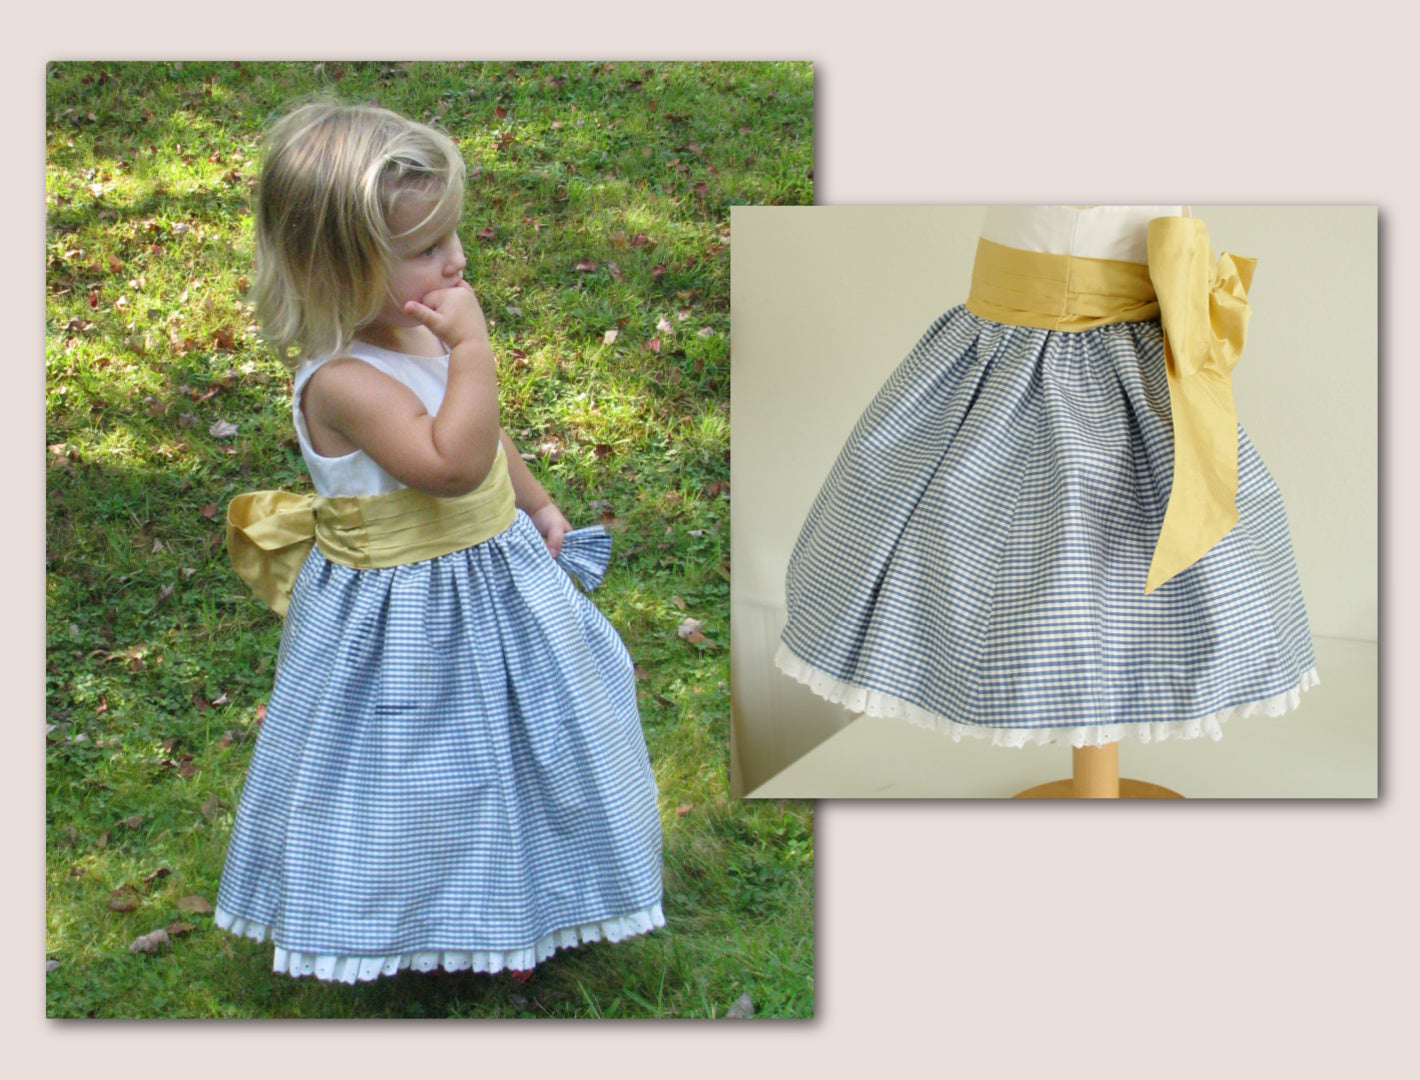
The design also works effortlessly for a baby dress or a classic girls party dress. The princess‑seam bodice pairs perfectly with the ankle length, gathered skirt, and a delicate loop‑back closure adds that lovely handmade finish.
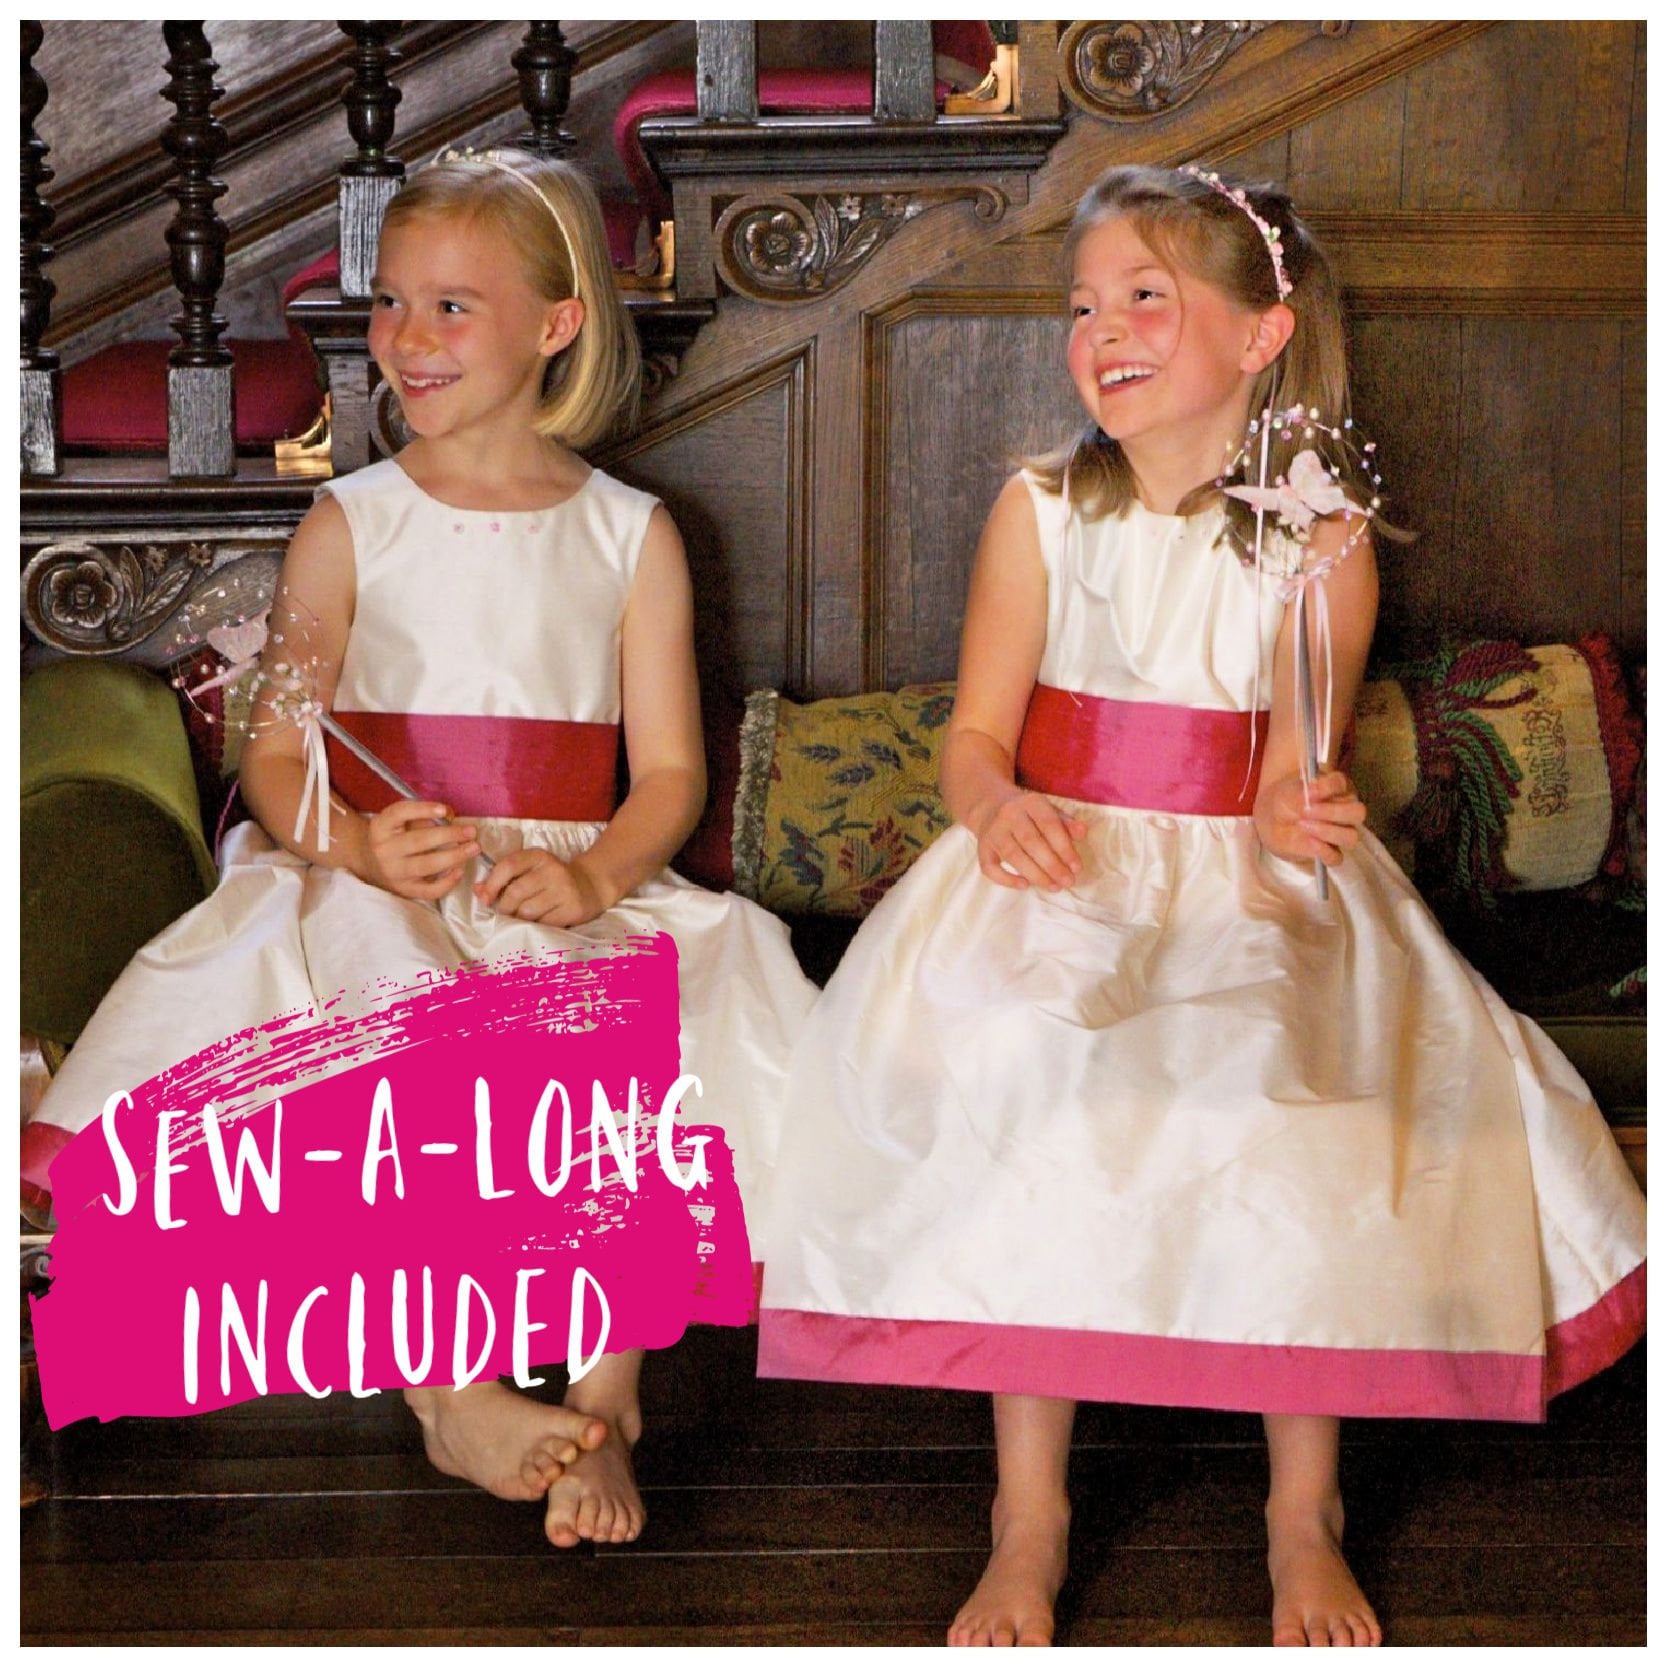
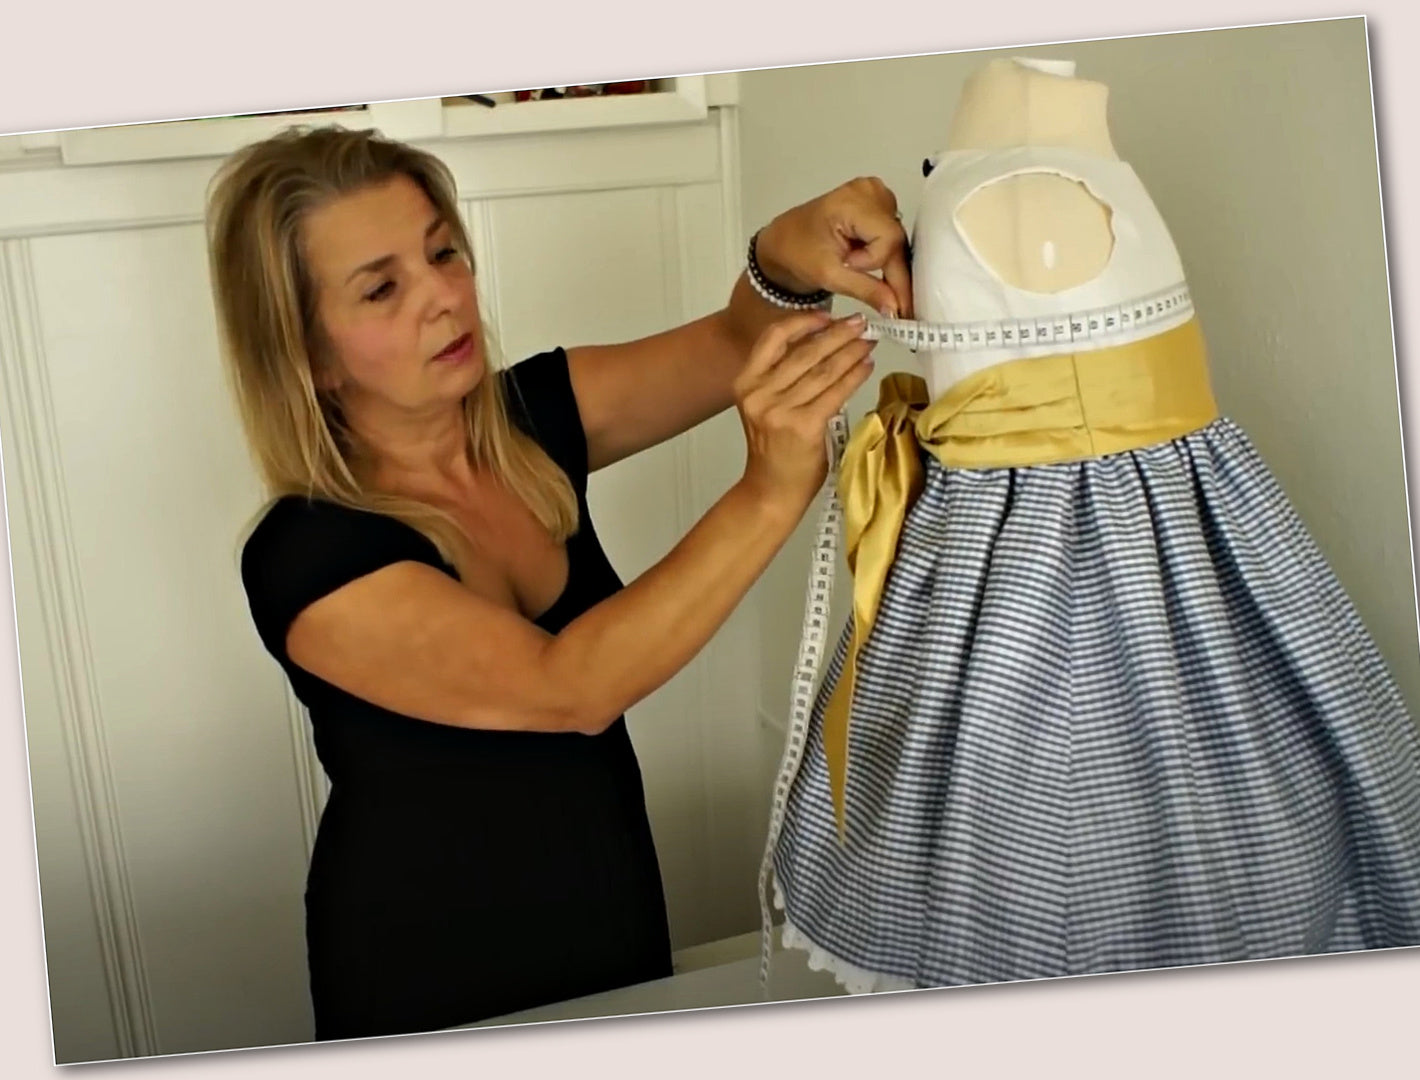
This digital sewing pattern has a free video course waiting for you — just scroll down and follow along with Marina as she walks you through each step.
Pattern Download Includes
Pattern Download Includes
Design Options
Design Options
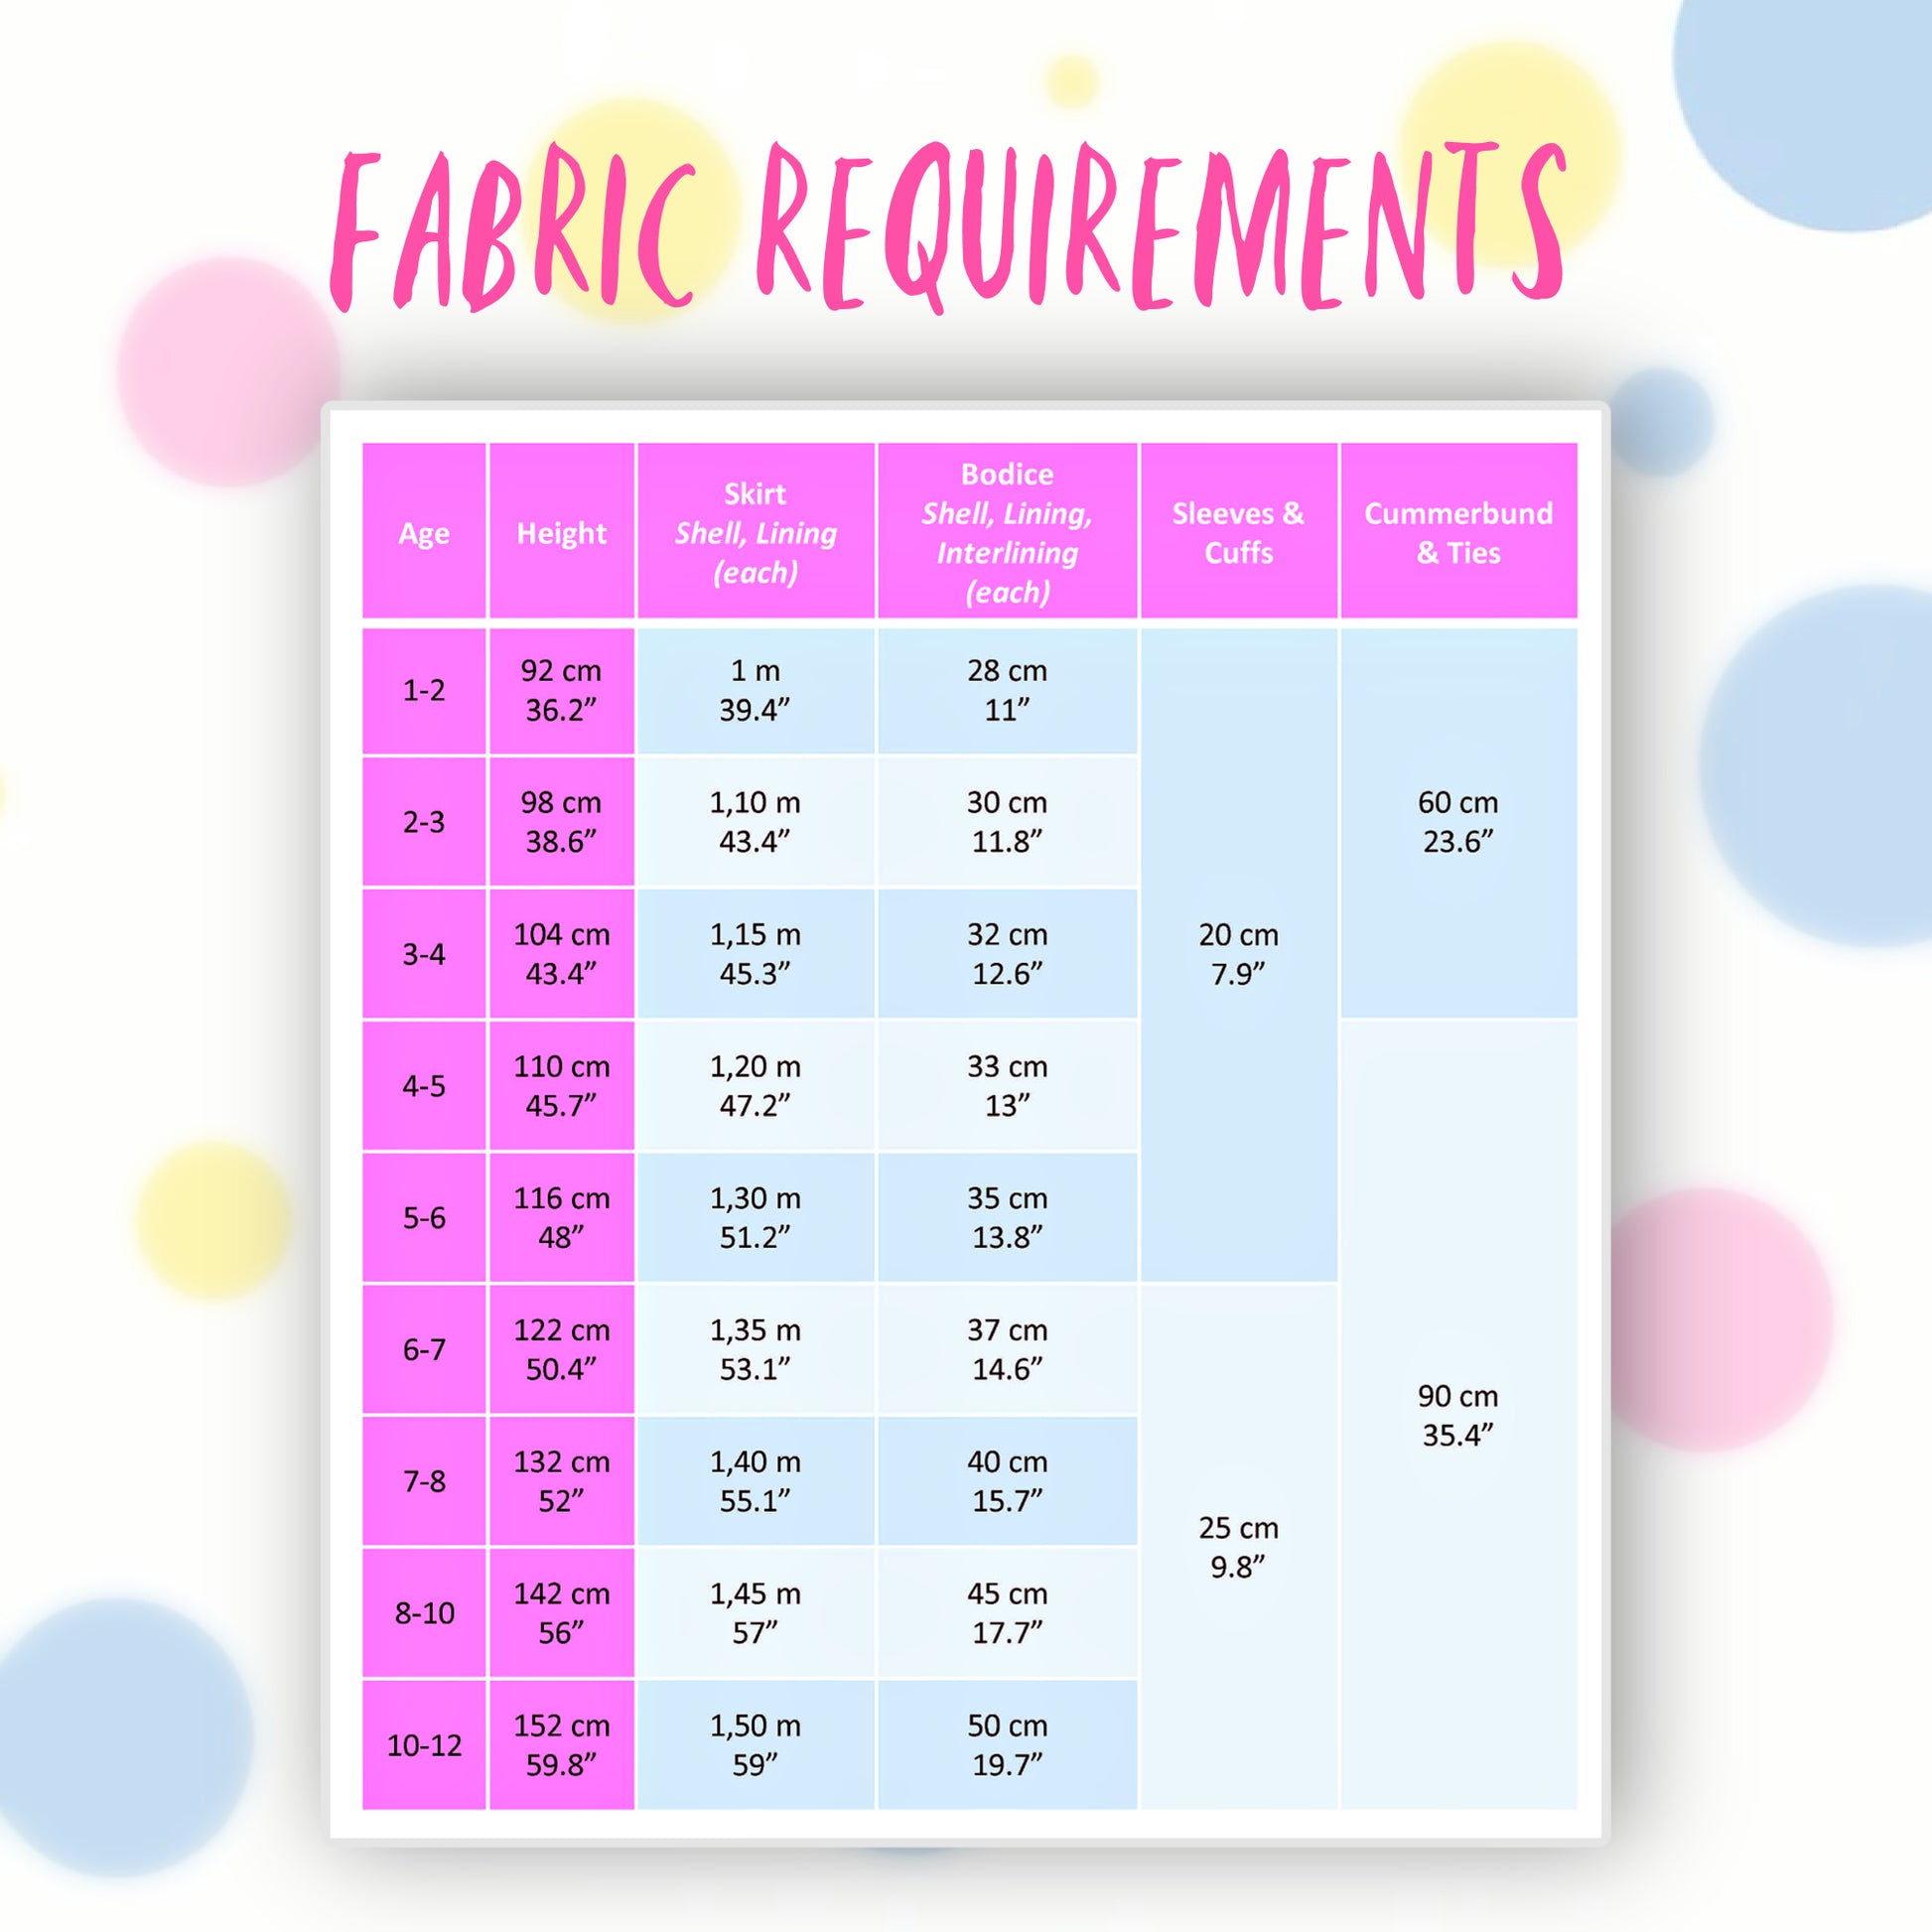
Fabric Requirements
Fabric Requirements
Available Sizes
Available Sizes
Please Read
Please Read


STEP-BY-STEP VIDEO TUTORIALS
INTRODUCTION TO THE PROJECT
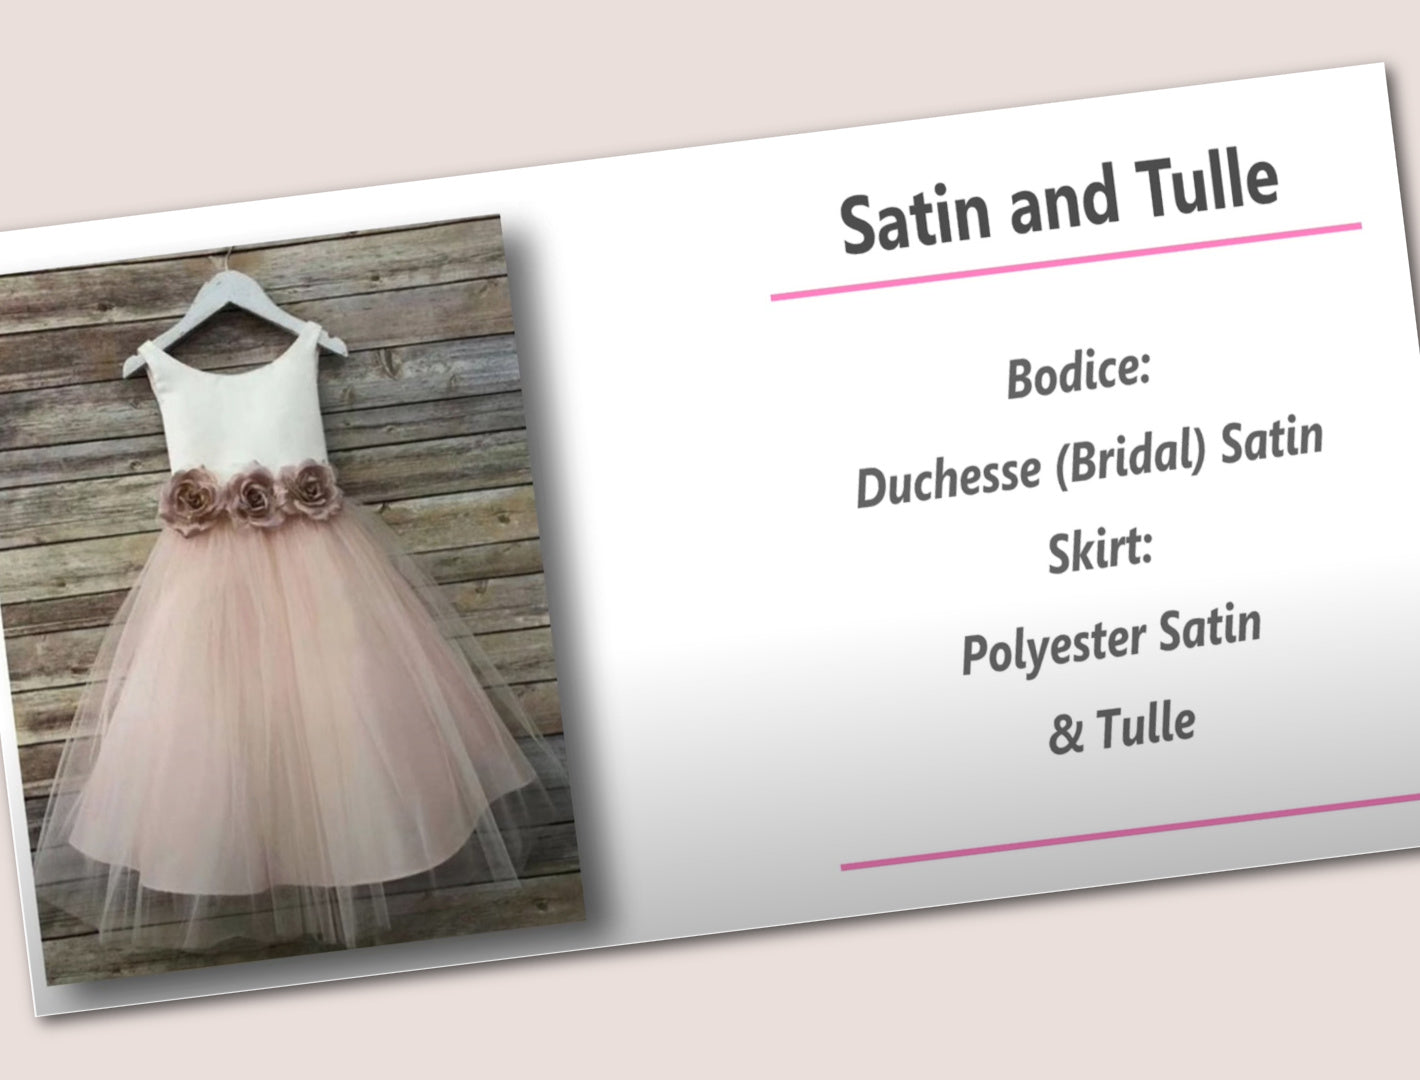
FABRIC CHOICE
THE PATTERN
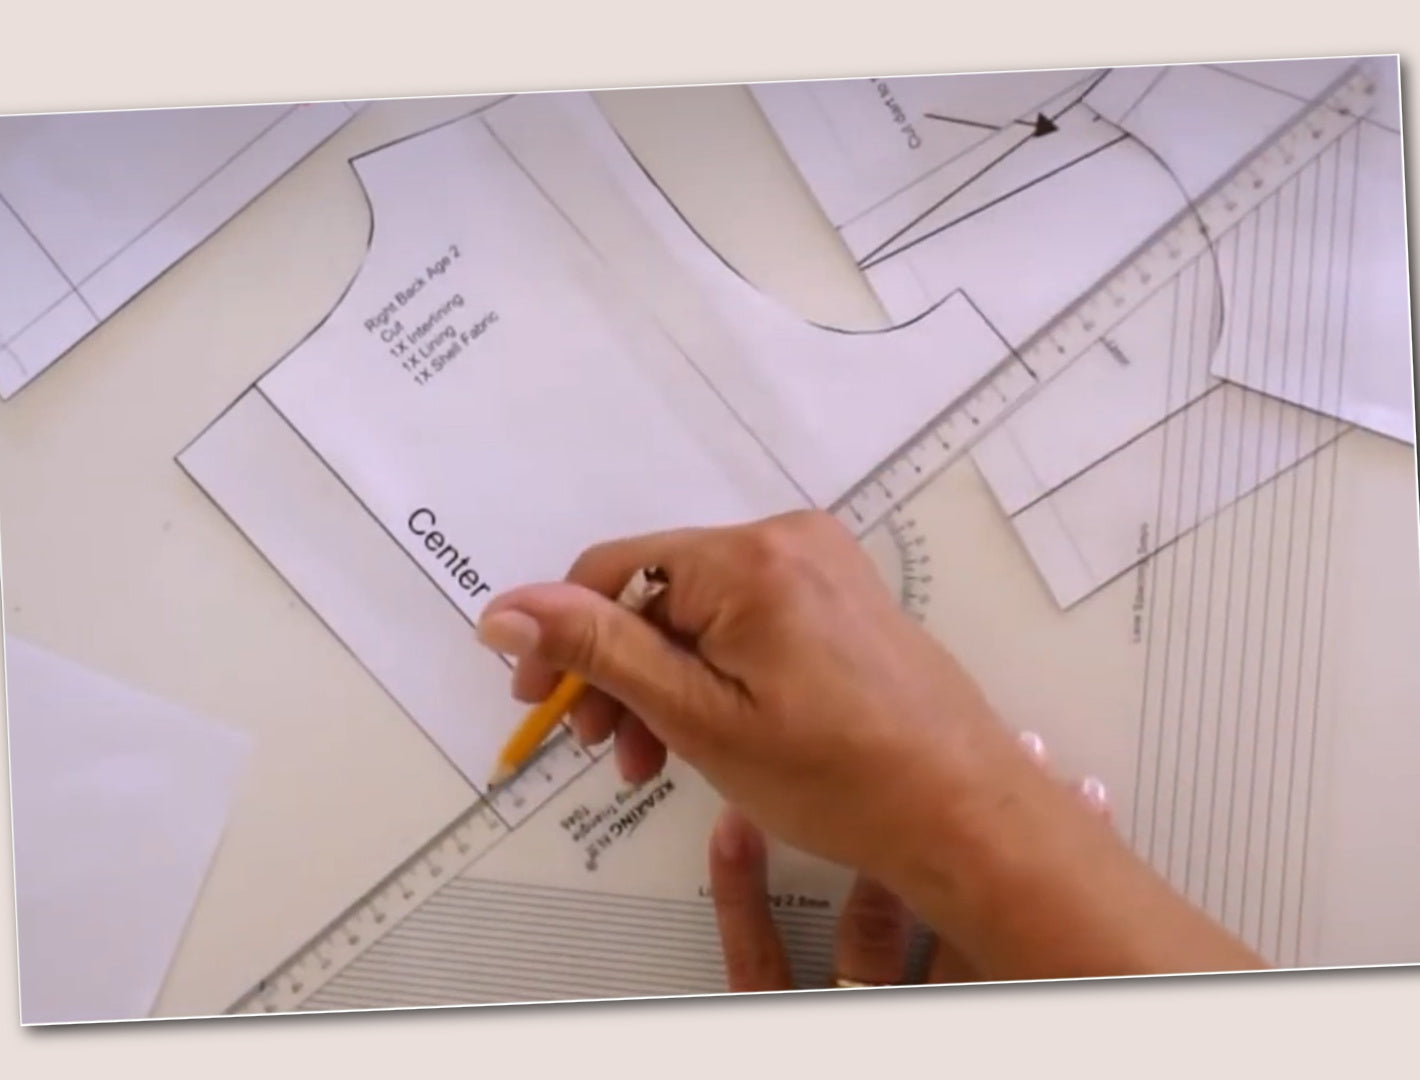
HOW TO ALTER THE PATTERN
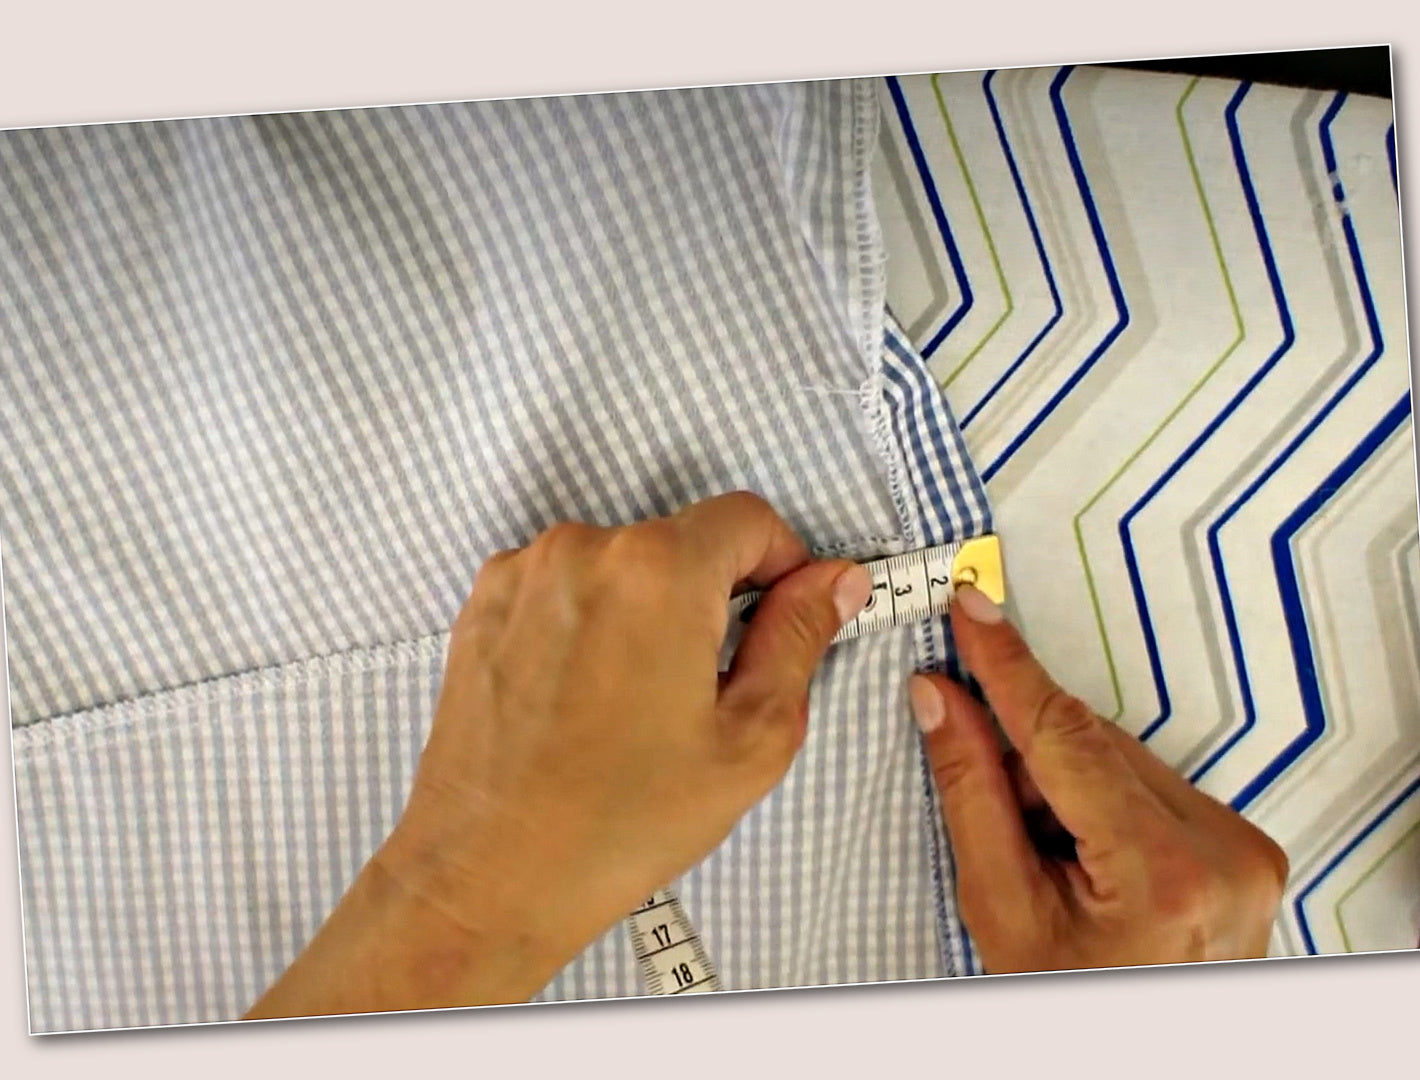
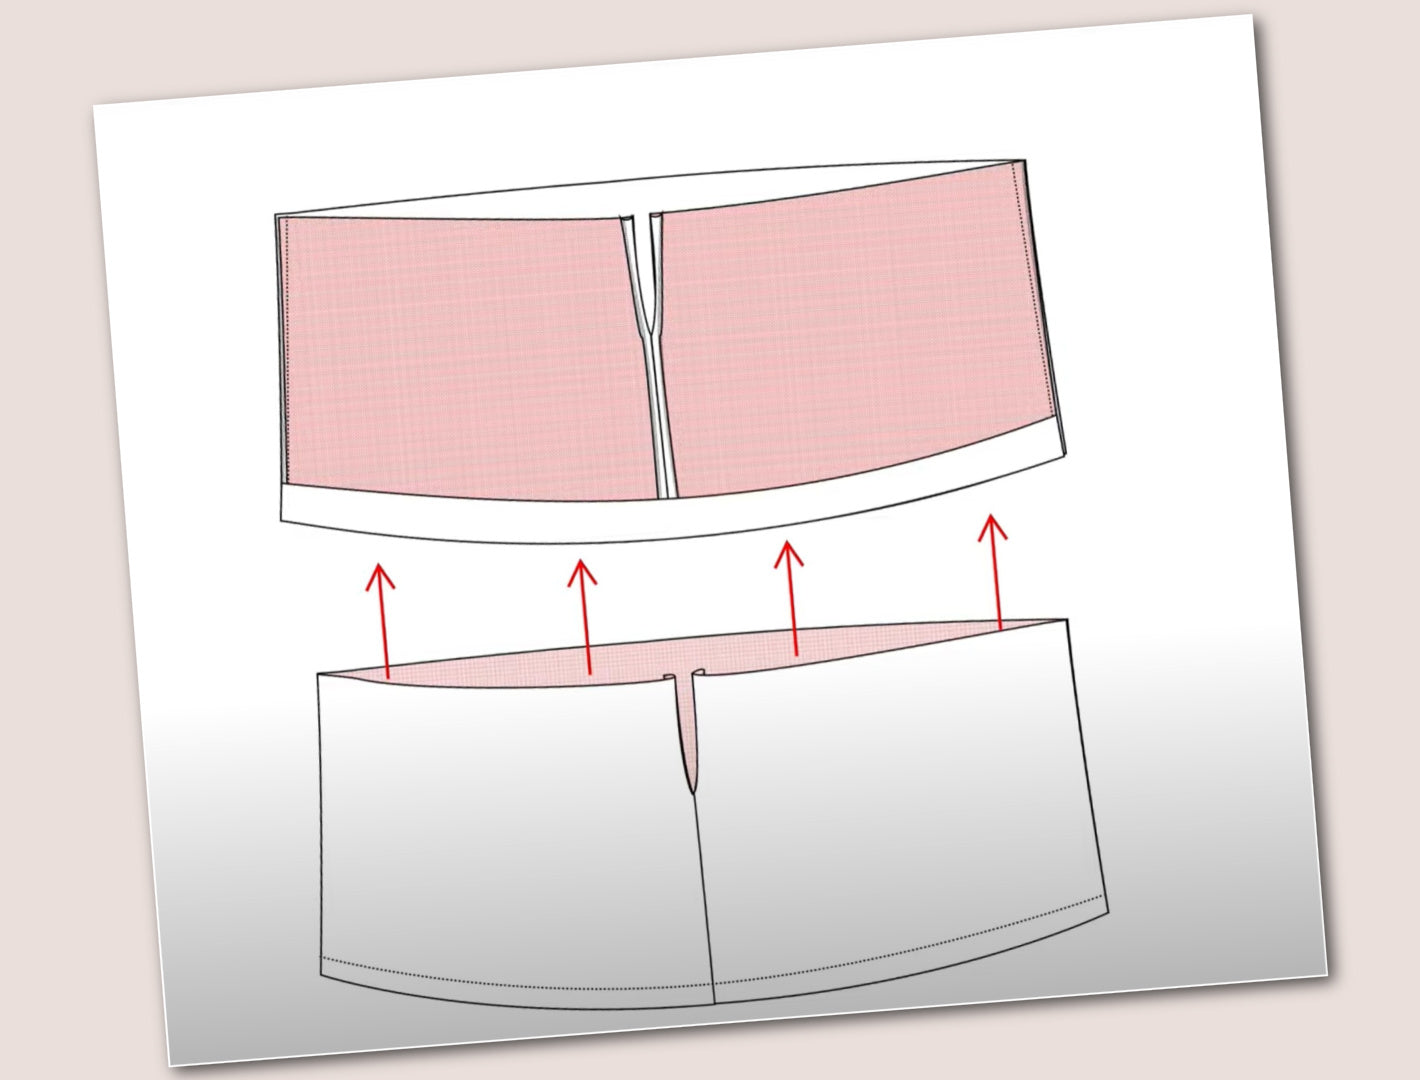
THE SKIRT & LINING
ADDING LACE TO THE HEM
ADDING LINING TO THE CENTER BACK SKIRT
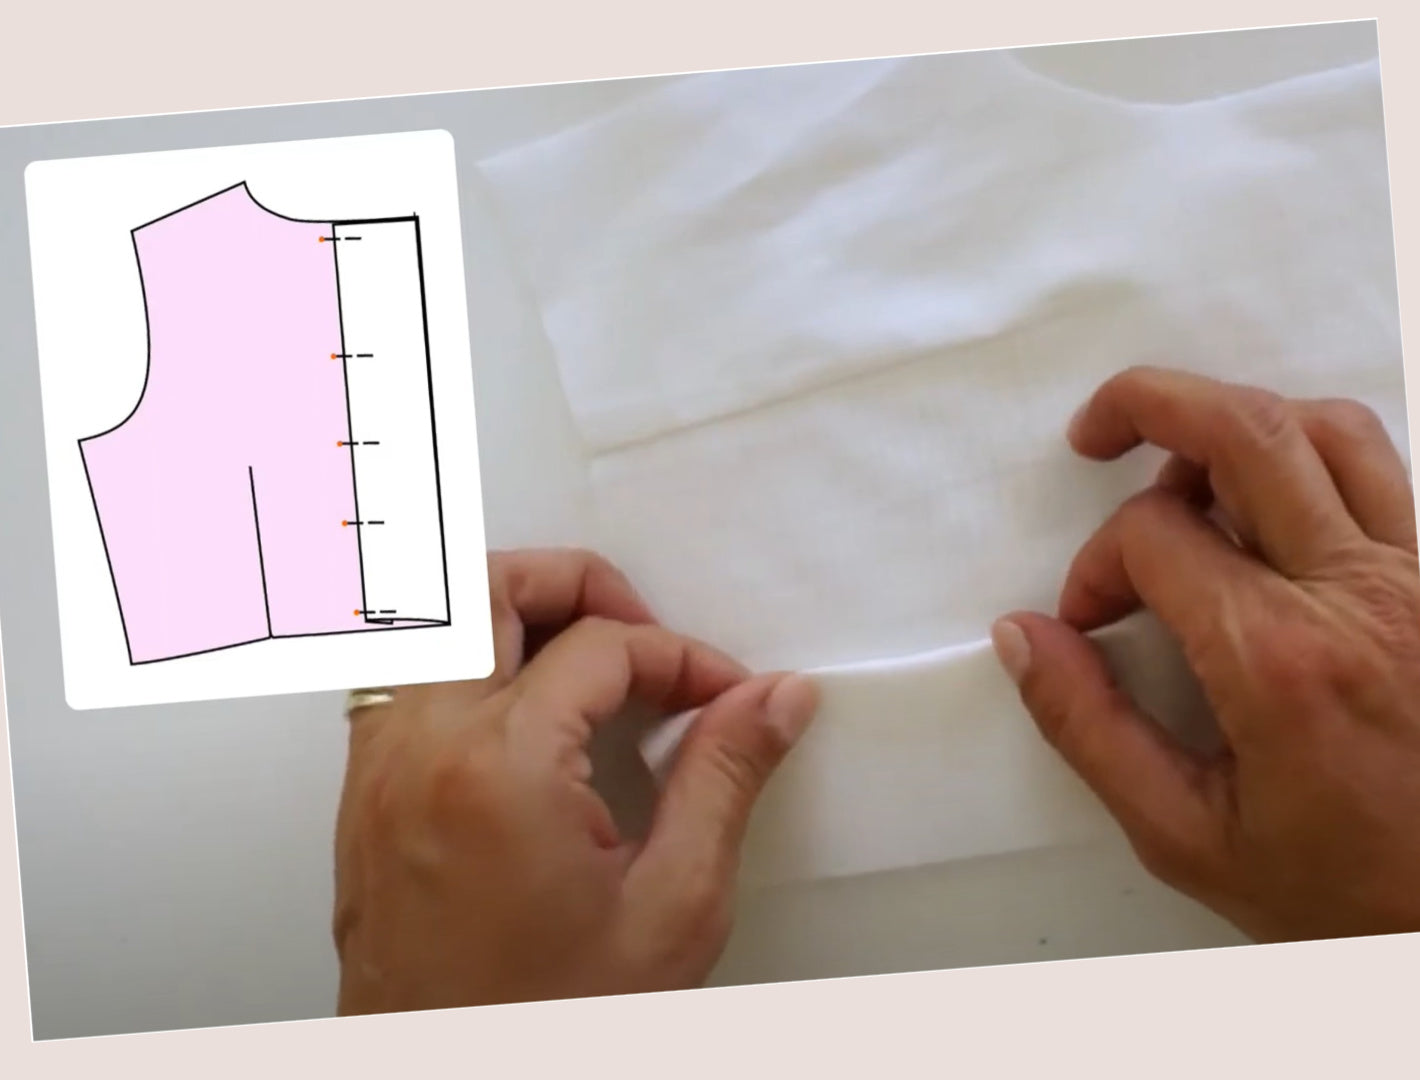
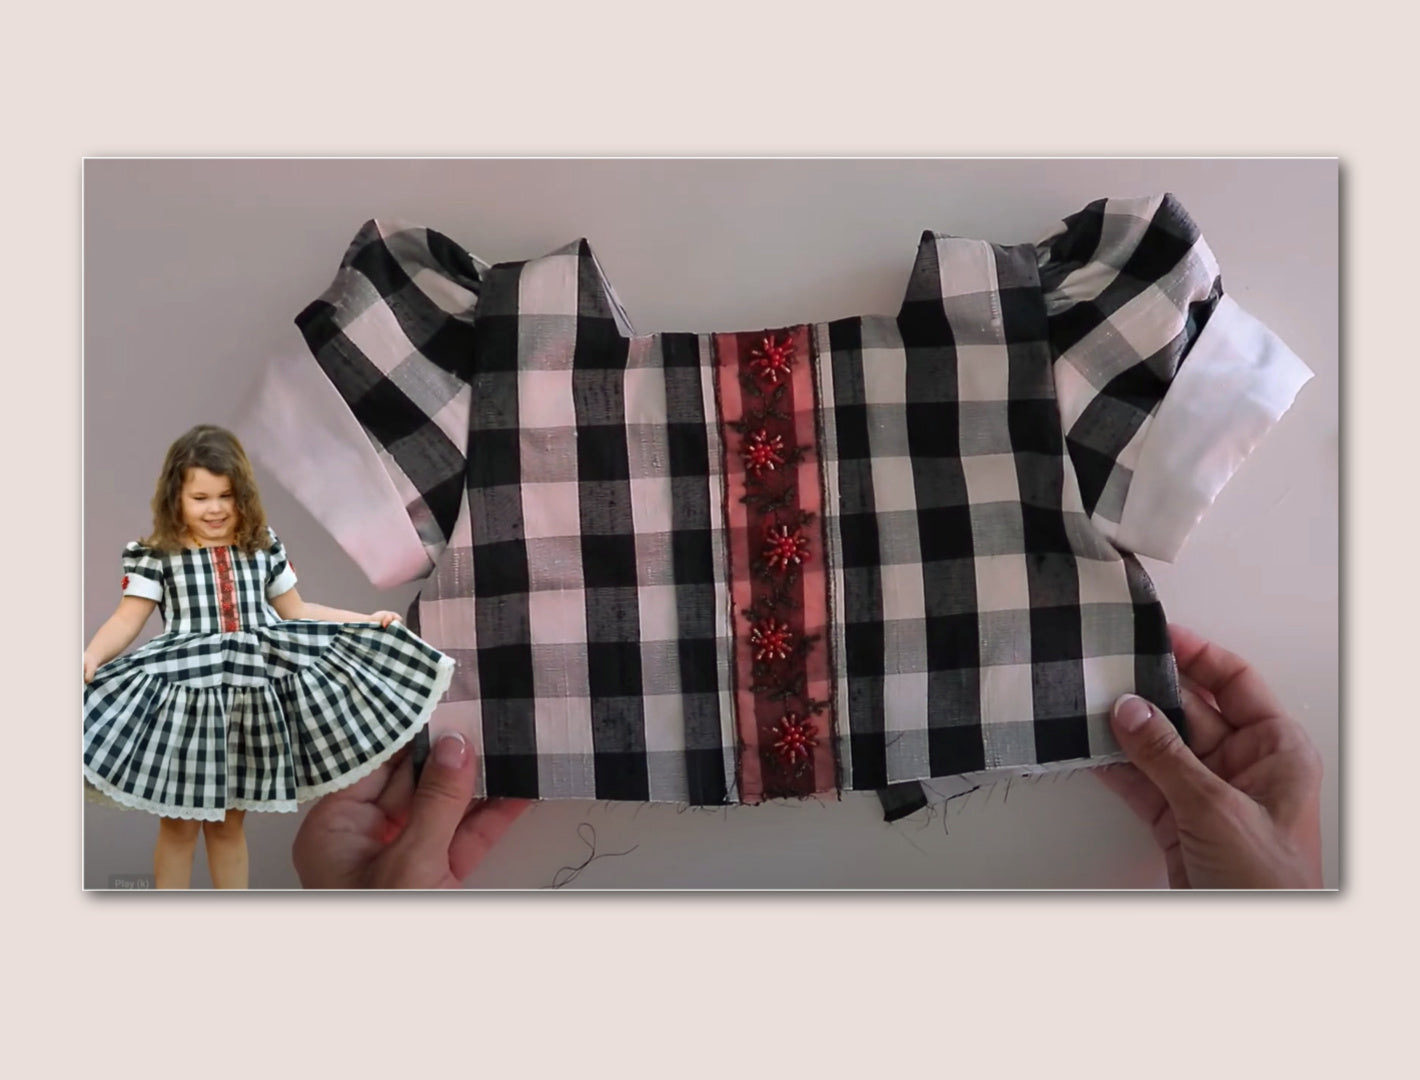
PREPARING THE BODICE
JOINING BODICE SHELL FABRIC & LINING
JOINING THE SKIRT & BODICE
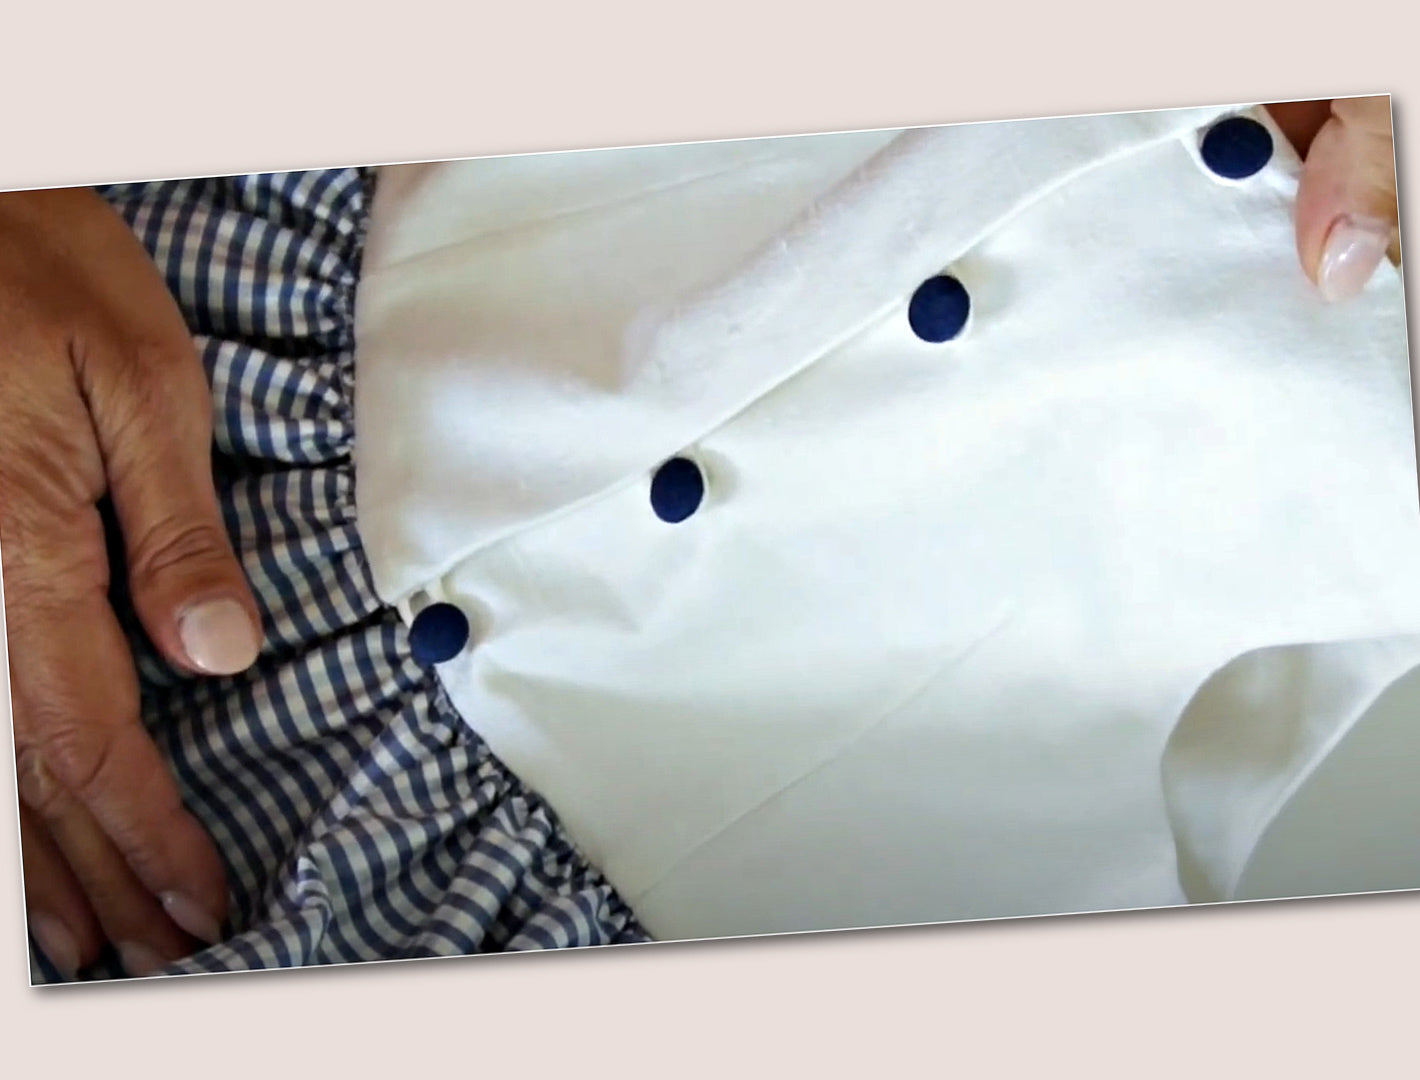
ADDING BUTTONS
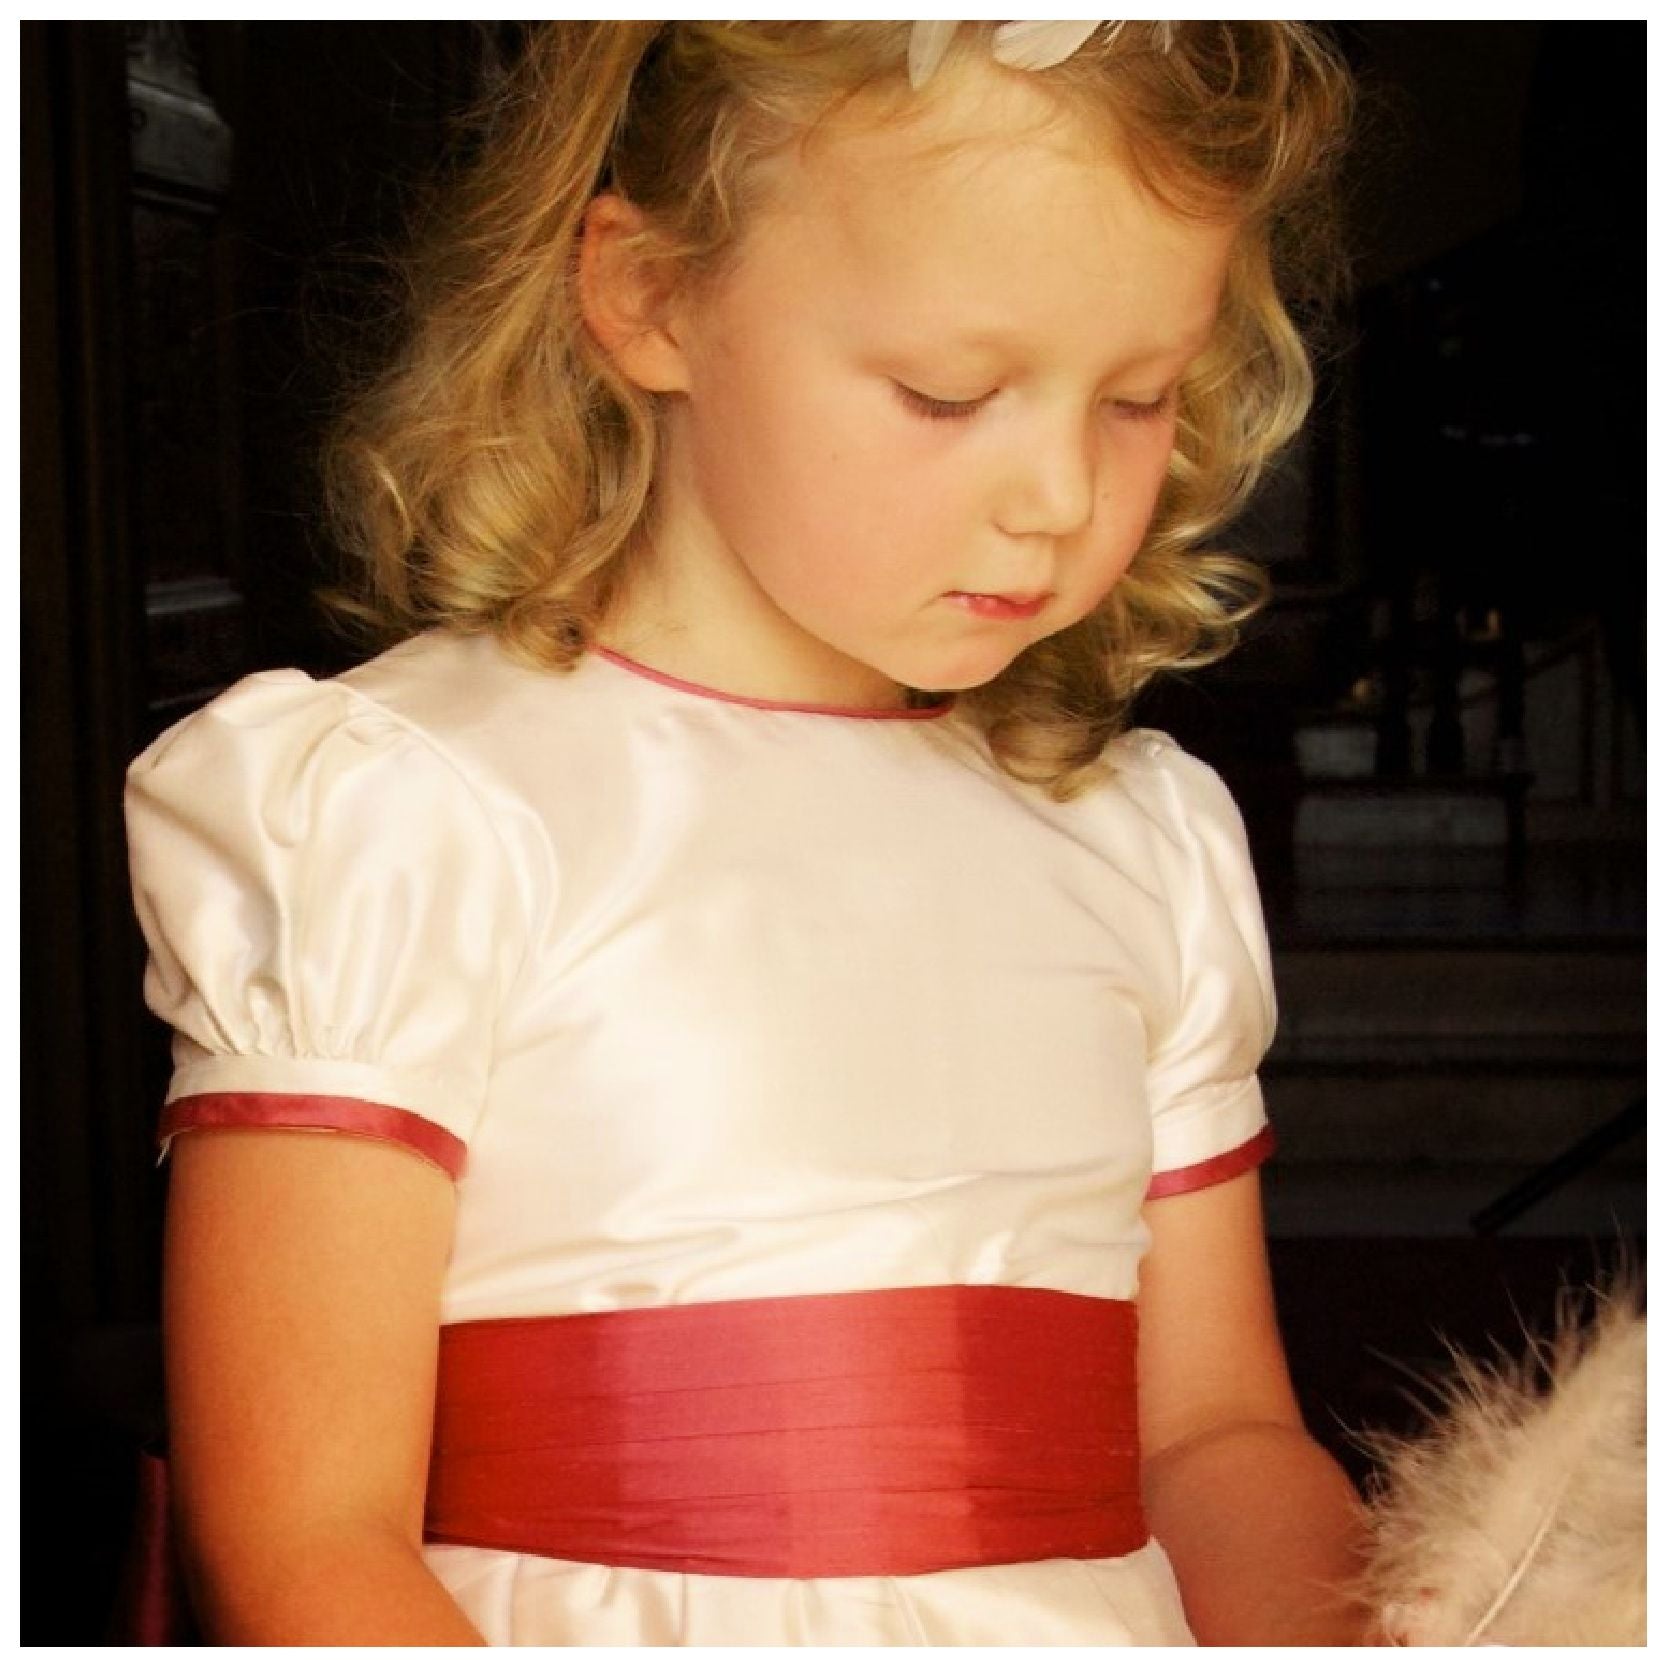
THE CUMMERBUND

PUFF SLEEVES
INSERTING PUFF SLEEVES
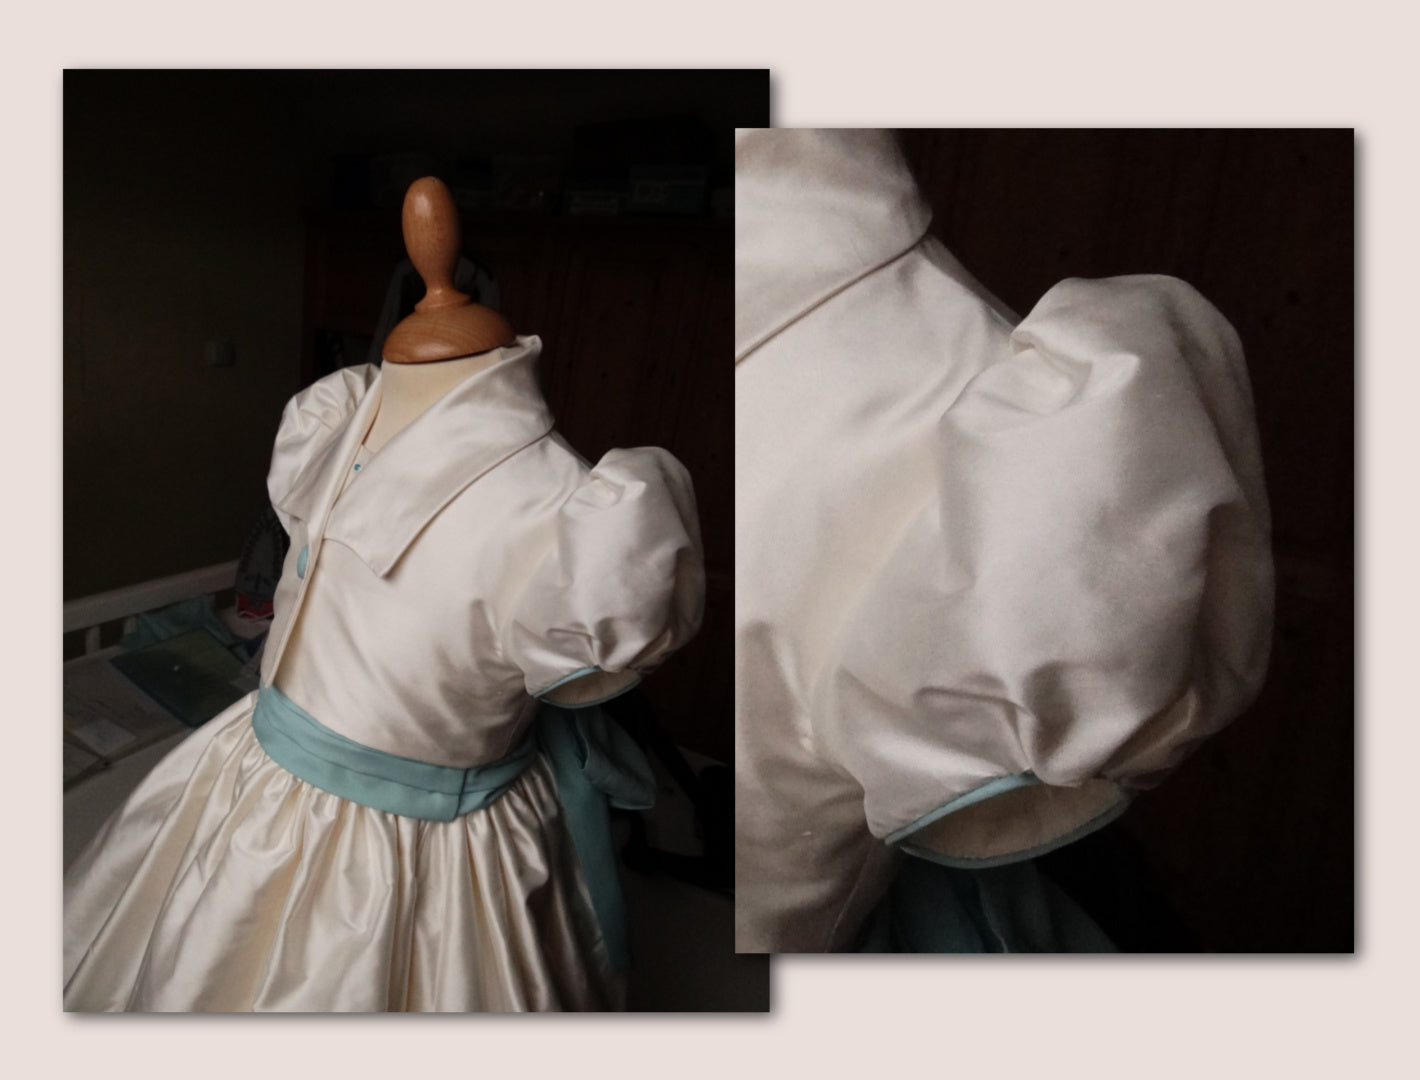
PUFF SLEEVES WITH PIPING
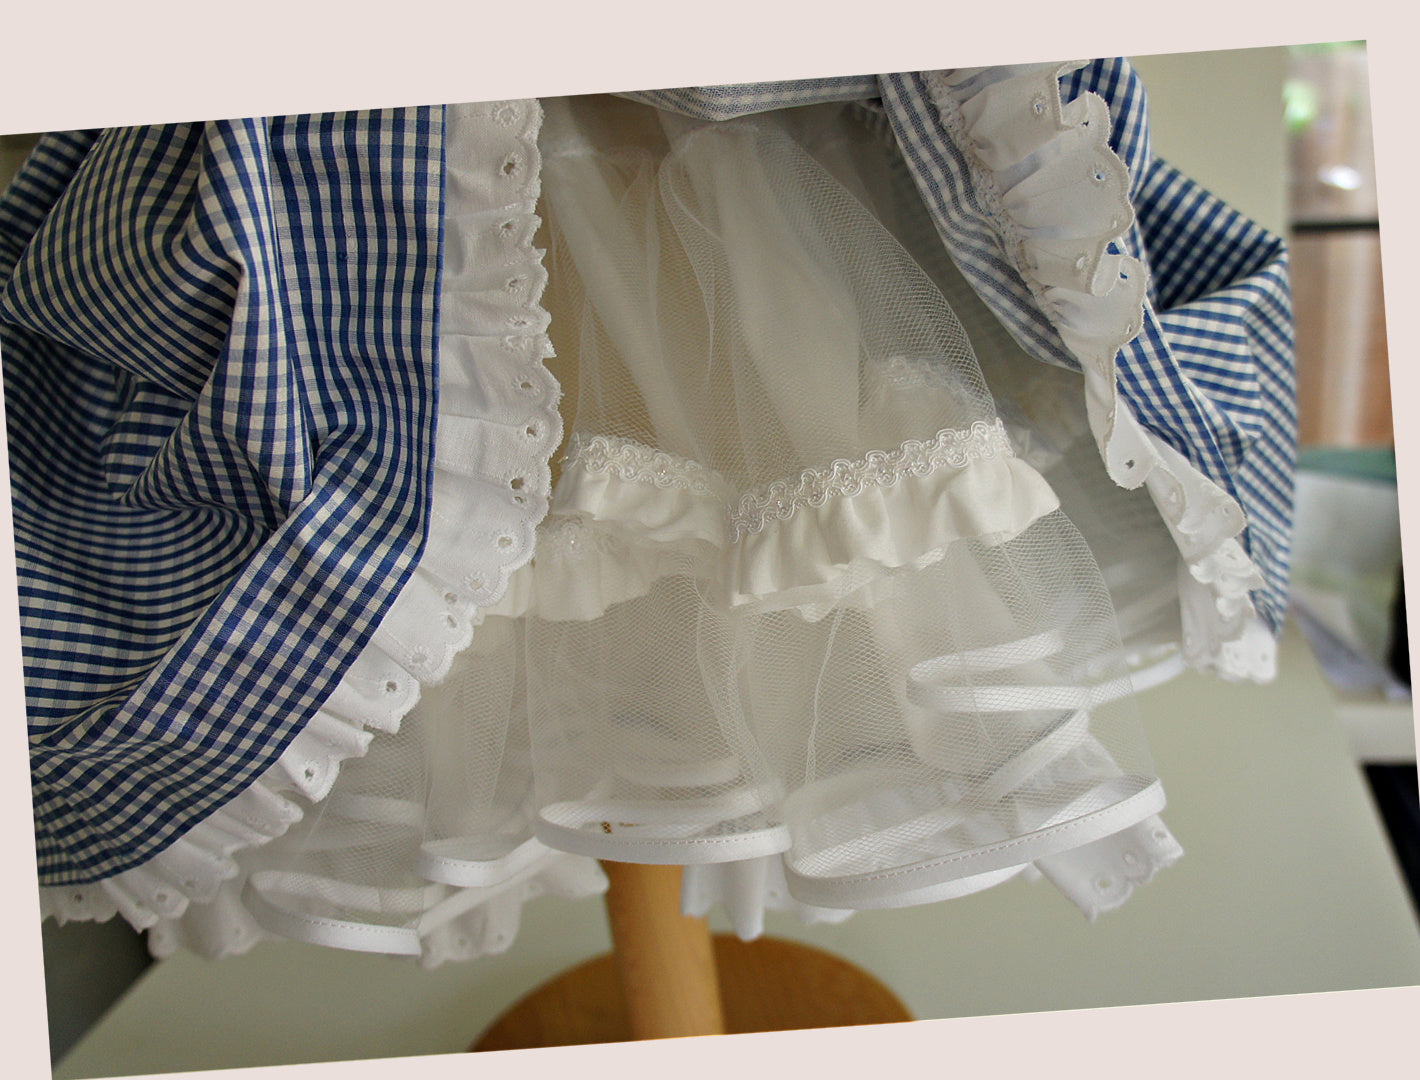
THE PETTICOAT
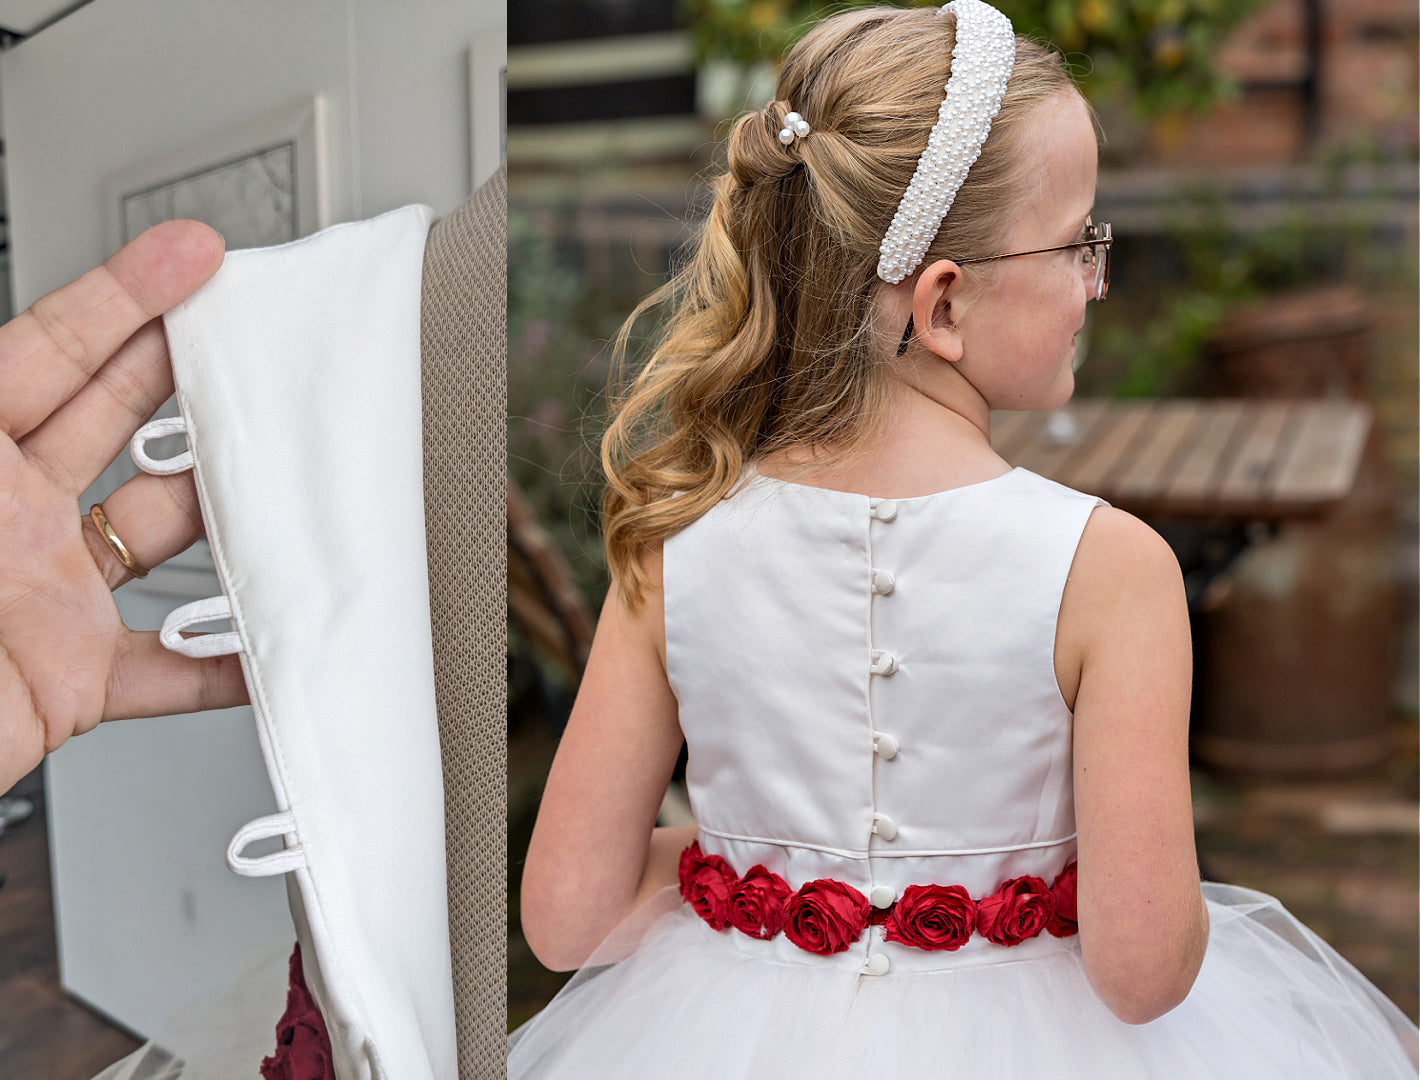
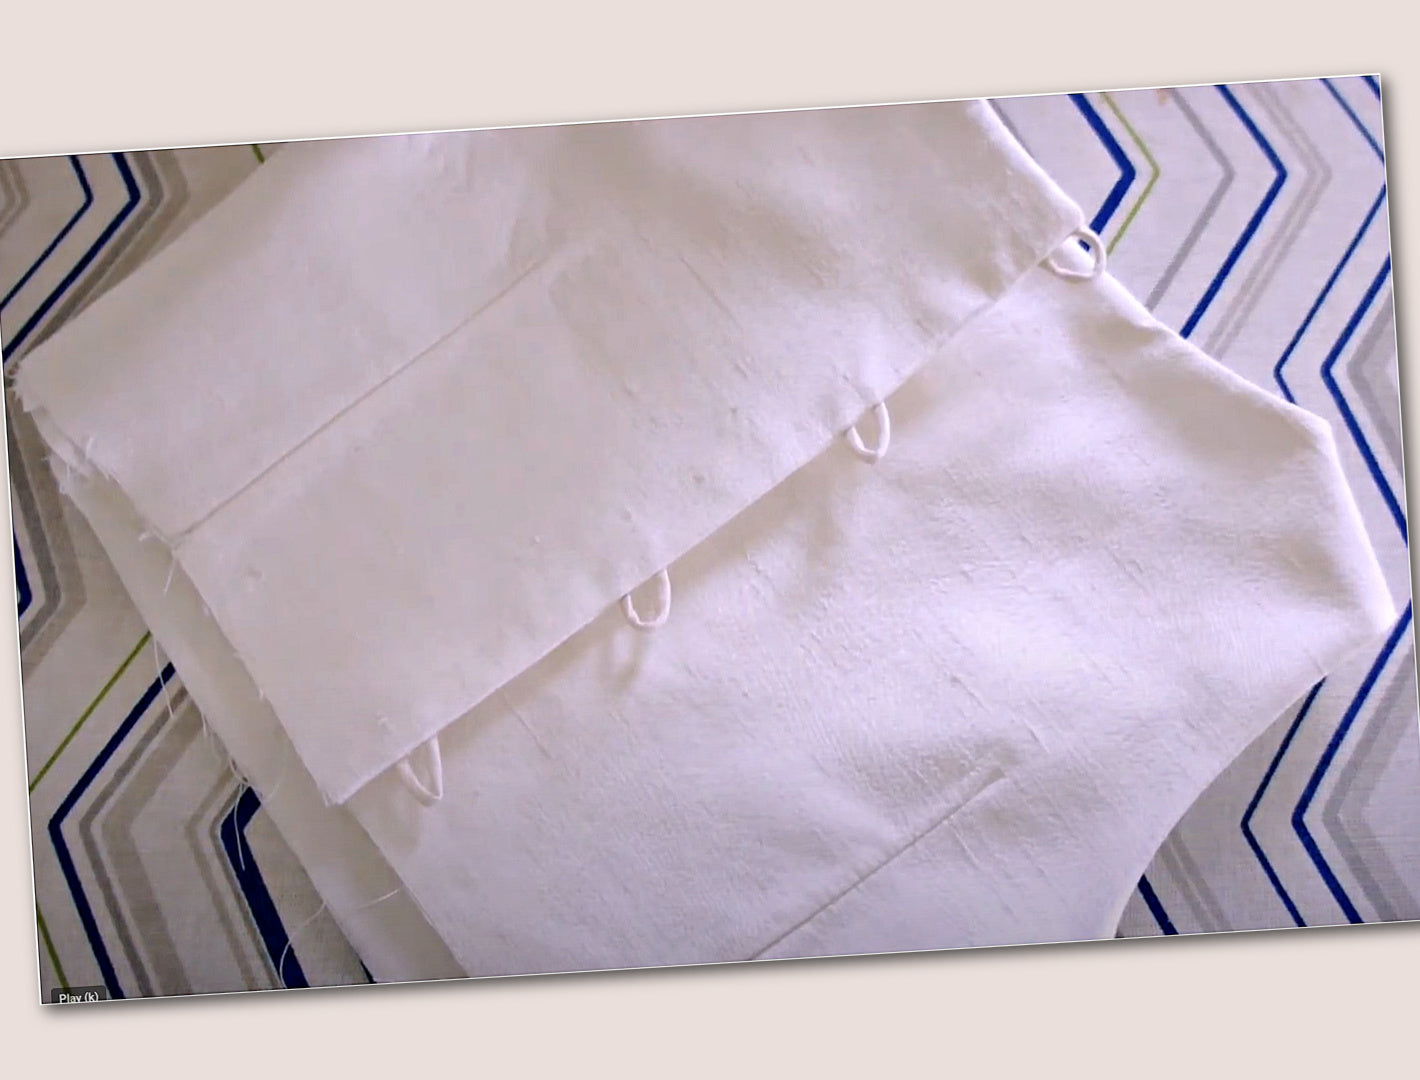
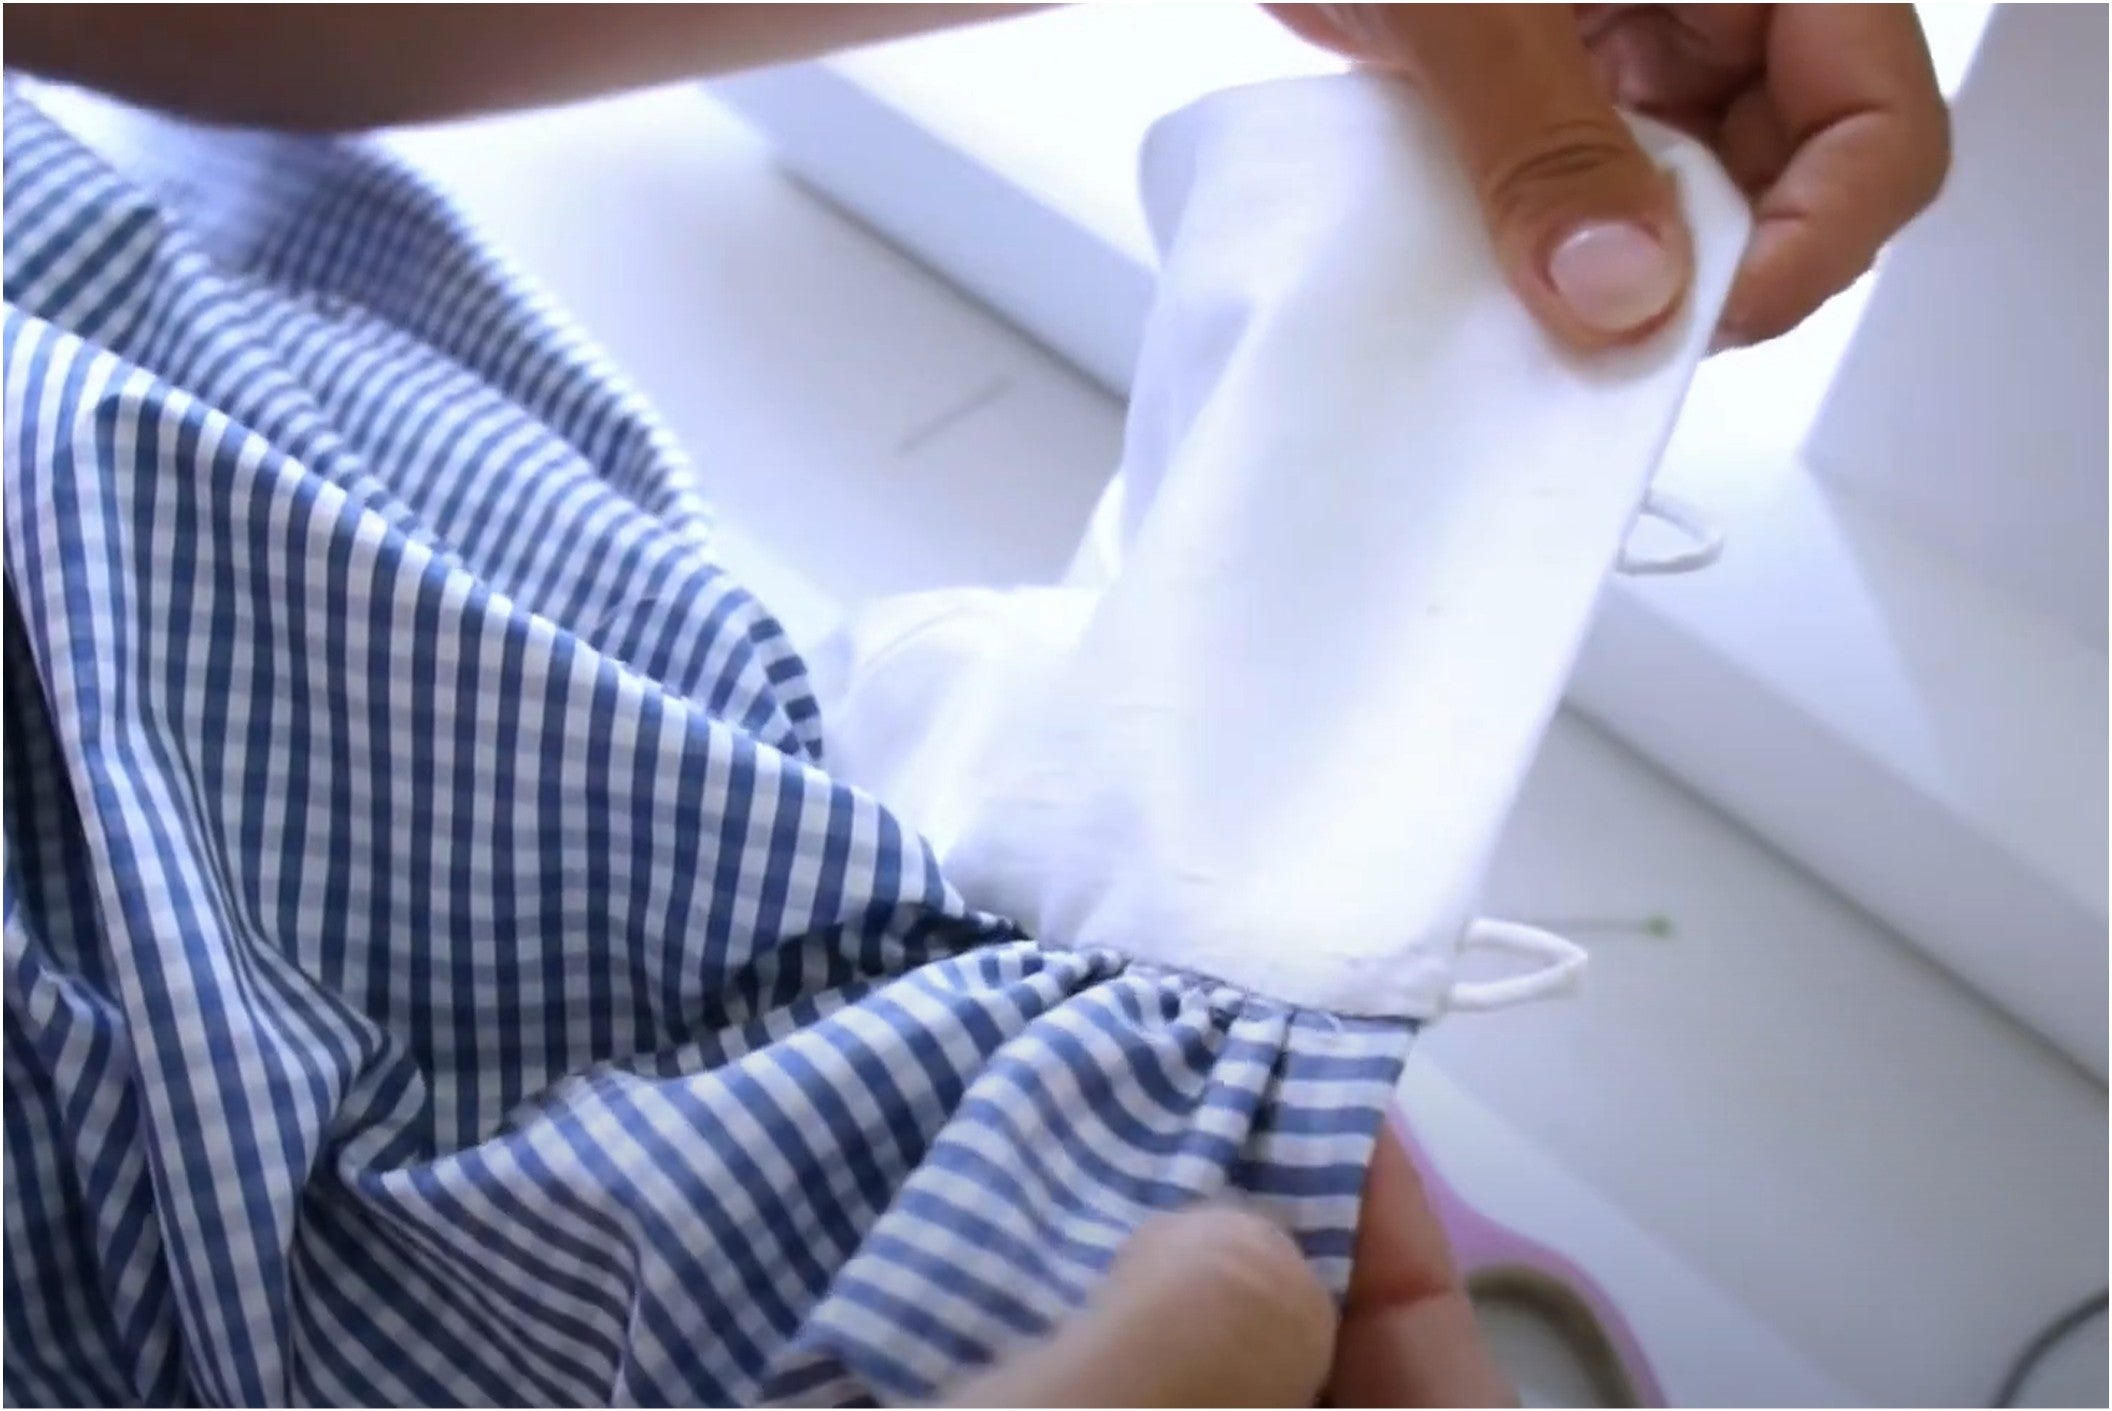
LOOP FASTENING
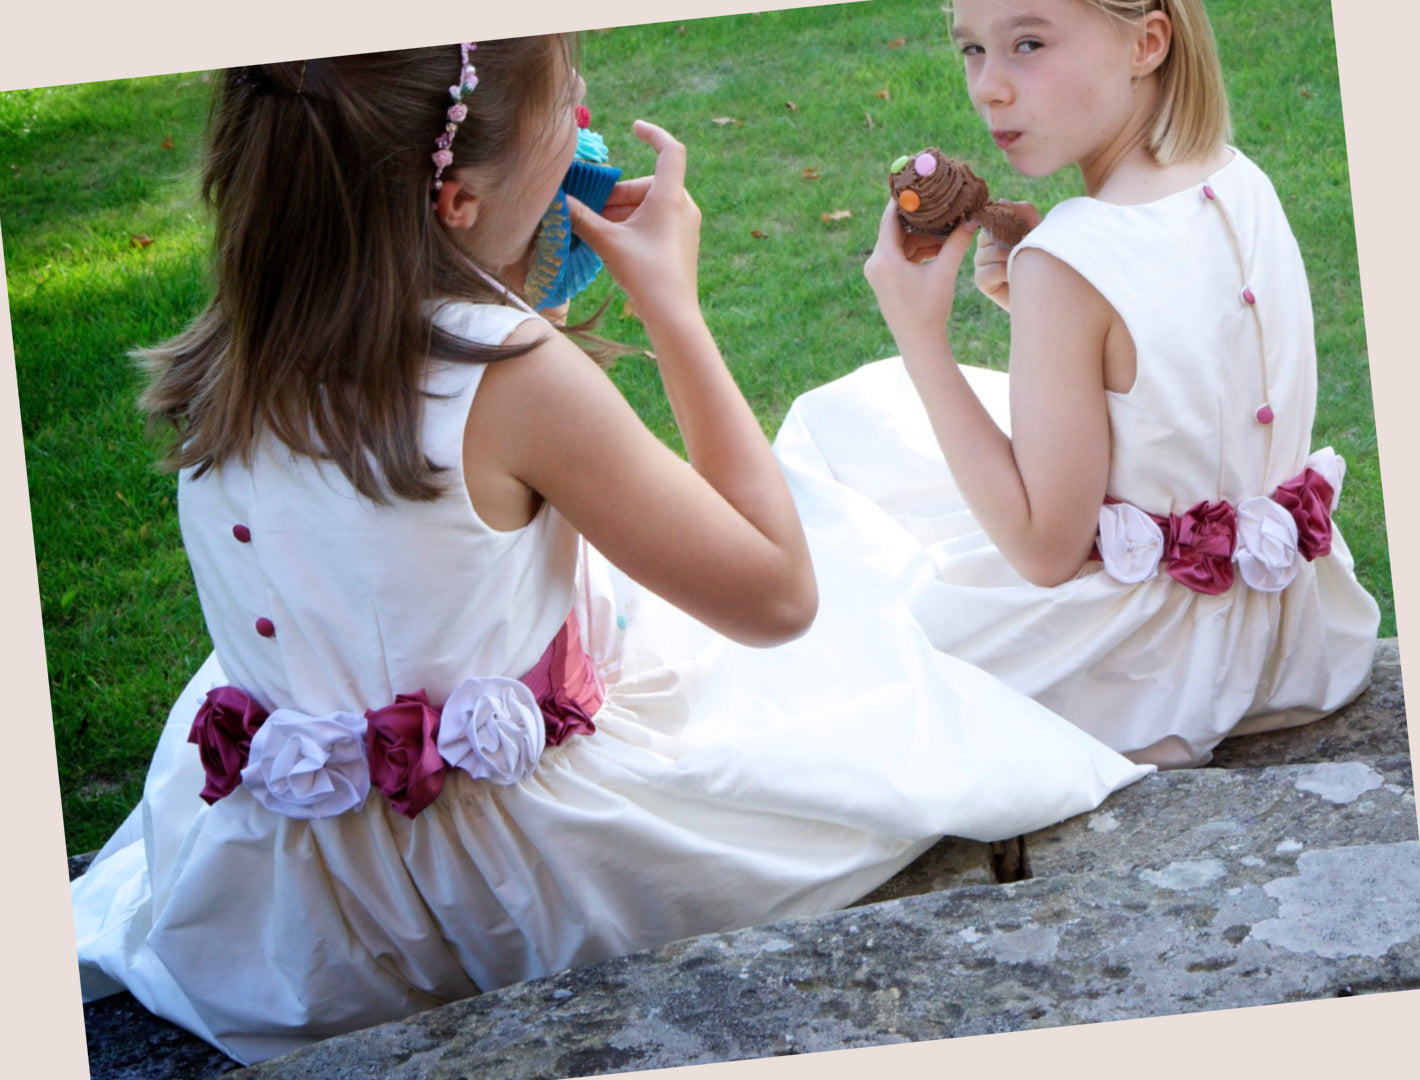
FABRIC ROSES
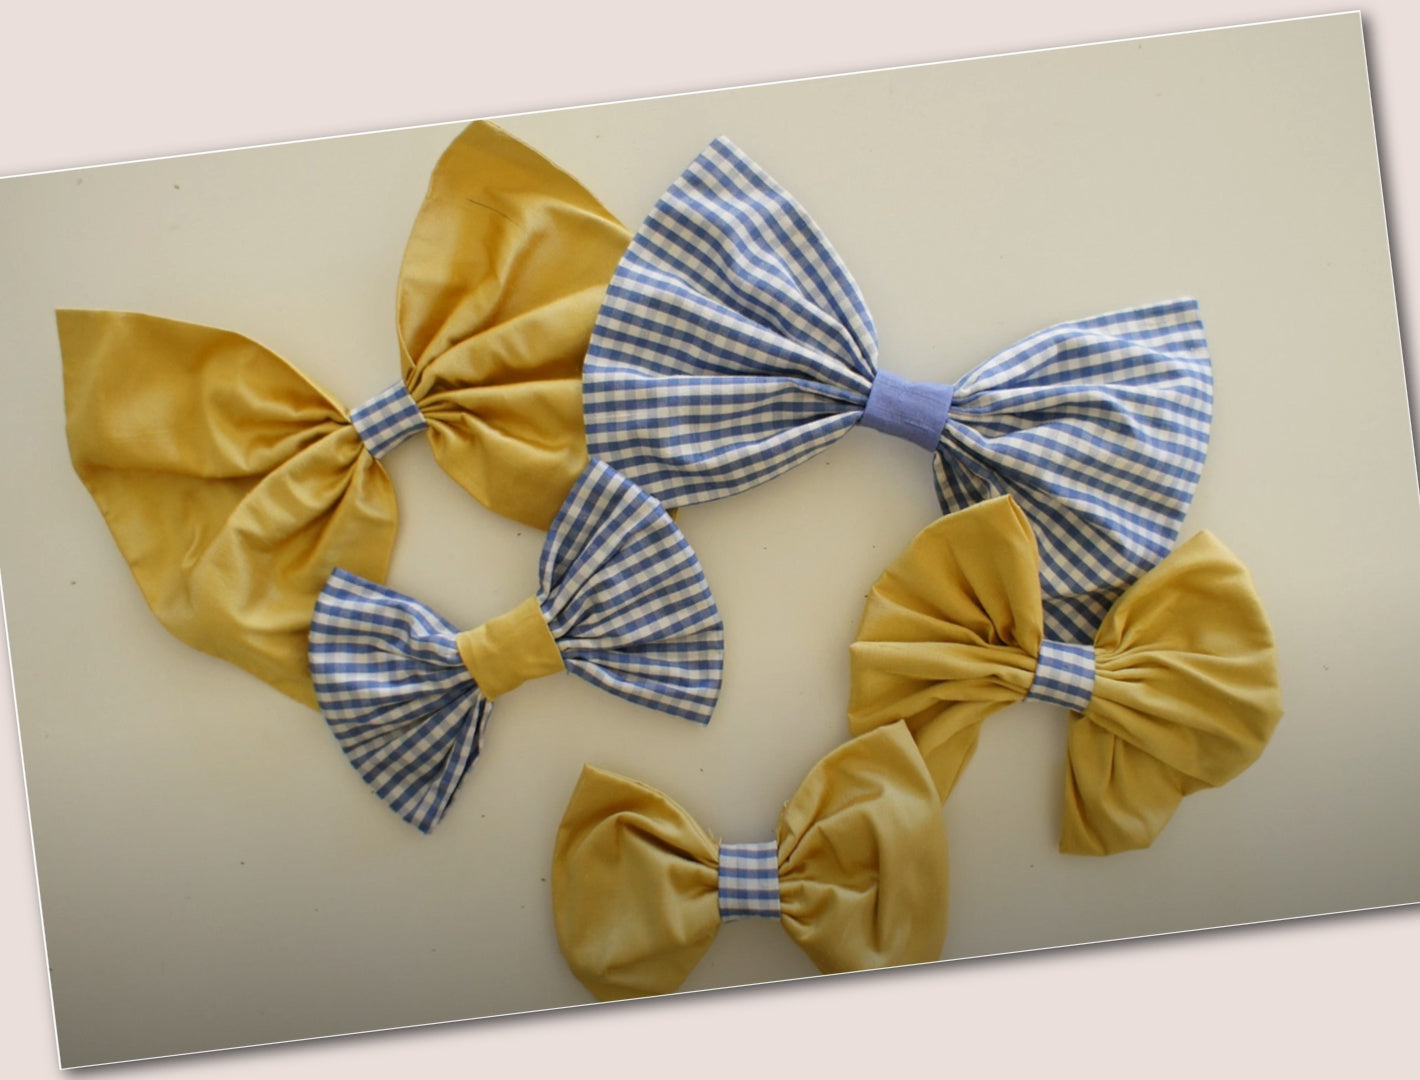
HOW TO SEW A BOW