MILLIE DRESS
MILLIE DRESS
Couldn't load pickup availability
The Millie Sun Dress offers a beginner‑friendly design featuring a lined short front bodice, a gathered front skirt, and a relaxed A‑line silhouette. You’ll learn how to sew puff sleeves, add patch pockets, finish with piped edges, and work with the clever no‑closure method that keeps dressing simple and fuss‑free.
This precious design is also part of a charming wrap‑over hack. All the tutorials for the toddler dress are completely free — just scroll down and watch Marina create some stunning little pinafore dresses. Once you see how simple and fun the process is, you’ll be hooked.
Pattern Download Includes
- Instant Download
- DIN A4 & US Letter Size
- Individual PDF files for every Size
- All Sizes included
- Detailed eBook
- Video Tutorials
Design Options
Design Options
- High waisted
- Lined bodice
- No closure
- Gathered front skirt
- Puff Sleeves
- Rounded neckline with slight heart-shaped back dip
Fabric Requirements
Fabric Requirements
BEST MATERIAL CHOICE
Light weight fabrics in cotton or linen such as cotton lawn, gingham, chambray and printed cotton fabrics.
FABRIC REQUIREMENTS
• Shell: 24 inches–51 inches (60cm-1,3m)
Available Sizes
Available Sizes
Sizes: 1-6 Years
Please Read
Please Read
- This is a digital pattern or PDF file, not a physical product. It will be delivered electronically via a download link delivered to the email used for the purchase.
- To ensure the pattern prints at its actual size, it's recommended that you use Adobe Acrobat Reader.
- The pattern creator, Frocks & Frolics, welcomes small-scale production using their patterns.
Customers are encouraged to tag Frocks & Frolics when sharing projects made using their patterns on social media.
@frocksandfrolics #frocksandfrolics
Share

STEP-BY-STEP VIDEO TUTORIALS
VIDEO TEXT
Transcript for the video: Millie Skirt All-in-One Tutorial
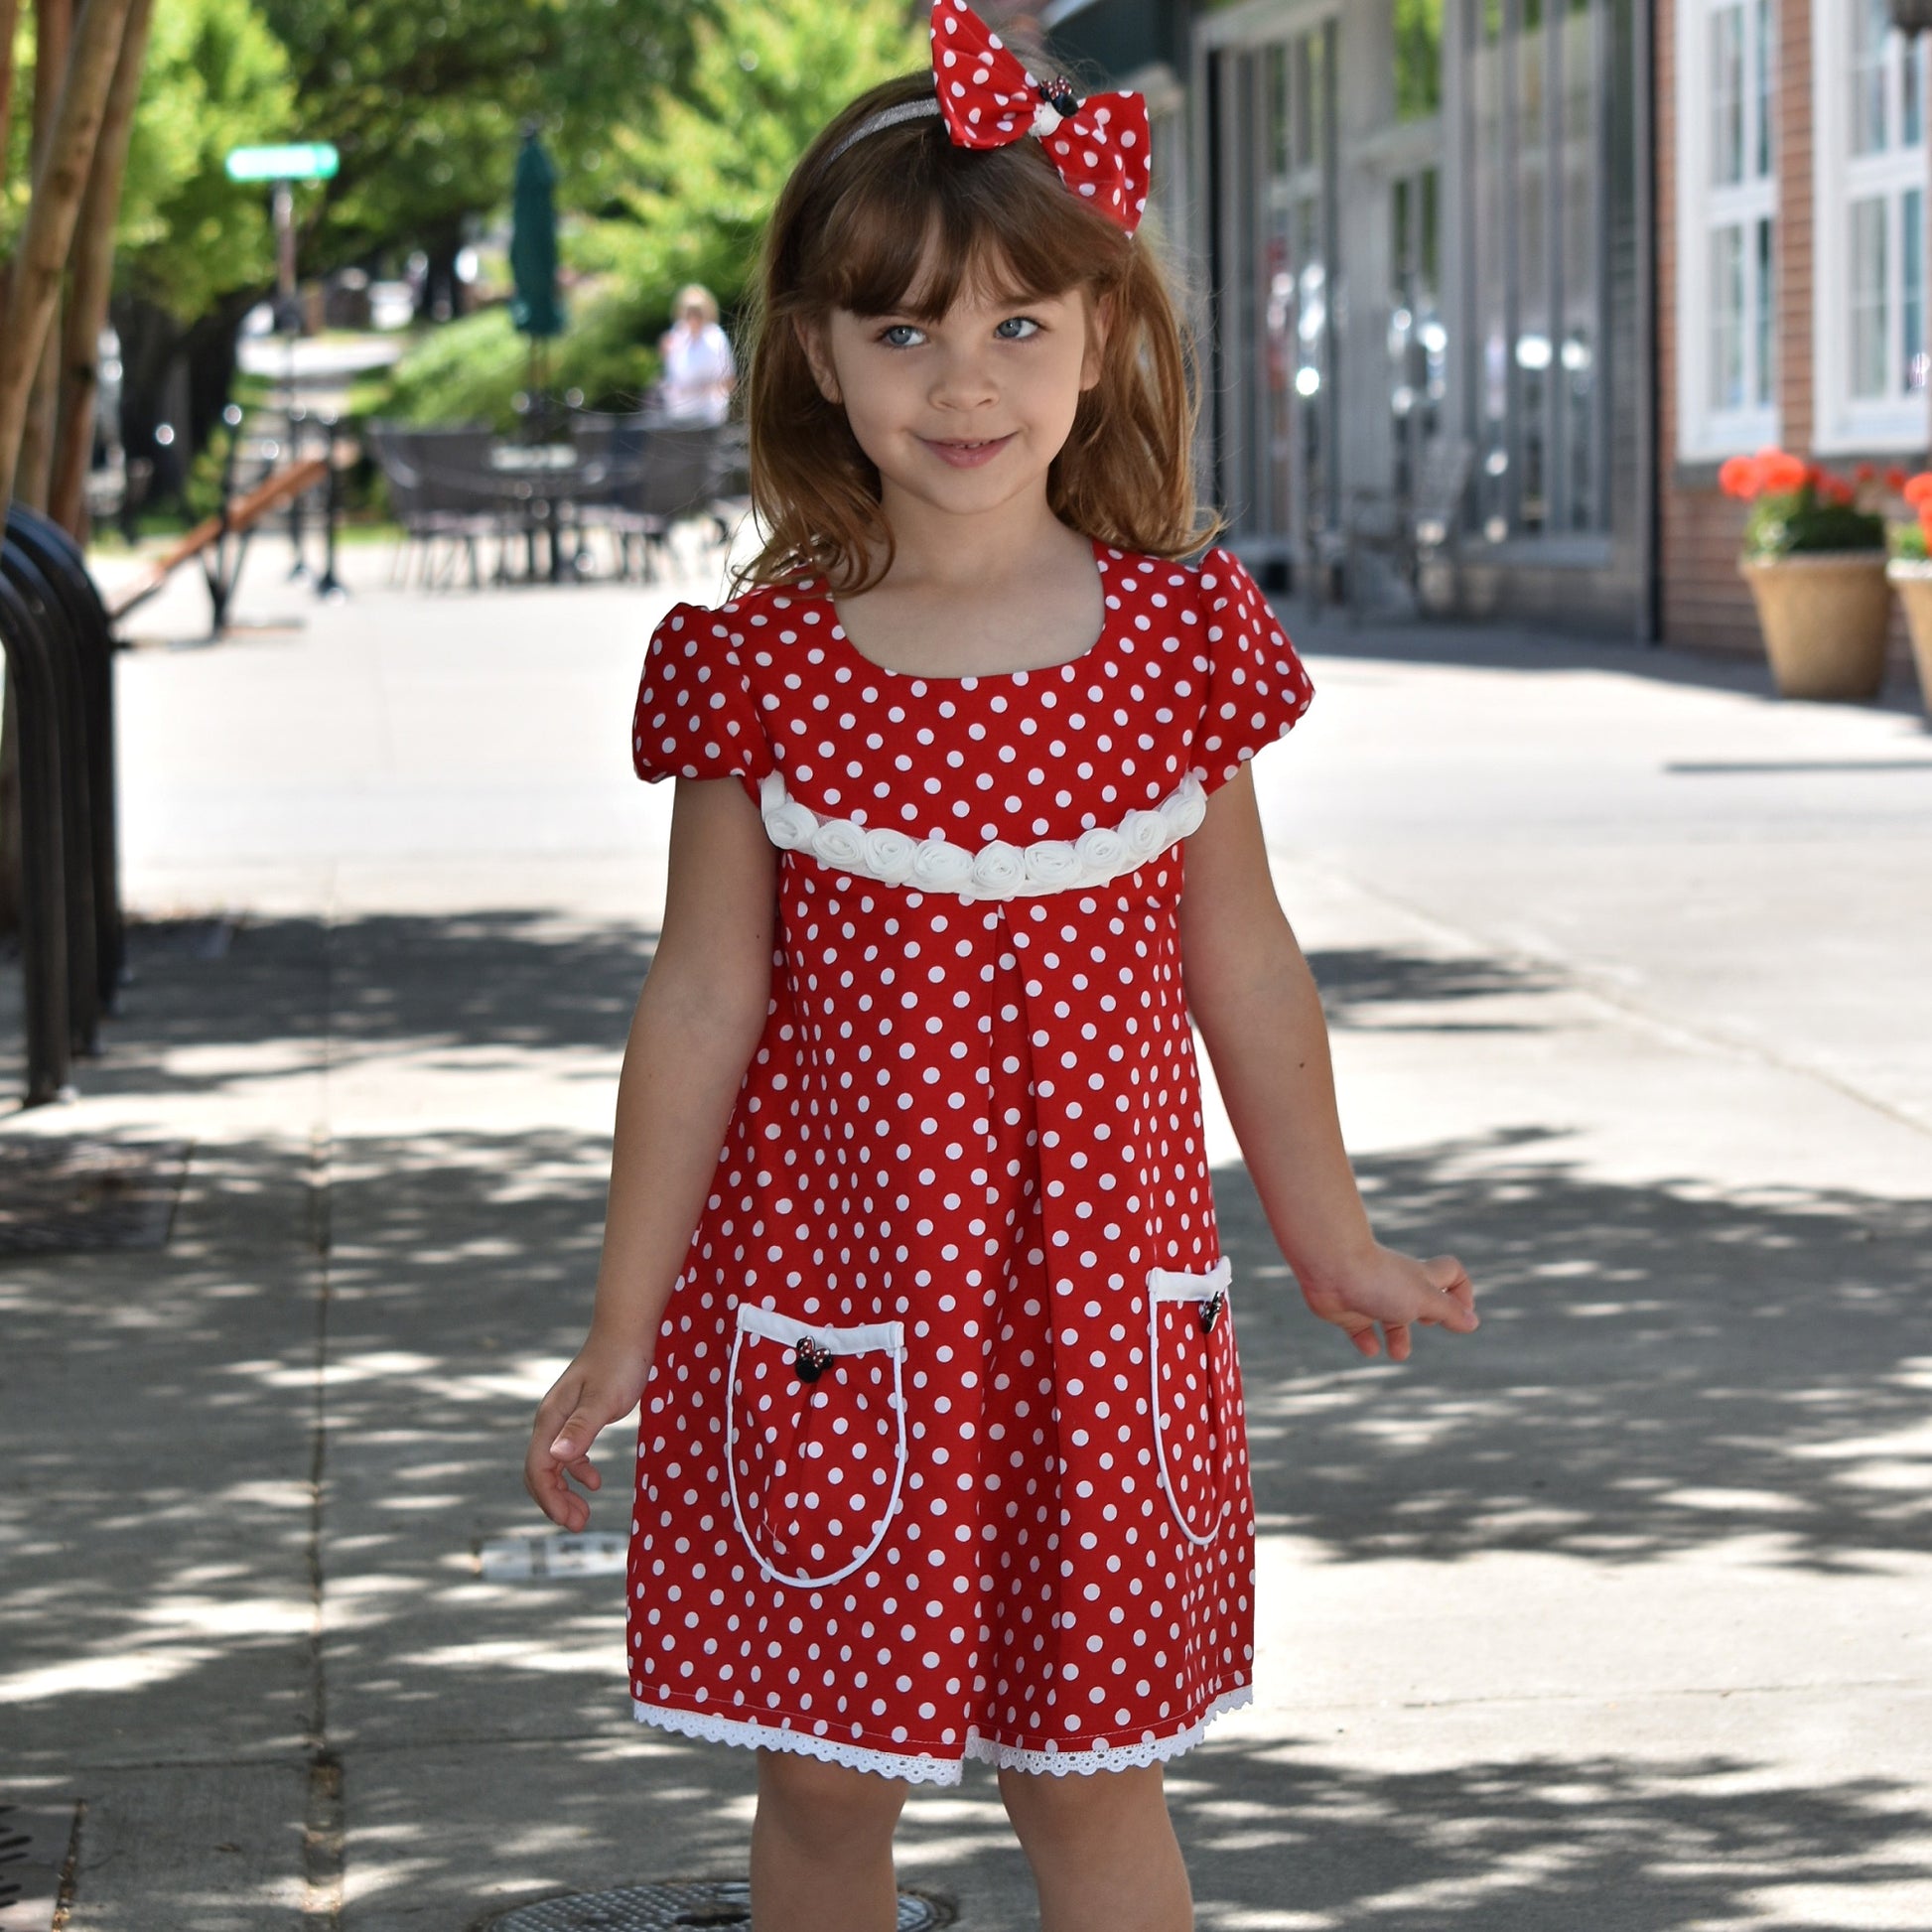
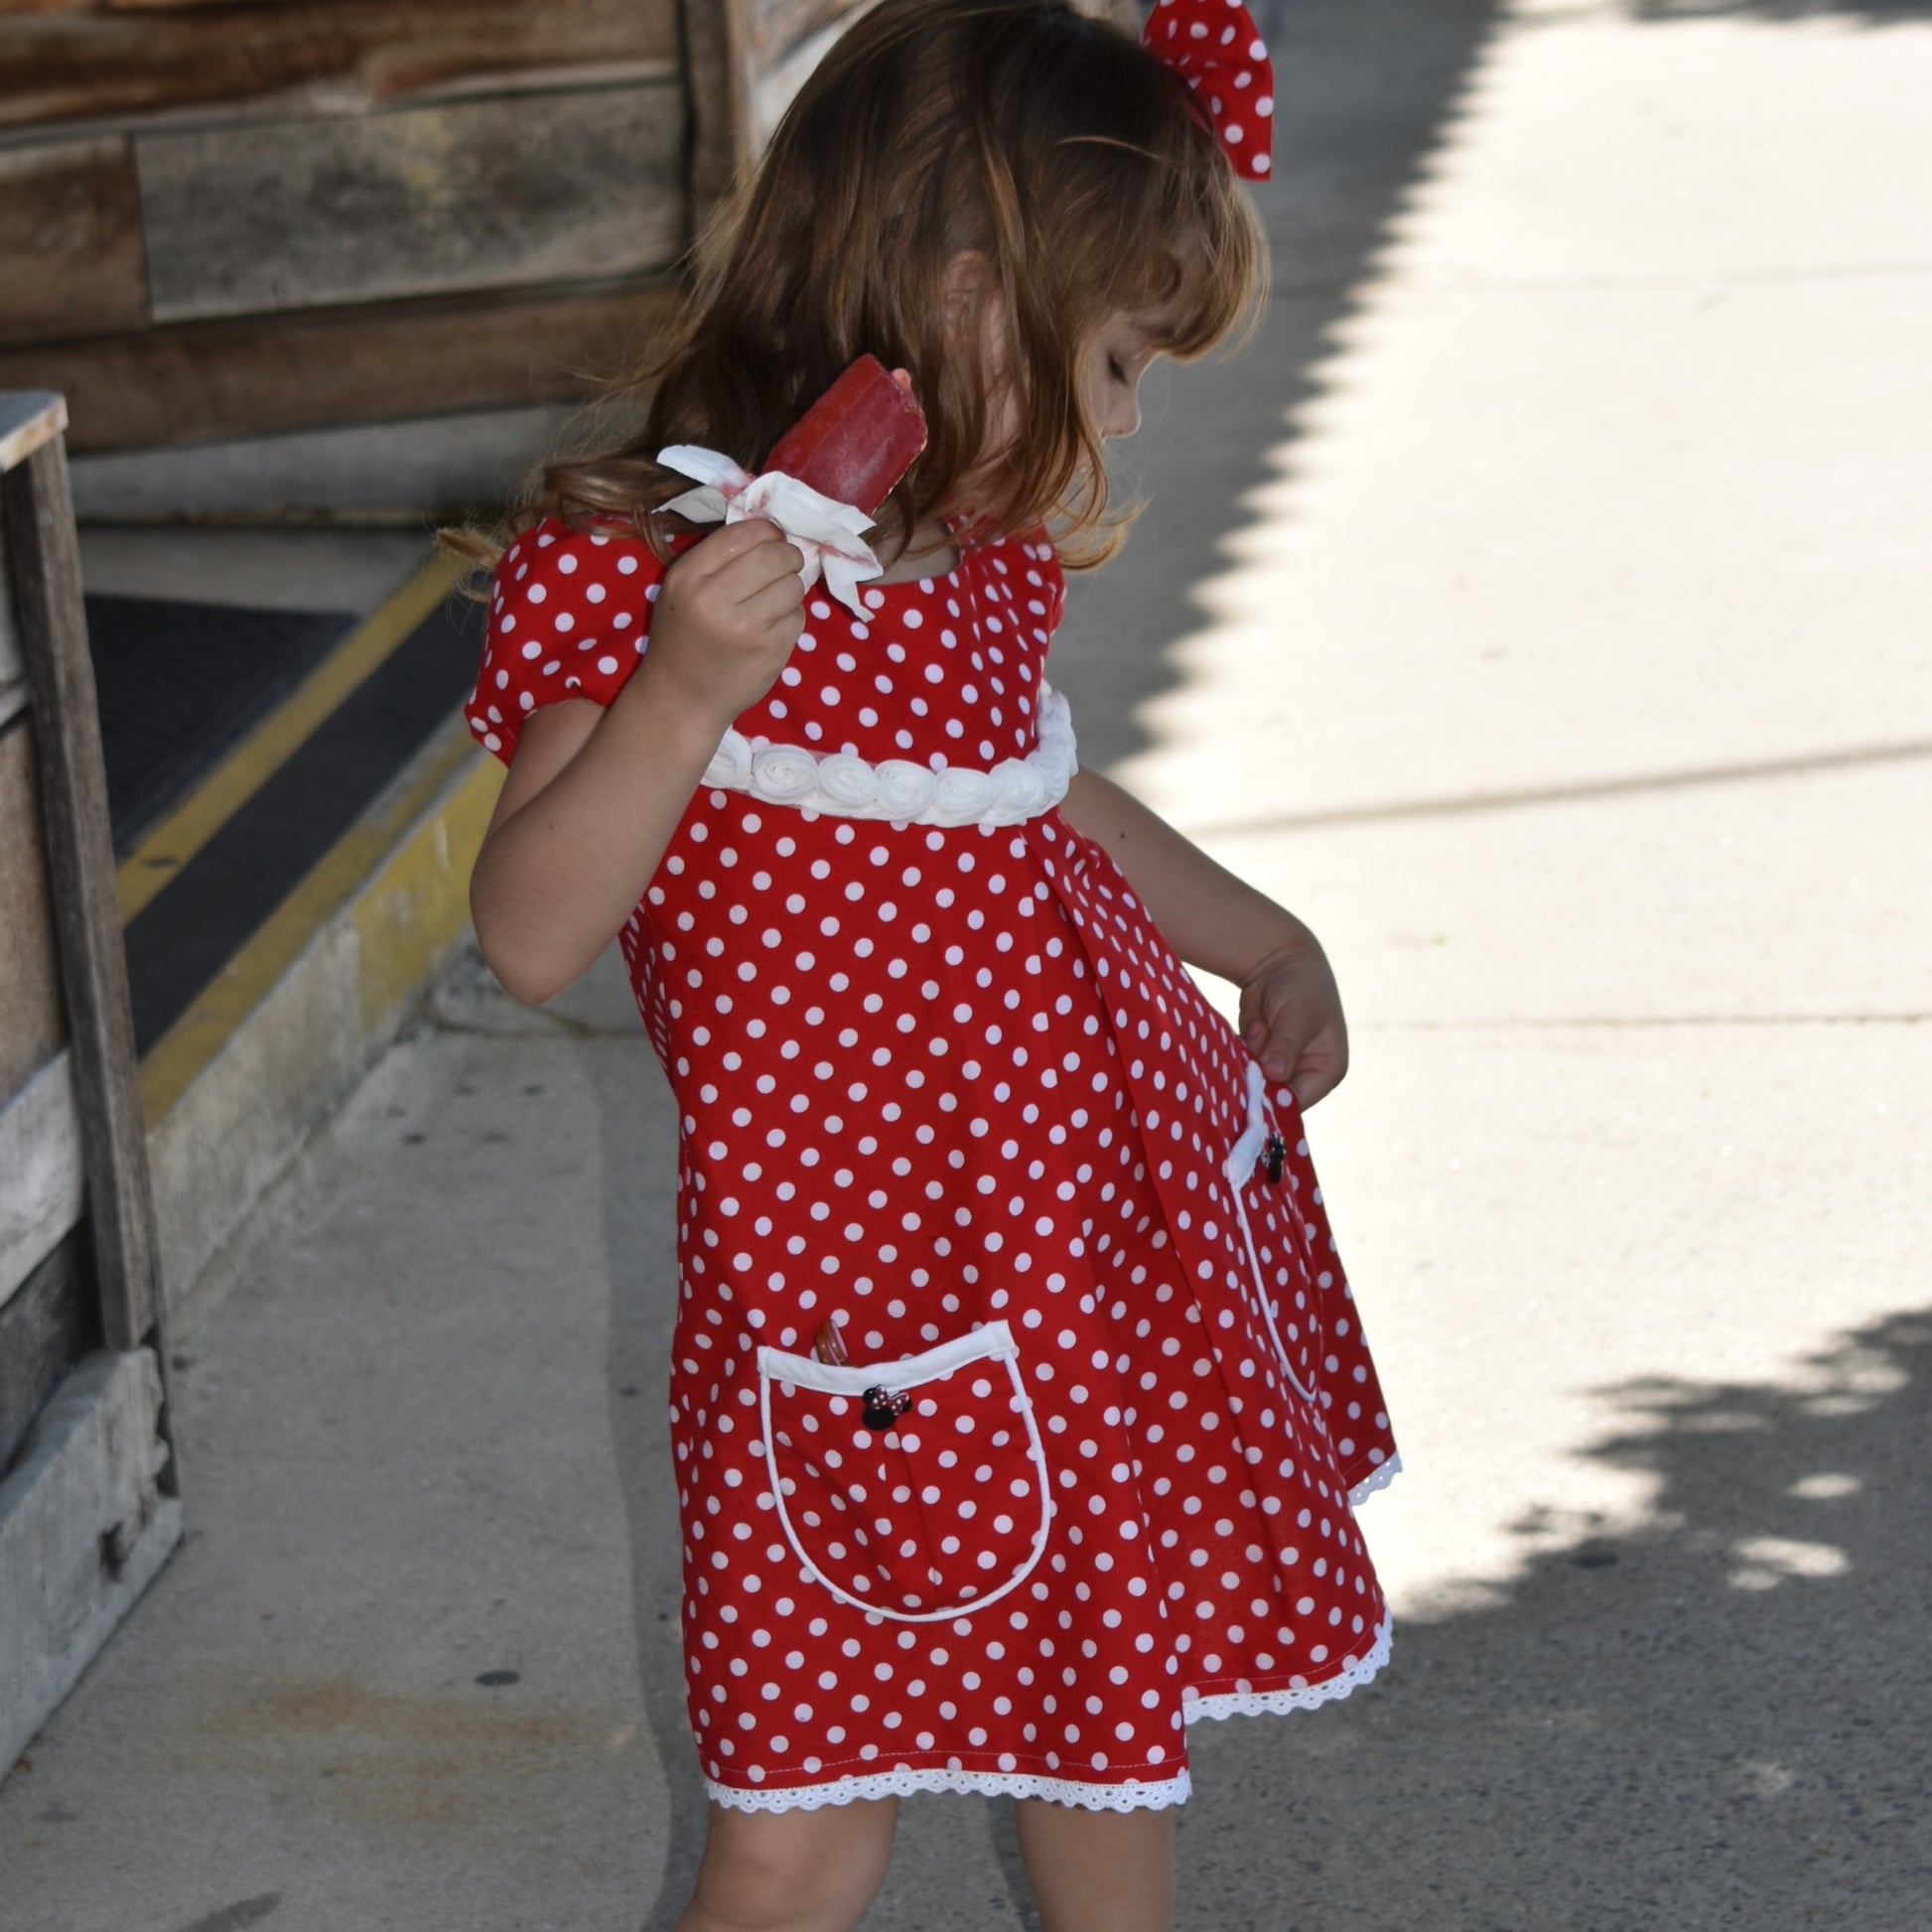
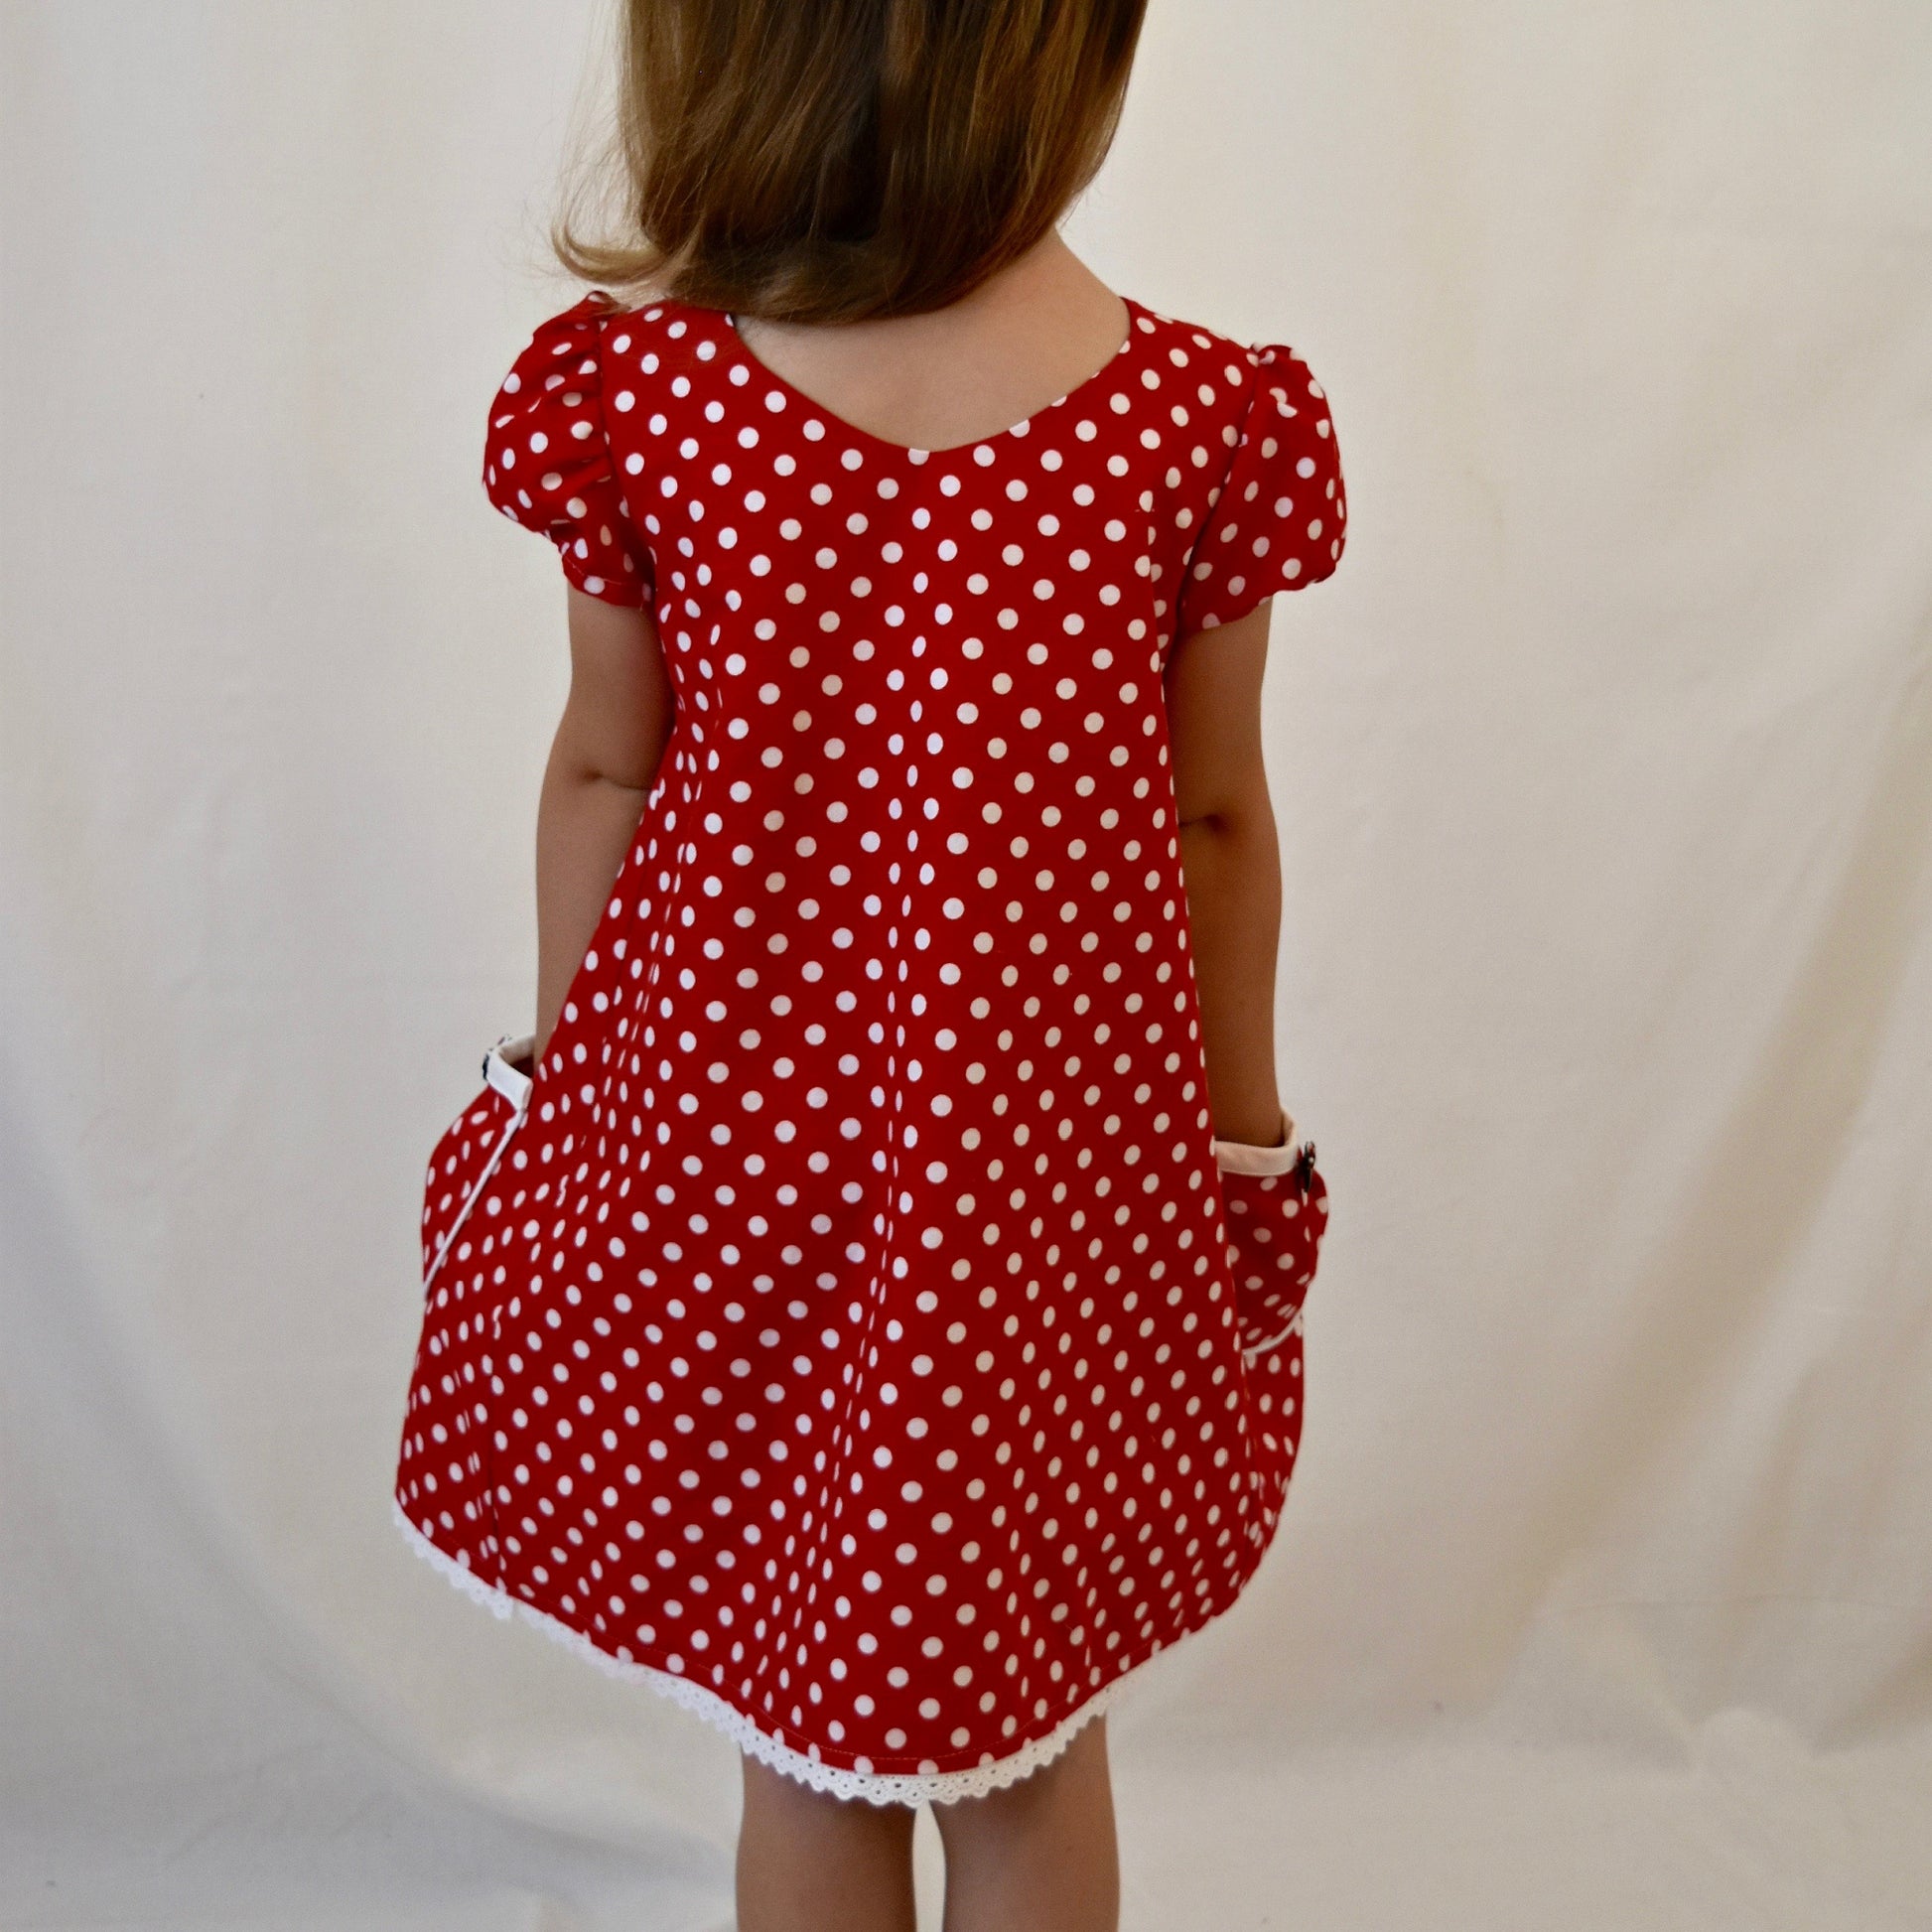
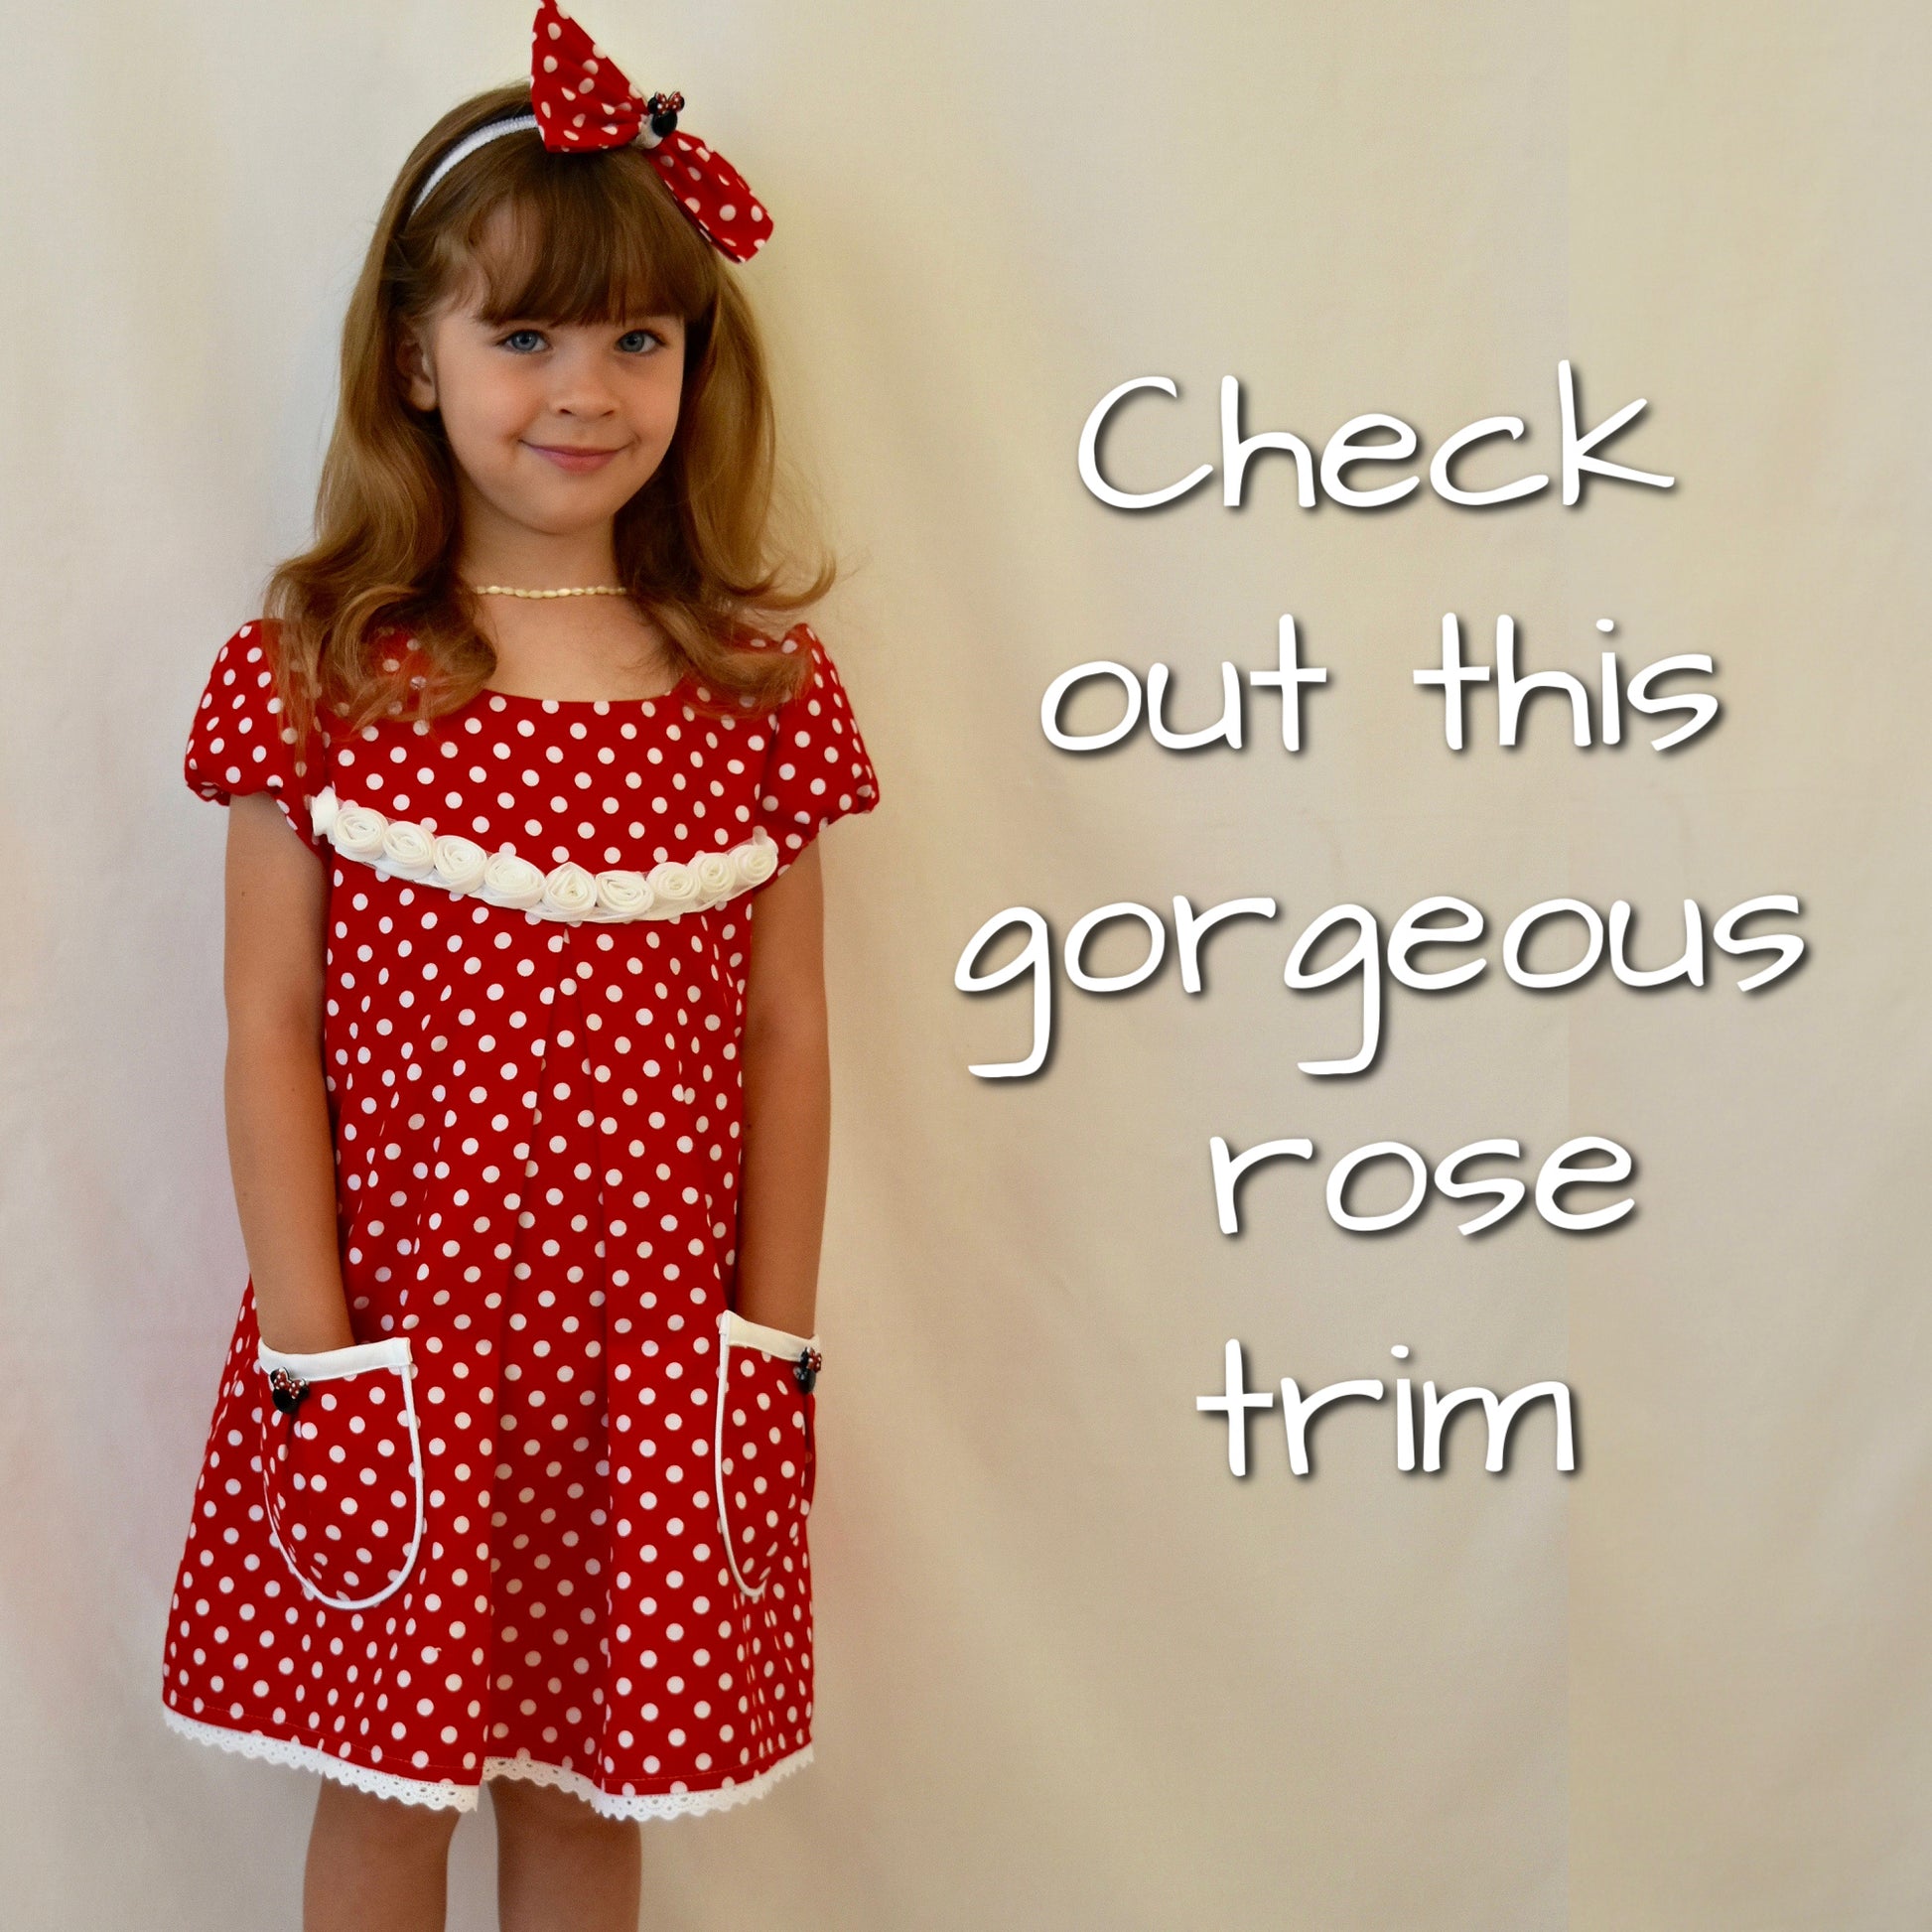
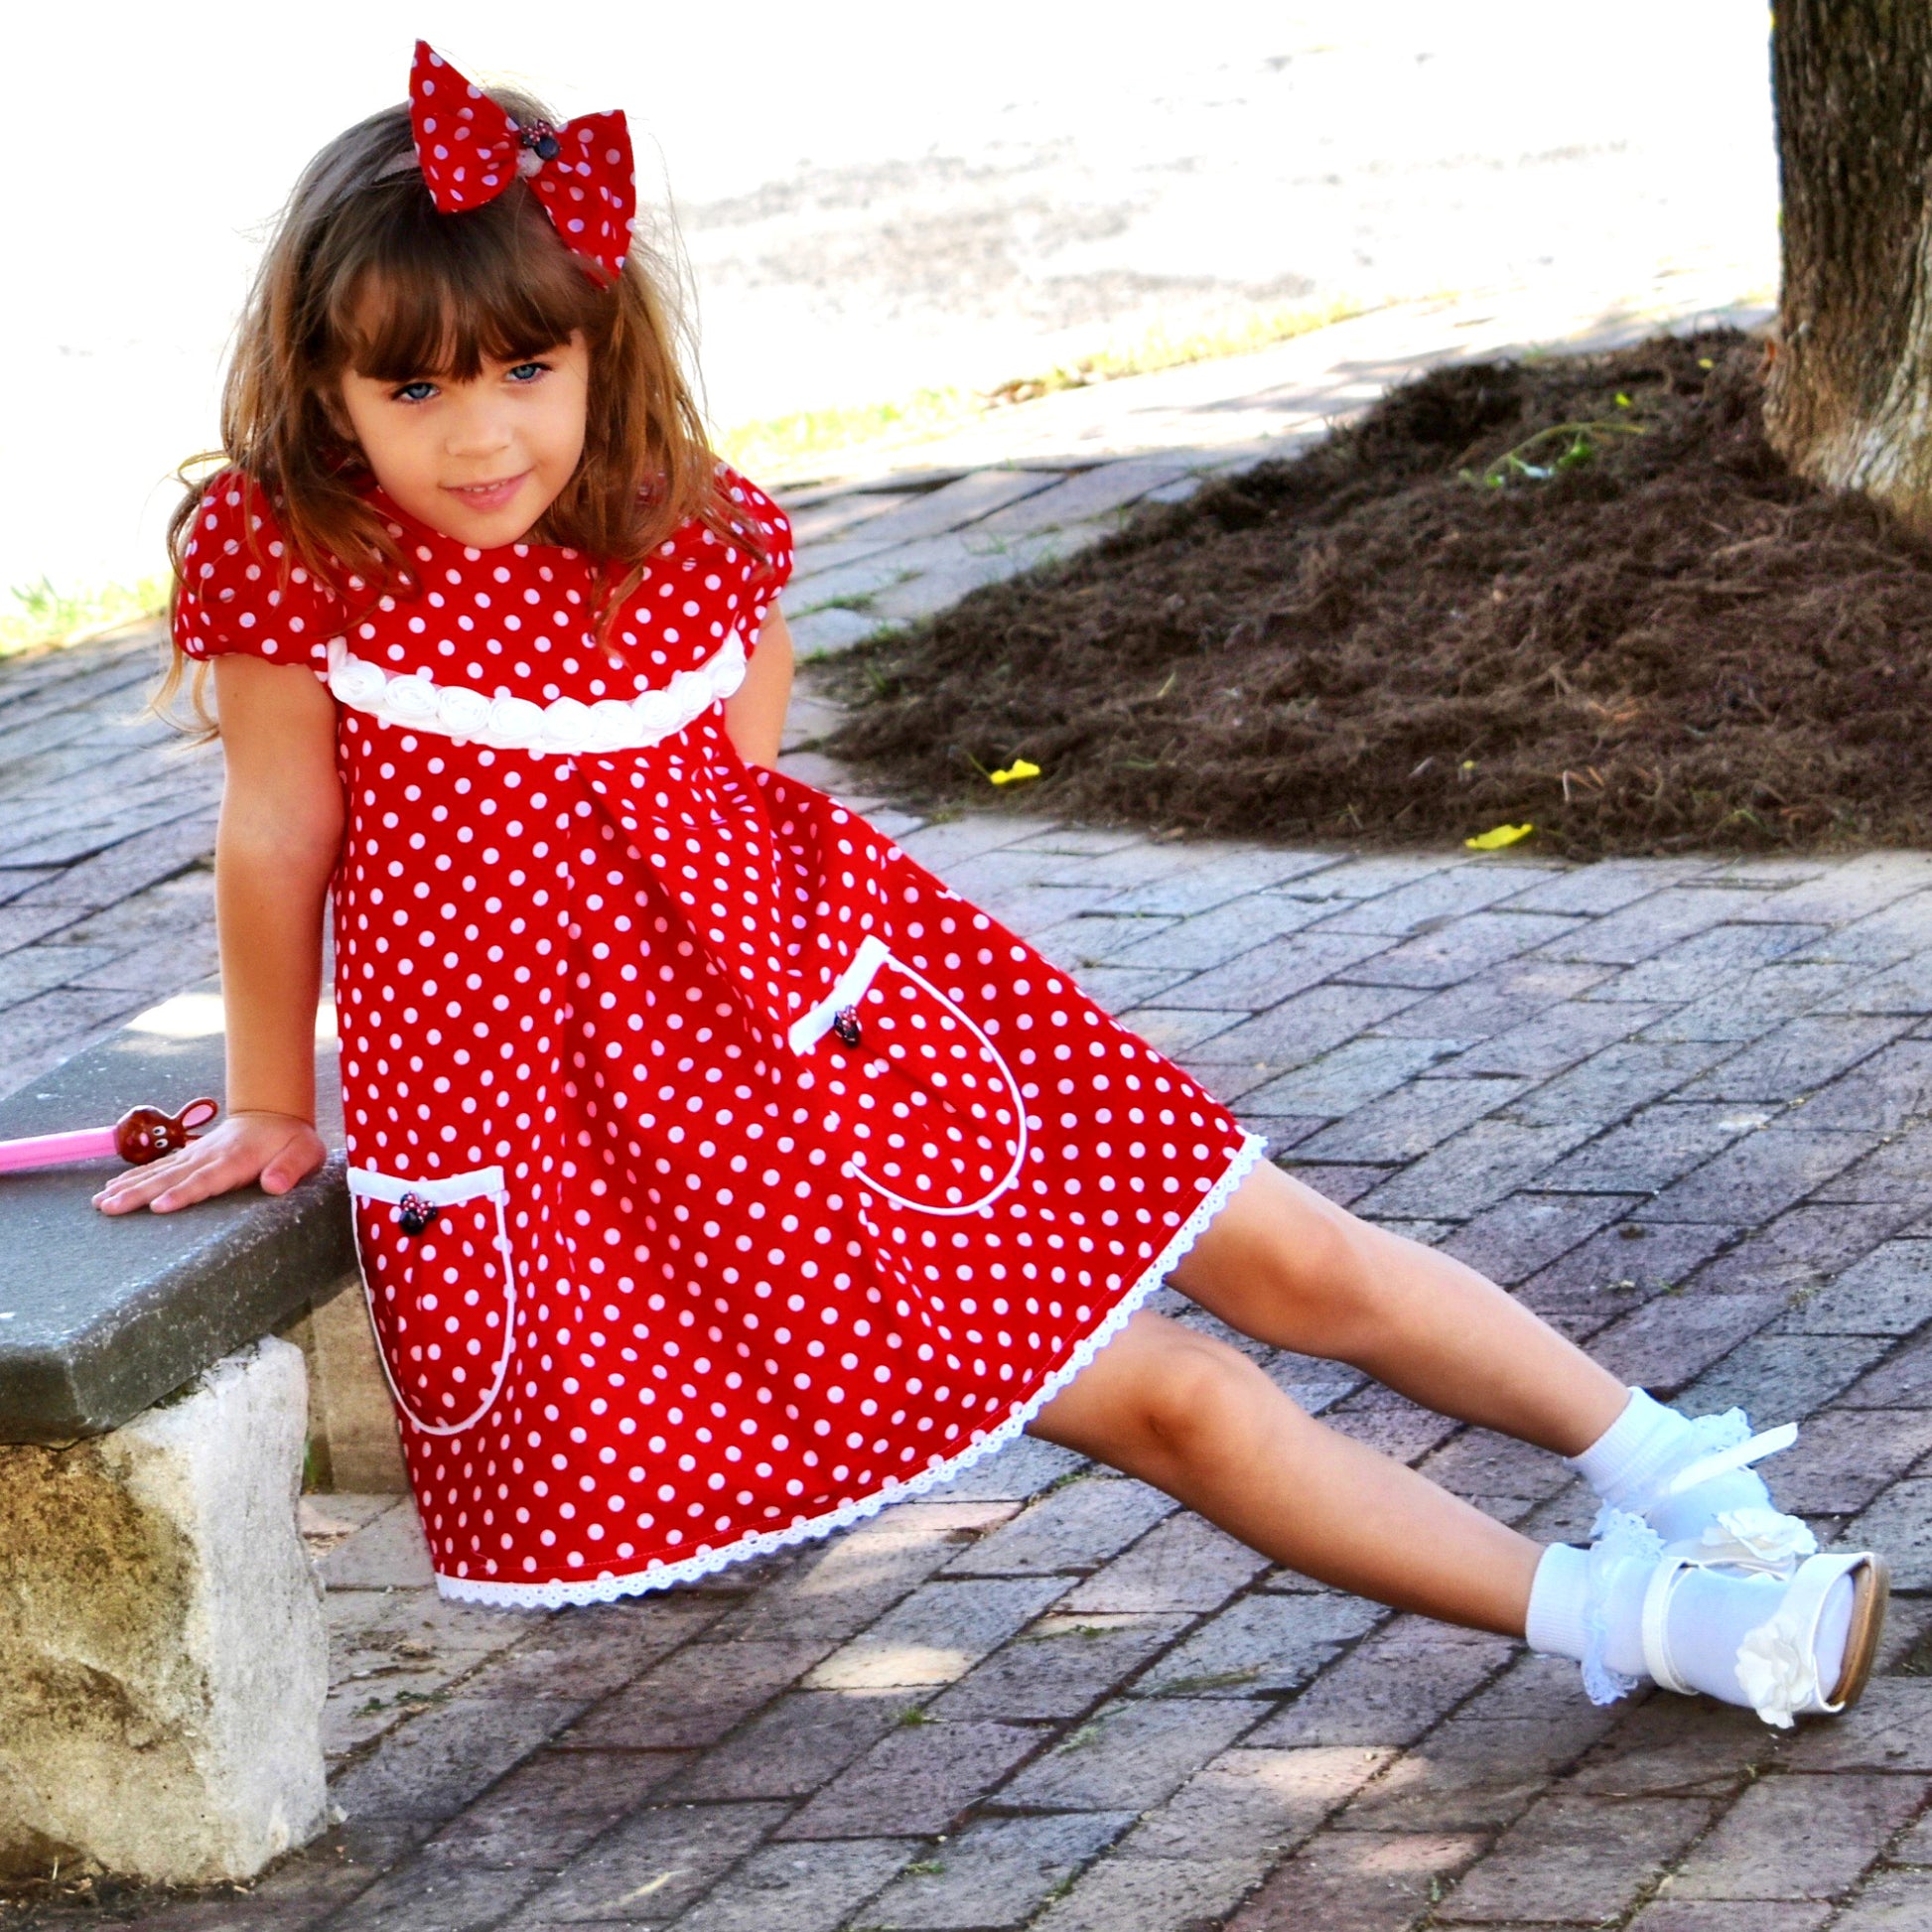
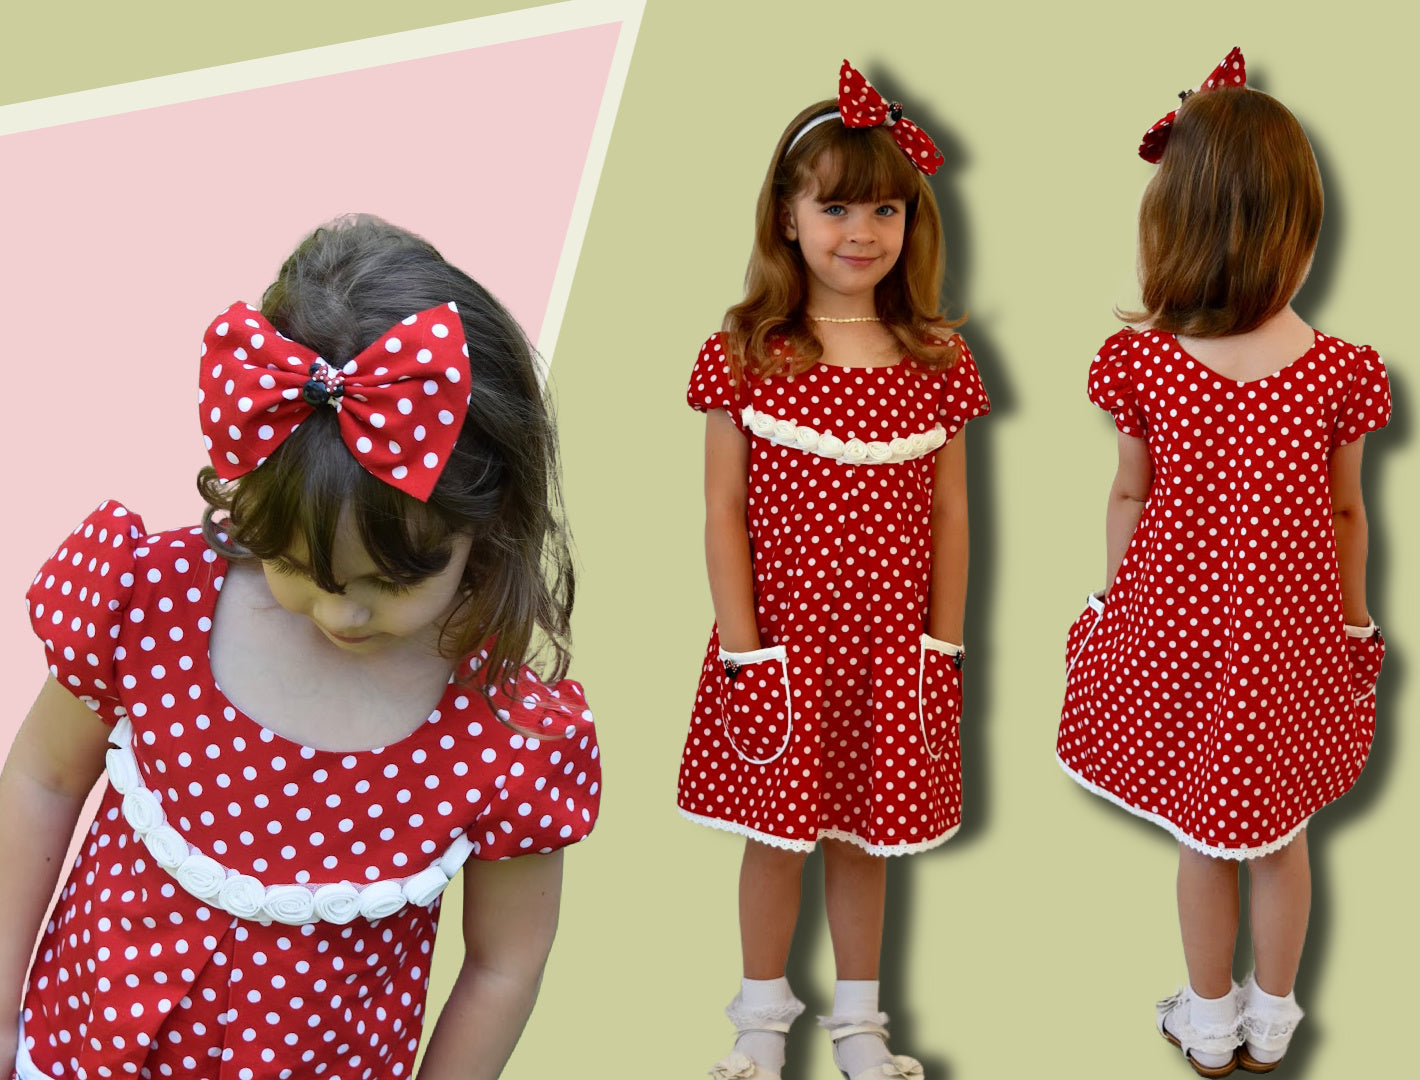
This is the Millie dress. In this video, I’m showing you how to make it with a bow pocket, but I’m actually using wooden buttons. It has puff sleeves, a box pleat in the front, and a little V-neck at the back as a feature.
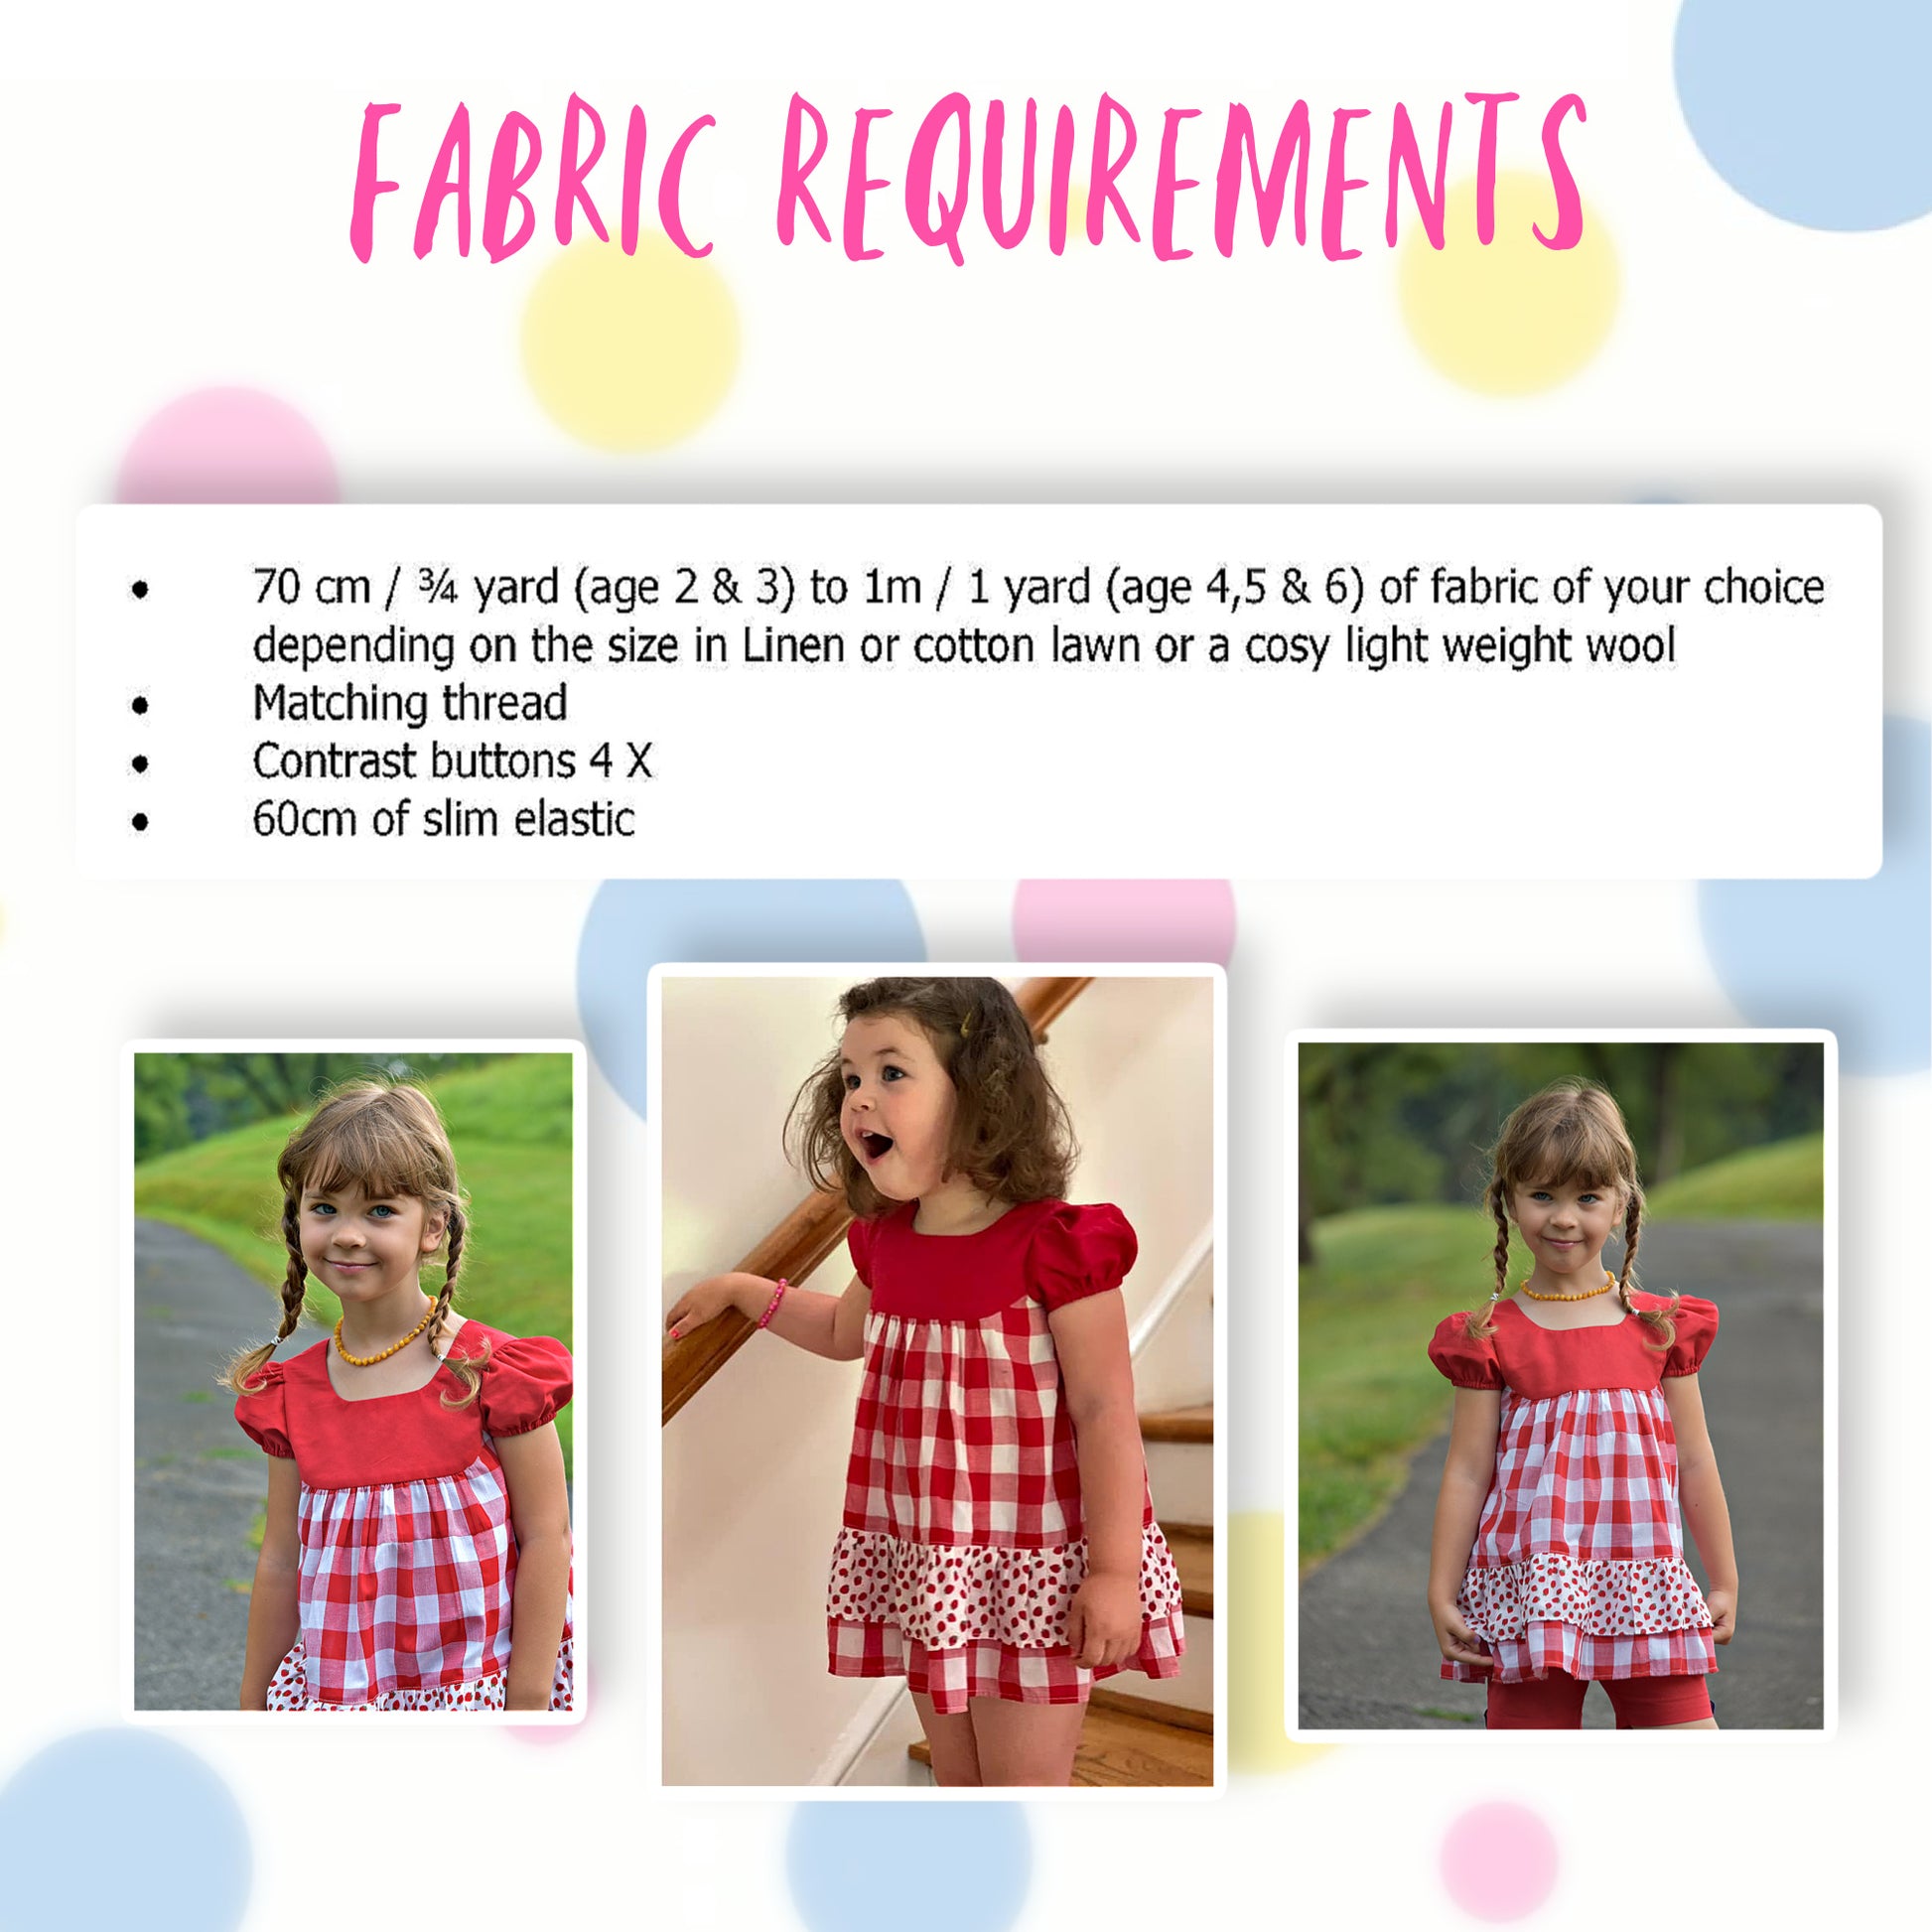
To make this dress, you’ll need scissors, matching thread, and some slim elastic. This is really important, and it needs to be very stretchy. I would also get some nice feature buttons that you can use on the pockets, the center front, and the center back.
Pattern Pieces and Layout
Now let’s have a look at the pieces. The back and back facing are identical in shape. However, on the front you’ve got the yoke as a curve, and the facing goes straight across. This makes it much easier to sew.
You also need your pieces for the bow pocket and the sleeves. I’m using my facing the other way around so I get the denim side showing.
The front is slightly bigger because we are adding a box pleat. We also position the bow pockets, which I’ve cut on the diagonal for a nice effect.
On the sleeve, there are two markings that you must transfer. These show where to gather the sleeve.
Box Pleat and Pocket Construction
For the box pleat, where you’ve snipped and marked it, sew 1 cm down, open it out, and pin it into place.
Now we position the bow pockets. To make them, follow the link that pops up in the video. Place one pocket on, then the other on top, fold the fabric over, pin them down, then open back out and repeat in the exact position.
Then top stitch all along the edge. You can see I’ve stitched very close to the edge, and my box pleat is also pinned nicely.
Attaching the Yoke
Now attach the yoke. Start in the middle and work your way around using a 1 cm seam allowance. Press everything upward.
Once pressed, top stitch about 1 mm from the edge. I’ve also overlocked the seam so it is neat and clean.
After top stitching, press it flat. This gives a very professional finish.
Shoulder Seams and Neckline
Next, close the shoulder seams, right sides facing. The “good side” is on the inside while sewing. Do the same on the facings, but remember you want the contrast fabric to show, so the right fabric is the blue side.
Sew and overlock the seams, then check the fit over the child’s head before continuing.
Place the facing on top of the dress and sew around the neckline.
Pin seam allowances down so they don’t shift while sewing.
Sewing the Neckline
Always sew from the inside. Line everything up with a 1 cm seam allowance and carefully sew around the neckline.
At the point of the V, slow down and reduce stitch length to 1. Take your pin out, lift the presser foot, turn, then continue.
Cut right into the V point carefully, and snip the curves so everything turns smoothly.
Trim seam allowances and press them in different directions so the neckline lies flat.
Then stitch the facing seam allowance down. You are stitching only on the facing side.
Use a slightly longer stitch length for a cleaner look.
Turning and Pressing
Turn the neckline to the inside. Even before pressing, you will already see a firm edge forming.
After pressing, you get a clean, crisp neckline. The facing does not sit exactly at the edge of the curve, which makes it easier and prevents bulk.
Side Seams
Close the side seams with right sides facing and a 1 cm seam allowance. Do the same for the facings.
Overlock if desired. Check that seam allowances at the underarm are facing in opposite directions so everything lies flat.
Before sewing, pin everything and check alignment. It will not always match edge to edge because the seam allowances have been stabilized earlier. That is correct.
Sew from the inside for easier control and better accuracy.
Elasticated Puff Sleeves
Turn in the top edge of the sleeve and press.
Use a triple zigzag stitch. Start at the marked points where elastic begins, 1 cm in from the snips.
Stretch the elastic as you sew, working in sections. Keep pulling evenly so you get good fullness.
Close the sleeve seam, then turn up the hem.
Because of the elastic, keep your stitching aligned rather than moving with the fabric width.
Setting in the Sleeves
Mark gathering stitches at the sleeve head.
Match the sleeve to the armhole, using the snip as your guide to identify right and left sleeves.
Pin at the underarm seam first, then at the shoulder seam.
Distribute gathers evenly across the top, usually about 3 to 4 cm either side of the shoulder seam.
Sew carefully, adjusting fullness as you go. Always smooth the fabric underneath so it doesn’t bunch.
Finishing the Sleeve
Remove lower gathering threads and leave the upper ones in place.
Overlock the seam for a clean finish.
Now the dress is really coming together beautifully.
Hem and Final Finishing
For the hem, you can hand stitch for a very clean finish. Take small stitches, catching just a little fabric on each side so the stitches are invisible from the outside.
Press lightly once finished.
Finally, secure the box pleat with a few stitches so it doesn’t shift, and do the same at the side seam to keep everything in place.
Finished Dress
And there you have it, the Millie dress finished. A beautiful puff sleeve dress with a box pleat and bow pocket detail, perfect for a special handmade piece.
Transcript for the video: Millie Skirt - Pattern Hack
Hi everyone and welcome back to another tutorial. Today I’m showing you how to transform a simple dress into something much more special using my Millie pattern. This version has a soft boho feel with a wrap-over back detail. Ignore the temporary seam you might notice in places, the correct construction follows the clean left-hand line you see in the demo.
Inside, the dress is fully lined. You may notice some overlocking from the sample, but your final result will be neat and enclosed.
Pattern Preparation and Design Changes
Start with the Millie pattern or any similar basic dress block. The original back is flat with no yoke, so we modify it by placing the front yoke over the back pattern and marking its position. This gives you a guide for where your back yoke line will sit.
Tape the back pattern onto paper, fold it over, and trace around the edge. This is how you create the wrap-over extension. From here, you can shape the back neckline in different ways depending on your preference. A soft curve gives a gentle wrap effect, while a deeper angle creates a more dramatic V-back. This is the point where you can really design the look yourself.
For the skirt section, shorten the dress to your preferred length. In this example, I came up about 17 cm (7 inches) from the waist/hip area. Because the original back had no gathering, you also need to add fullness back in. I added about 9 cm (3.5 inches) for gathers. Once this is done, clearly mark front and back pieces and add seam allowances wherever the pattern was split so nothing ends up too small.
Before cutting fabric, double-check that your front and back pieces are the same length.
Cutting the Fabric
Cut the front yoke in both main fabric and lining. Do the same for the back yoke, cutting two in main fabric and two in lining. The lower front and back are cut once each on the fold.
For the ruffles, the lower ruffle is cut 6.5 inches wide, and the length is about 2.5 times the width of the lower yoke edge. The upper ruffle is 4 inches wide. If you are using checks or a directional print, take extra time to match seams so the pattern flows cleanly once assembled.
Constructing the Yoke
Begin by sewing the shoulder seams of the front and back yoke pieces right sides together, and repeat the same process for the lining. Press all seams flat for a clean finish.
Before attaching anything to the neckline, apply stay tape around the curved edge to prevent stretching. When sewing the neckline, gently ease the fabric inward on curved and bias areas so it naturally shapes into the neckline without puckering. Keep straight sections firm and only ease where needed. Sew carefully all the way around with a 1 cm seam allowance.
Once sewn, clip into the curves and under-stitch the seam allowance to the lining so the neckline rolls neatly to the inside. Press thoroughly so the edge sits flat and smooth.
Sleeves and Elastic Casing
Prepare the sleeves by finishing the edge first, then closing the sleeve seam. Instead of gathering only part of the sleeve head, we are inserting elastic across the entire top section to create a soft puff effect.
Sew a channel using a long straight stitch or zigzag, leaving a small gap to insert elastic. Thread elastic through using a safety pin, making sure you pass the seam area first so it does not get stuck. Once the elastic is through, overlap the ends securely and stitch them together, then allow it to slip back into the casing. The sleeve will naturally gather into shape.
Inserting the Sleeves
Attach the sleeves by first matching underarm seams and pinning them in place. Then match the sleeve head to the shoulder seam and distribute gathers evenly across the cap. A good guide for children’s sizes is about 4 cm of gathers on each side of the shoulder seam.
Pin everything horizontally so nothing shifts, then sew slowly around the armhole. Take your time adjusting the gathers as you go so they stay even and smooth.
Ruffles and Lower Construction
Finish the ruffle edges first, then attach them to the lower dress section. The lower piece is placed right side up, and the ruffle is placed right side down on top before sewing them together. Repeat this for both front and back sections.
Once ruffles are attached, close the side seams and finish the raw edges. Press everything flat so the structure holds properly and the layers sit cleanly.
Final Assembly and Wrap Back
Attach the lower section to the yoke, making sure everything aligns evenly. Then finish the wrap-over back so both sides overlap smoothly and sit securely.
Give the entire dress a final press. Check that gathers are even, seams are flat, and the back overlap sits properly.
Finishing
Finally, secure any remaining raw edges, adjust sleeve gathers if needed, and ensure the ruffles sit evenly around the hem. Once everything is pressed and checked, the dress is complete.
This Millie boho wrap-back version turns a simple base pattern into something much more unique while still being very beginner-friendly once you understand the construction order.
Schöner Schnitt, sofort geliefert. Gerne wieder.
The Item met my expectations.
Looking forward to making. Thank you.
Good instructions. Really like the pattern.