

DEVON PANTS
DEVON PANTS


Regular price
$8.50 USD
Regular price
Sale price
$8.50 USD
Unit price
per
Couldn't load pickup availability
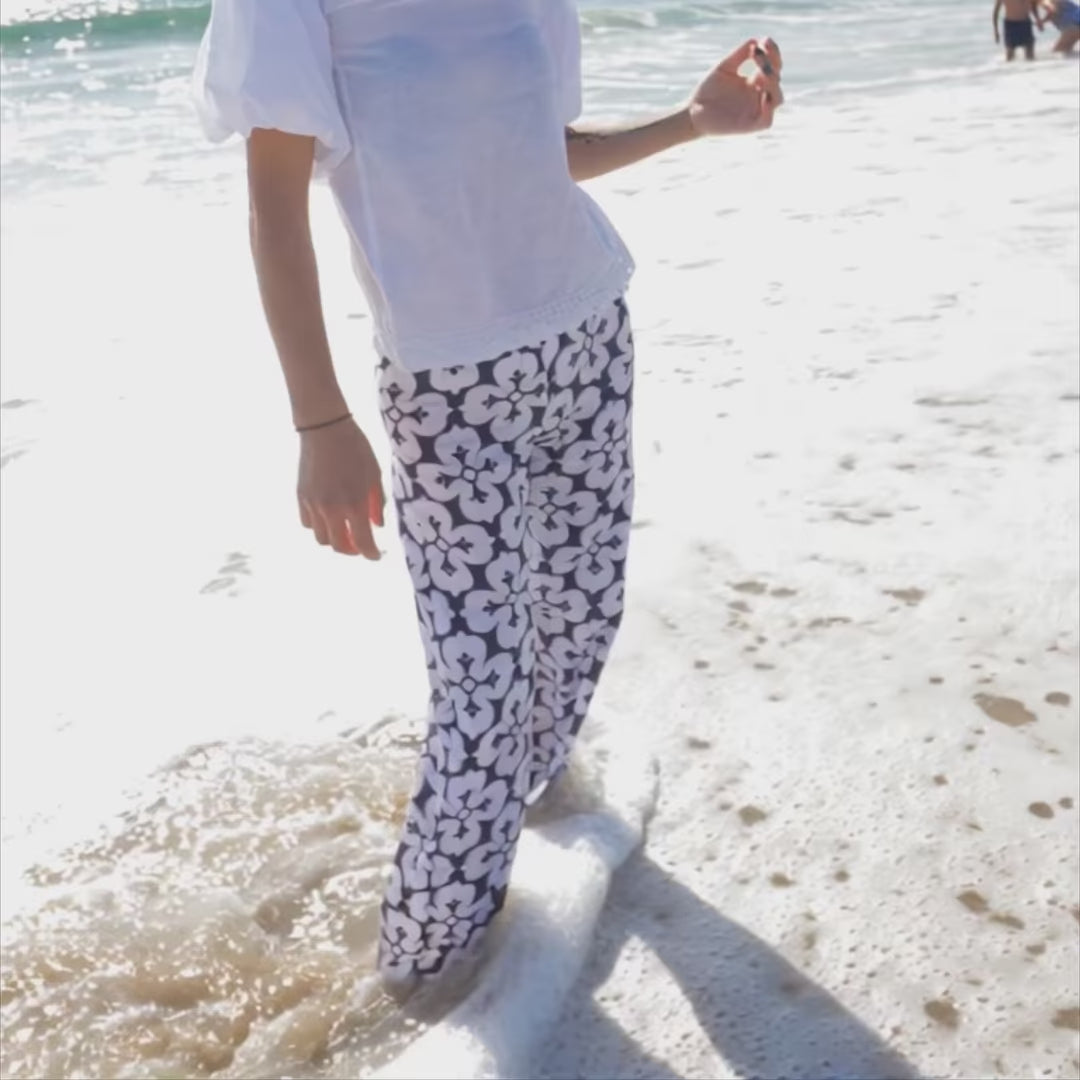
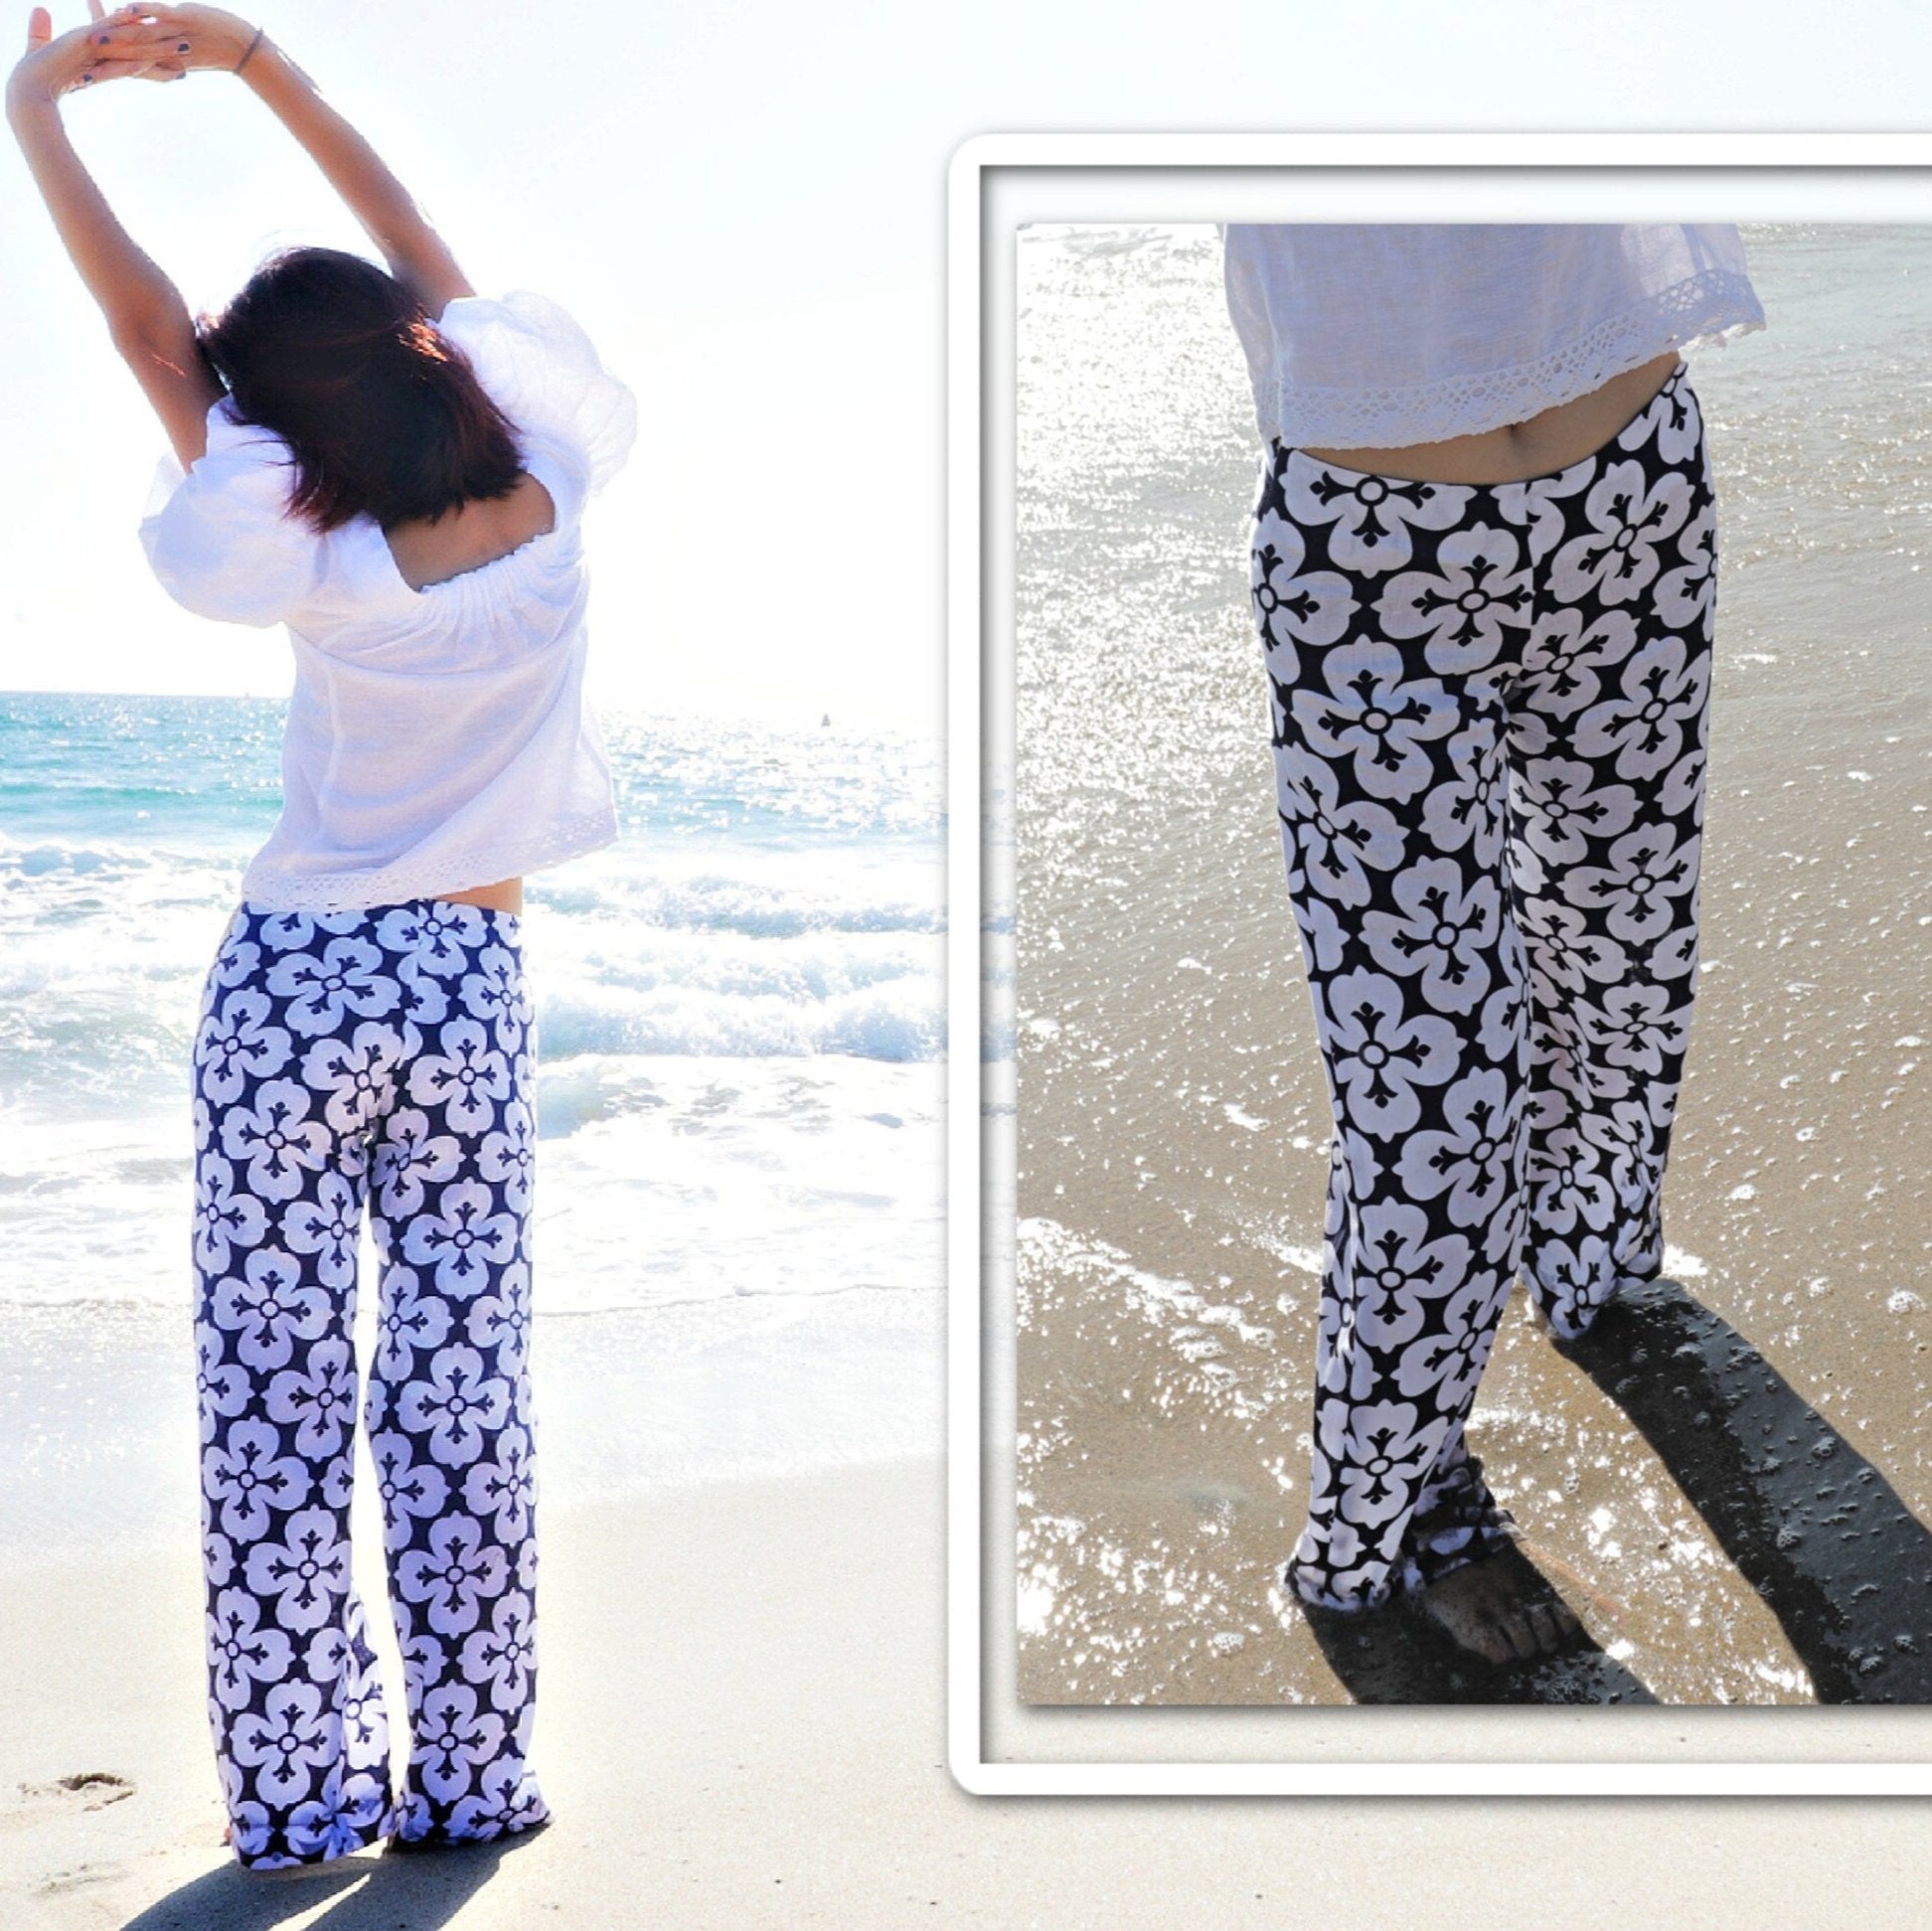
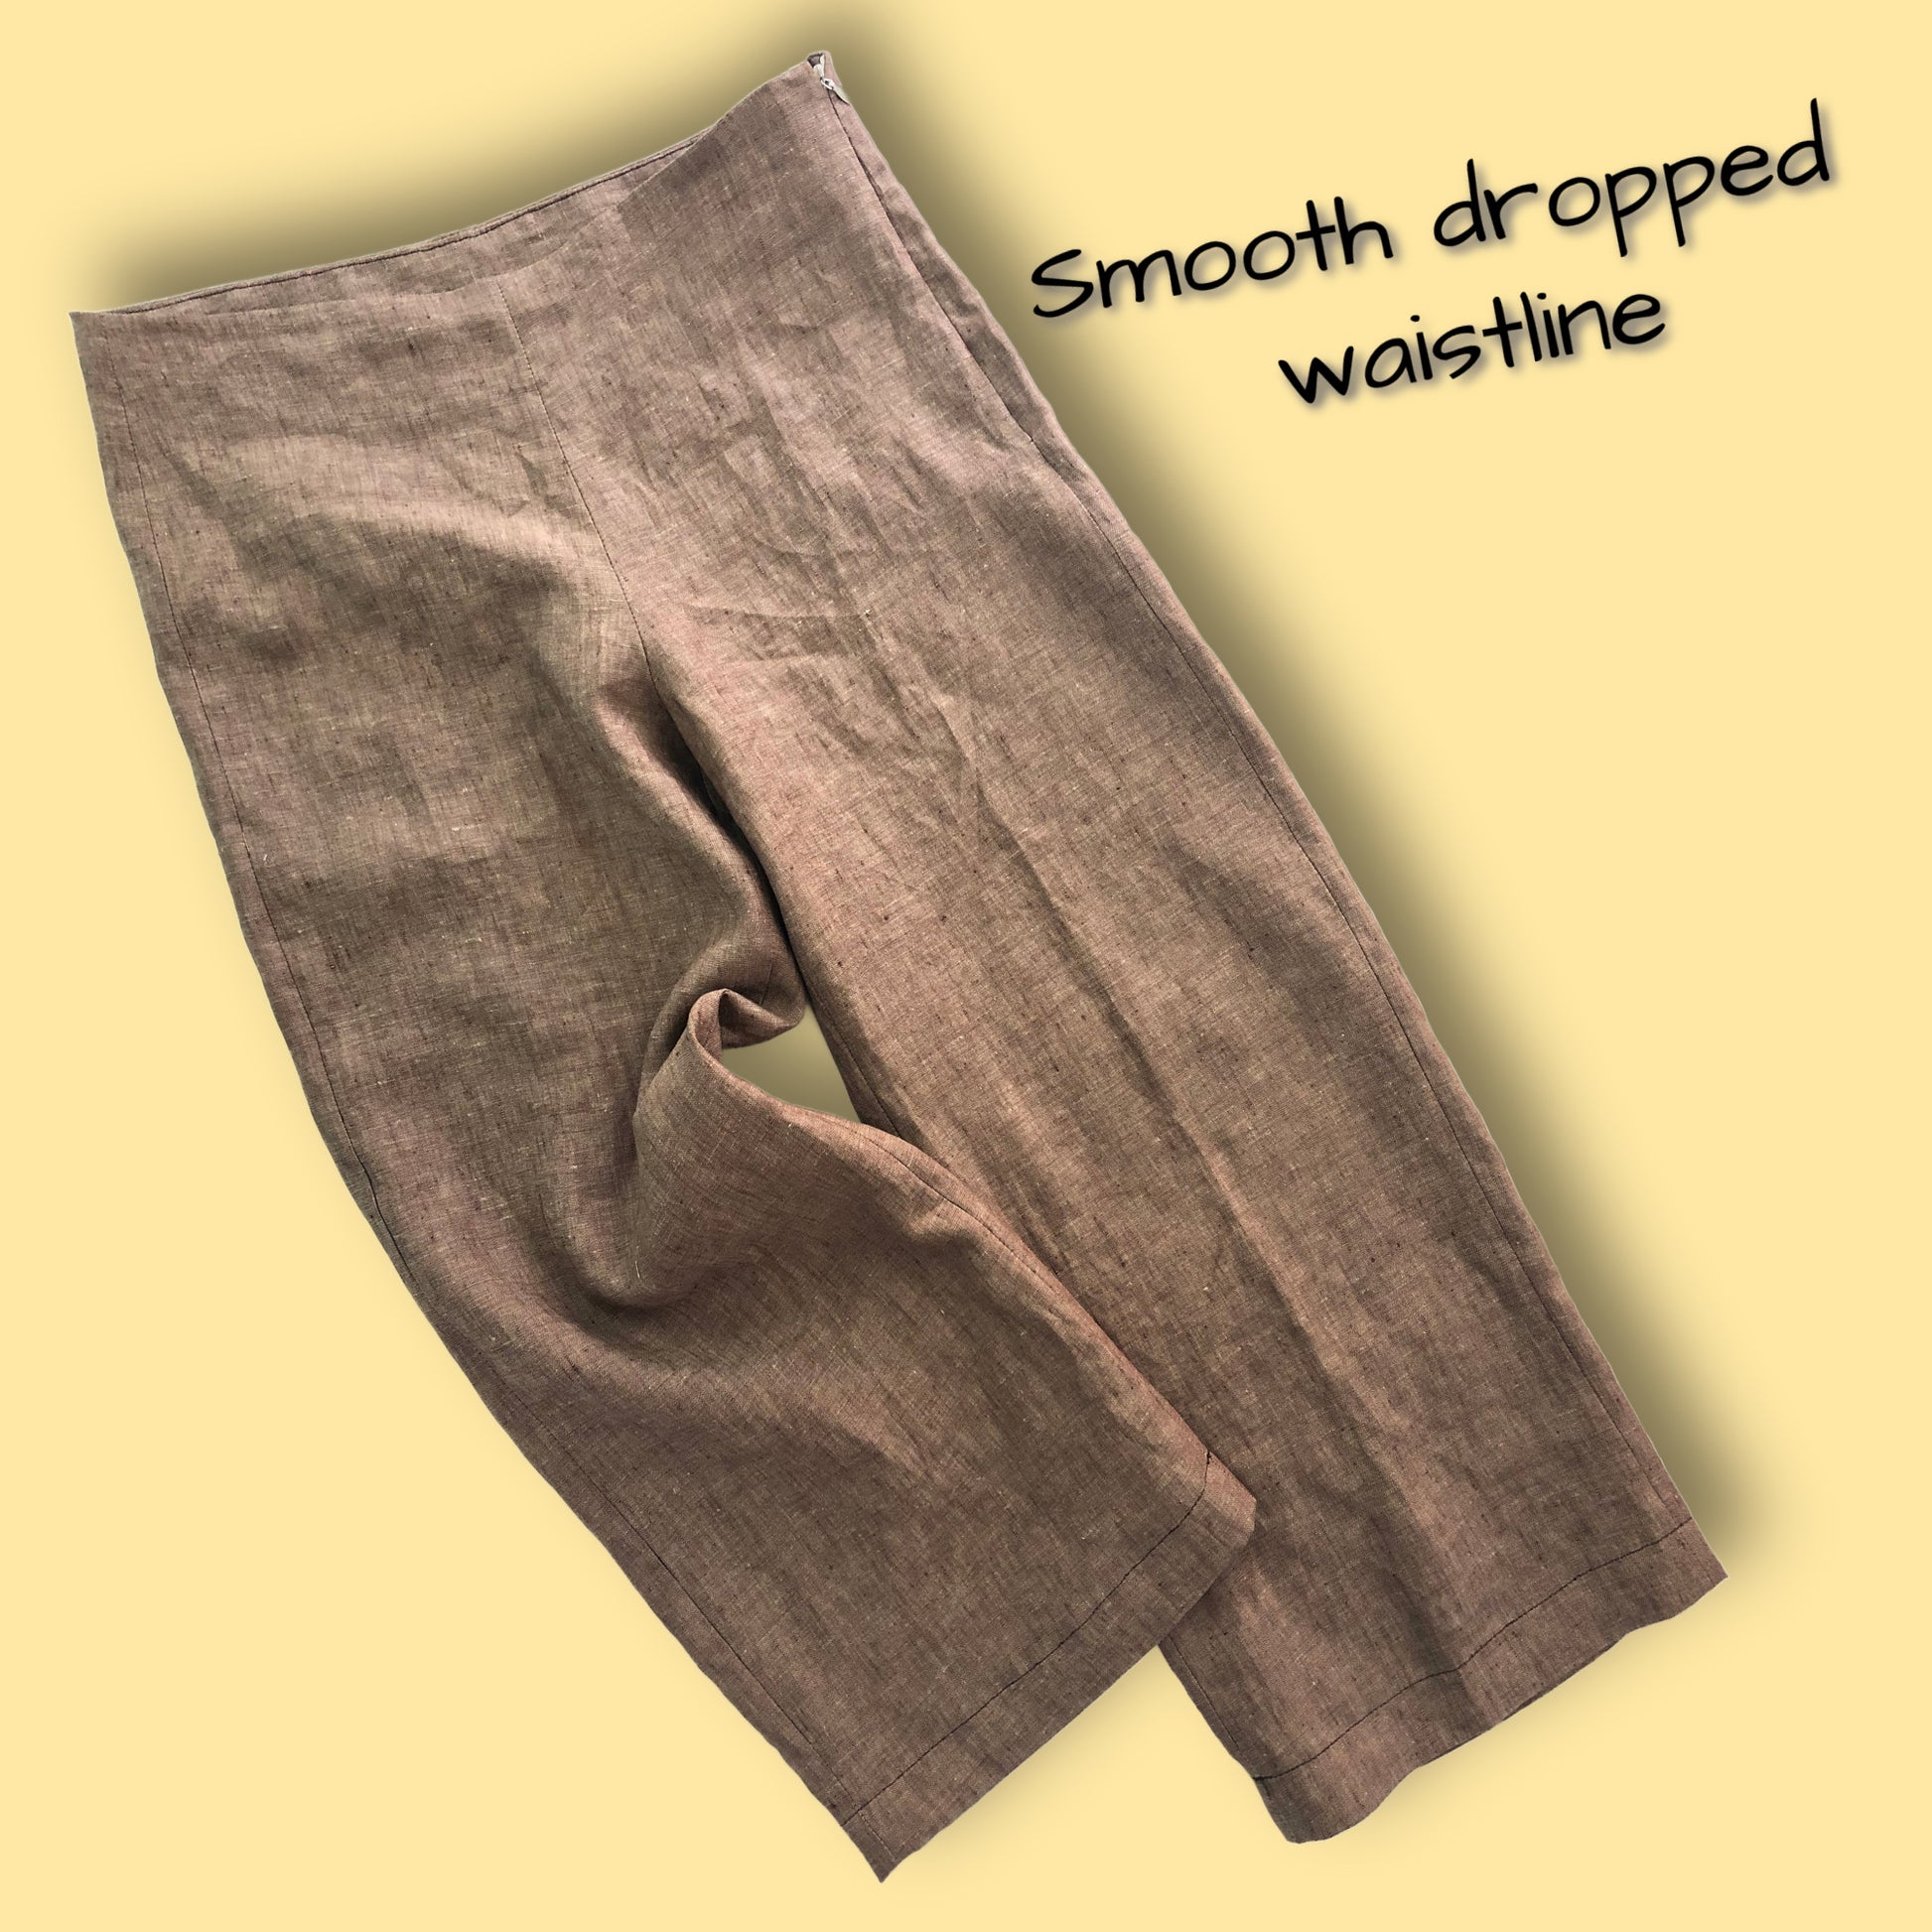
Devon is a breezy, elegant trouser sewing pattern designed for anyone who loves the effortless flow of straight wide pant legs and the relaxed charm of a low waist. She blends the ease of relaxed‑fit pants with the soft swish of festival‑style wide‑legs, making her a dreamy choice for warm days, slow mornings, and cottagecore wanderings.
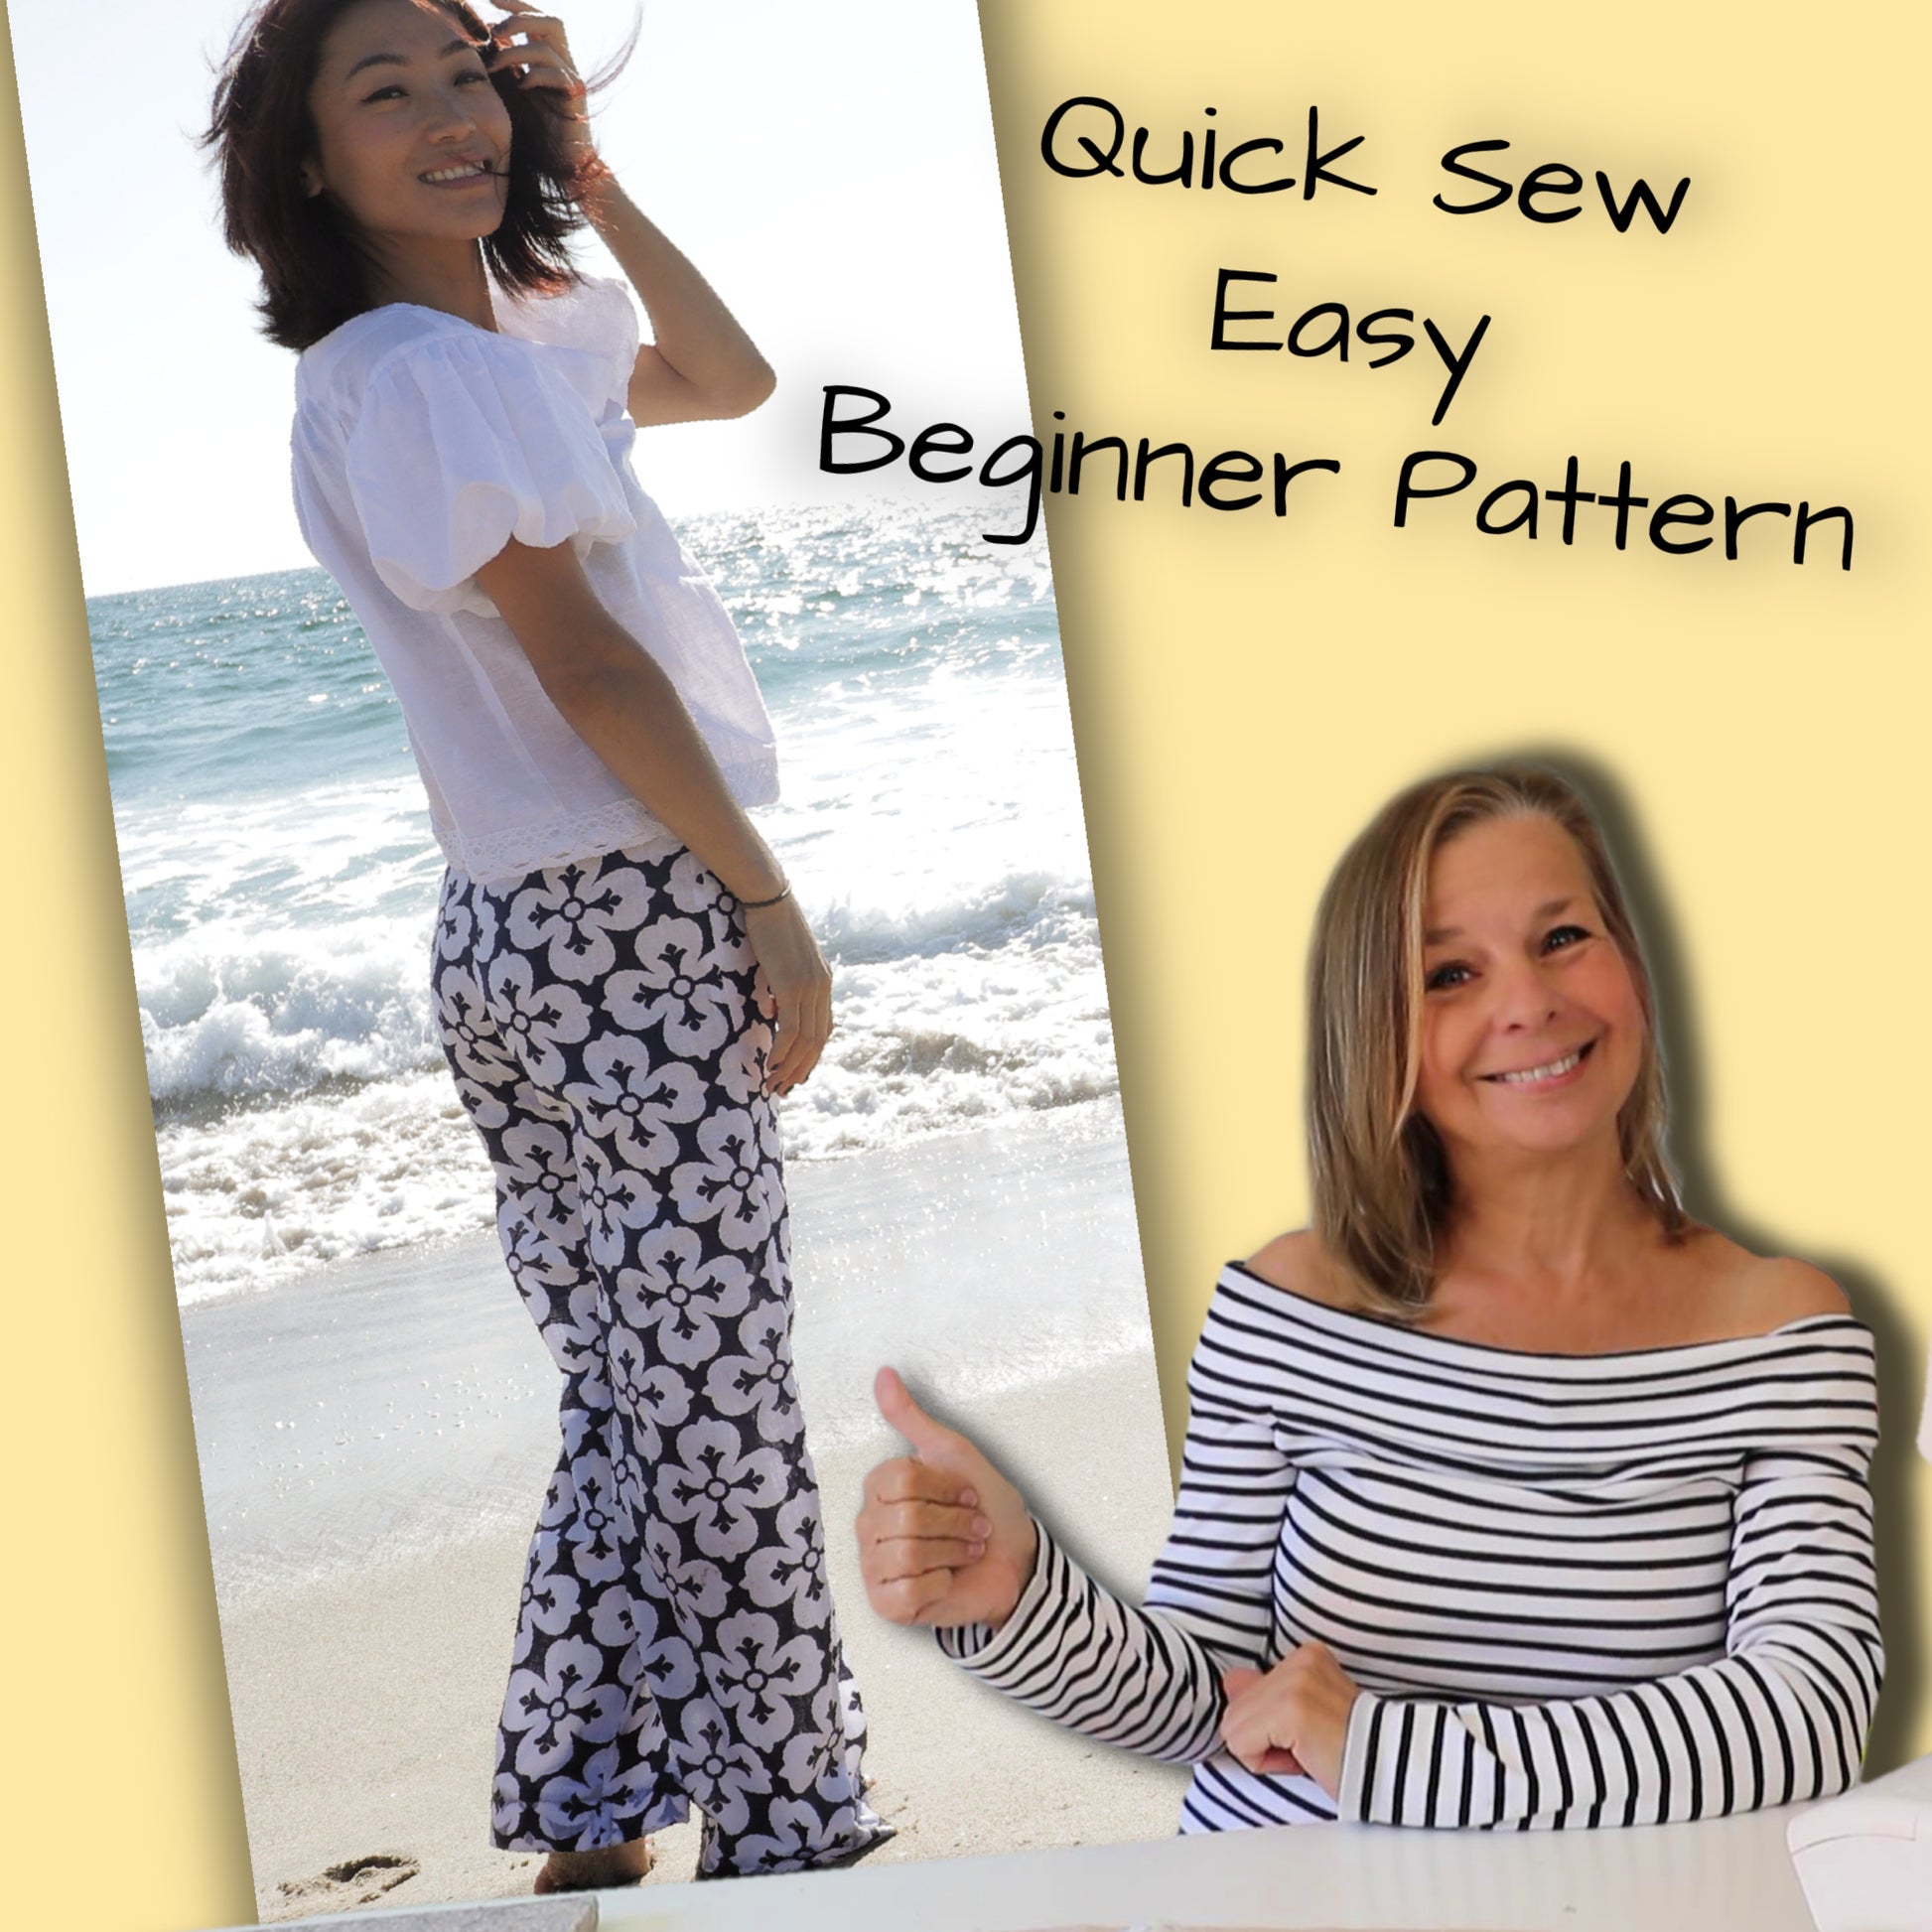
Perfect for beginners, our detailed sewing course walks you through every step to ensure a polished, professional‑looking finish, scroll down a wee bit to the video tutorials and get started.
Pattern Download Includes
Pattern Download Includes
Design Options
Design Options
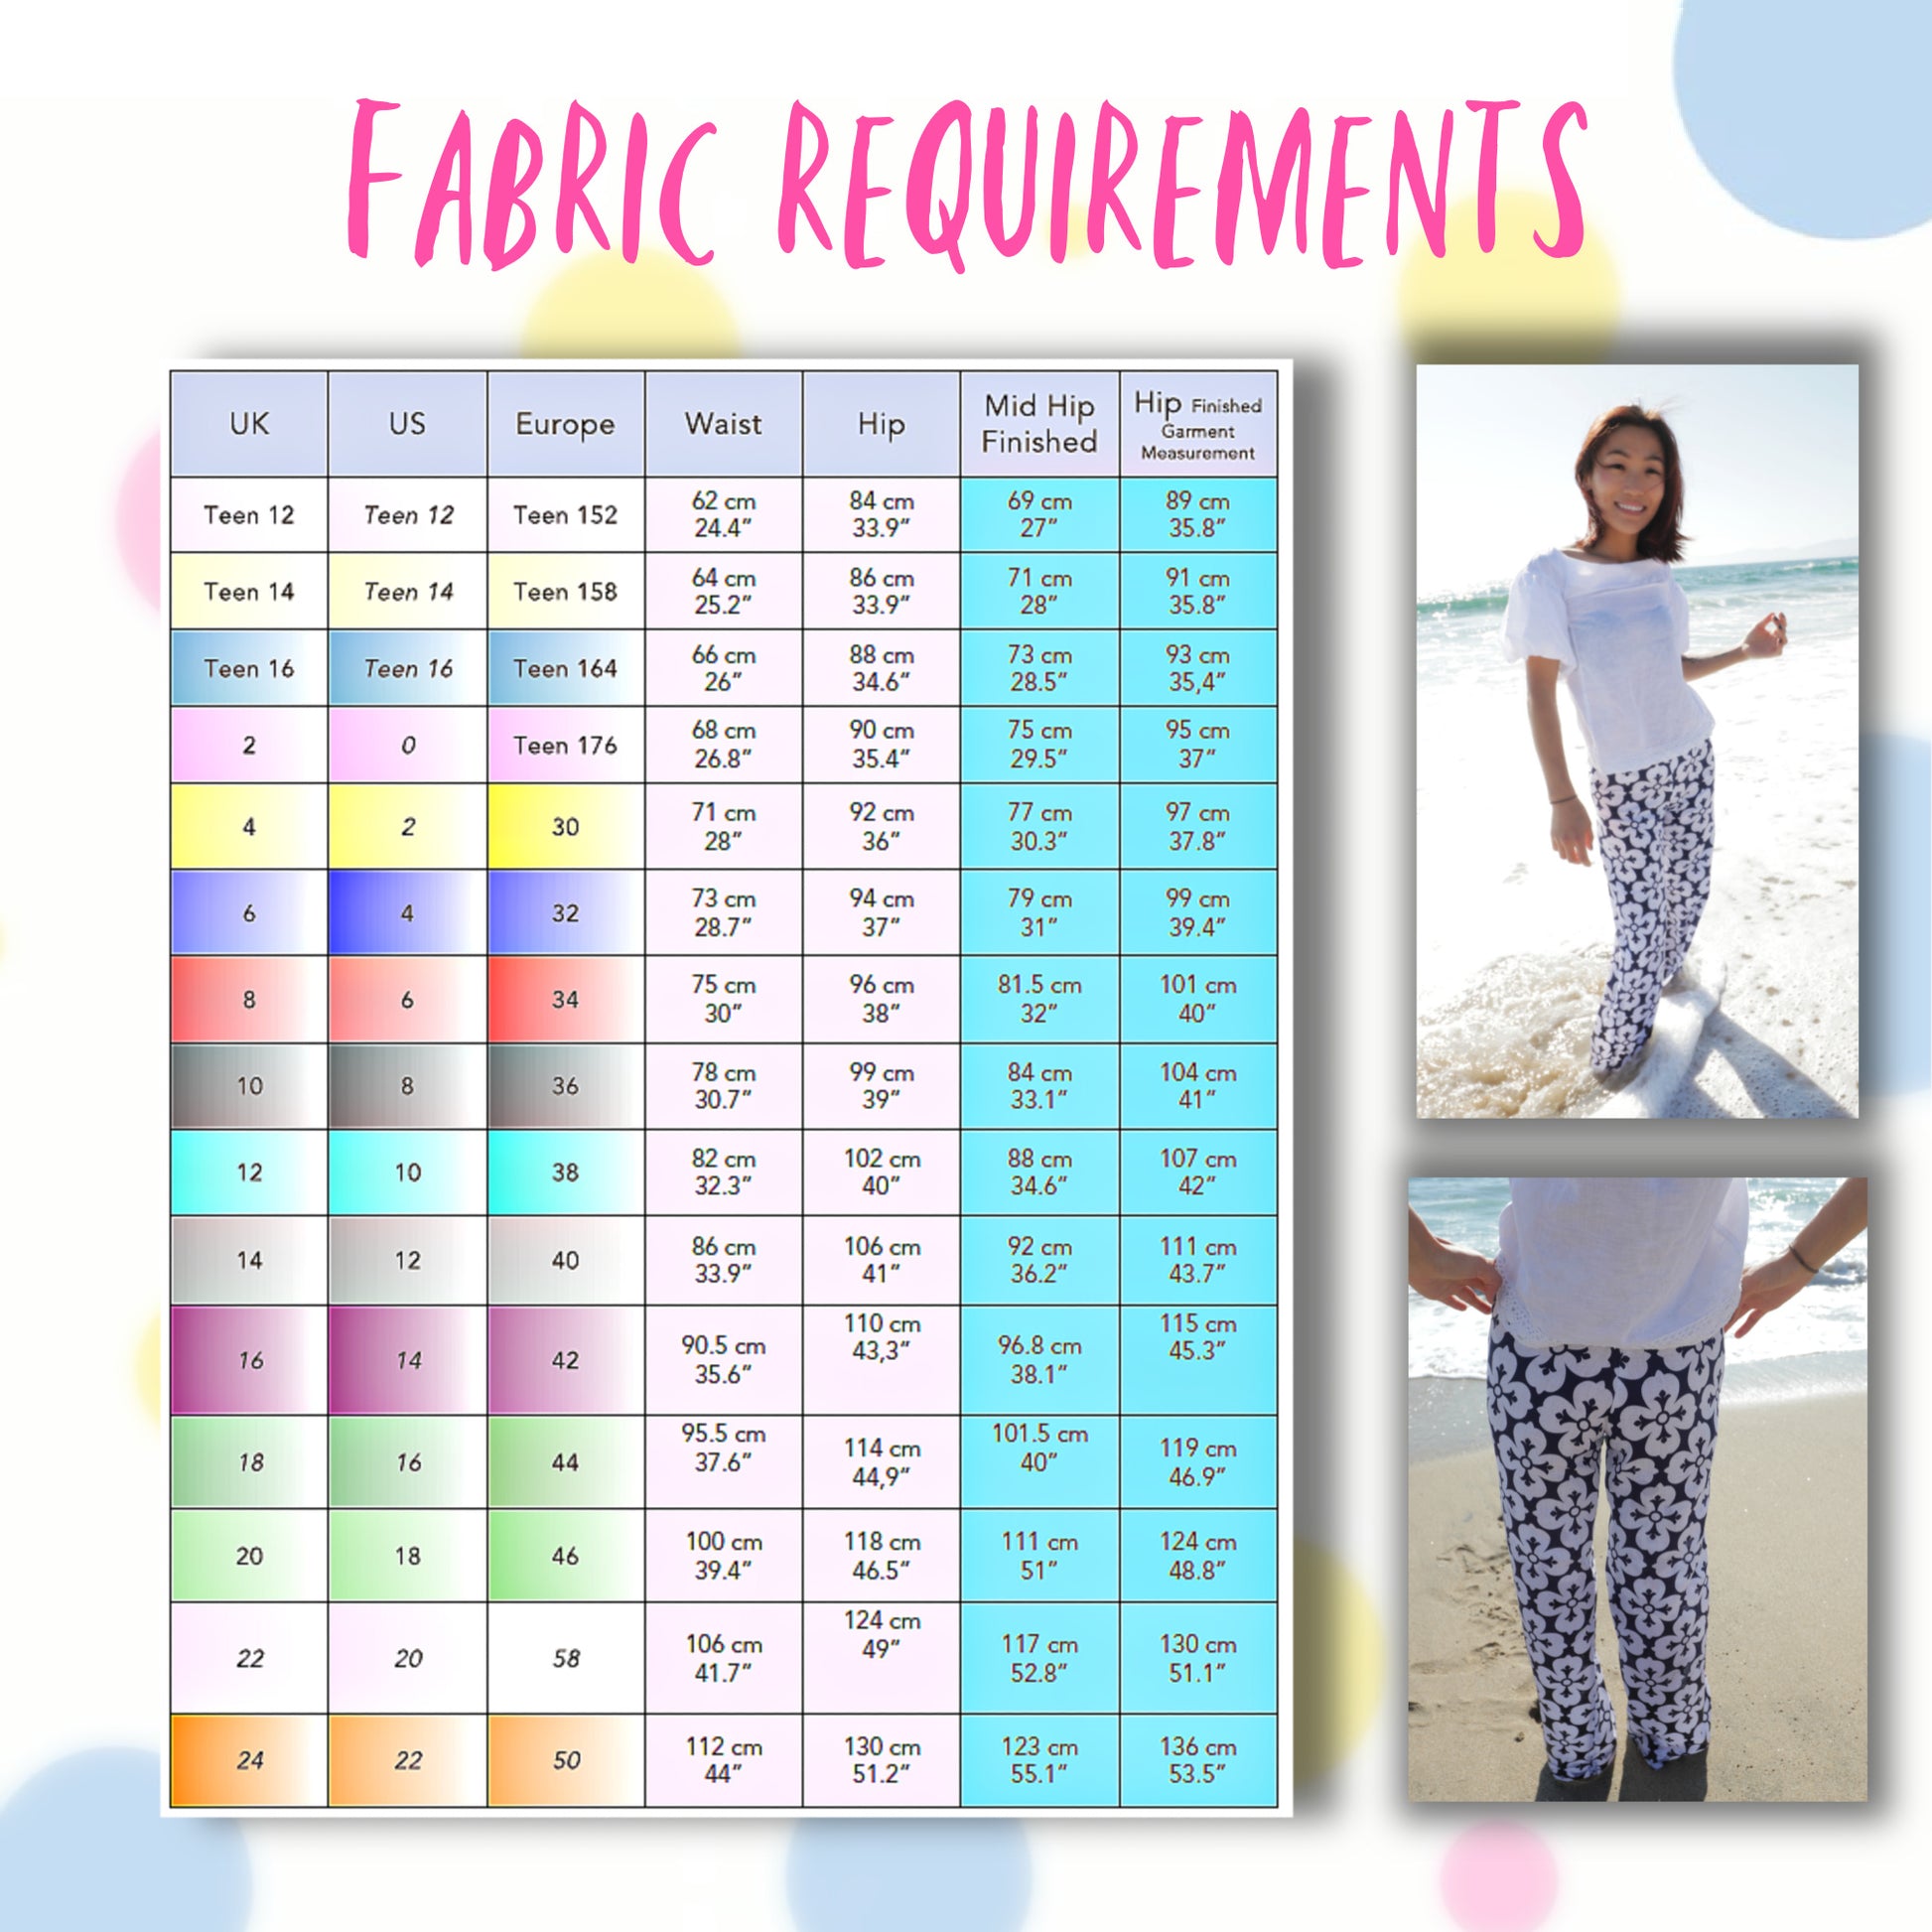
Fabric Requirements
Fabric Requirements
Available Sizes
Available Sizes
Please Read
Please Read


STEP-BY-STEP VIDEO TUTORIALS

INTRODUCTION TO THE PROJECT

THE PATTERN

CUTTING OUT

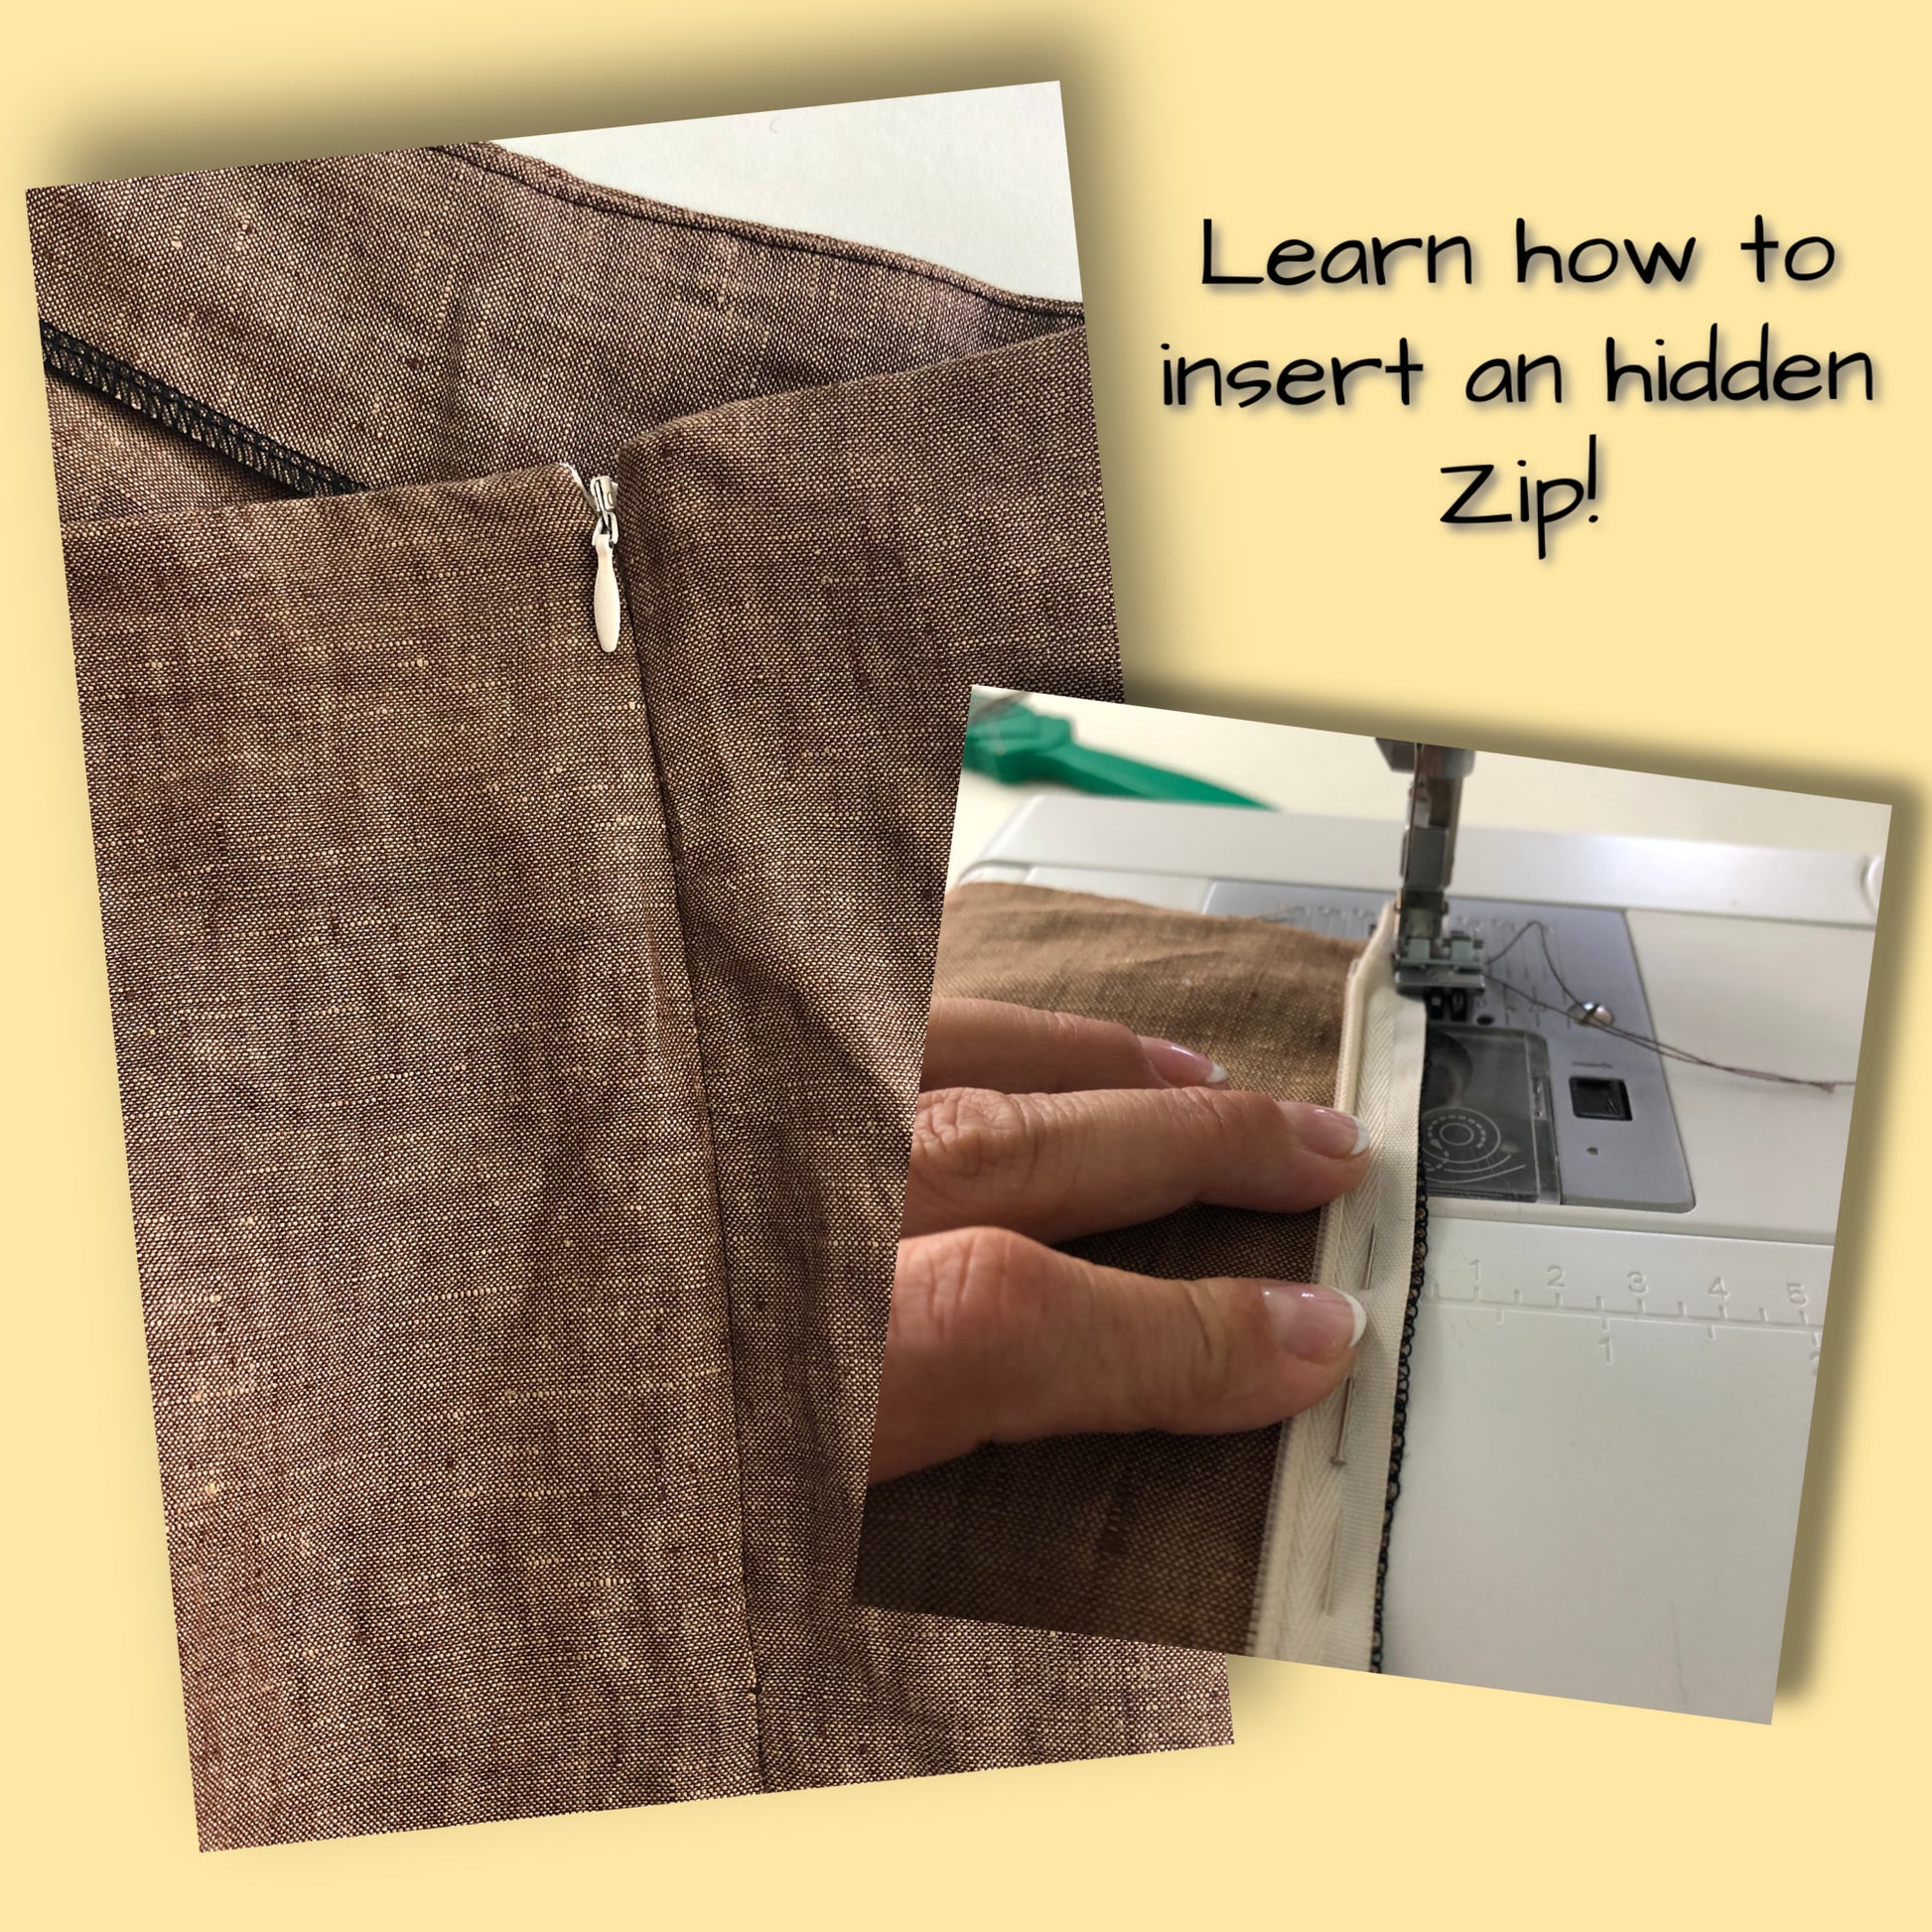
THE CONCEALED ZIP

THE SEAMS

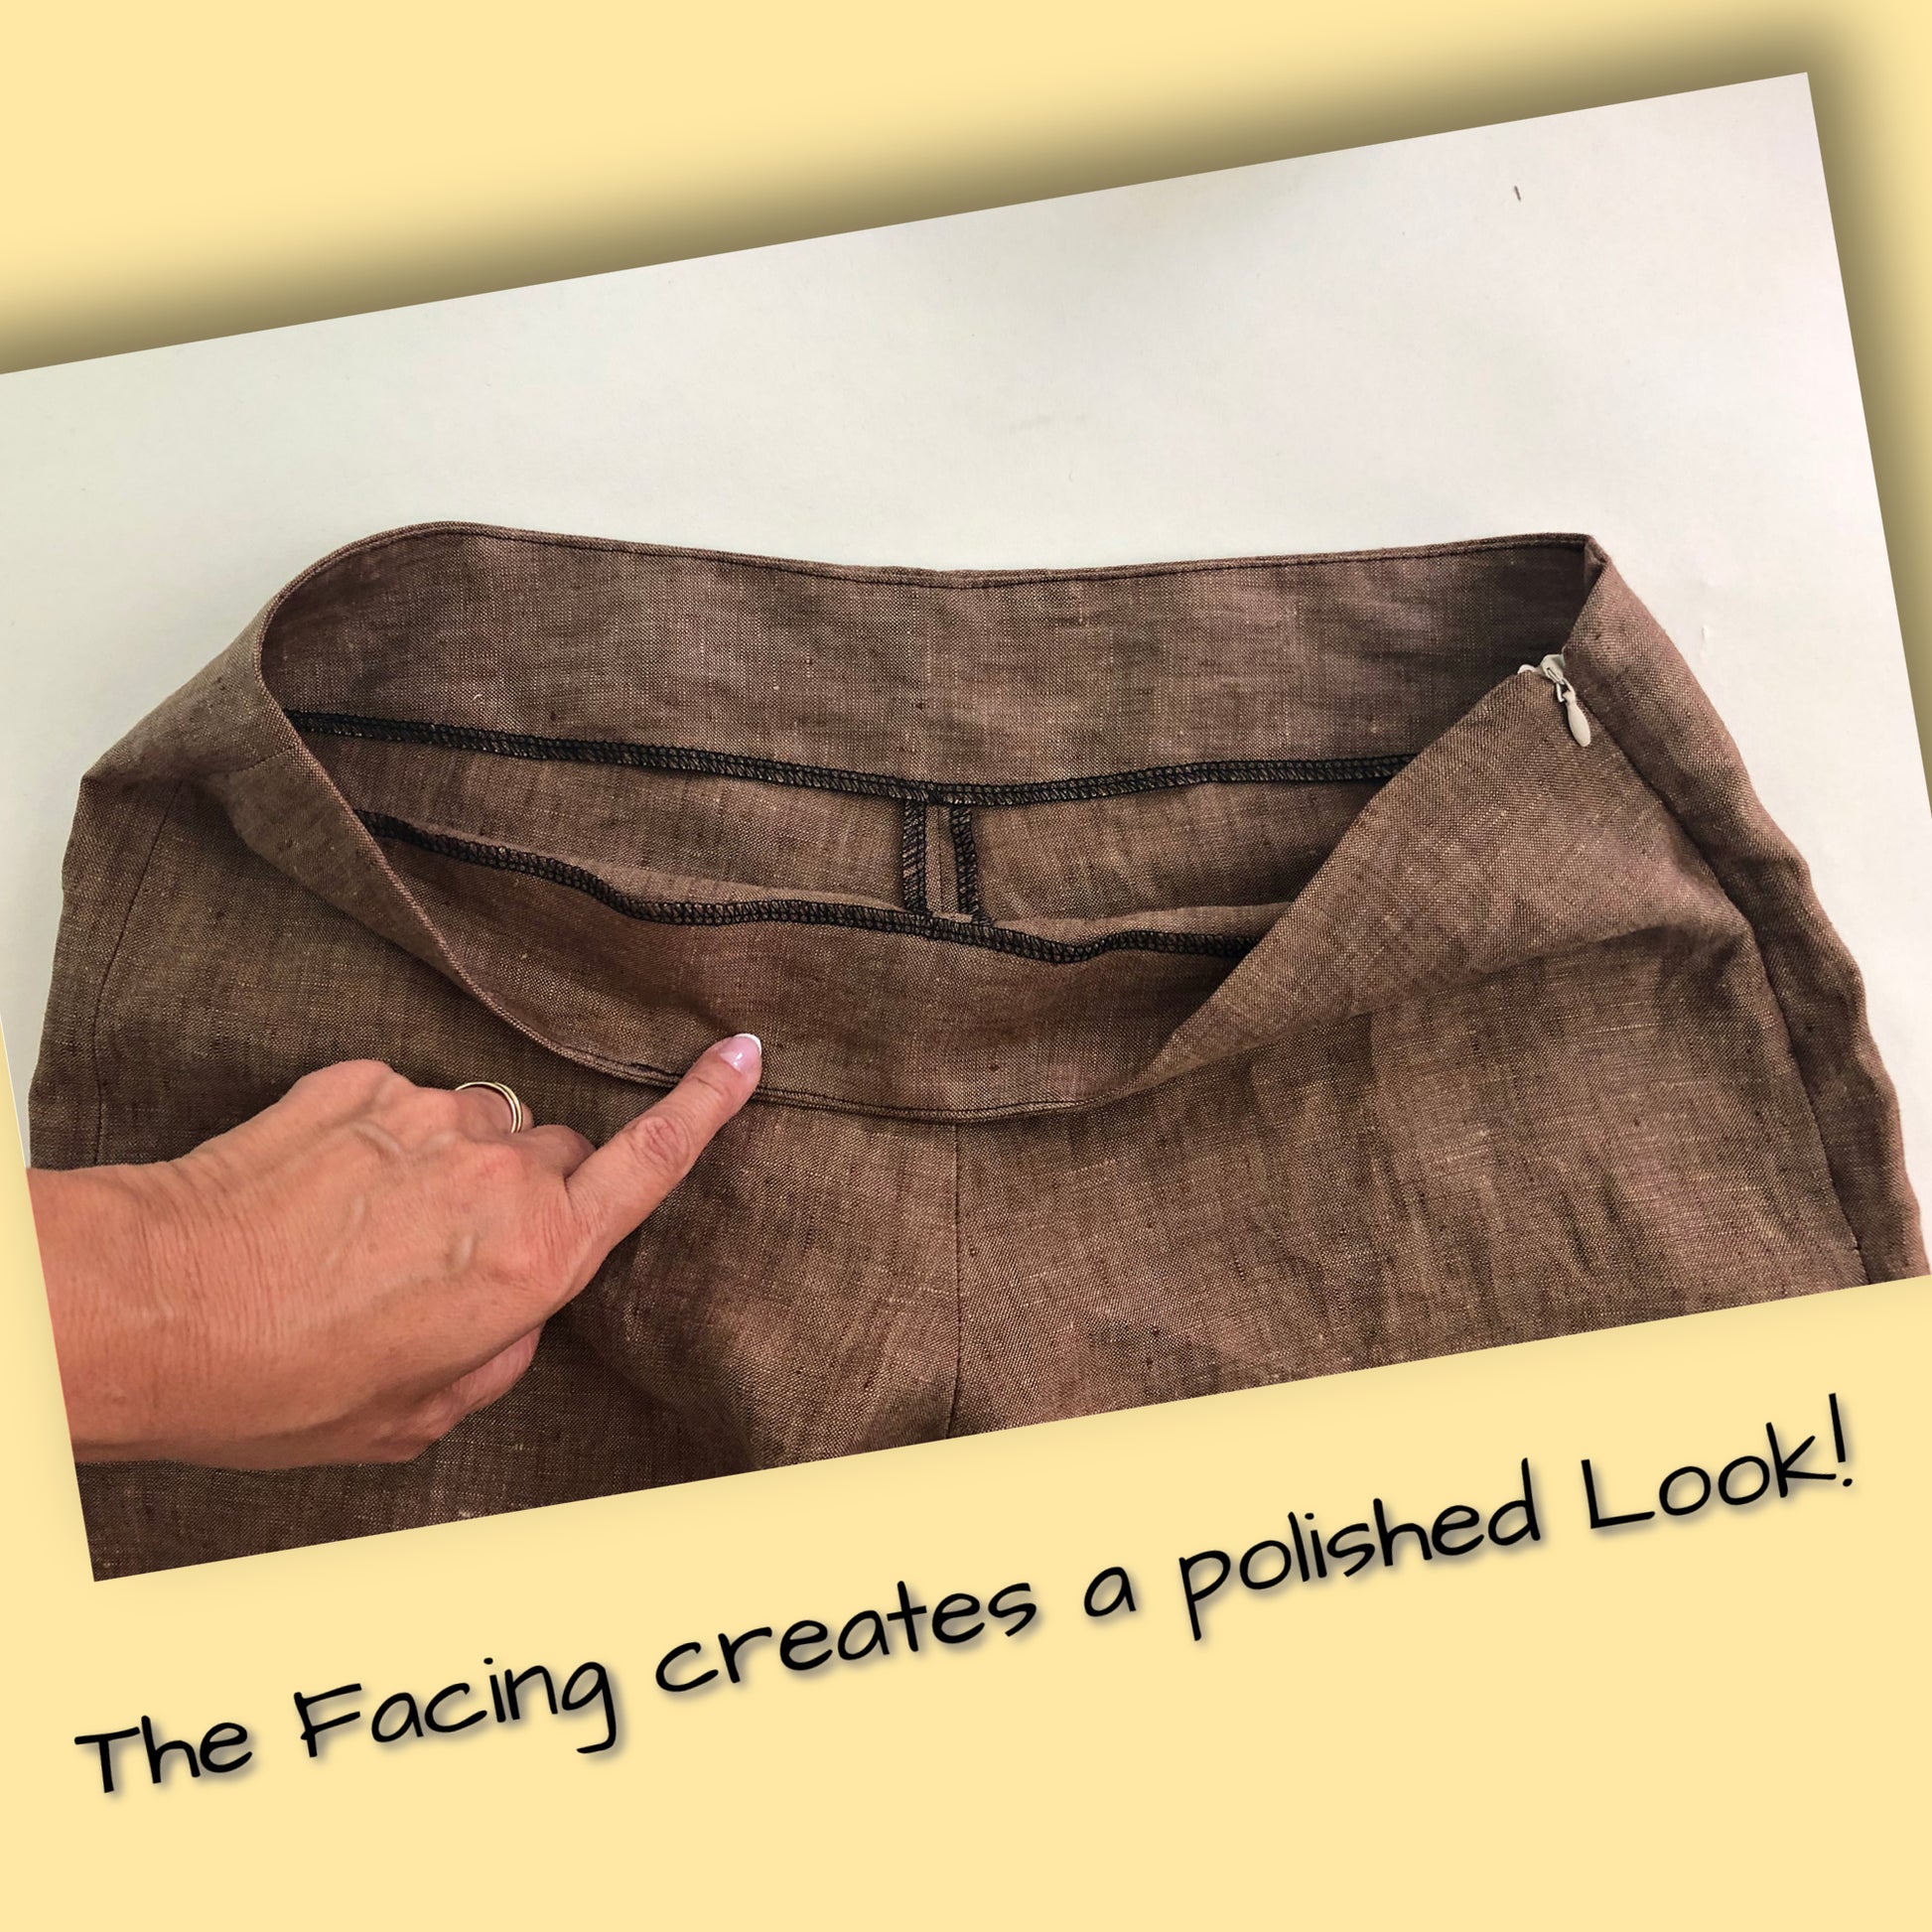
THE FACING

THE HEM