


WEIHNACHTSPROJEKTE
WEIHNACHTSPROJEKTE


Normaler Preis
$0.00 USD
Normaler Preis
Verkaufspreis
$0.00 USD
Grundpreis
pro
Verfügbarkeit für Abholungen konnte nicht geladen werden
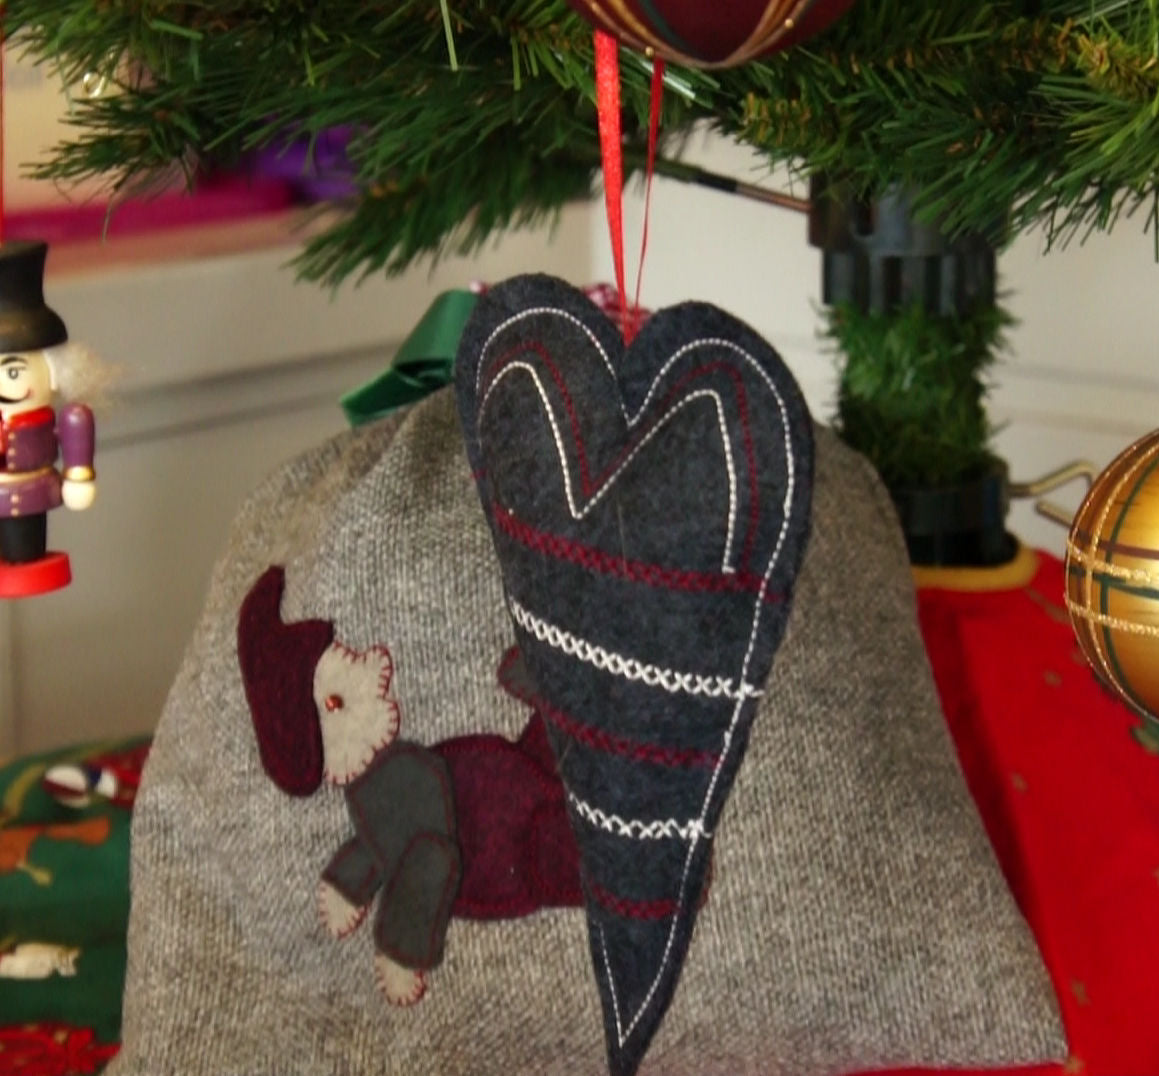
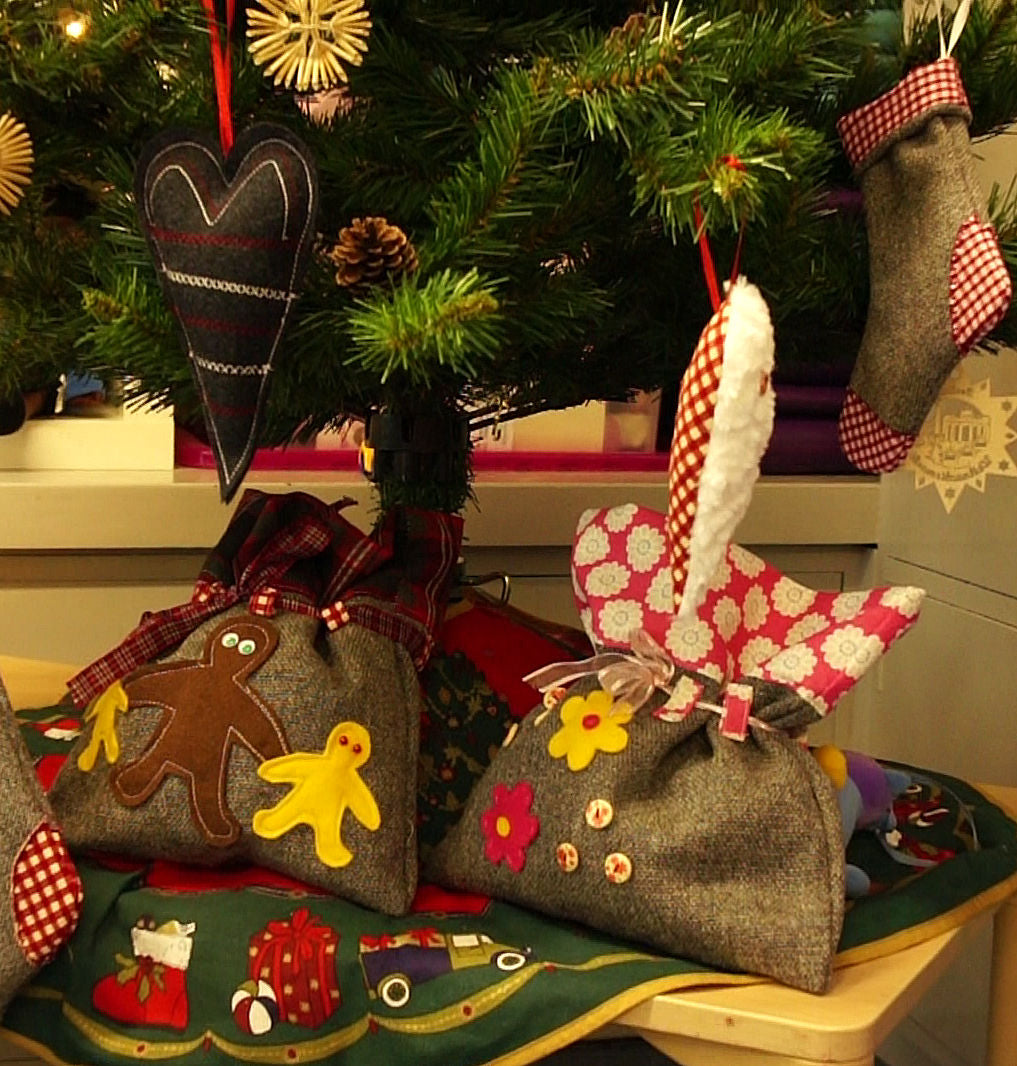
Ein selbstgemachtes Weihnachten hat einfach etwas ganz Besonderes. In dieser Sammlung findest du einige meiner liebsten festlichen Nähprojekte—von klassischen Nikolausstiefeln und kuscheligen Stoffrentieren bis hin zu süßen Lebkuchenmännern und wiederverwendbaren Geschenktüten, die das Einpacken gleich viel persönlicher machen. Ich hab alle Vorlagen reingepackt, die du brauchst, auch die zeitlosen Herzen und Sterne, die irgendwie bei jedem Weihnachtsprojekt dabei sind. Egal ob du Deko für dein Zuhause nähst oder Geschenke von Herzen machst—ich hoffe, diese Schnittmuster helfen dir, die Vorweihnachtszeit zu entschleunigen und Stich für Stich zu genießen.
Was ist beim Schnittmuster dabei?
Was ist beim Schnittmuster dabei?
Design
Design
Stoffverbrauch
Stoffverbrauch
Verfügbare Größen
Verfügbare Größen
Bitte beachten
Bitte beachten


SCHRITT-FÜR-SCHRITT ANLEITUNG
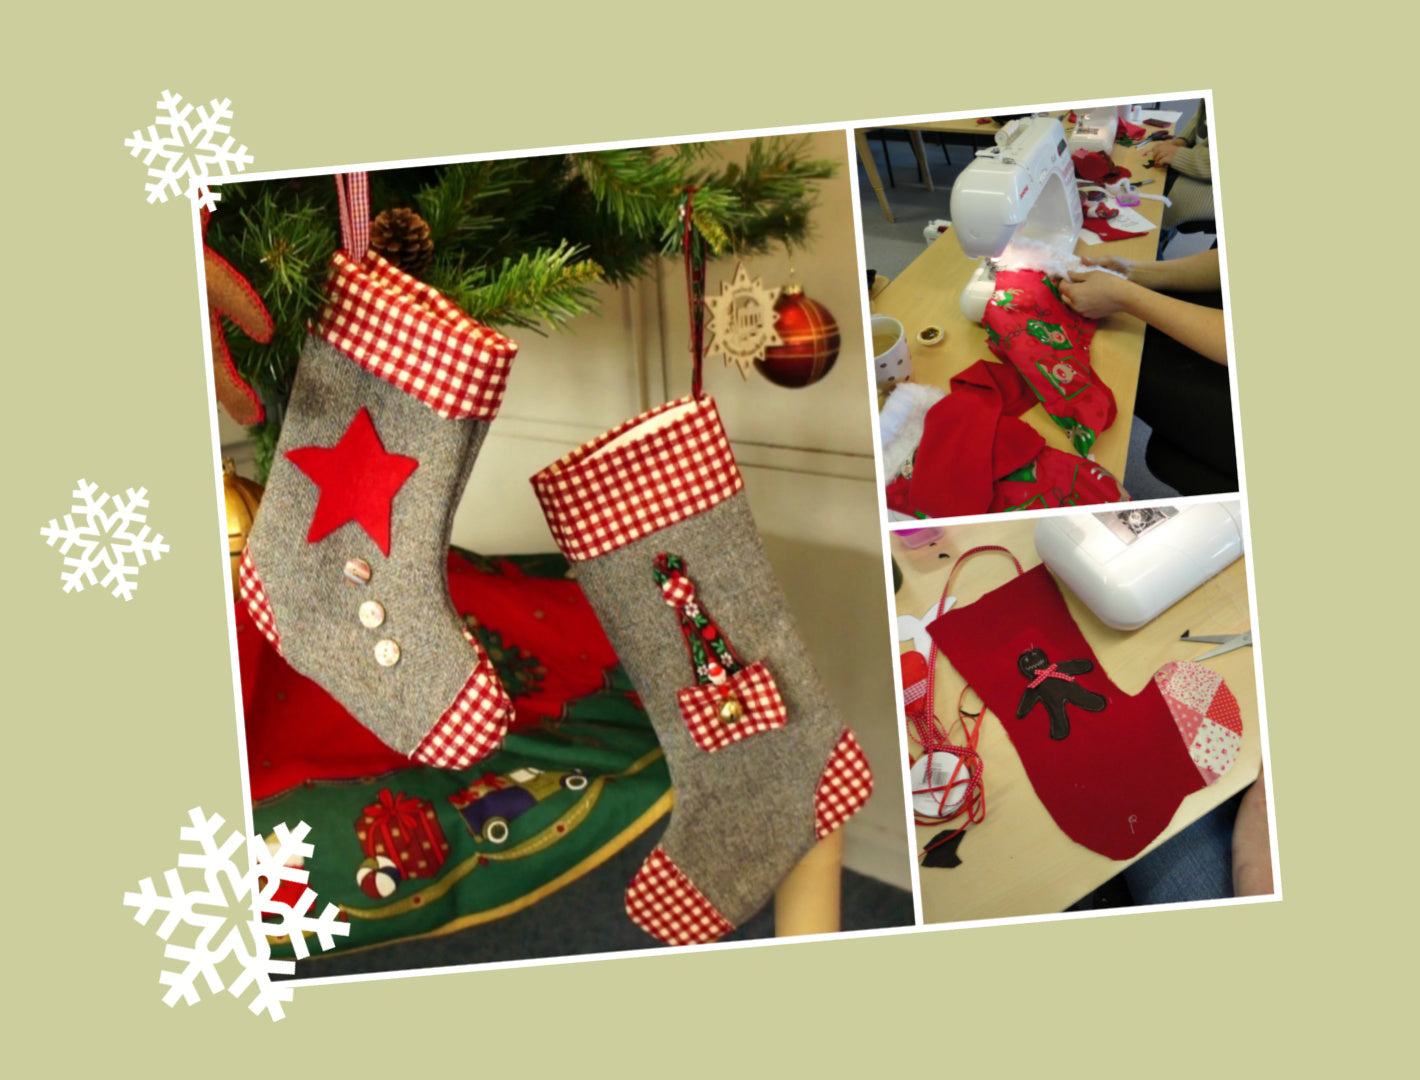
Christmas Stocking
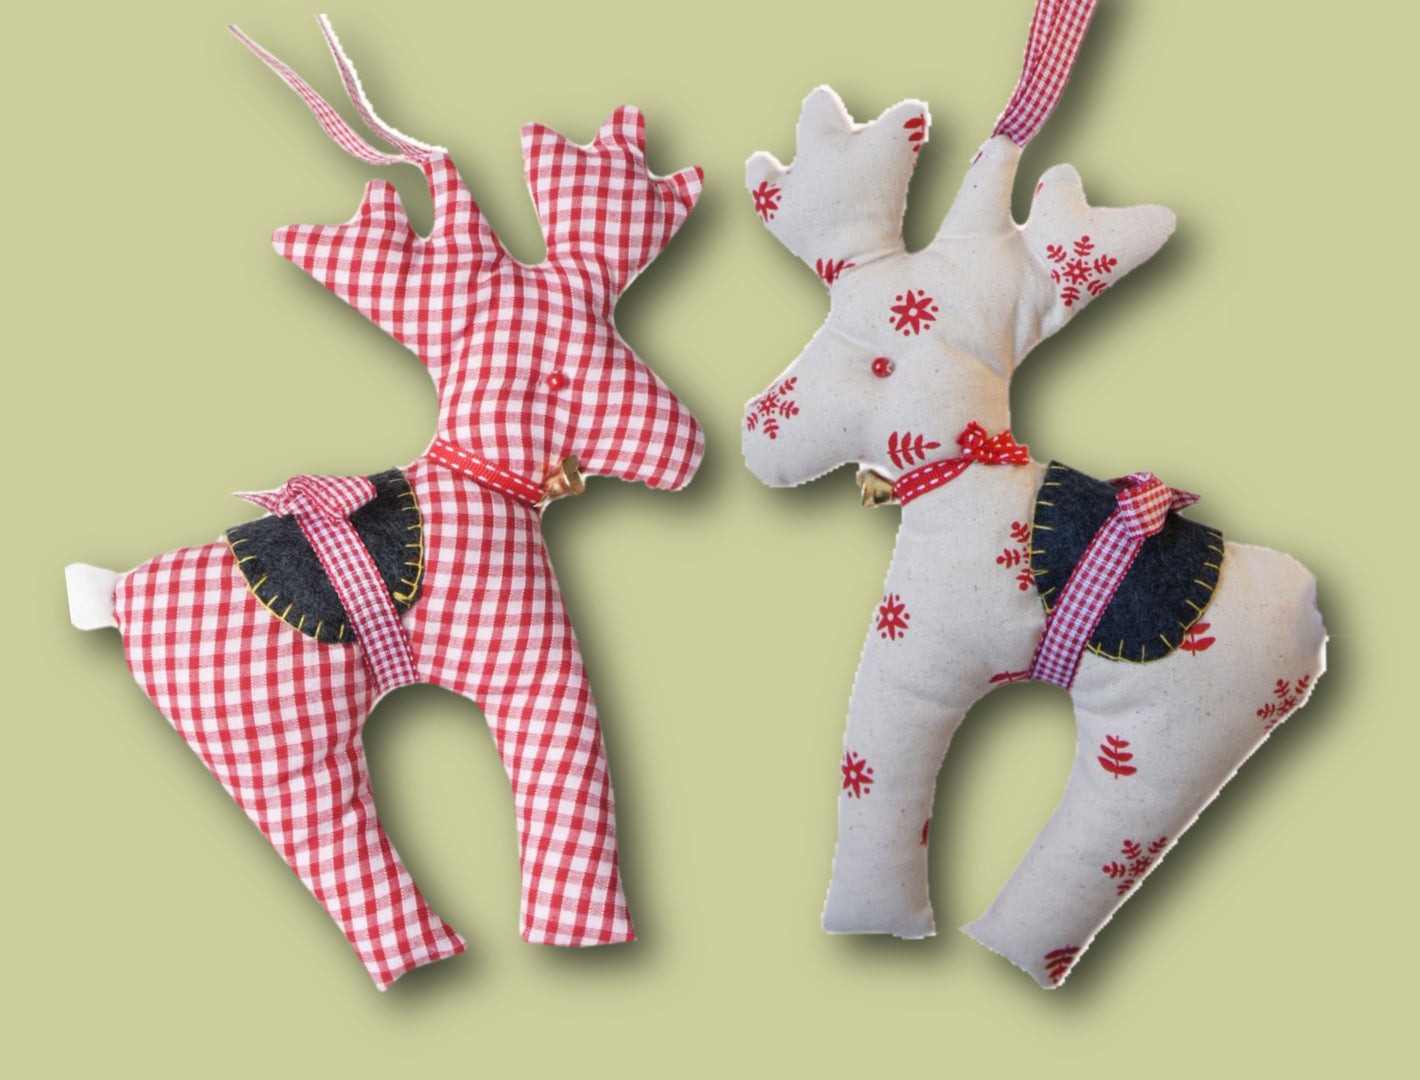
Stuffed Reindeer
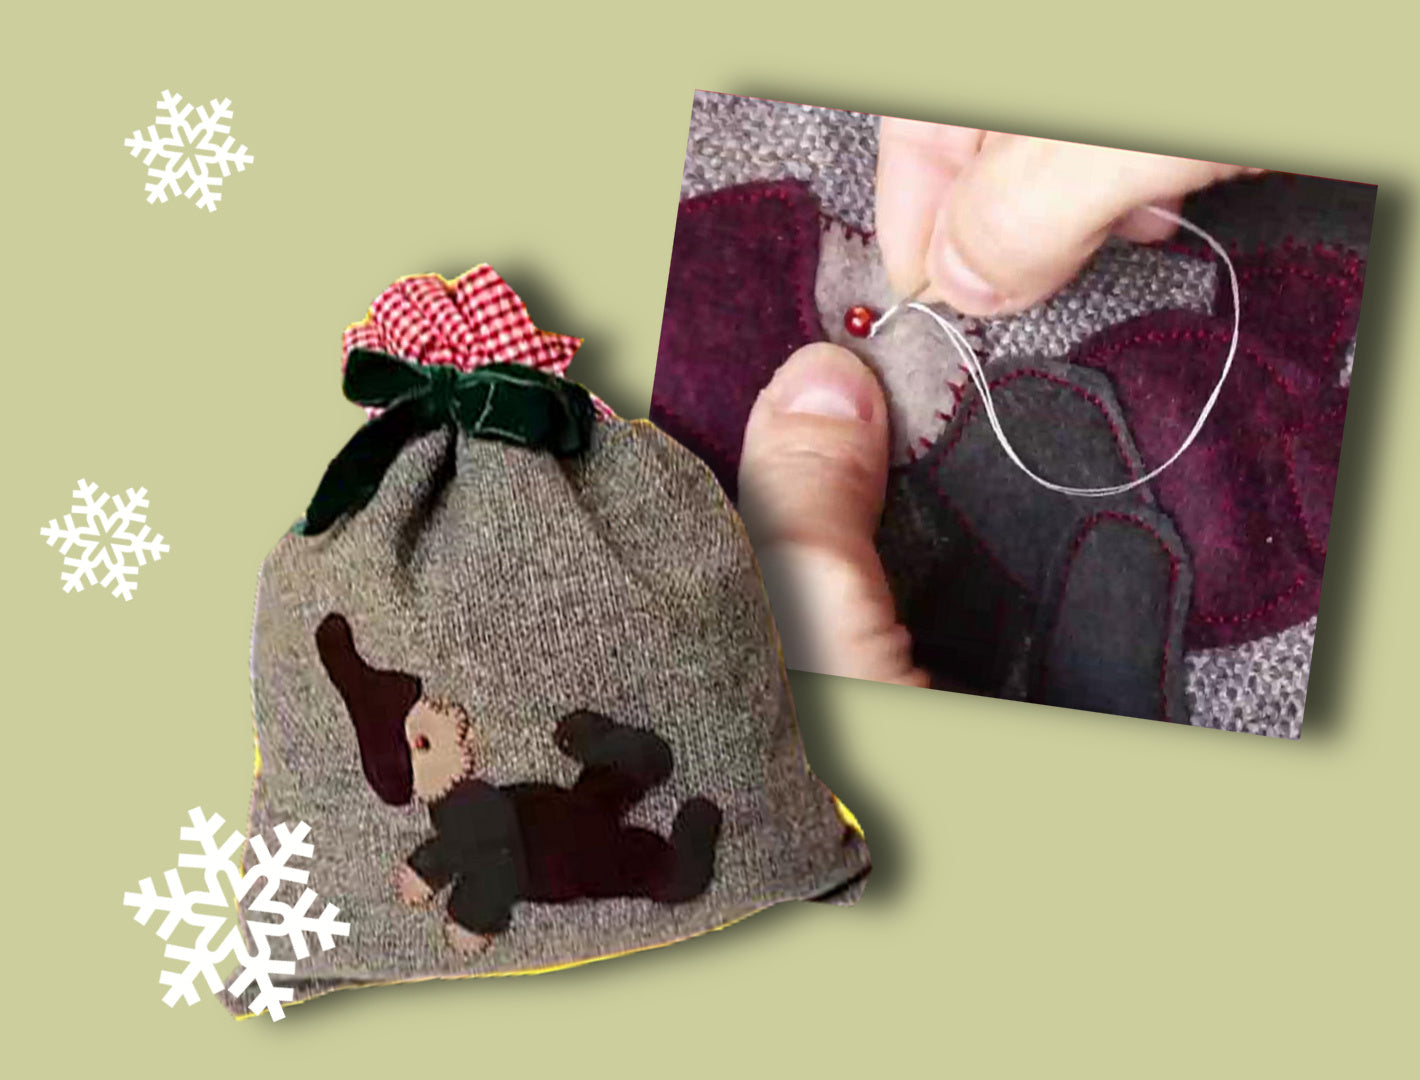
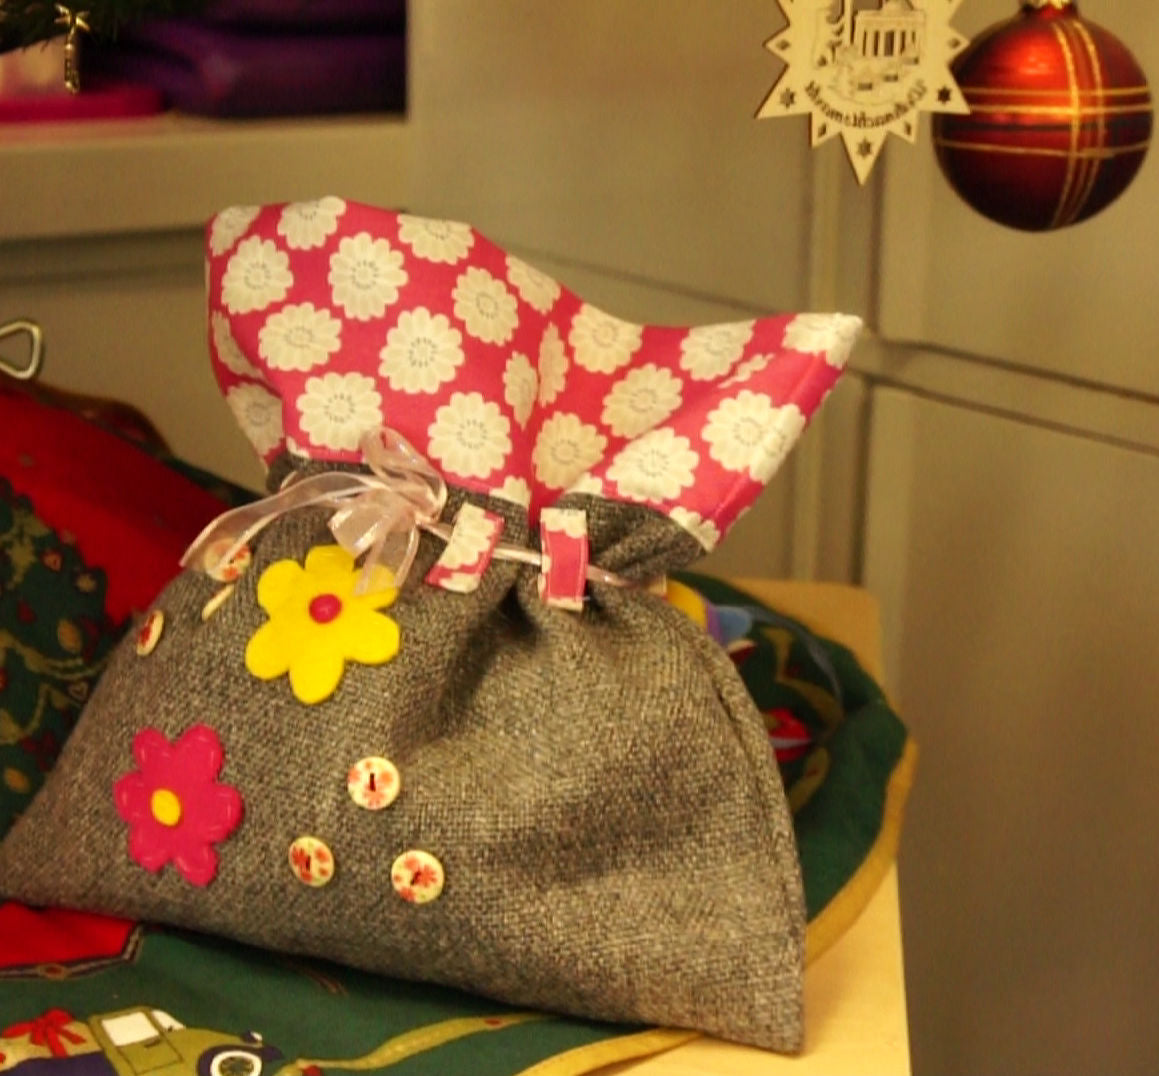
Gift bags

Christmas Craft Afternoon