


GEORGINA HÄNGERCHEN
GEORGINA HÄNGERCHEN


Normaler Preis
$0.00 USD
Normaler Preis
$5.50 USD
Verkaufspreis
$0.00 USD
Grundpreis
pro
Verfügbarkeit für Abholungen konnte nicht geladen werden
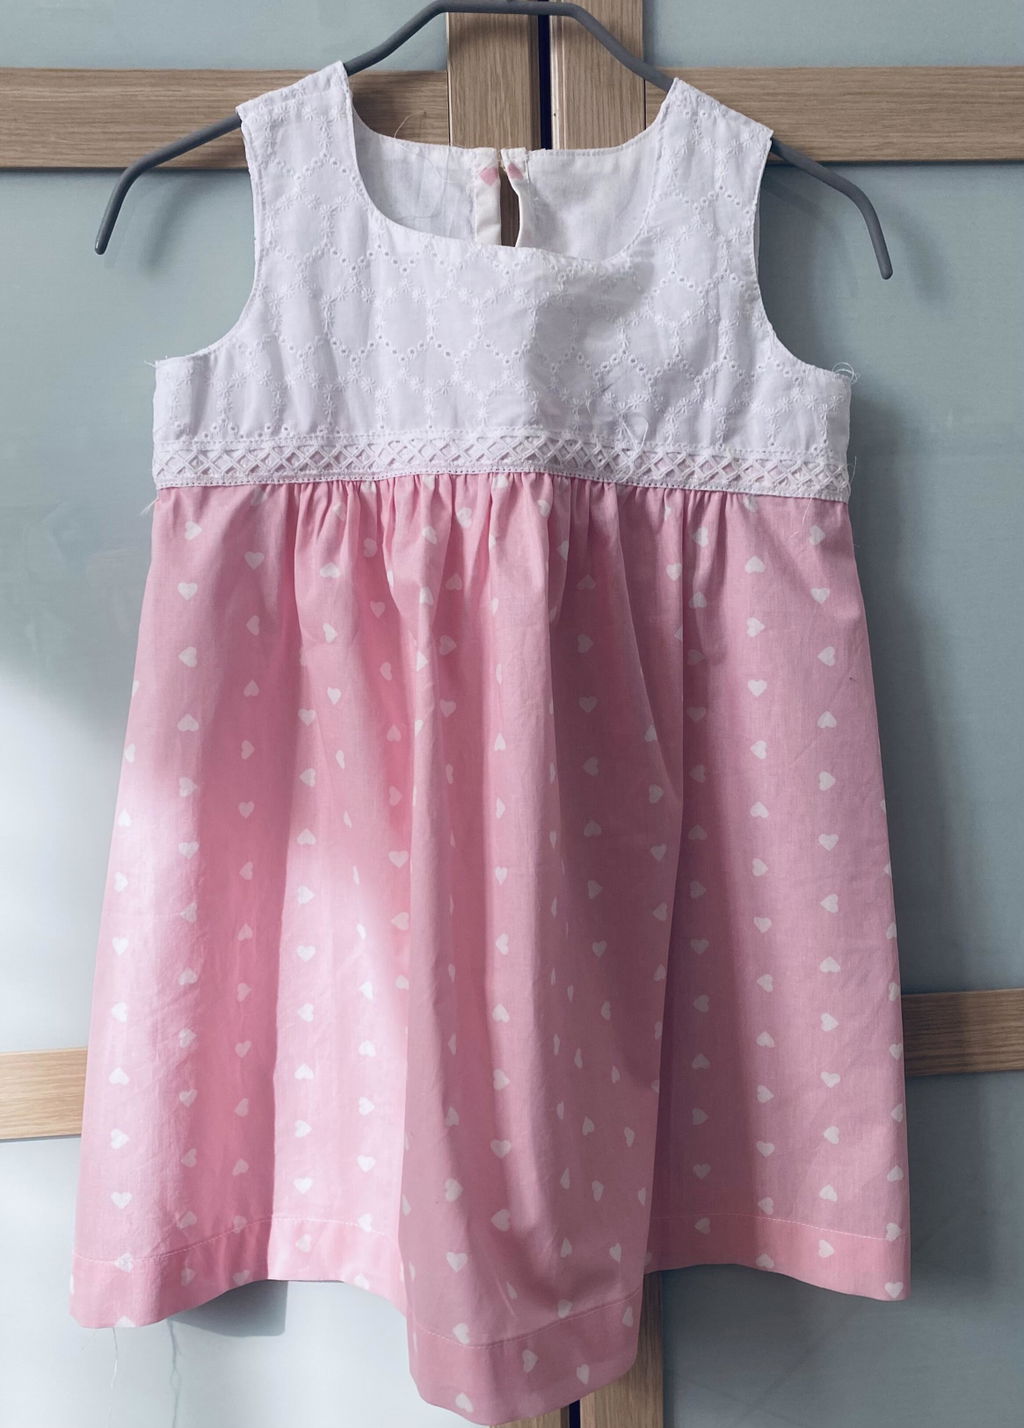
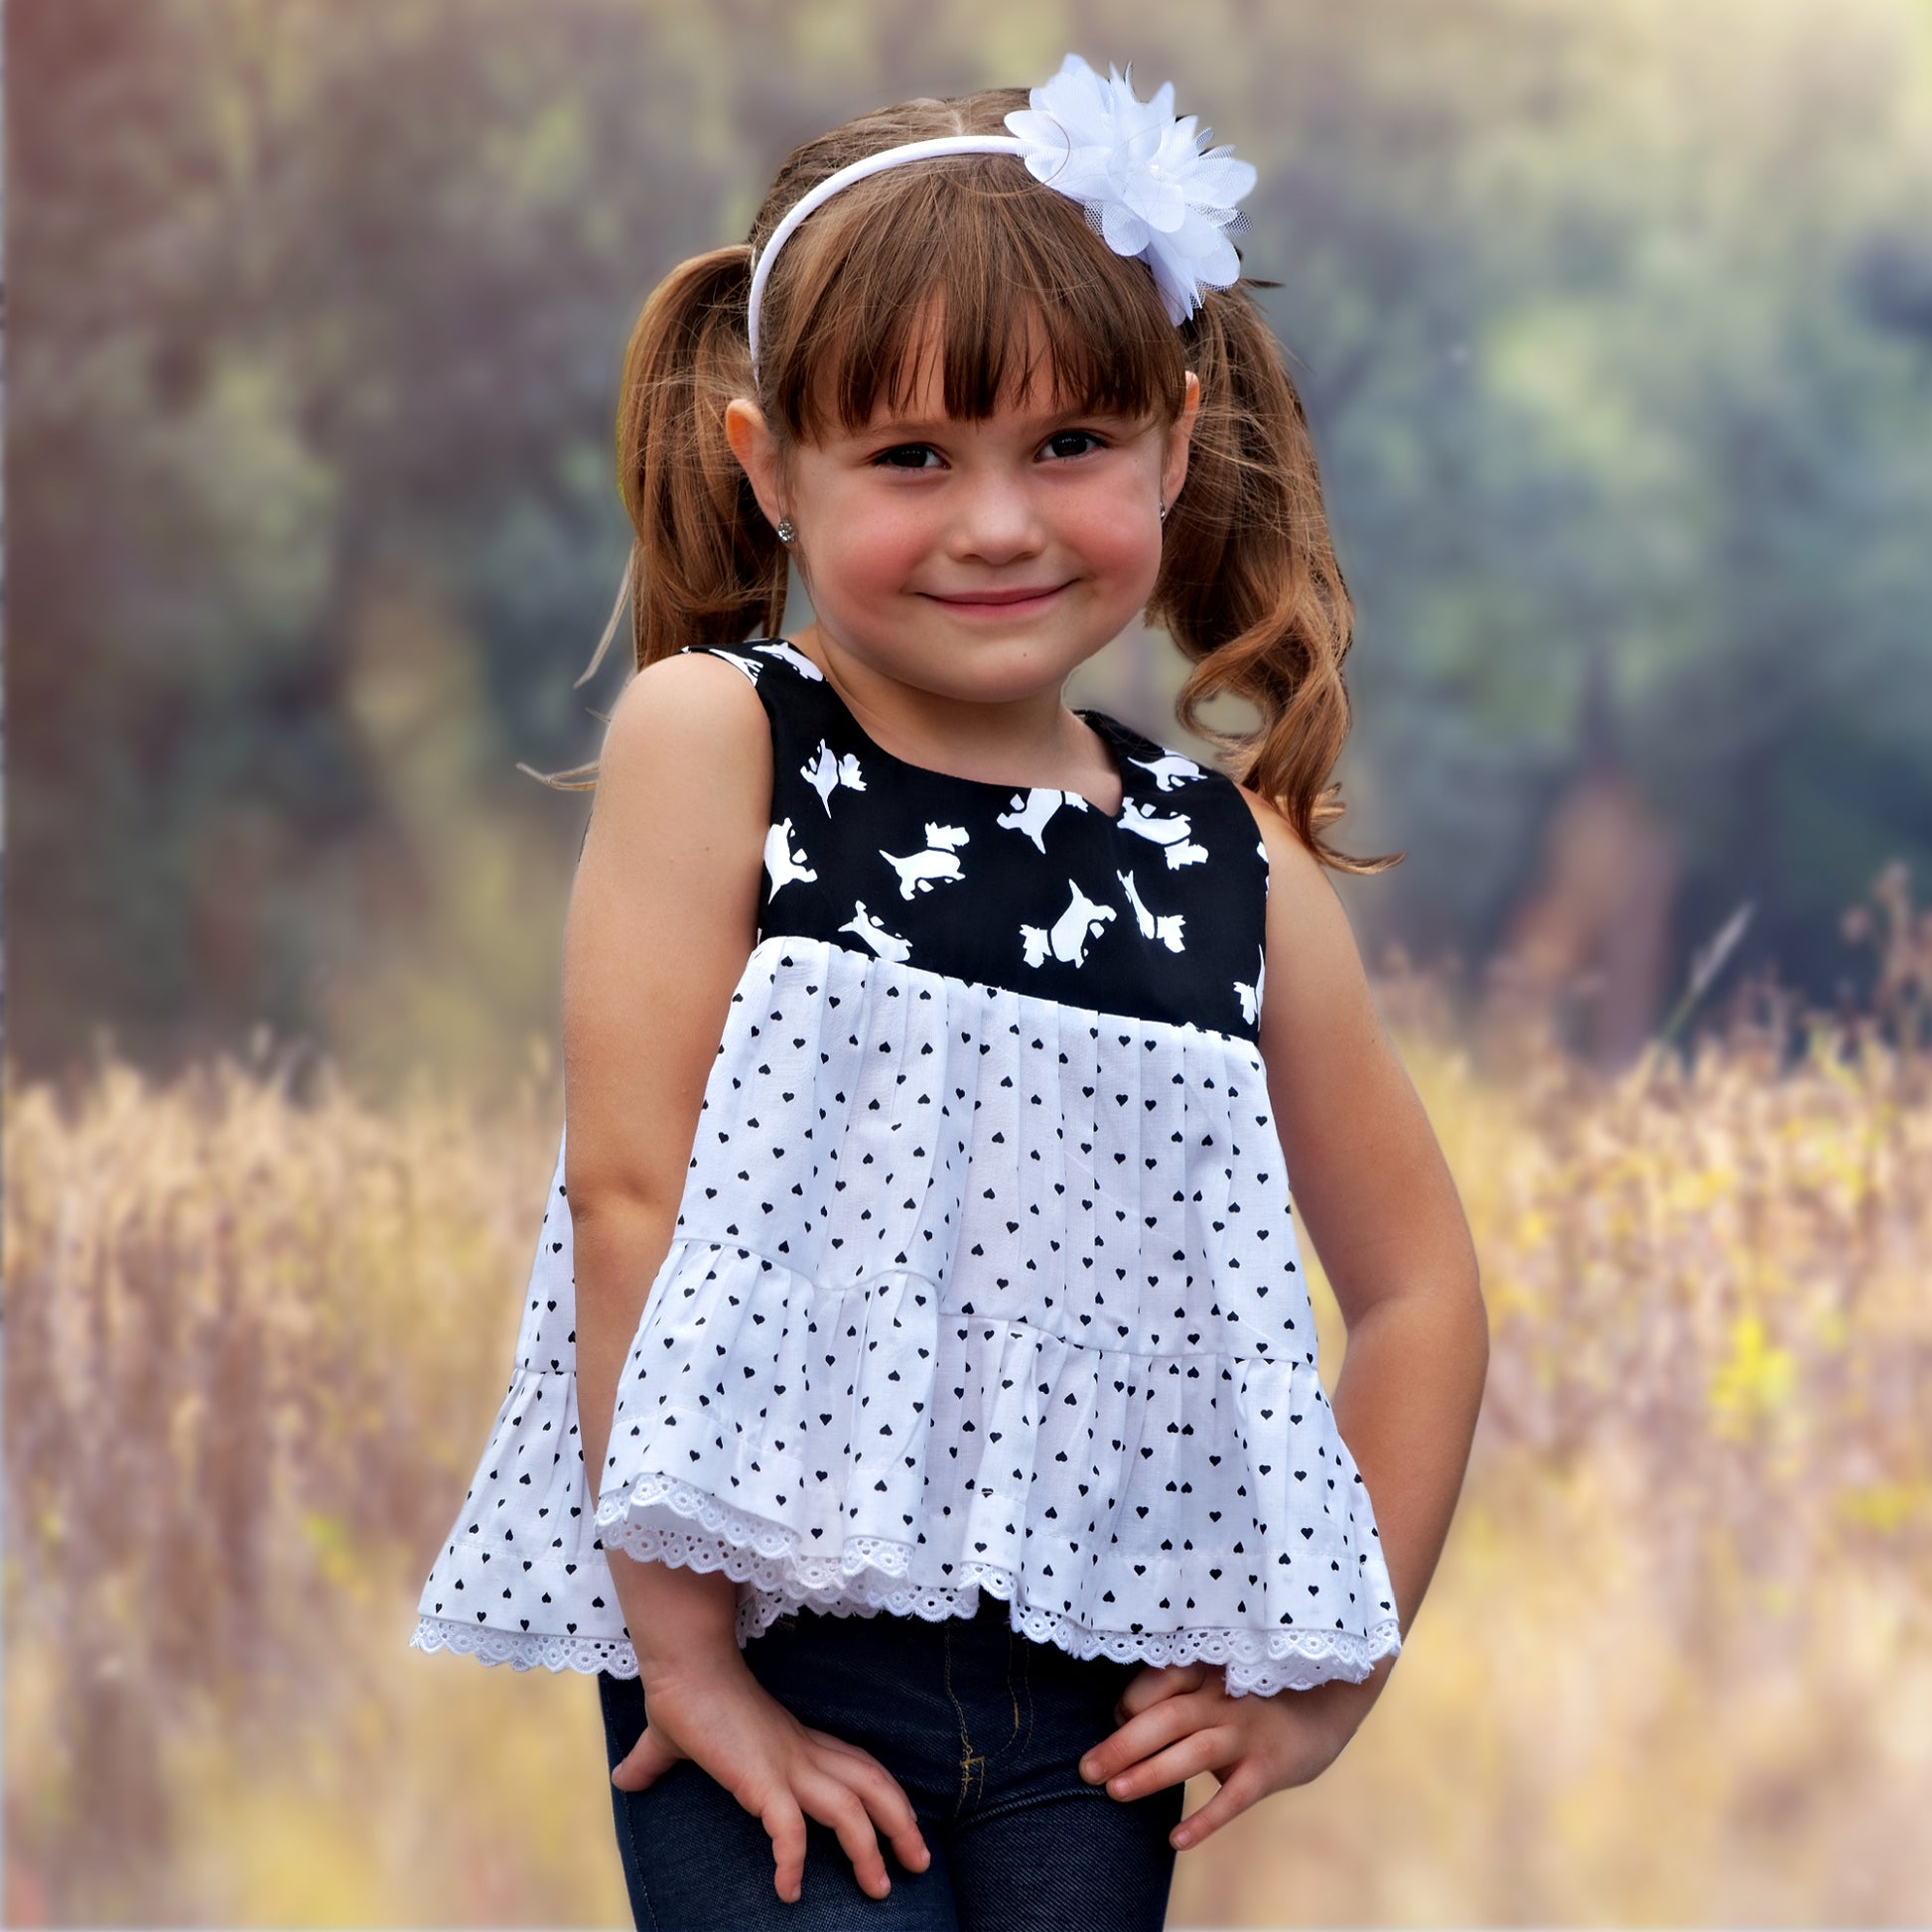
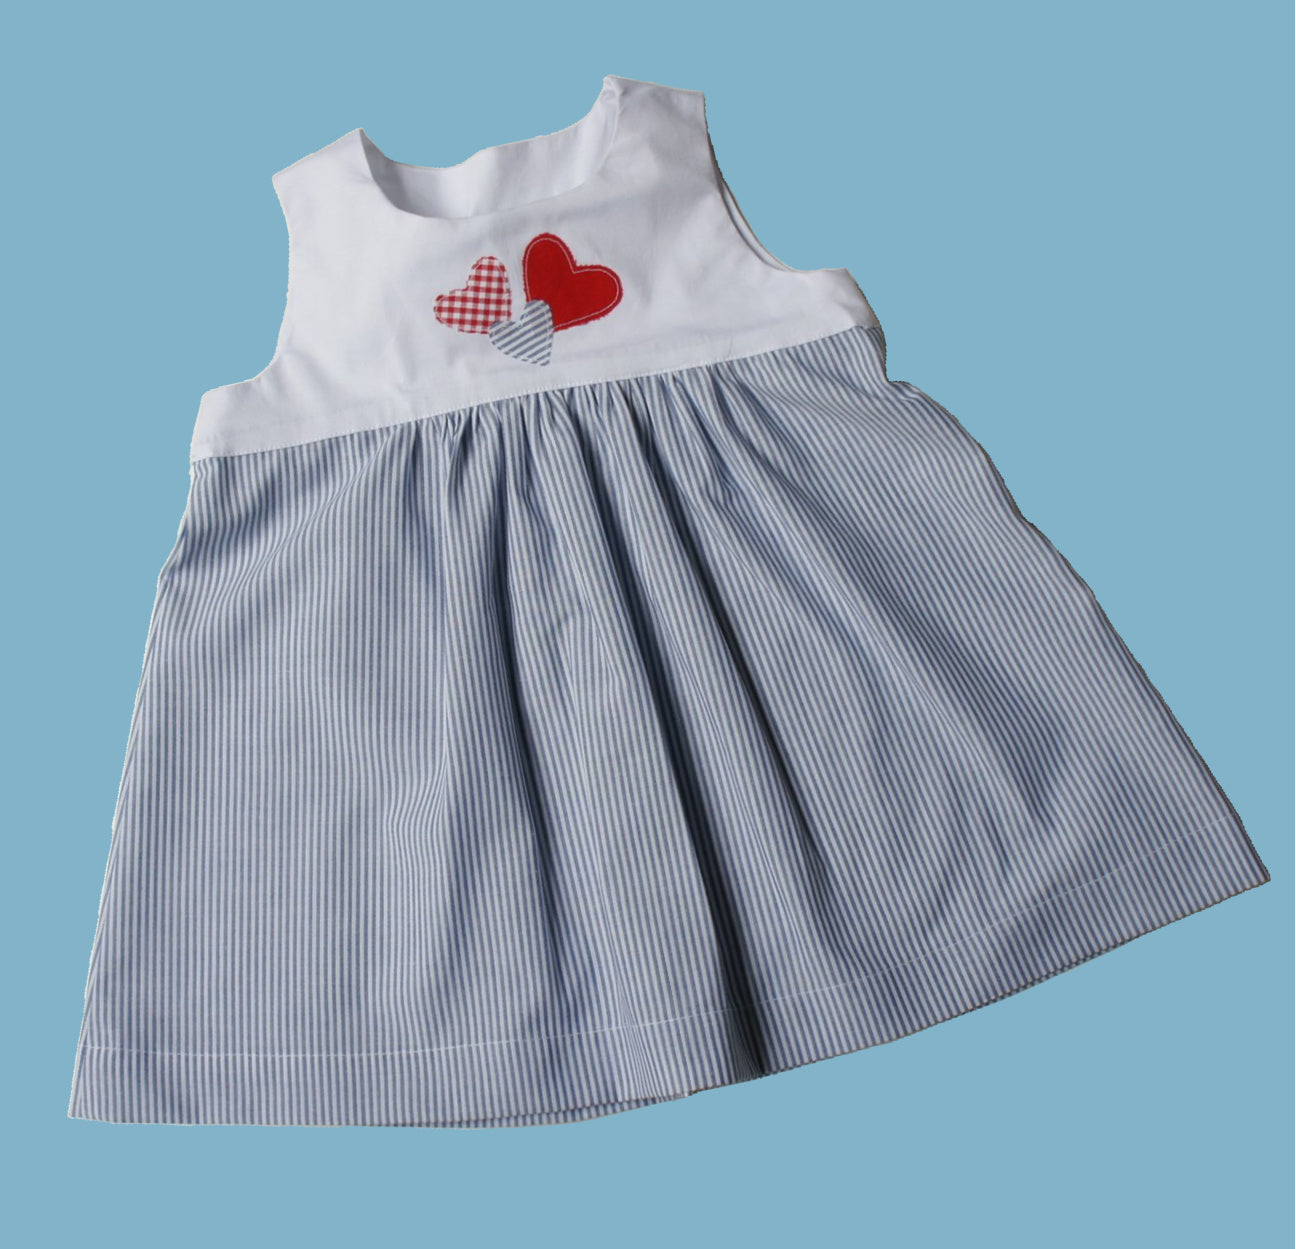
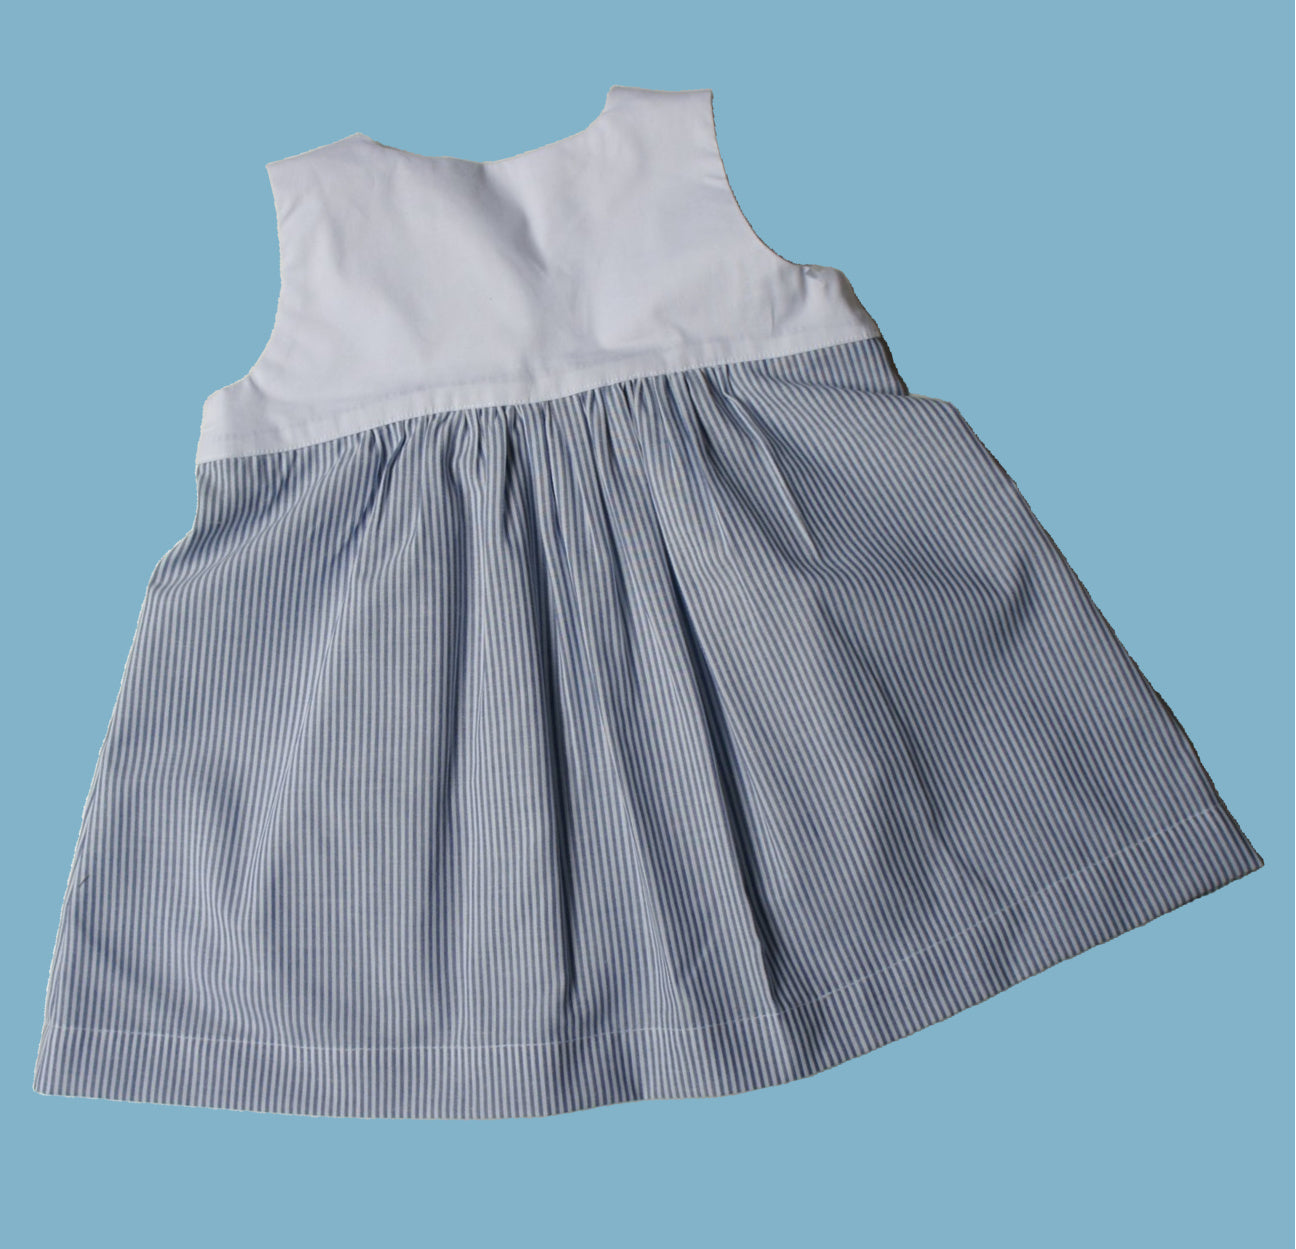
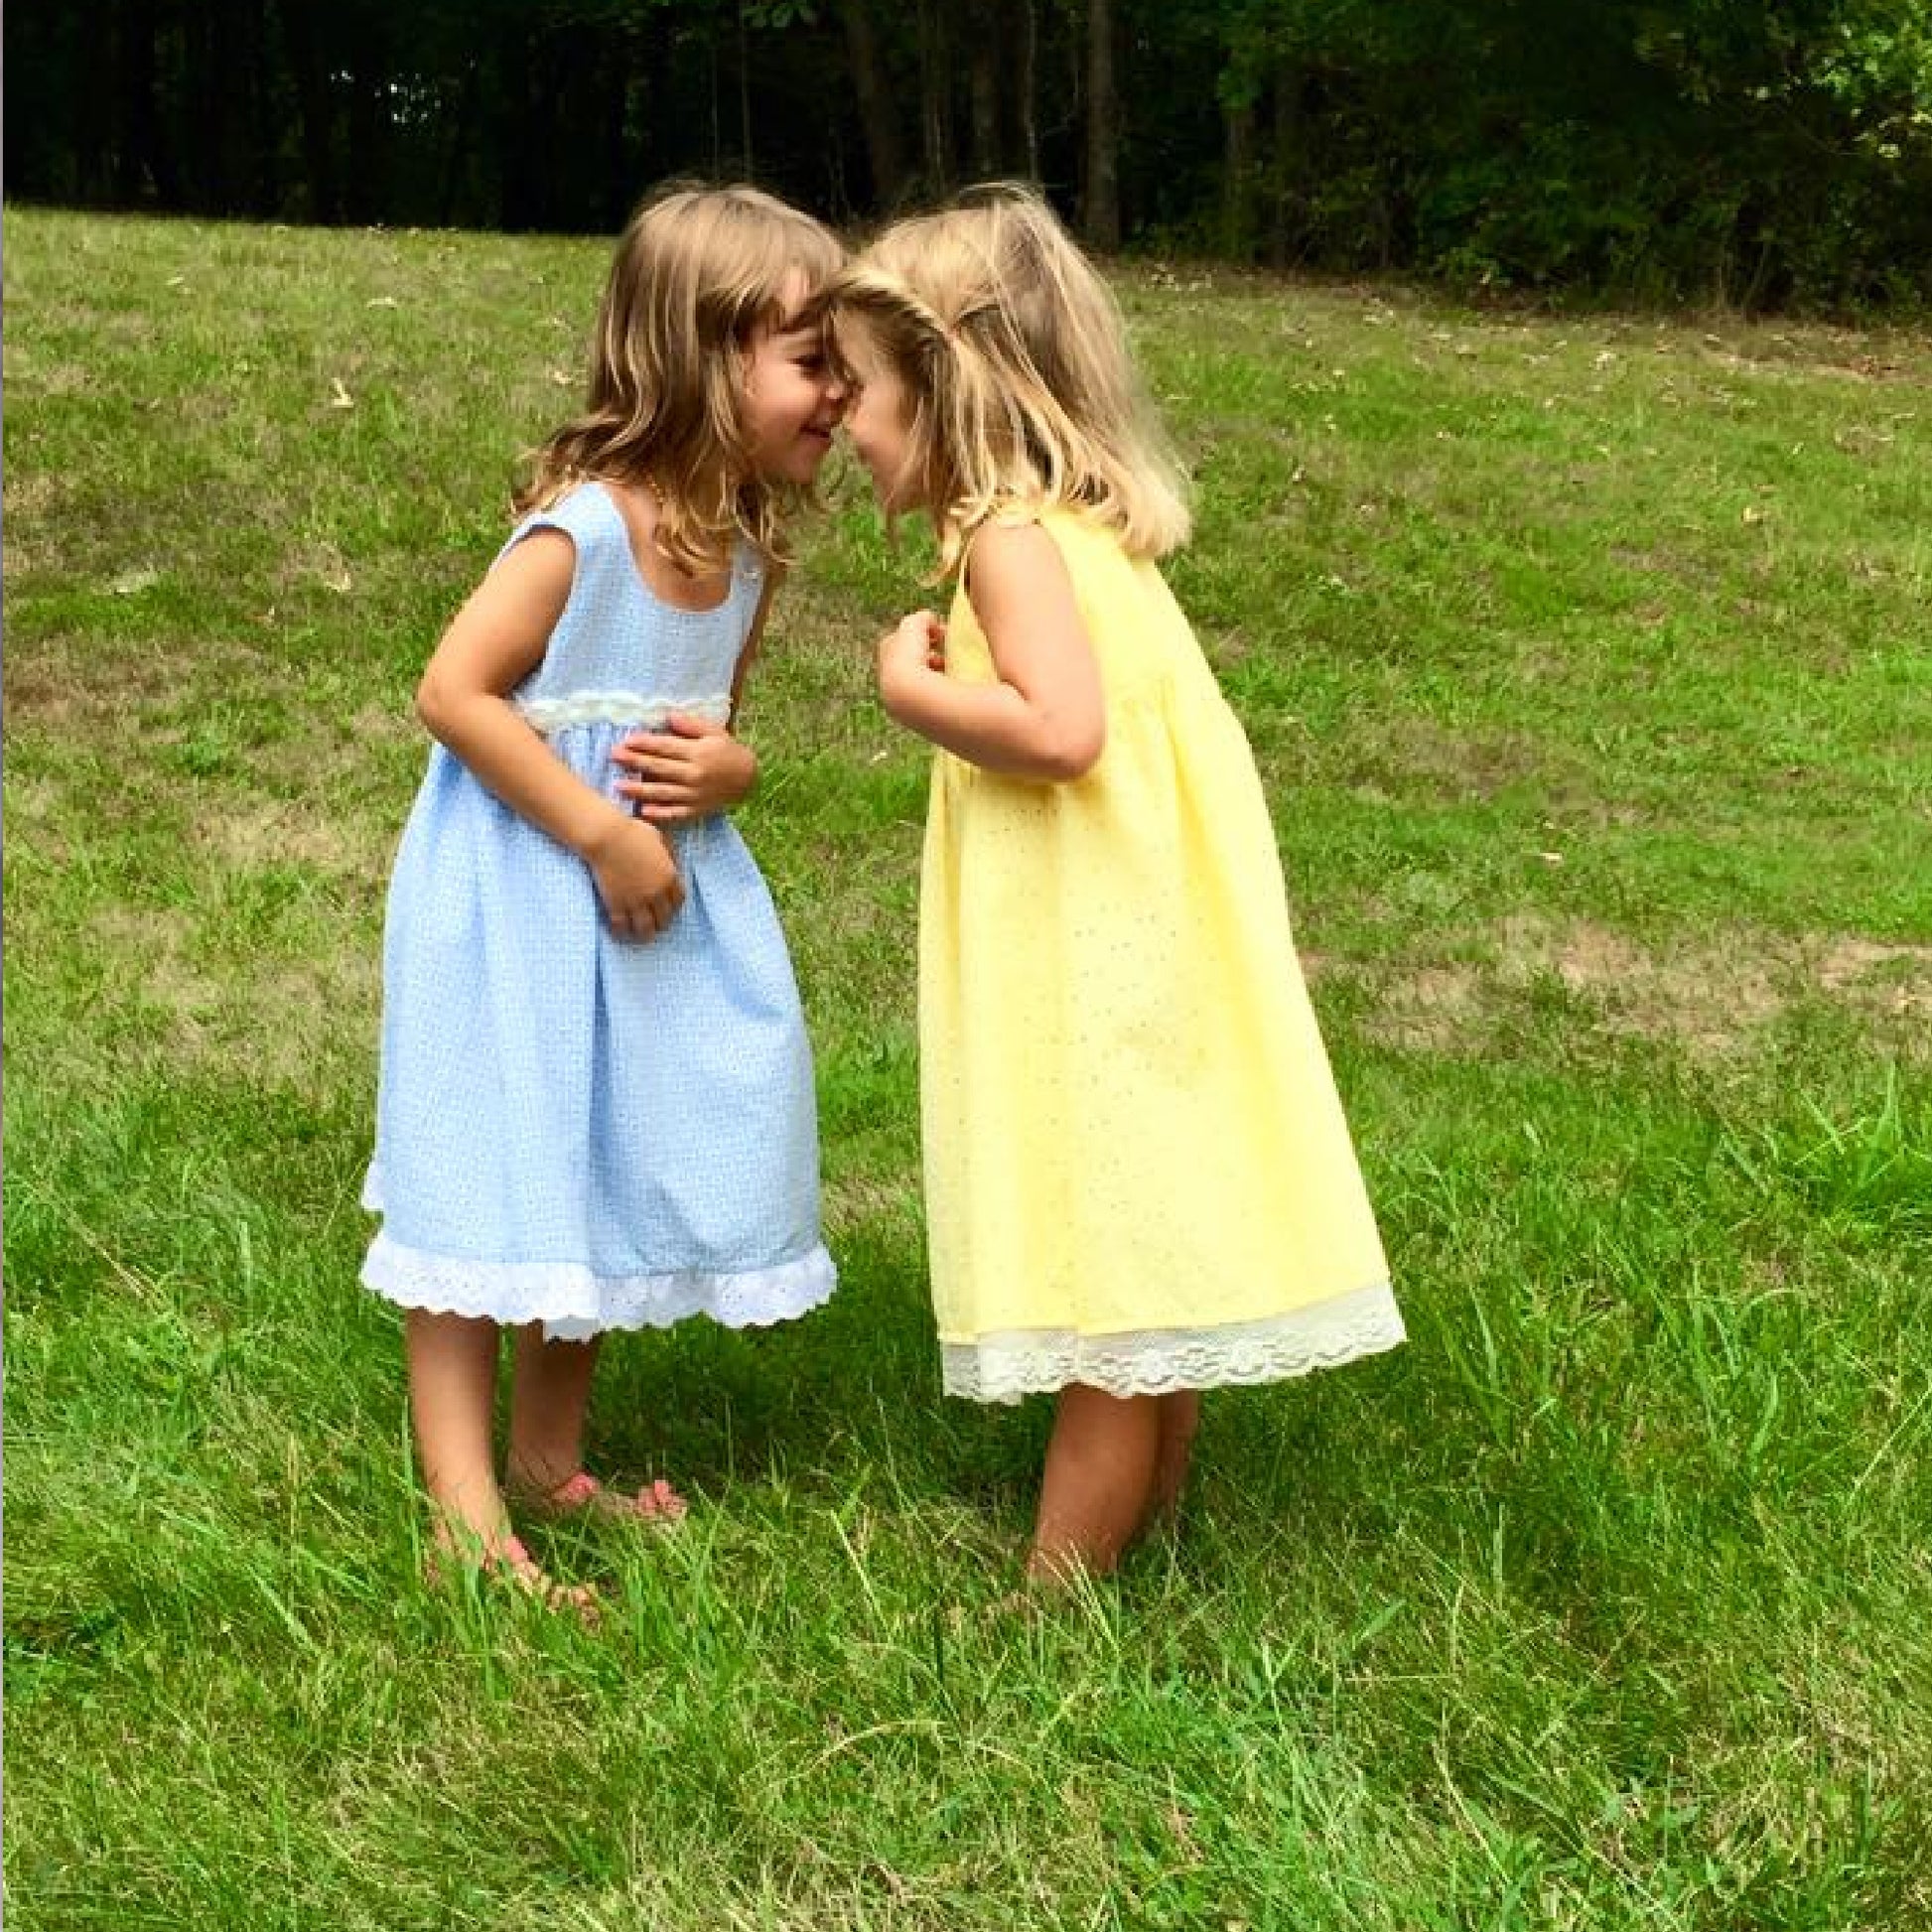
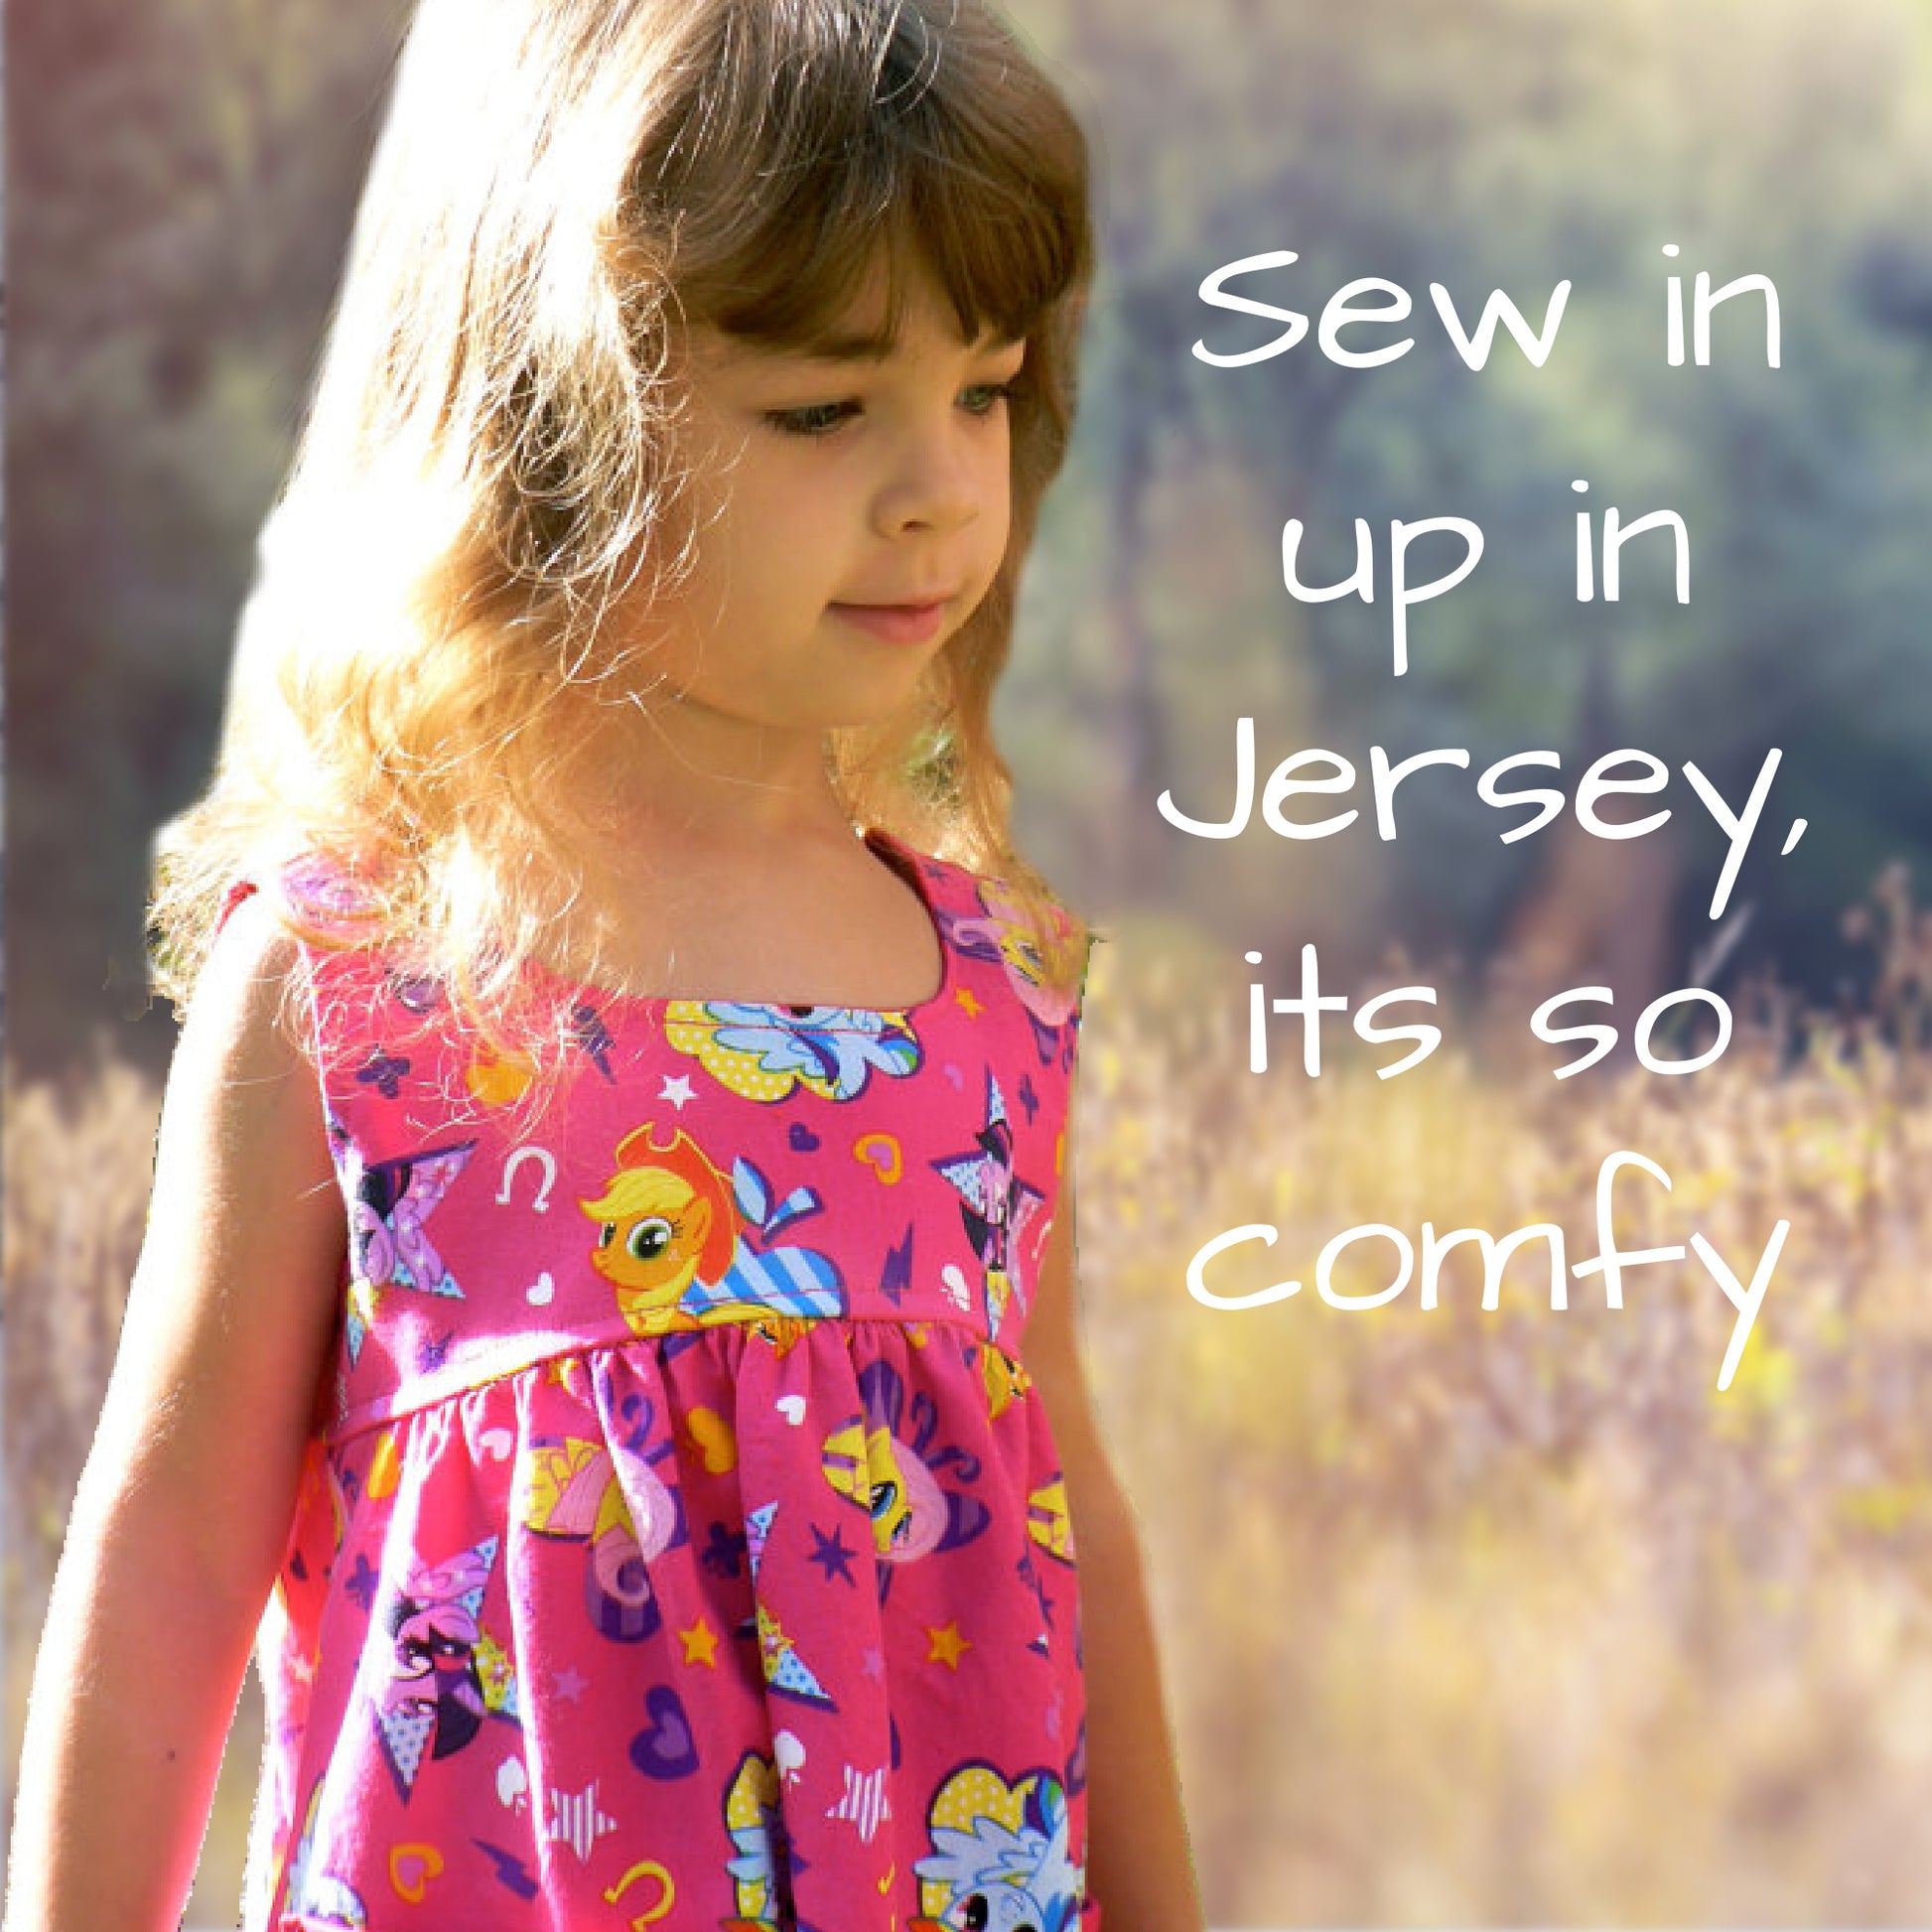
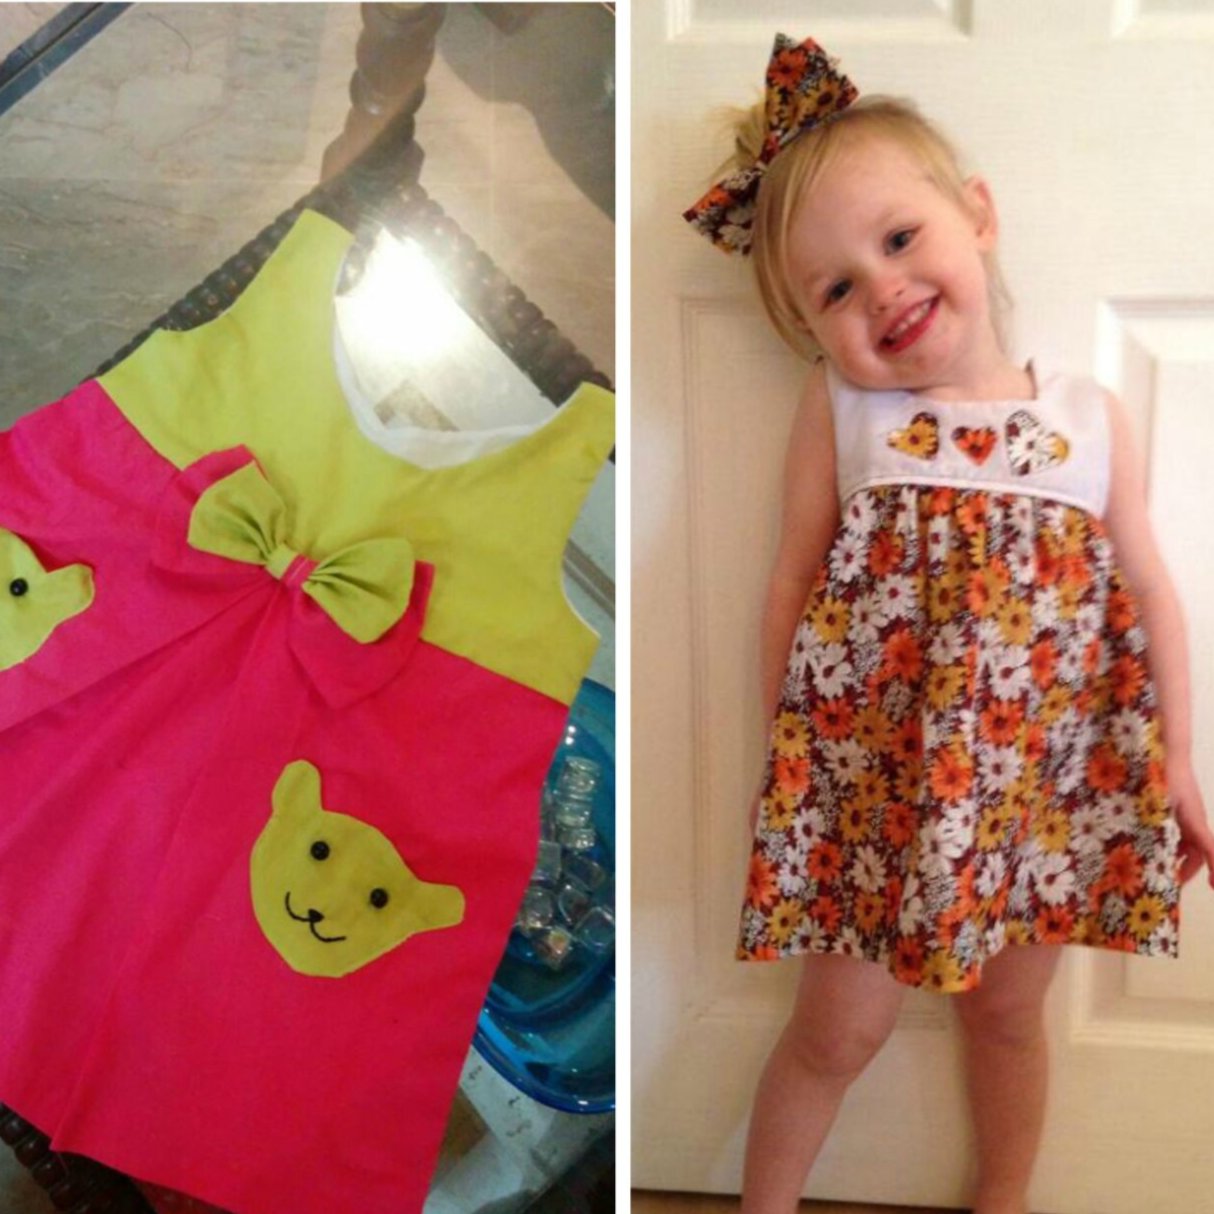
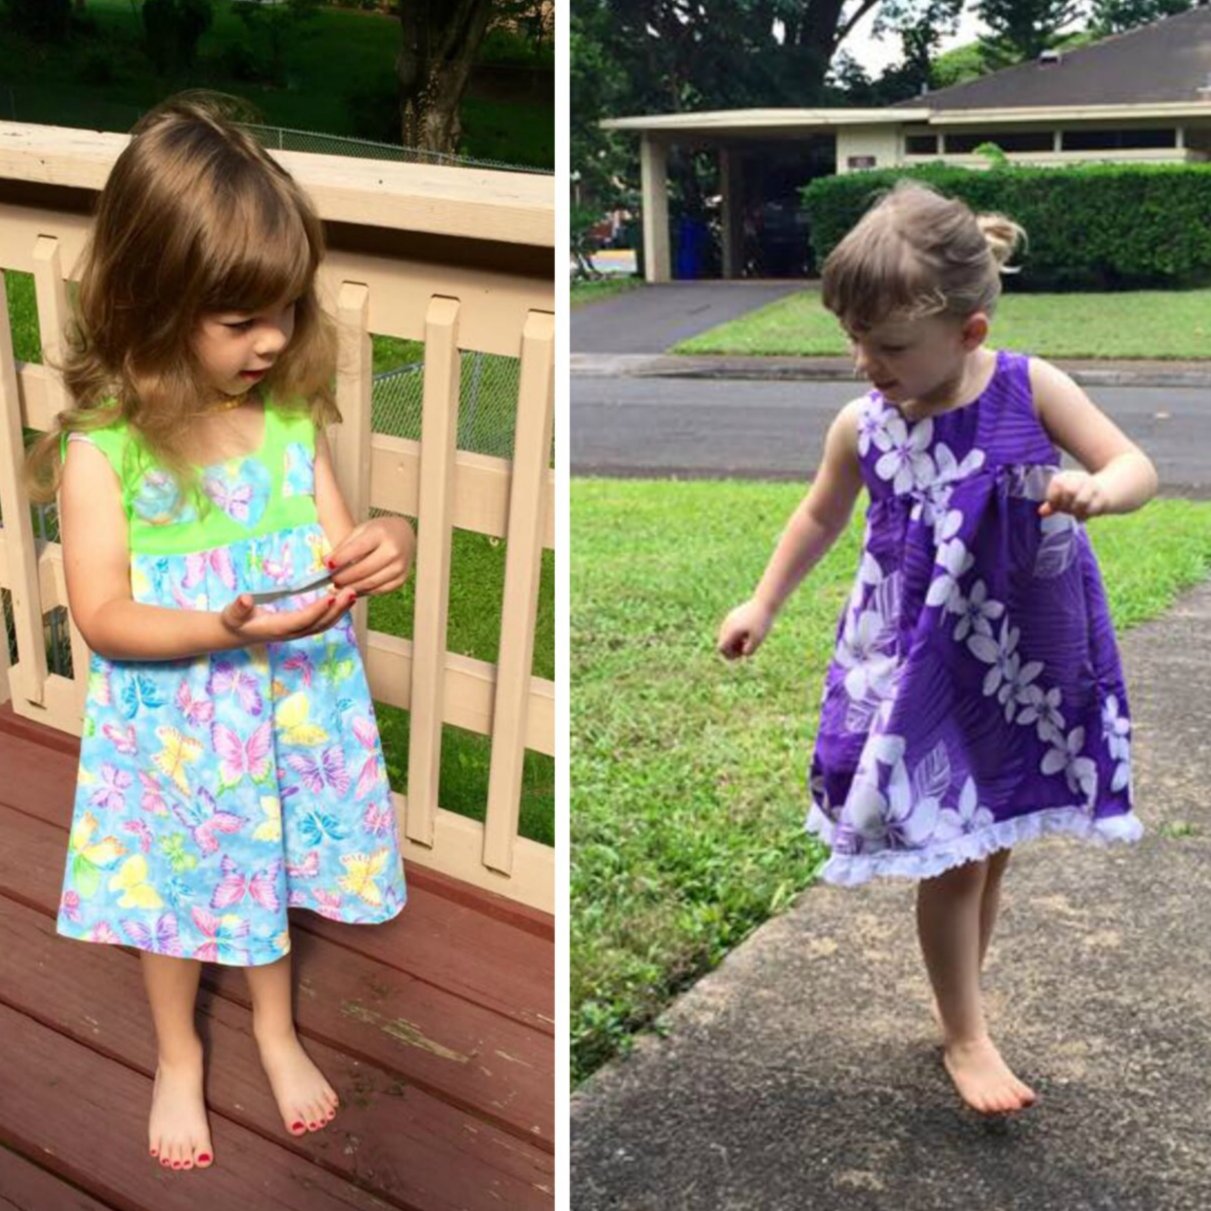
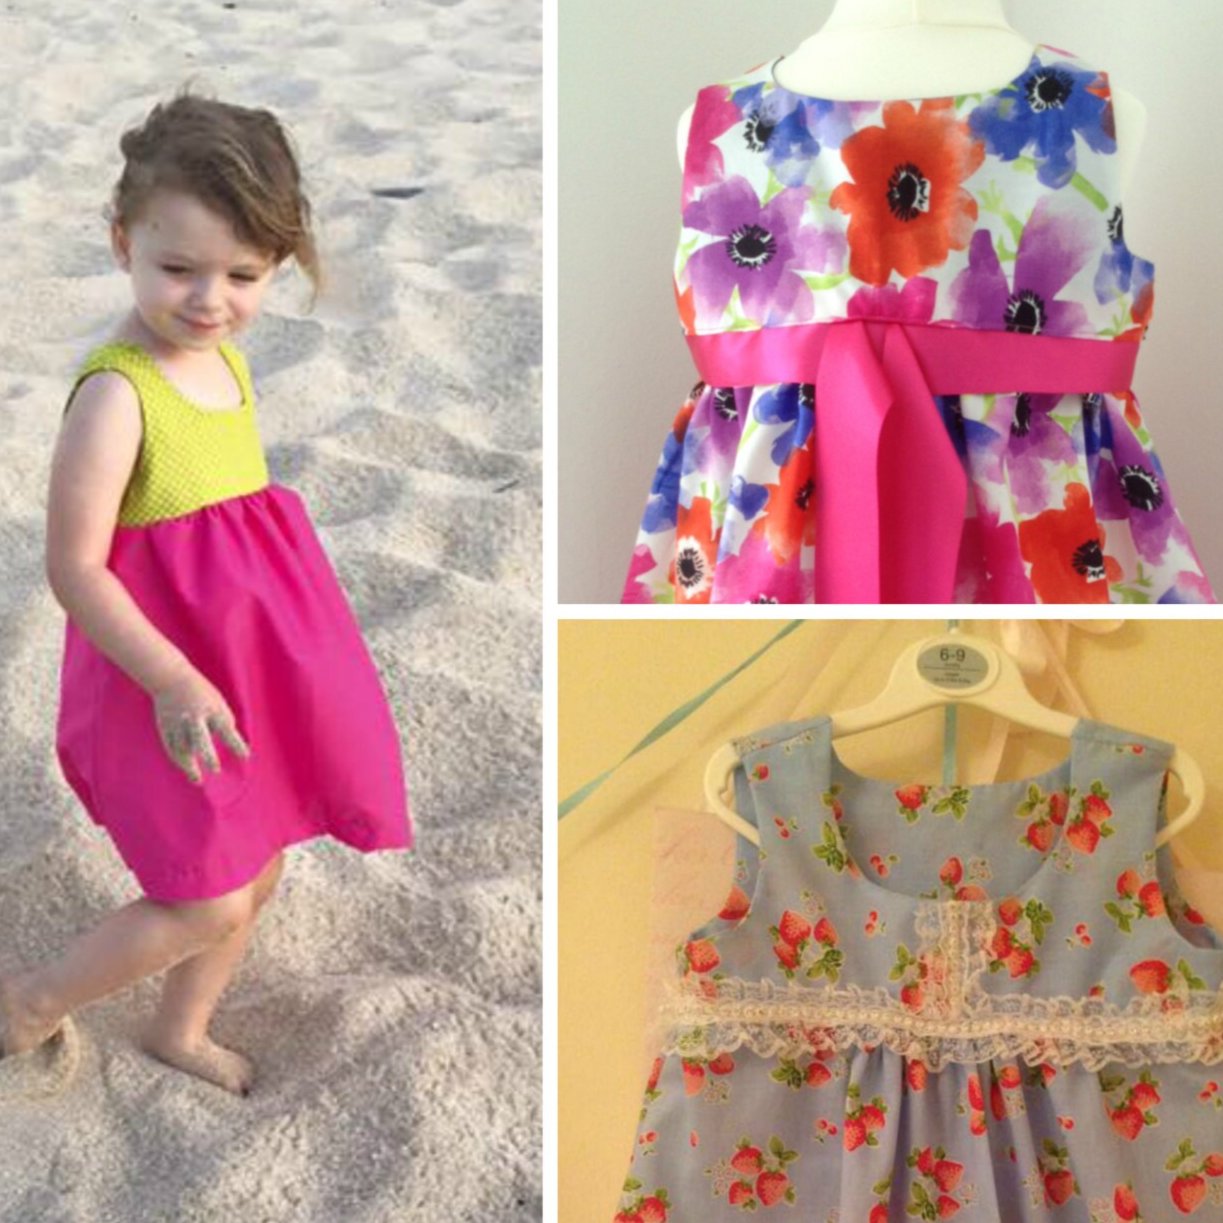
Georgina ist ein digitales Schnittmuster für ein ärmelloses Kleid mit hoher Taille und einem eingereihten Rock – ideal für ein klassisches Schürzenkleid für Mädchen.
Tauch einfach ab in das Video-Tutorial und lerne professionelle Nähmethoden von Marina.
Was ist beim Schnittmuster dabei?
Was ist beim Schnittmuster dabei?
Design
Design
Stoffverbrauch
Stoffverbrauch
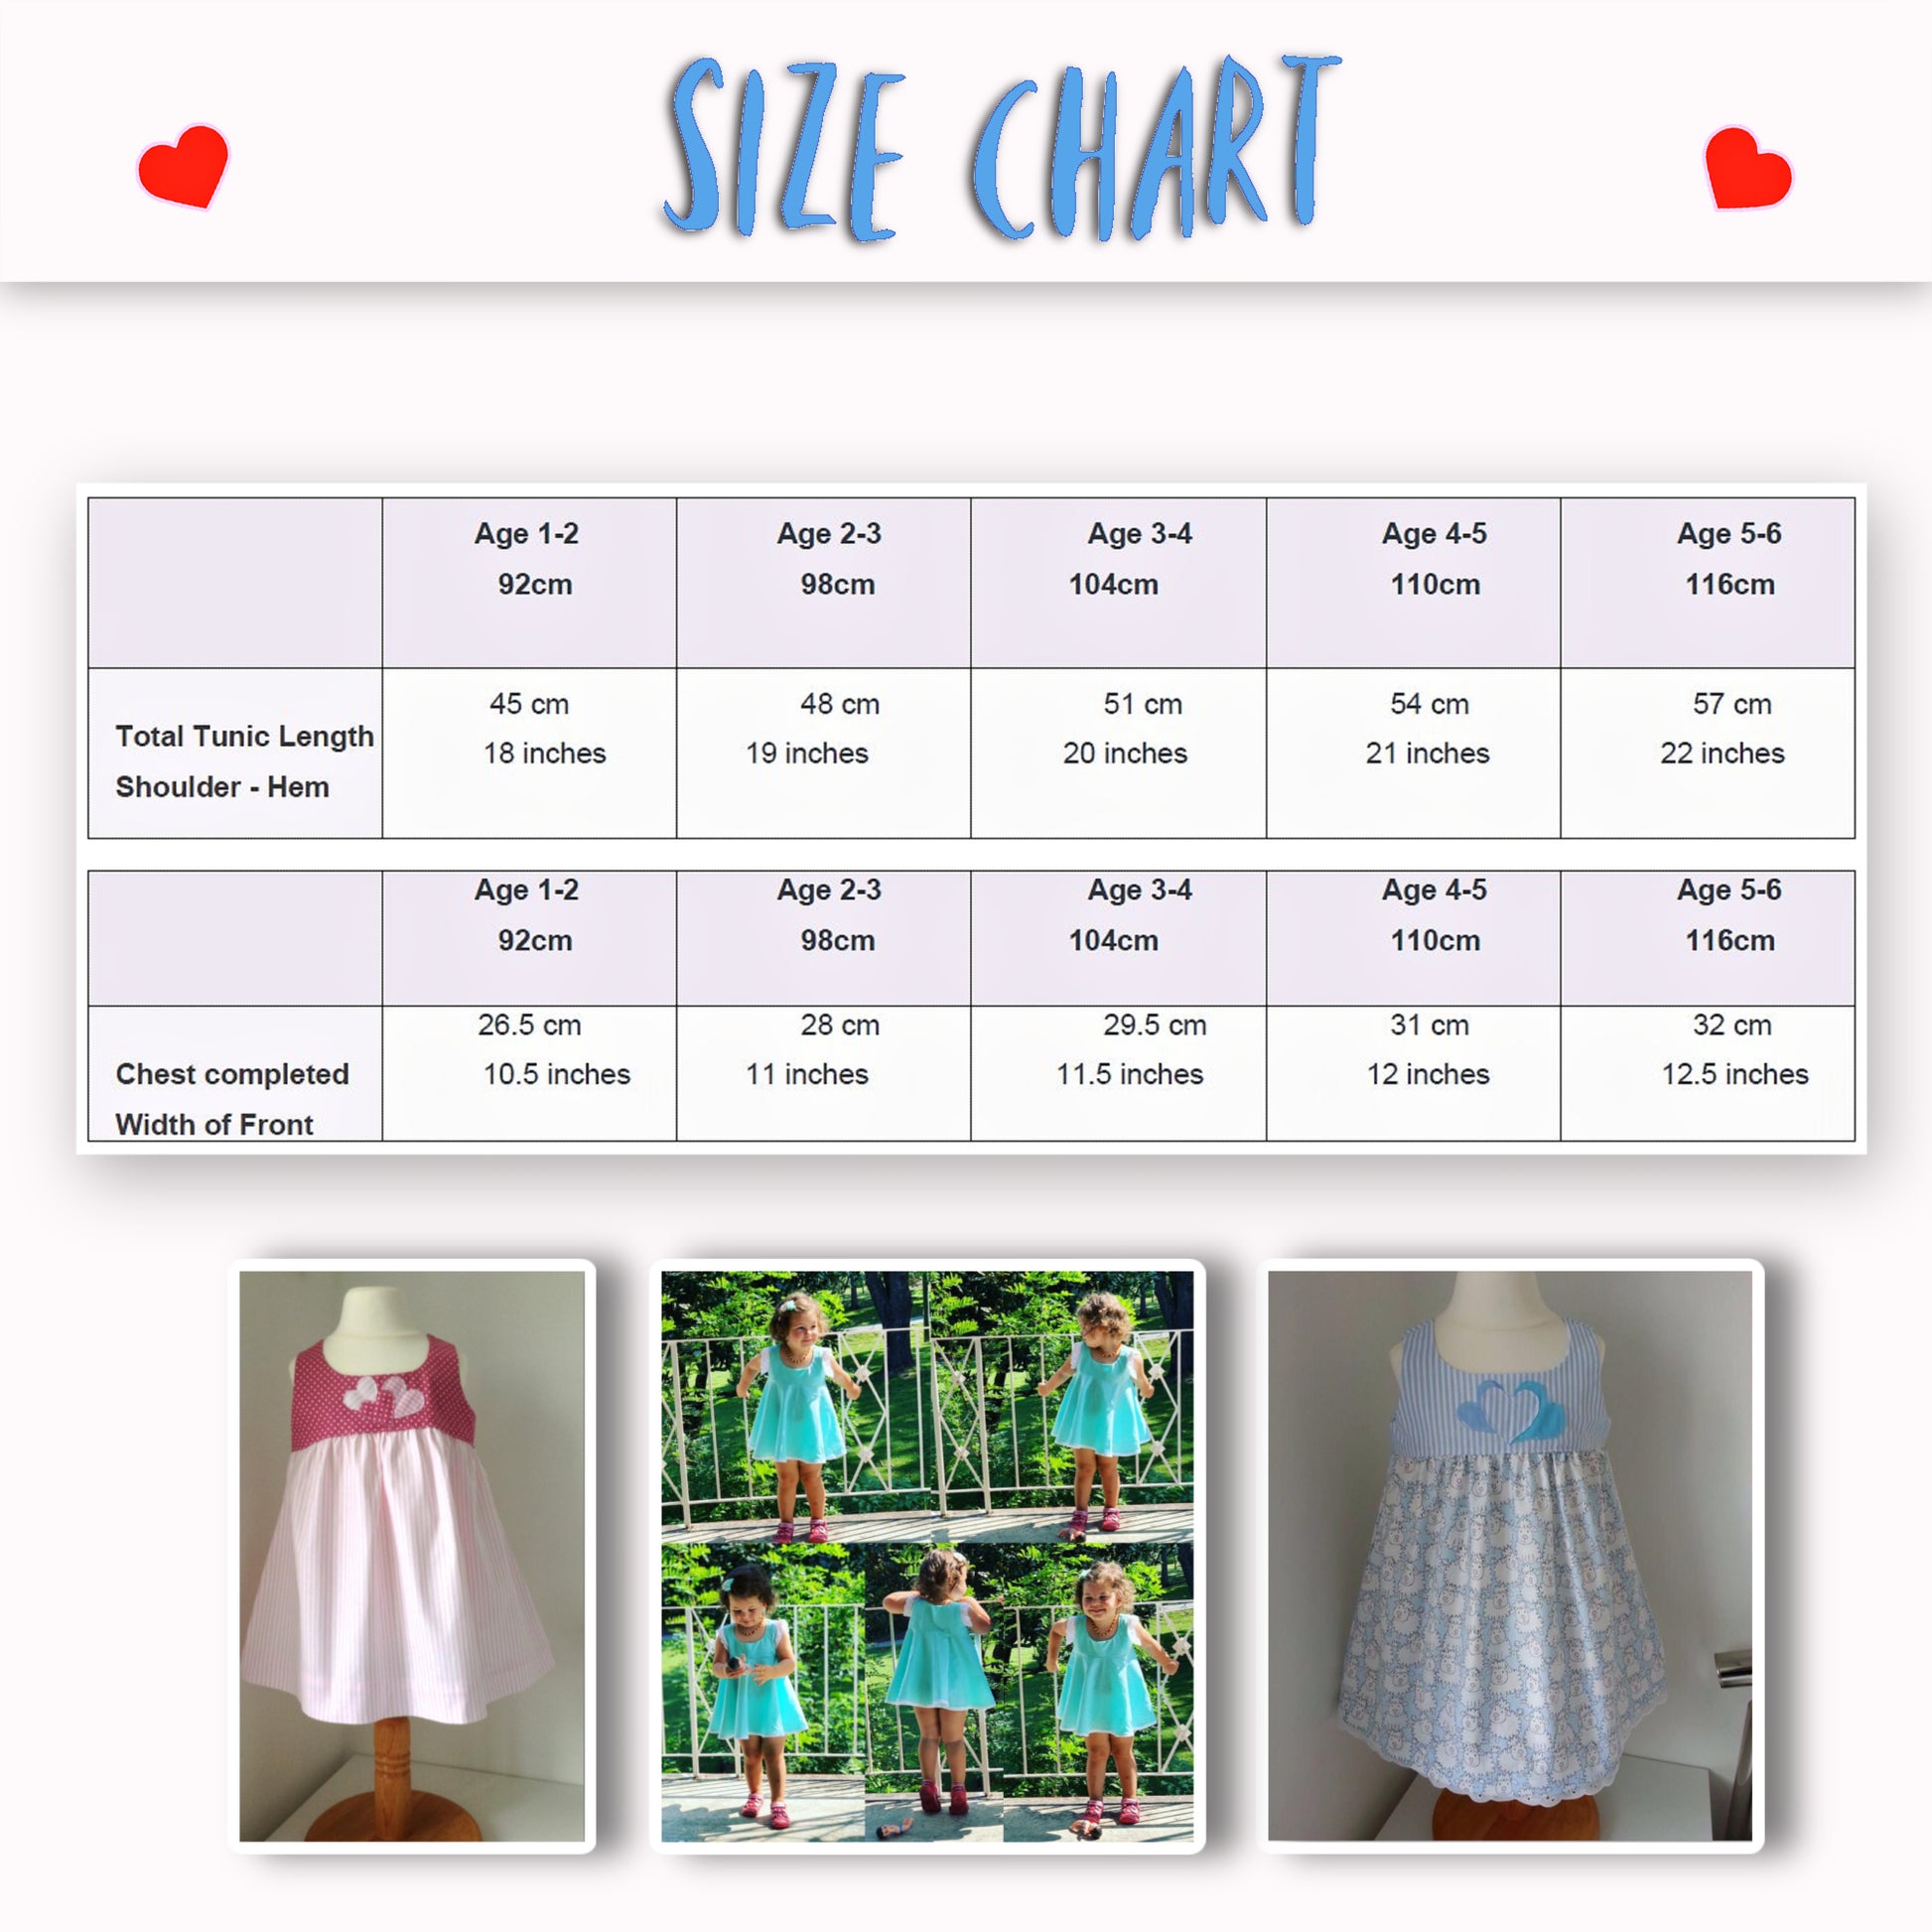
Verfügbare Größen
Verfügbare Größen
Bitte beachten
Bitte beachten


SCHRITT-FÜR-SCHRITT ANLEITUNG

SCHRITT-FÜR-SCHRITT-ANLEITUNG (NUR ENGLISCH)