
ROSALIE LANDBLUSE
ROSALIE LANDBLUSE


Normaler Preis
$8.50 USD
Normaler Preis
Verkaufspreis
$8.50 USD
Grundpreis
pro
Verfügbarkeit für Abholungen konnte nicht geladen werden
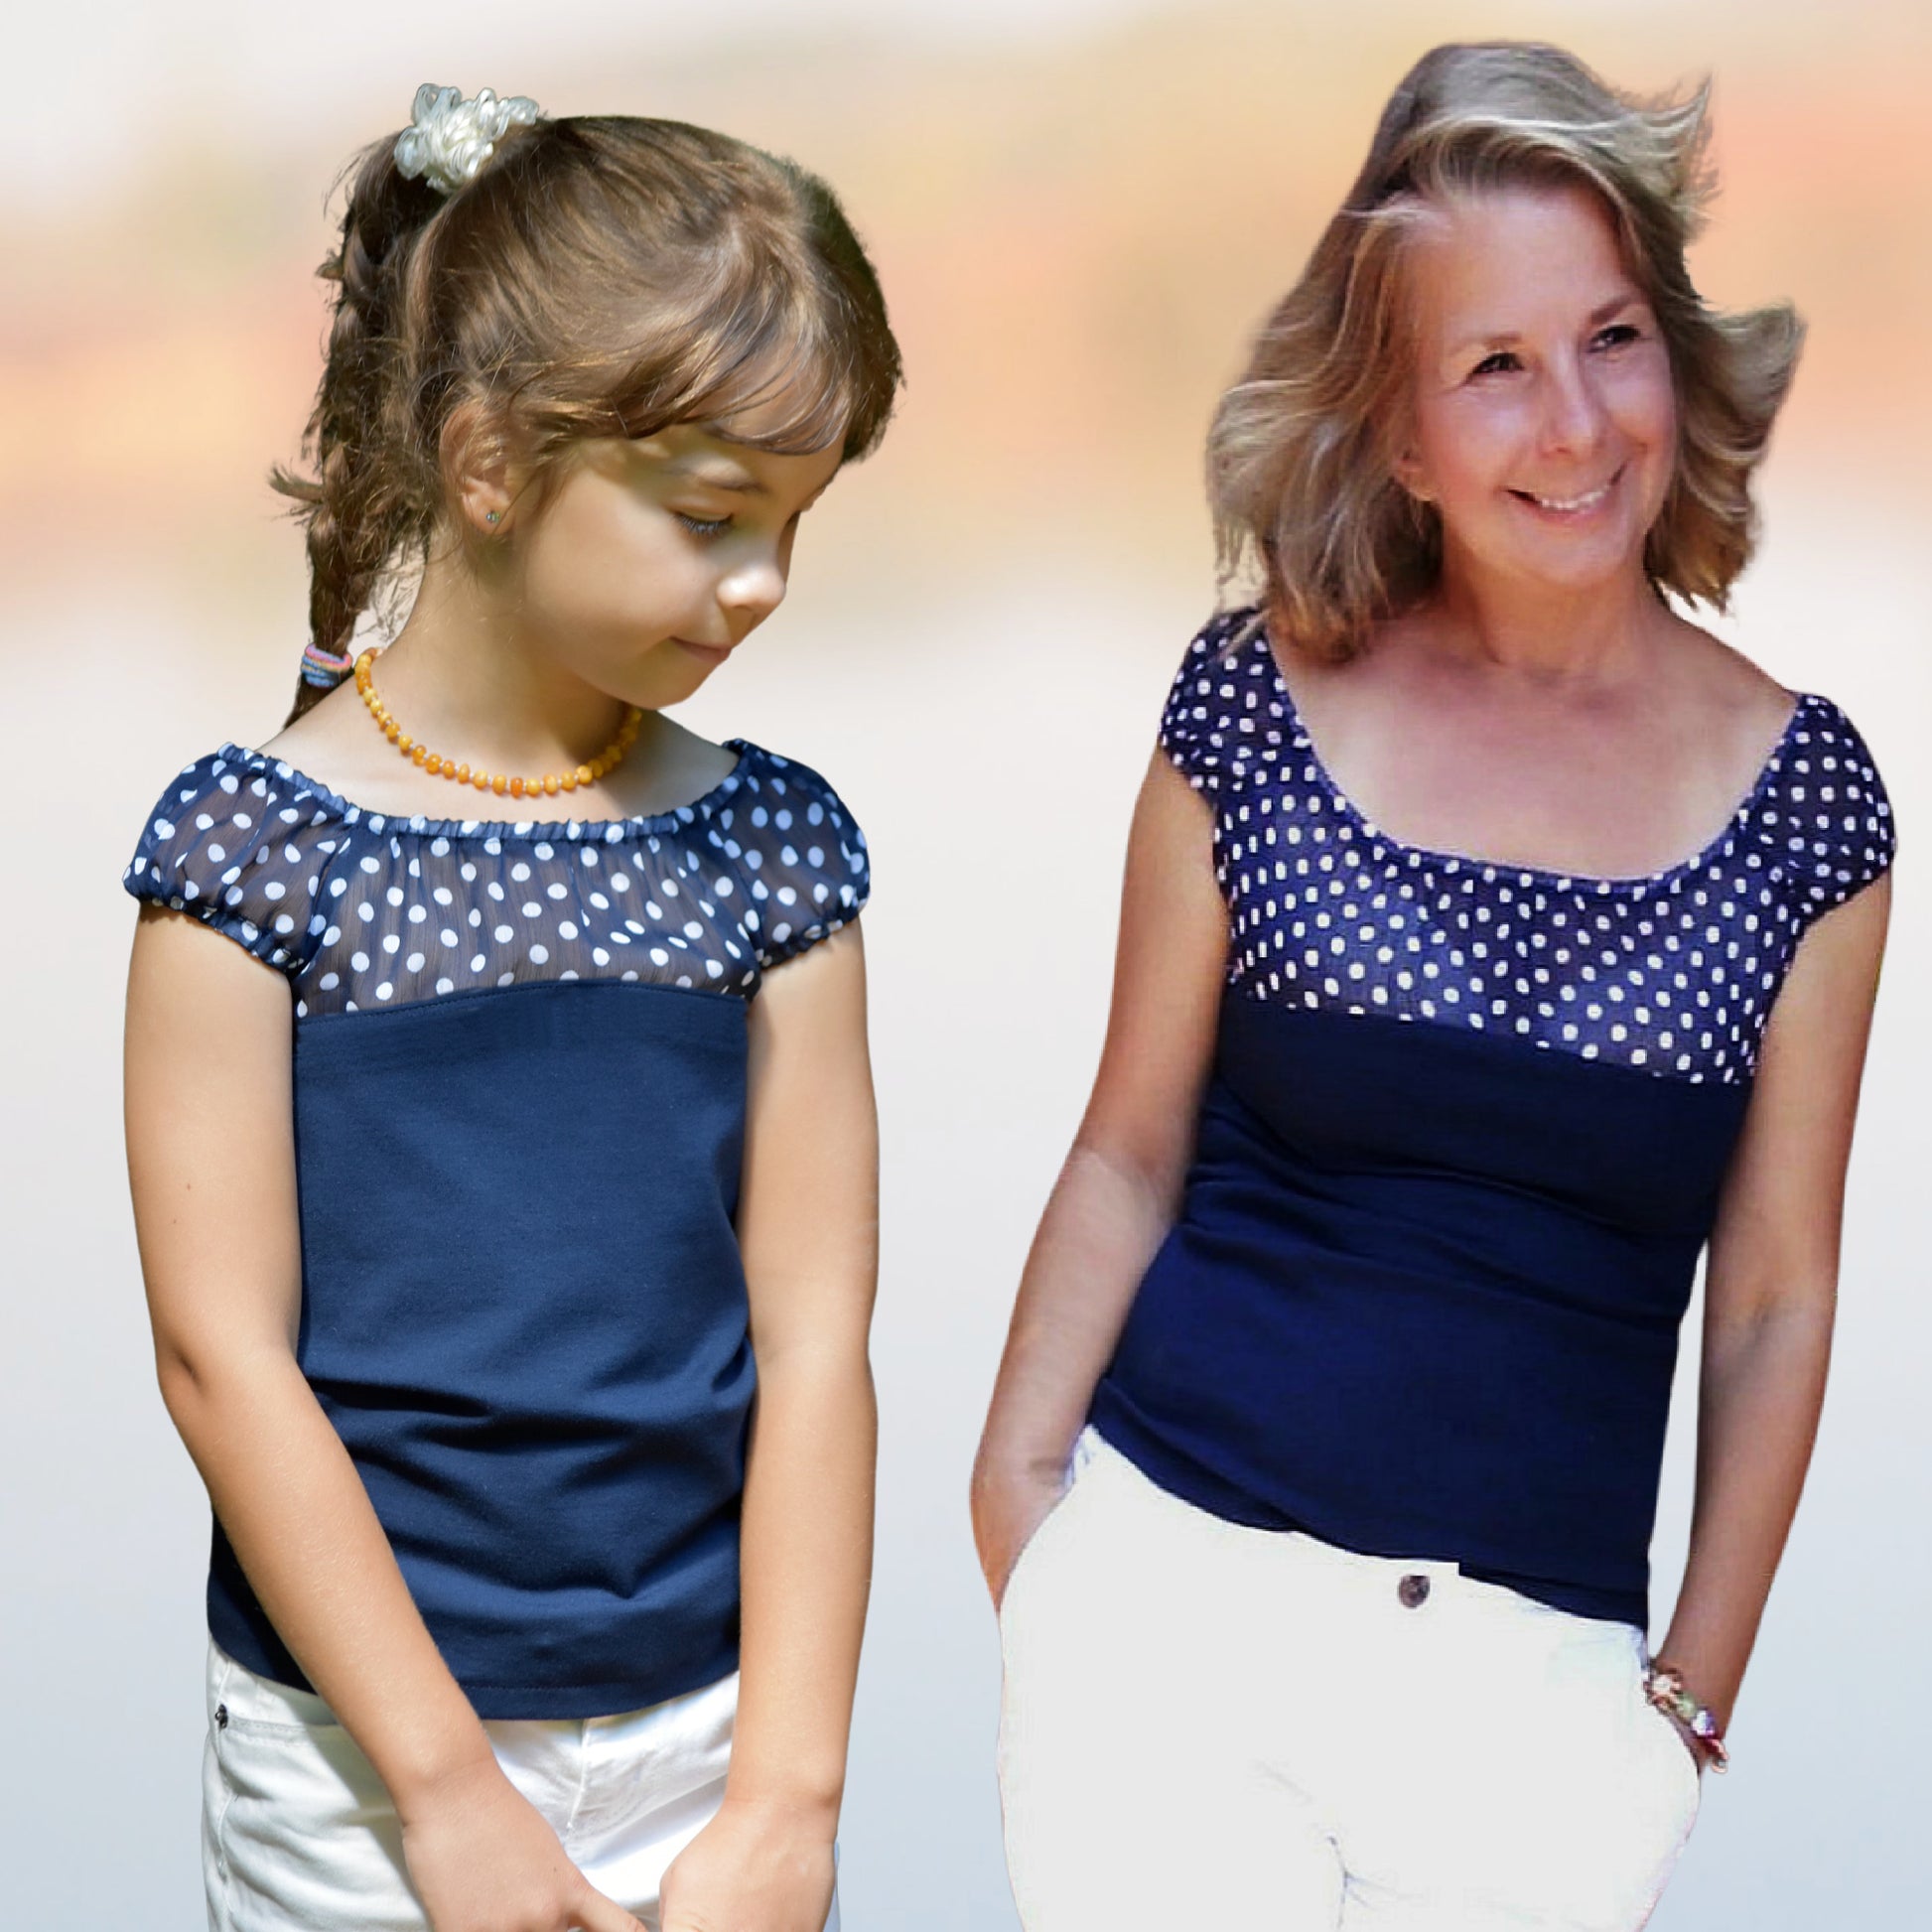
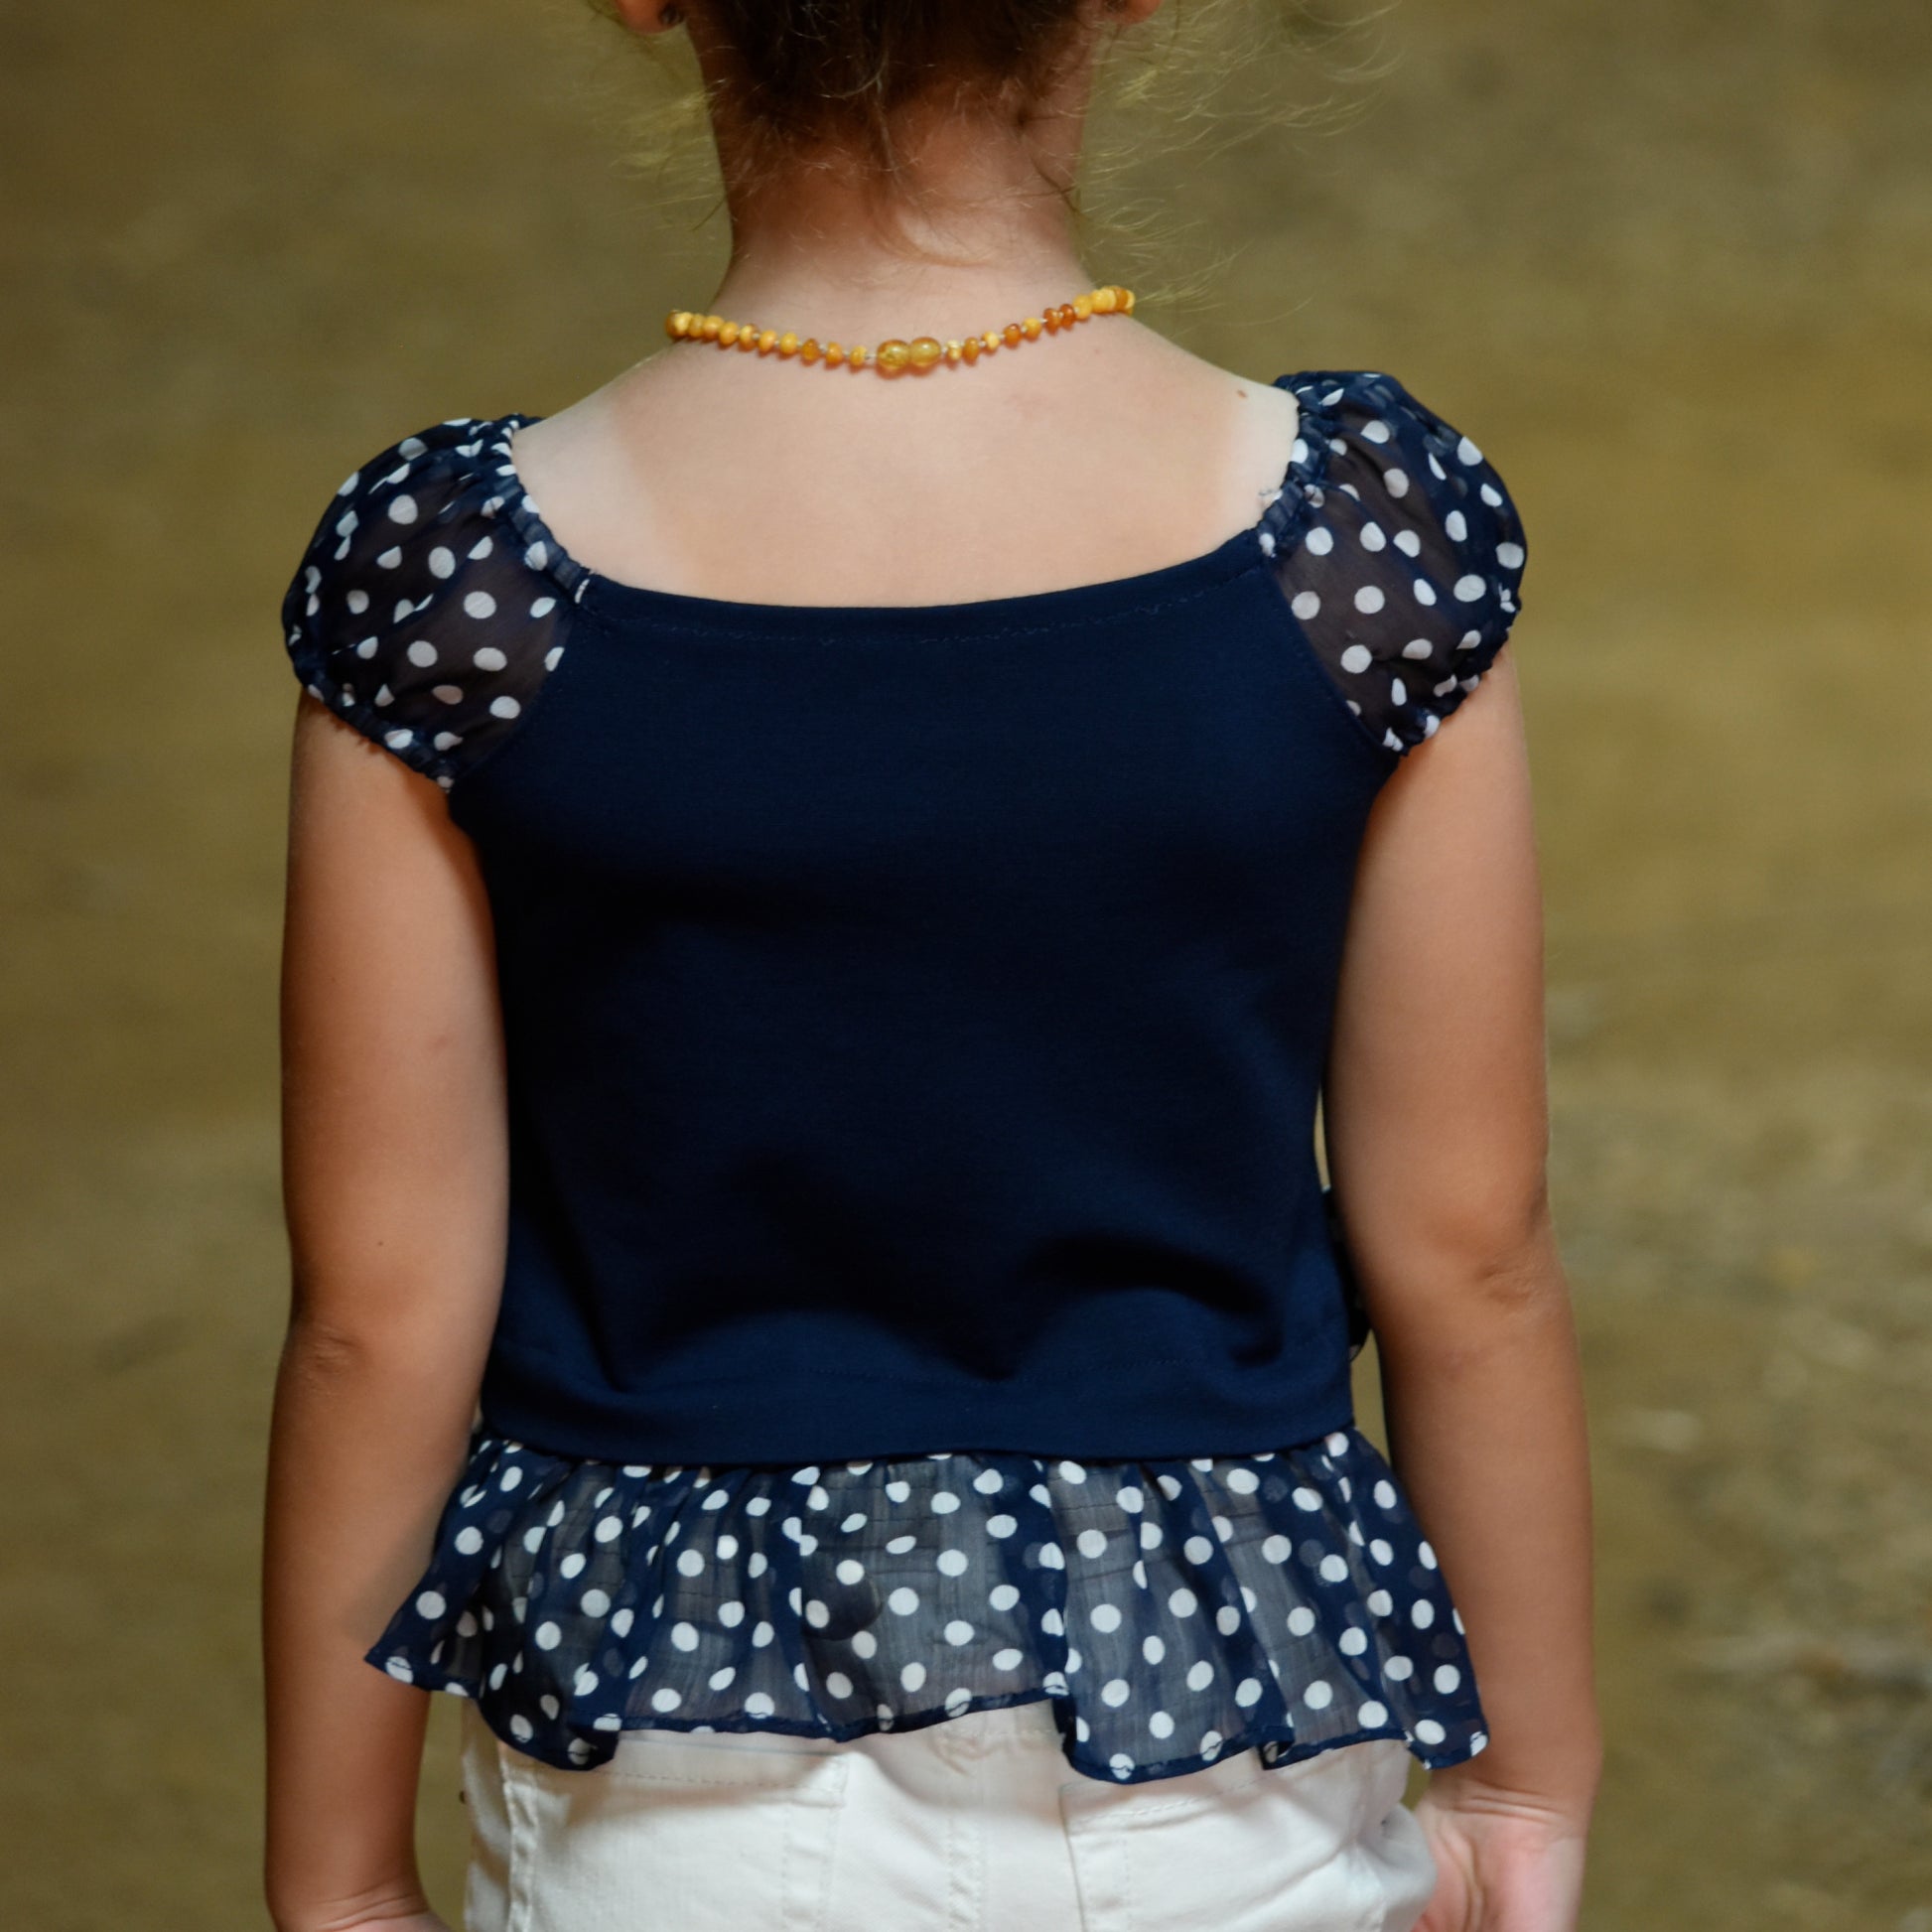
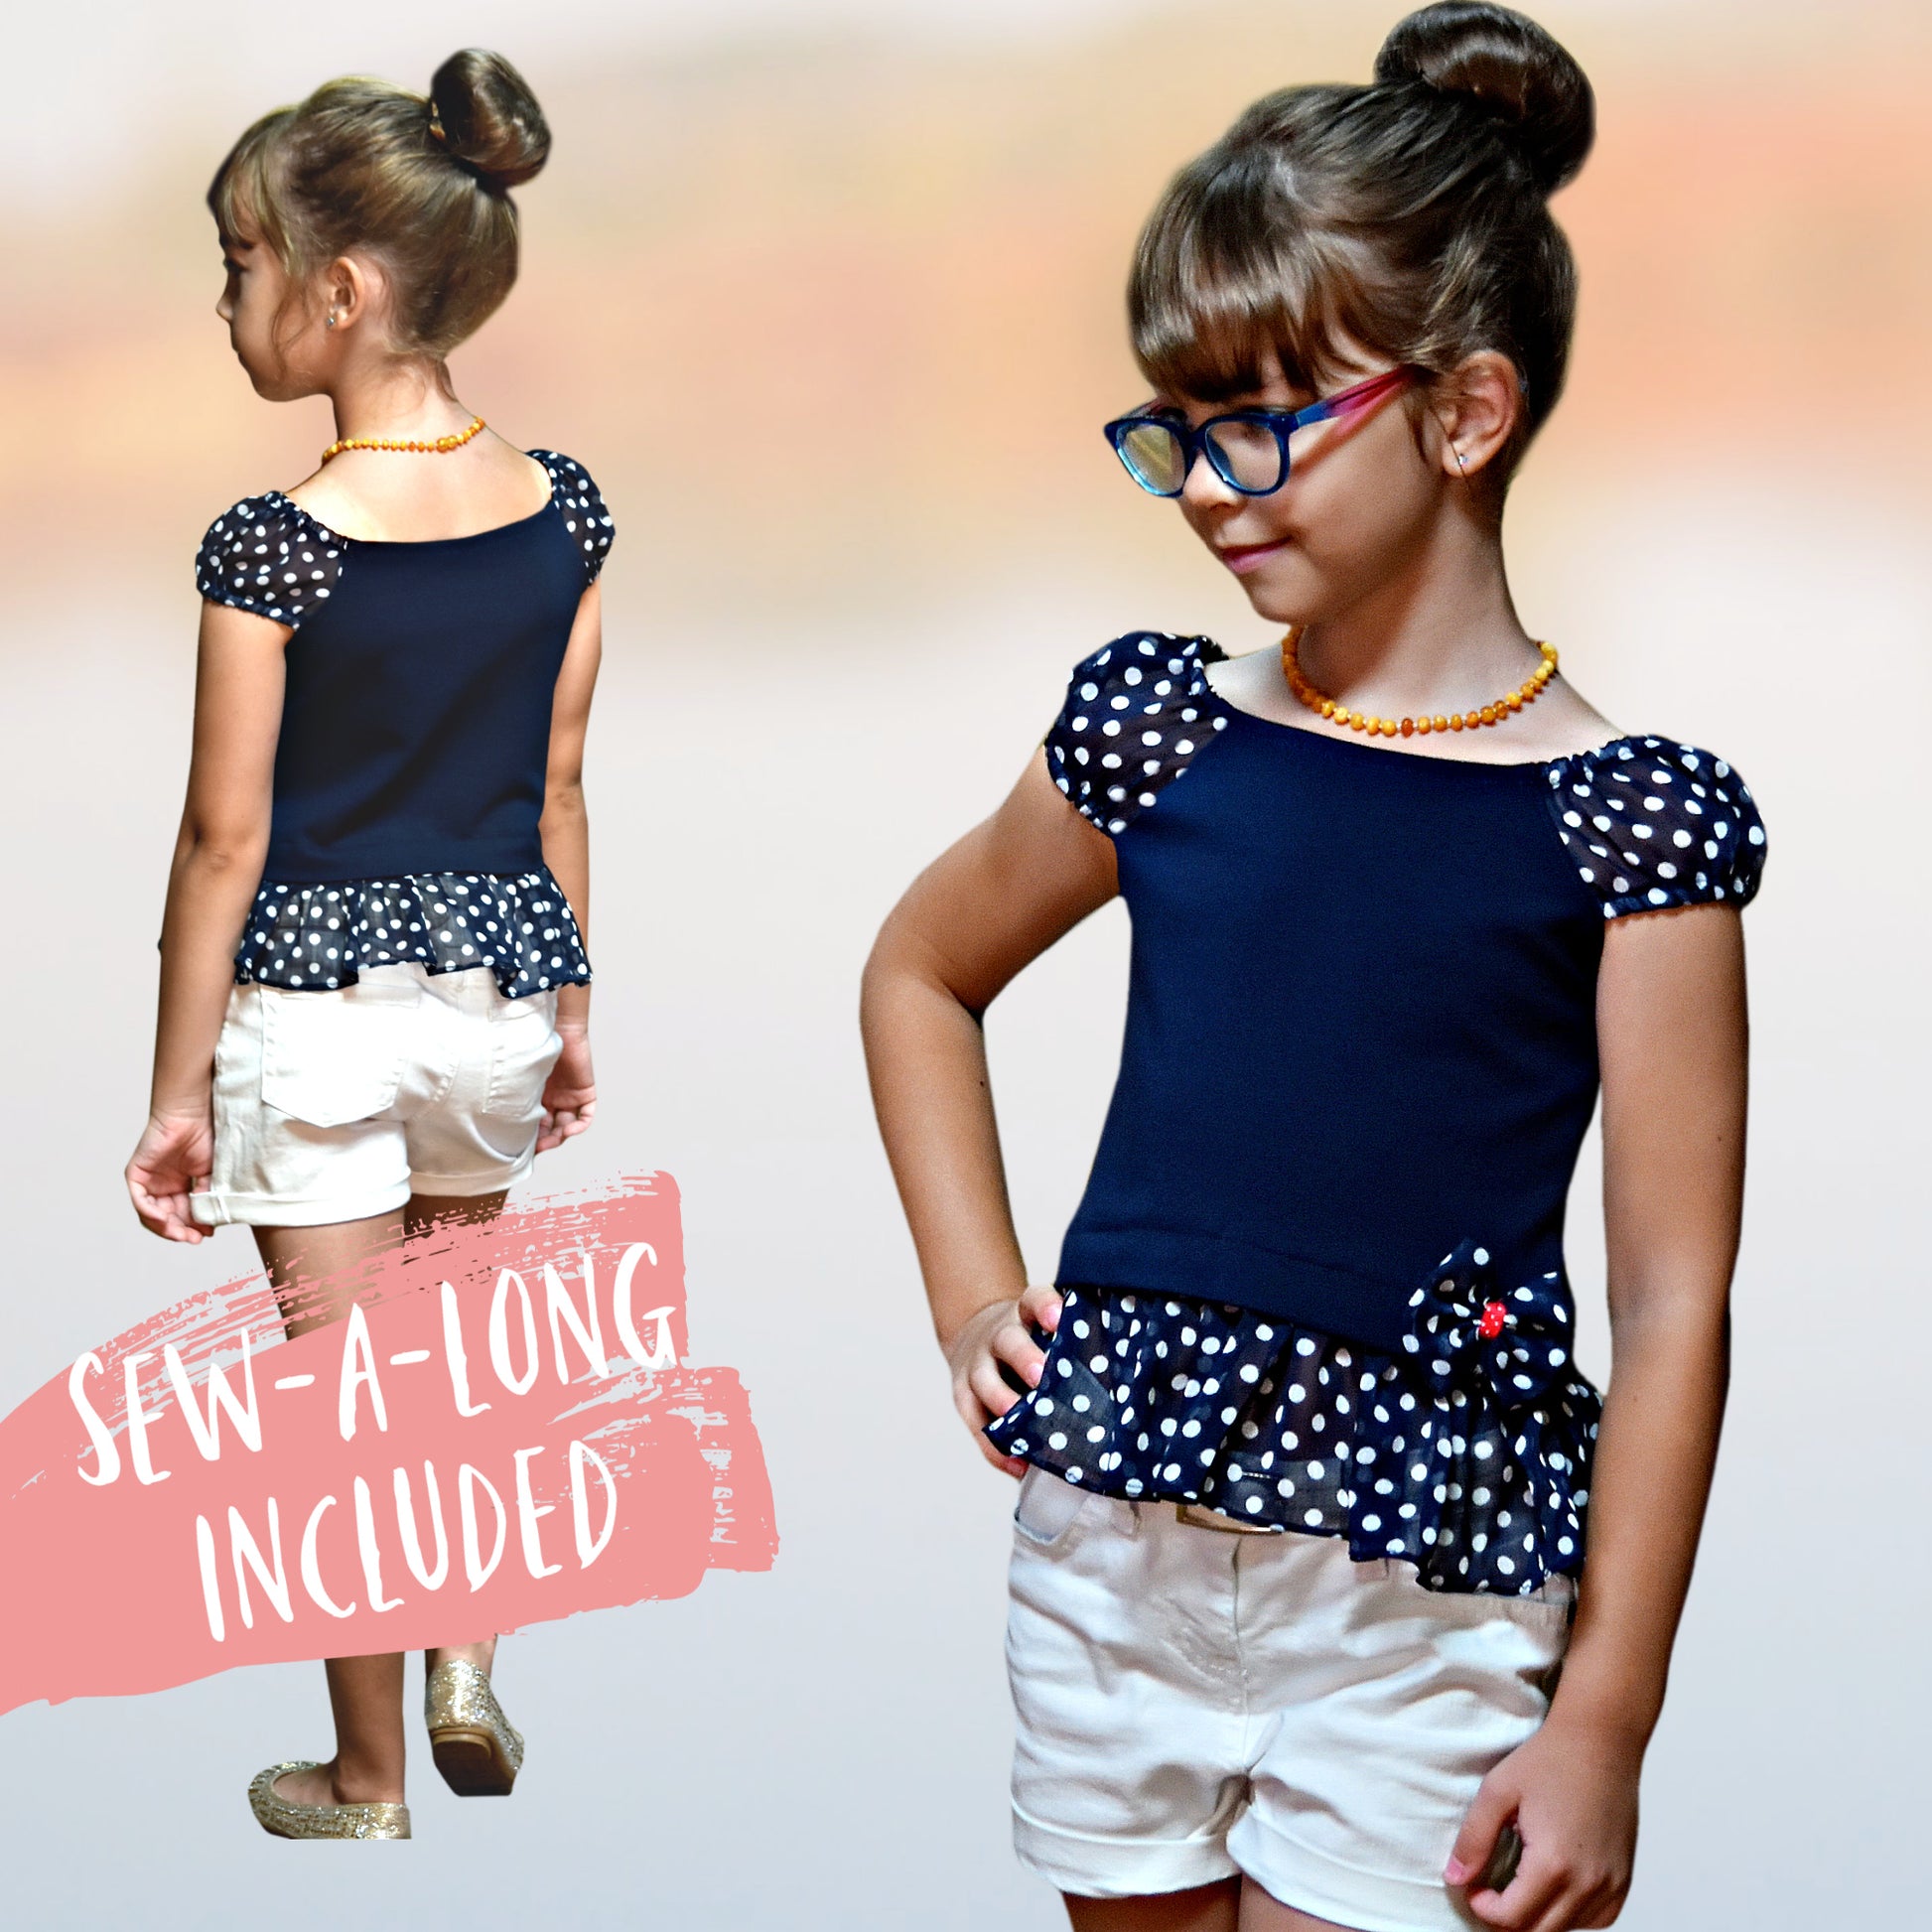
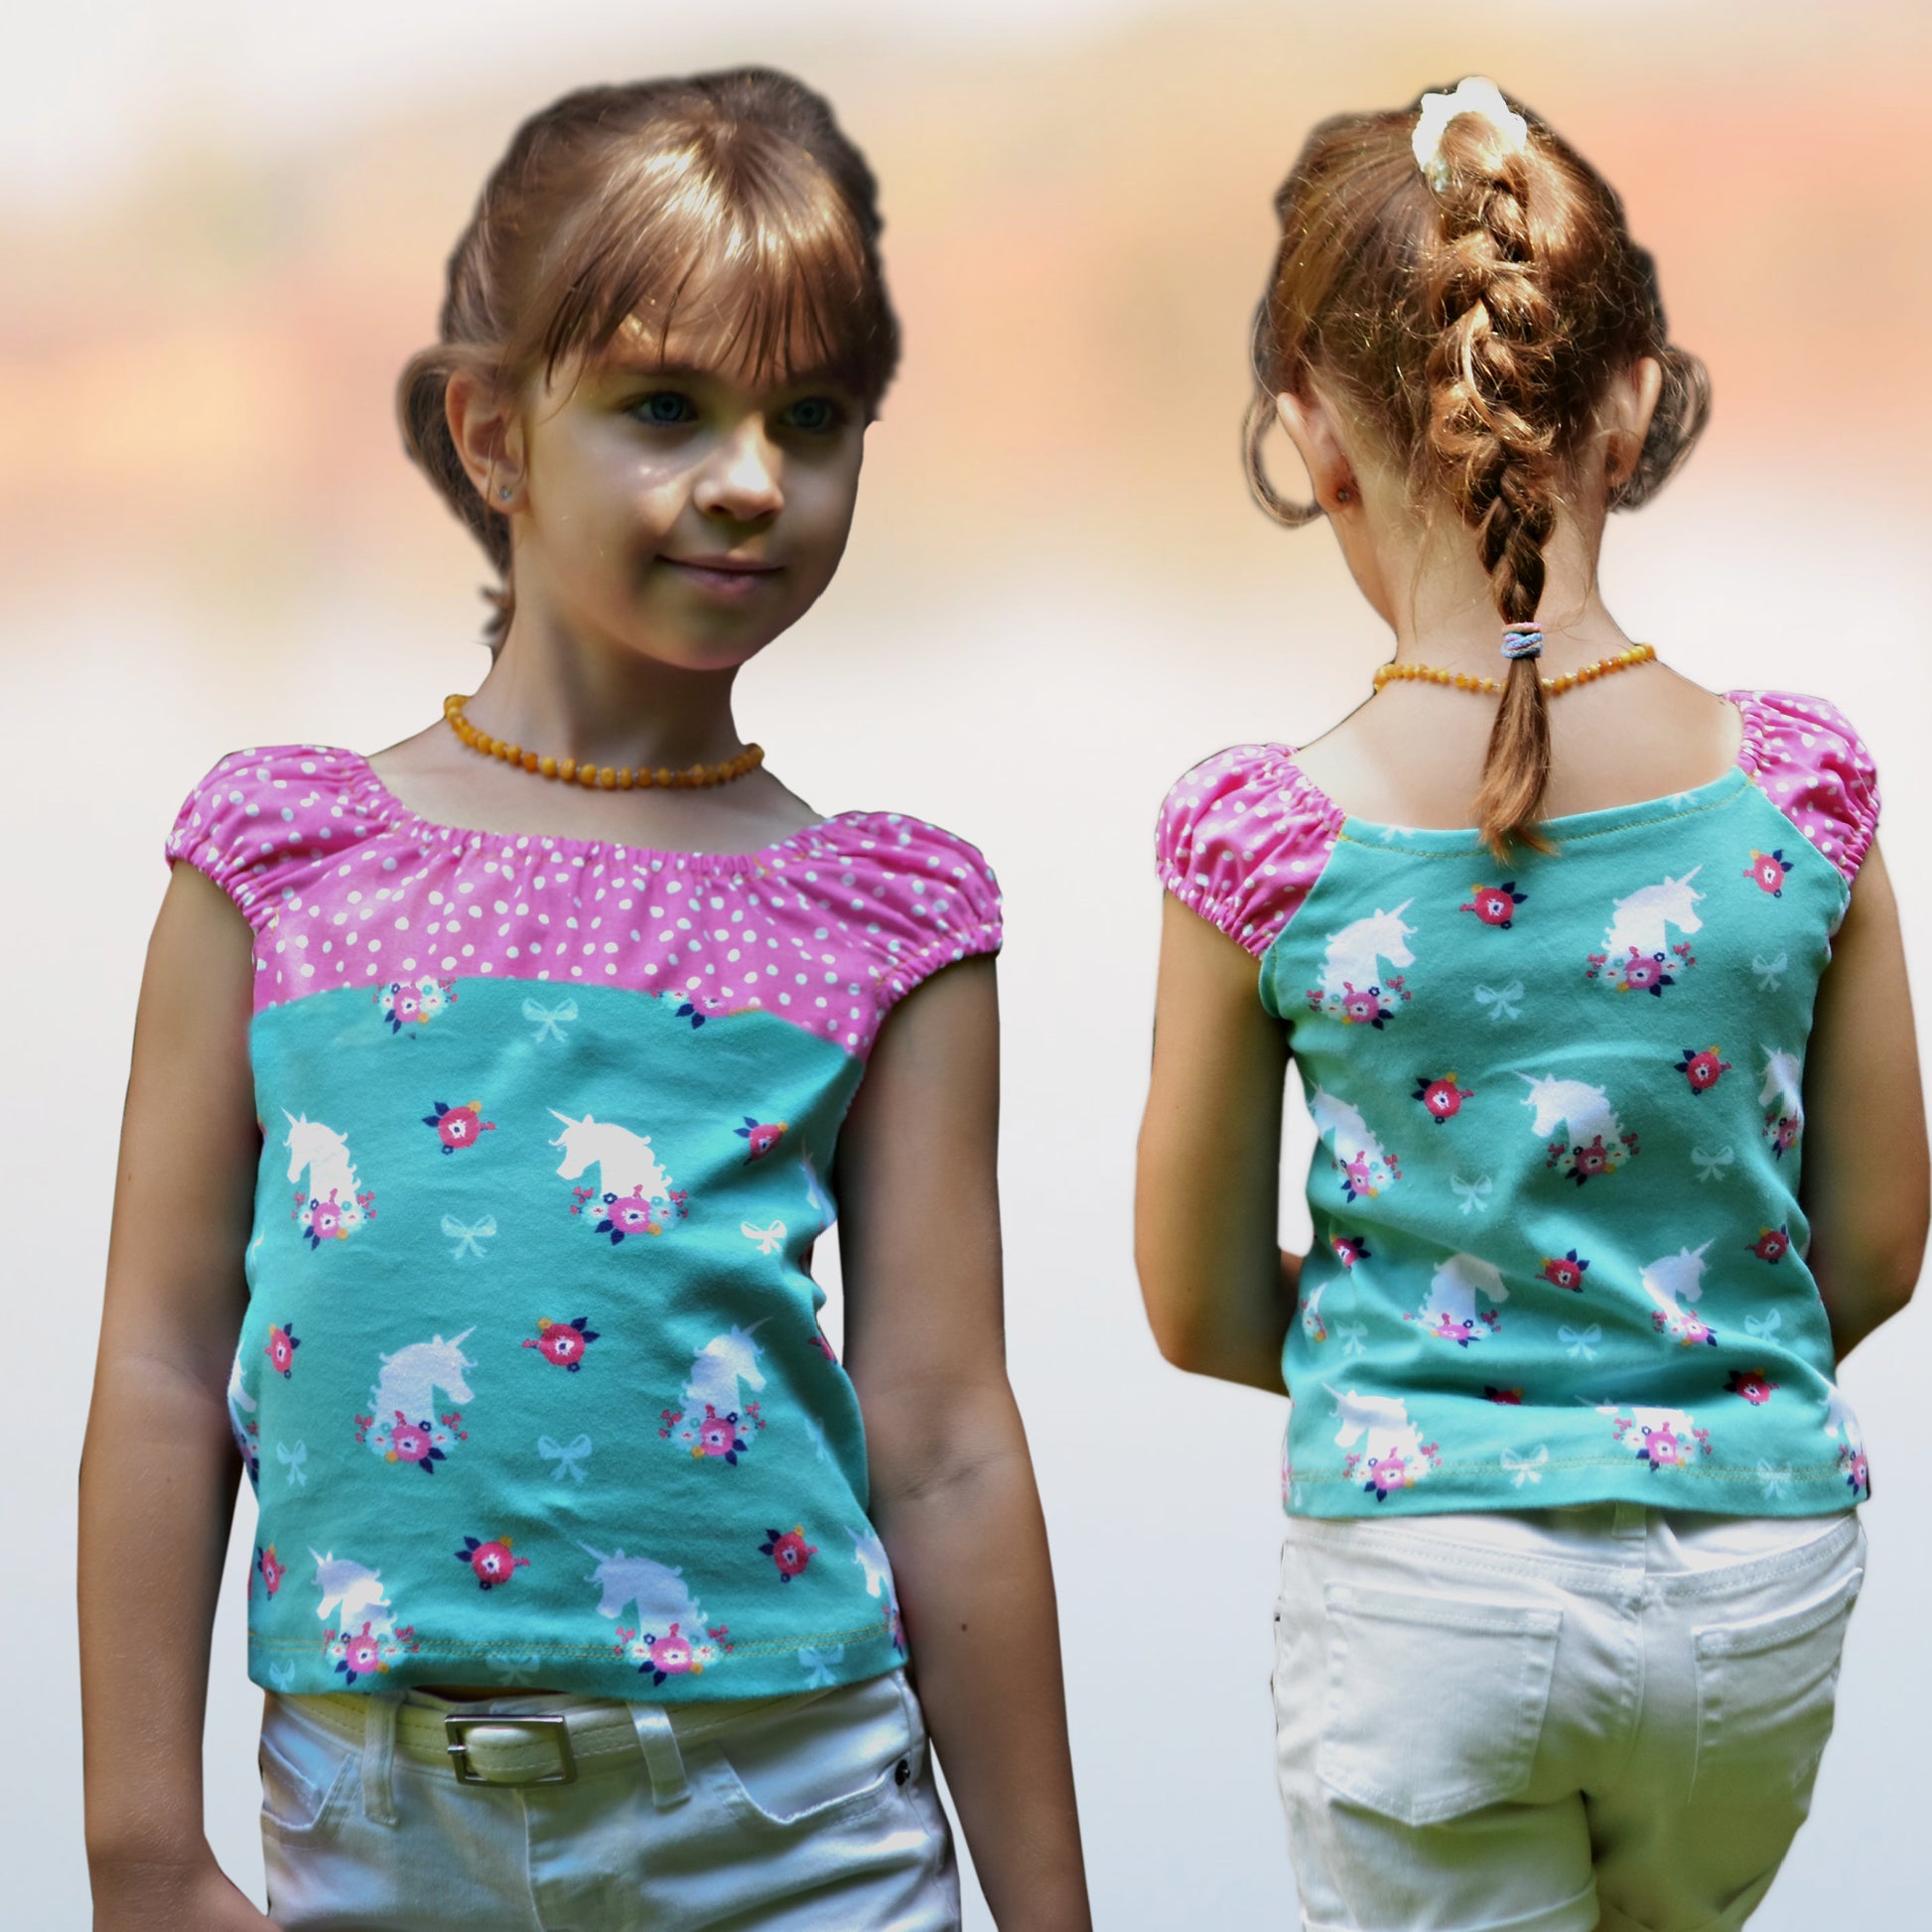
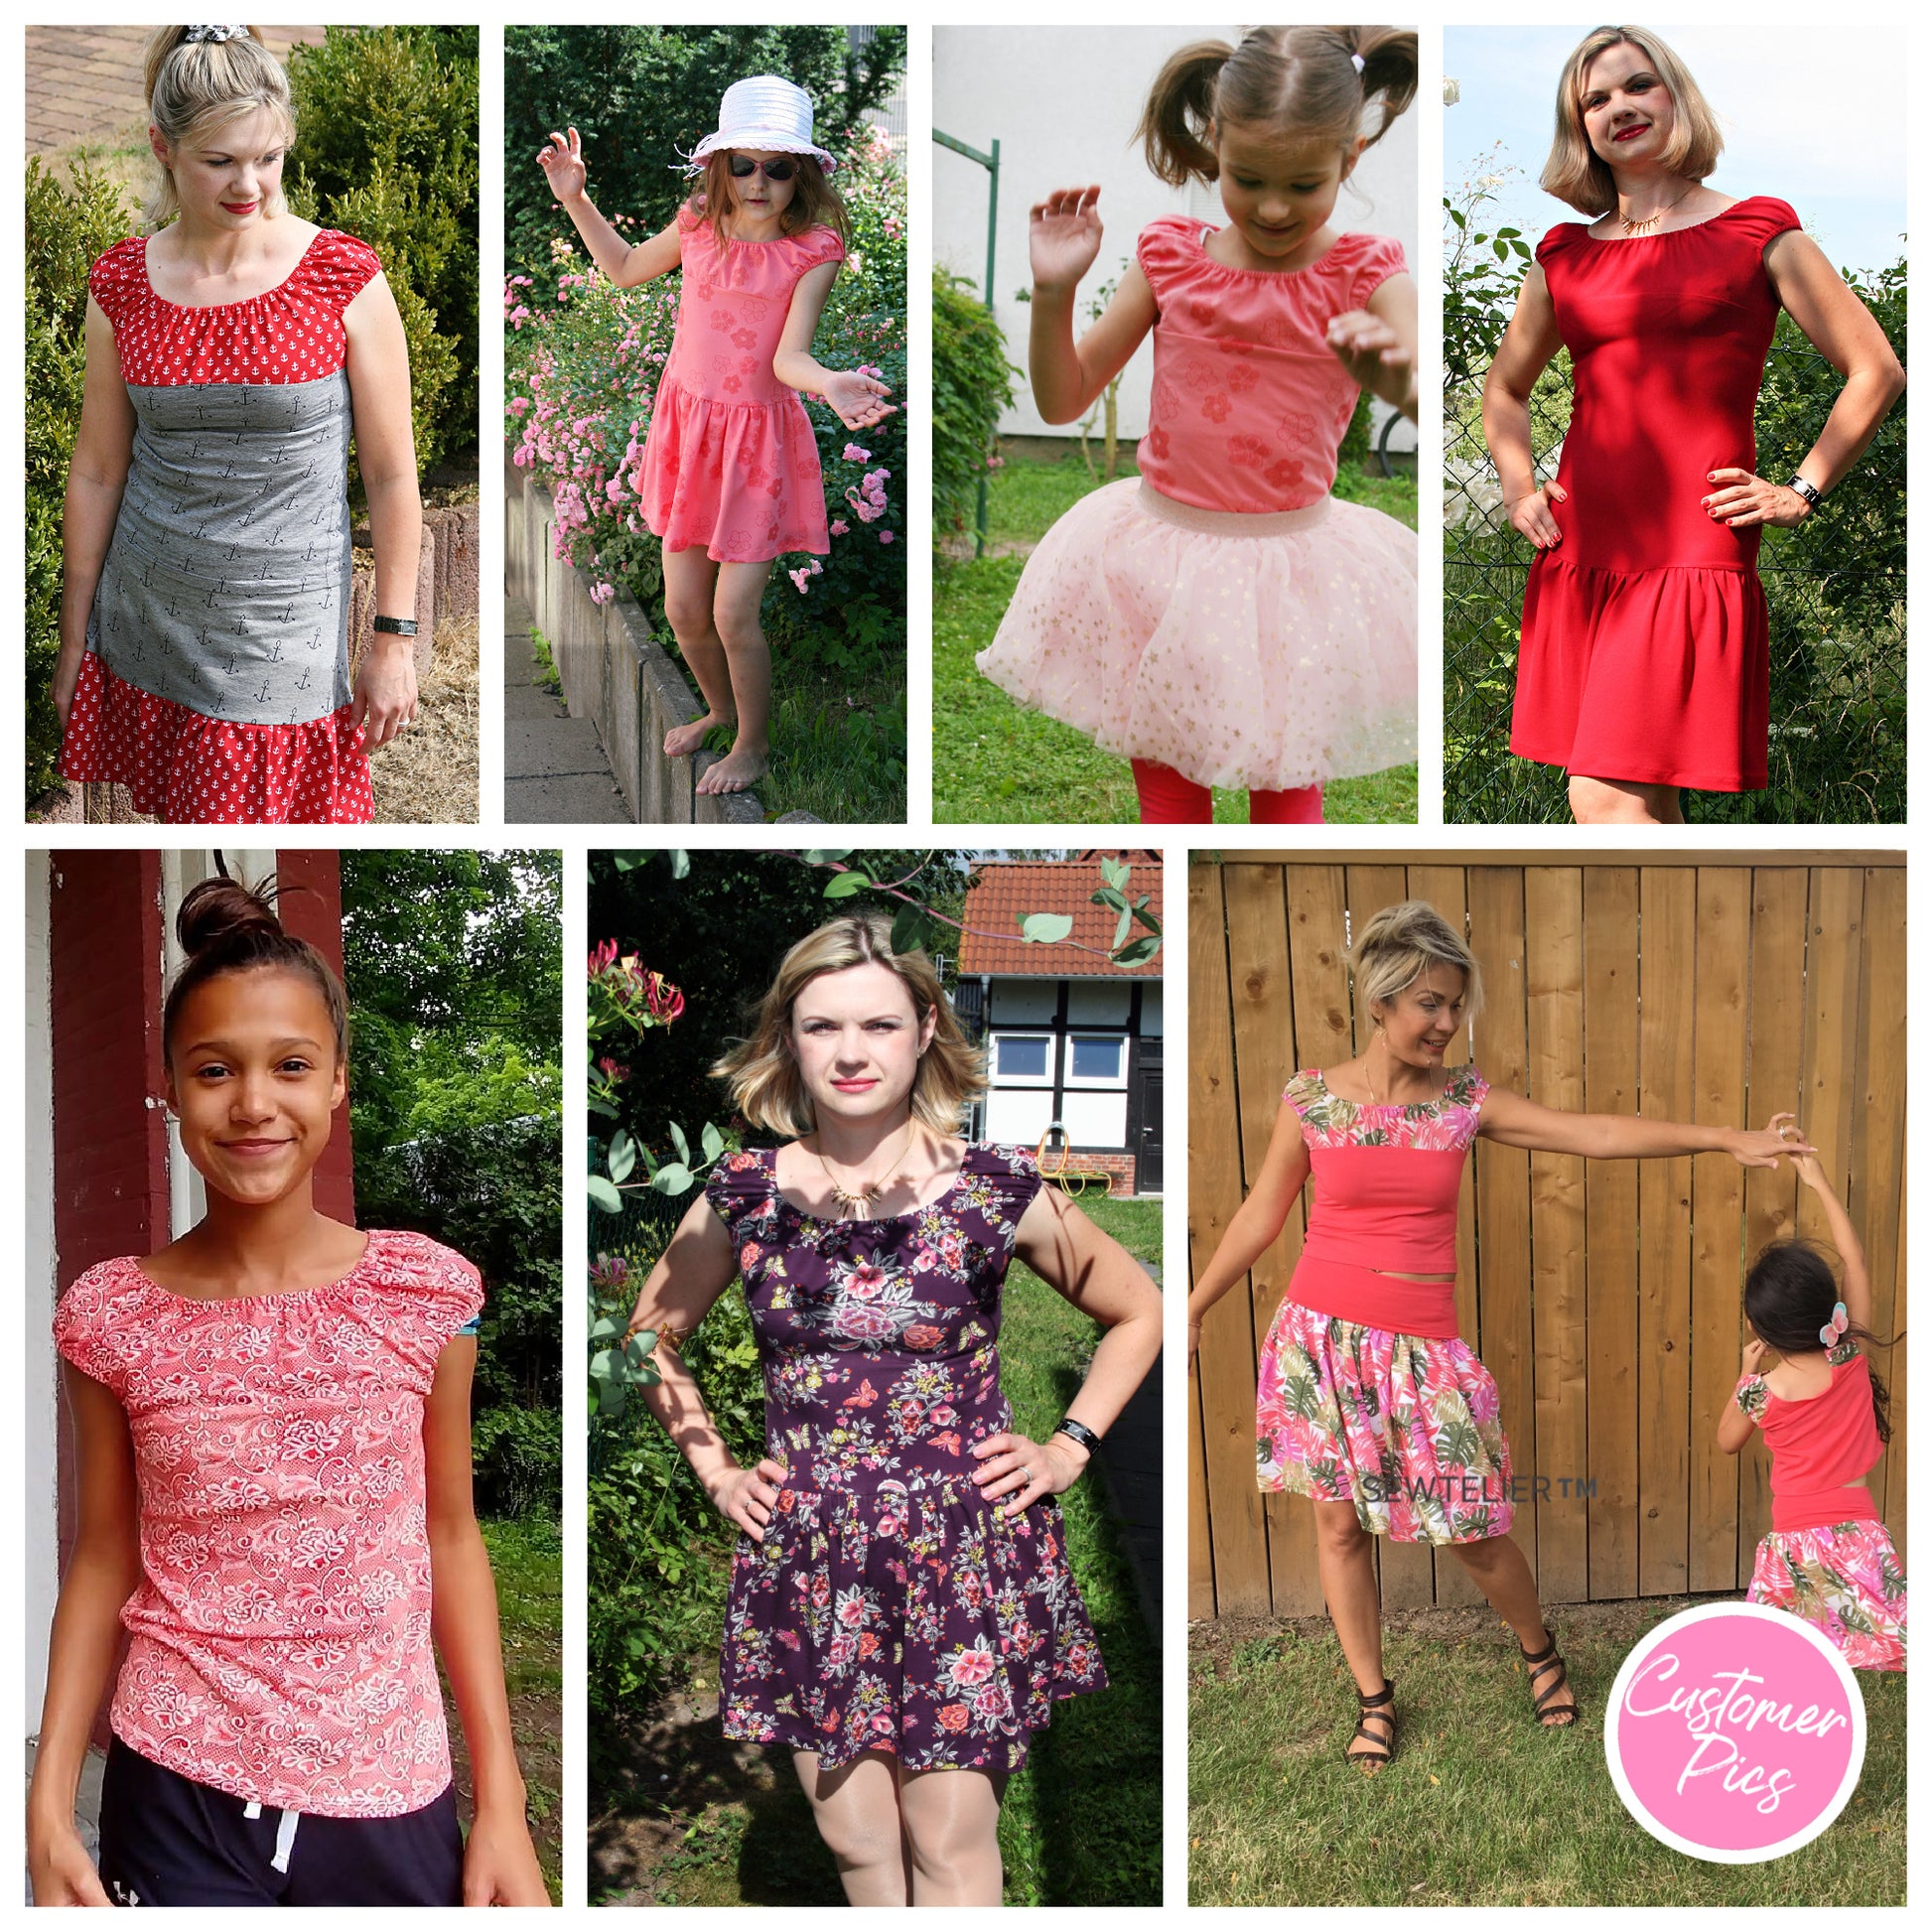
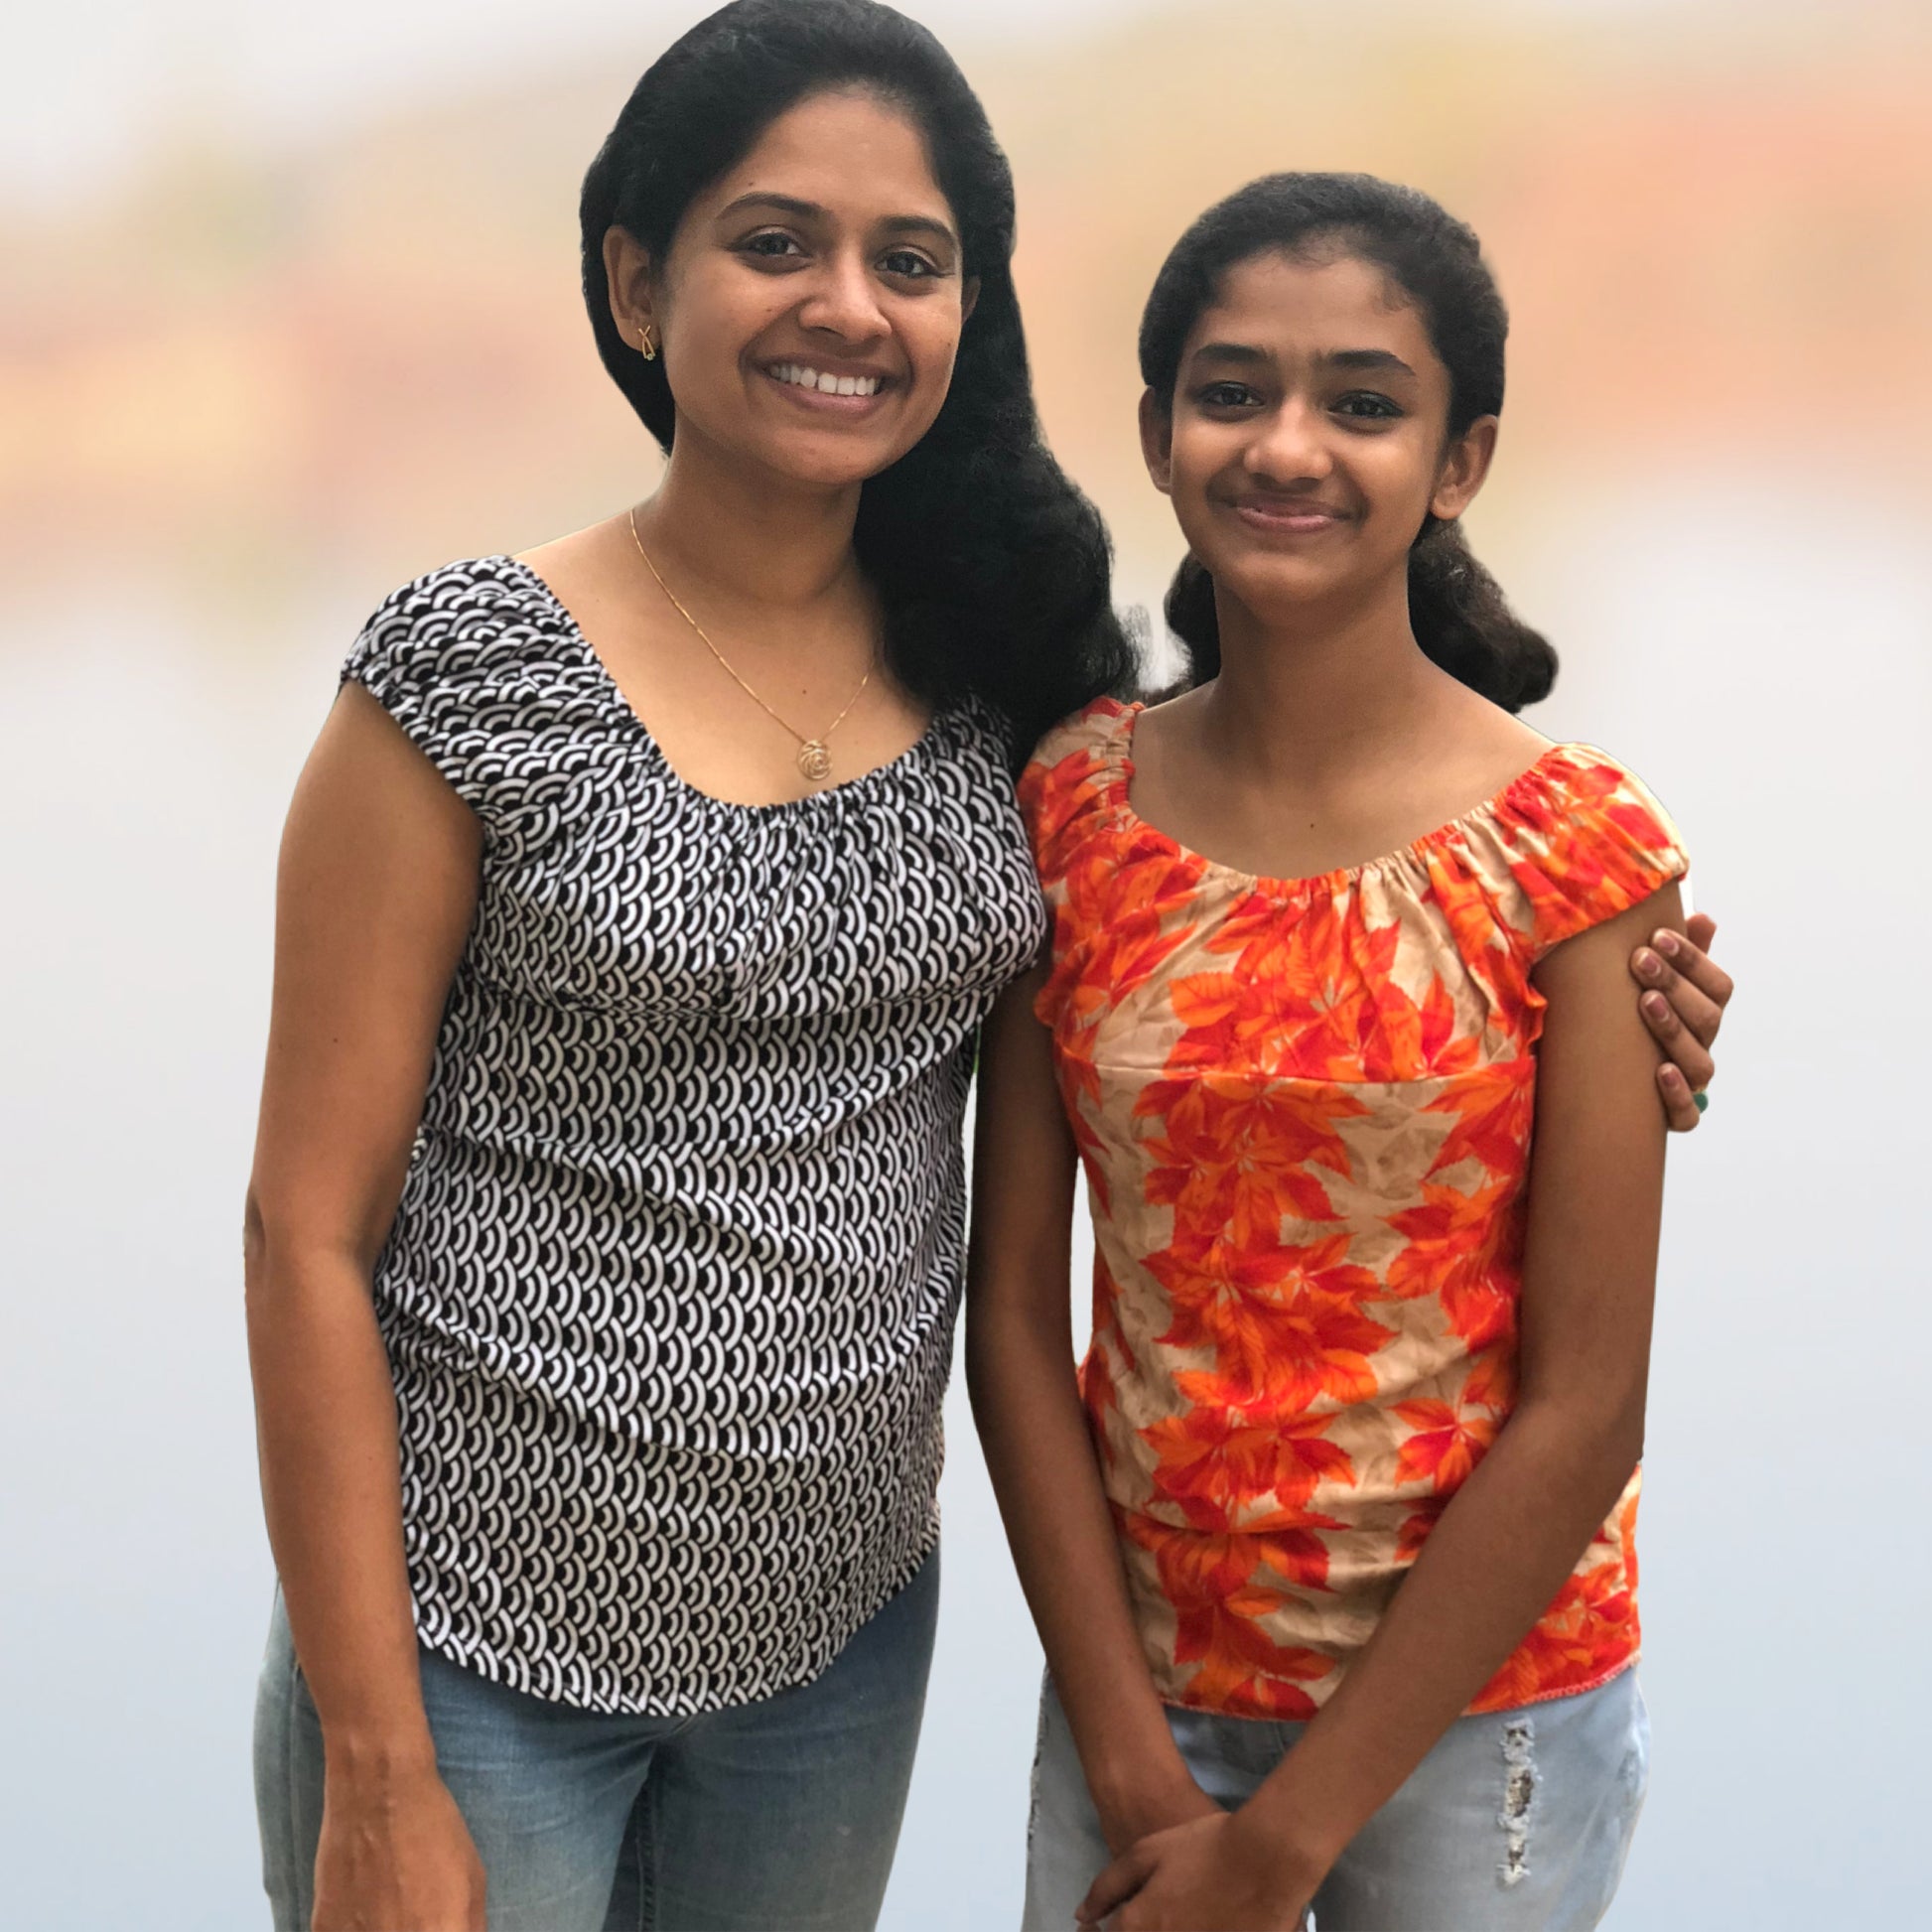
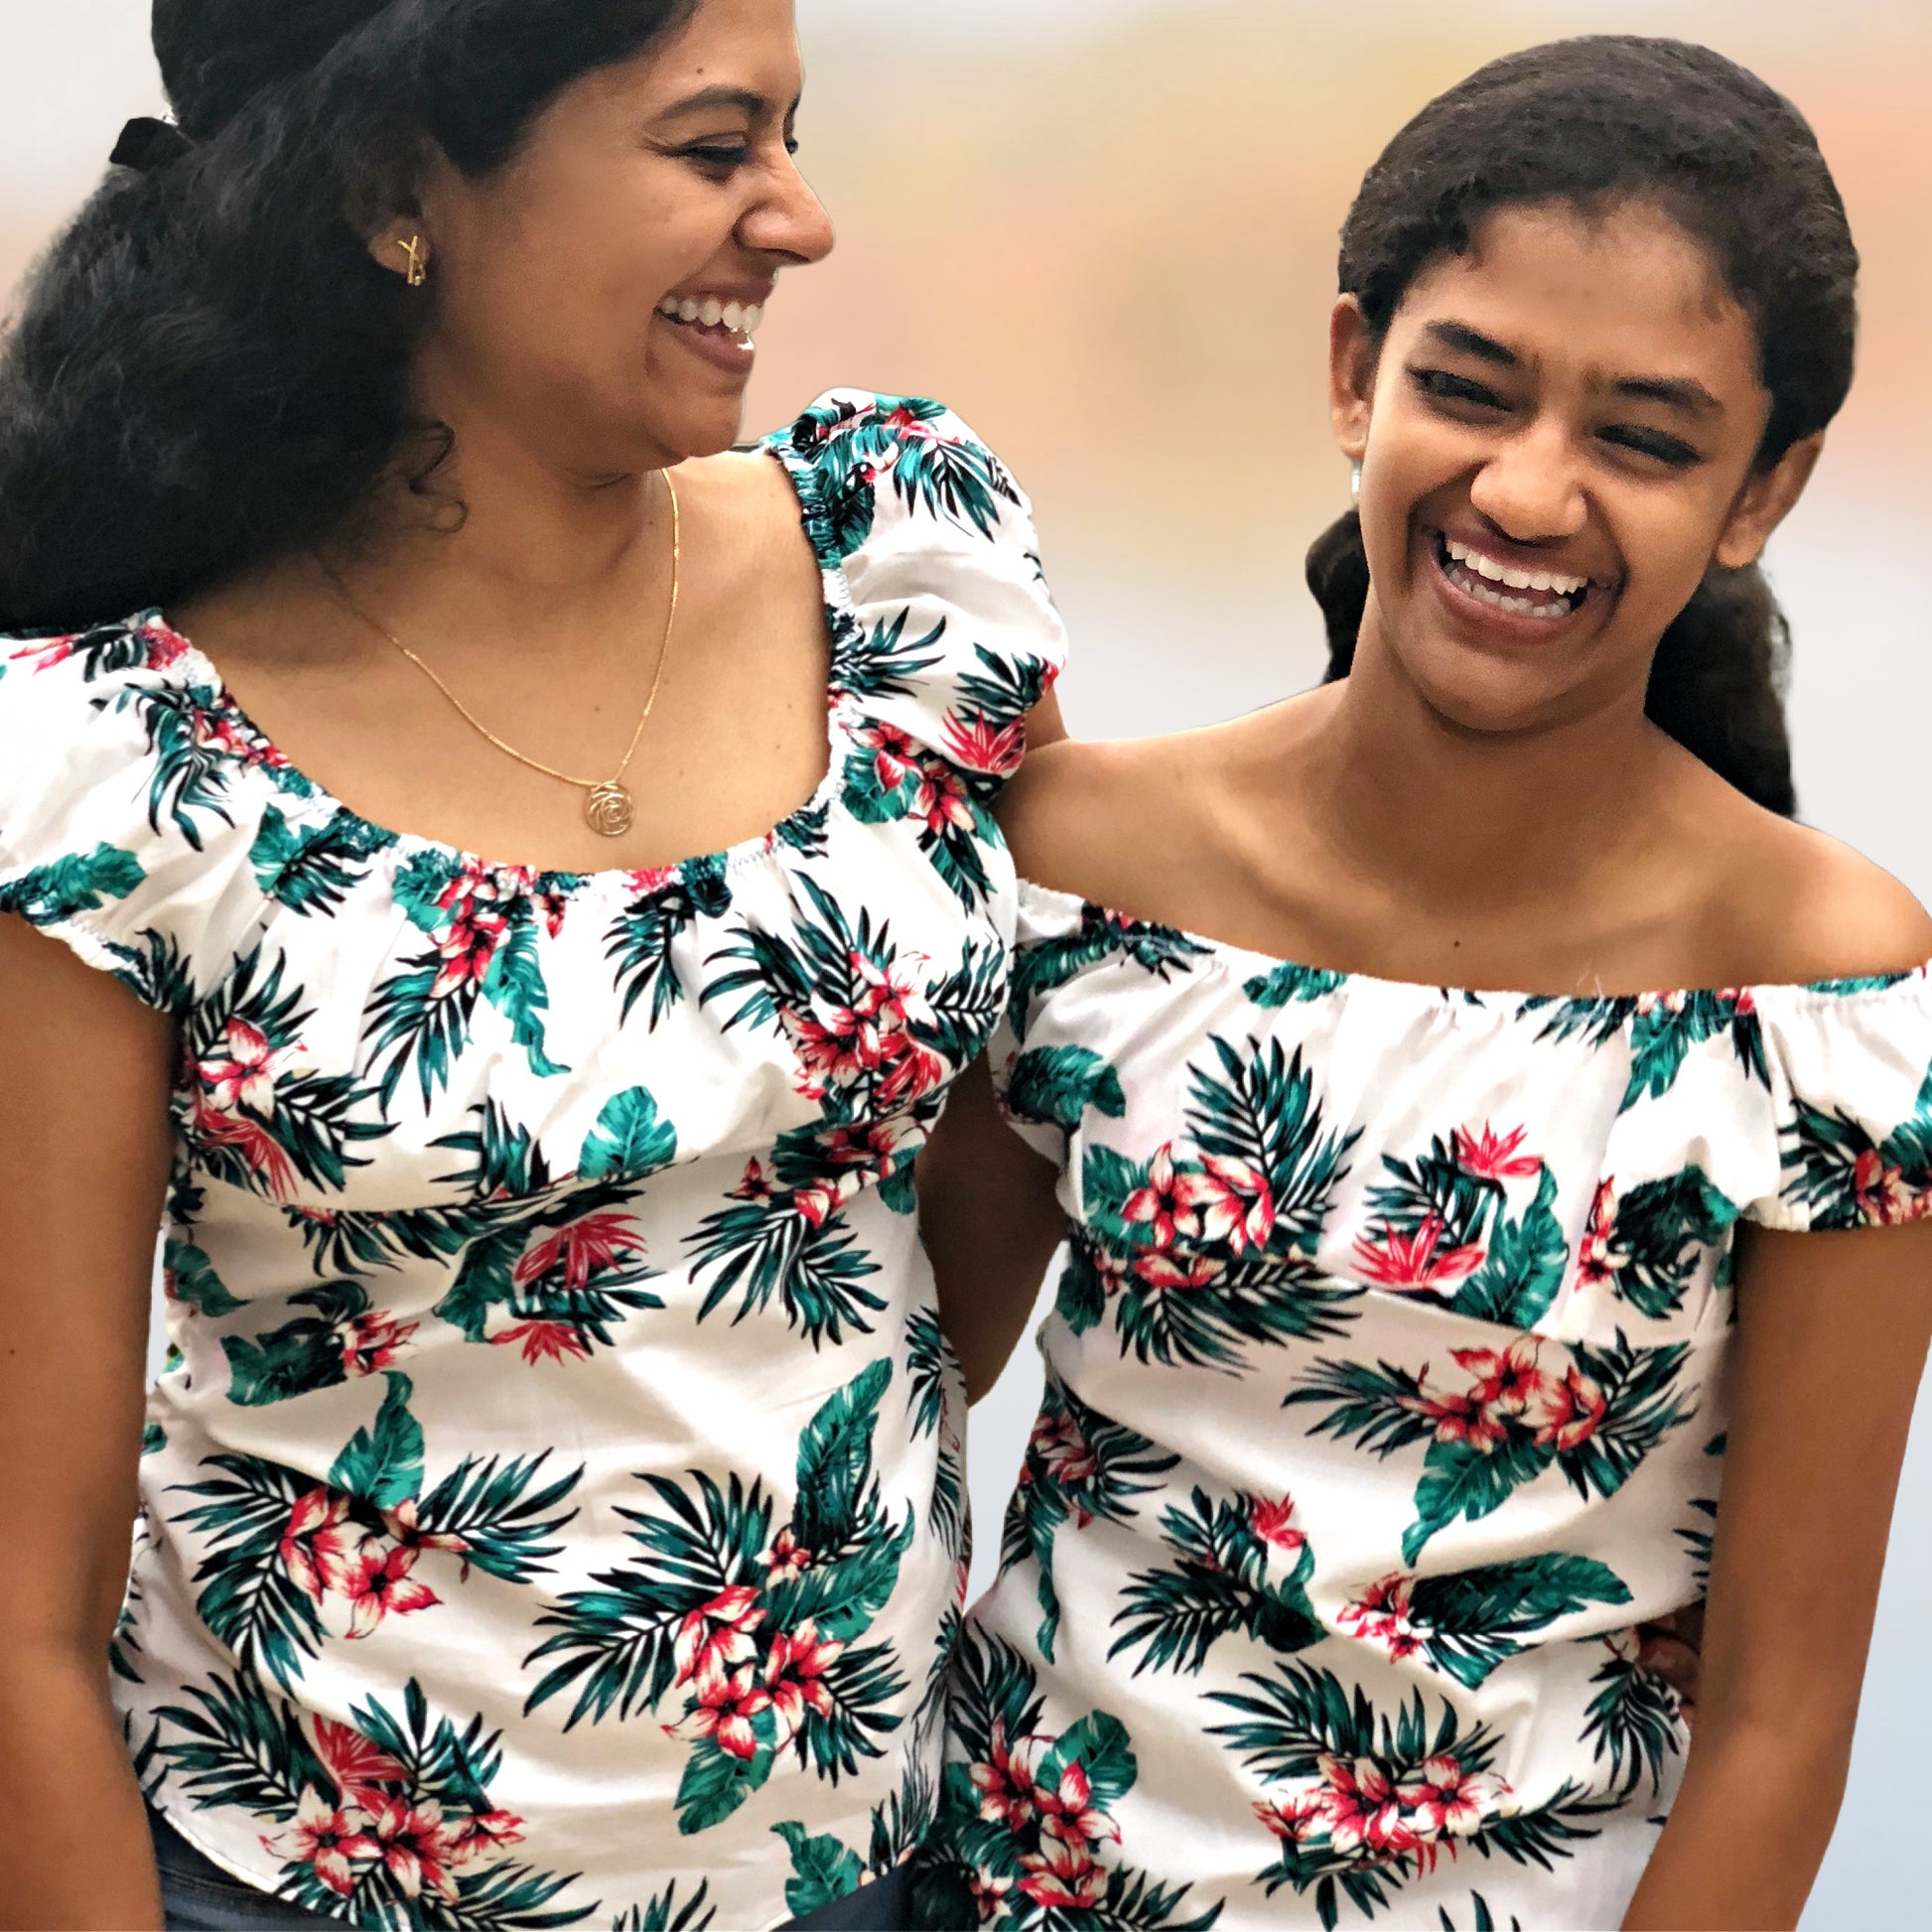
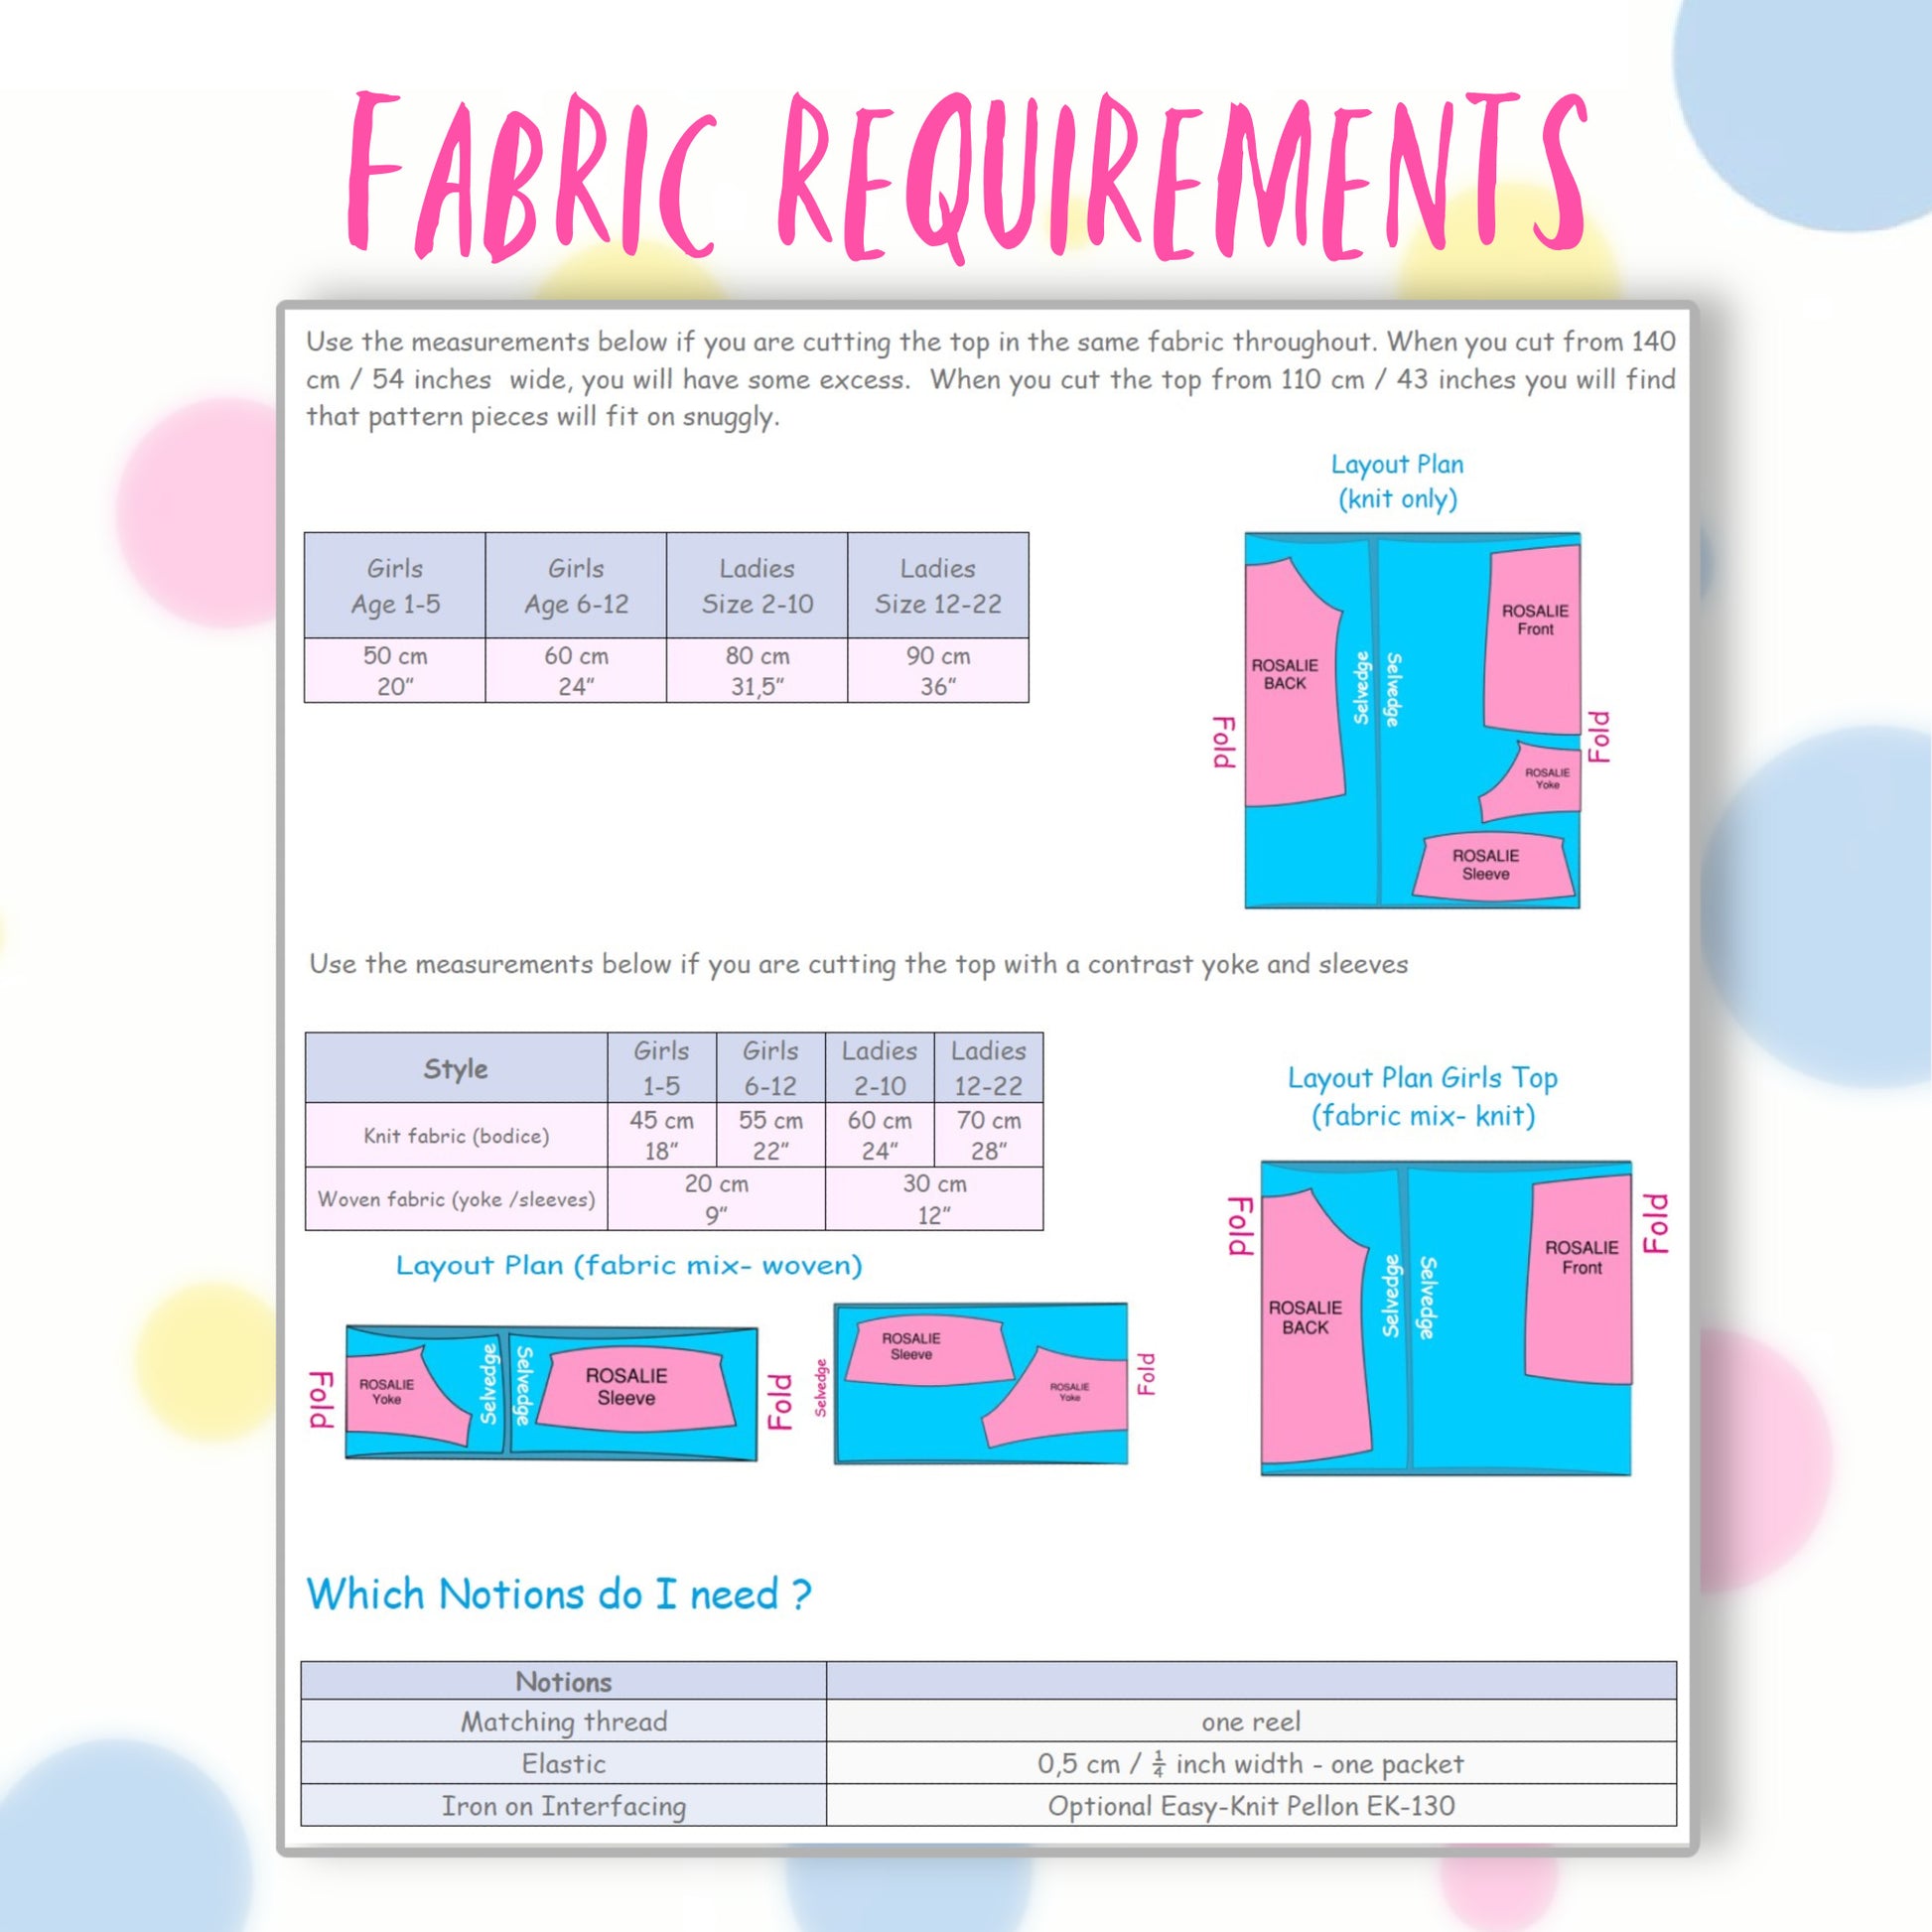
Das Rosalie Cottagecore Blusen Schnittmuster ist perfekt für Mädchen und Teens. Mit gewebter Passe, Jersey‑Bodice, Gummizug am Halsausschnitt und Puffärmeln in Carmen-Optik bringt diese romantische Trachten Bluse alles mit, was wir an Cottagecore lieben.
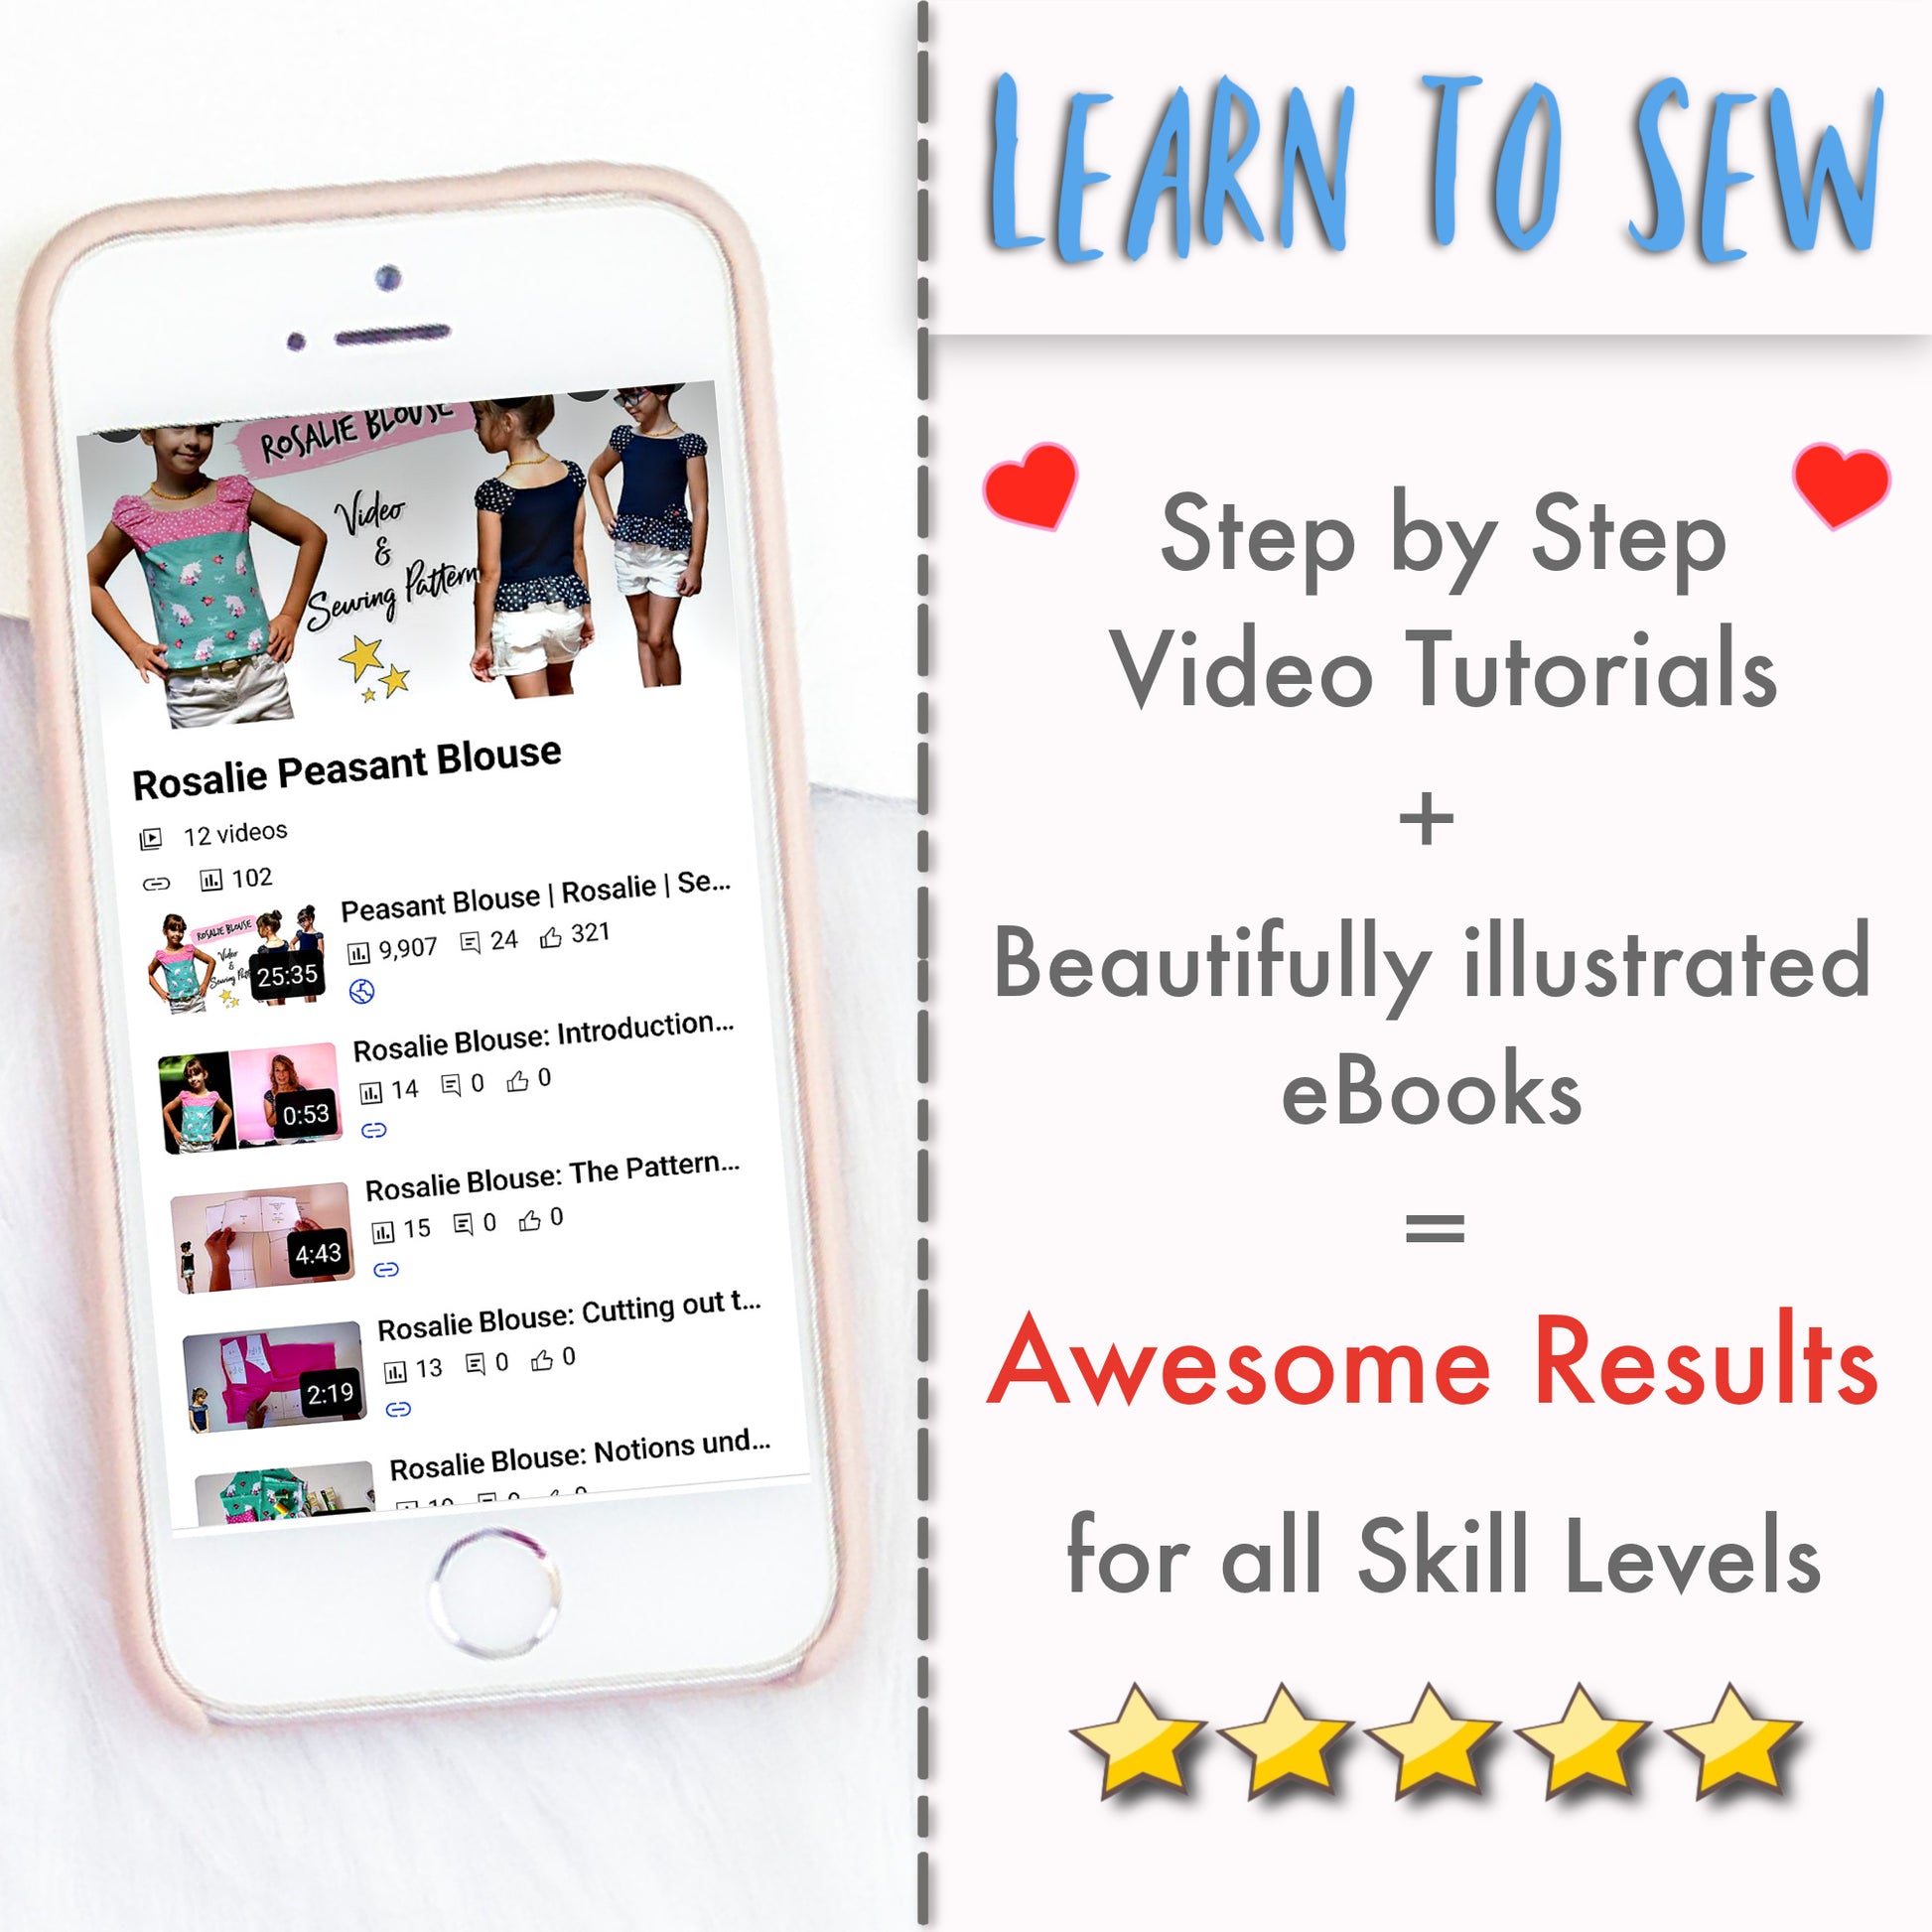
Diese anfängerfreundliche Bluse ist schnell genäht – und mit Marinas Video‑Tutorial fühlt es sich an, als würde eine liebe Freundin direkt neben dir mitnähen und dich begleiten.
Was ist beim Schnittmuster dabei?
Was ist beim Schnittmuster dabei?
Design
Design
Stoffverbrauch
Stoffverbrauch
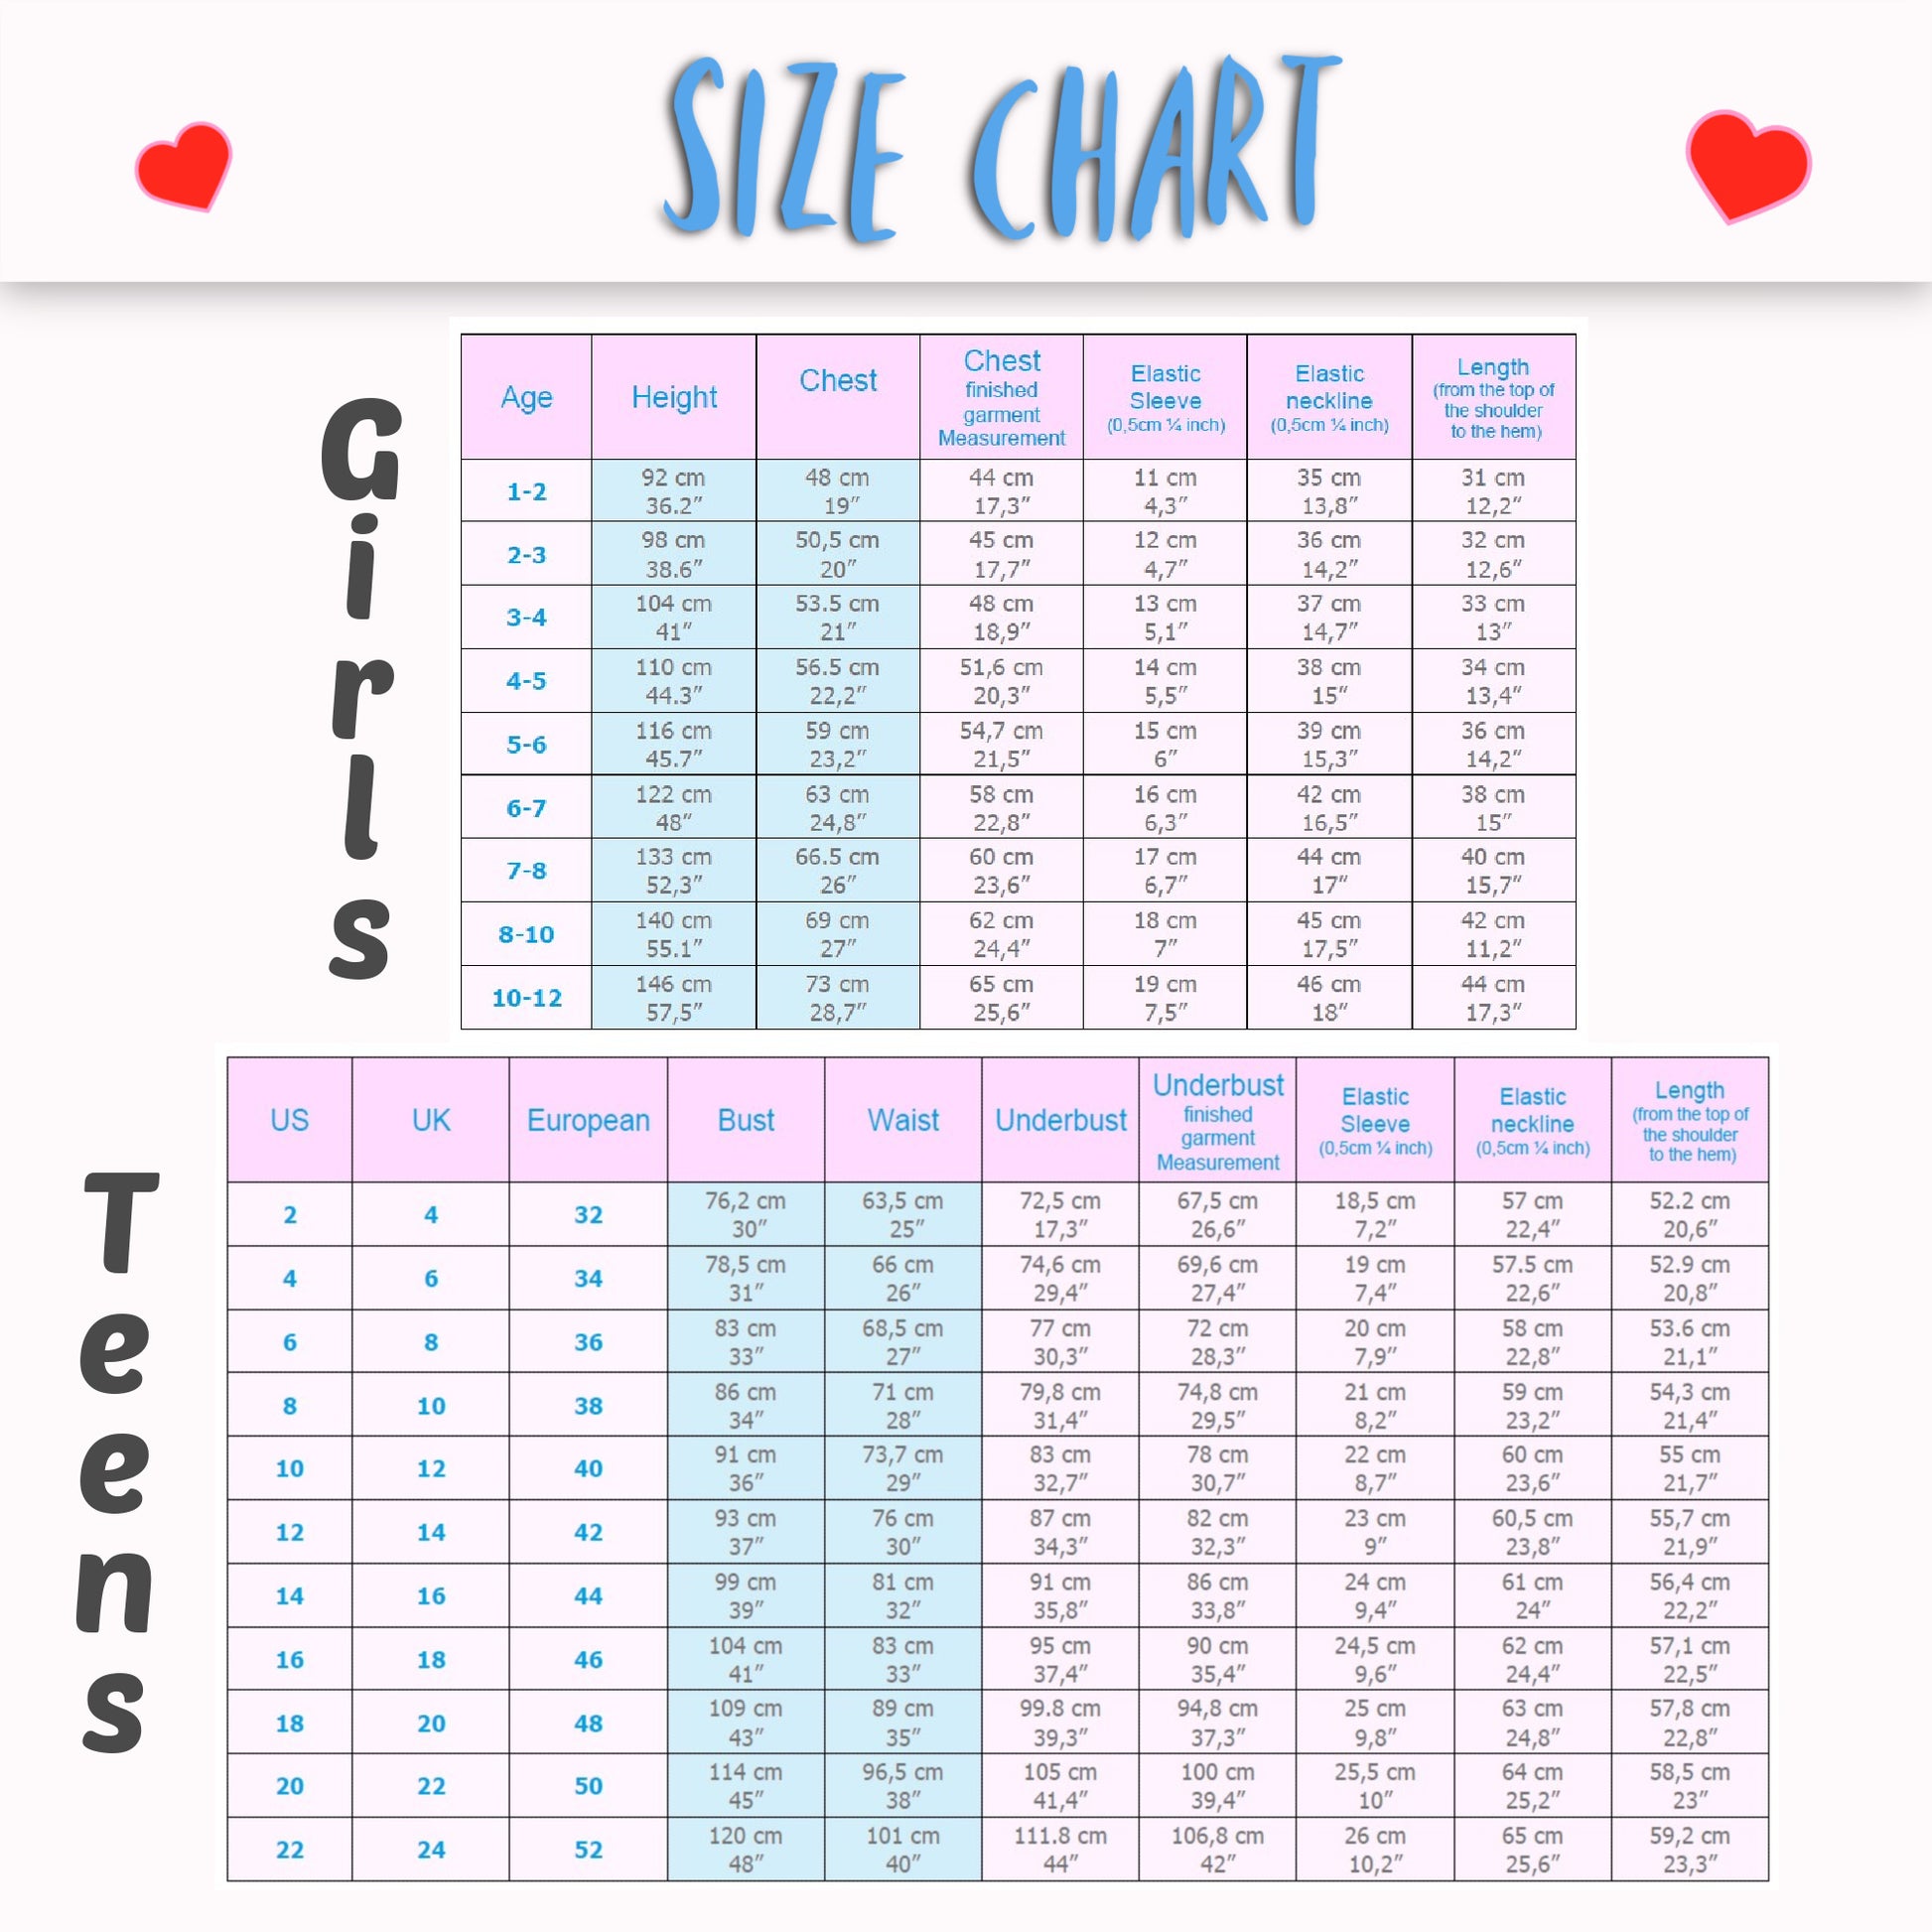
Verfügbare Größen
Verfügbare Größen
Bitte beachten
Bitte beachten


SCHRITT-FÜR-SCHRITT ANLEITUNG

EINFÜHRUNG IN DAS PROJEKT

DAS SCHNITTMUSTER

ZUSCHNITT

KURZWAREN & VORBEREITUNG

DAS VORDERTEIL & DIE PASSE ZUSAMMENNÄHEN

SEITENNÄHTE & SAUM

DIE ÄRMEL

DER HALSAUSSCHNITT

BONUS: EINE SAUMRÜSCHEN ANNÄHEN

BONUS: FALTENROCK