Box Bag: Instructions
Transcript for Video: Box Bag – Construction, Assembly, and Finishing
Introduction
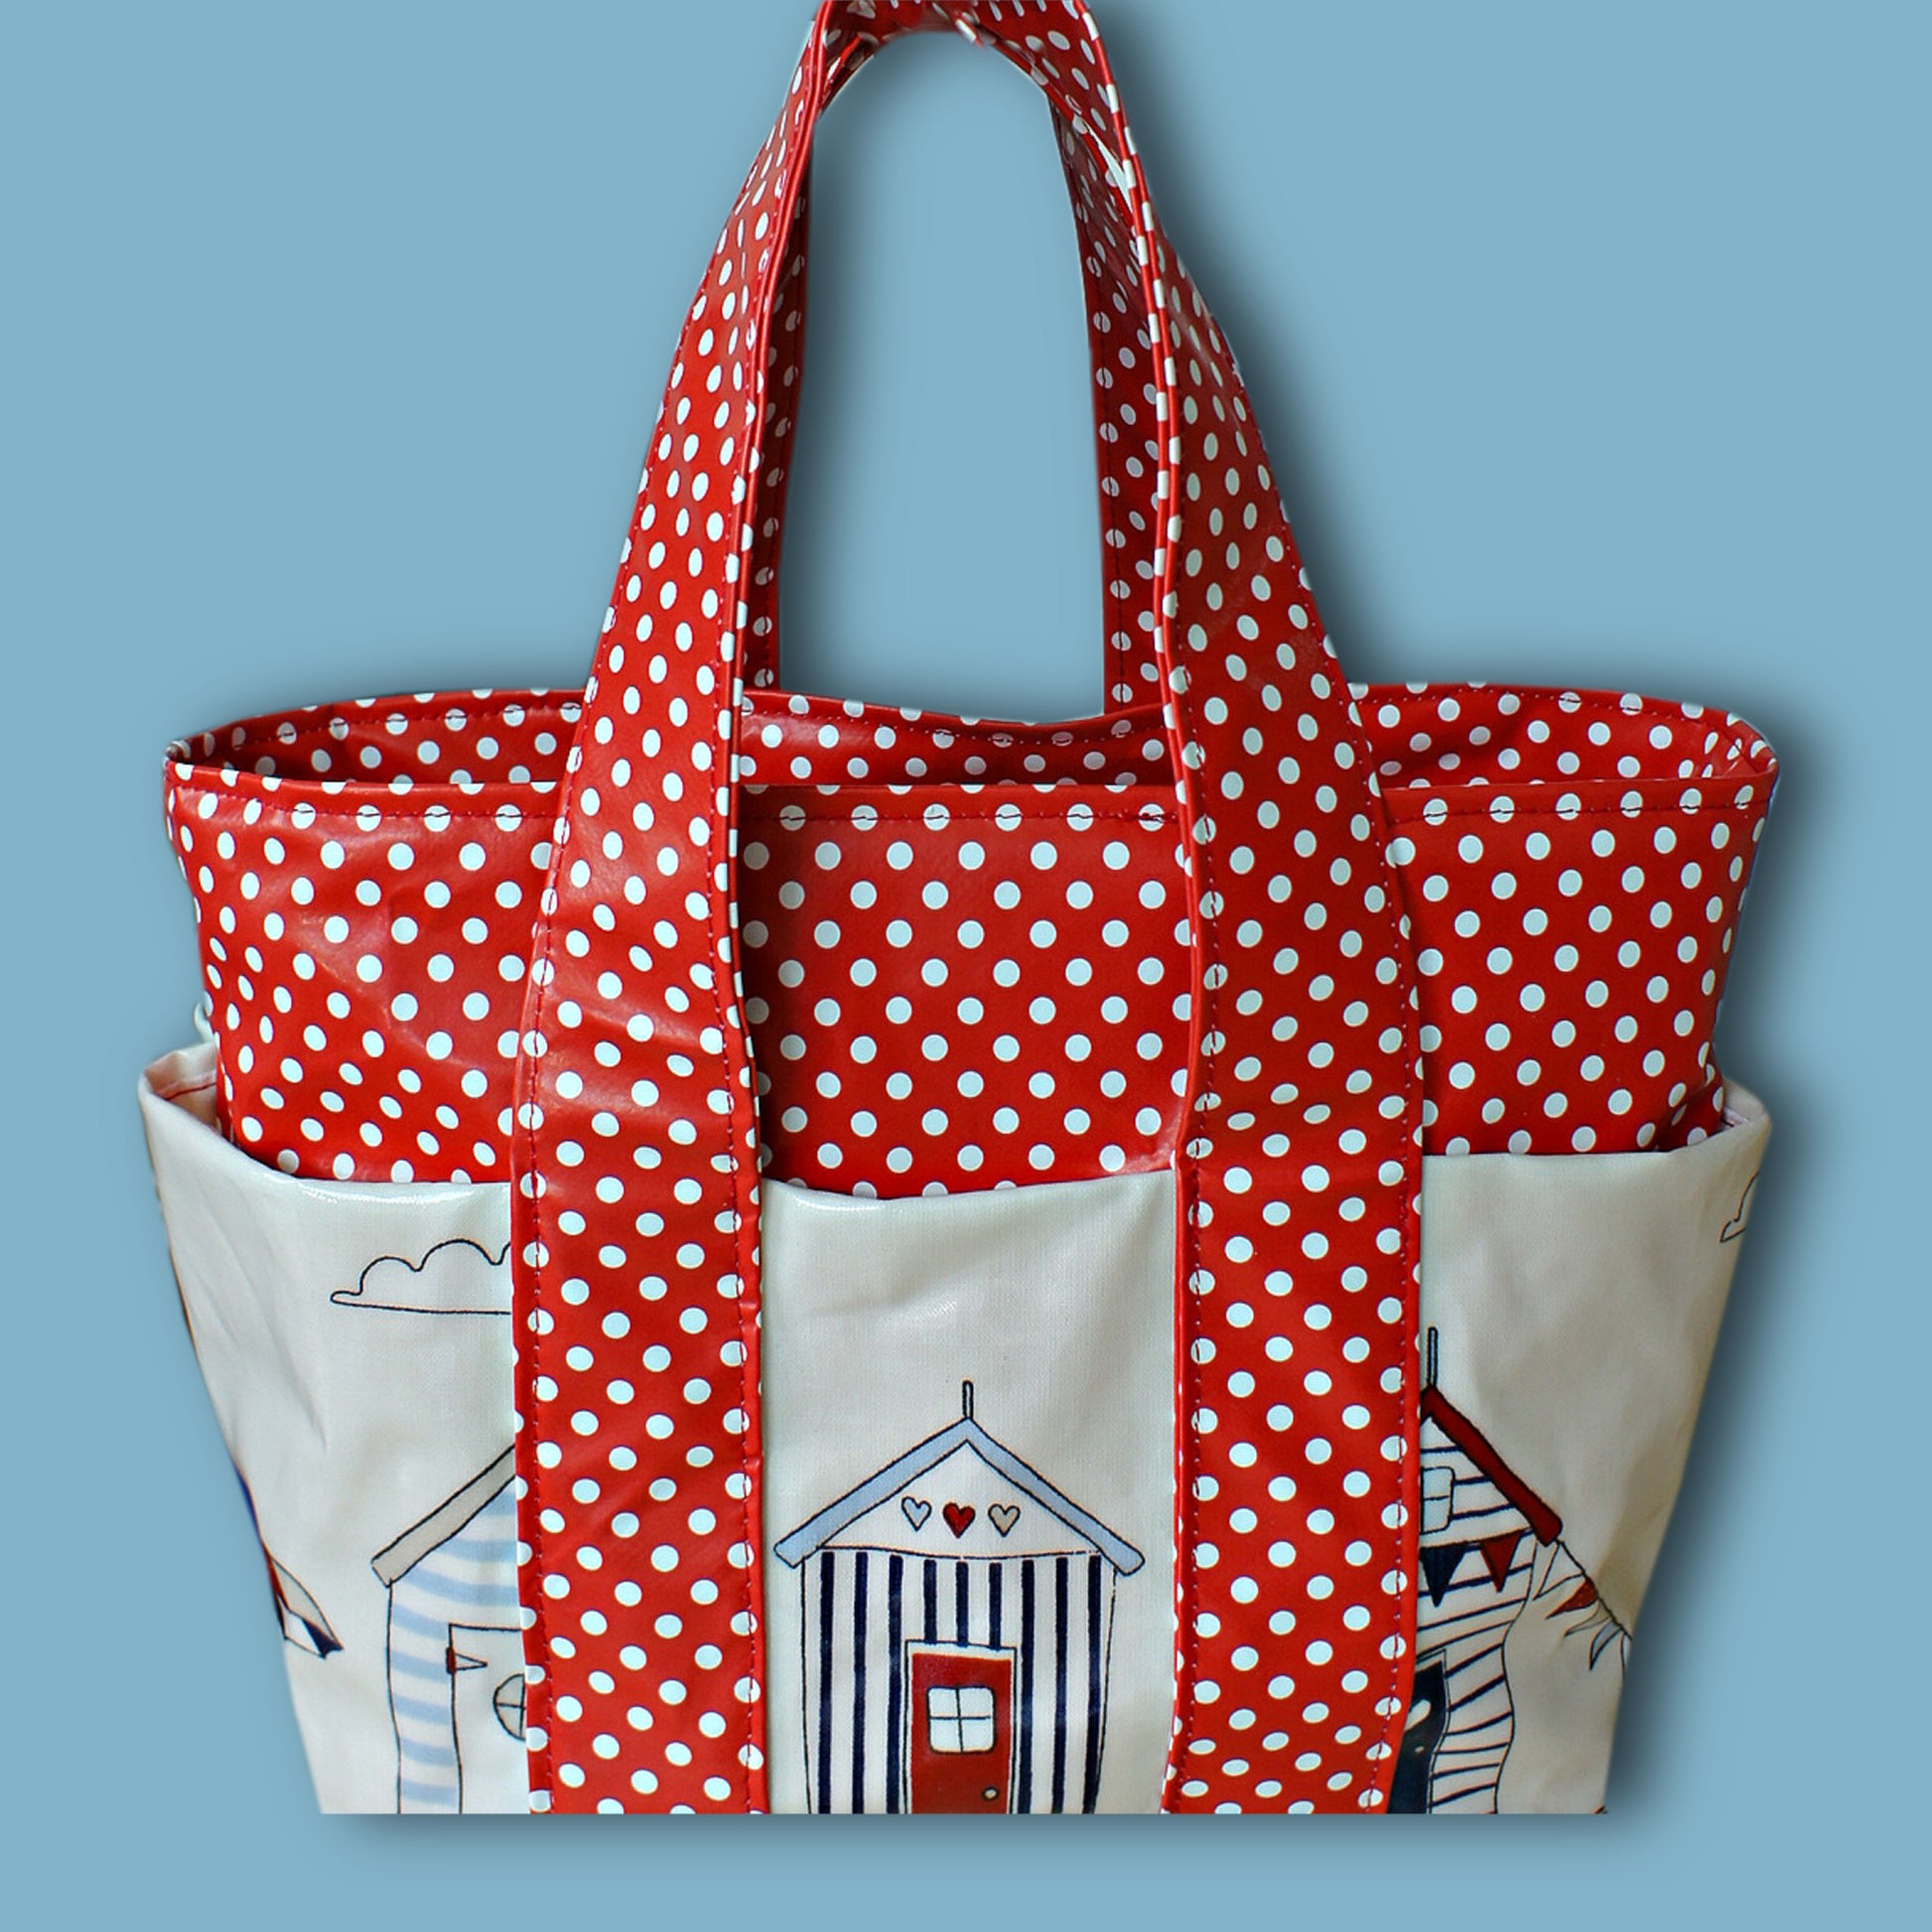
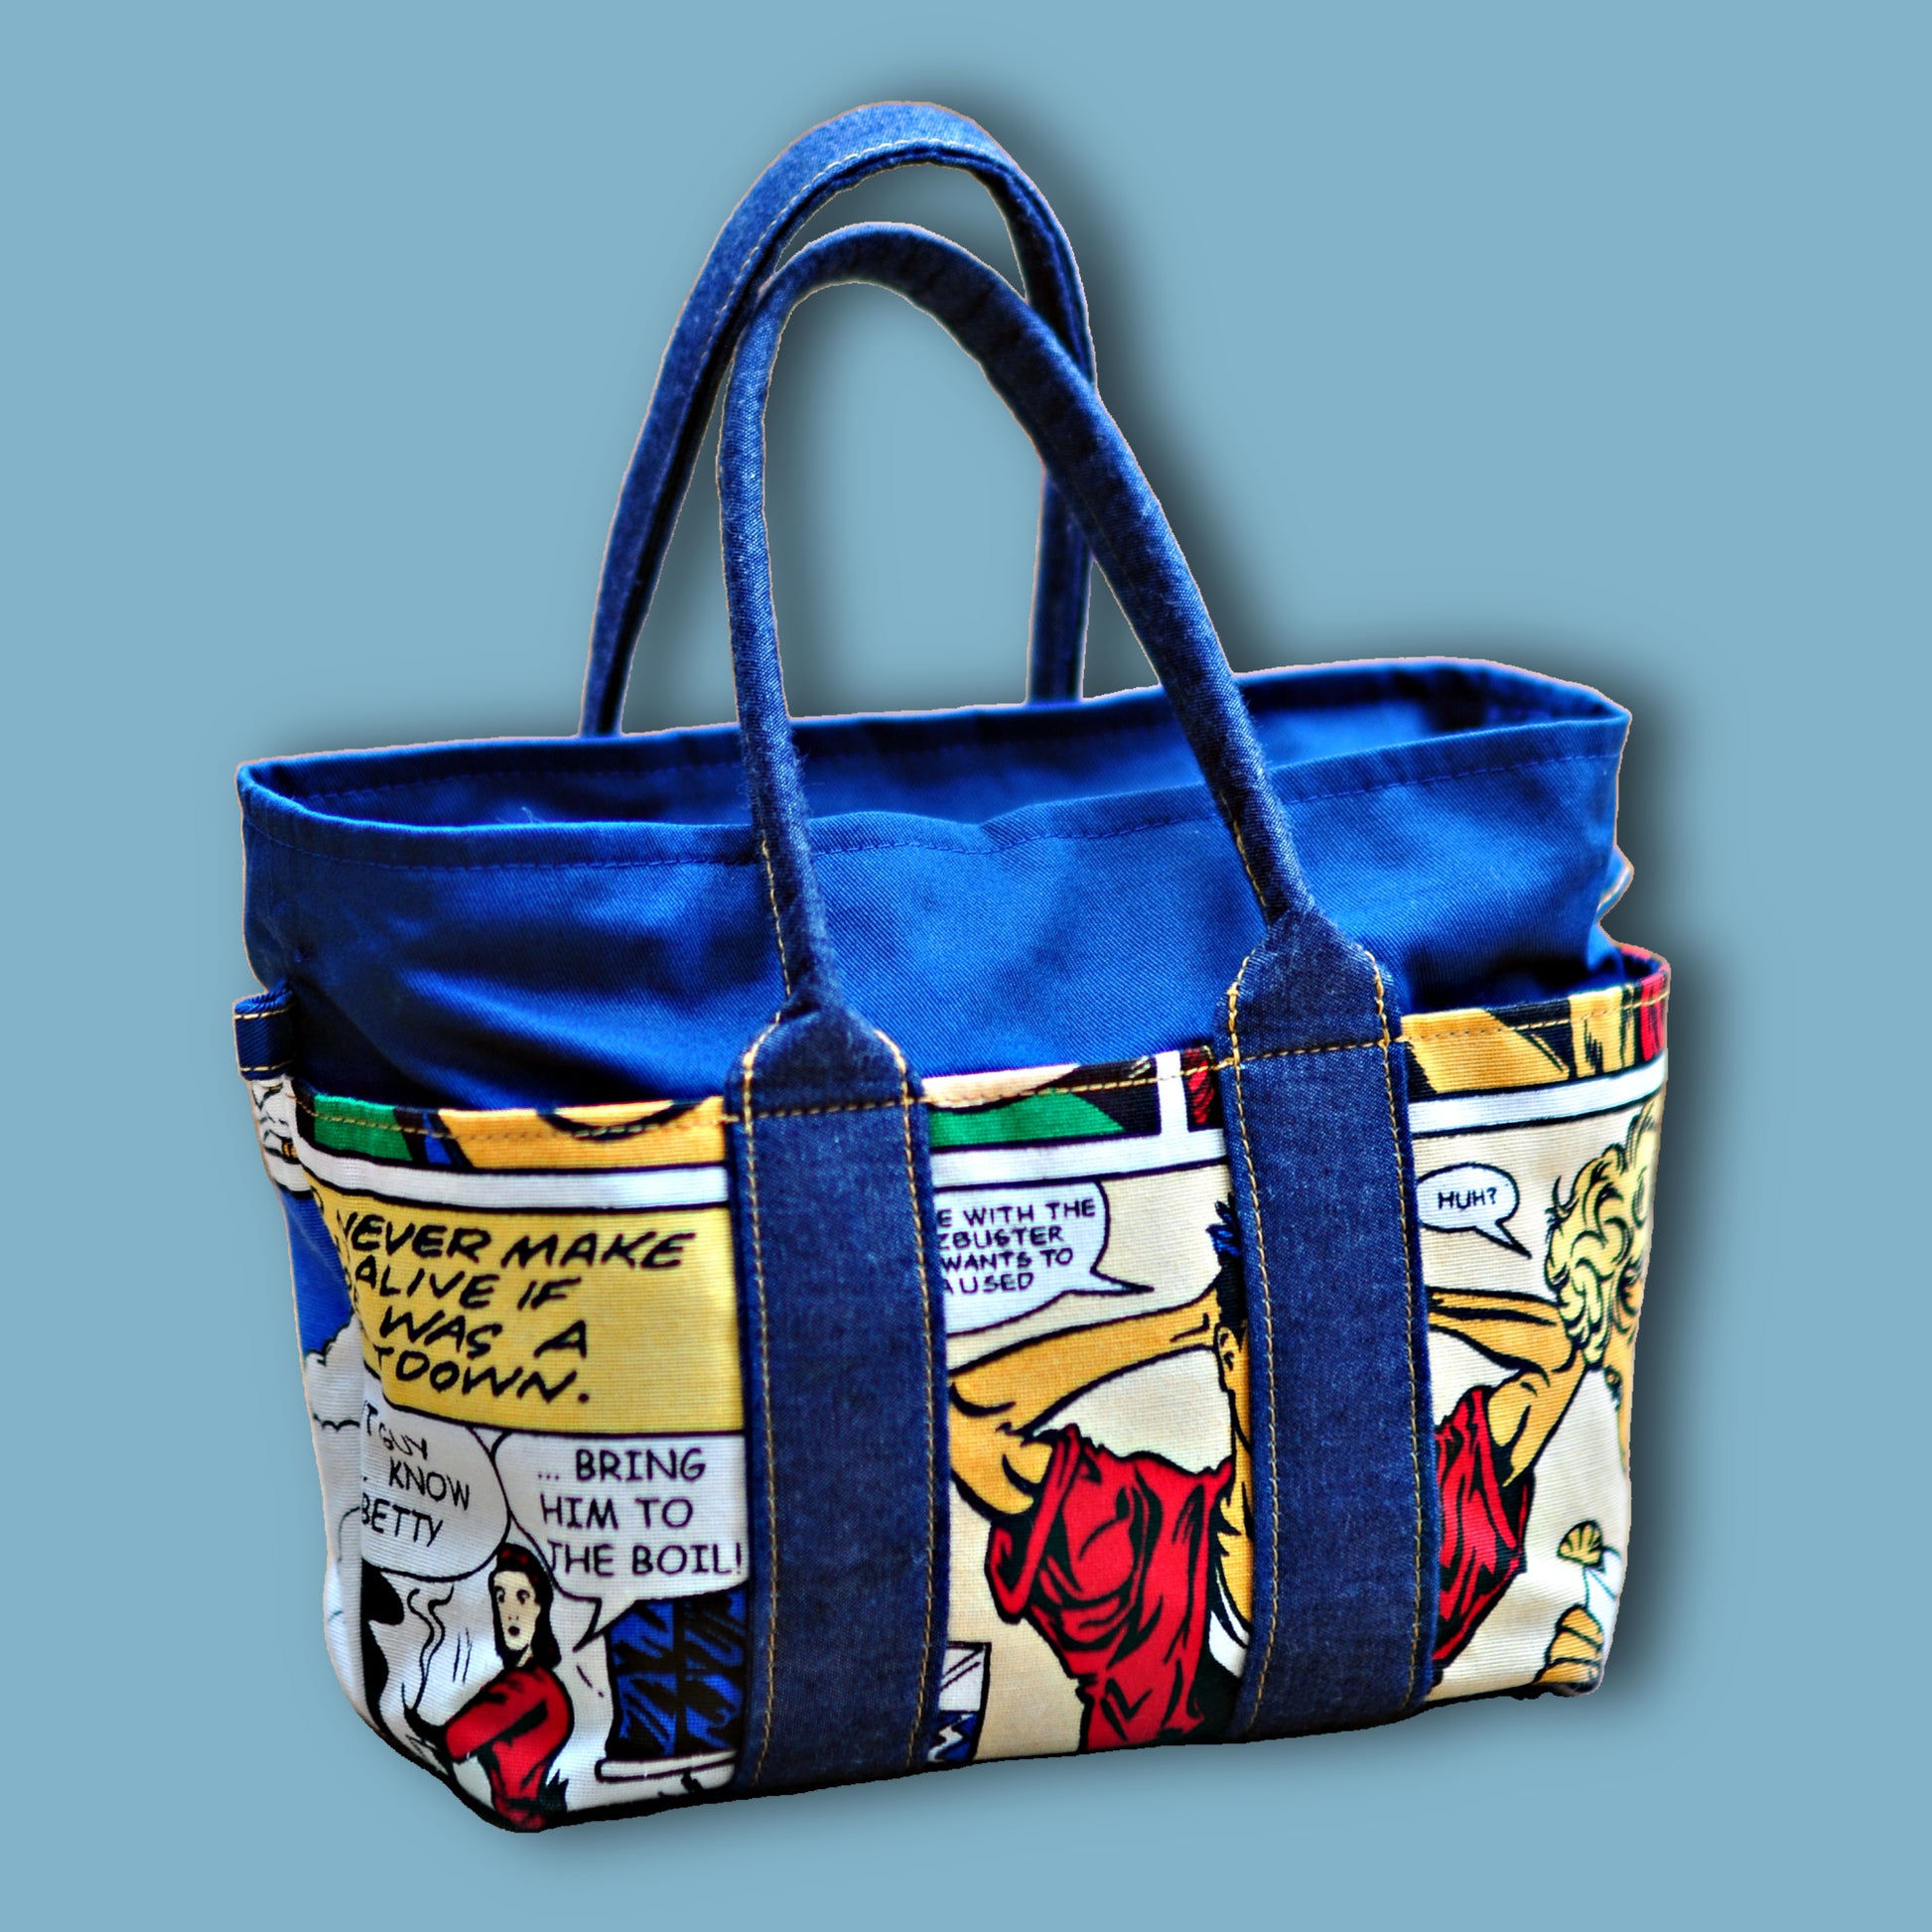
In this chapter we assemble the box bag, a structured but beginner-friendly design that forms a compact purse suitable for small items like a phone or wallet.
Although the construction is straightforward, accuracy is important because multiple layers, pockets, and hardware affect alignment and final structure.
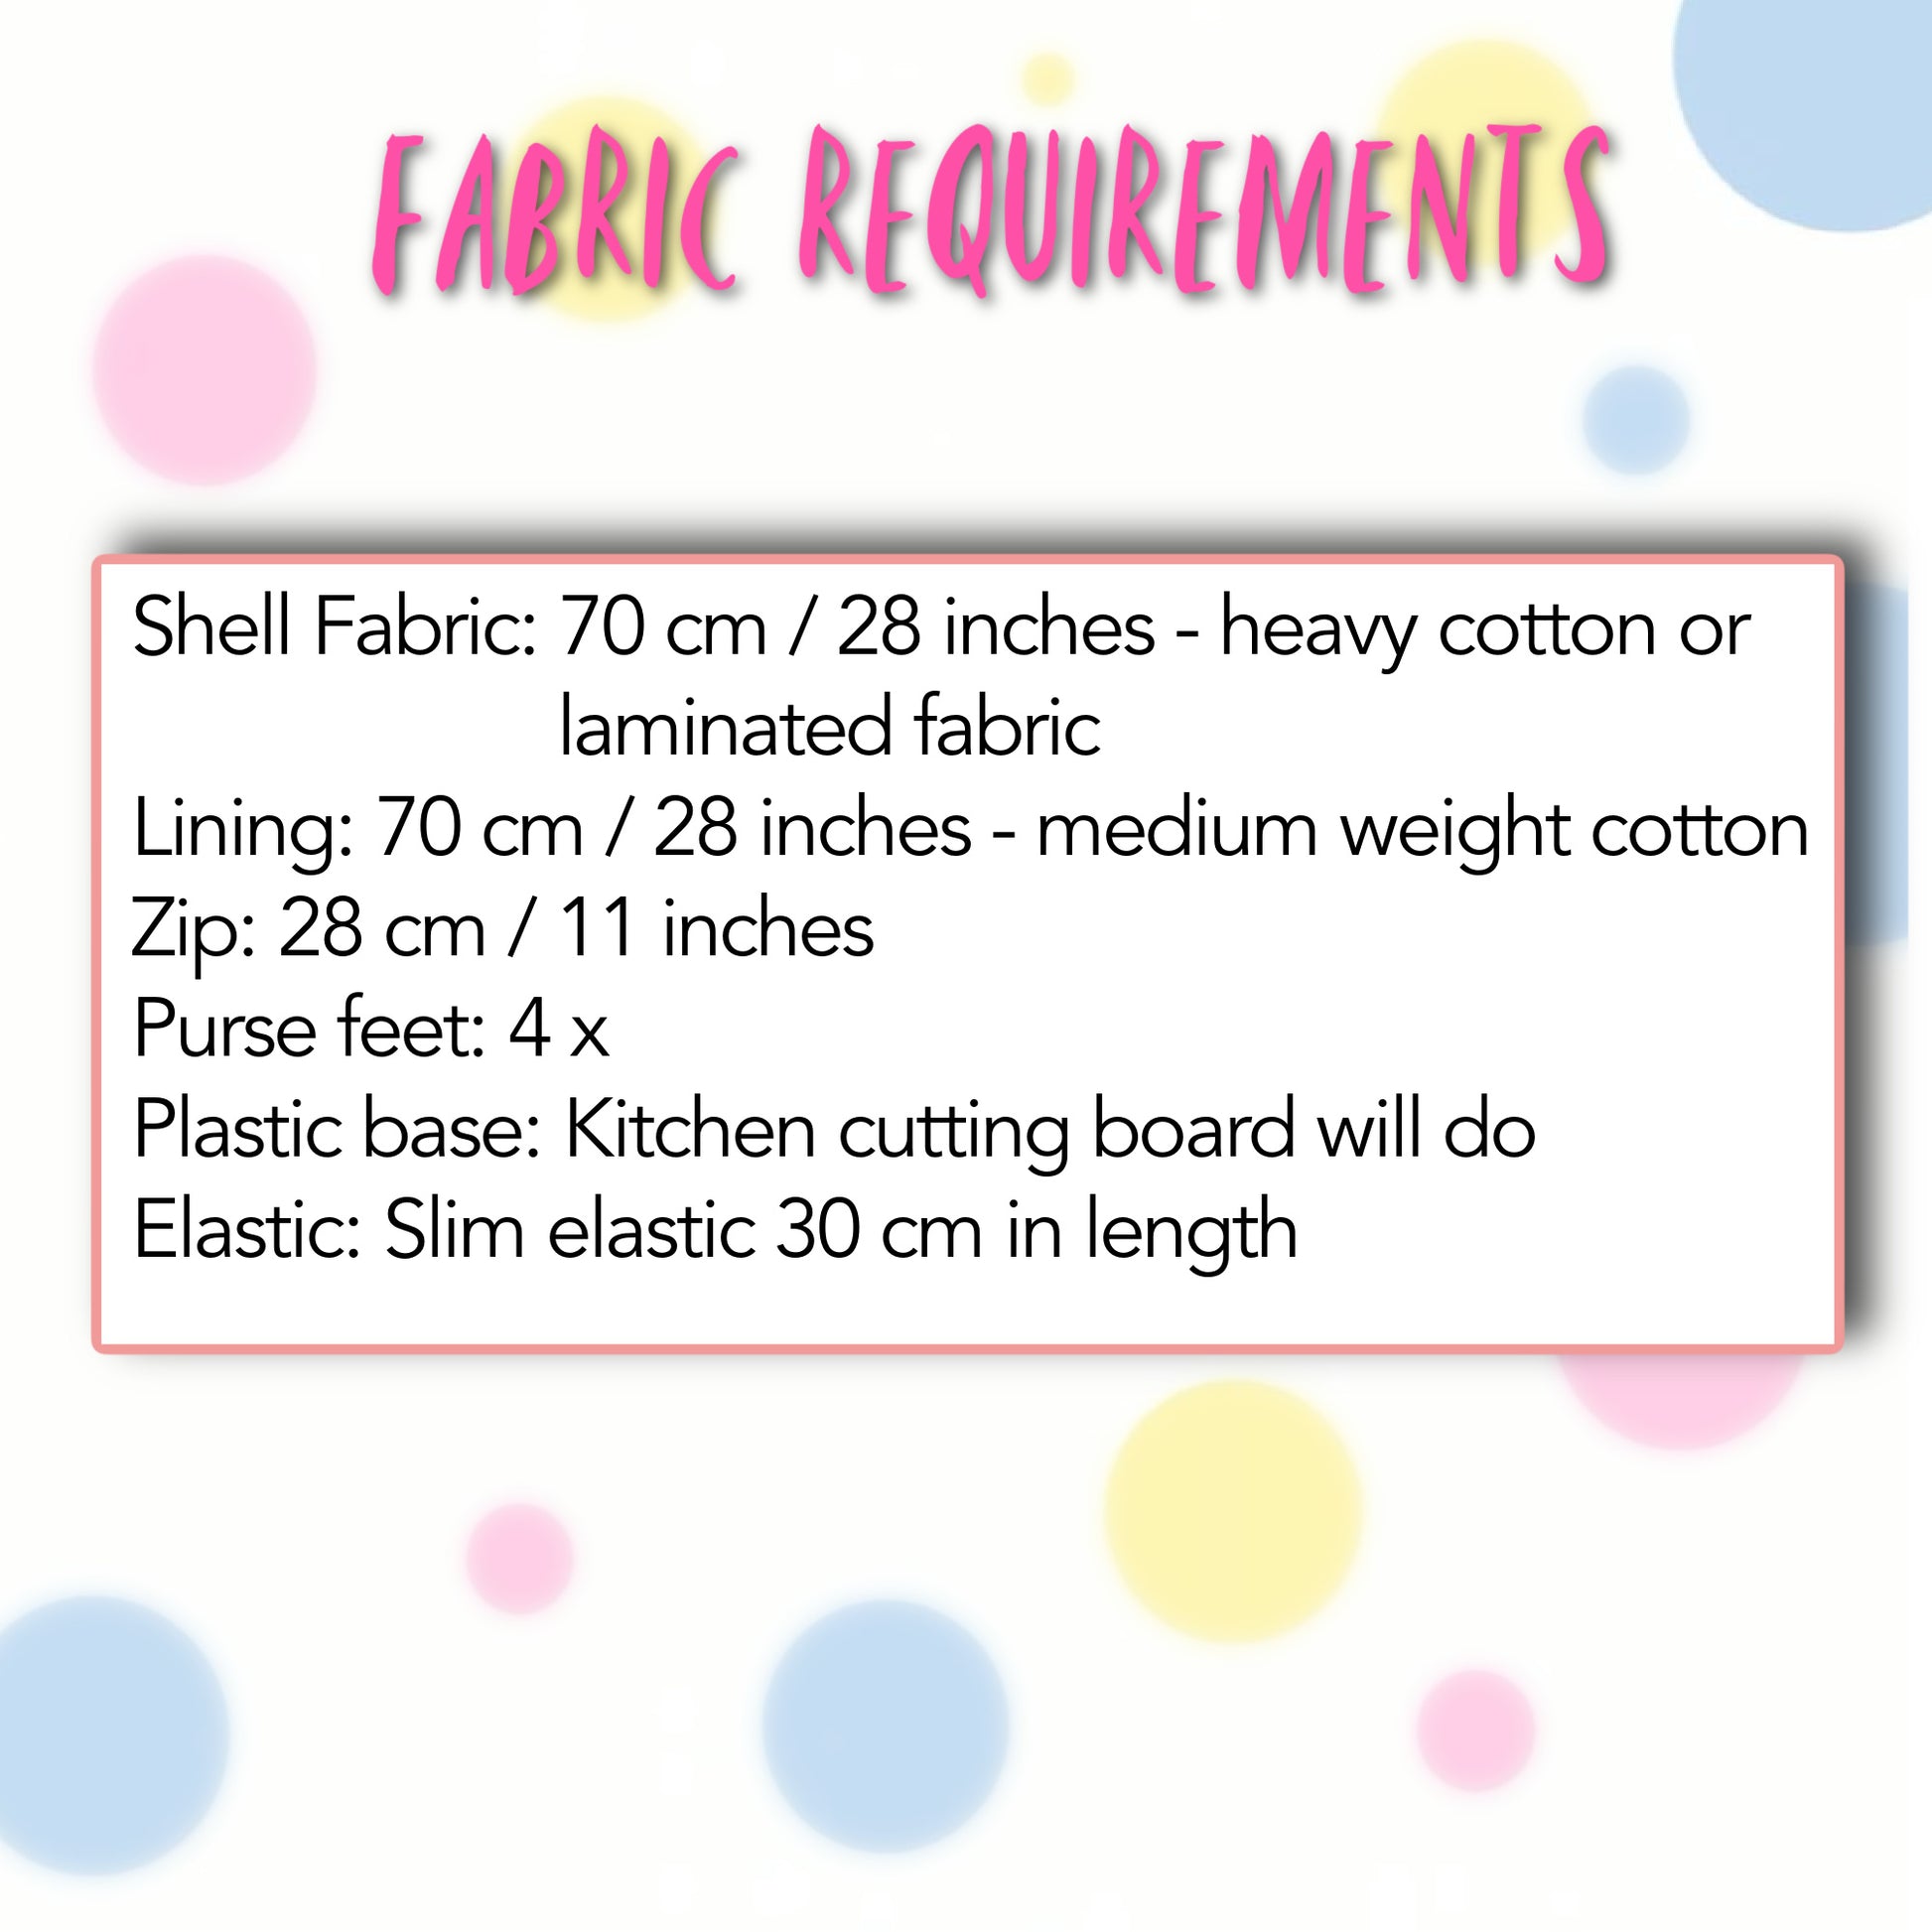
Materials and Preparation
Prepare the following materials before starting:
You need shell fabric and lining fabric, both cut according to the pattern requirements. A structured base is also required, typically a firm insert such as plastic board material, which gives the bag its shape.
Elastic is used for internal pocket shaping, and interfacing may be used depending on fabric choice. Stiffer fabrics may not require lining reinforcement, while softer home décor fabrics benefit from added stability.
Ensure all pieces are cut according to the layout guide before construction begins.
Constructing Handles
Start by constructing the handles.
Fold the fabric lengthwise with right sides facing inward.
Sew along the edge using a consistent seam allowance, typically one centimeter.
After sewing, press the seam open, then turn and fold both edges toward the center crease. Press again so the raw edges are enclosed.
Fold the strap in half to create a clean handle and secure the open ends using a seam allowance.
Press thoroughly so the handle becomes flat and structured.
Preparing the Fastening and Main Body
If using a zipper, place it between the shell and lining layers.
Stitch close to the zipper teeth for a clean finish.
After stitching, pull the lining outward so it lies flat and allows proper topstitching.
Adjust the shell fabric so it sits neatly along the zipper edge.
Check zipper width and trim if necessary so it maintains consistent measurement across the opening.
Constructing the Exterior Pocket
Attach pocket lining and shell pieces with right sides facing.
Sew along the top edge using a one centimeter seam allowance.
Perform understitching by sewing close to the seam on the lining side. This helps prevent the lining from rolling outward.
Trim excess lining if needed so both layers align evenly.
Press flat for a clean edge.
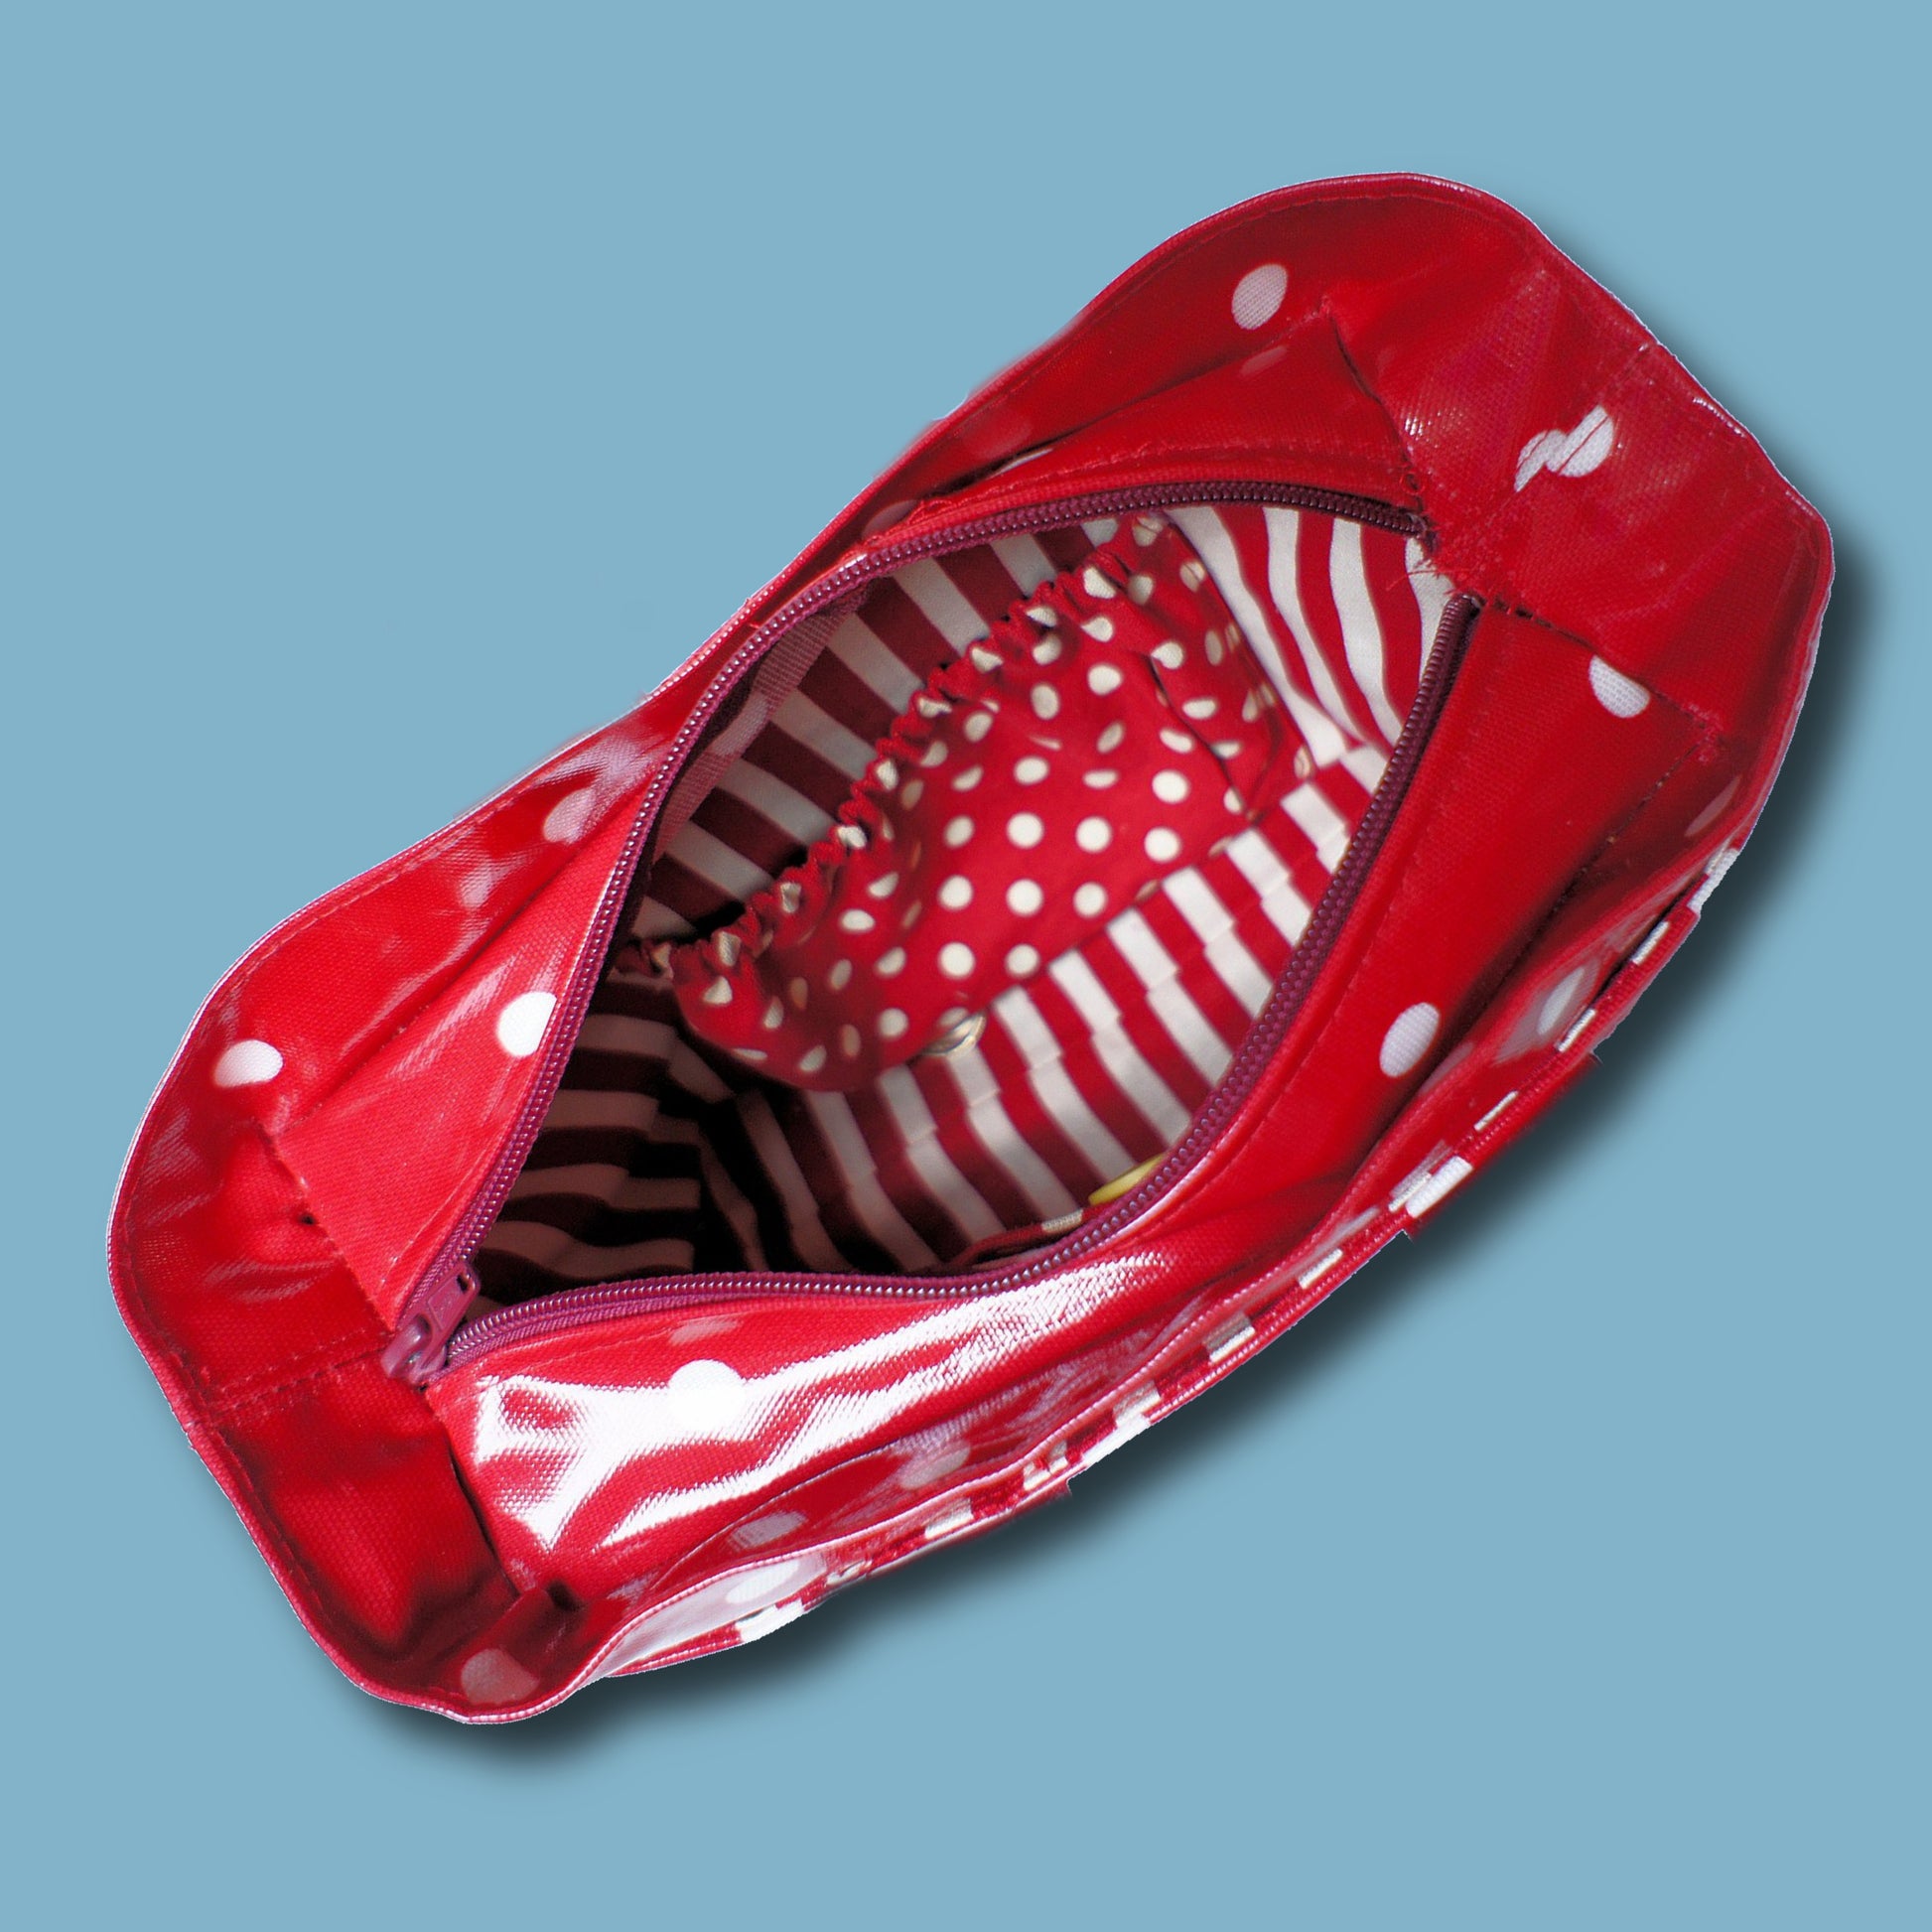
Creating Interior Pocket Structure
For mobile or structured pockets, sew pleats with right sides facing inward.
Leave small gaps where required for elastic insertion.
Turn the pocket right side out and press carefully.
Topstitch along the upper edge to form a channel for elastic.
Insert elastic through the channel and secure both ends with a pin.
Adjust tension so the pocket remains smooth and functional.
Attach the pocket to the lining, positioning it slightly above the base corner to avoid interference with the bag structure.
Topstitch around all edges to secure it.
Receipt Pocket Construction
Fold pocket pieces right sides together and sew around the edges, leaving a turning gap.
Turn the pocket right side out and form clean corners by folding them internally.
Press to flatten edges.
Attach the pocket to the lining and topstitch around all sides, leaving the top open for access.
Assembling the Lining
Place lining pieces right sides together.
Sew side seams and the base seam using a one centimeter allowance.
Press seams open for a flat finish.
Open the bottom corners and align seams to form a boxed base shape.
Stitch across the corners to create depth in the bag bottom.
Attaching Pockets and Handles
Position exterior pockets onto the bag body, aligning them carefully with marked placement points.
Pin securely and sew using a one centimeter seam allowance.
Press seams and optionally topstitch for a more professional finish.
Place handles onto the bag body and mark placement points slightly below pocket level.
Stitch handles in place using reinforced stitching for strength.
Topstitch pocket edges for added durability and structure.
Installing Hardware (Optional)
If using purse feet, mark placement points on the base.
Punch holes through the bag and base insert before final assembly.
Install hardware after final construction to avoid sewing difficulty through thick layers.
Assembling the Bag Body
Attach outer panels with right sides together.
Sew side seams carefully, ensuring pocket alignment remains consistent.
Press seams open.
Form boxed corners by aligning side and bottom seams, then stitching across.
This creates the structured base of the bag.
Inserting the Base
Place the rigid base inside the bag.
Ensure it fits snugly and supports the structure.
Adjust lining if necessary by trimming excess fabric for a clean internal fit.
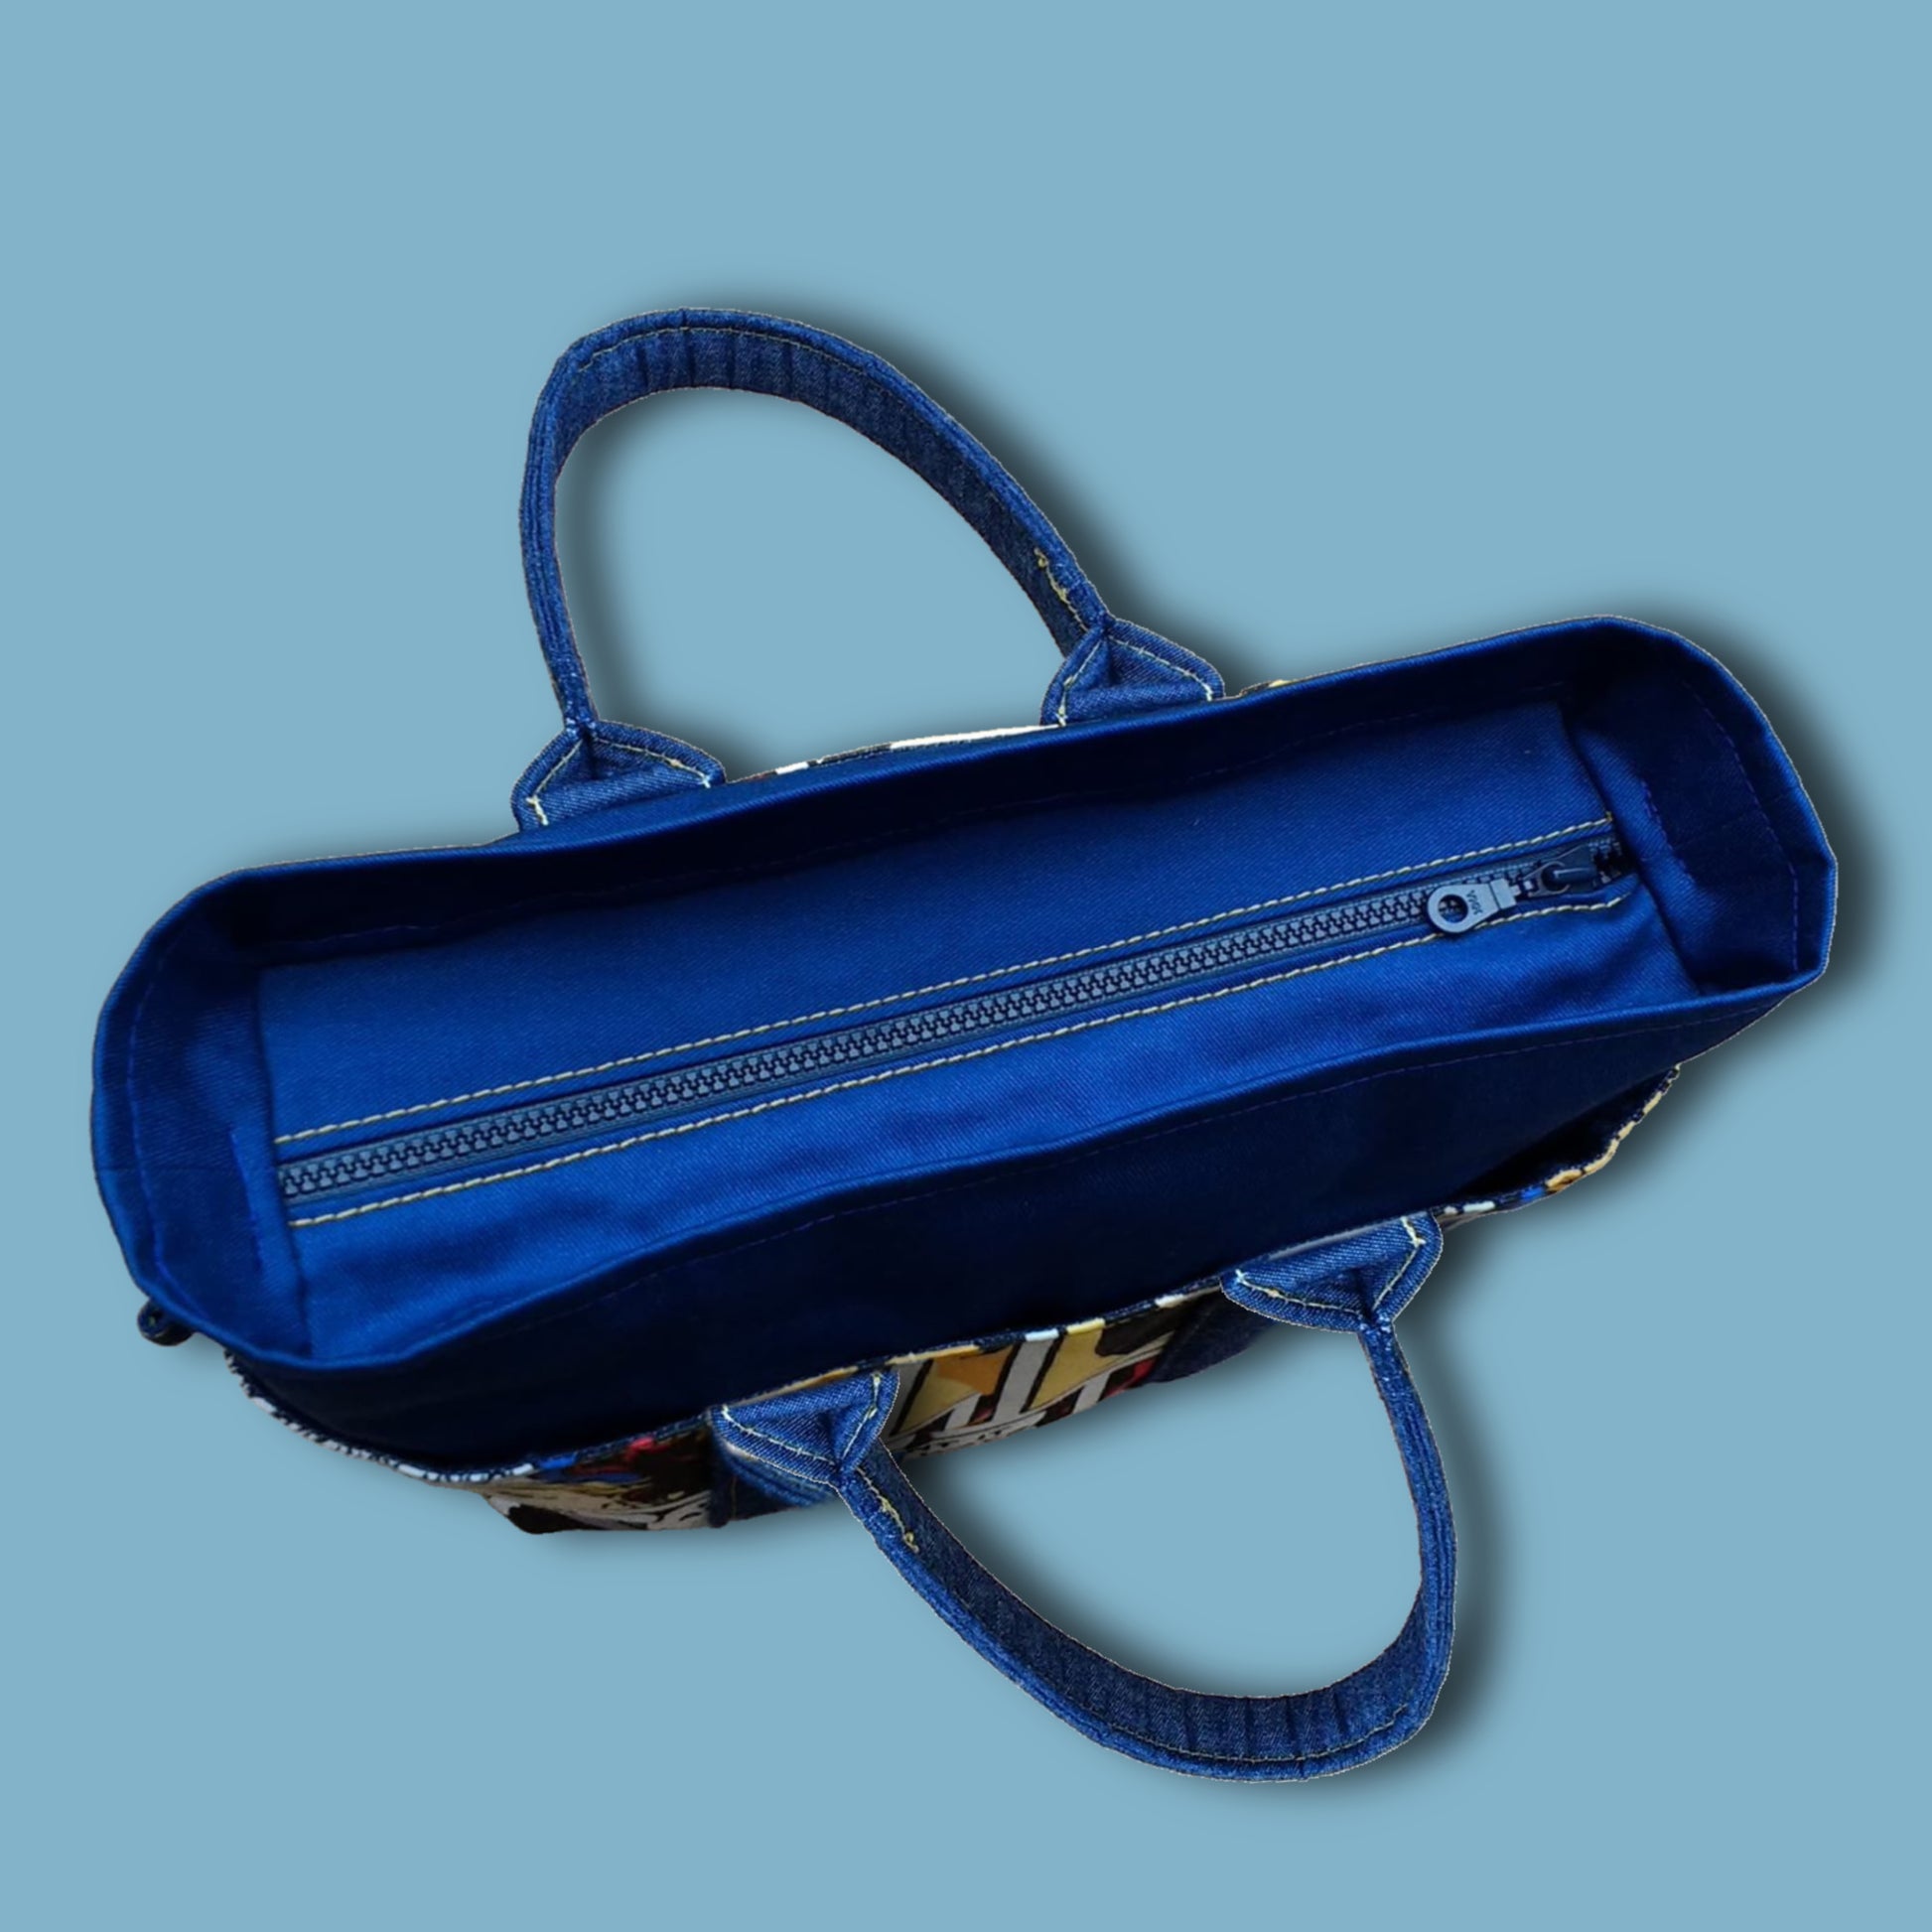
Attaching the Zipper Closure
Align zipper with marked center points on the bag opening.
Sew with right sides facing, stopping short of seam allowances at both ends.
Carefully cut into seam allowances up to the stitching line to allow the fabric to open flat.
Secure stitching at corners for reinforcement.
Trim zipper ends and finish edges with zigzag or overlocking if required.
Final Assembly and Topstitching
Turn the bag right side out.
Push side seams downward evenly and pin in place.
Topstitch around the upper edge using a long stitch length for a clean finish.
Maintain even spacing from the edge to ensure a professional appearance.
Final Notes
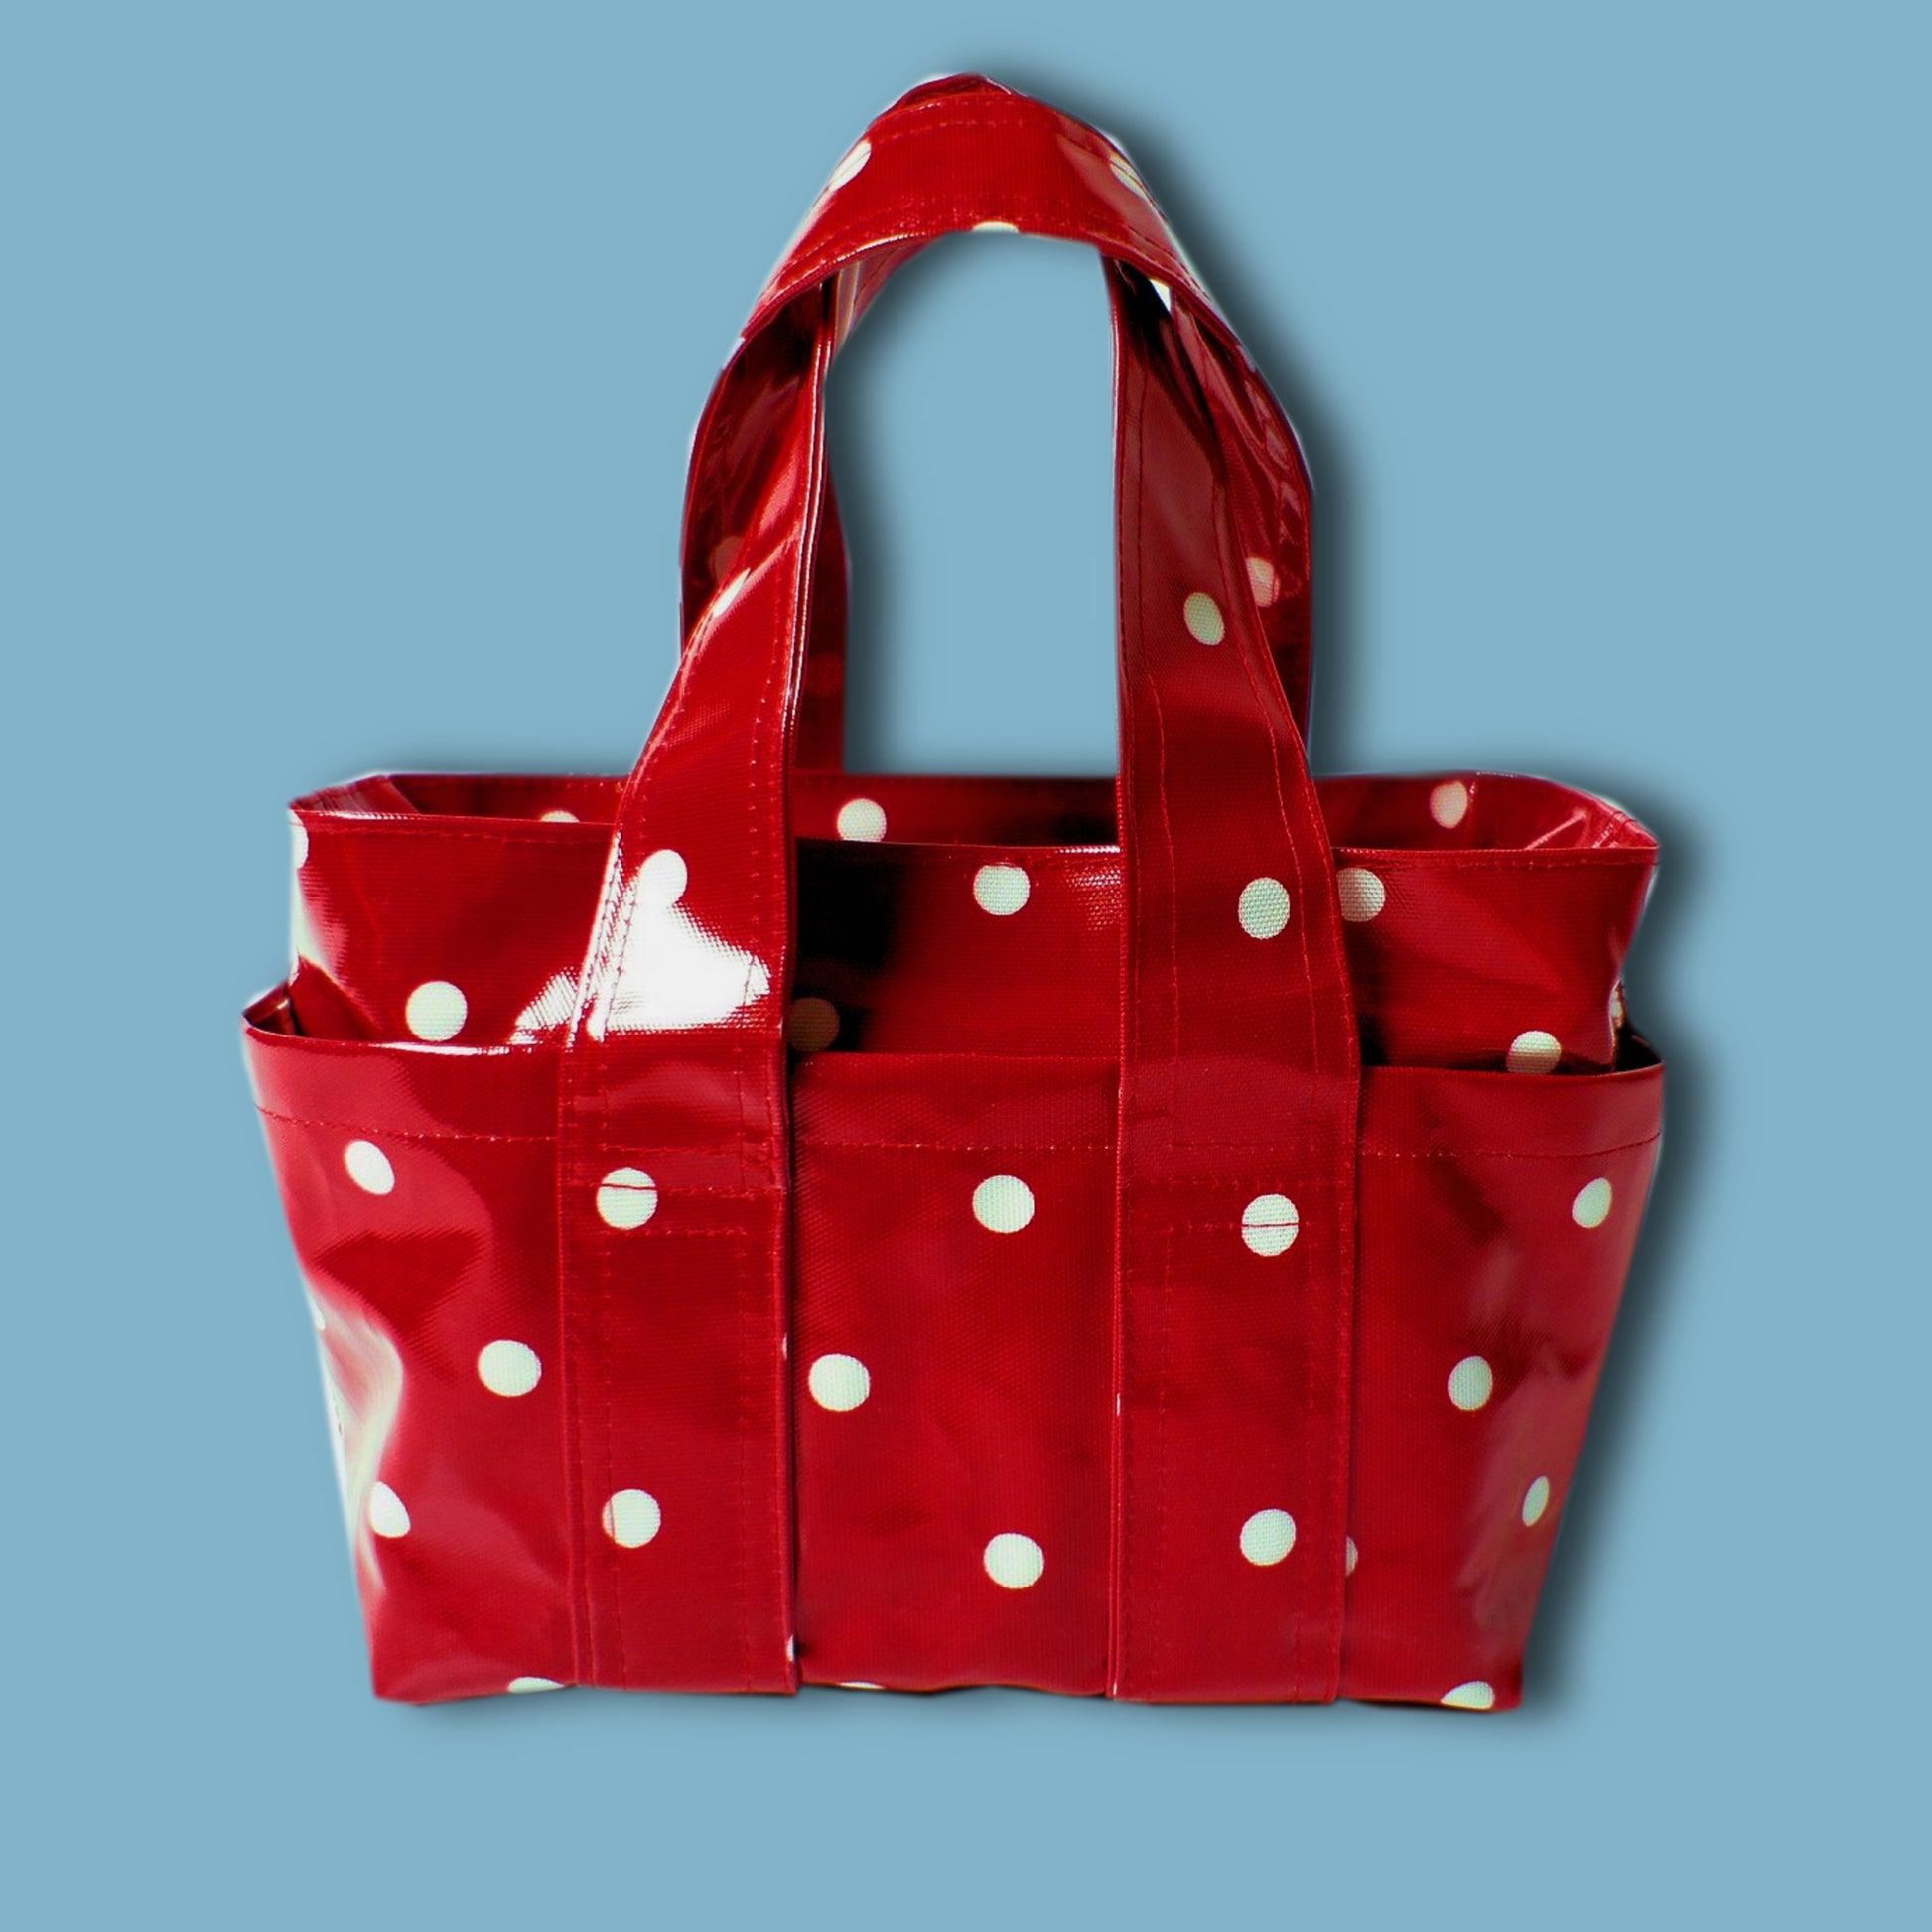
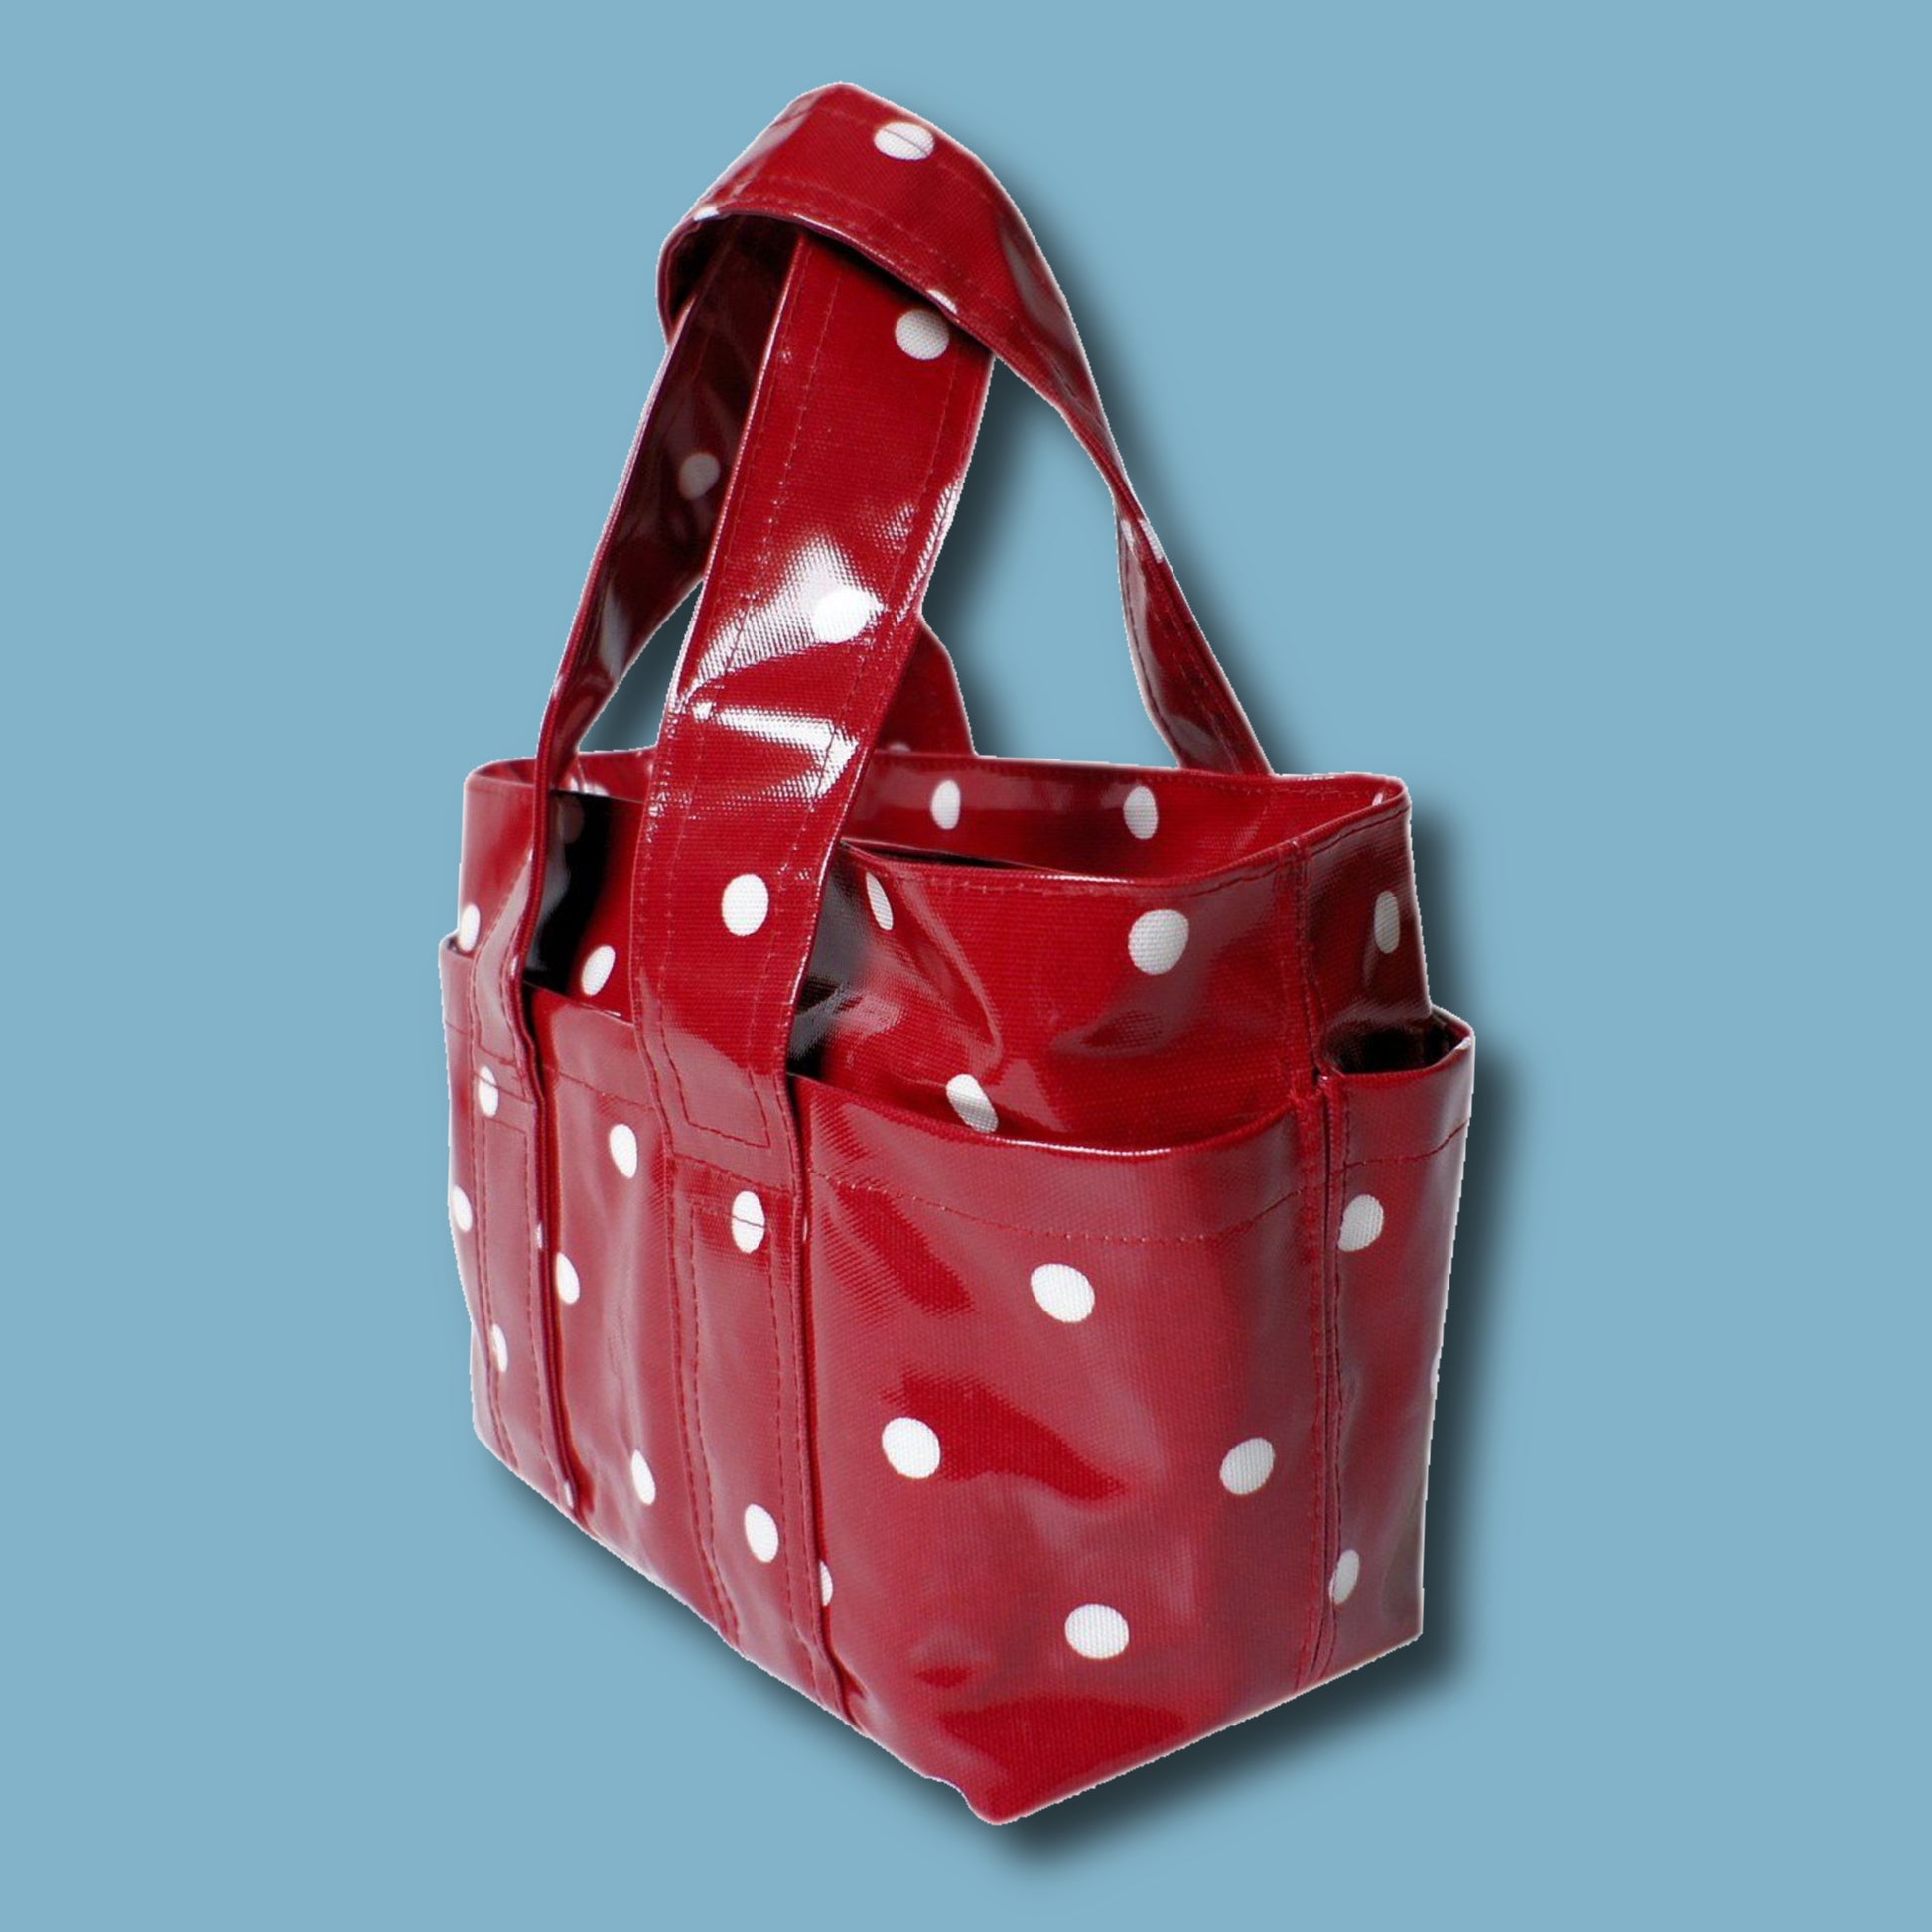
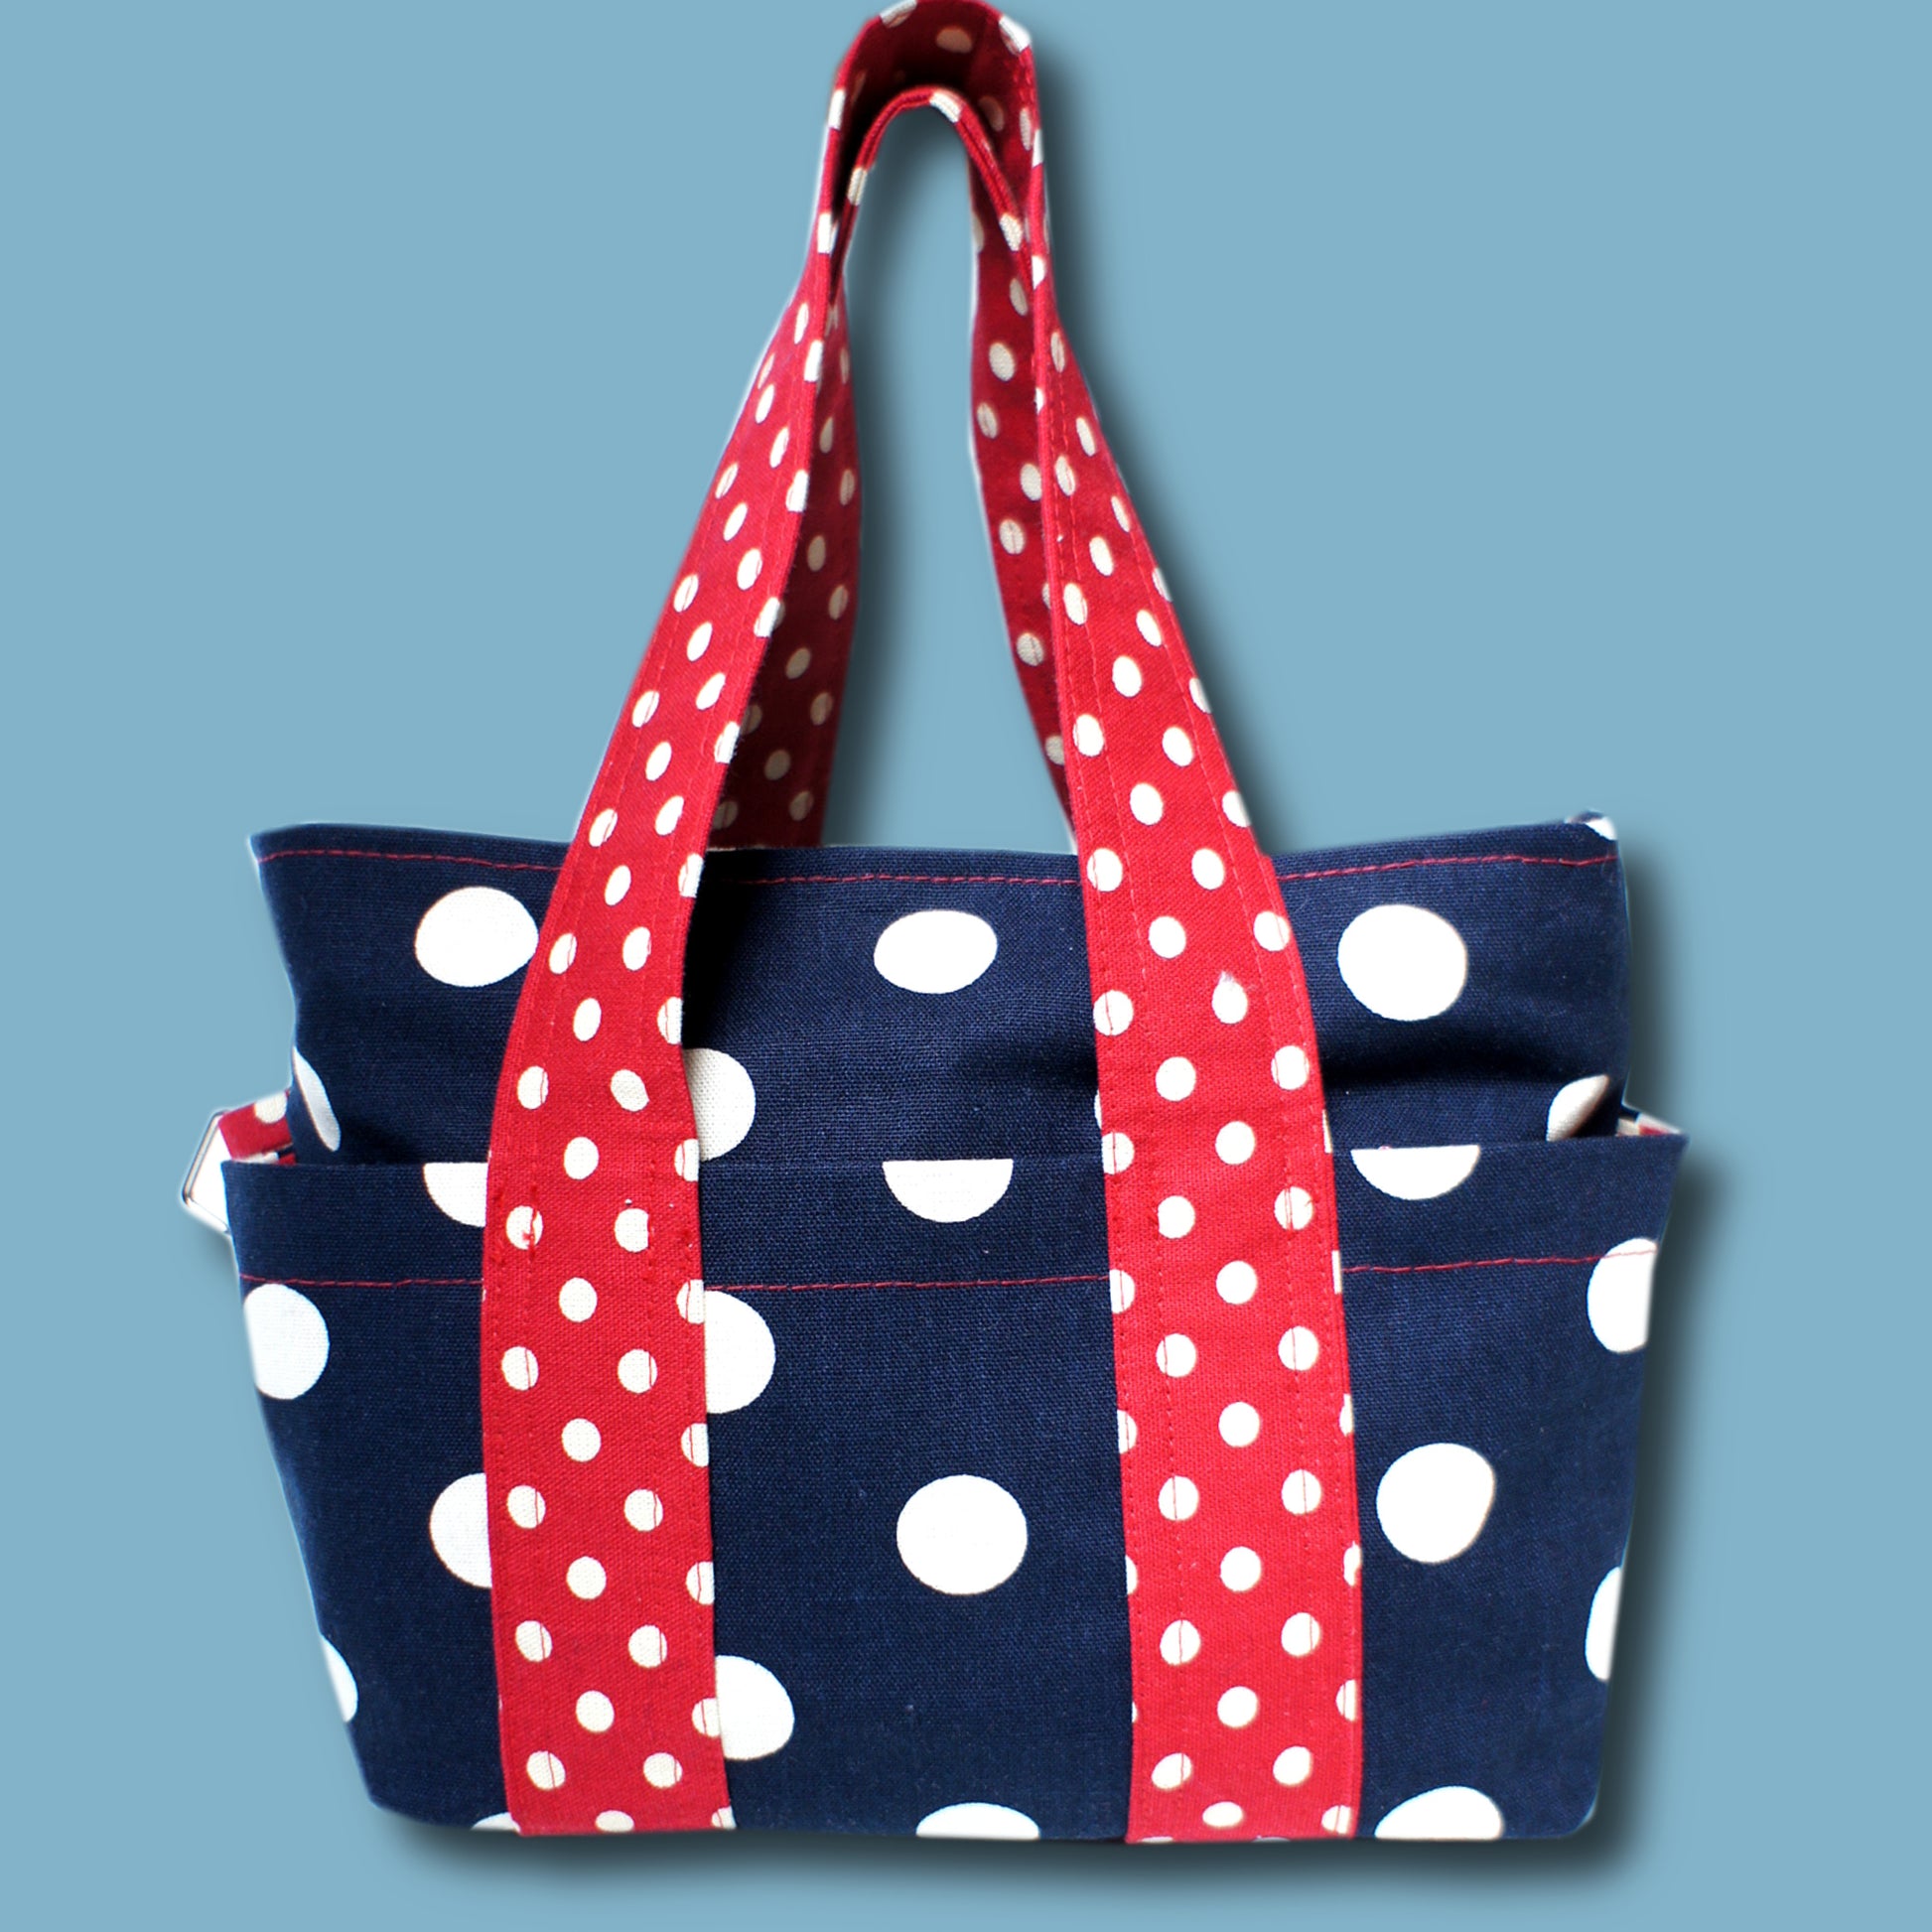
The bag is now fully assembled with structured sides, internal pockets, and reinforced handles.
The final shape is achieved through construction technique rather than stuffing, relying on the base insert and seam structure for stability.
This completes the box bag assembly process.