SEEFAHRER KISSEN
SEEFAHRER KISSEN
Verfügbarkeit für Abholungen konnte nicht geladen werden
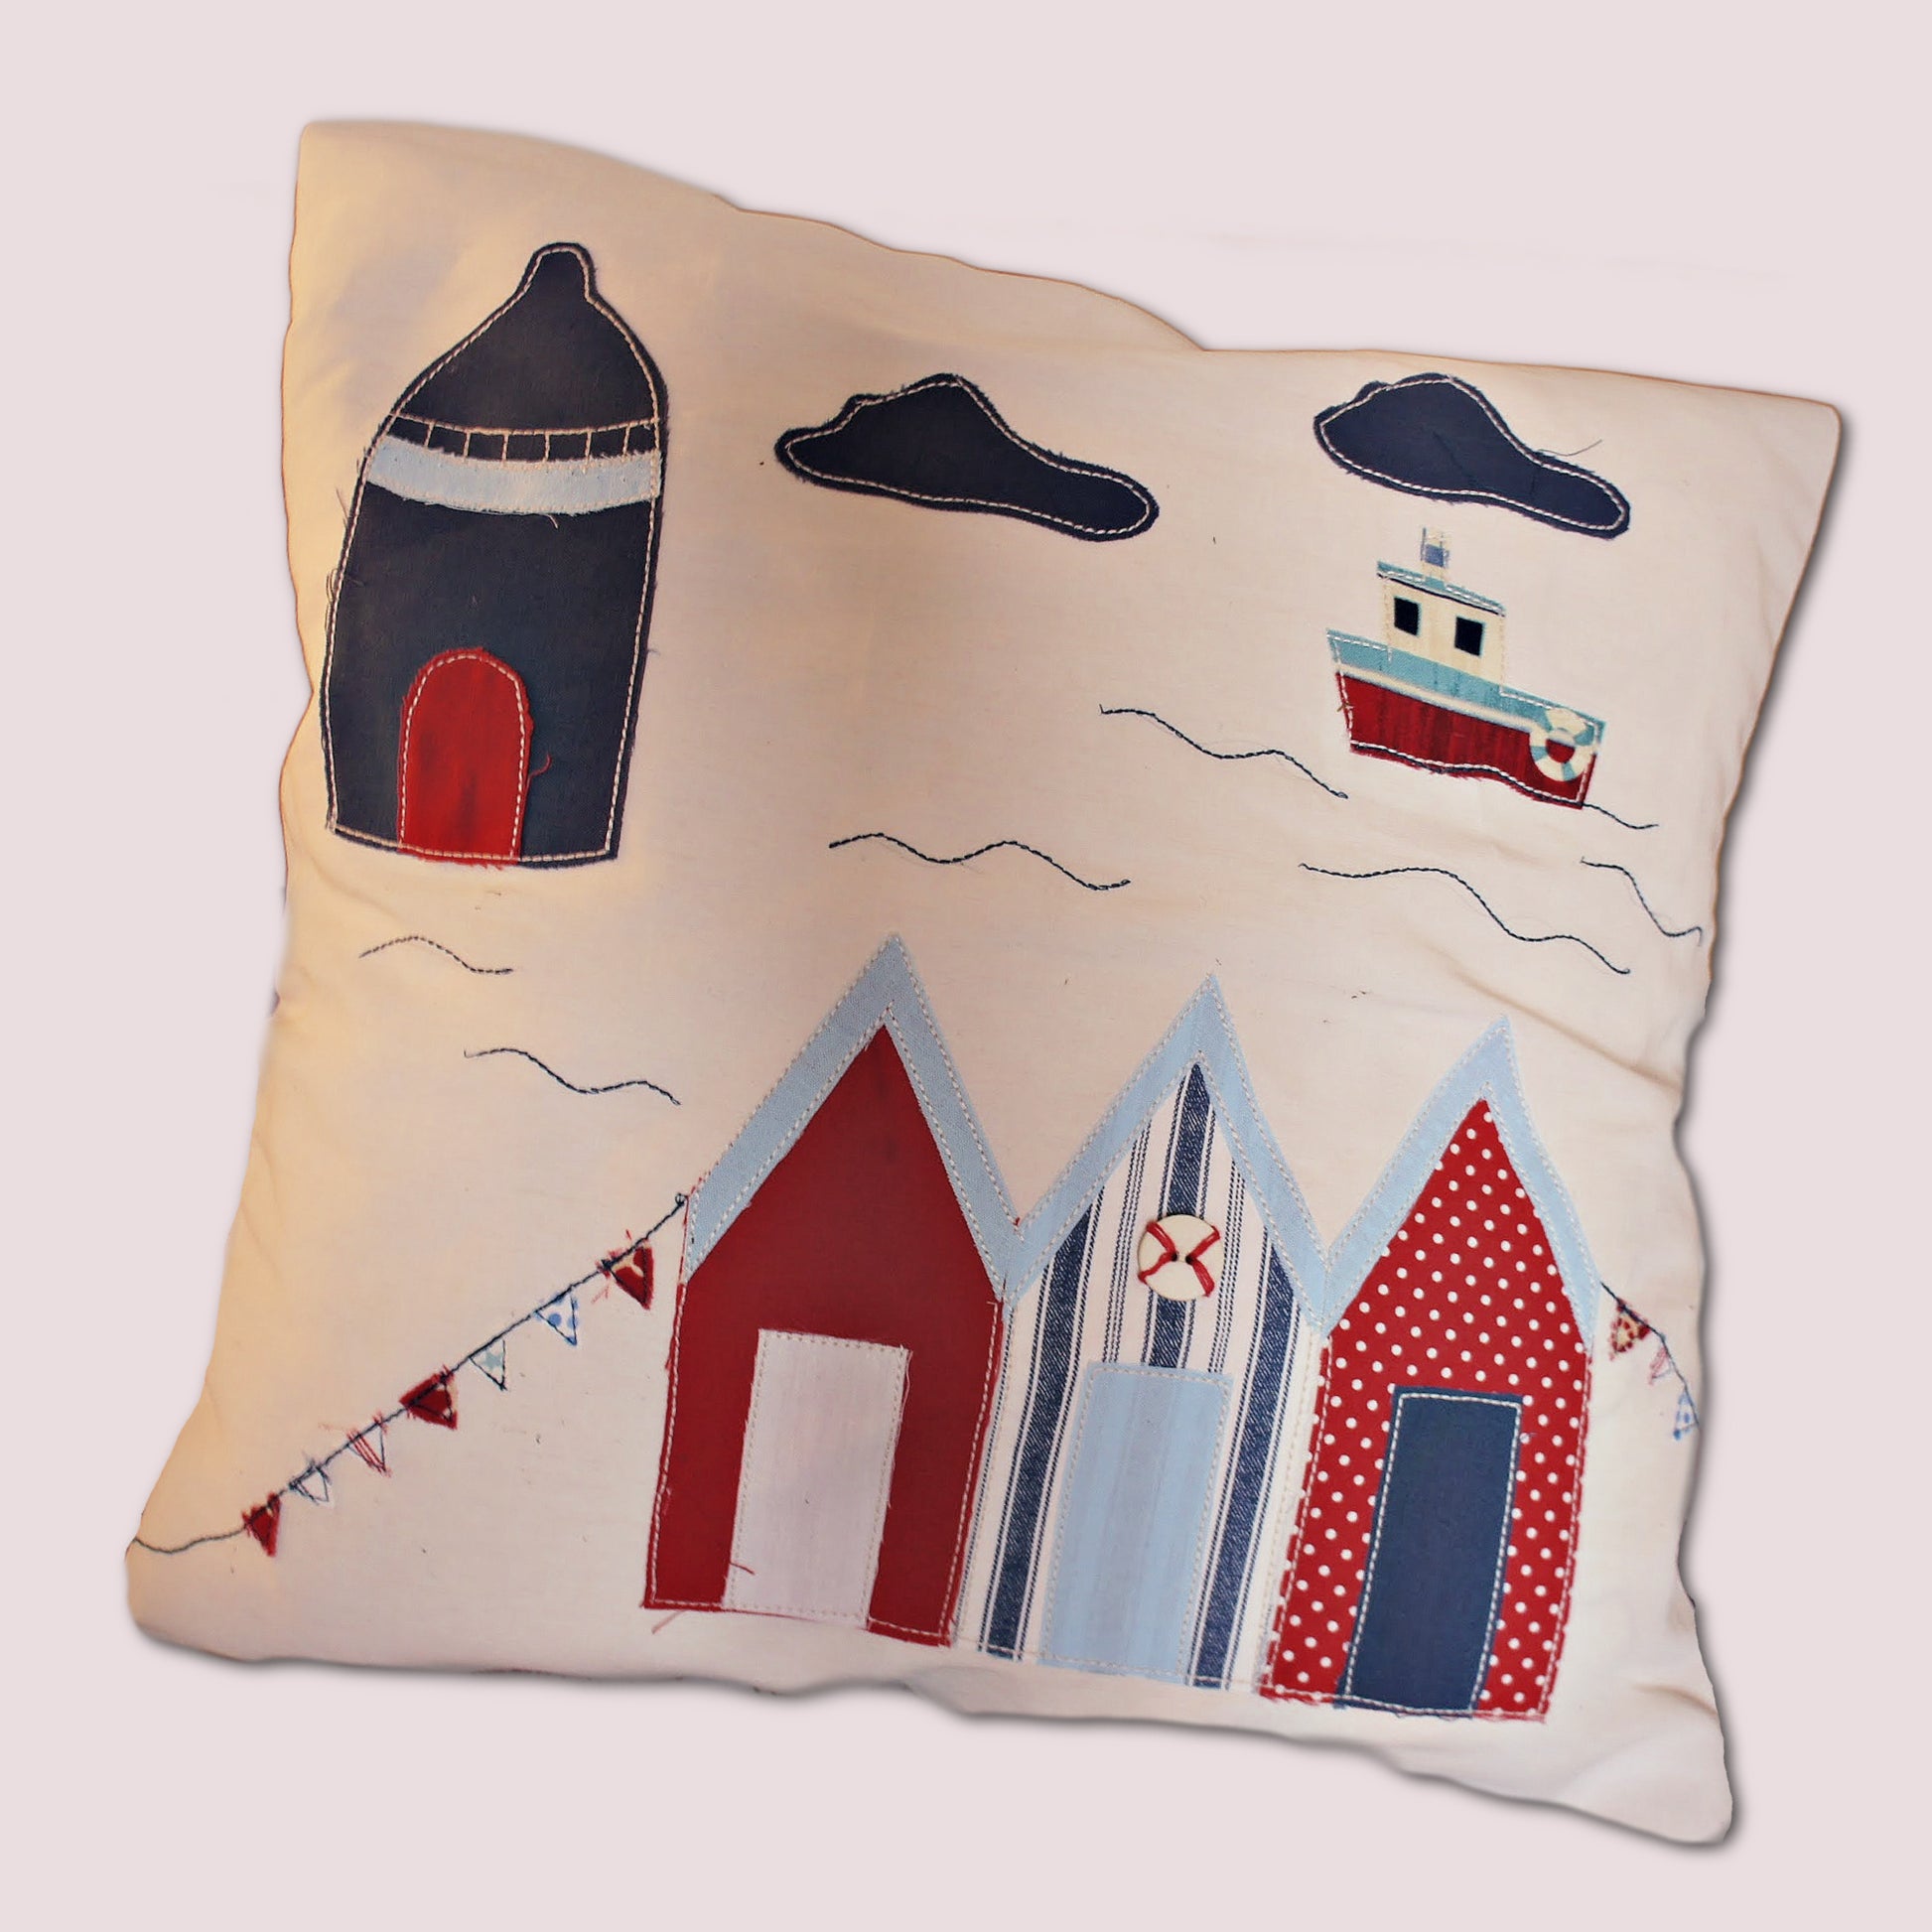
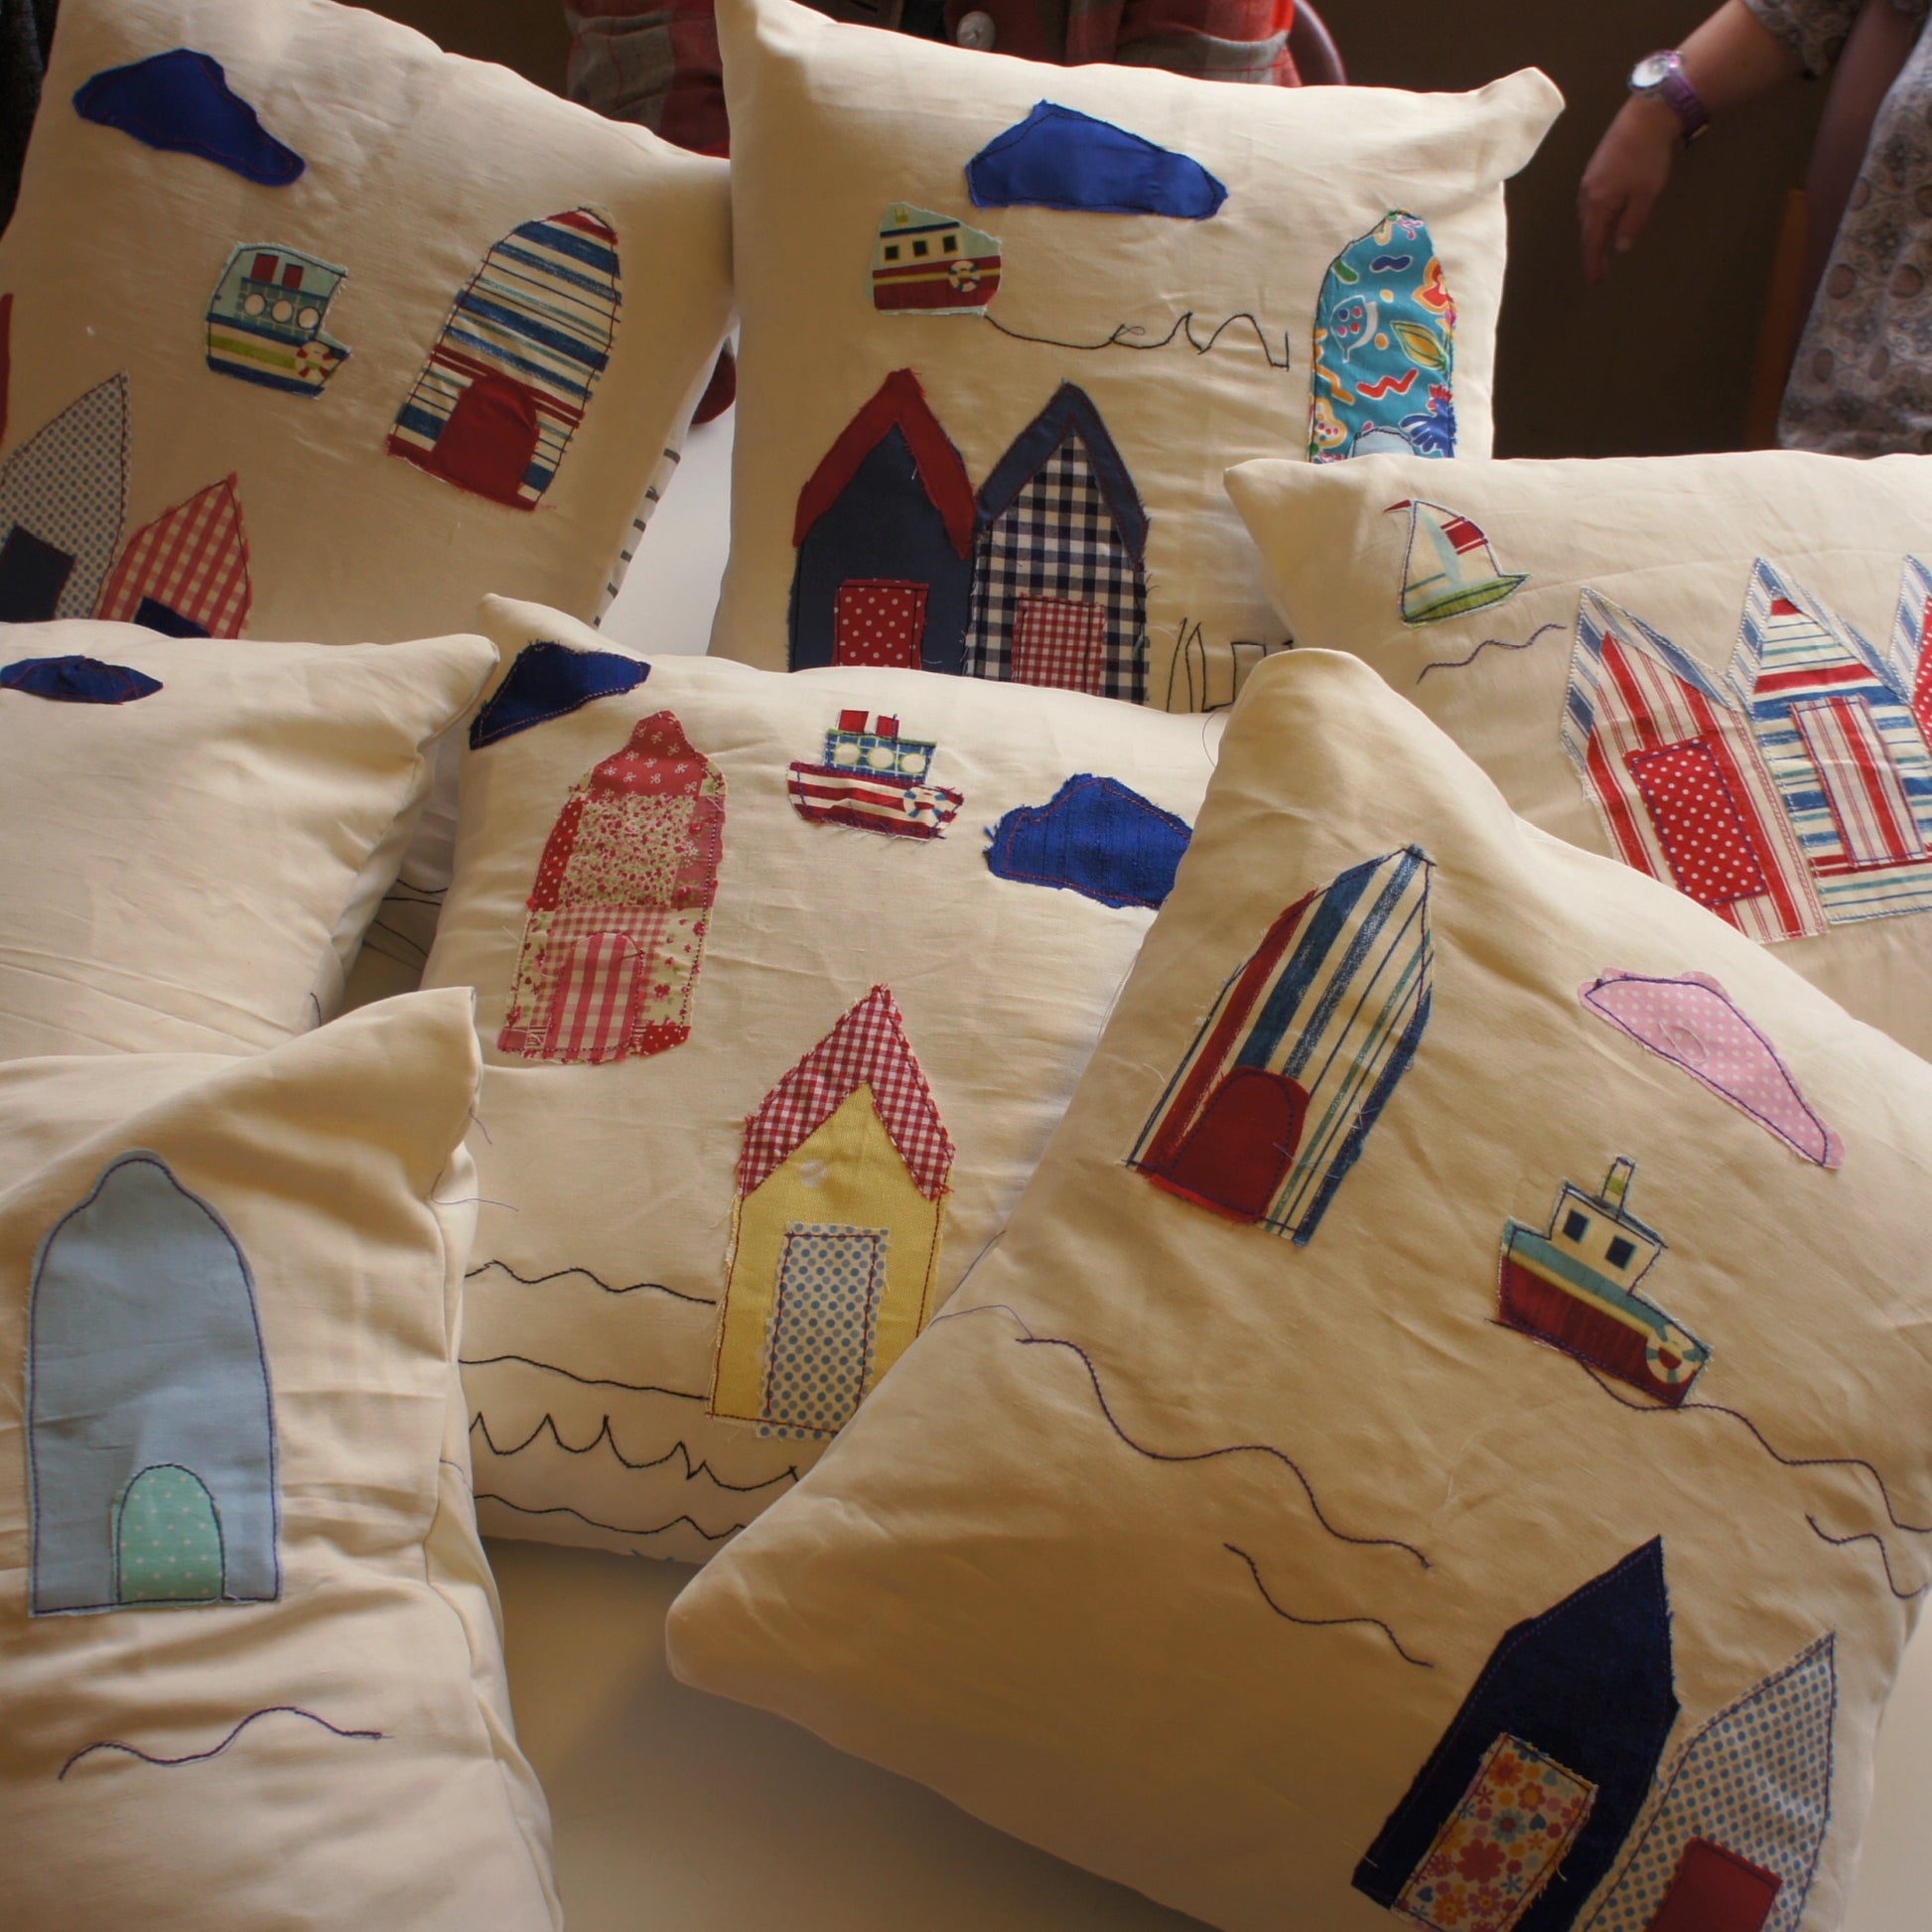
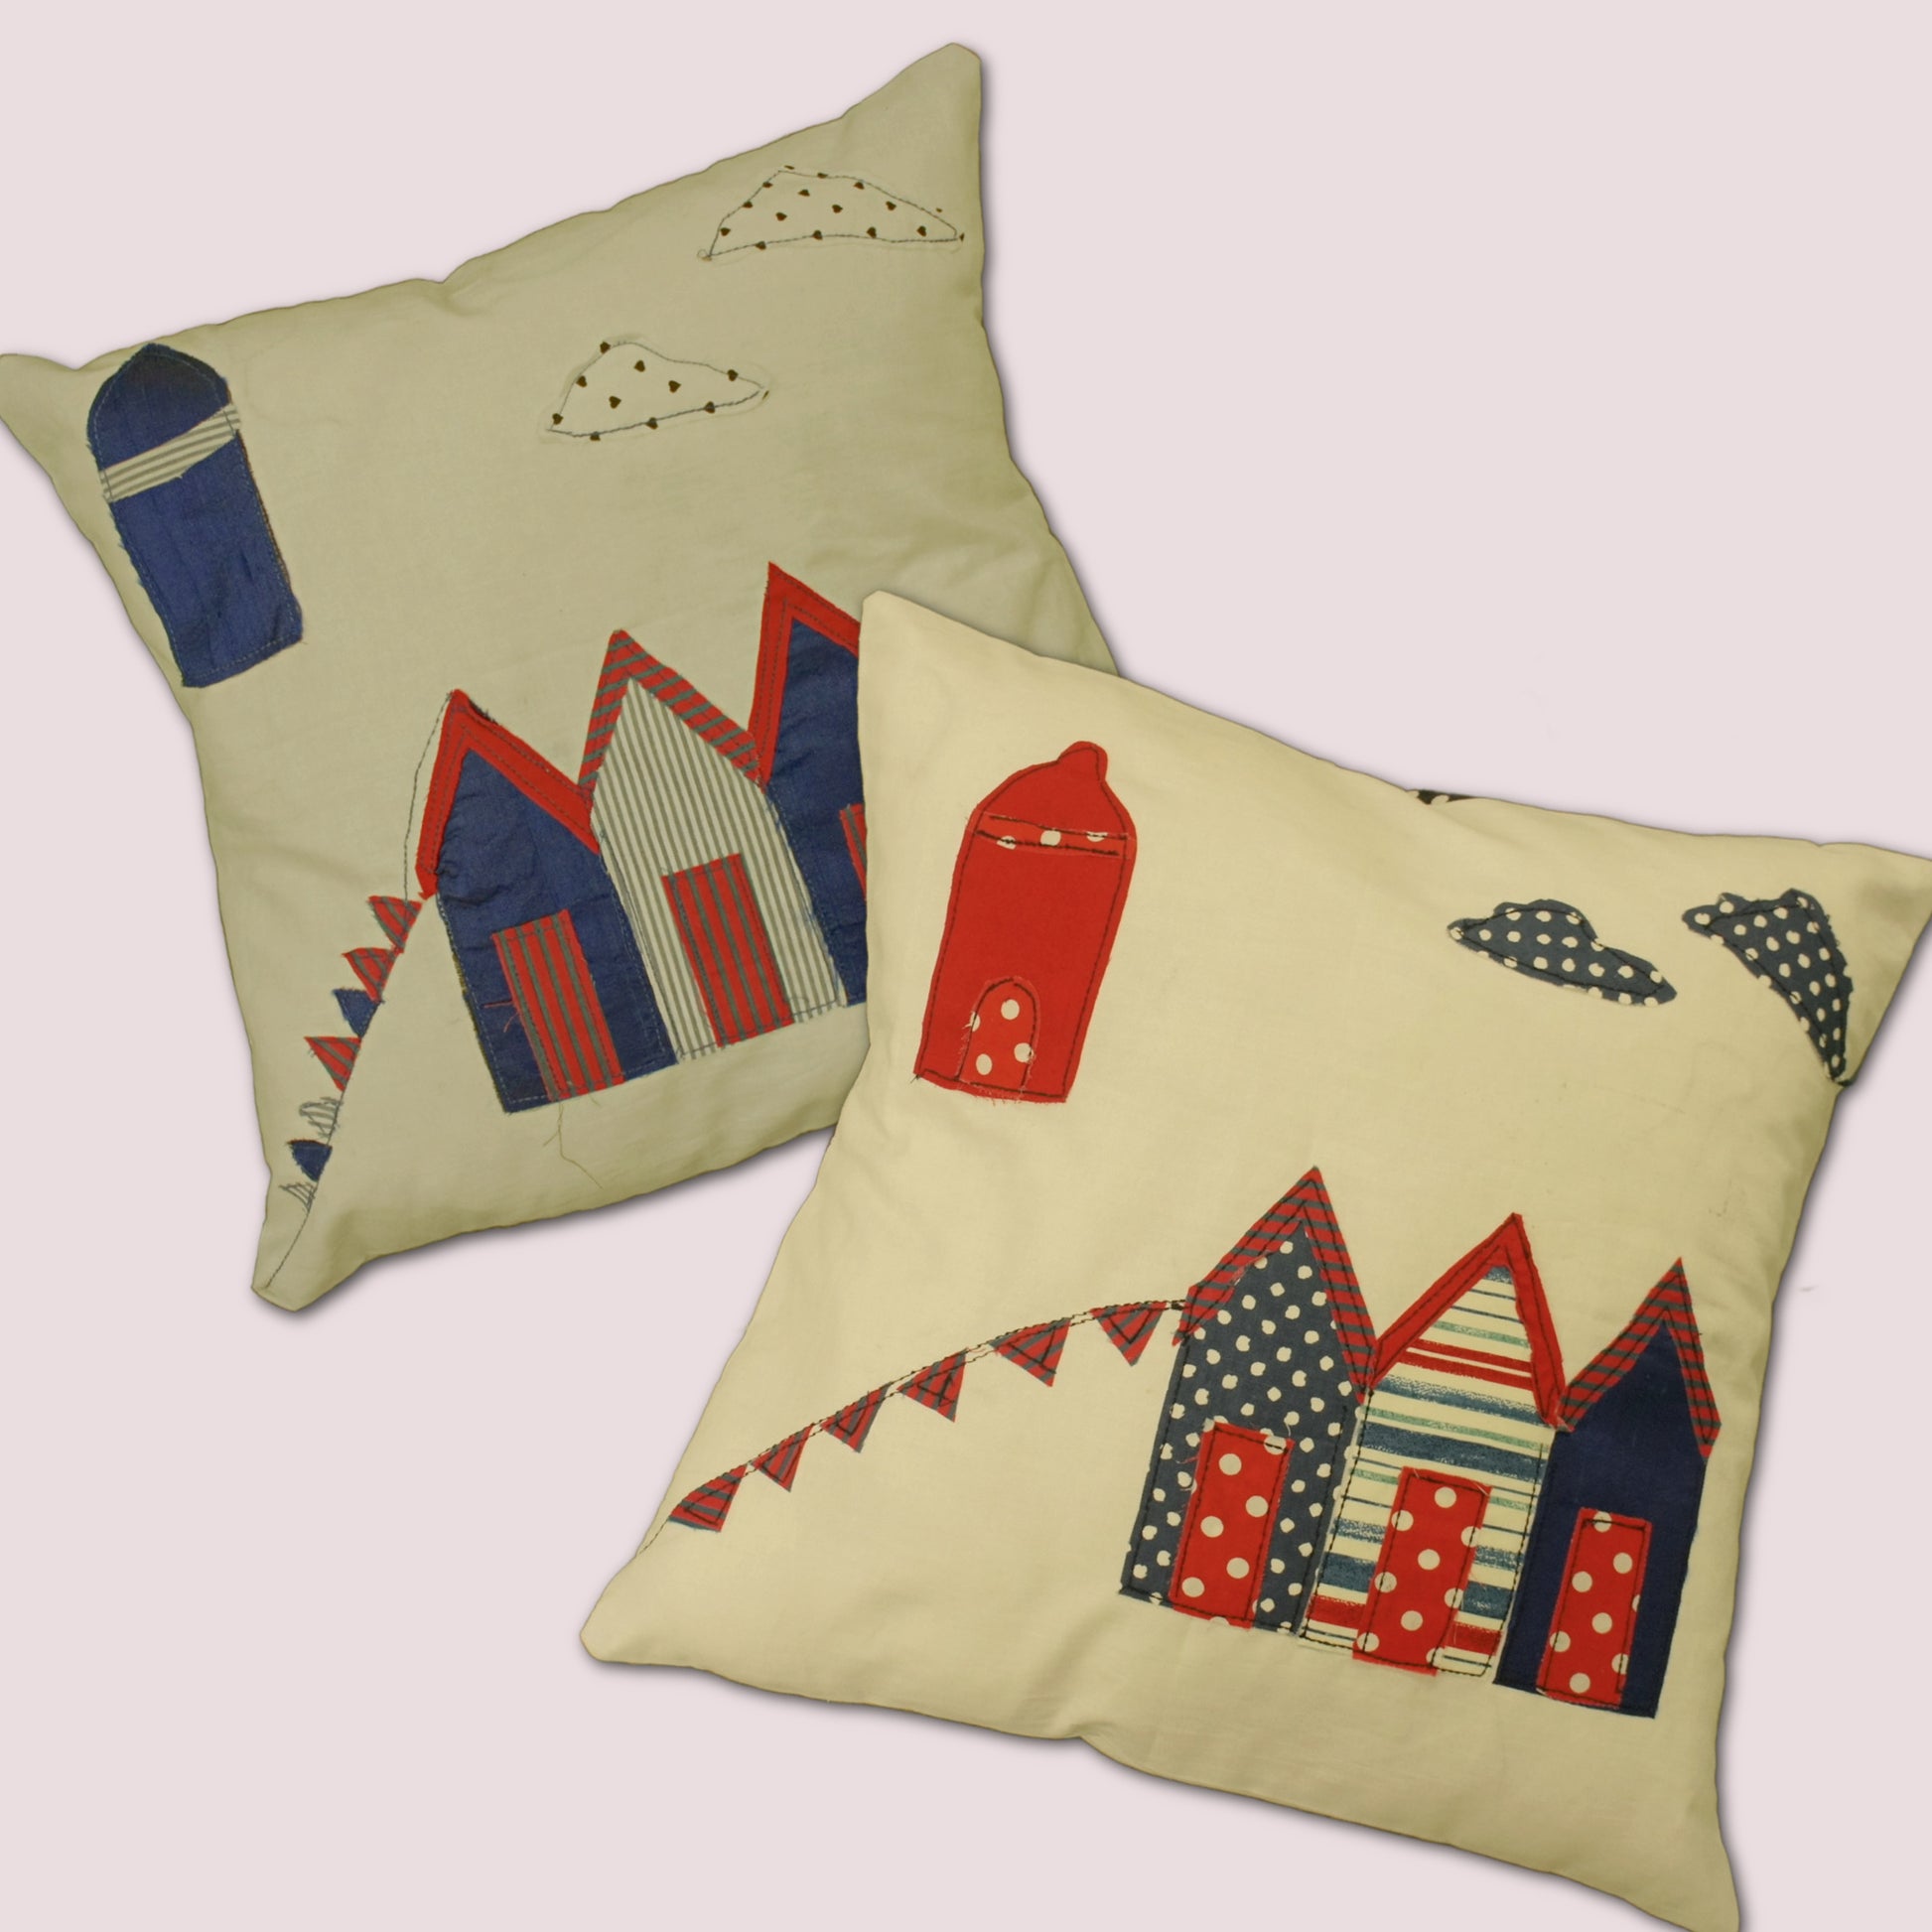
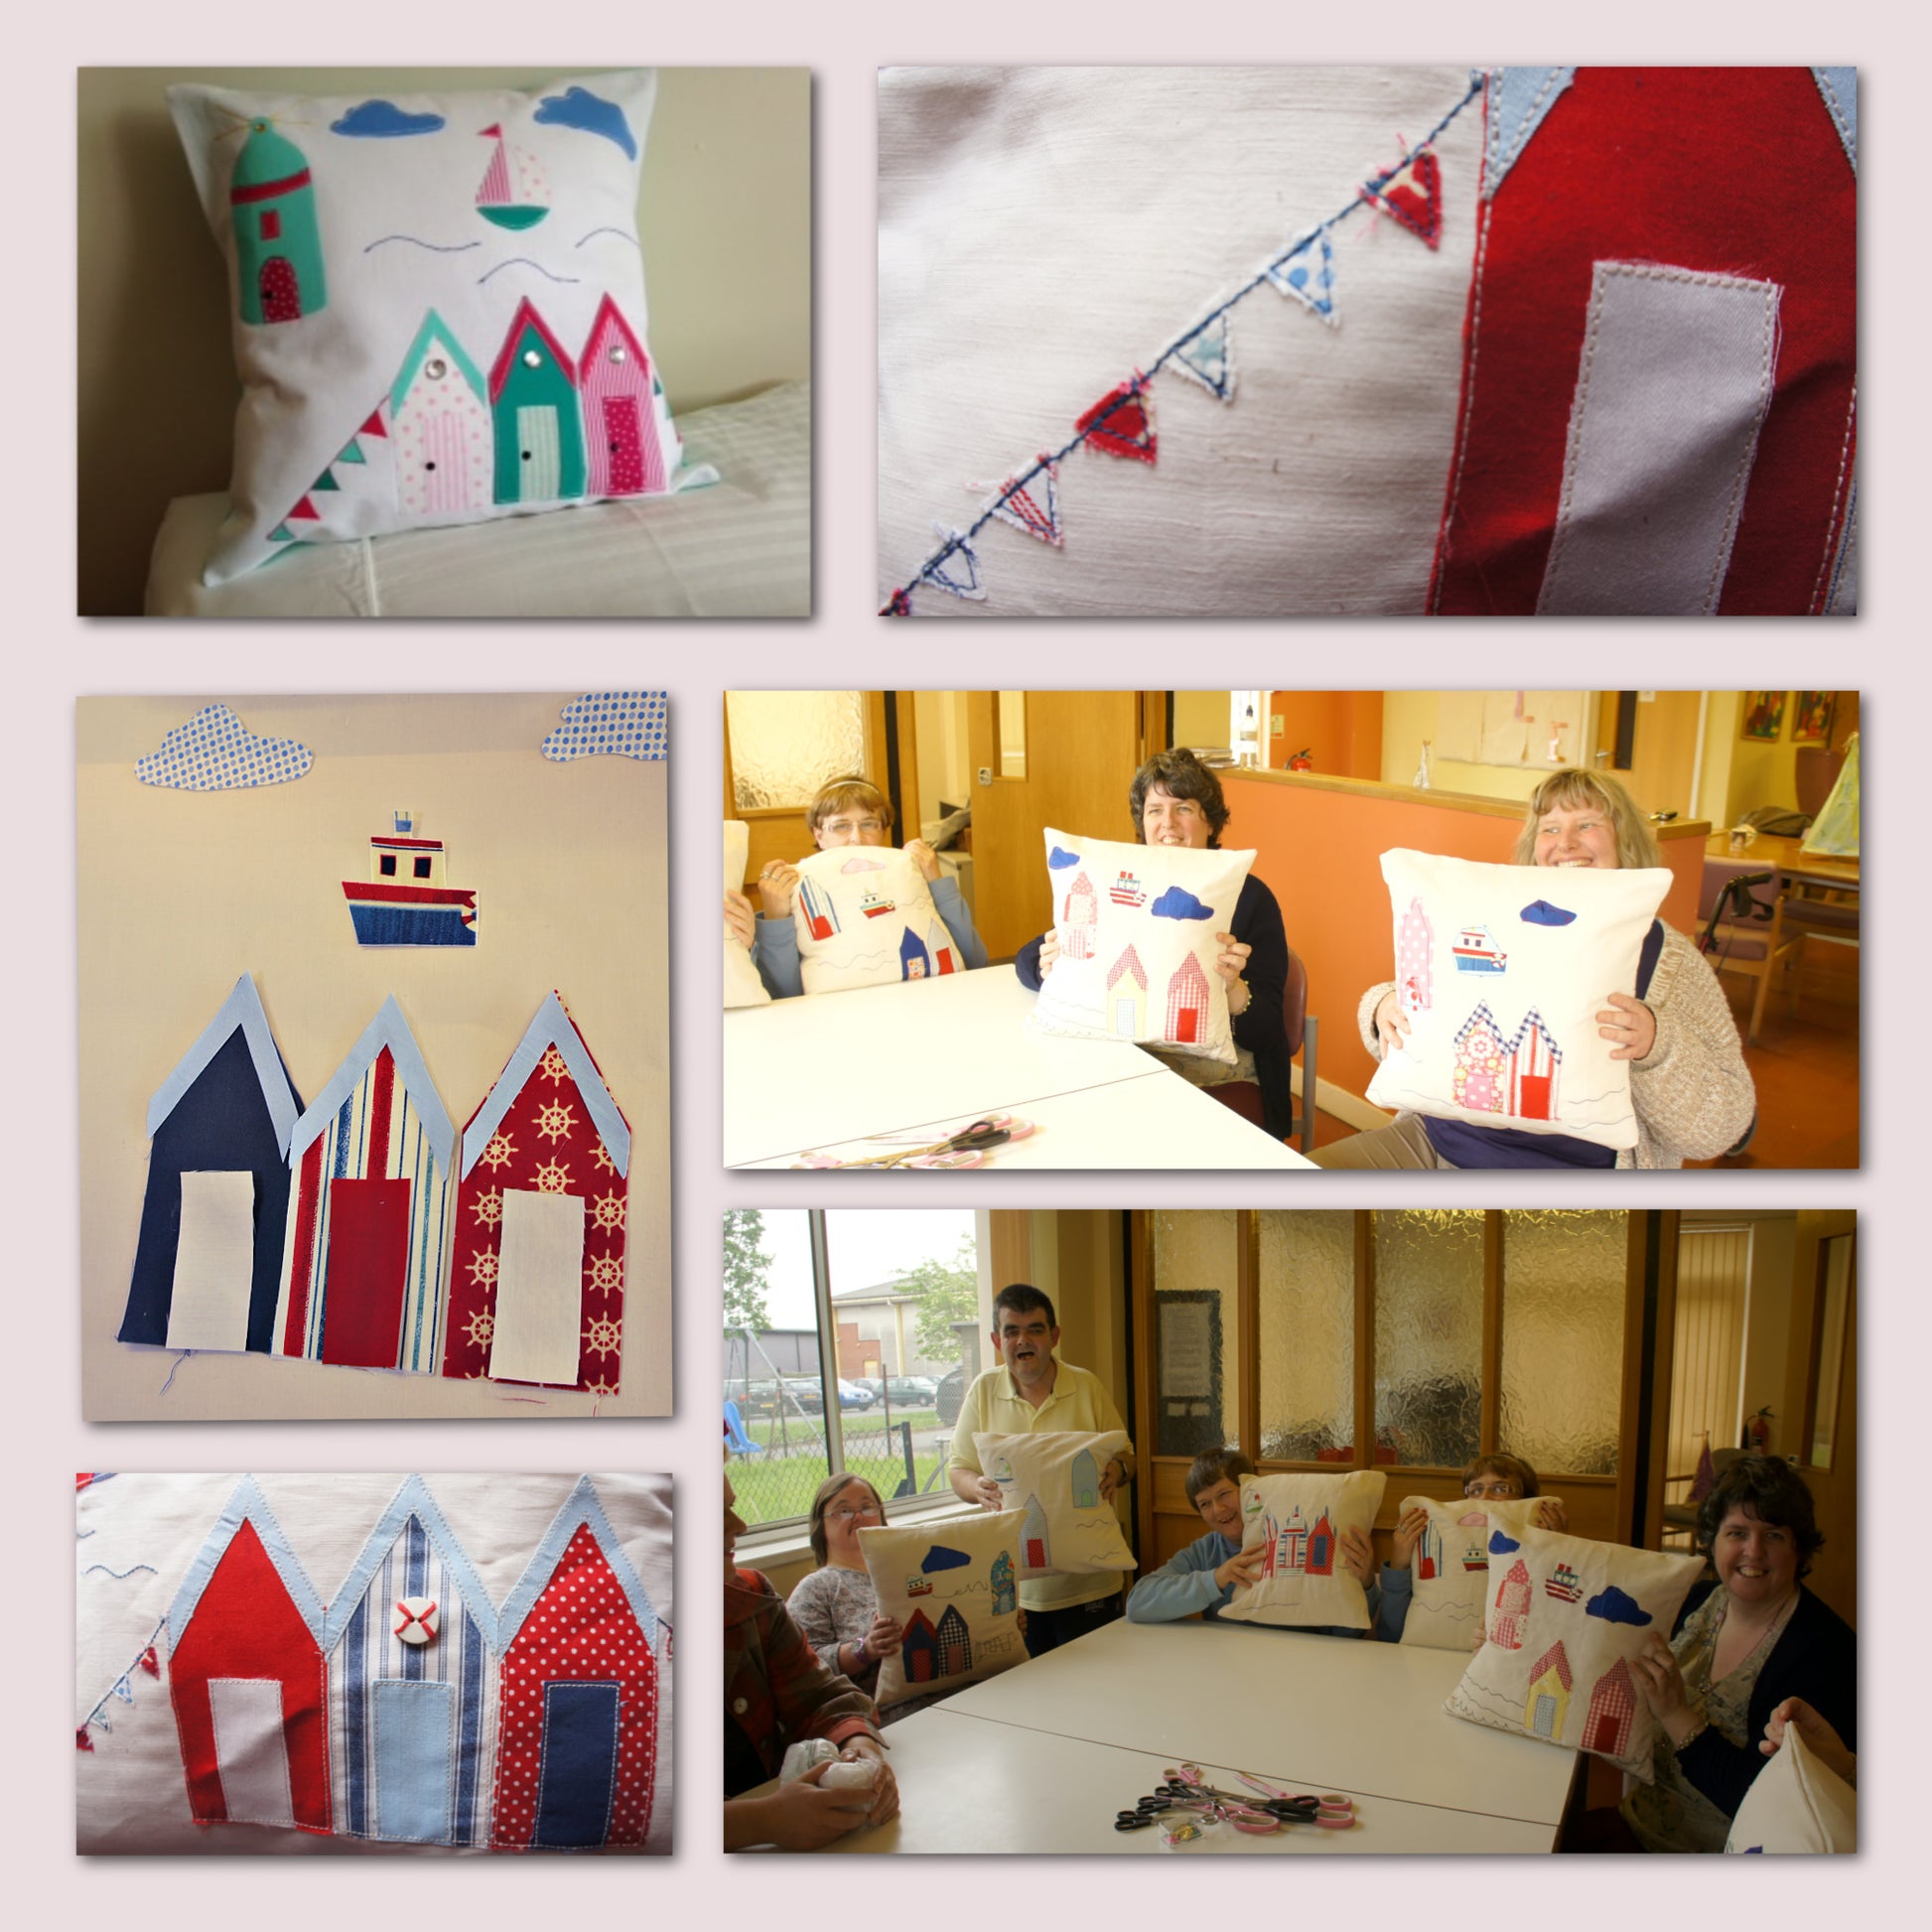
Näh dir ein Kissen im Seefahrer-Look. Deine Kinder machen da sicherlich gerne mit. Ein paar Stoffreste, Bondaweb und es kann losgehen.
Was ist beim Schnittmuster dabei?
- Sofort-Download
- Digitale PDF Schnittmuster
- DIN A4 Format
- Schritt für Schritt Video-Anleitungen
Design
Design
Du kannst wie ich den Seefahrer-Look auswählen oder ganz nach deinem Geschmack ein ganz anderes Motif verarbeiten. Die Methode ist ja immer gleich.
Stoffverbrauch
Stoffverbrauch
Hier eignen sich Quilting-Sroffe besonders gut für das Applique. Für das Kissen selbst kannst du auch andere Stoffe nehmen. Sie sollten schwer sein, ein Leinenimitat Bezugsstoff ist ideal.
- Vorderes Kissen: 45cm x 45cm
- Rückwärtiges Kissen: 2 x 45cm x 25cm
- Bondaweb: 50cm
Verfügbare Größen
Verfügbare Größen
Dieses Schnittmuster gibt es in einer Größe.
FERTIGE MAßE
42cm x 42cm
Bitte beachten
Bitte beachten
1. Dies ist ein digitales Schnittmuster bzw. eine PDF-Datei, kein physisches Produkt. Es wird elektronisch über einen Download-Link an die beim Kauf verwendete E-Mail-Adresse geliefert.
2. Um sicherzustellen, dass der Schnitt in Originalgröße gedruckt wird, empfehlen wir die Verwendung von Adobe Acrobat Reader.
3. Die Schnittmuster-Designerin, Frocks & Frolics, erlaubt die Kleinserienproduktion mit ihren Schnittmustern. Kunden werden ermutigt, Frocks & Frolics zu taggen, wenn sie Projekte mit ihren Schnittmustern in sozialen Medien teilen.
Teilen

VIDEO TEXT
Transcript for the video: Nautical Cushion All-in-One Tutorial
Welcome to the Chestnut Children's Centre sewing project. To make your cushion, you will need:
- A 45 cm × 45 cm piece of paper for your design
- A 45 cm × 25 cm piece of fabric for the cushion back
- A selection of fat quarters or a bunting bundle
- Wonder-Under (fusible webbing with paper backing)
You can draw your own design or download the template from the link below the video.
Preparing the Appliqué Design
Iron the Wonder-Under onto your chosen fabrics. Once applied, draw your design onto the paper side and cut out the individual shapes.
For shapes such as roofs, arrange them carefully before cutting to avoid wasting fabric.
Remove the paper backing and position the fabric pieces onto your cushion front. Once you're happy with the layout, iron the pieces in place.
Stitching the Design
Use a triple stitch to sew around the appliqué shapes. This creates a decorative effect similar to hand embroidery.
On the Janome Flair sewing machine, the triple stitch is Stitch 18.
You can also add small details such as windows using the same stitch, creating a lovely decorative finish.
Preparing the Zip Opening
Place the zip against the cushion back and determine how much of the seam needs to remain closed at each end. Typically, this will be around 4–5 cm.
Mark the positions and sew the seam using a 1.5 cm seam allowance:
- Sew normally to the first mark and secure with reverse stitches.
- Increase the stitch length to 5 between the marks.
- Reduce the stitch length again at the second mark and secure with reverse stitches.
Press the seam open.
Inserting the Zip
Sew across the zip ends to prevent them from separating.
Pin the zip directly onto the pressed seam allowance and stitch it into place. If your machine allows it, move the needle slightly to the left for easier stitching.
Once both sides are attached, carefully open the temporary long stitches in the centre and continue sewing around the zip.
Give the zip area a good press once complete.
Assembling the Cushion
Place the cushion front and back right sides together.
Sew all the way around the cushion. When sewing the corners, curve them slightly rather than creating sharp angles. This helps produce neater corners once the cushion is turned right side out.
Turn the cushion through the zip opening and carefully push out all corners. Press thoroughly.
Finishing Touches
Add a button to represent a safety ring. A thick embroidery thread works particularly well for this detail, although standard sewing thread can also be used.
Your cushion is now complete.
Conclusion
Well done on finishing your cushion project. If you would like to learn more about the sewing courses offered at Chestnut Children's Centre, please contact a member of staff—they will be happy to help.