Zu Produktinformationen springen
1 von 17

KUMMERBUND

KUMMERBUND

Filled Circle
Filled Circle
Filled Circle
Empty Circle
Empty Circle
Normaler Preis €3,95 EUR
Normaler Preis Verkaufspreis €3,95 EUR
Sale Ausverkauft

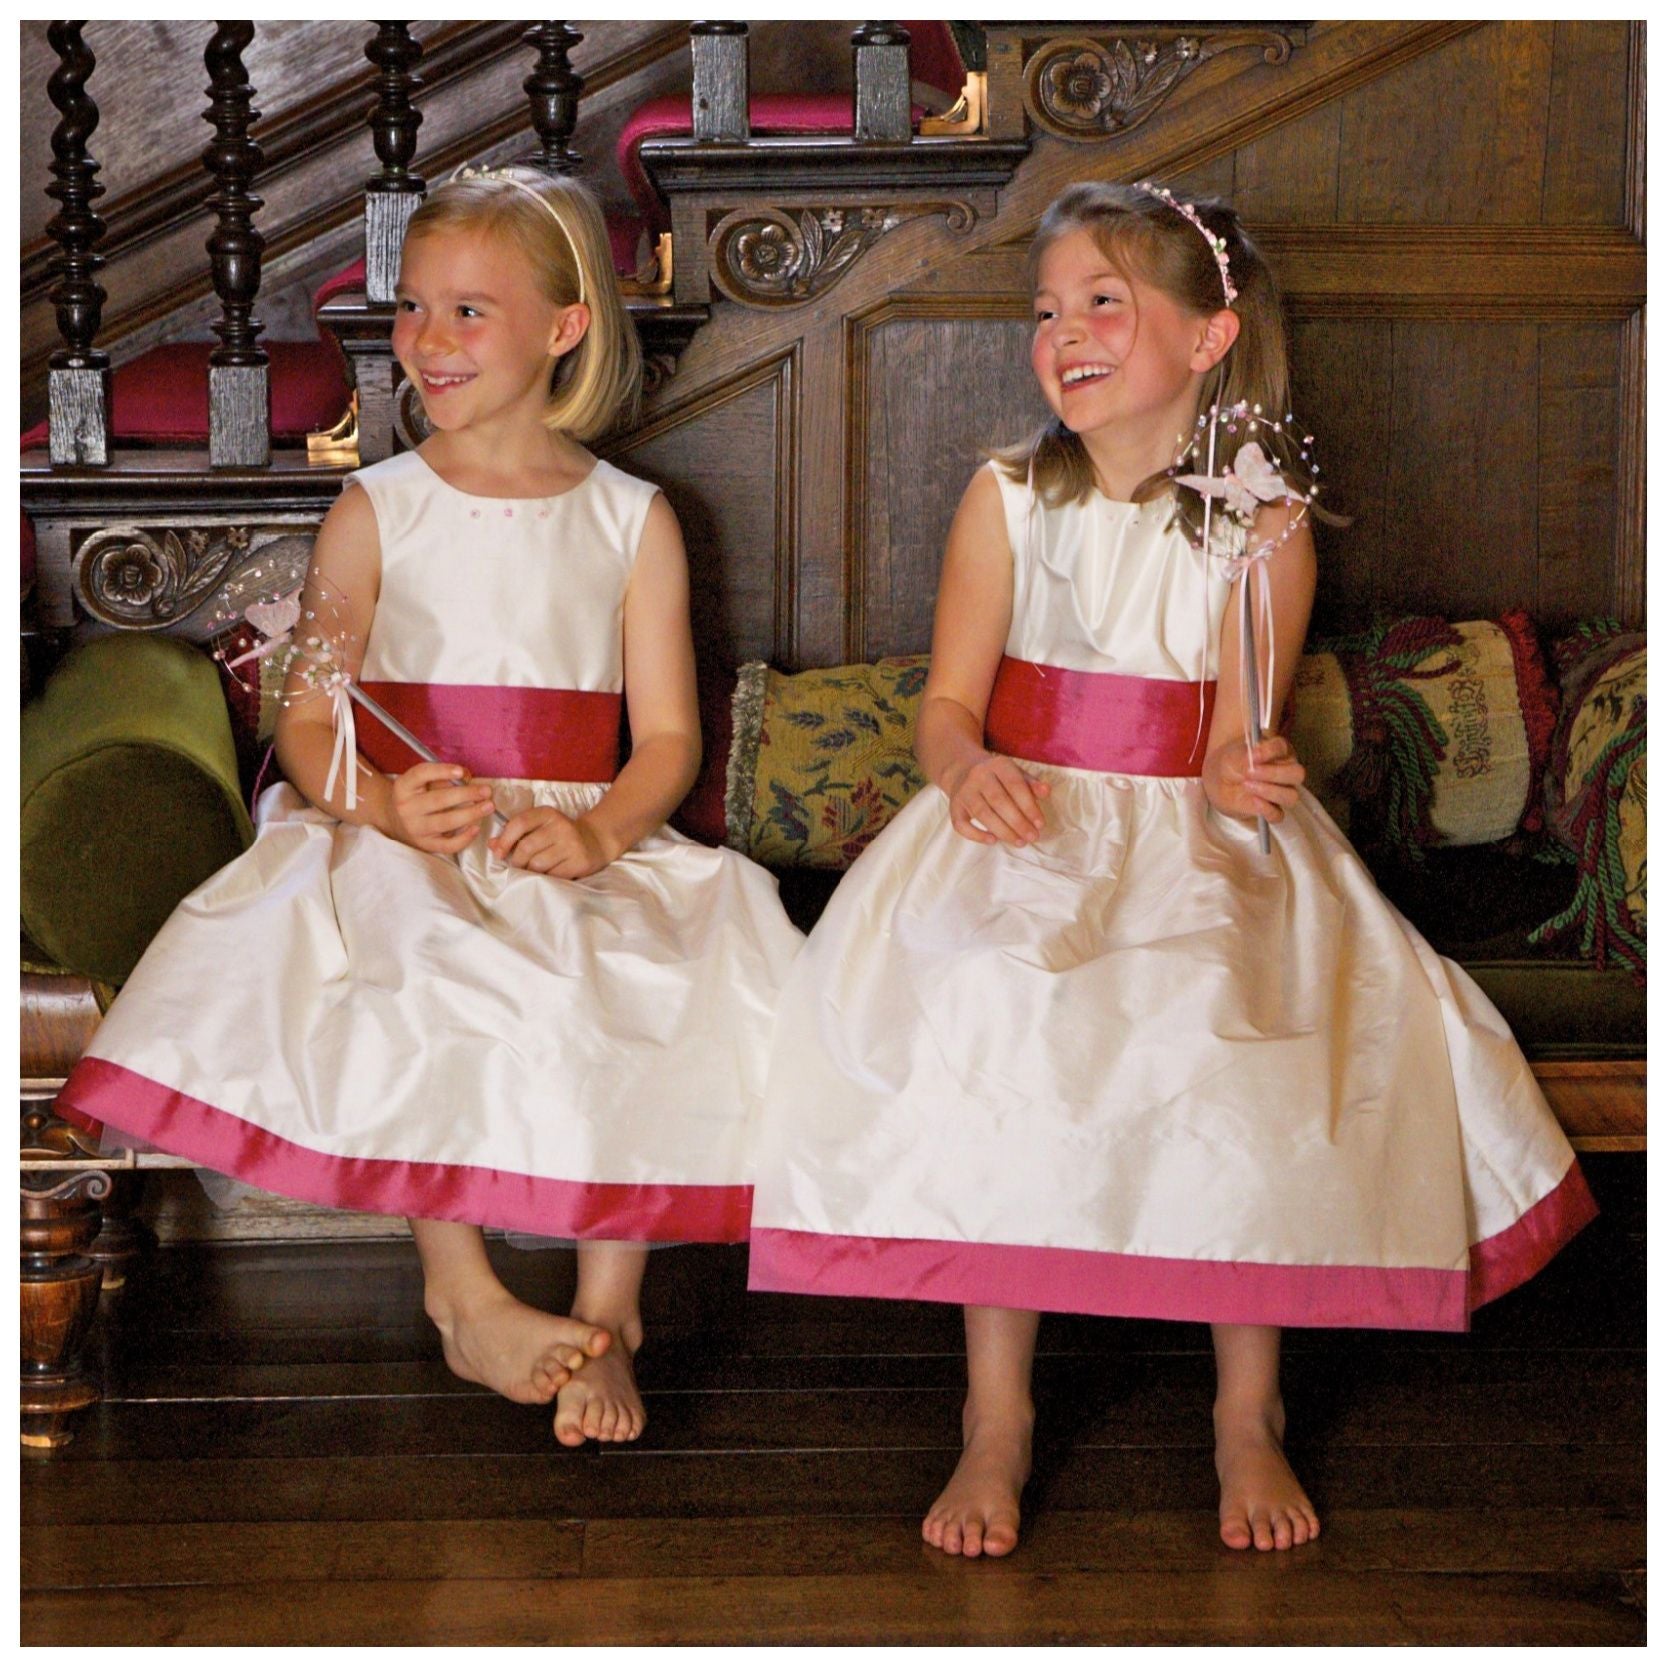
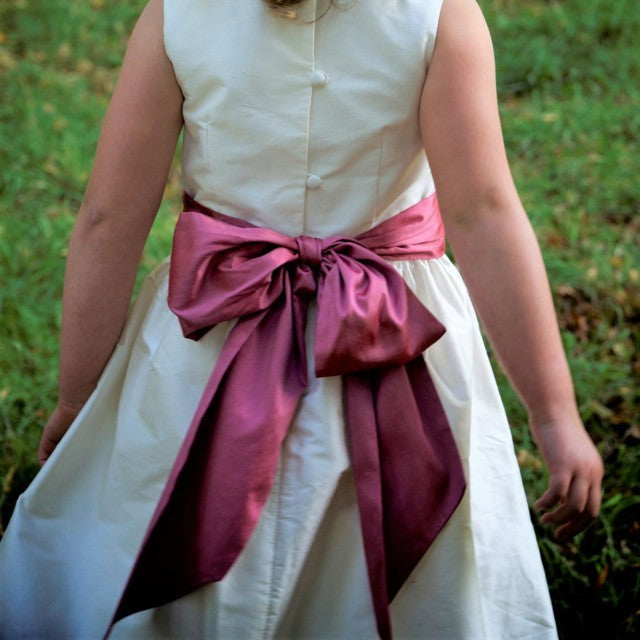
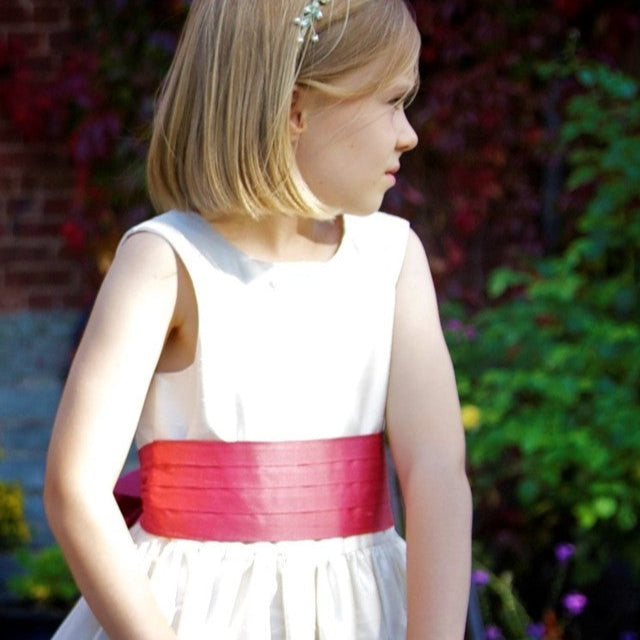
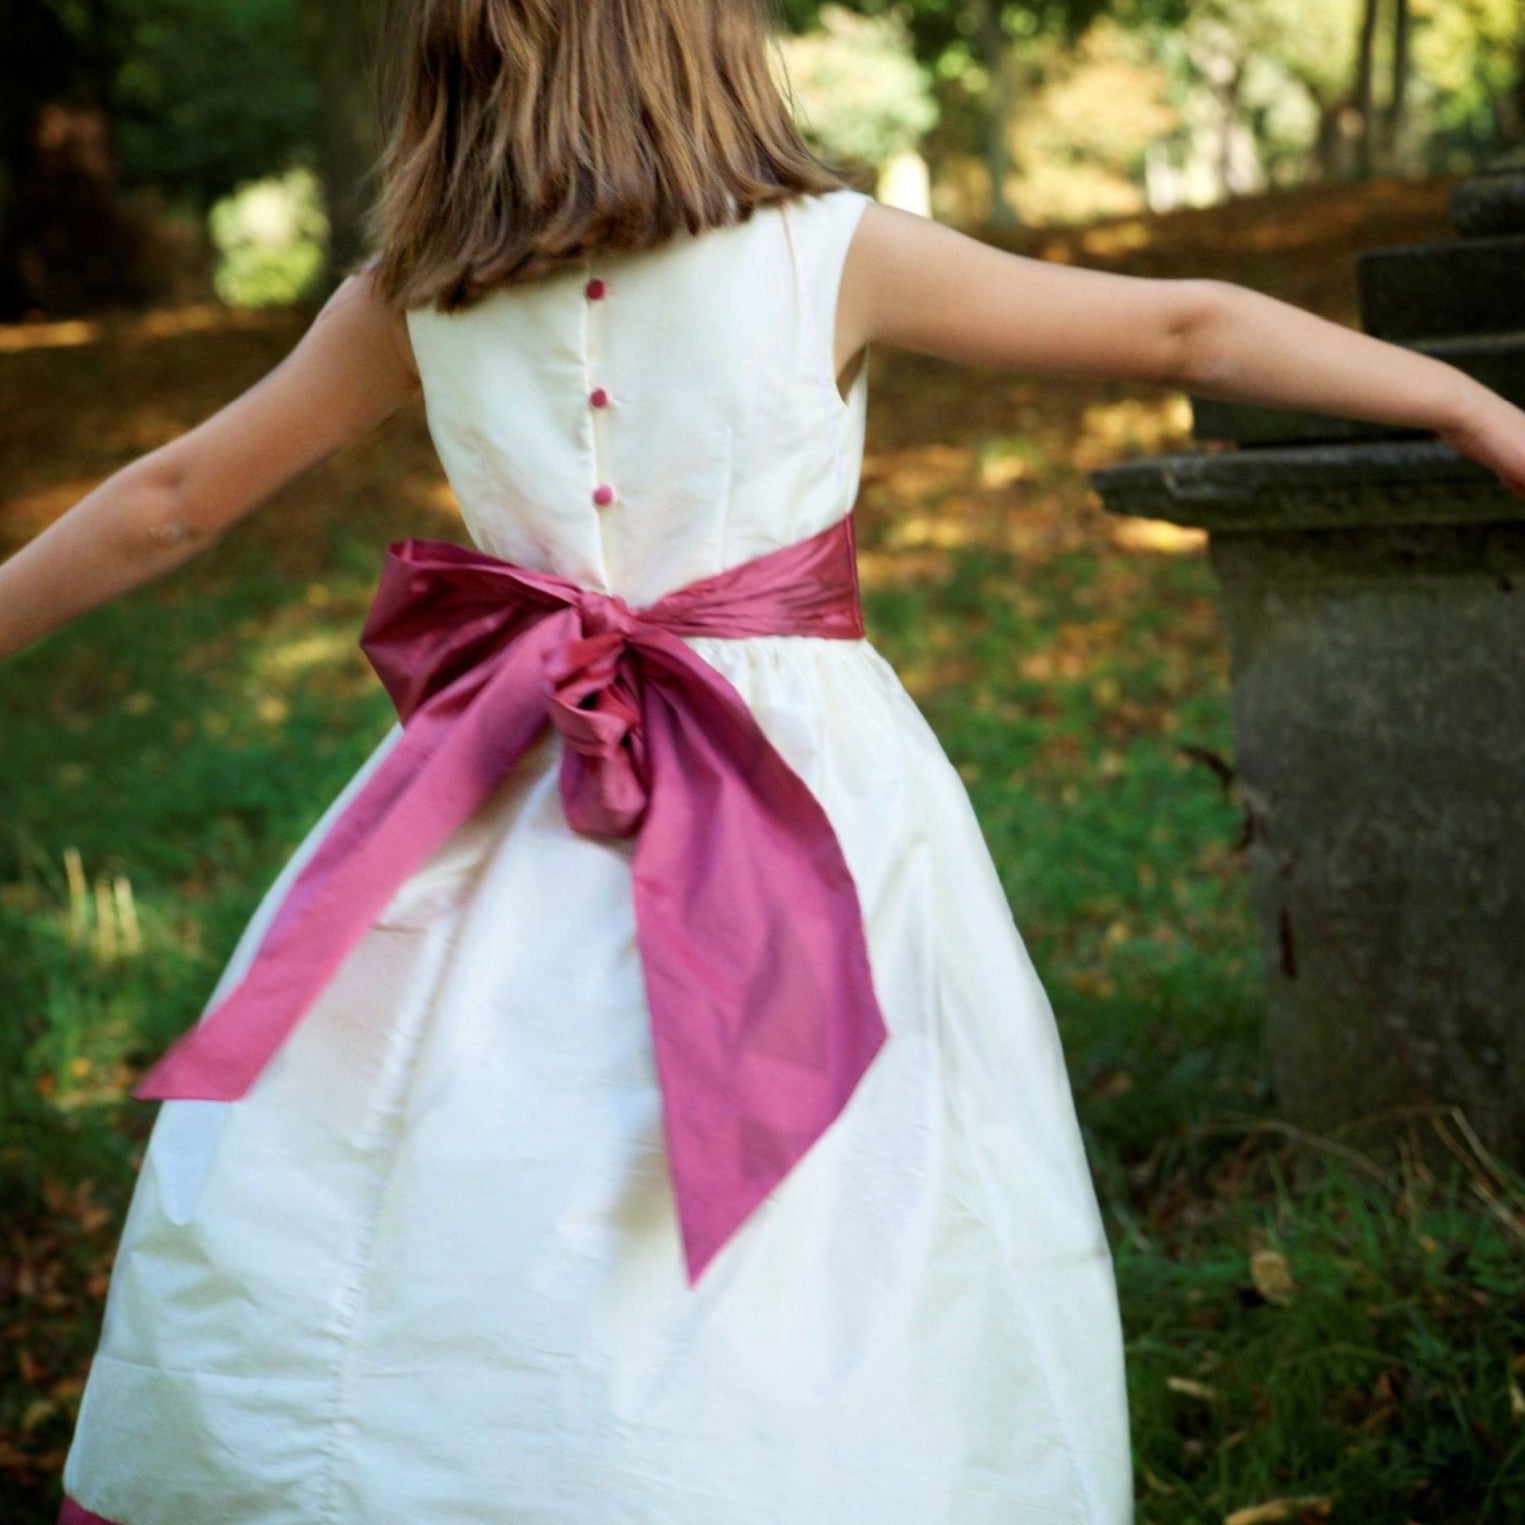
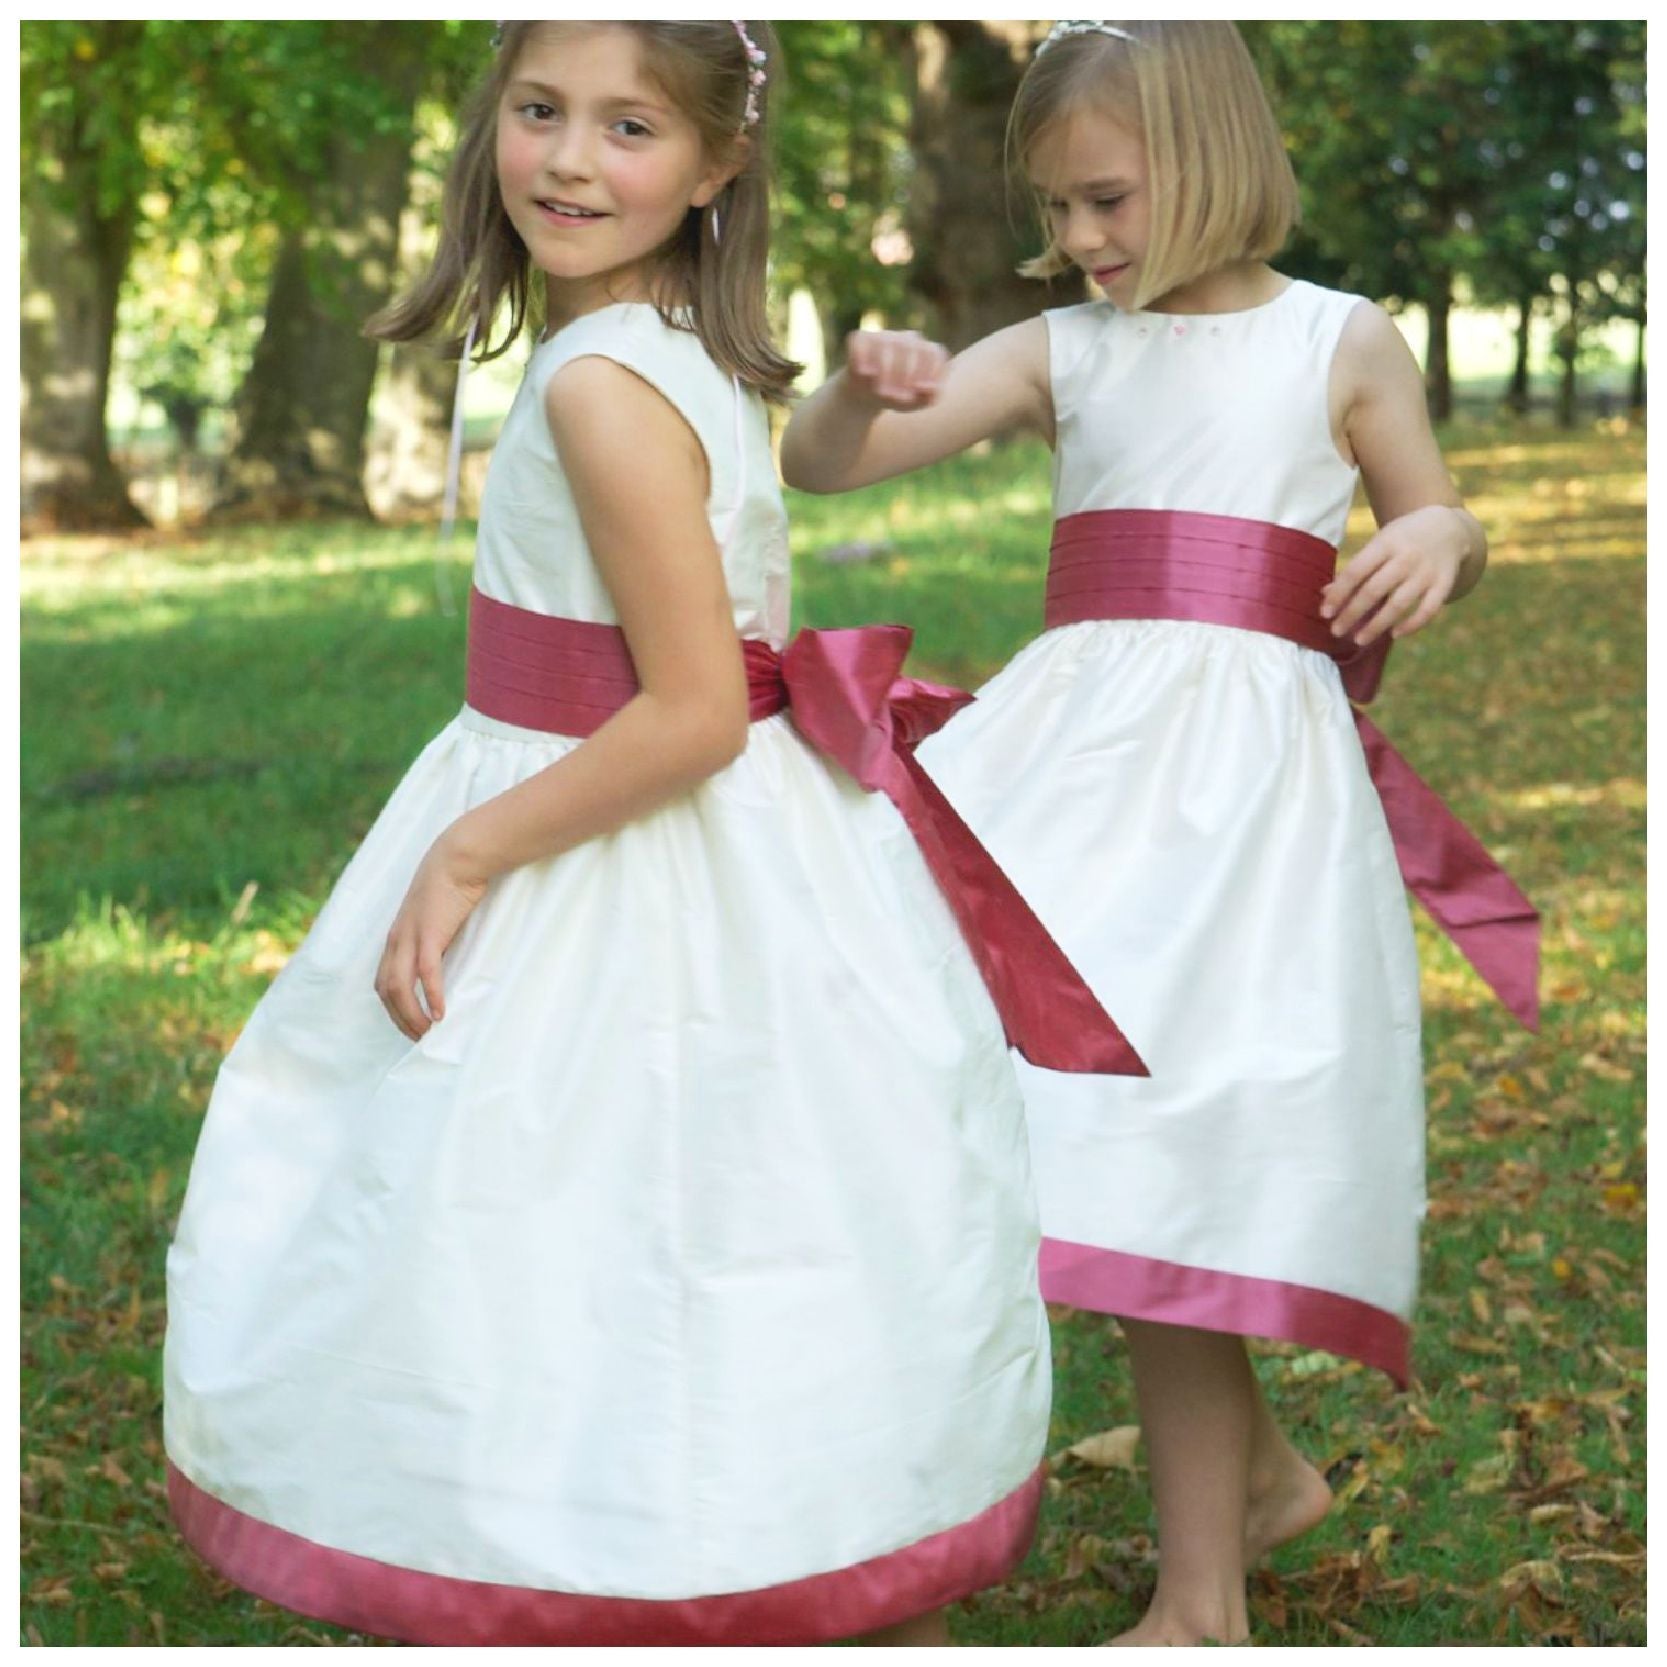
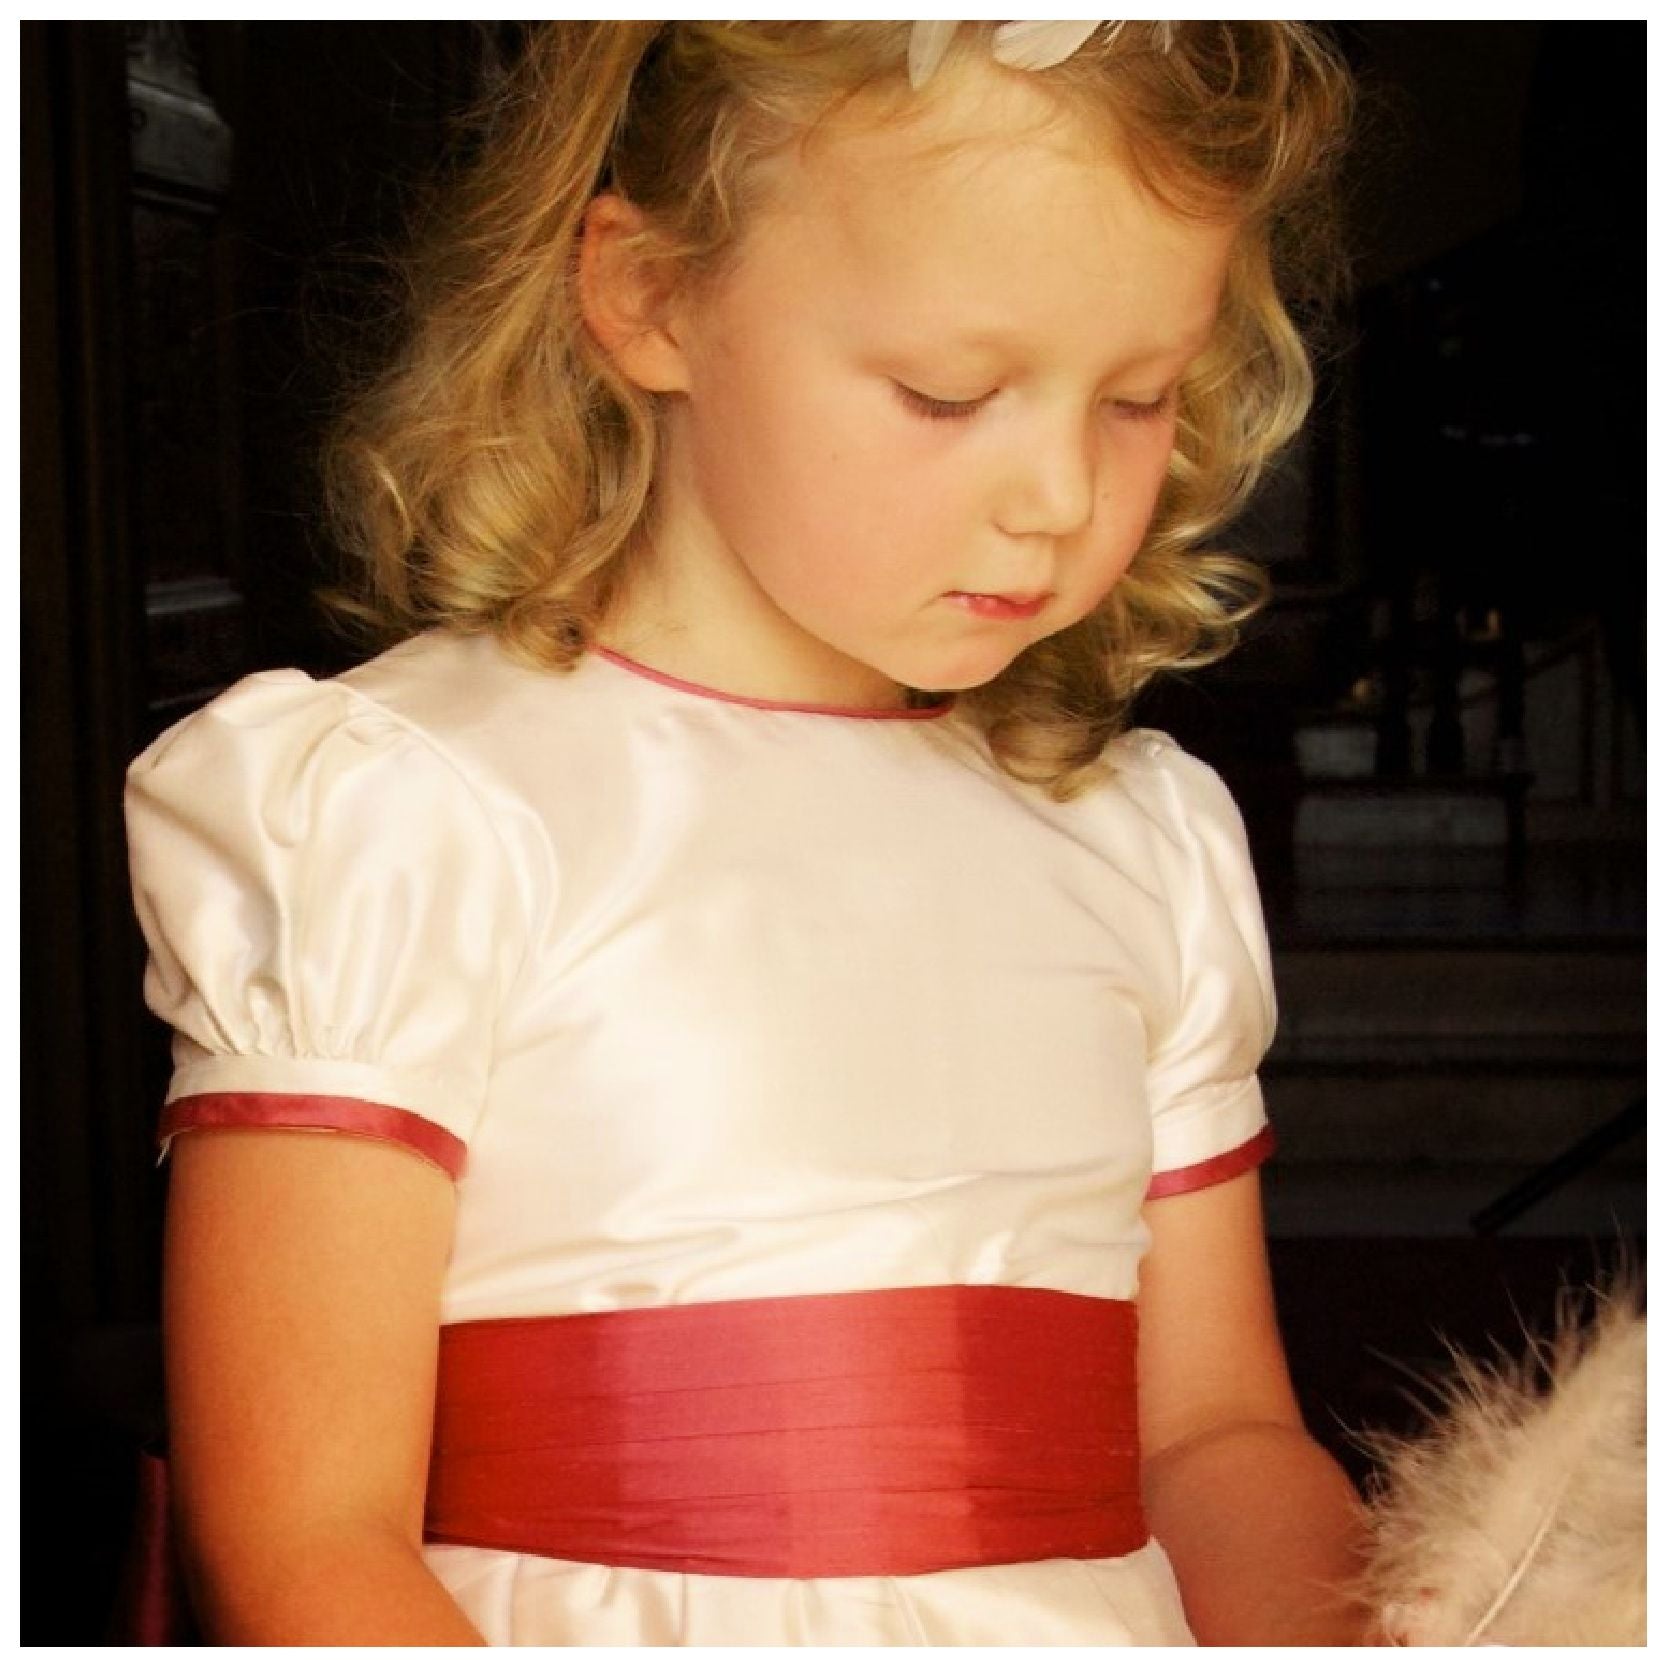
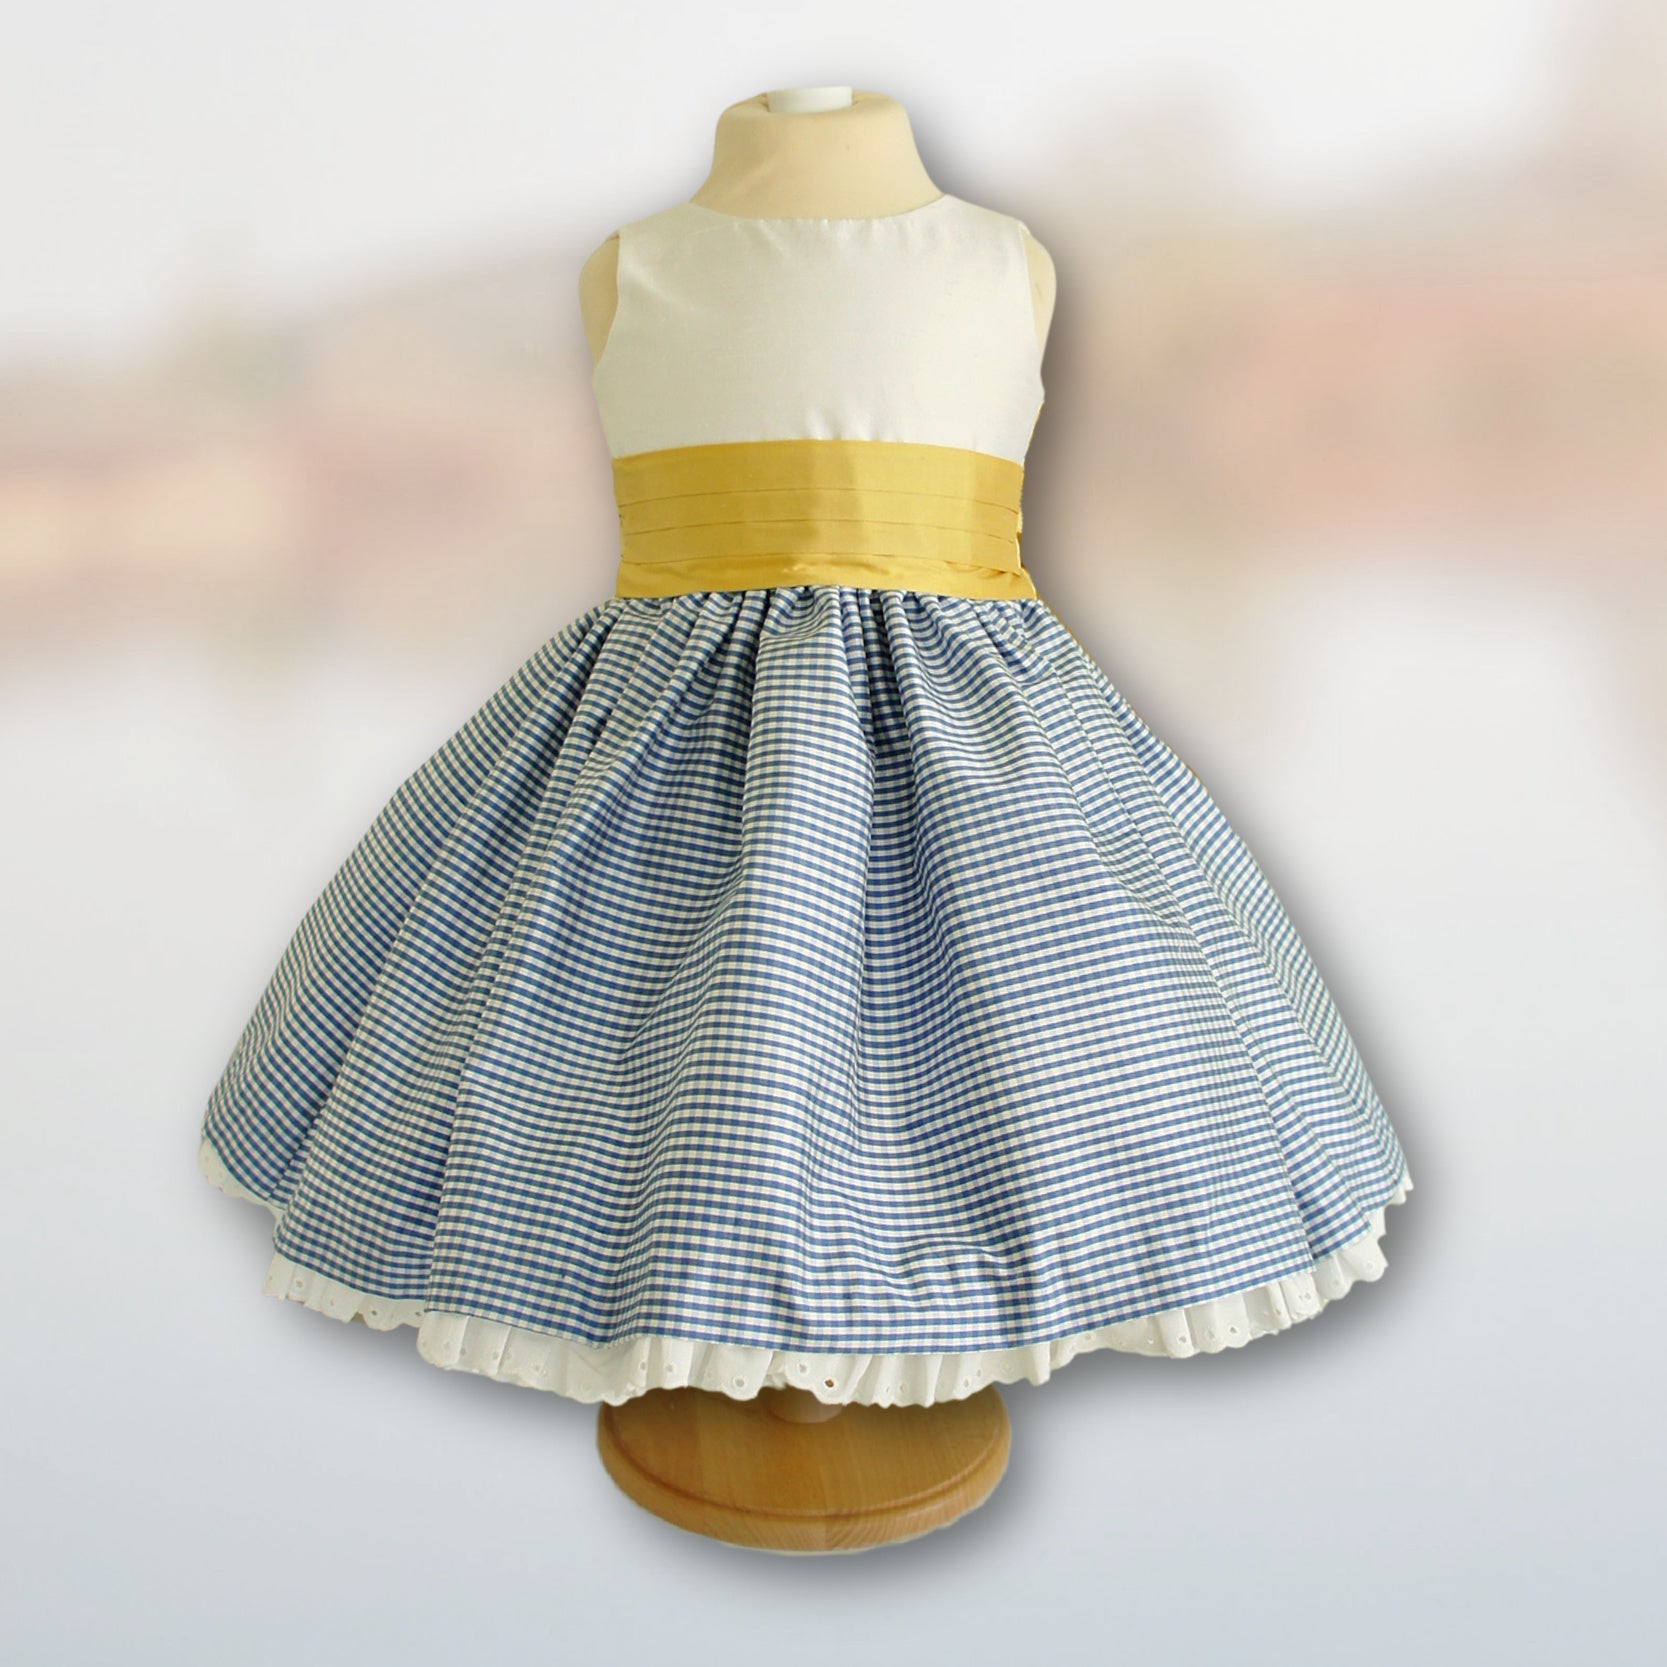
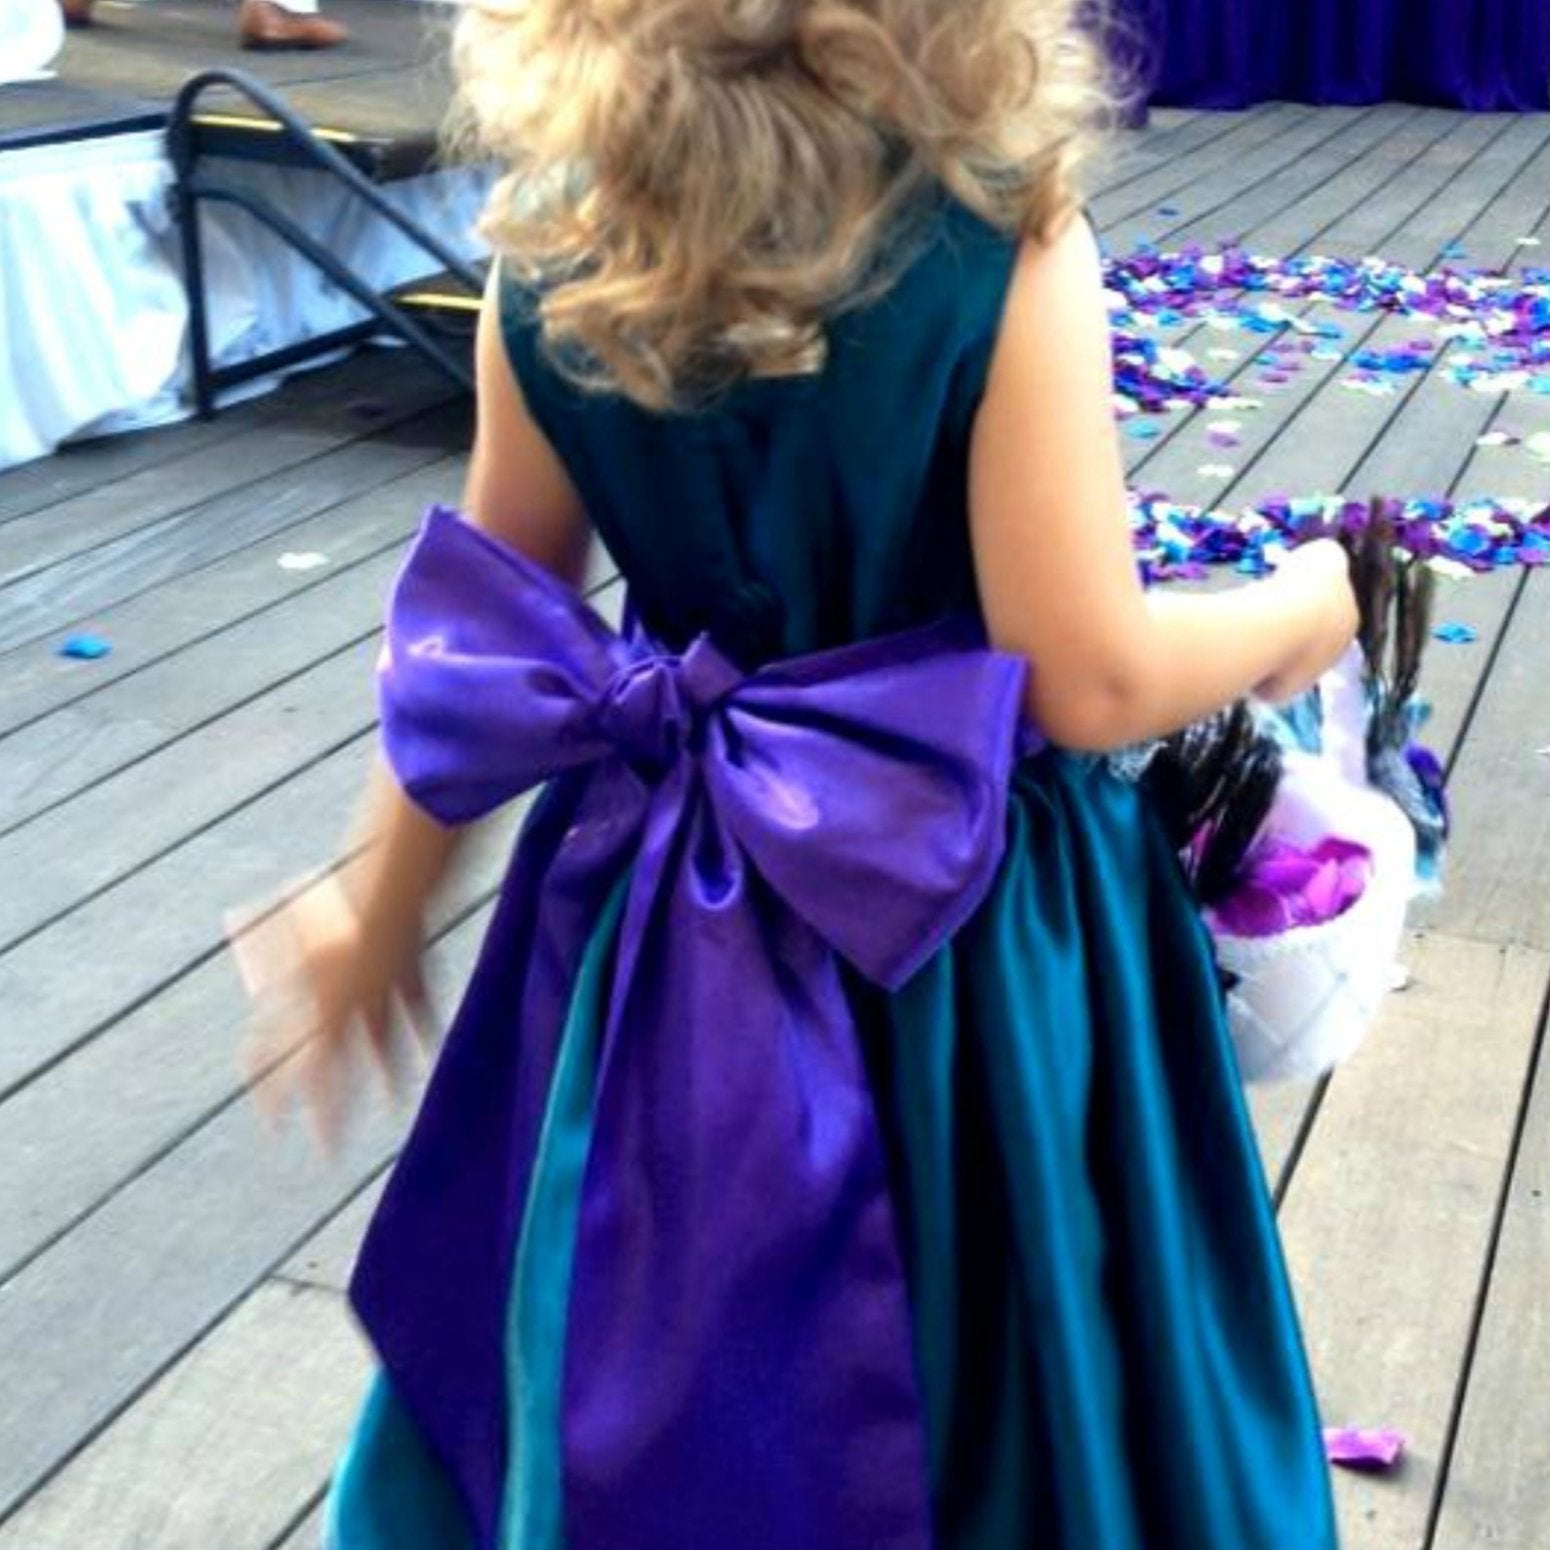
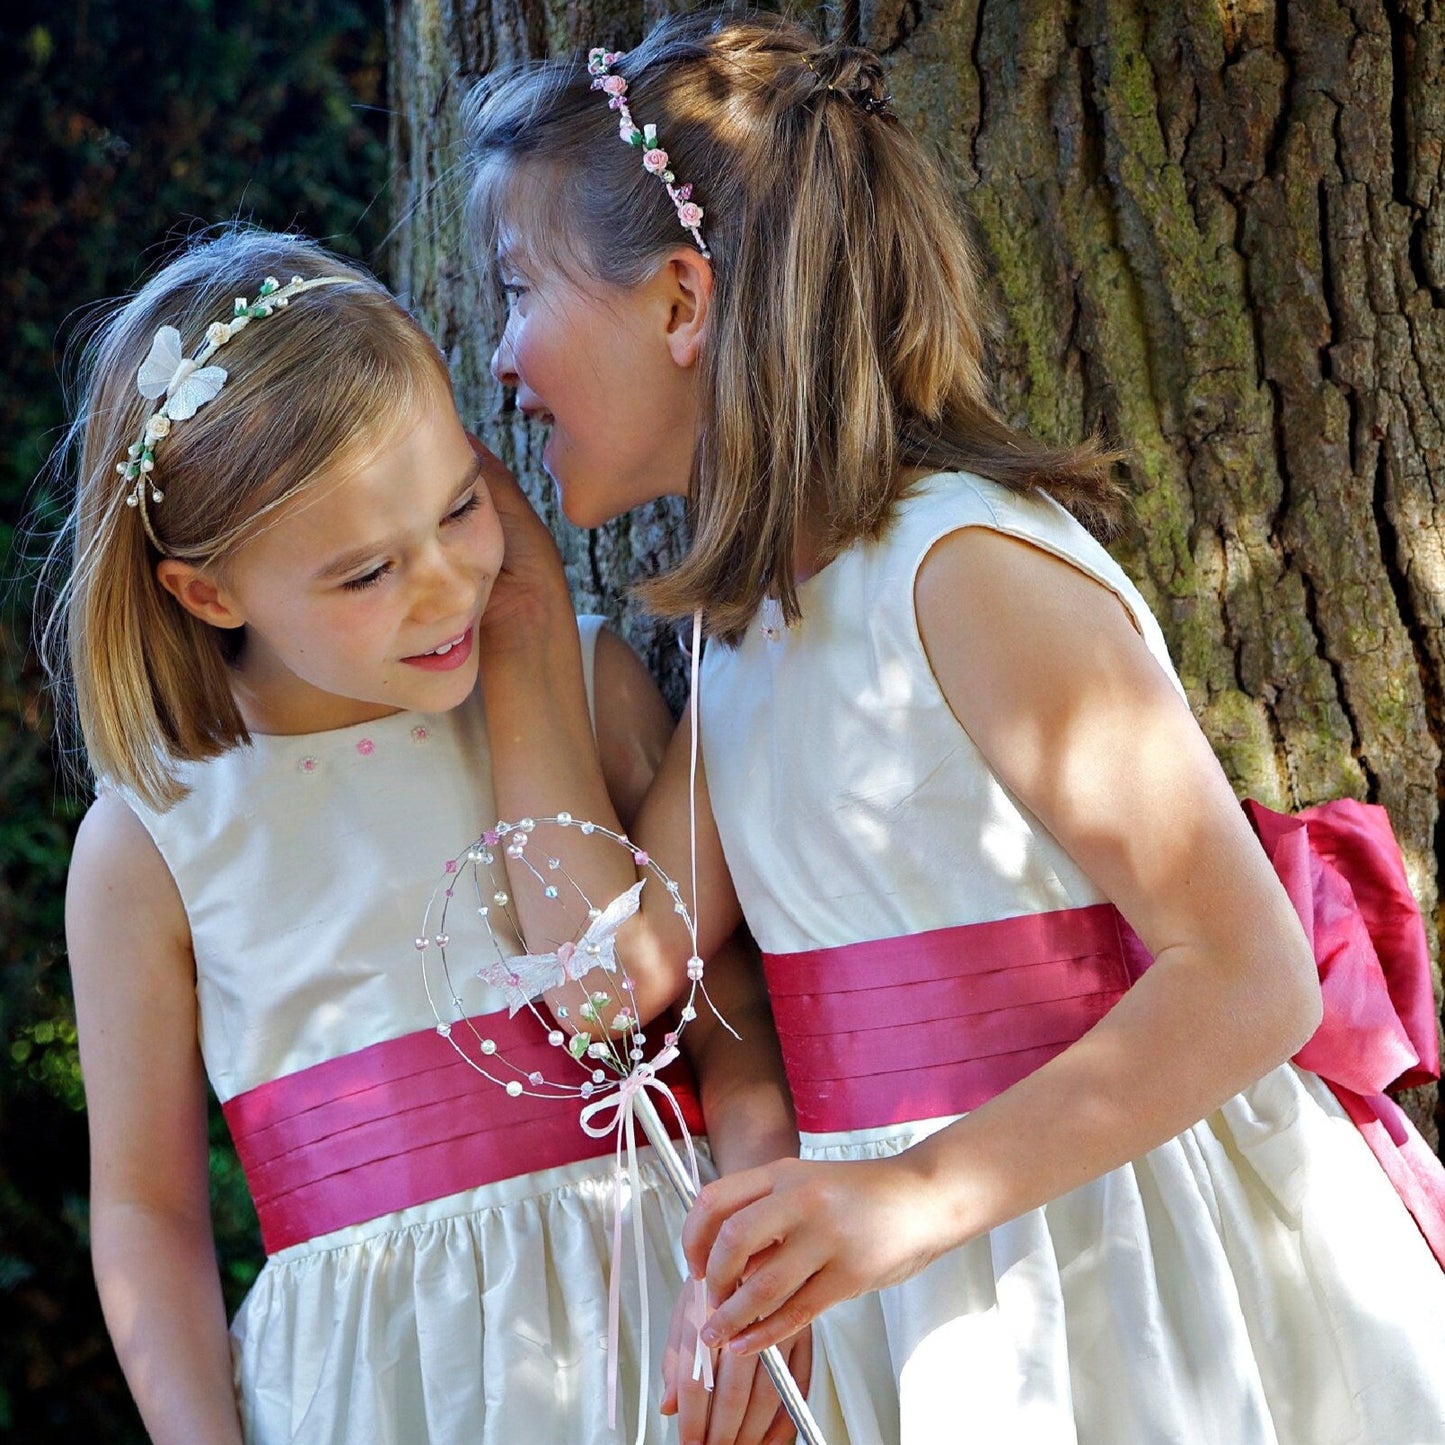
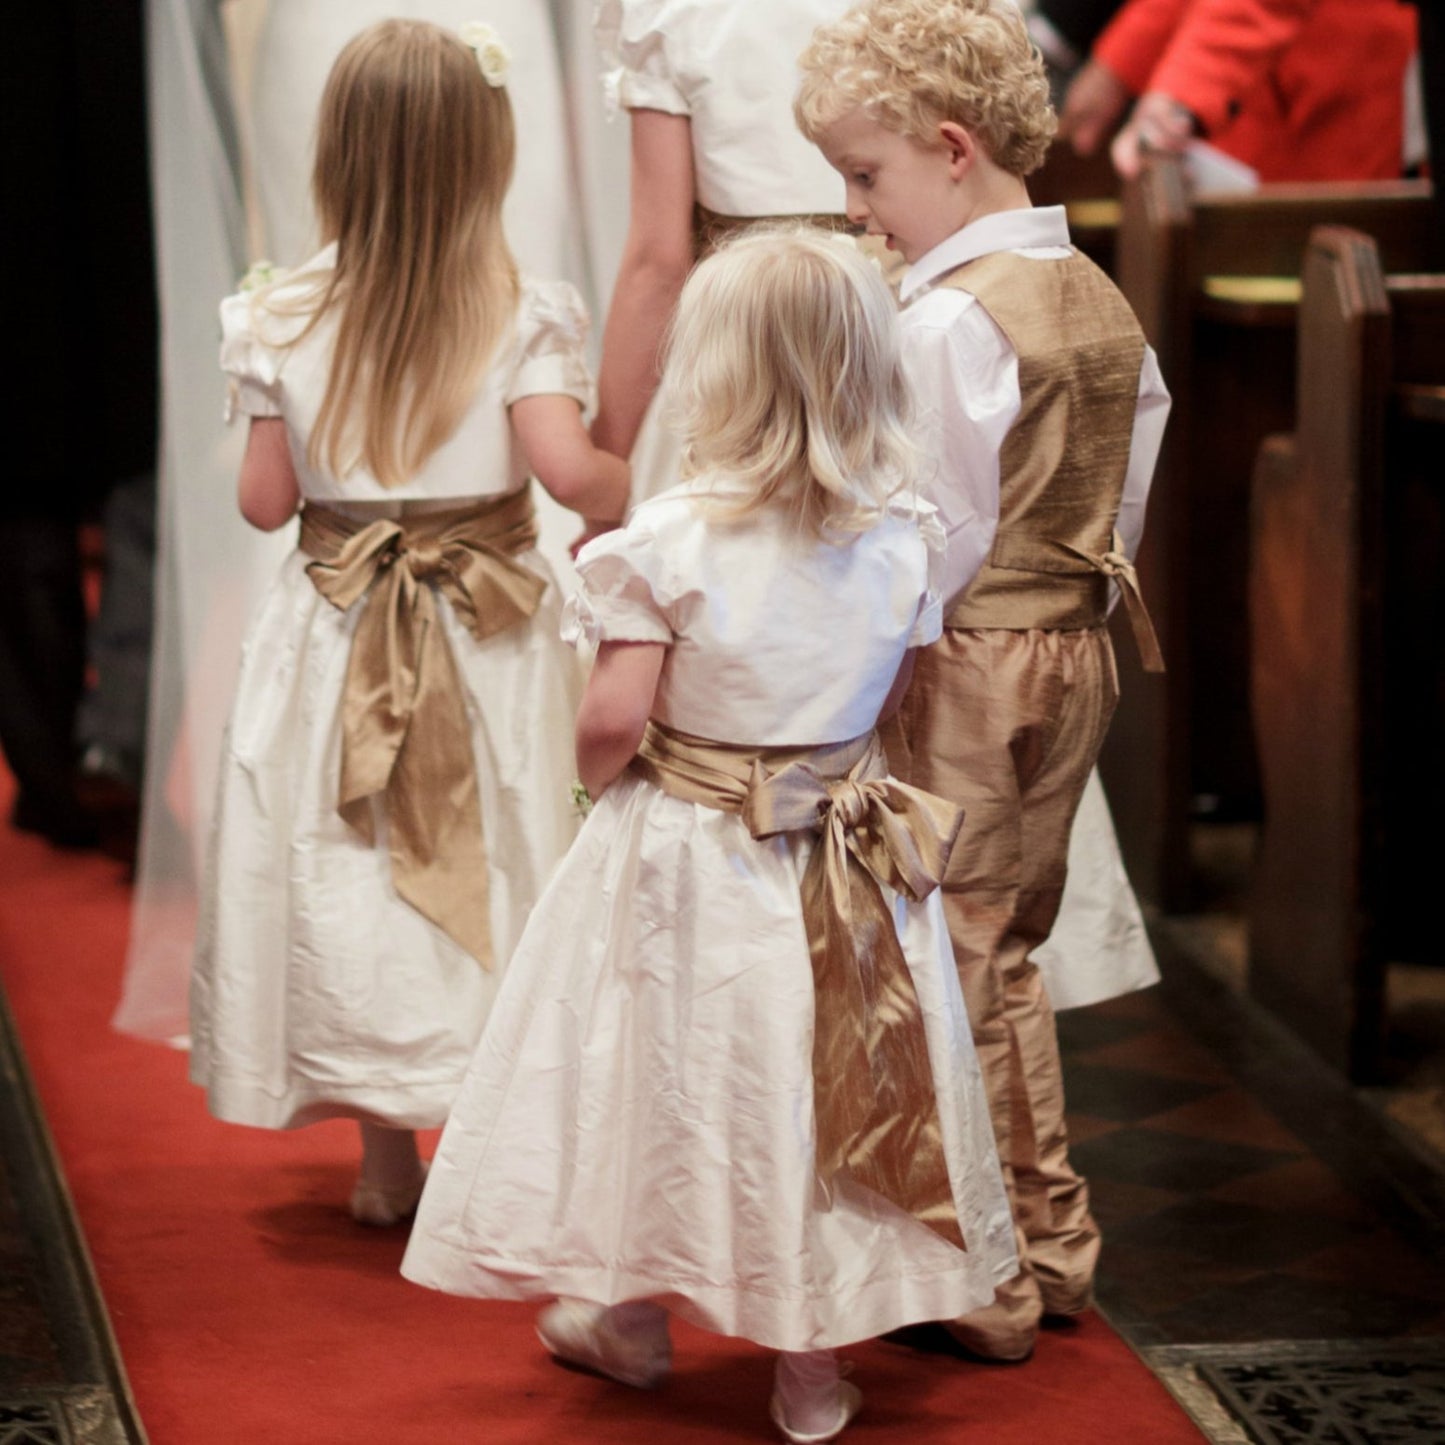
Hier kommt ein entzückendes Schnittmuster für eine Kummerbund-Schärpe für Blumenmädchenkleider. Es eignet sich natürlich ebenso für ein Geburtstagskleid oder ein Kommunionskleid. 

Das klassische Design mit seinen breiten Bändern ermöglicht es dir, die Passform eines Kleides ganz einfach anzupassen.

Passend zum PDF-Schnittmuster kannst du dir das Video Tutorial ansehen.

Was ist beim Schnittmuster dabei?

  • Sofort-Download
  • Digitale PDF Schnittmuster
  • DIN A4 Format
  • eBook
  • Schritt für Schritt Video-Anleitungen

Design

• Charmante traditionelle Falten an der Vorderseite
• Wunderschöne breite Schleifenbänder

Stoffverbrauch

STOFFEMPFEHLUNGEN

  • Dupion-Seide, Duchesse-Satin, Taft in Seide oder Polyester, Brokat

STOFFVERBRAUCH

  • Obermaterial: 60 cm - 90 cm

Größe& STOFFVERBRAUCH

Verfügbare Größen

Größe 92-152

Bitte beachten

  1. Dies ist ein digitales Schnittmuster oder eine PDF-Datei, kein physisches Produkt. Die Zustellung erfolgt elektronisch über einen Download-Link an die beim Kauf verwendete E-Mail-Adresse. Zusätzlich kann das Schnittmuster von deinem Kundenkonto heruntergeladen werden.
  2. Um sicherzustellen, dass das Schnittmuster in seiner tatsächlichen Größe gedruckt wird, wird die Verwendung von Adobe Acrobat Reader empfohlen.
  3. Kleine Betriebe: Ich freue mich wenn meine Schnittmuster dir helfen, tolle Bekleidung für deine Kunden zu nähen. Industrielle Produktion ist untersagt.

Kunden werden ermutigt, Frocks & Frolics zu verlinken, wenn sie Projekte, die mit meinen Schnittmustern erstellt wurden, in sozialen Medien teilen.

@frocksandfrolics
#frocksandfrolics

Vollständige Details anzeigen

SCHRITT-FÜR-SCHRITT ANLEITUNG

Thumbnail
KUMMERBUND: SCHRITT-FÜR-SCHRITT-ANLEITUNG
Thumbnail
BLUMENMÄDCHEN: EINFÜHRUNG
Thumbnail
SCHLEIFEN

VIDEO TEXT

Step-by-Step Tutorial

Transcript for the video: Cummerbund Step-by-Step Tutorial

Materials Needed for the Cummerbund

Let’s go through all the materials you’ll need for this project.

Fastenings

For beginners, I always recommend using Kam Snaps. If you’re not confident with sewing buttonholes yet, these are a great alternative. You can get a Kam Snap kit for around $19, and it usually comes with multiple colors and the necessary tools. Of course, you can also use covered buttons if you prefer, and there’s a separate video showing how to cover buttons properly.

Thread

For thread, I recommend using a high-quality thread for all topstitching. When you look closely at your garment, you don’t want any fibs sticking out or the stitching looking rough. I’m using Gutermann thread, but any good polyester thread will work well. Polyester is generally stronger and more durable than cotton for topstitching, although cotton is fine for seams.

Interfacing

When it comes to interfacing, I always choose a very soft interfacing. I don’t want anything too stiff or rigid, especially for garments like this where you want a soft drape. Make sure you choose a color that blends well with your fabric.

Hardware

For the sliders at the back, I’ve used ones from a reliable supplier in the US, and I’ll leave the link in the instructions. These are great for adjustable ties.

Design Options

If you’re making this for a girl, you can also make the ties wider, which creates a bow-like effect. I’ll show that in the bonus video for the girls’ waistcoat.

Fabric Notes

For the ties themselves, you’ll also need your main fabric cut on the bias for strength and flexibility.

That’s everything you need before we start assembling the cummerbund.

Fabrics and Styling for the Flower Girl Dress

Transcript for the video: Cummerbund - Flower Girl Introduction

Hi, I’m Marina from Frocks and Frolics, and in this chapter I’m going to talk about fabrics and styling choices for your flower girl dress. It’s very important that you look at what the bride is actually wearing to help you decide what kind of dress you want to make.

In my example for this course, the wedding theme was The Wizard of Oz. The bridesmaids’ dresses were a lovely yellow, and the bride wore an ivory dress with lace. So I chose an ivory dupion silk for the bodice, and because of the theme, we added a checked skirt and a yellow or gold cummerbund. That combination worked really well to tie everything together.

The bride also wore red shoes, and so did the little flower girl, which was a really nice detail. I finished the look with a Paris bolero, and I used the same sleeve style as the flower girl dress. You can go one size up for the sleeve if you want a bigger, more dramatic effect. The bolero sits just above the cummerbund, which works really nicely.

Choosing Dupion Silk and Other Fabrics

When it comes to dupion silk, there are two main types. You can get machine-woven dupion silk, often from China, which tends to be a bit smoother and lighter. You can also get Indian dupion silk, which is more structured. The choice depends on the bride’s dress and overall look you are going for.

Most of the time, it’s best to choose something smooth with a slight taffeta-like appearance, but not overly shiny. Dupion silk is a fantastic fabric because you can also add embroidery to it. Even just a few small flowers on the neckline can make a big difference.

Example Dress Combinations

Let’s look at a few fabric combinations you can use with this pattern so you know what to look for when buying fabric.

One option is polyester duchess satin or bridal satin for the bodice, combined with a polyester satin skirt and a tulle overlay. You can adjust the length of the overlay or match it exactly to the skirt depending on the style you want.

Another option is to make the entire dress in duchess satin. This gives a more structured, formal look. You can also add a full bow at the back of the cummerbund or waist area, which can be finished with a hook and eye fastening or similar closure.

A very popular combination is satin for the bodice and tulle for the skirt. When done well, the tulle sits at the same length as the skirt, which looks very balanced and elegant.

Working with Tulle, Shantung, and Volume

If you use shantung silk, be careful, as it can be quite light and may not hold its shape well on its own. If you do use it, I recommend adding a firm cotton interlining to give it structure.

The skirt should also be made wider if you are using very light fabrics, otherwise it can fall flat. In some cases, you may even need a petticoat to create proper volume.

Ties are also very important. They should not be too short. Ideally, they should reach the hem of the skirt or slightly below it, depending on the child’s height.

If you want extra volume, a gathered circle skirt is a great option. You can also layer a gathered underskirt with a separate gathered overlay, then join them together afterwards. This helps ensure the gathers fall evenly and do not distort each other.

Design Details and Finishing Touches

You can also add detail to the bodice using embroidery, brocade, or textured fabrics. This works especially well if the skirt is kept simple and full.

Covered buttons on the back are another beautiful finishing detail that adds a professional touch.

For sleeves, always make sure you measure the upper arm carefully. The sleeve should be at least 3 to 4 cm wider than the arm measurement so it is comfortable and not too tight.

Final Tips on Fabric Choice

Taffeta is a great alternative to silk if you are working on a budget, as long as you choose a high-quality version. Many people will not notice the difference in finished garments.

For lining, I recommend using a soft cotton lining combined with interlining. This makes the dress more comfortable to wear and helps the structure hold its shape.

Overall, your fabric choice should always reflect the bride’s dress, the theme of the wedding, and the level of formality you want to achieve.

I wish you success in choosing your fabrics and creating a beautiful flower girl dress.

Making a Bow (With or Without a Sewing Machine)

Transcript for the video: Cummerbund - Bows

Hi colleagues, in this video I’m going to show you how to make a bow with or without a sewing machine. You will need either an A4 or letter-size piece of paper. Letter size actually works really well as it is.

Take your paper and place it on your fabric, then simply cut it out following the shape.

Making a Hand-Sewn Bow (No Machine)

For the first bow, we are not using the sewing machine. We are only turning in the shorter edges of the fabric slightly in the middle so it catches.

Fold one side in, then fold it over again from the other side so it holds in place. Because the fabric is quite lightweight, I’m also turning in the edges so they don’t keep peeking out.

Now I take my needle and thread and sew a running stitch through the center, up and down, up and down, to hold everything in place.

You may notice the needle is a bit short here and it struggles to go through, but we’re going to finish it anyway.

Once stitched, gently pull the thread so the fabric gathers in the center. Then wrap it around the middle and secure it.

This method actually works quite nicely if you don’t have an overlocker, as it prevents raw edges from showing at the center of the bow.

Creating the Bow Centre Band

For the center of the bow, you use a strip of fabric about 3.5 cm wide (around 1.3 inches). Fold the edges in so the finished centre strip is about 1.5 cm wide.

Place it over the bow with the right side facing up, then sew it to the back of the bow in the center.

It’s very simple, and even beginners or students can do this easily. In fact, it works really well as a classroom project.

Making a Bow With a Sewing Machine

Now we are making the second version using a sewing machine. Again, use a letter-size or A4 template. This version will come out slightly larger.

Place the two shorter edges of the fabric together and sew from one point to the other, leaving a turning gap. This will create a bigger bow compared to the hand-sewn version.

After sewing, turn the fabric through the gap and press it flat. Then close the opening neatly.

Because the seam is now enclosed, you don’t get any rough or stiff edges showing on the outside.

Assembling the Machine-Sewn Bow

Once pressed, shape the fabric into a bow by folding it into the center.

You can choose the direction depending on the look you want. One direction gives a taller bow, the other gives a wider bow.

Now take the center strip again and wrap it around the middle to secure the shape.

In this version, the fabric should be a little stiffer, as it helps the bow hold its shape better.

Adjust the loops so they are even, then secure everything tightly in the center.

Final Result

And there you have it—two beautiful bows.

One is smaller and more delicate, made by hand. The other is larger and fuller, made using the sewing machine.

Both methods work really well, and you can experiment with different fabrics to get different effects.

This is part of the flower girl dress course available on the Frocks and Frolics Academy, and also on YouTube in the playlist.

Thank you for watching, and I hope you enjoy making your own bows.

DAS KÖNNTE DIR AUCH GEFALLEN

Blumenmädchen

SHOP NOW

Isabella

SHOP NOW

Prinzesinnen Kleid

SHOP NOW

Vivienne

SHOP NOW

Vivienne

SHOP NOW