


BLUMENMÄDCHENKLEID
BLUMENMÄDCHENKLEID


Normaler Preis
€7,95 EUR
Normaler Preis
Verkaufspreis
€7,95 EUR
Grundpreis
pro
Verfügbarkeit für Abholungen konnte nicht geladen werden
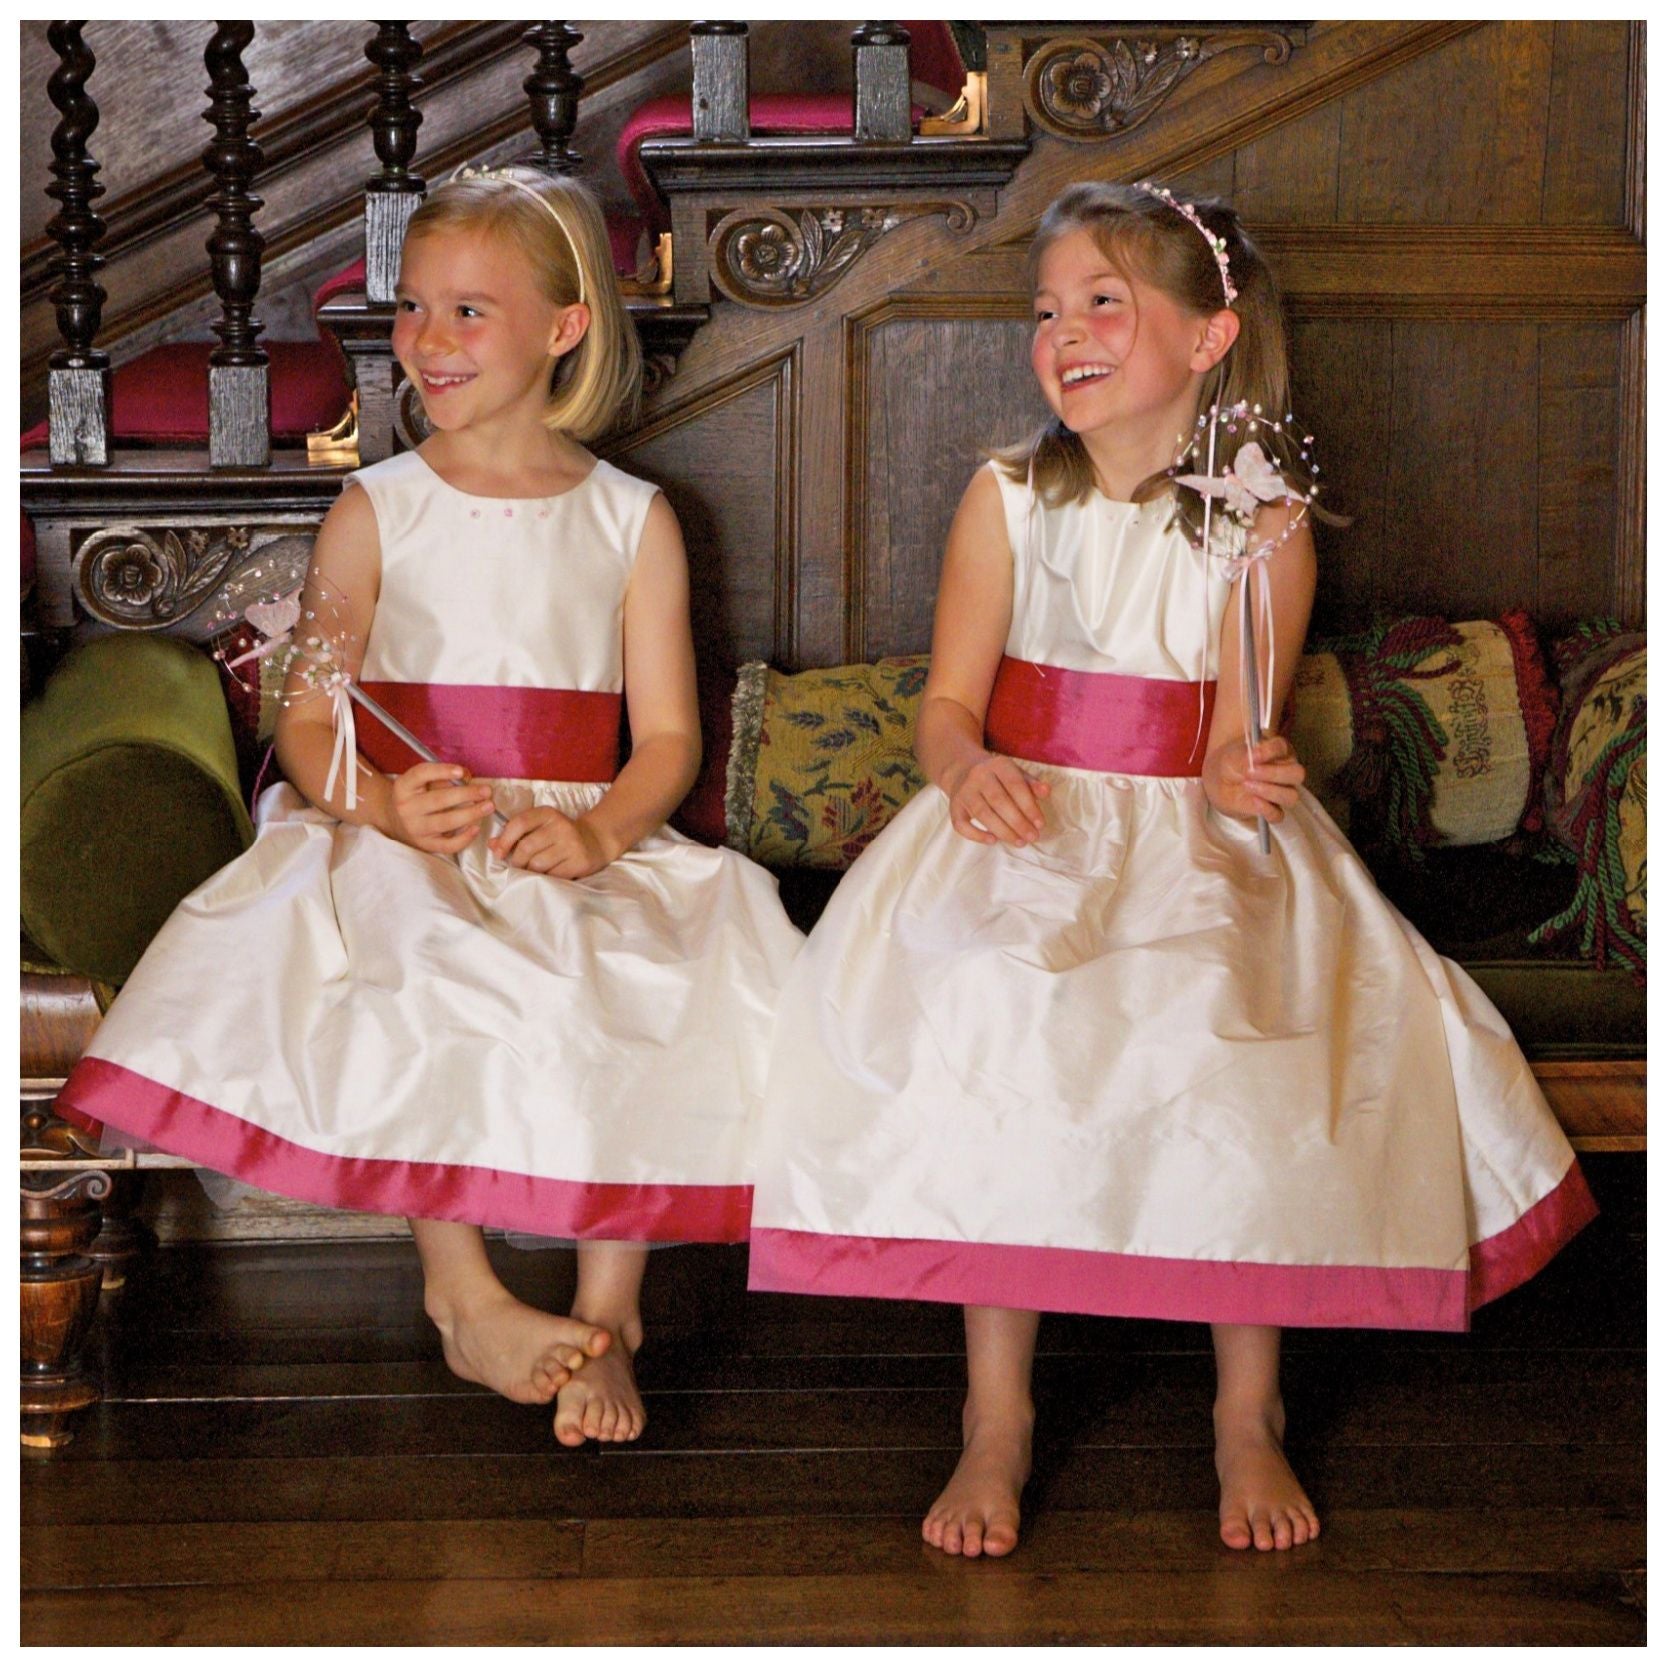
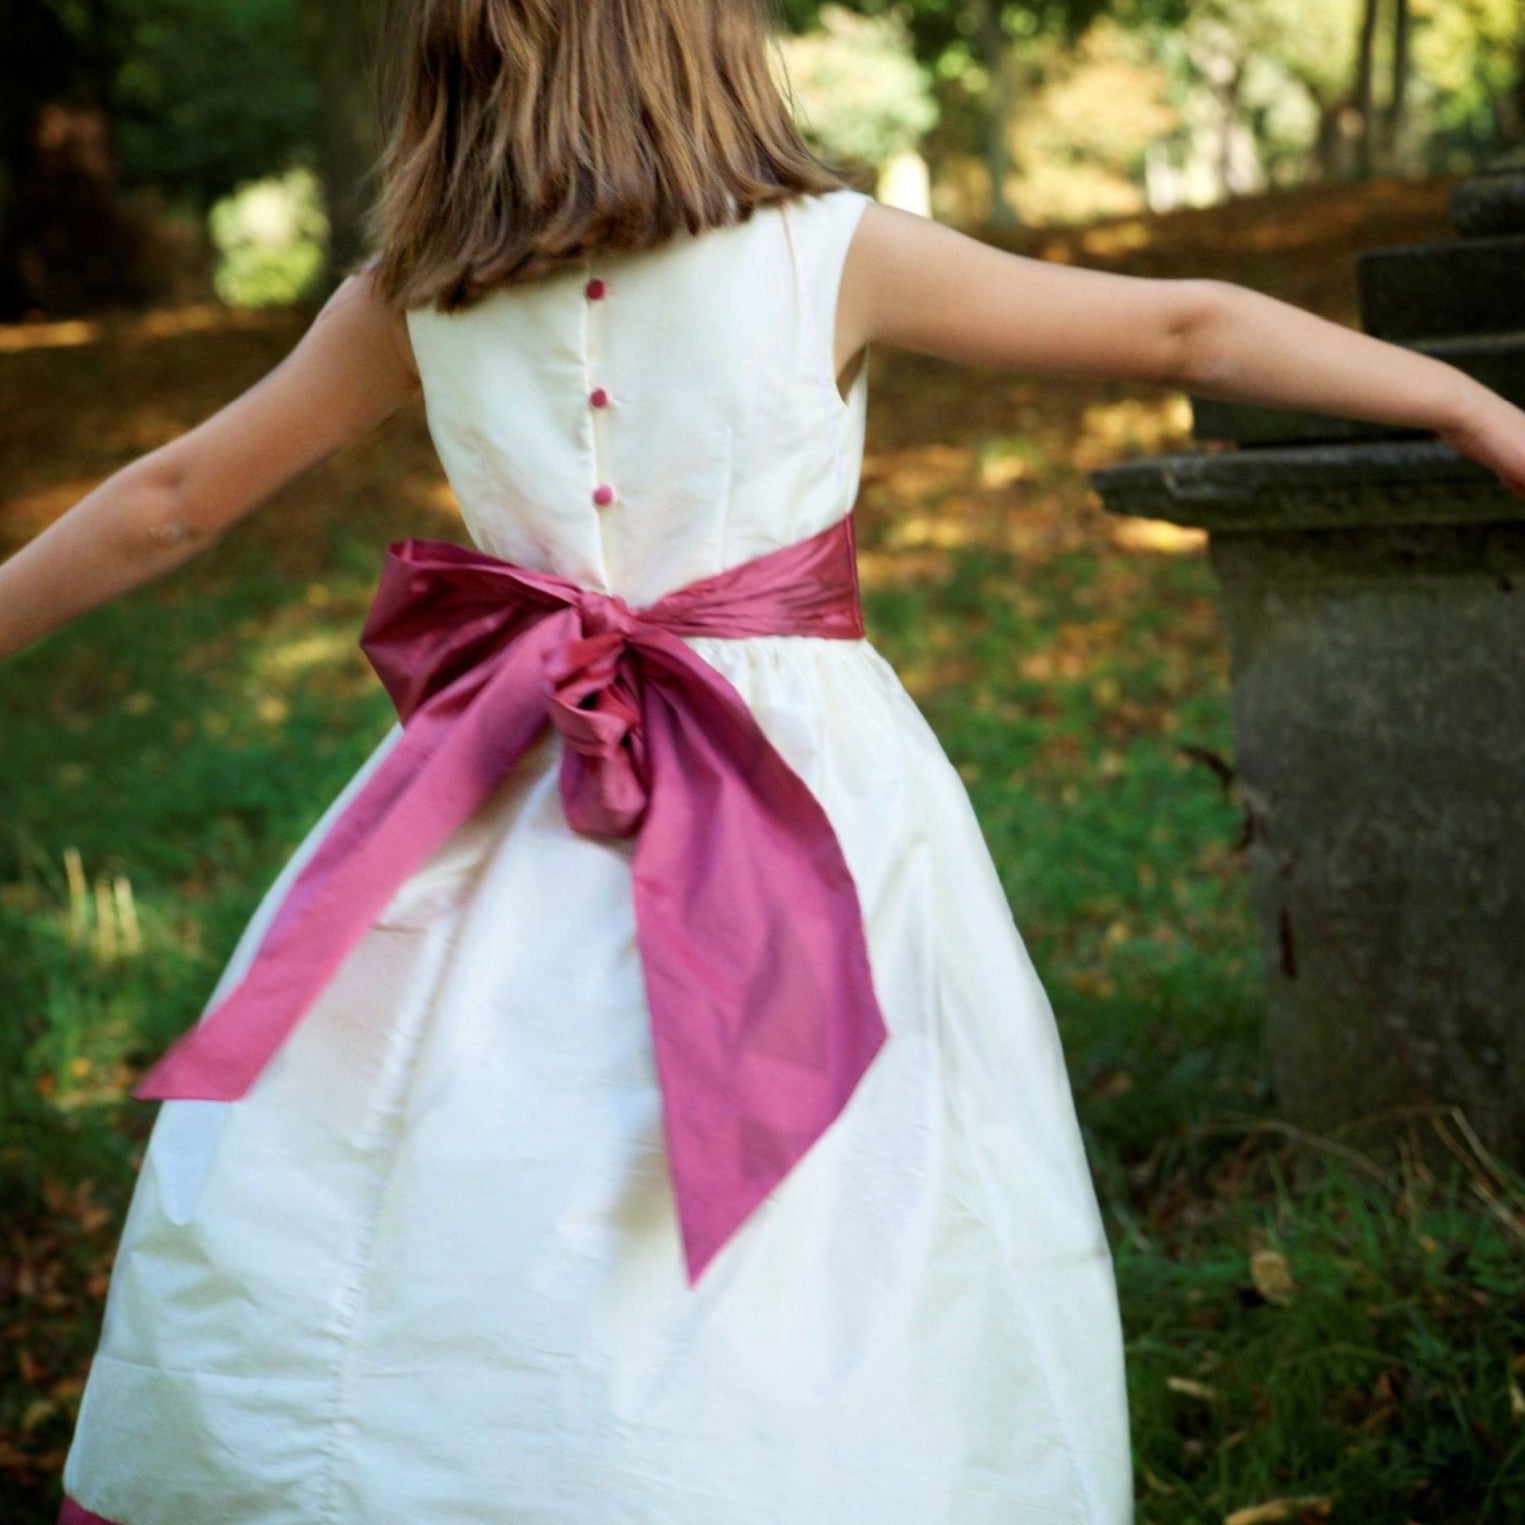
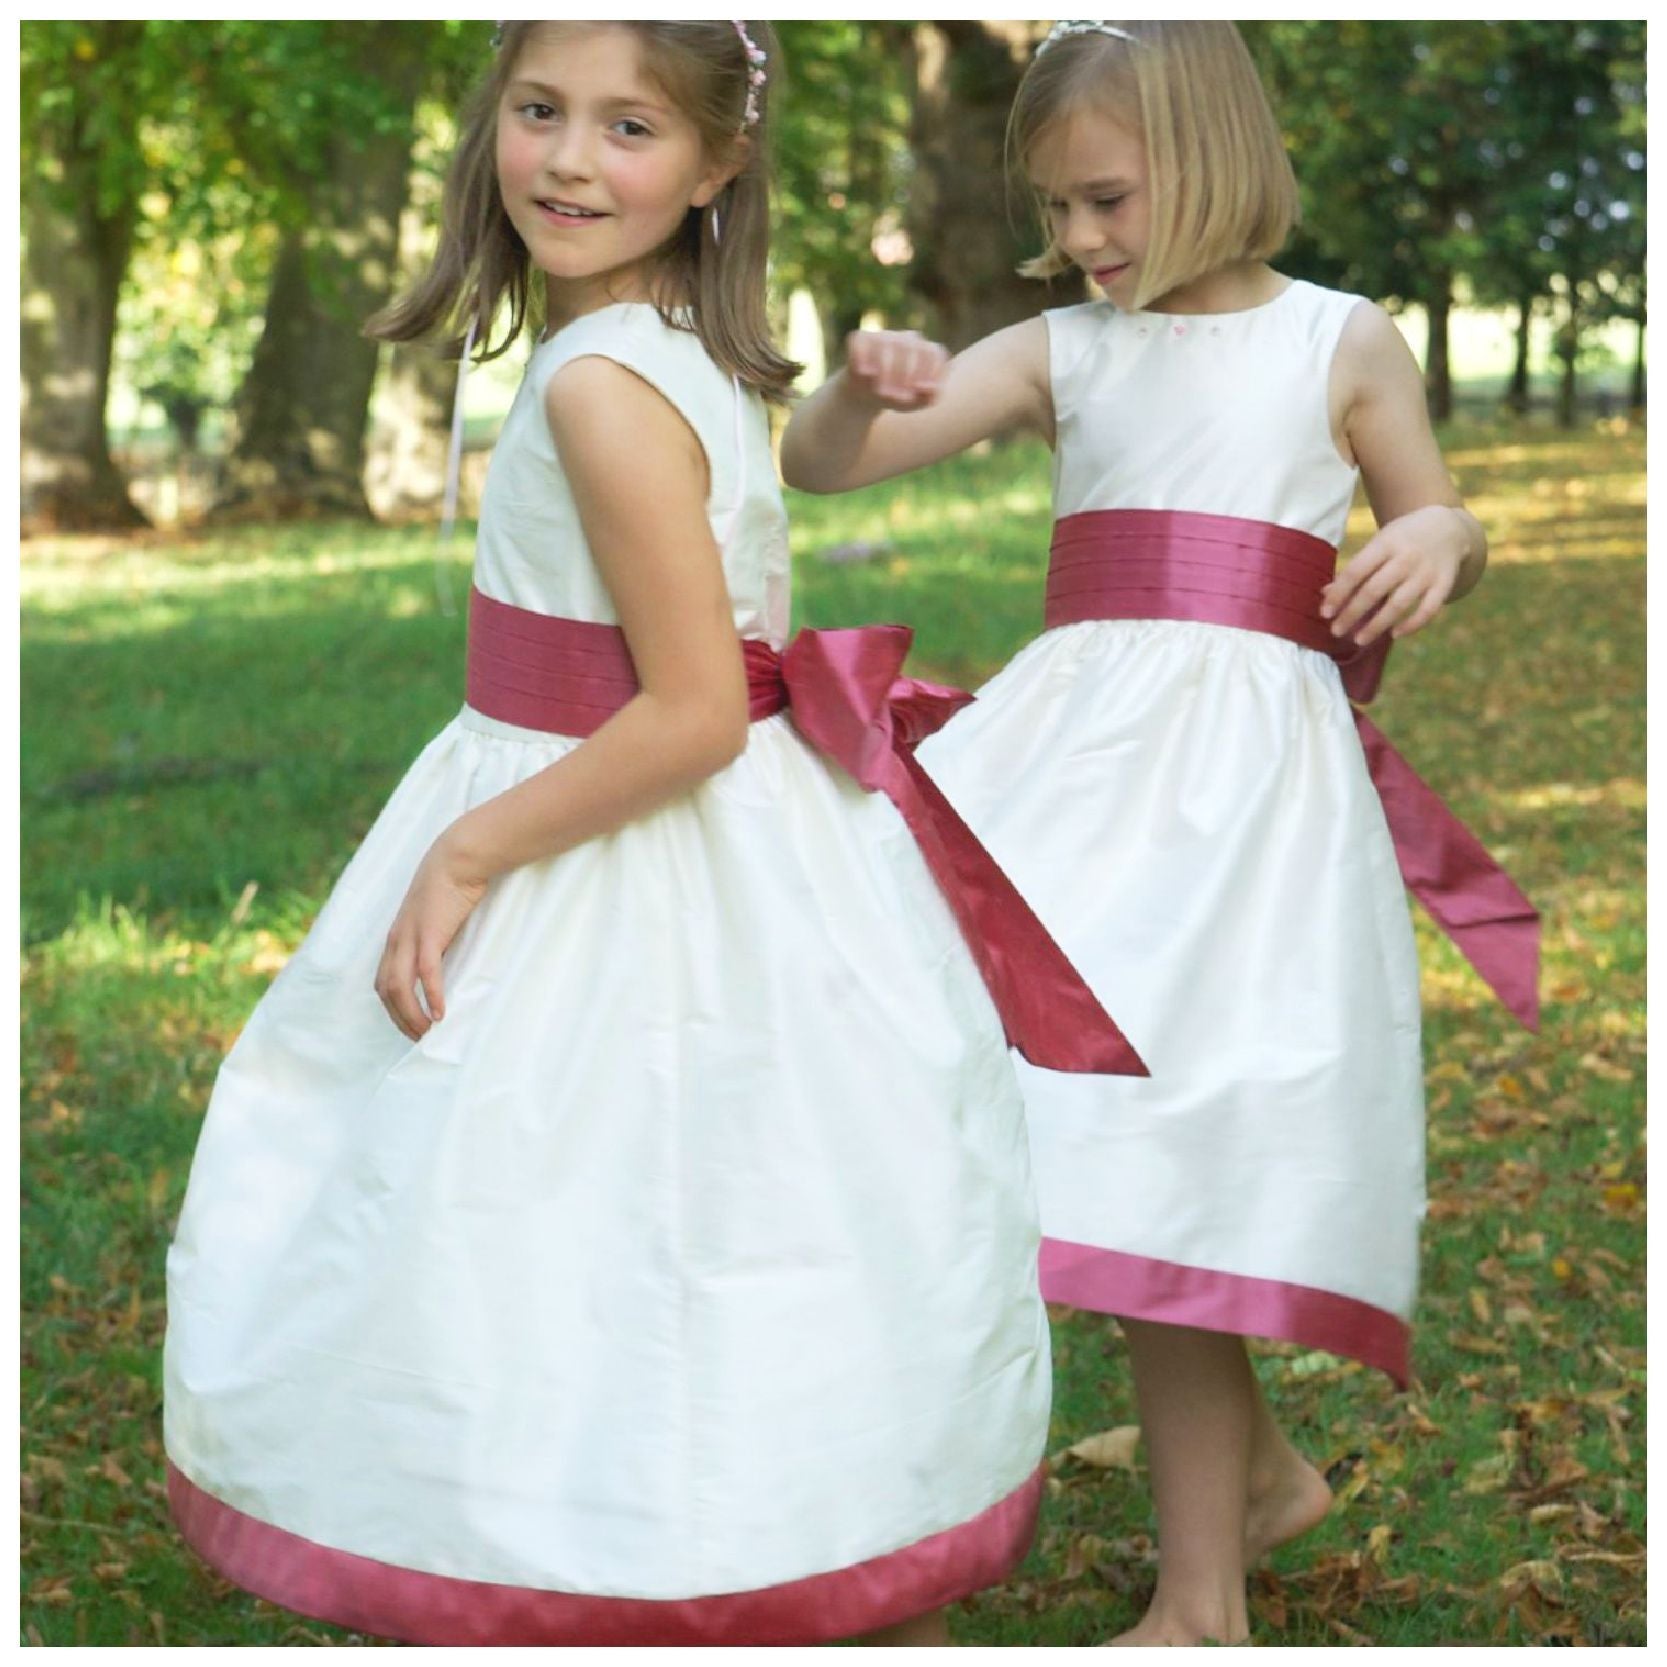
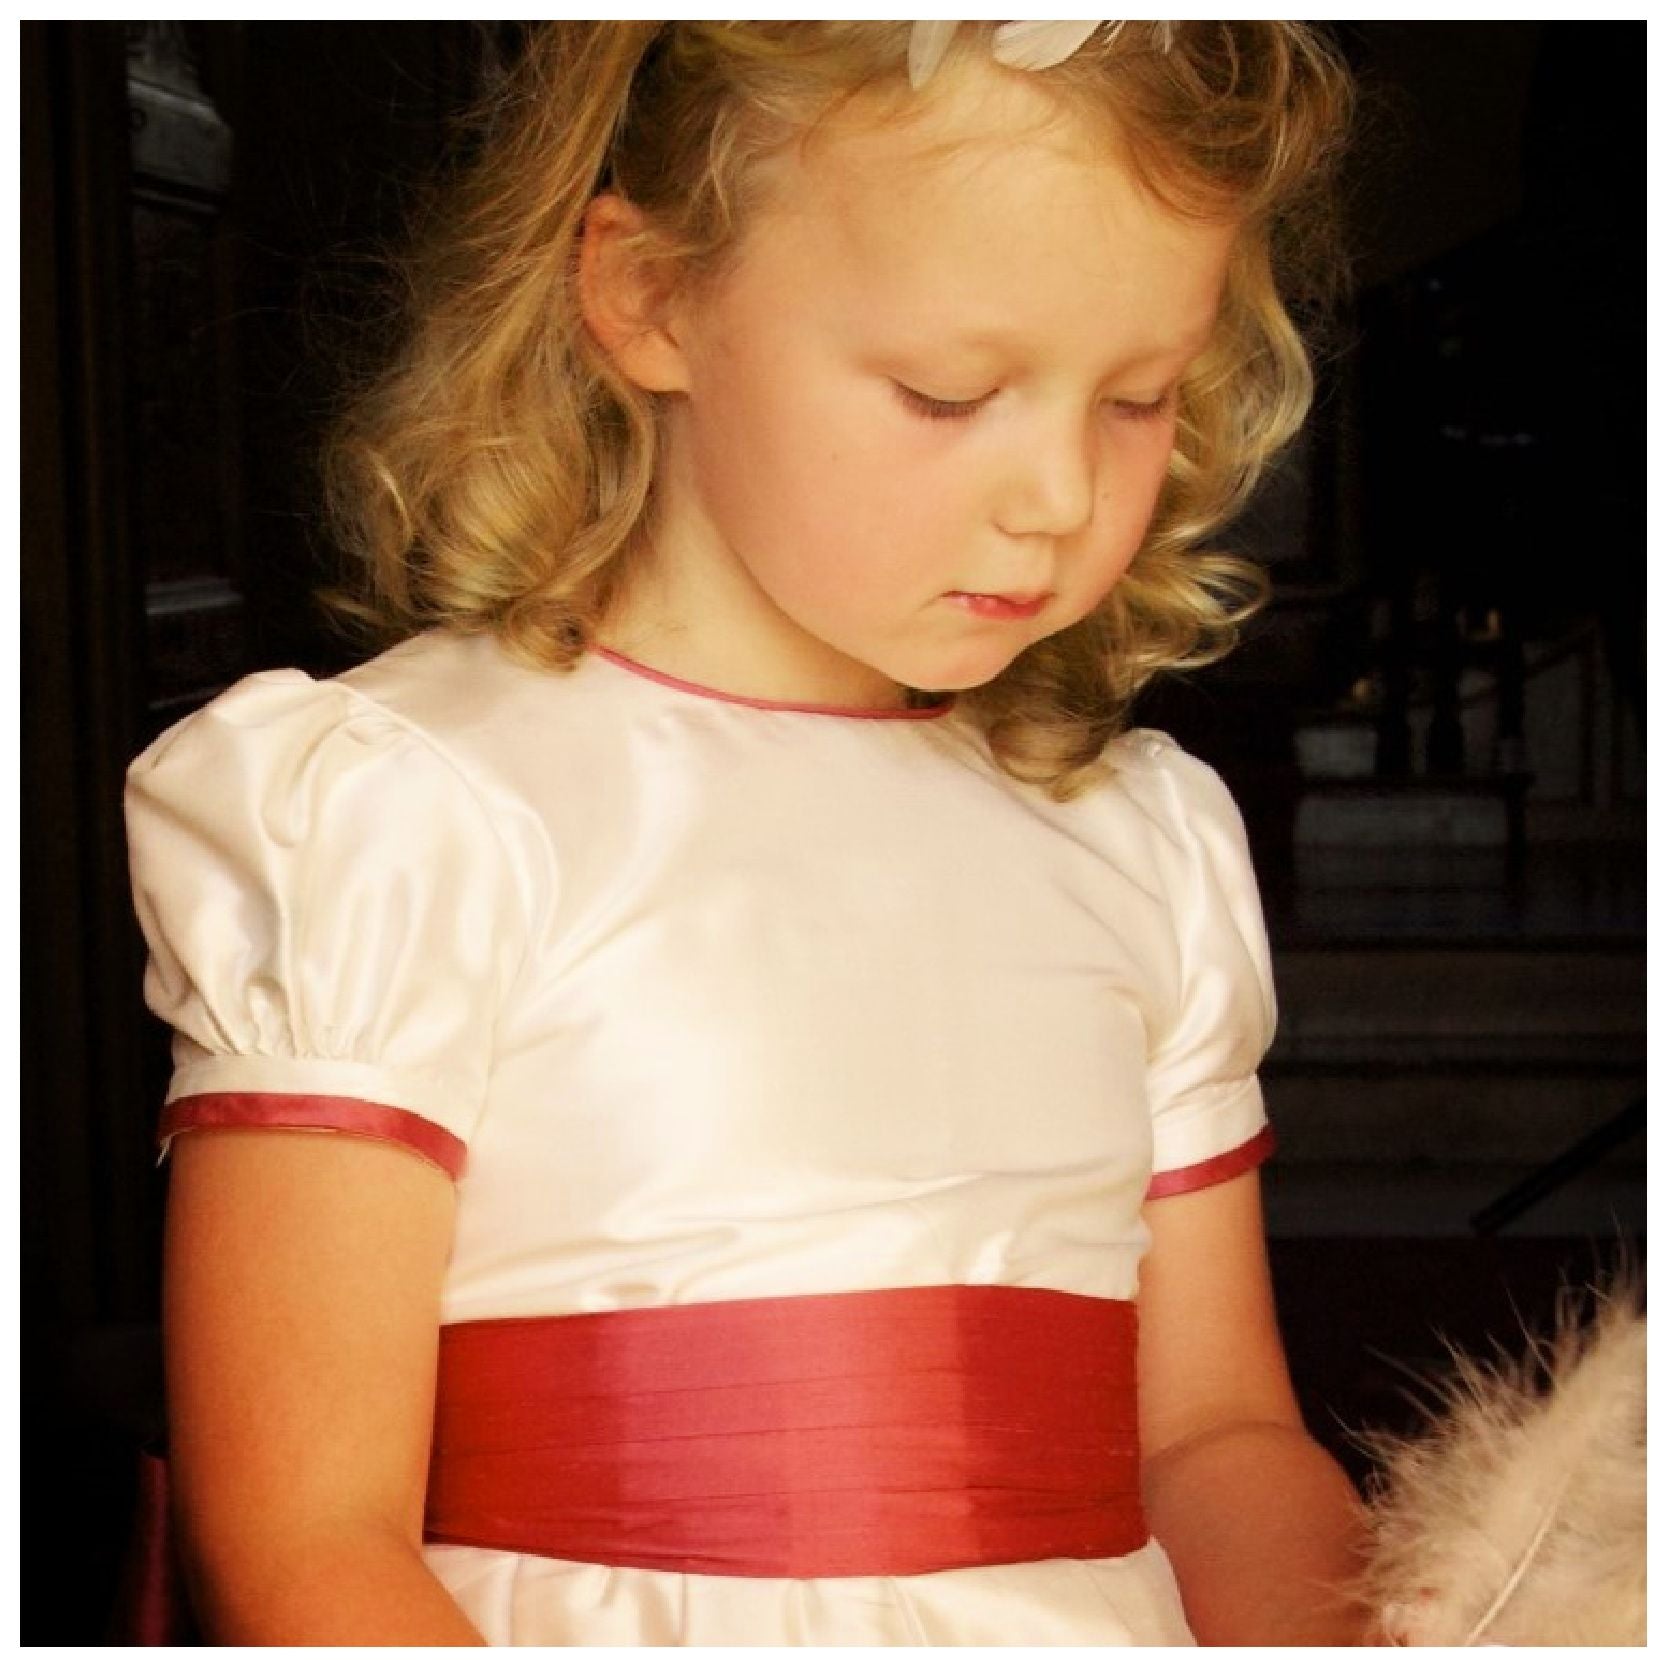
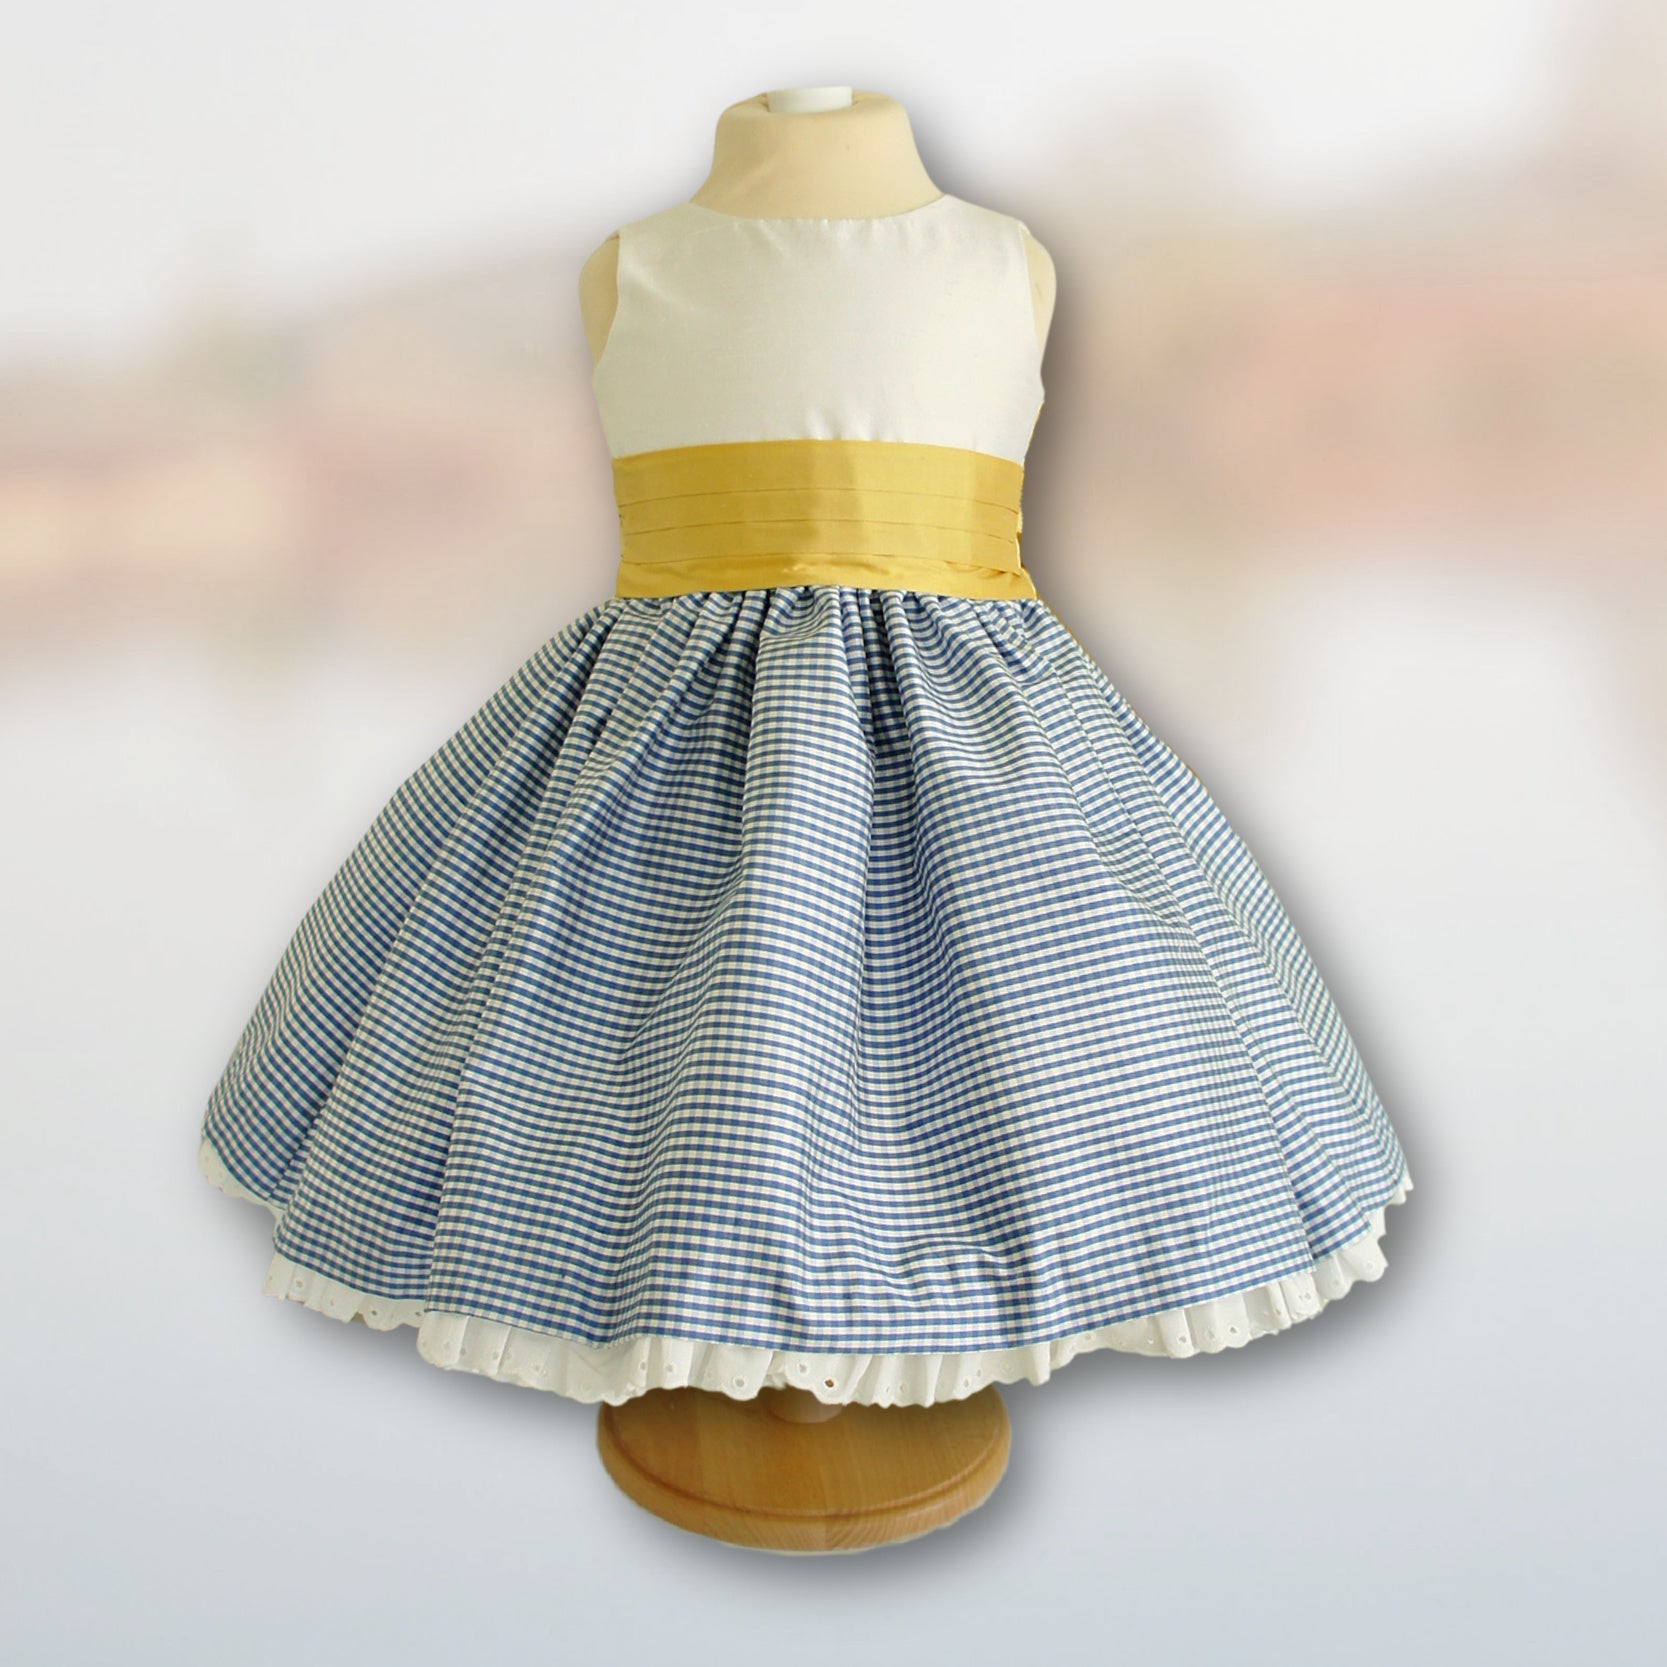
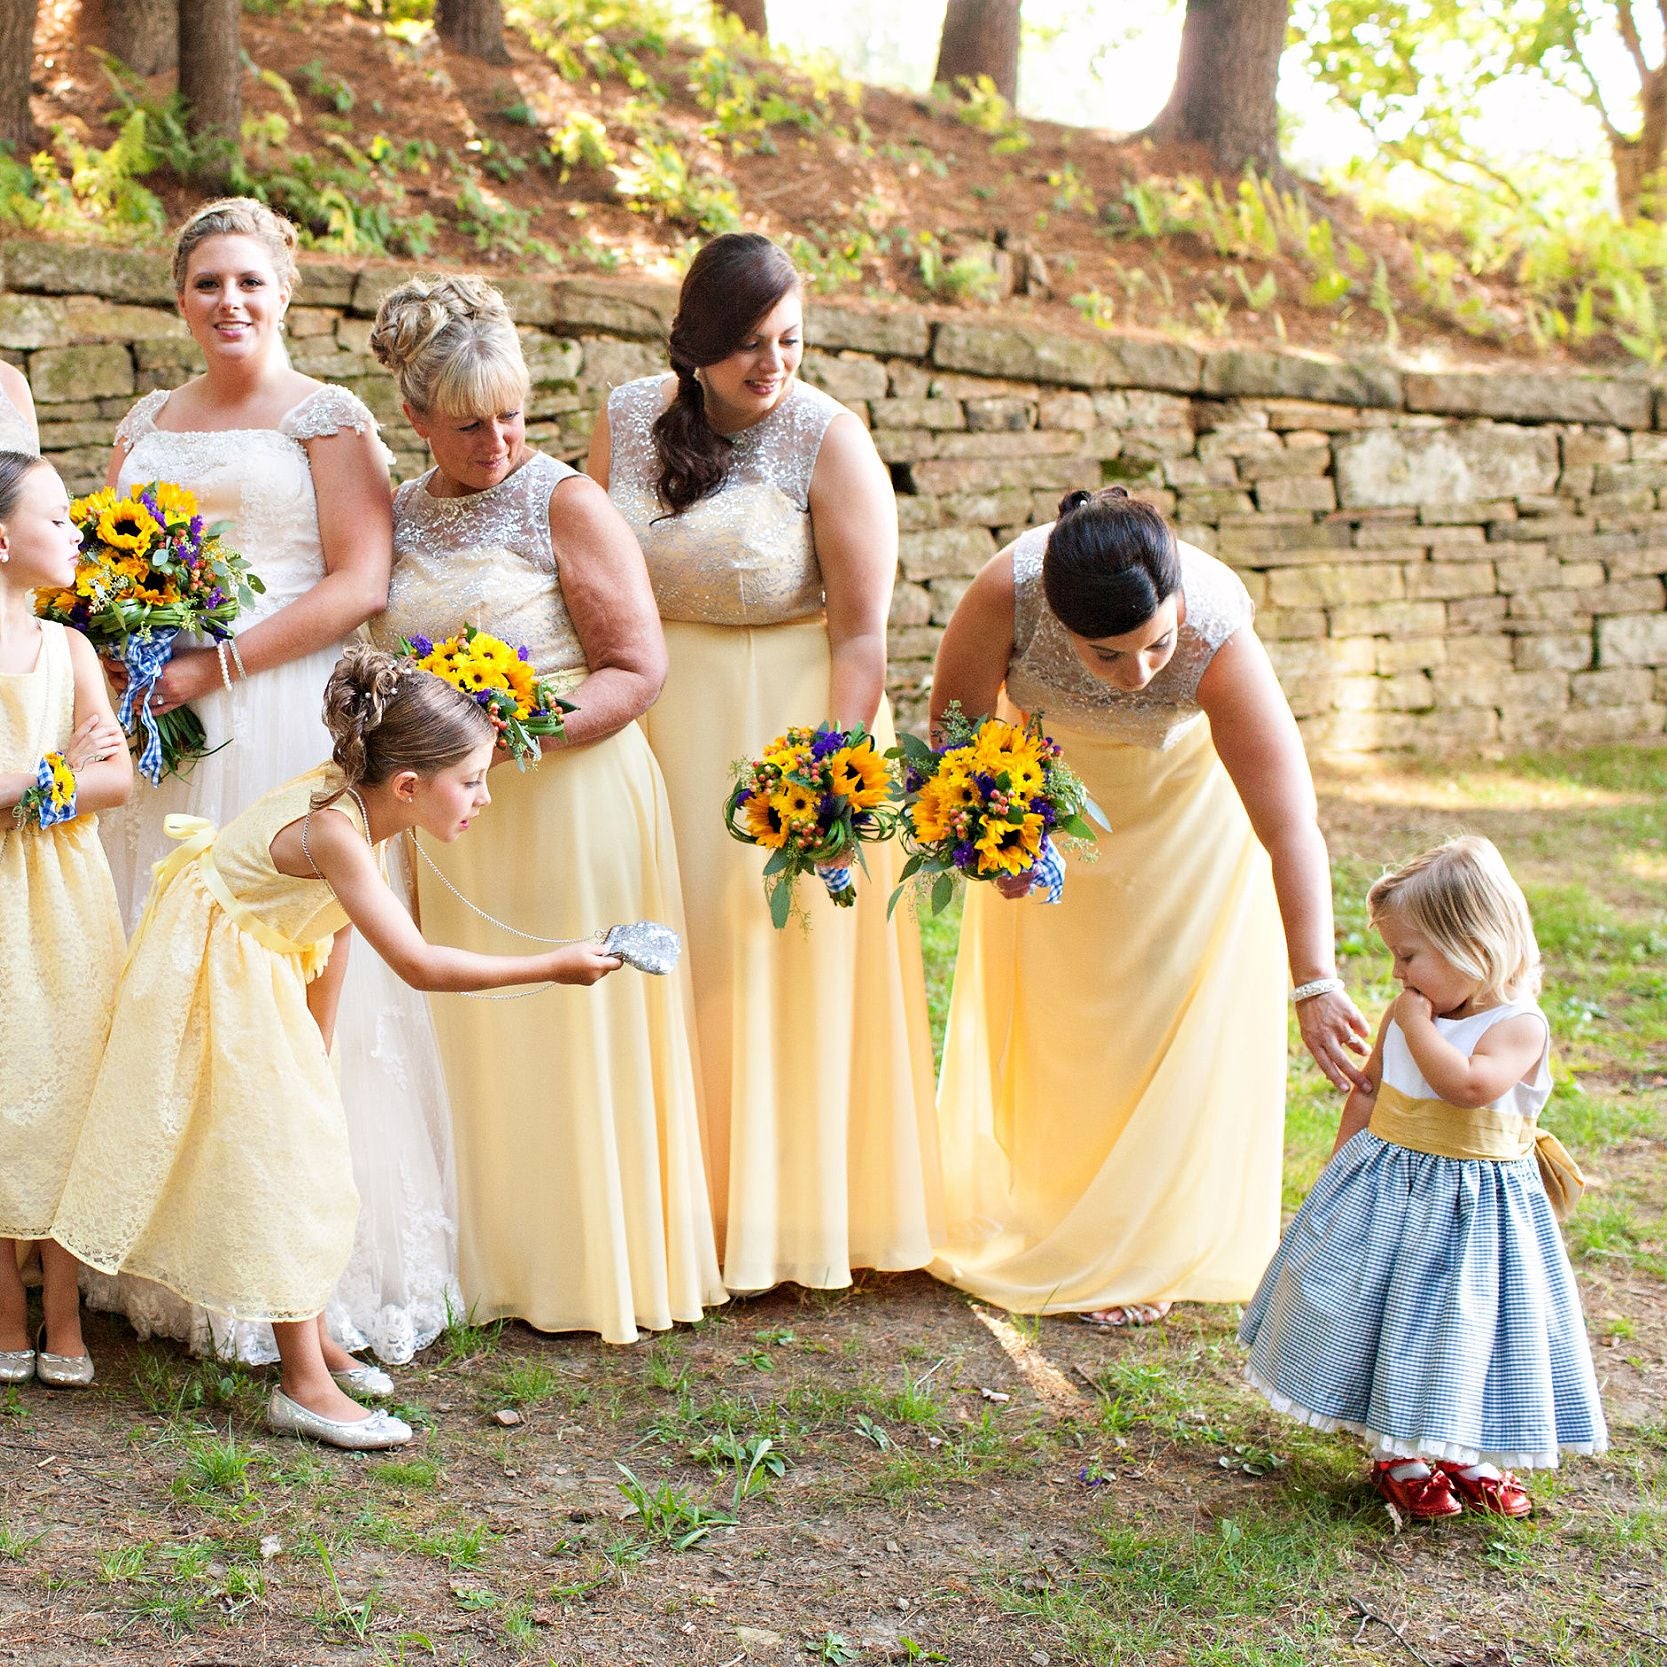
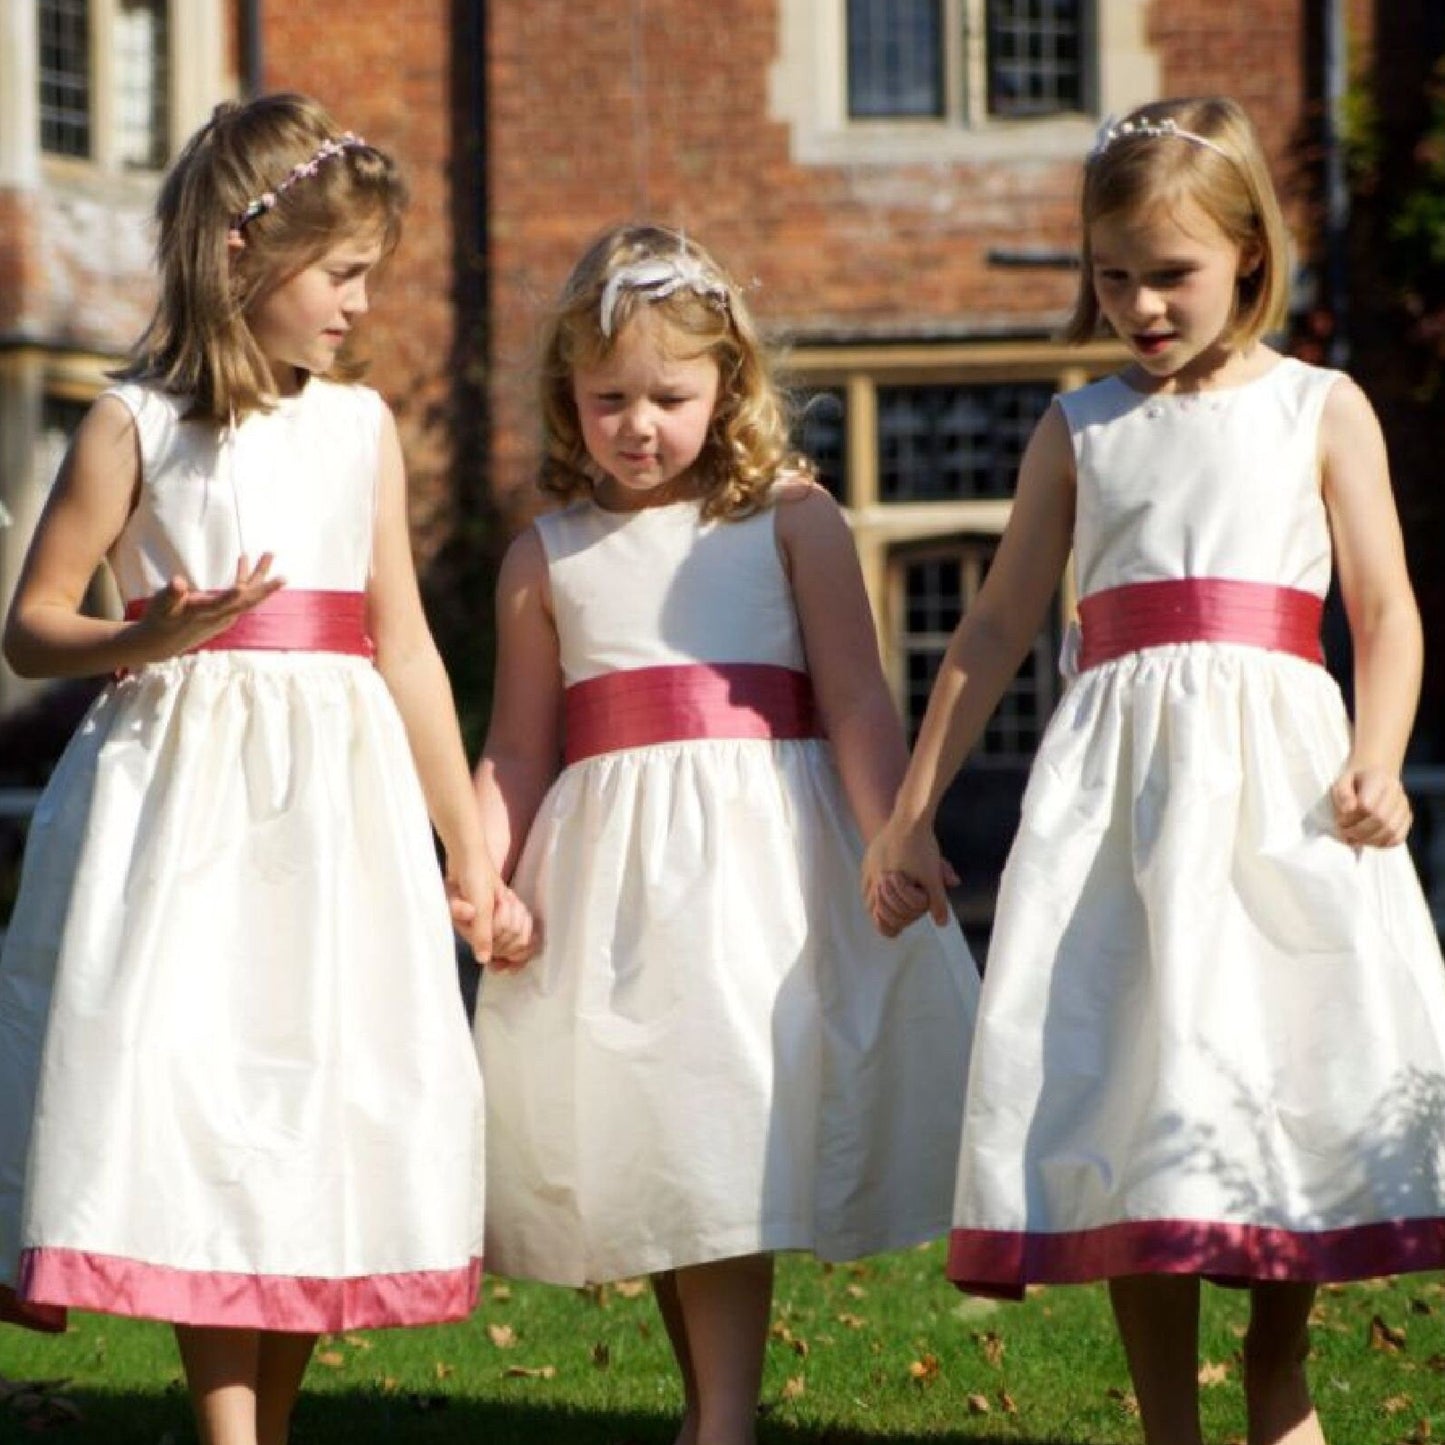
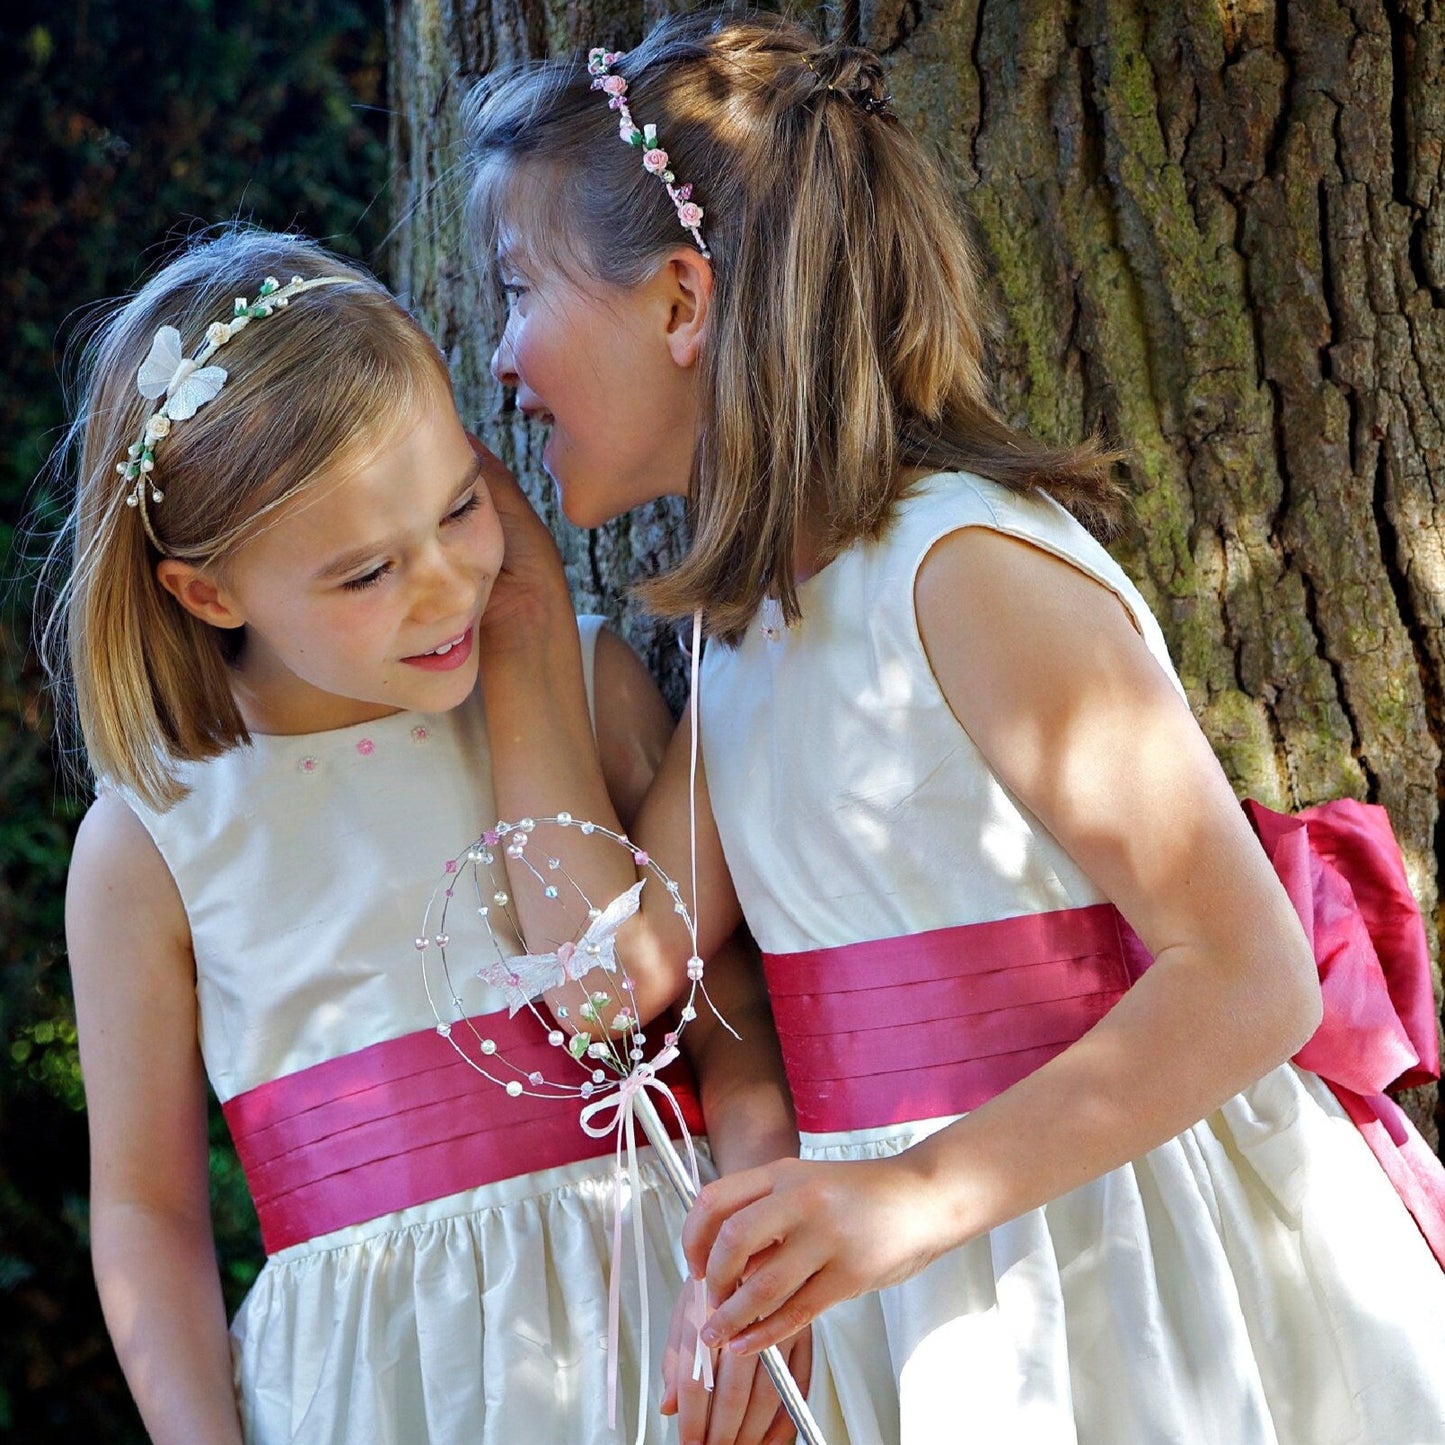
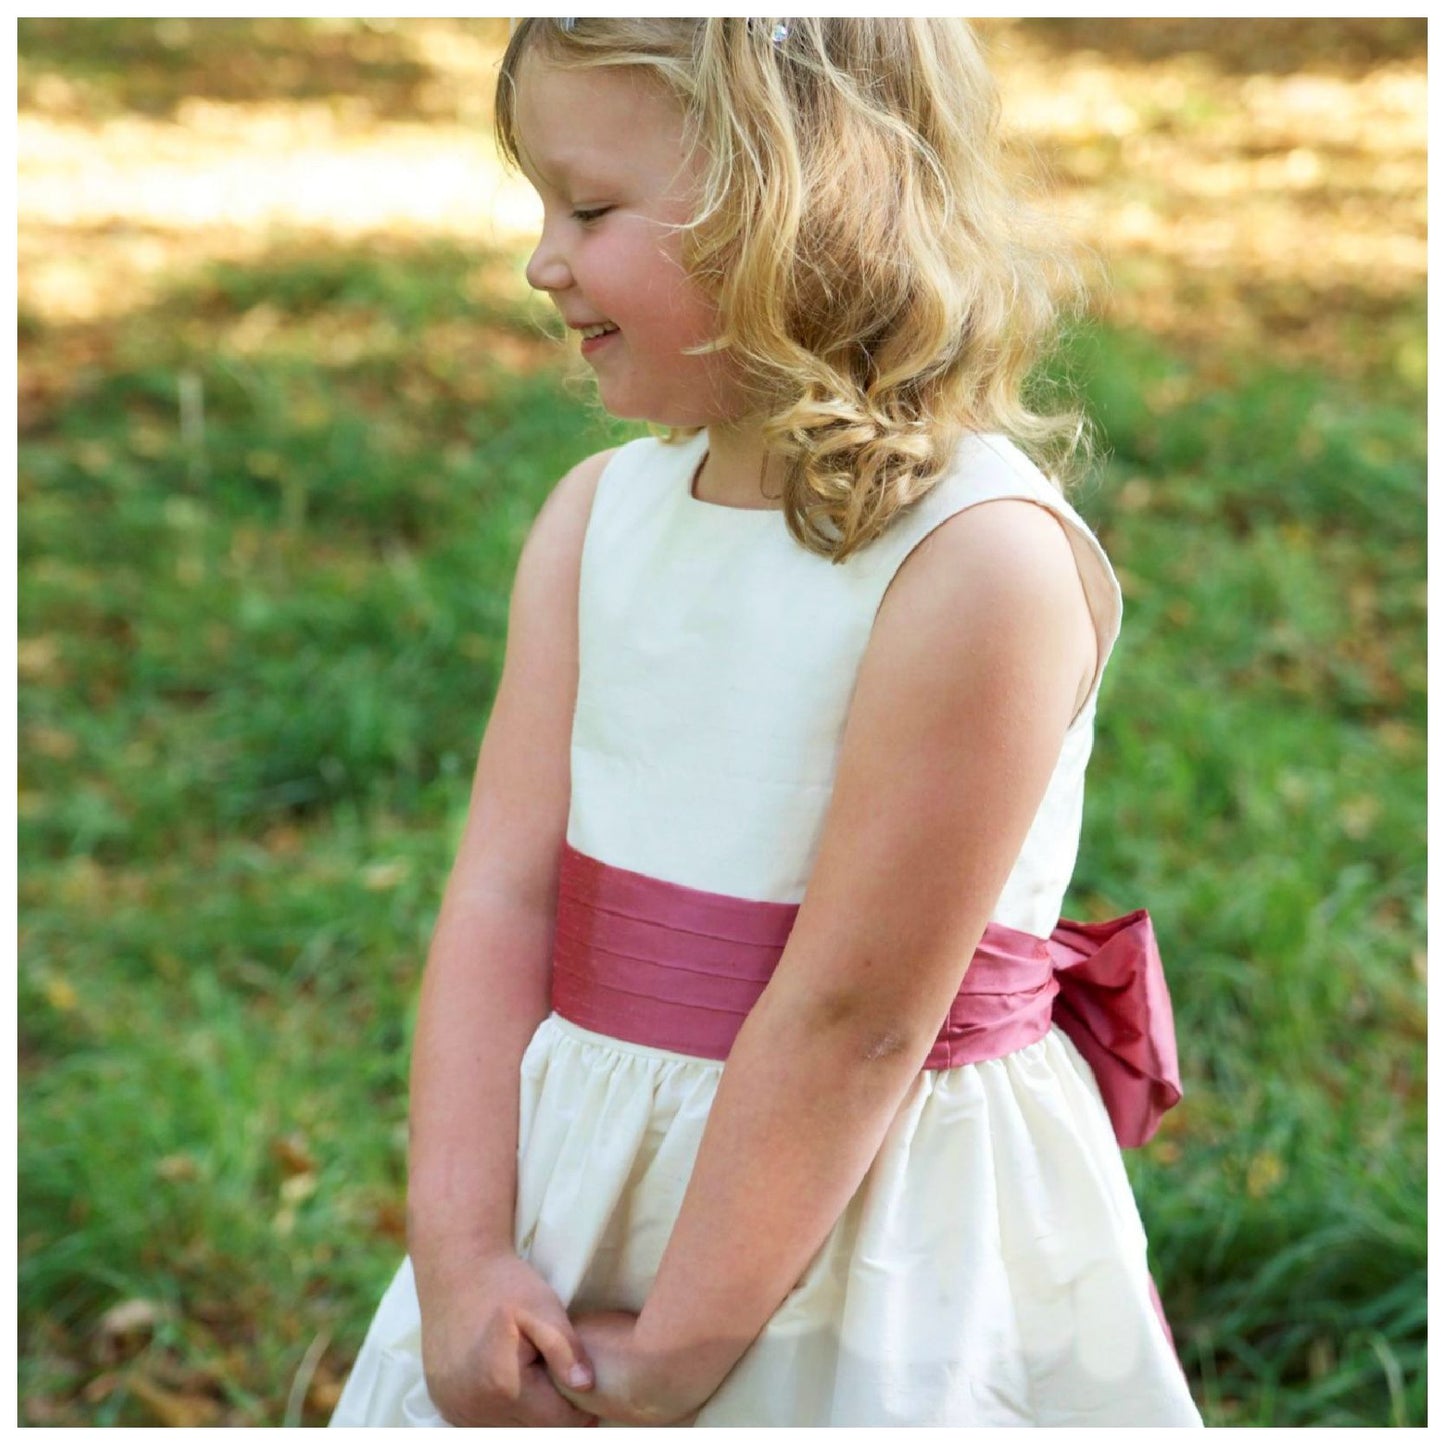
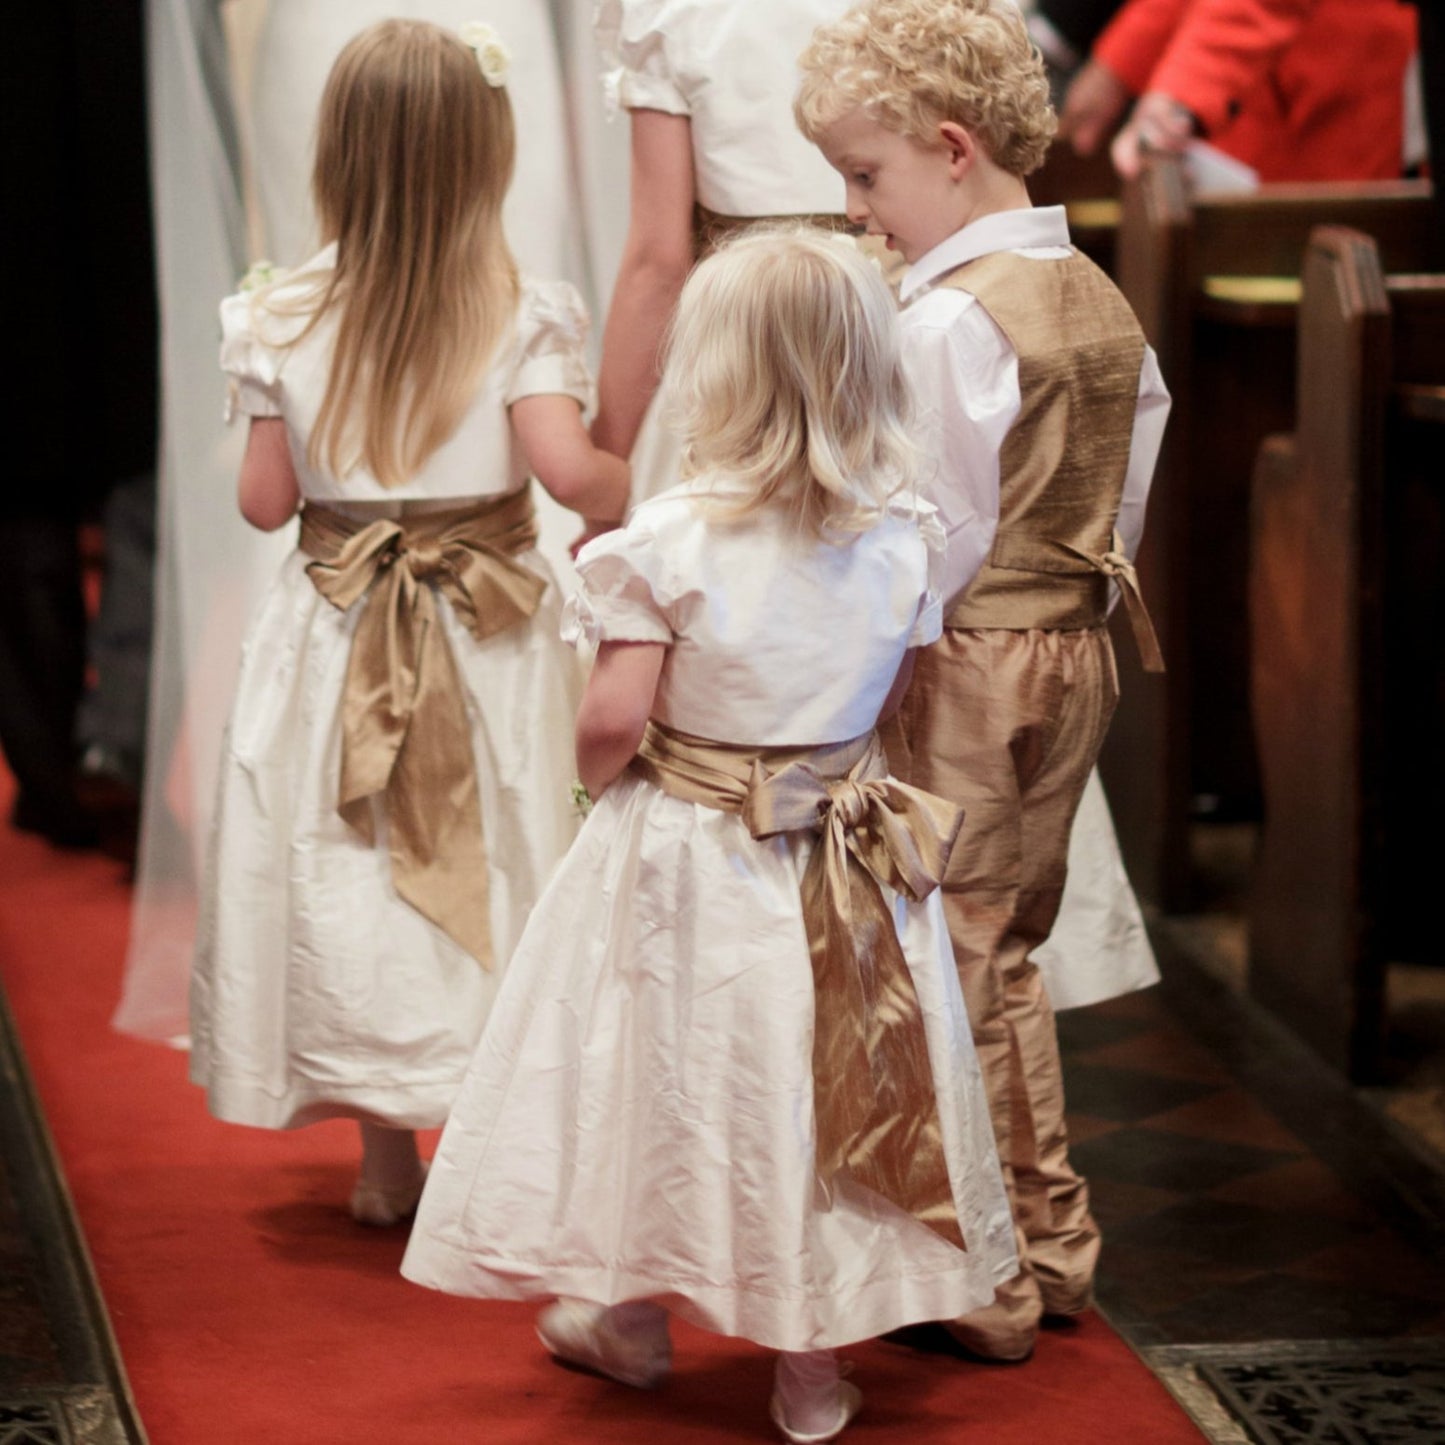
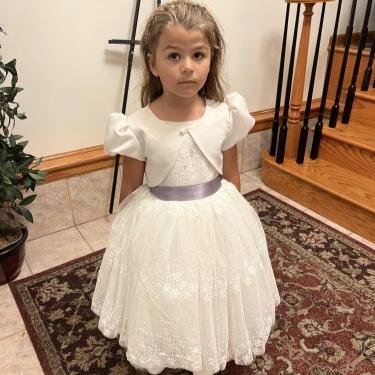
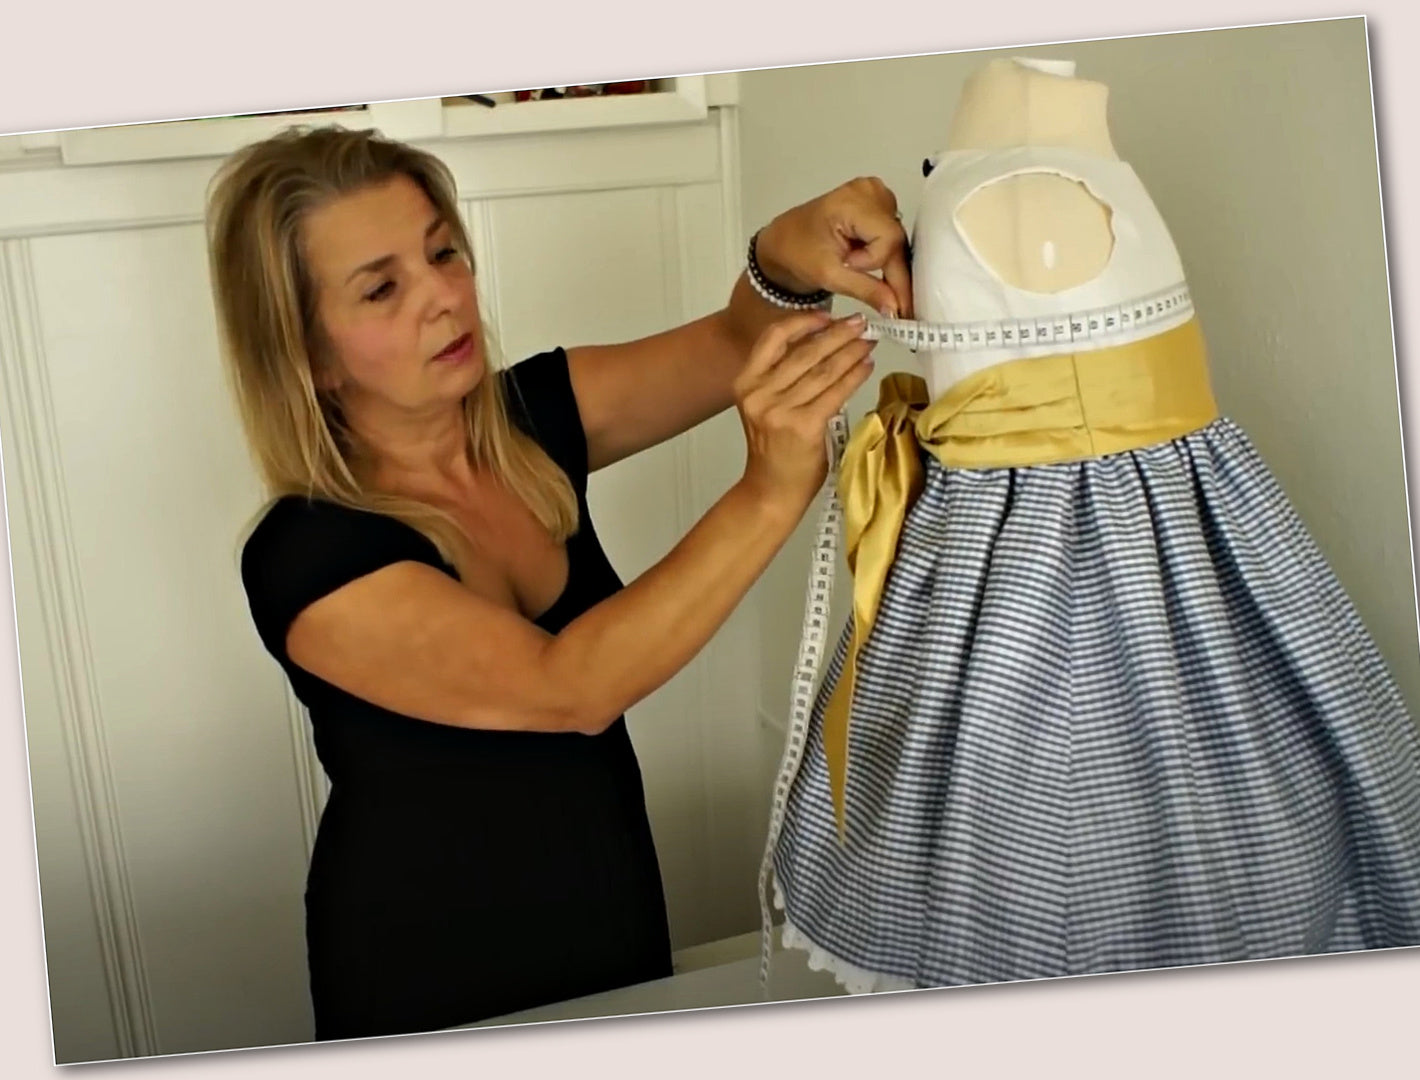
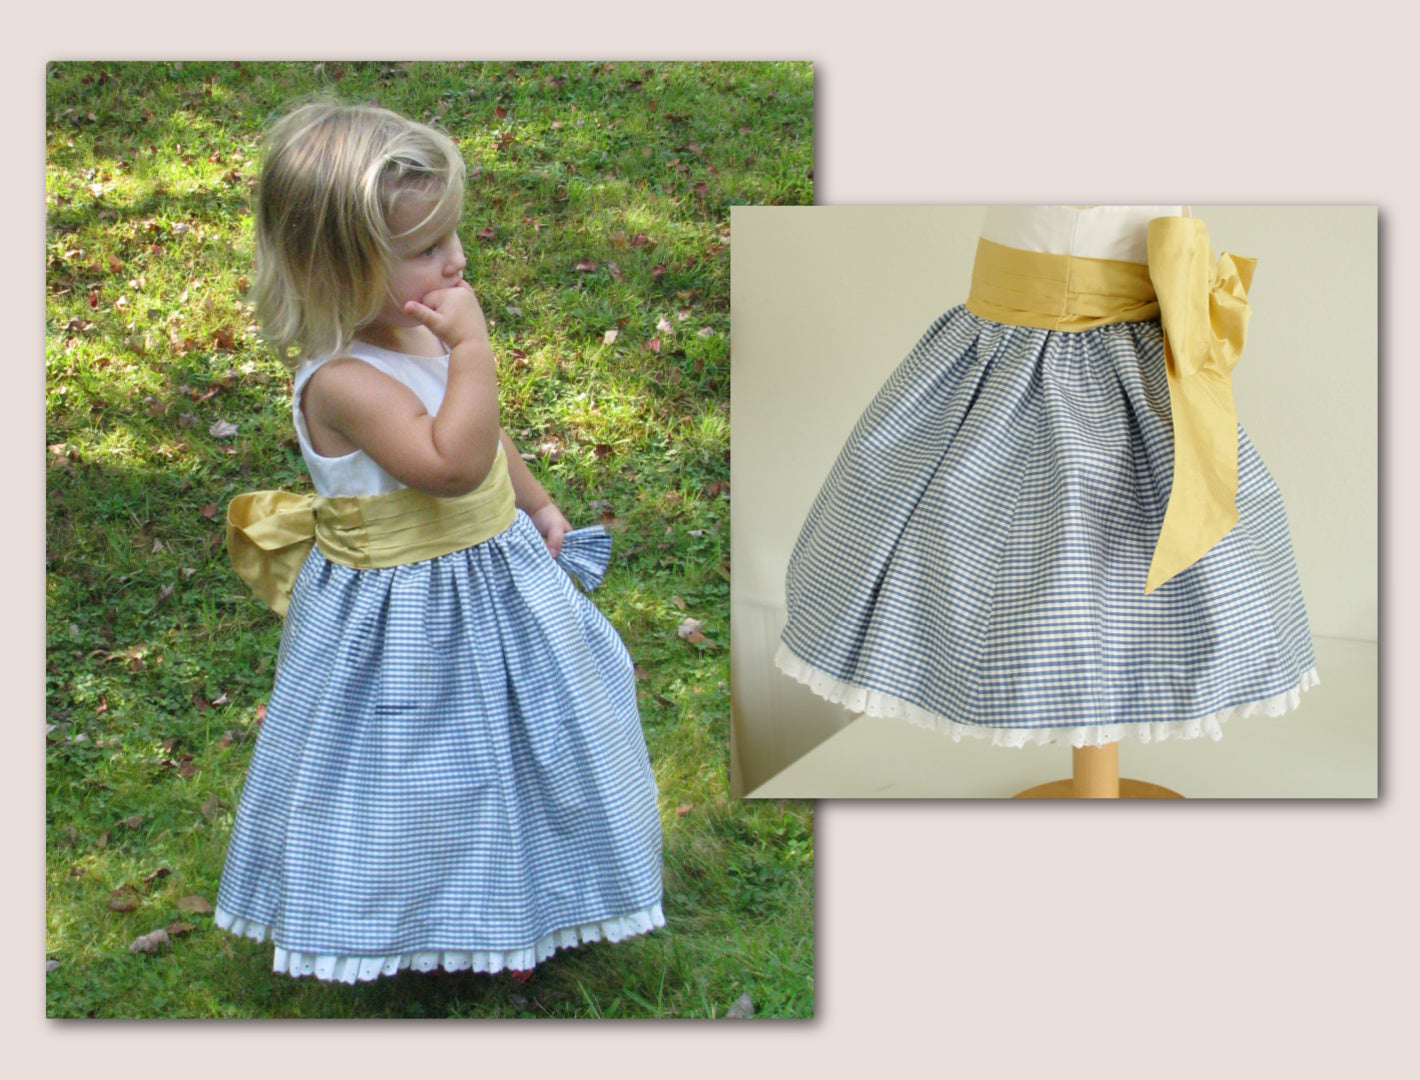
Das Blumenmädchen-Kleid ist ein liebevoll ausgearbeitetes Schnittmuster für ein unvergessliches Outfit. Es eignet sich genauso schön als Babykleid oder ein klassisches Partykleid.
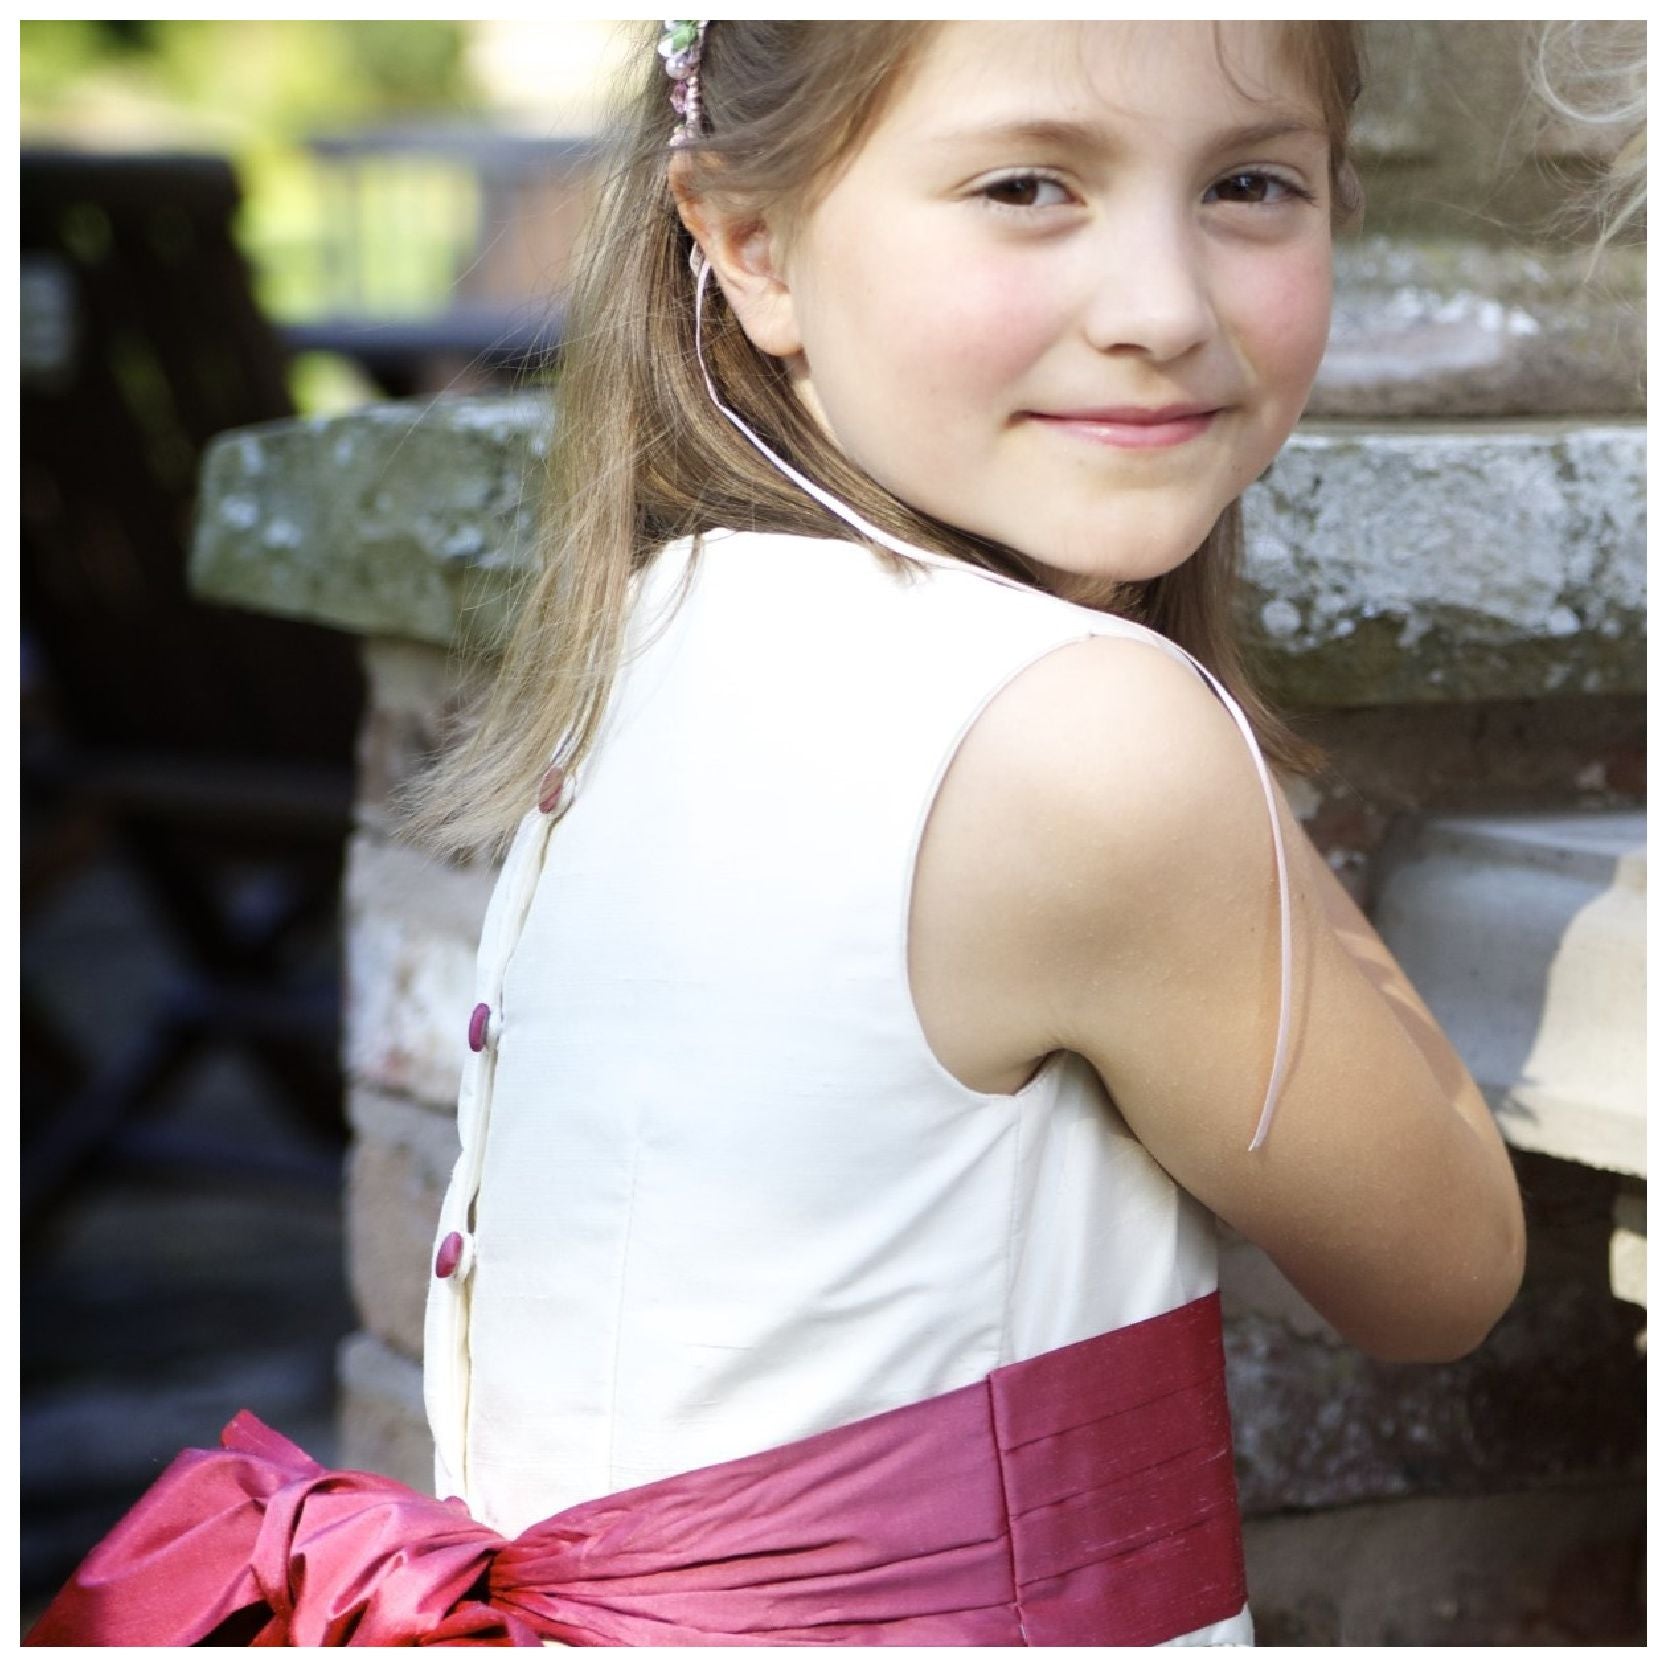
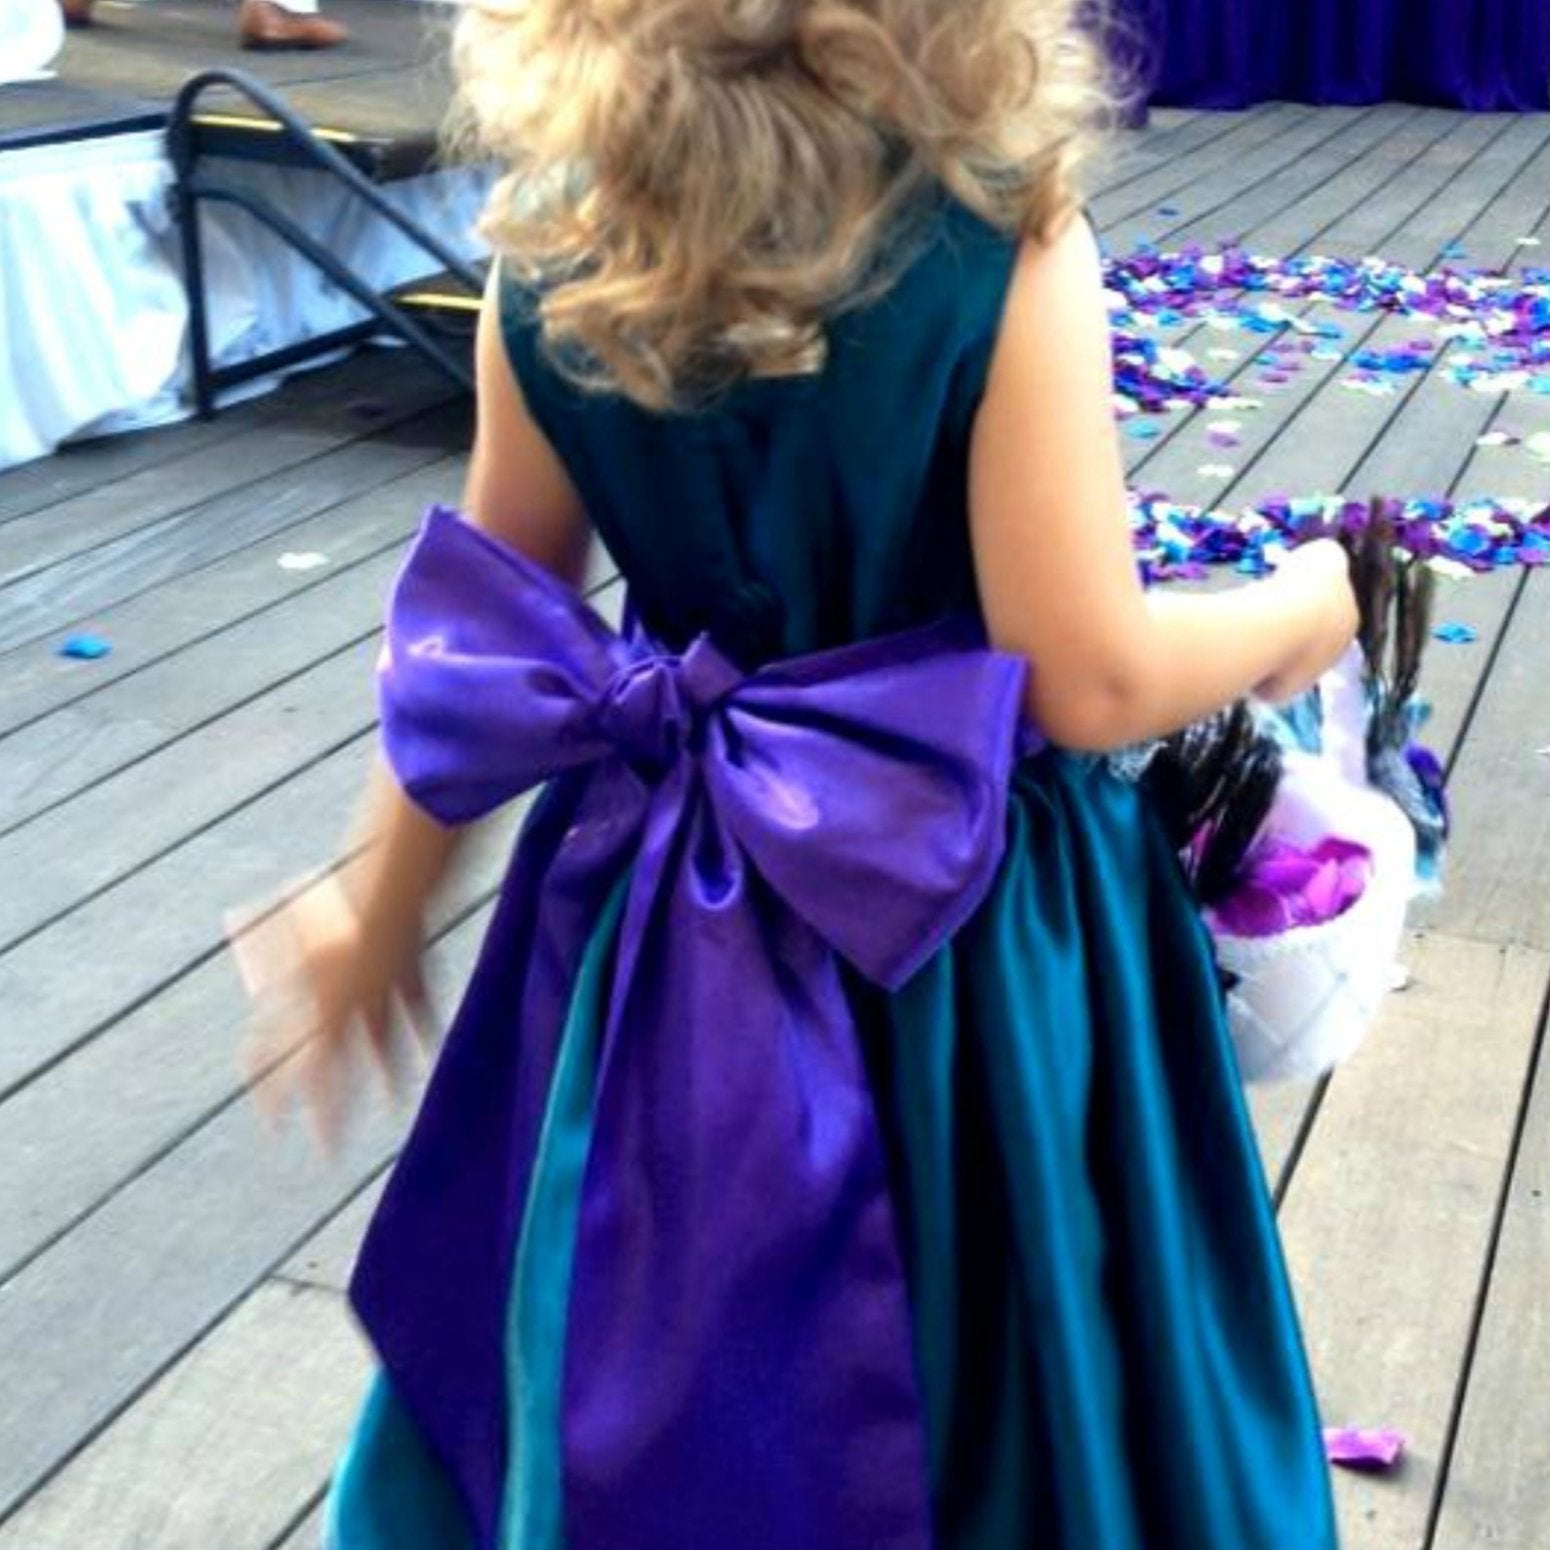
Das Oberteil mit Prinzessnähten passt perfekt zum knöchellangen, eingereihtem Rock, und der zarte Schlaufenverschluss hinten rundet den Look ab.
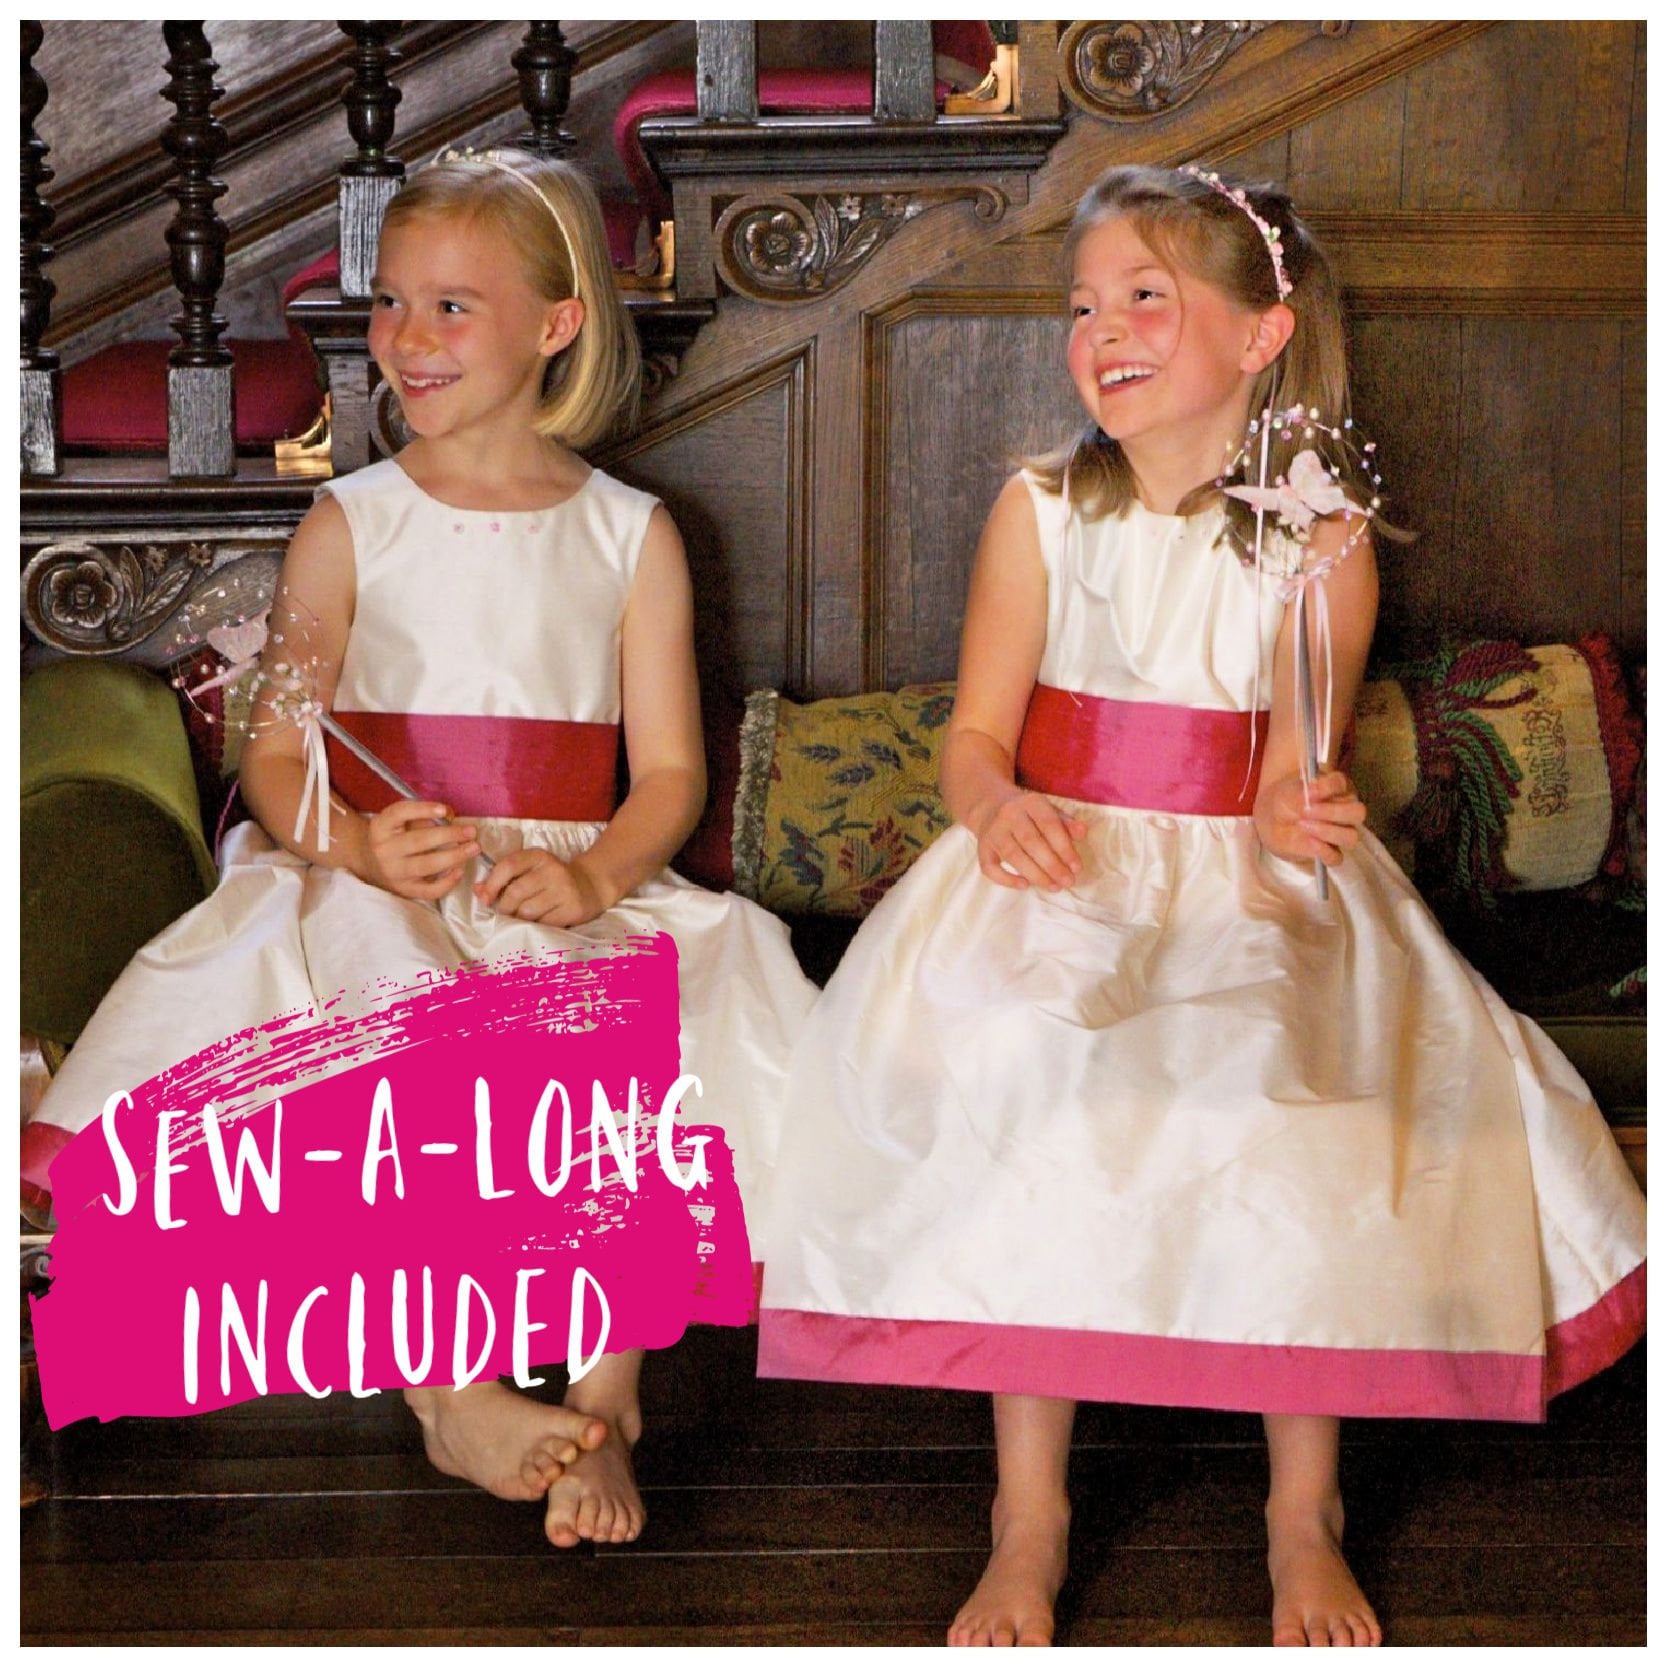
Und das Beste: Es gibt einen kompletten Videokurs dazu. Einfach nach unten scrollen und mit Marina Schritt für Schritt mit Nähen.
Was ist beim Schnittmuster dabei?
Was ist beim Schnittmuster dabei?
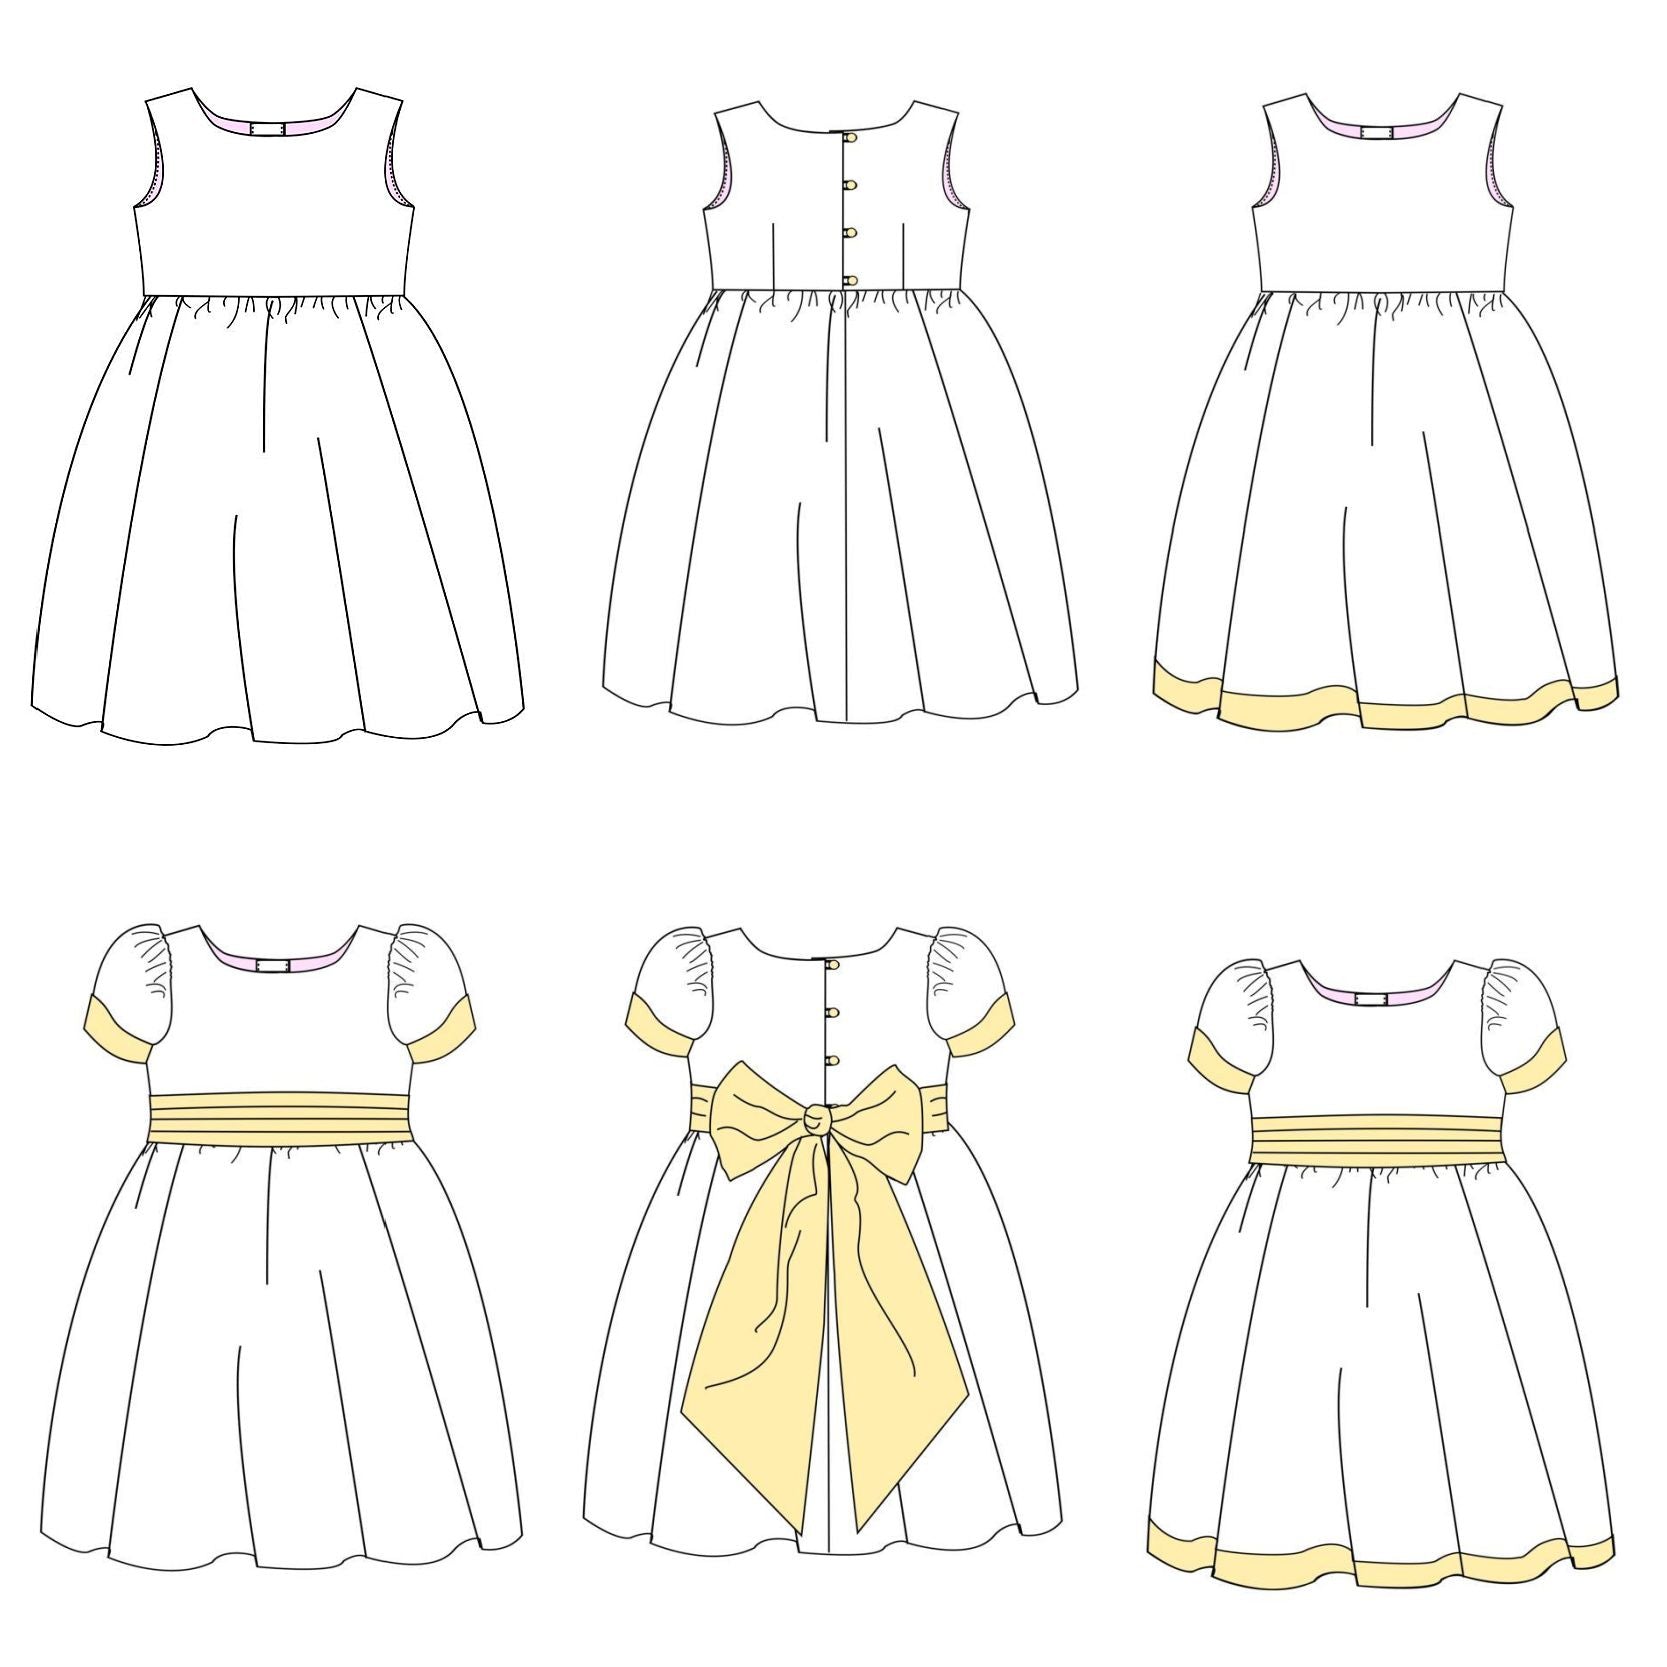
Design
Design
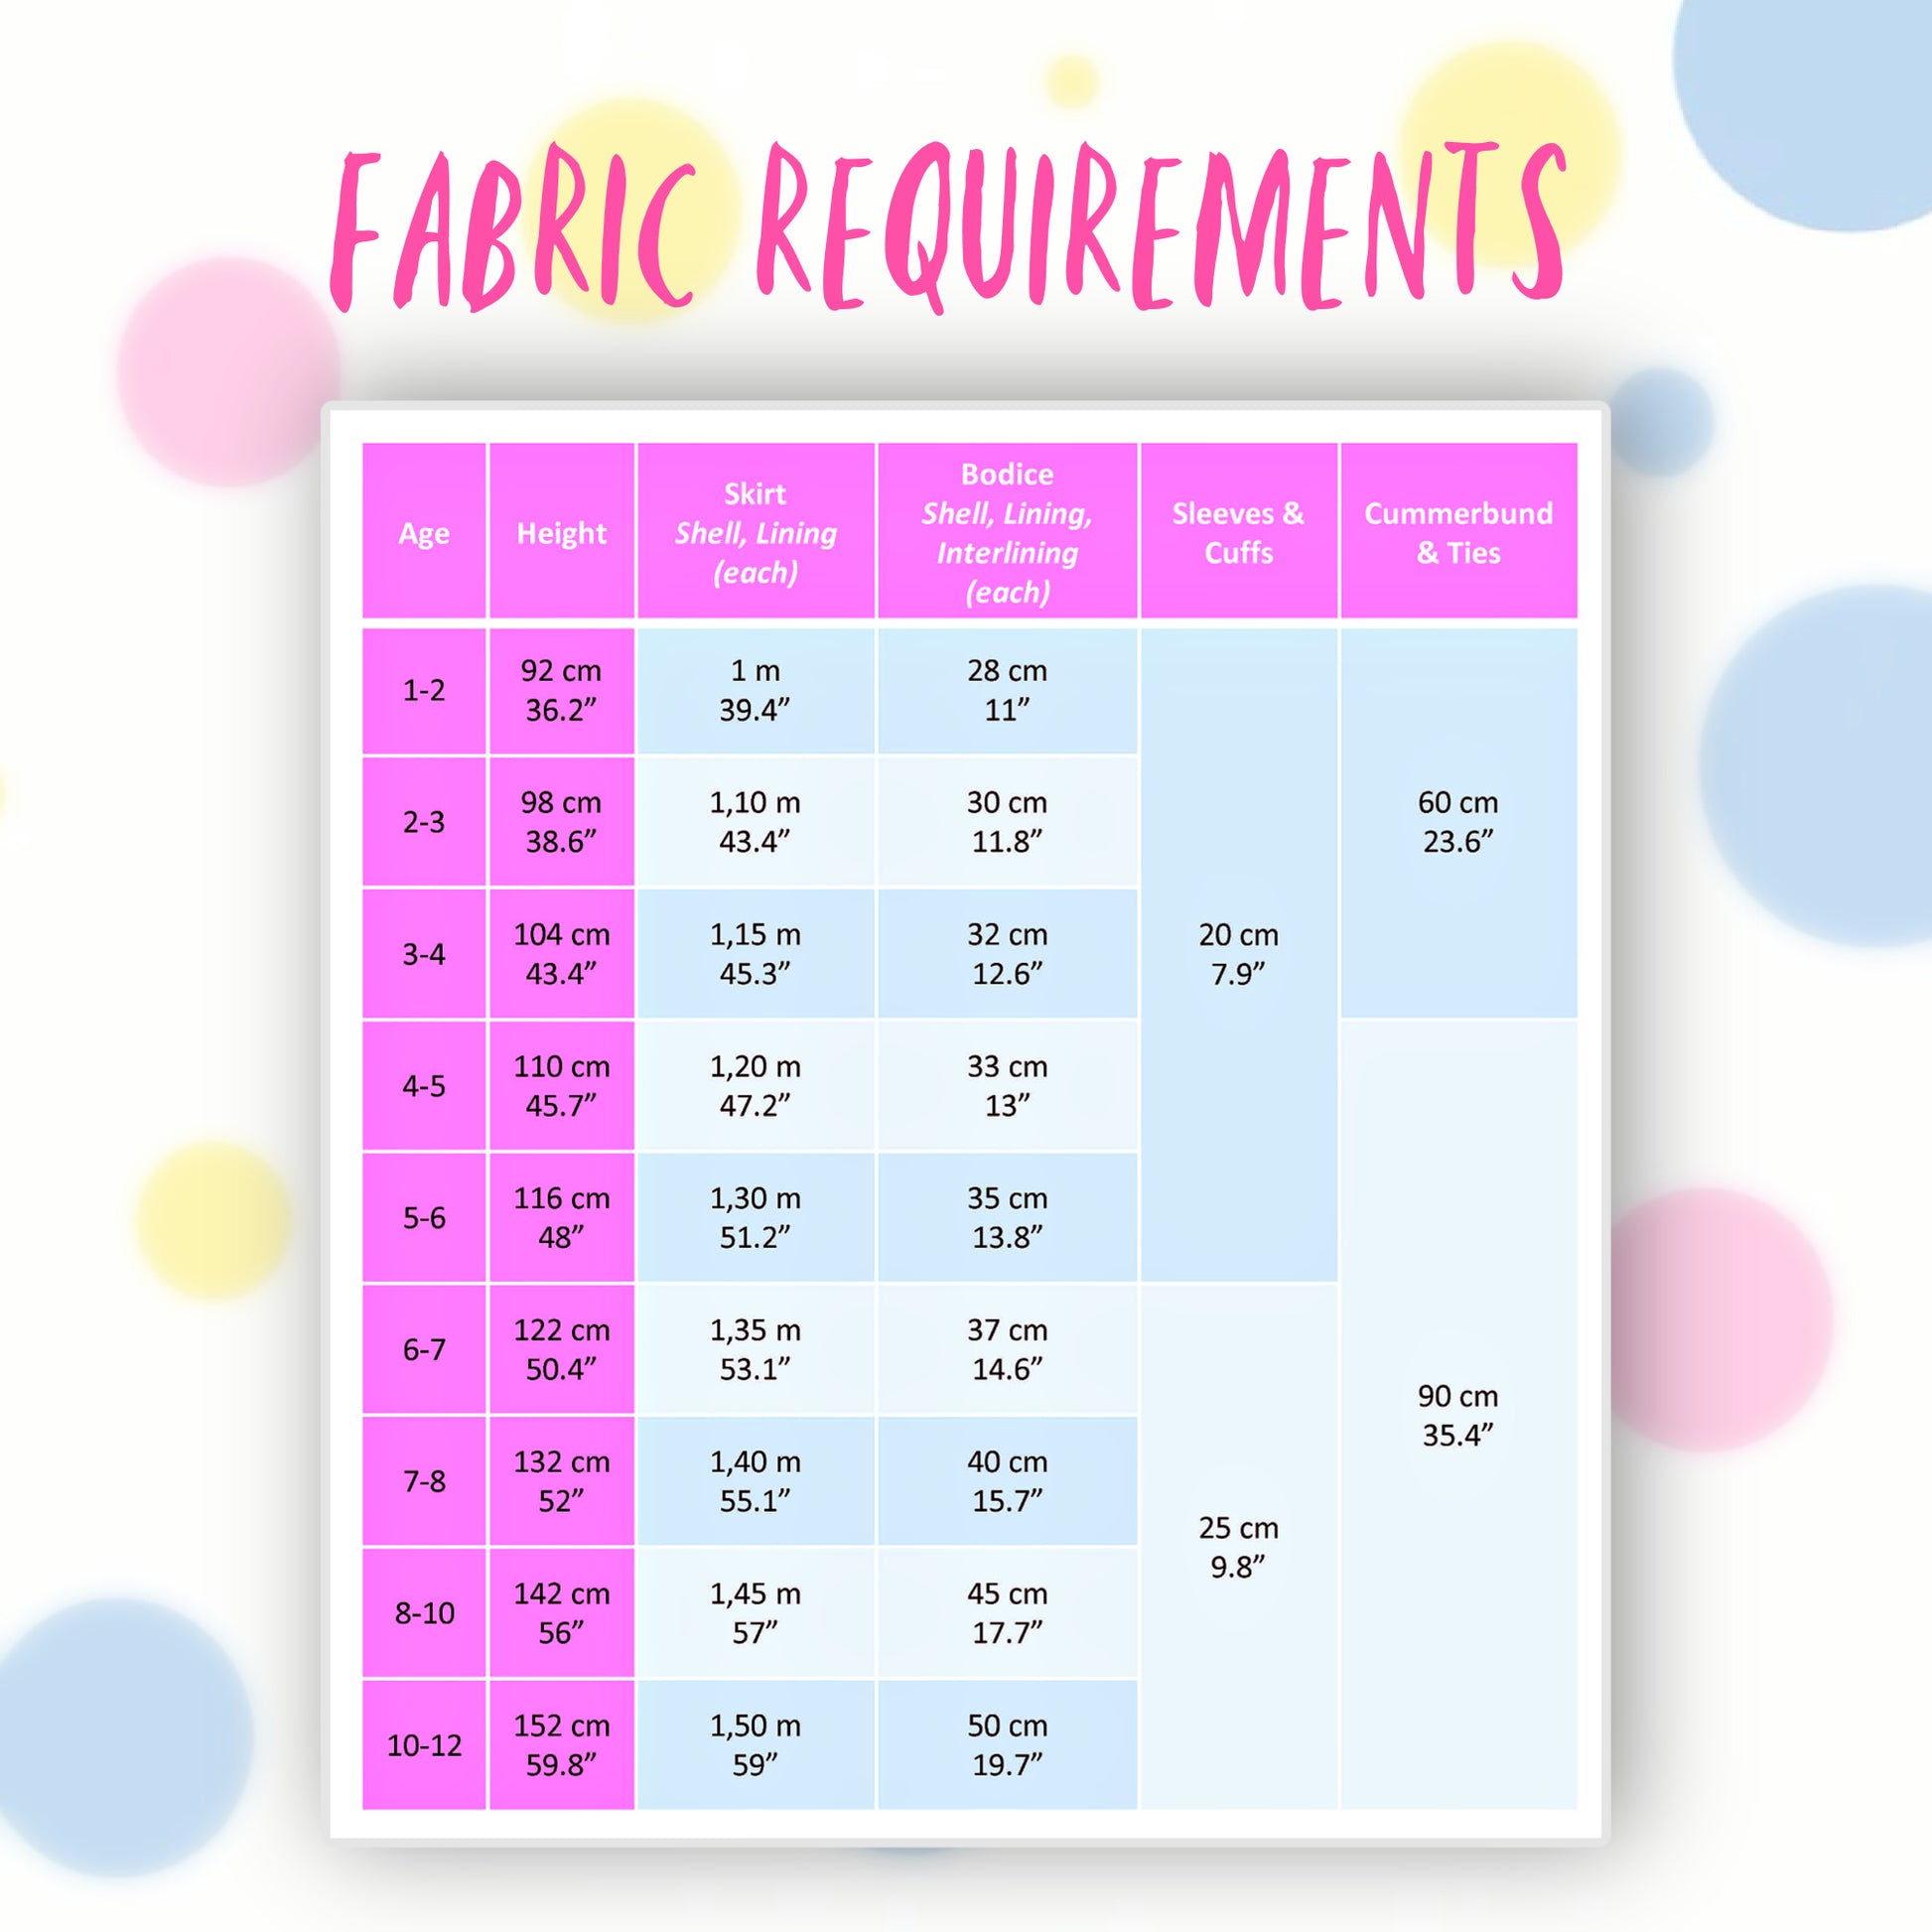
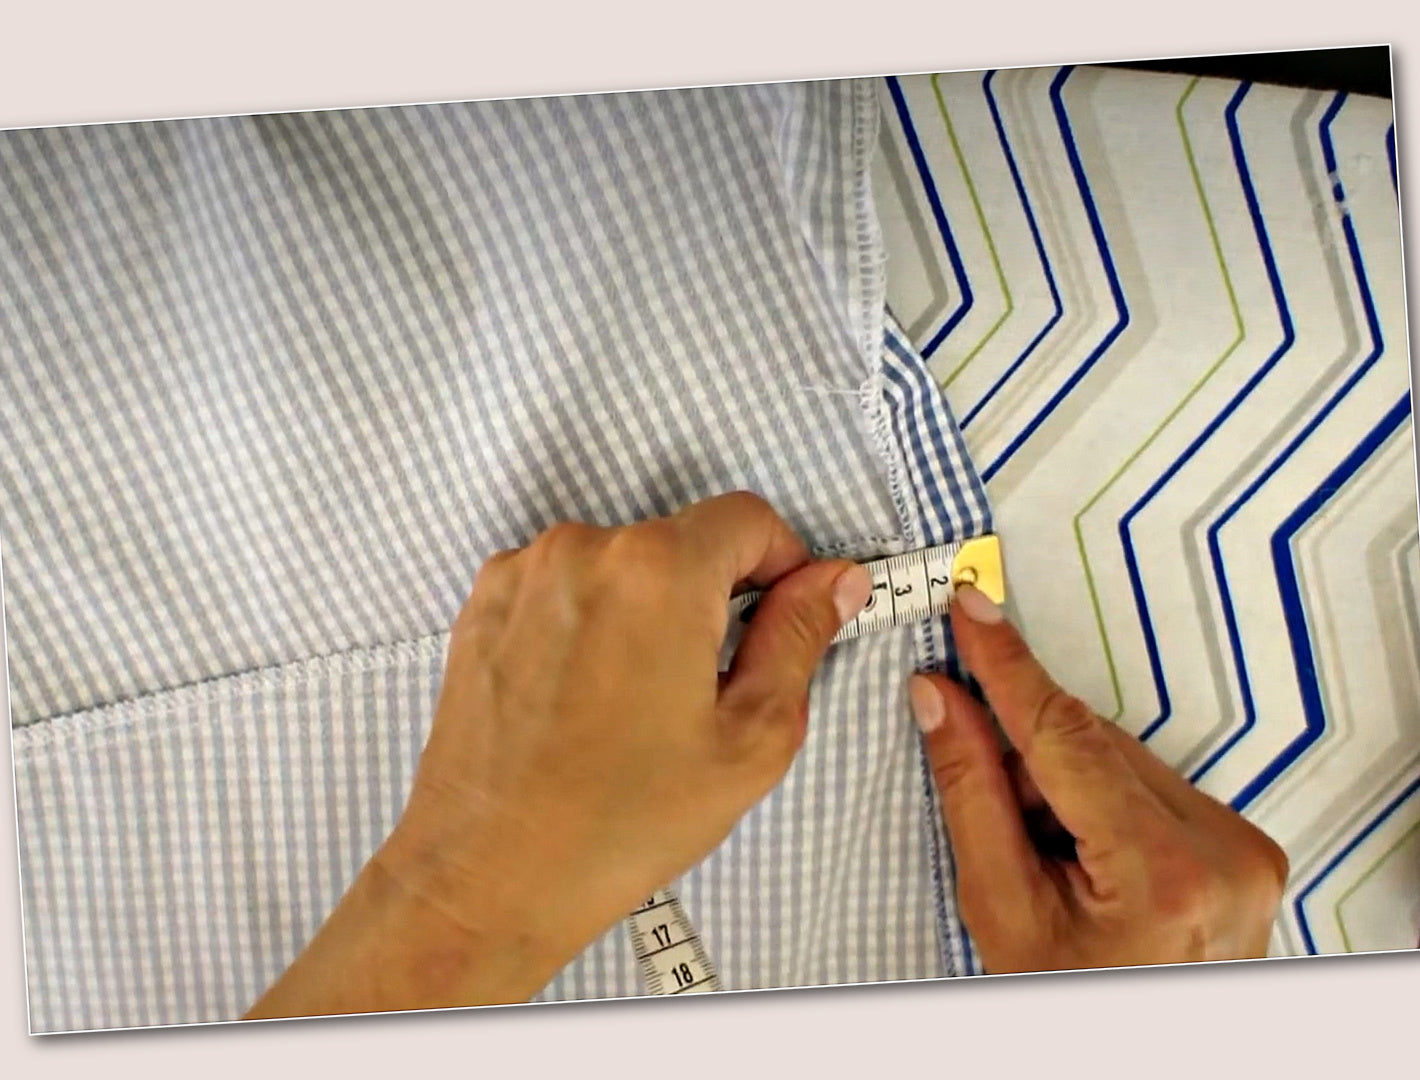
Stoffverbrauch
Stoffverbrauch
Verfügbare Größen
Verfügbare Größen
Bitte beachten
Bitte beachten


SCHRITT-FÜR-SCHRITT ANLEITUNG
EINFÜHRUNG IN DAS PROJEKT
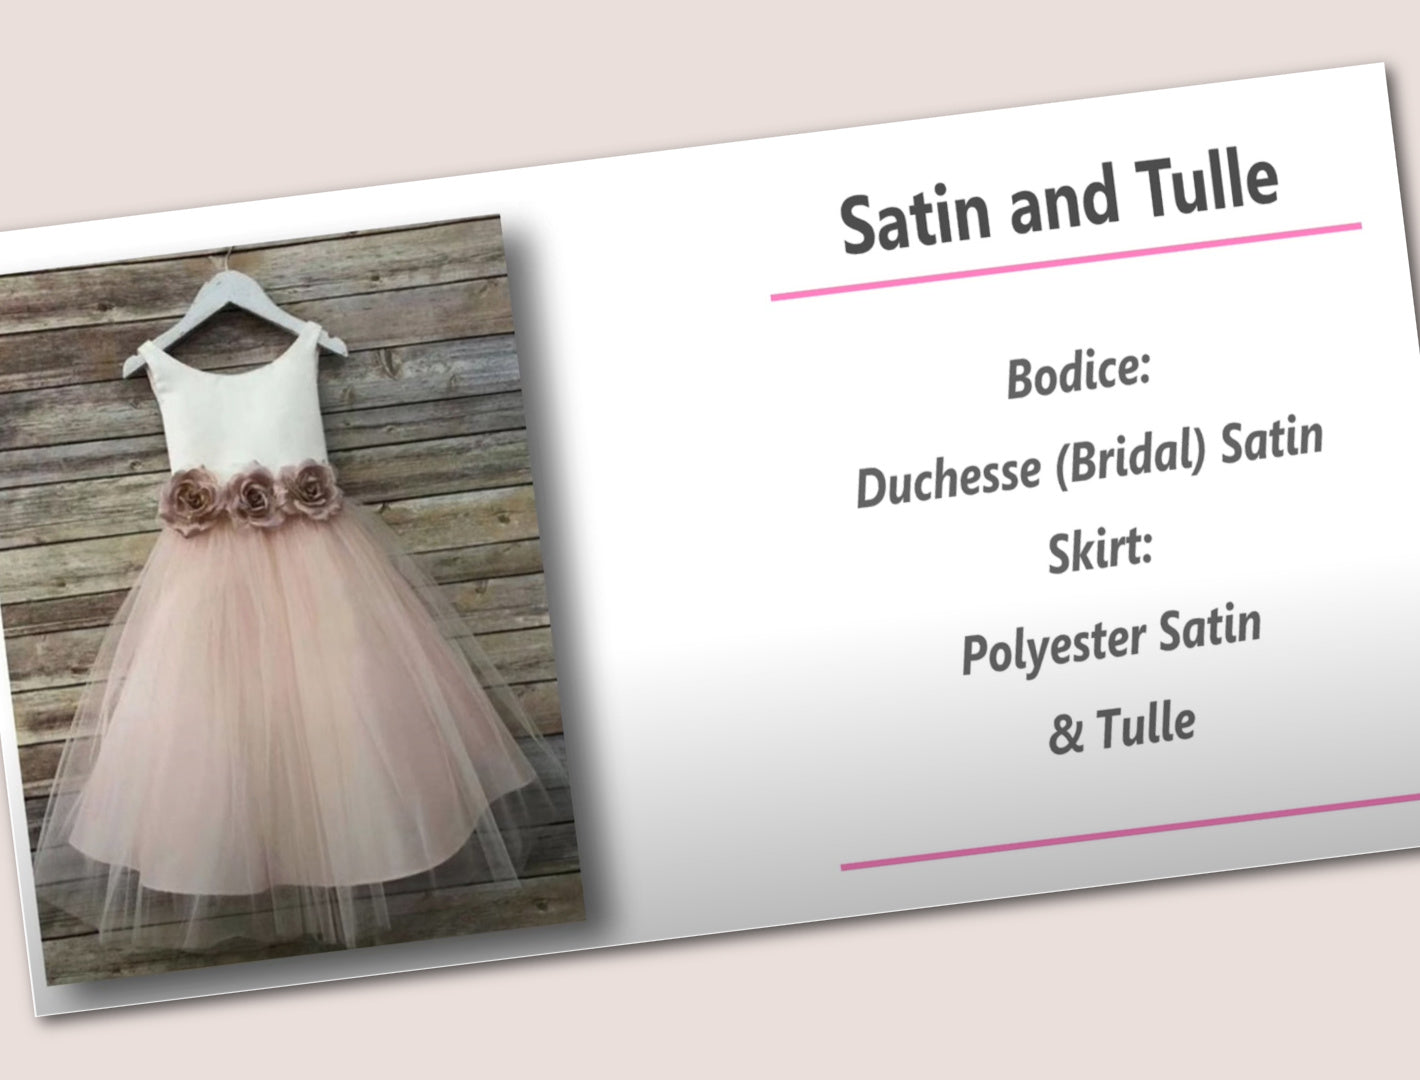
STOFFAUSWAHL
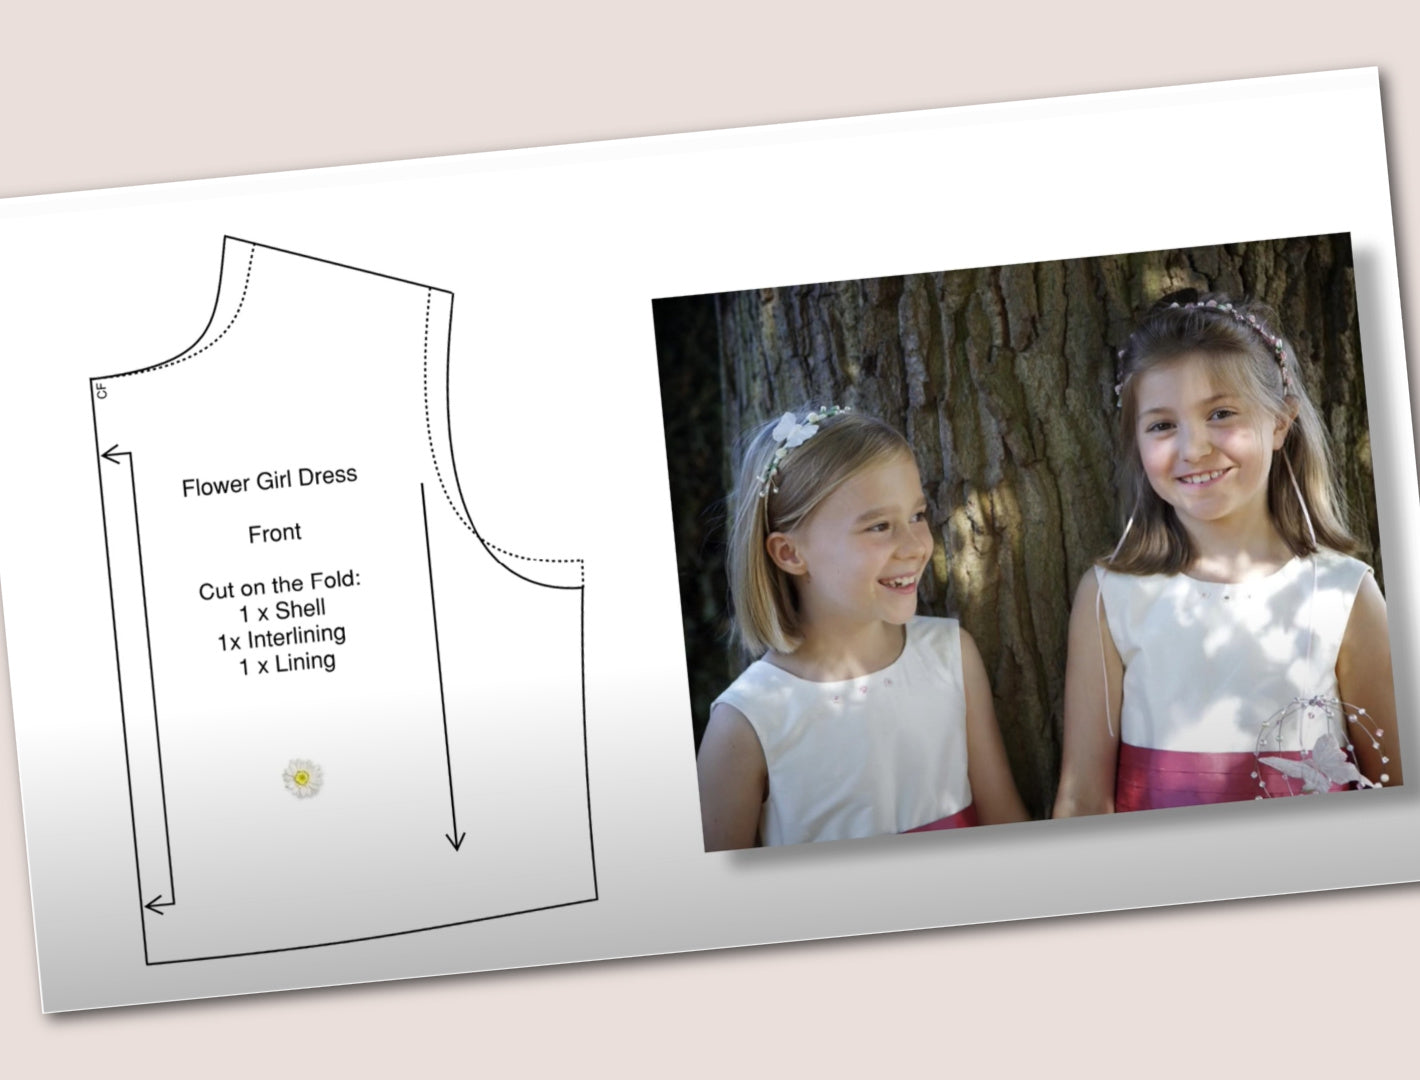
DAS SCHNITTMUSTER
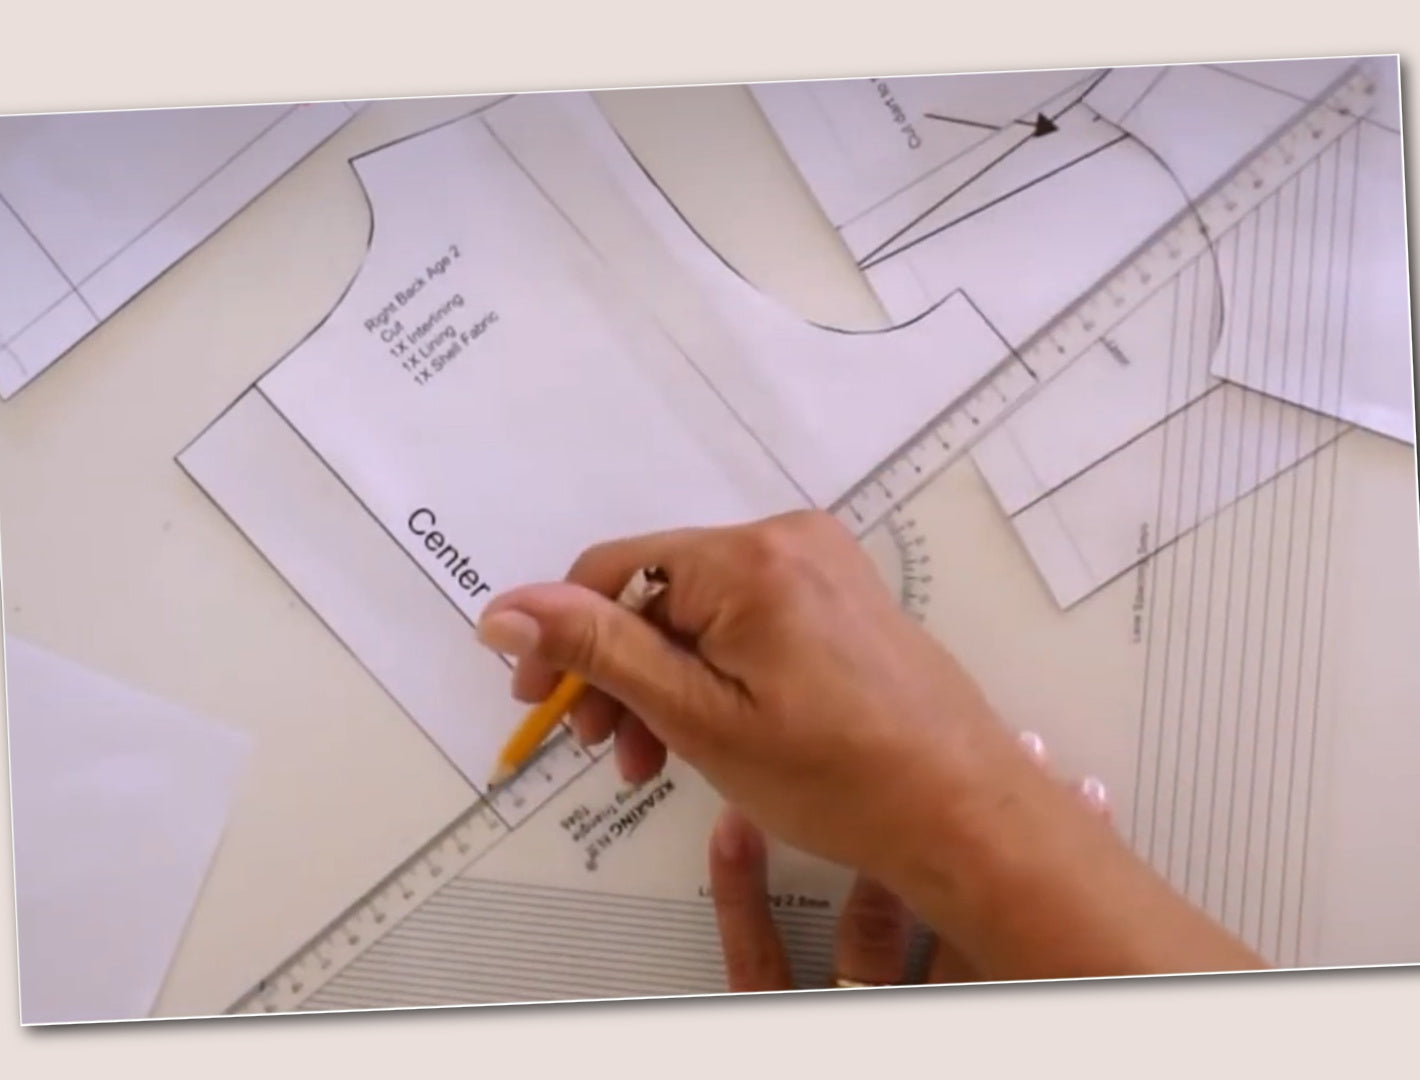
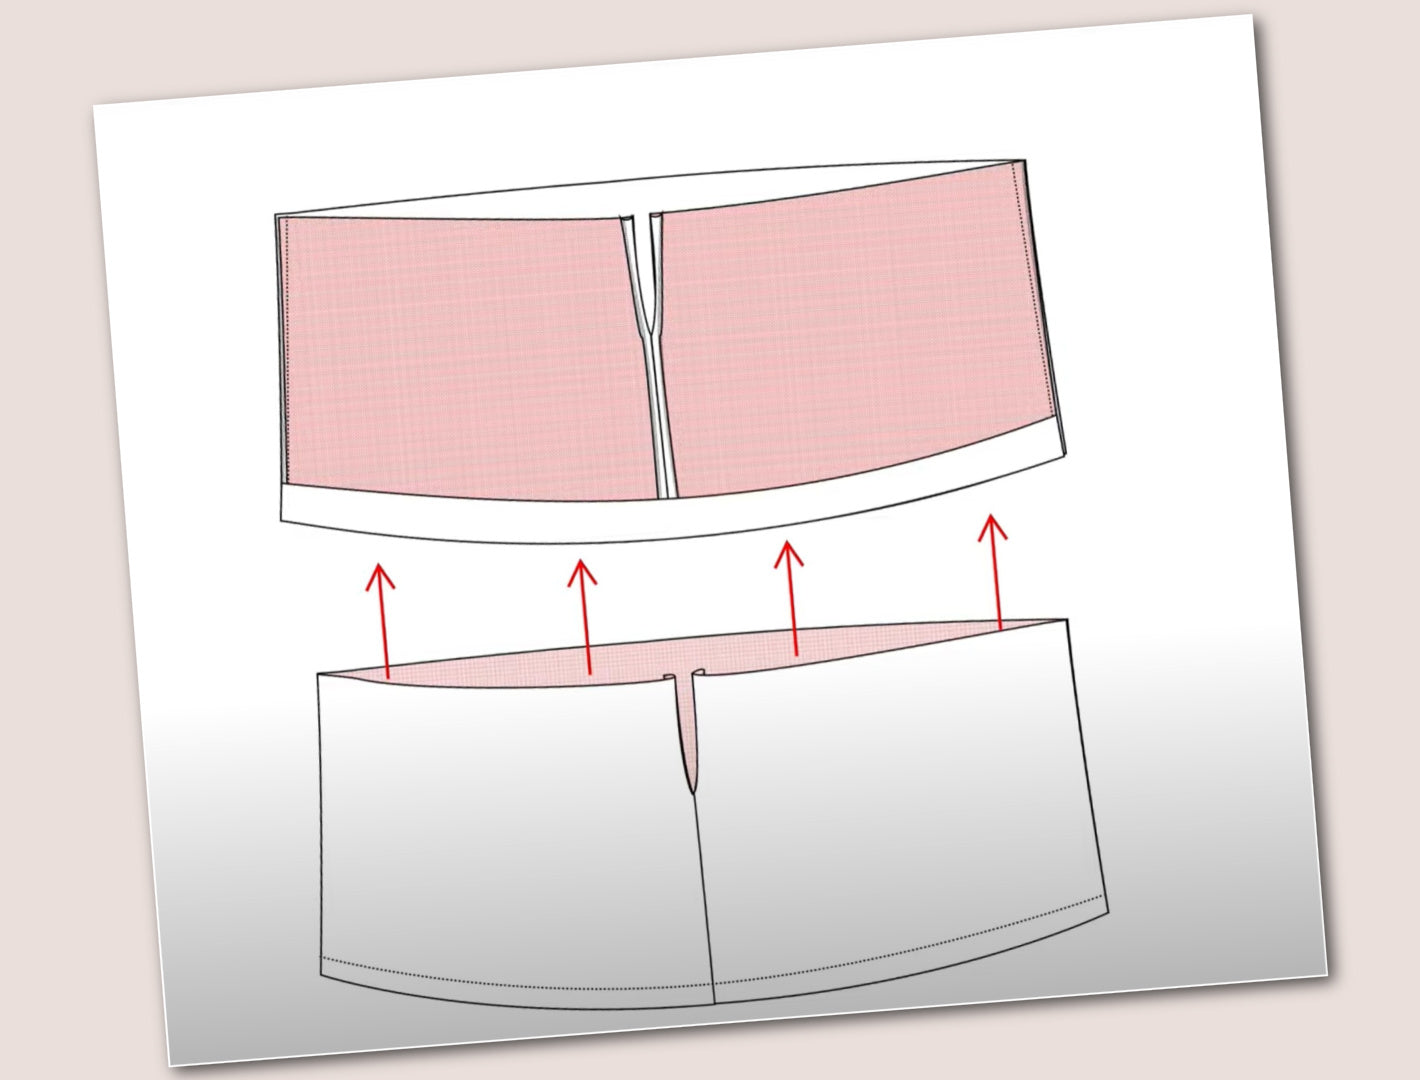
SCHNITTMUSTER ABÄNDERN
DER ROCK & DAS FUTTER
SPITZENSAUM NÄHEN
FUTTERS AN DIE HINTERE MITTE NÄHEN
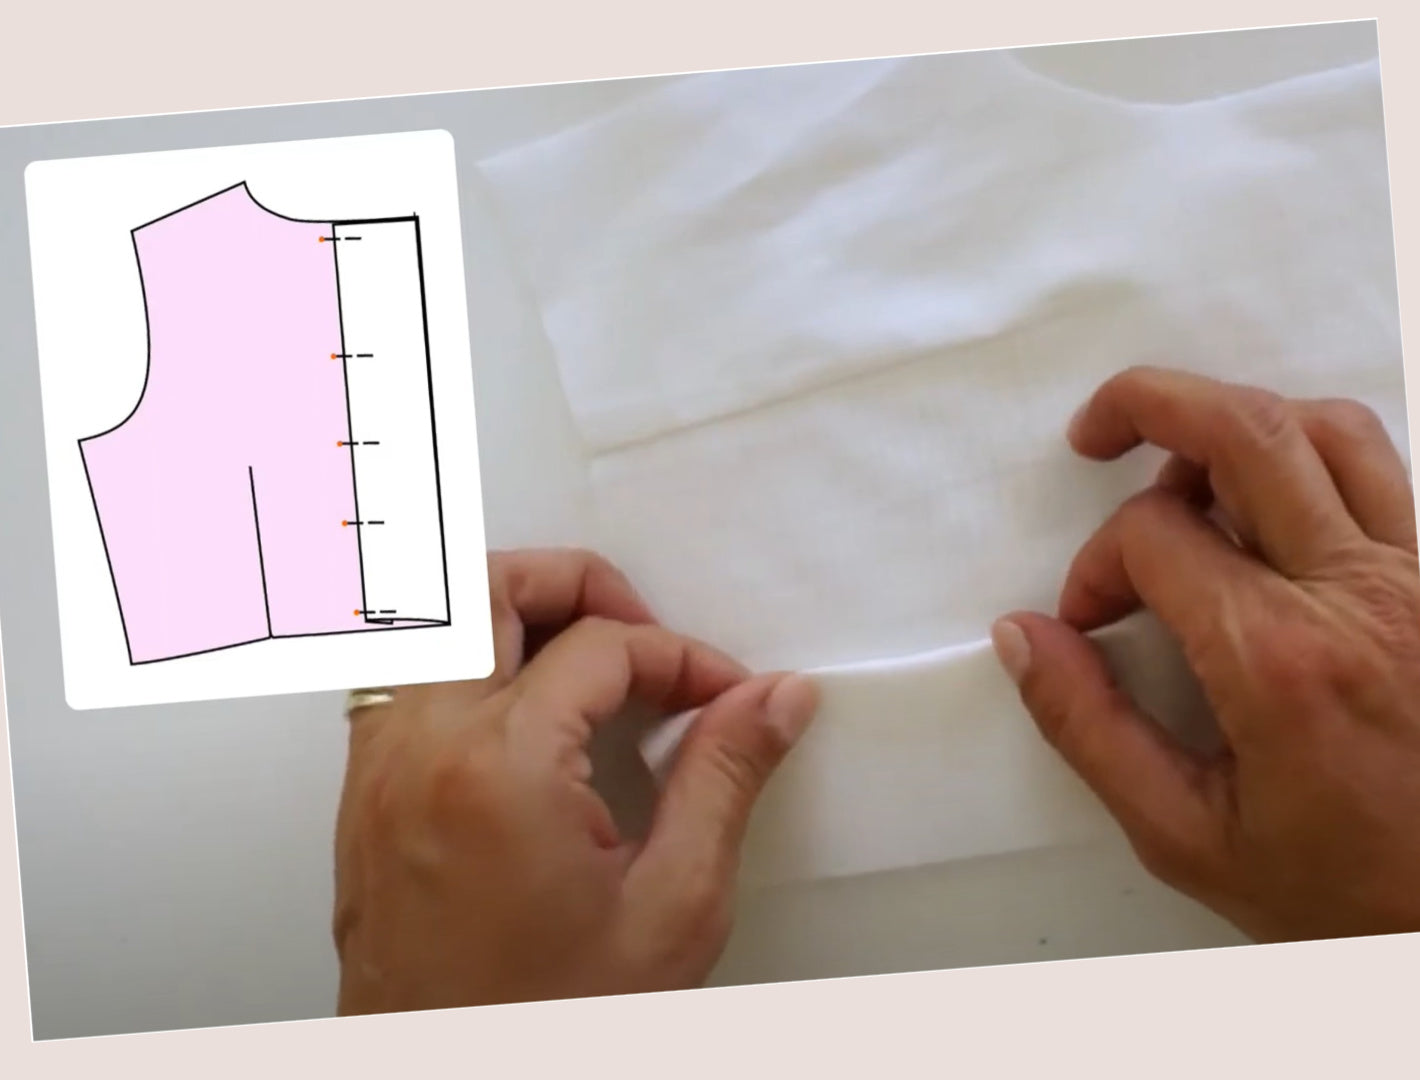
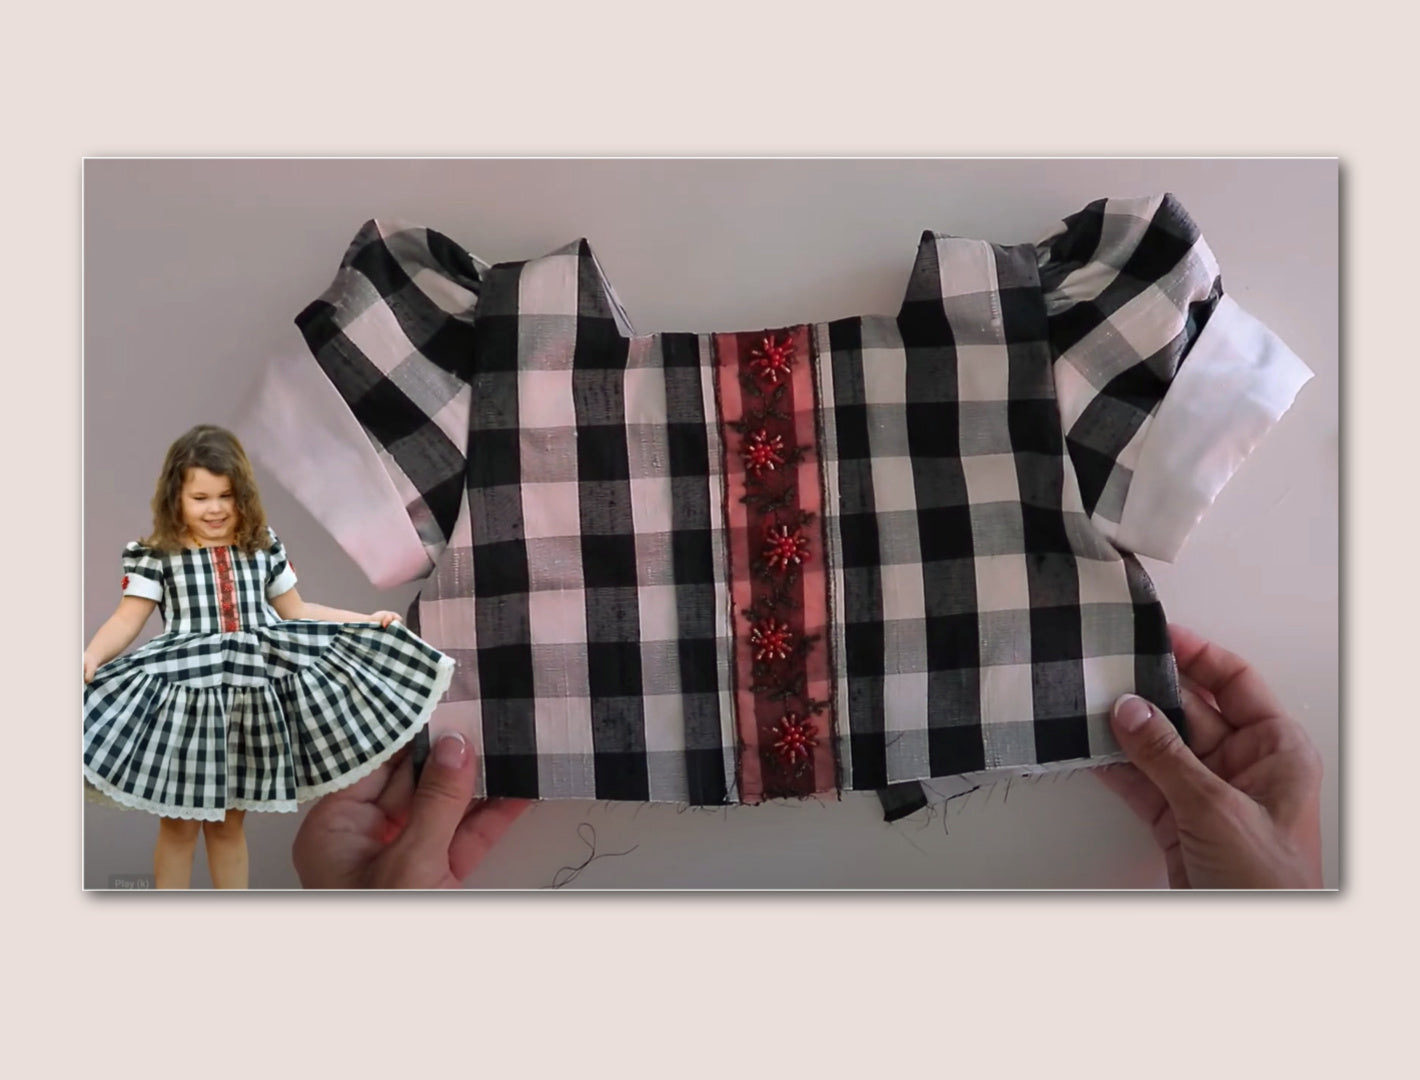
VORBEREITUNG DES VORDERTEILS
DAS OBERTEIL FÜTTERN
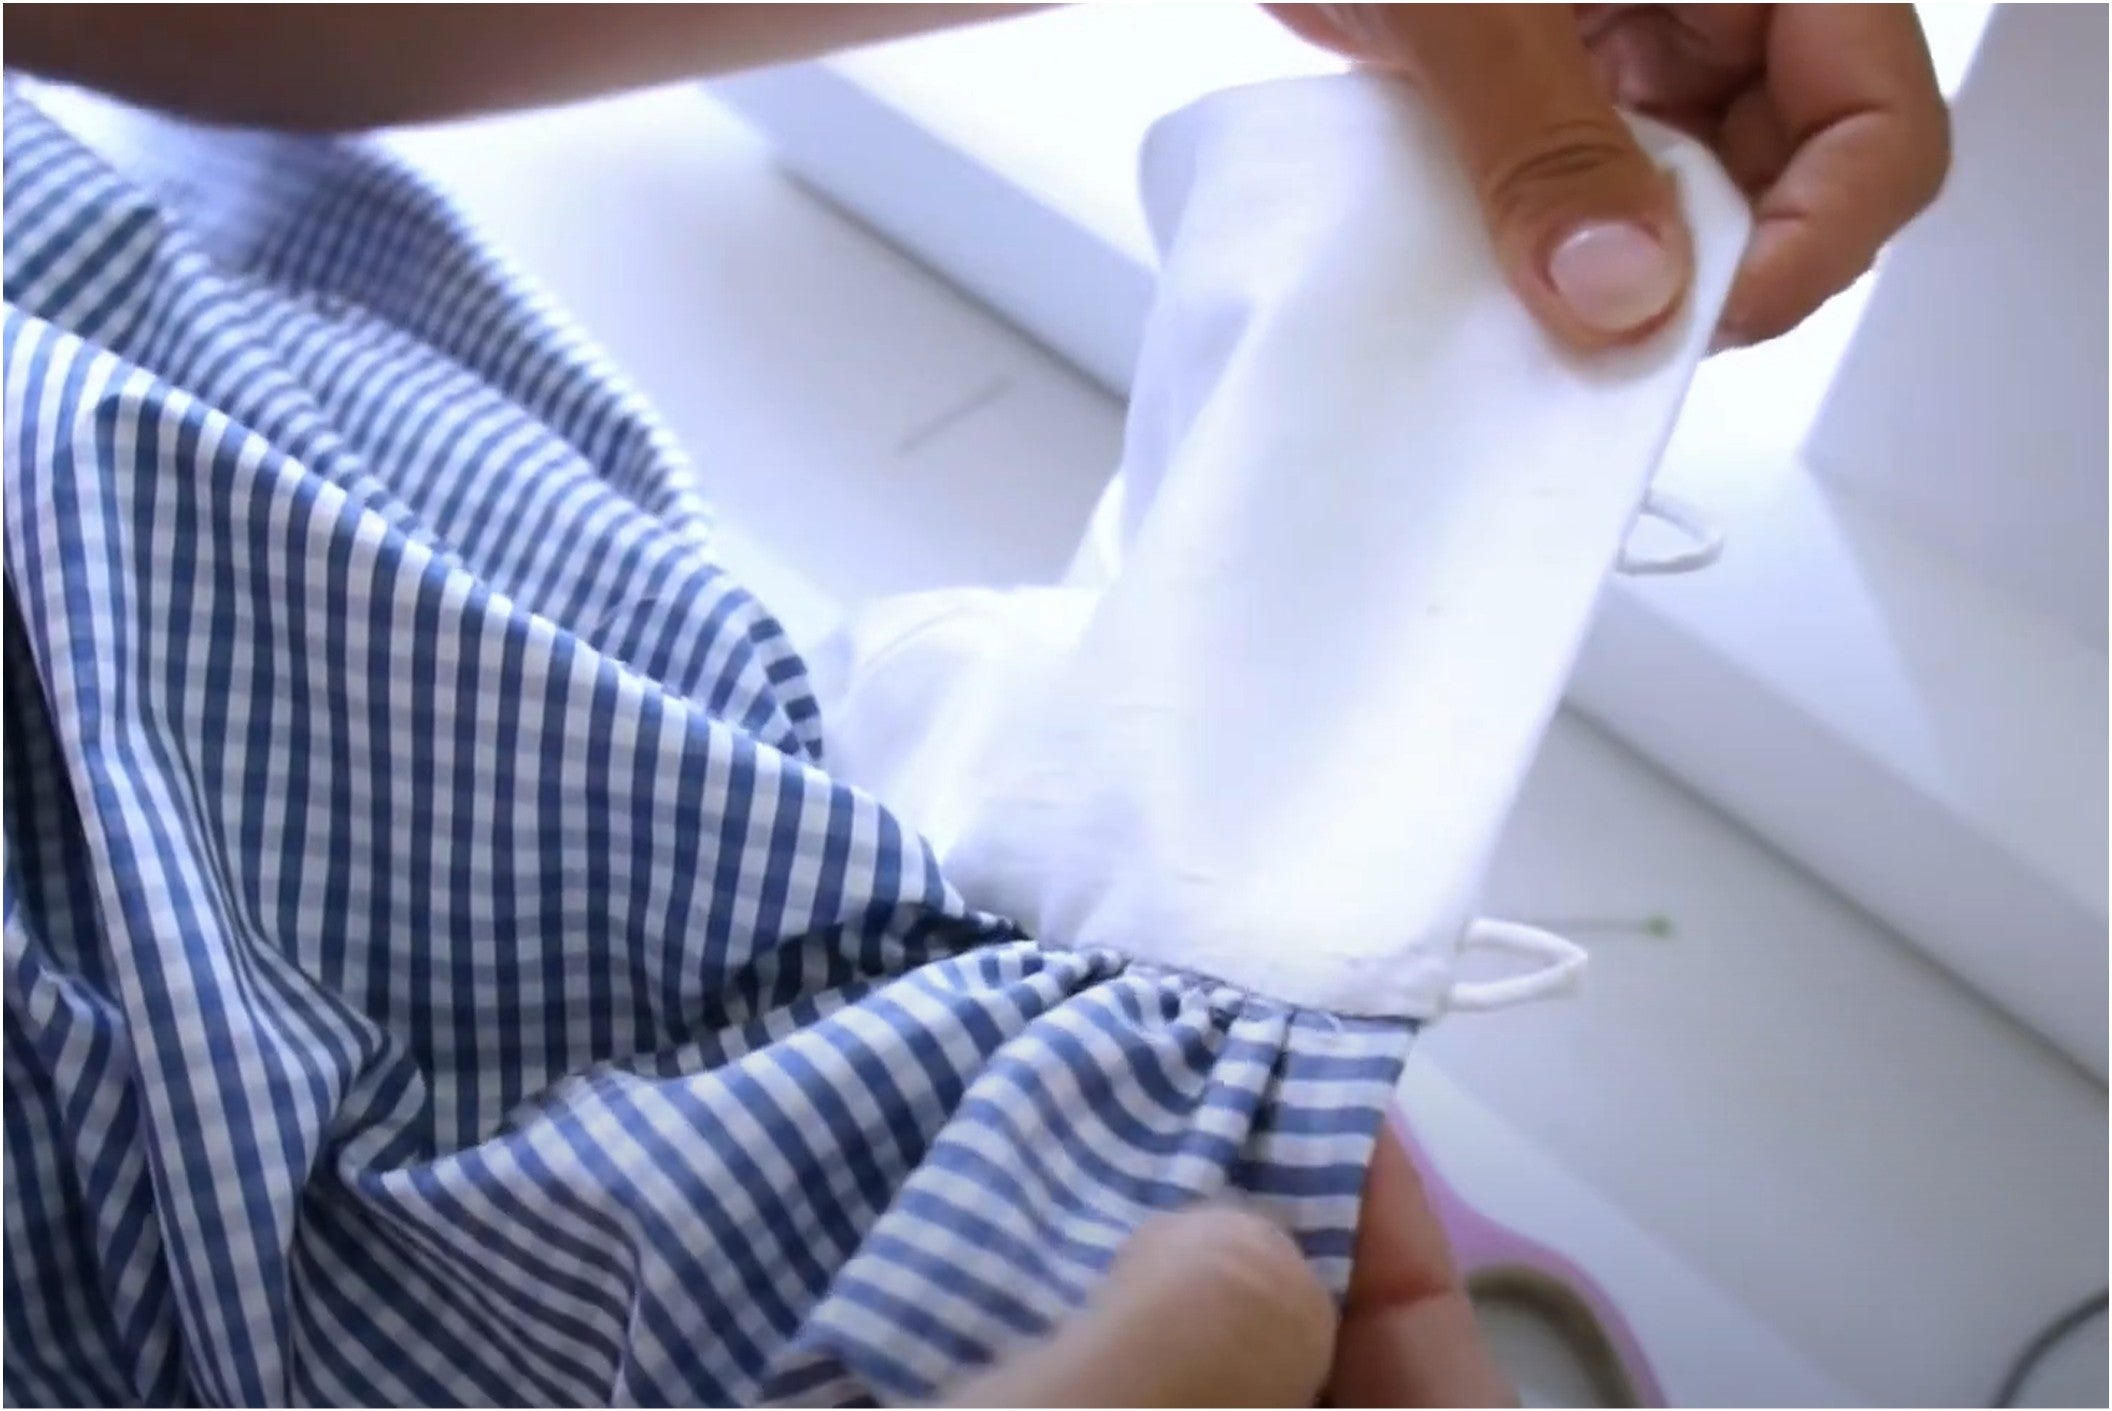
DEN ROCK UND DAS OBERTEIL ZUSAMMENNÄHEN

KNÖPFE ANNÄHEN
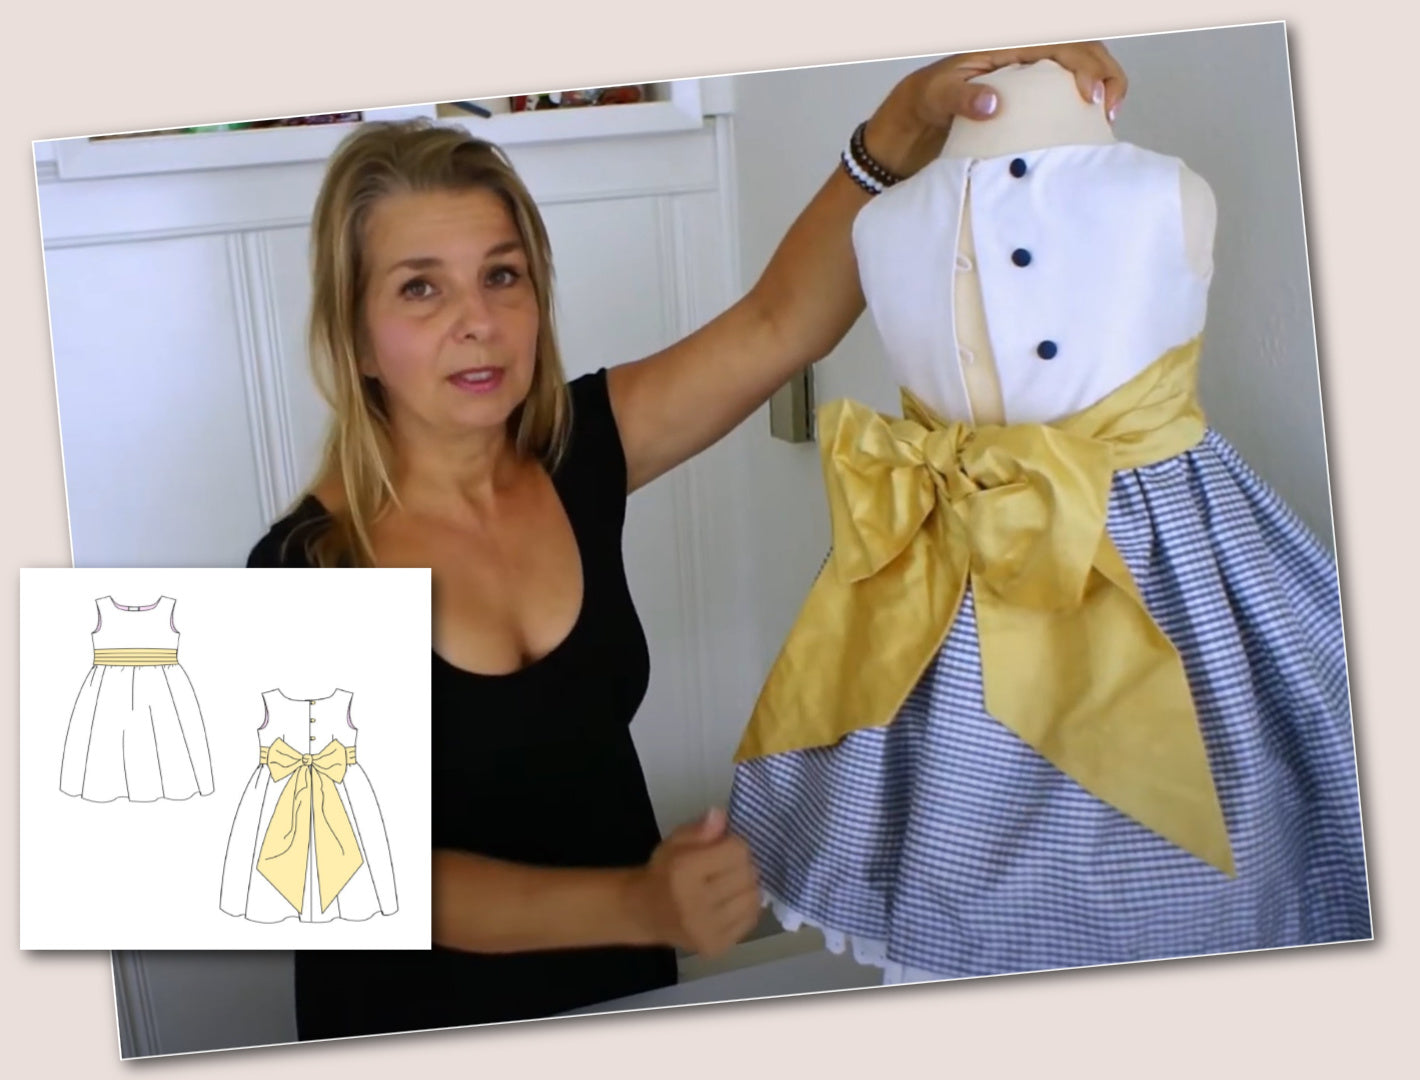
DER KUMMERBUND

PUFFÄRMEL NÄHEN
PUFFÄRMEL EINSETZEN
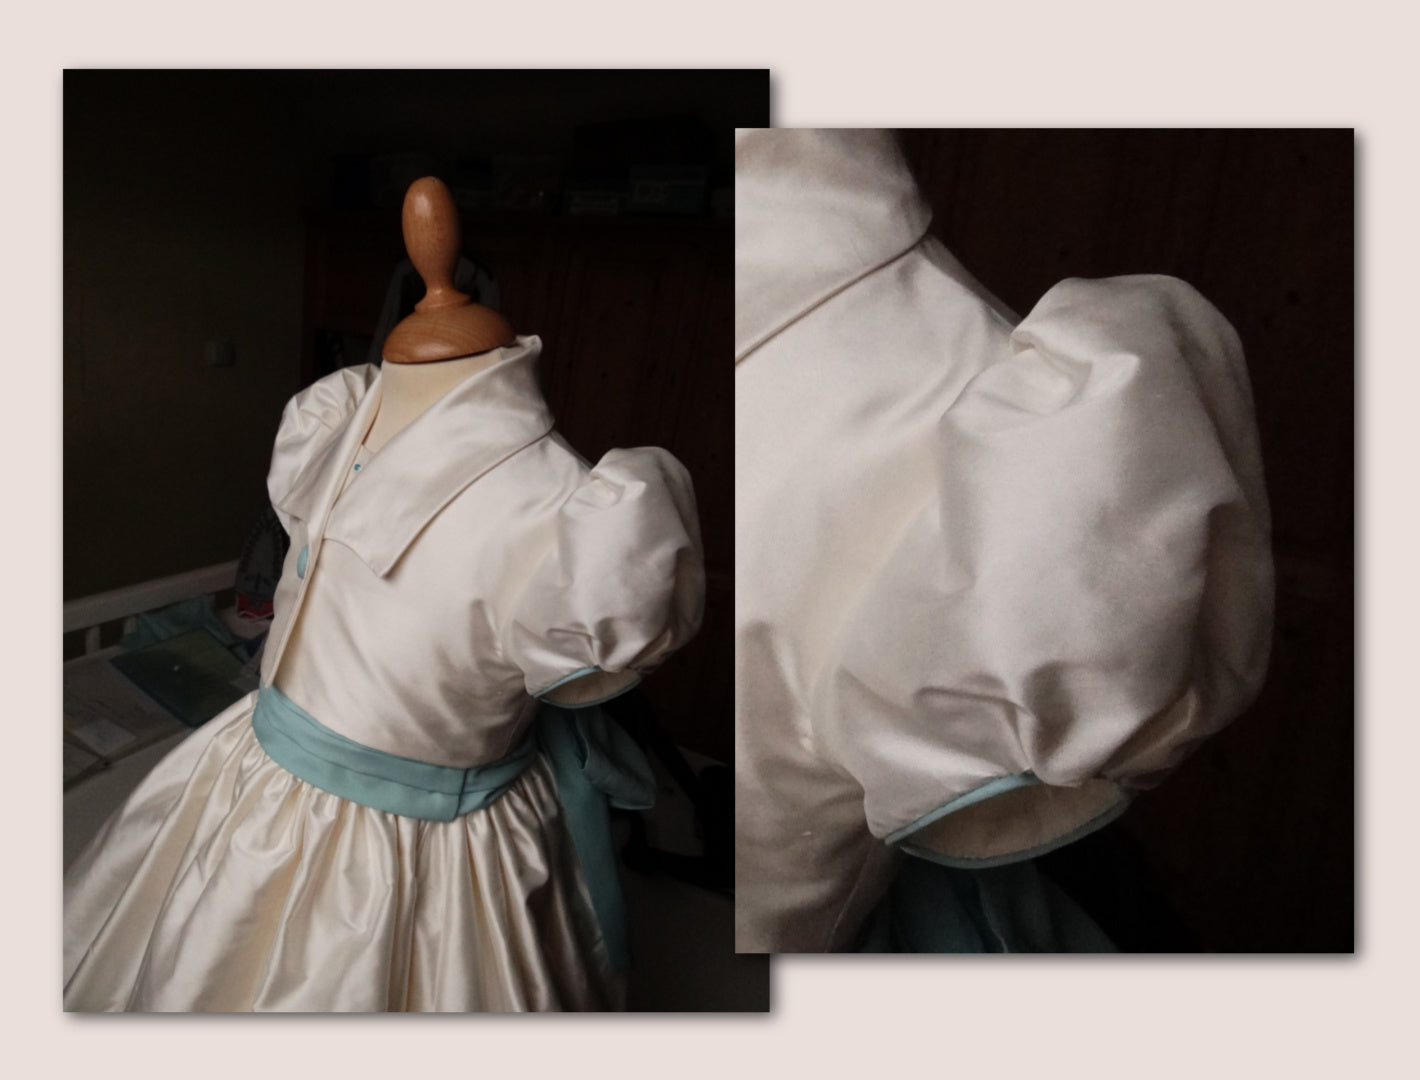
PASPELLIERTE PUFFÄRMEL
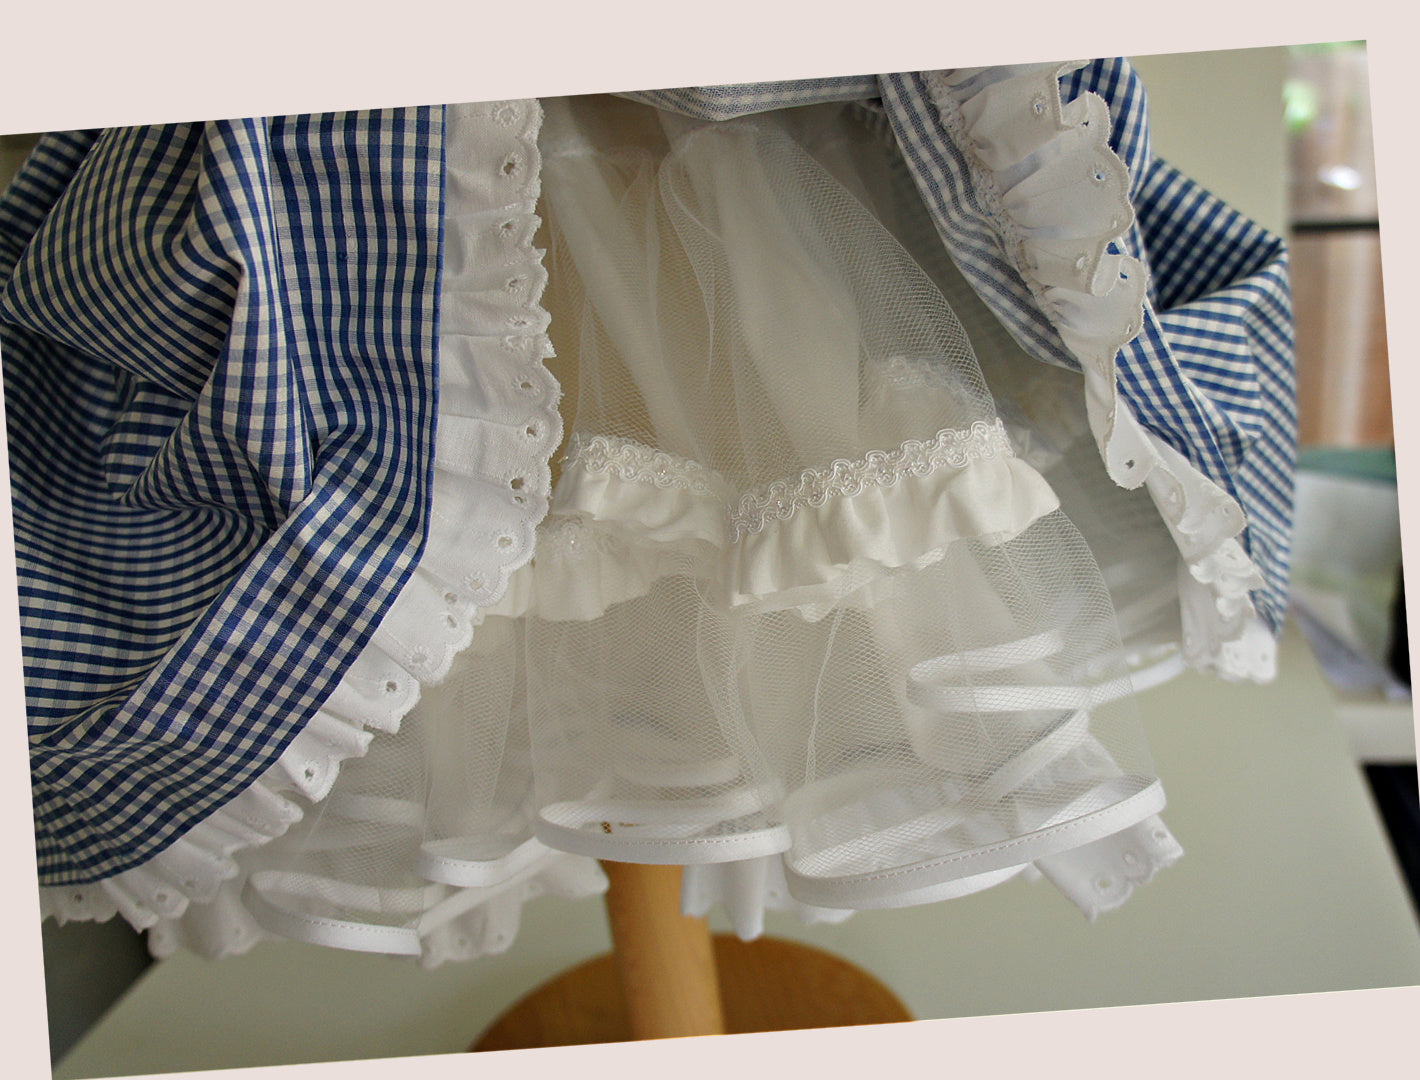
DEN UNTERROCK NÄHEN
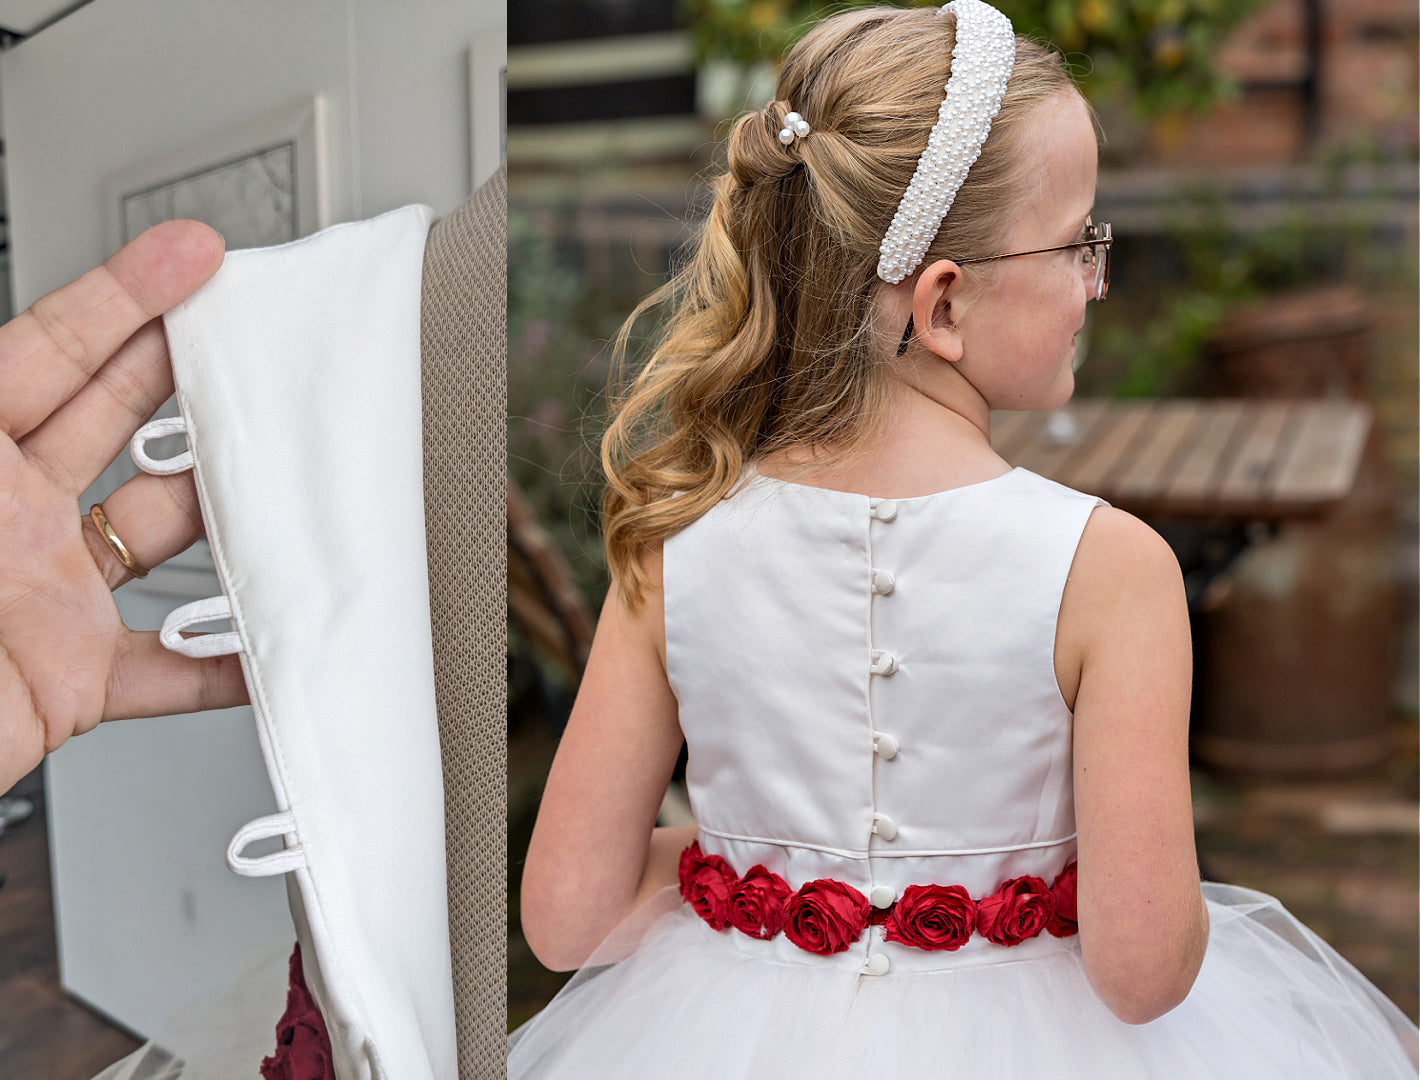
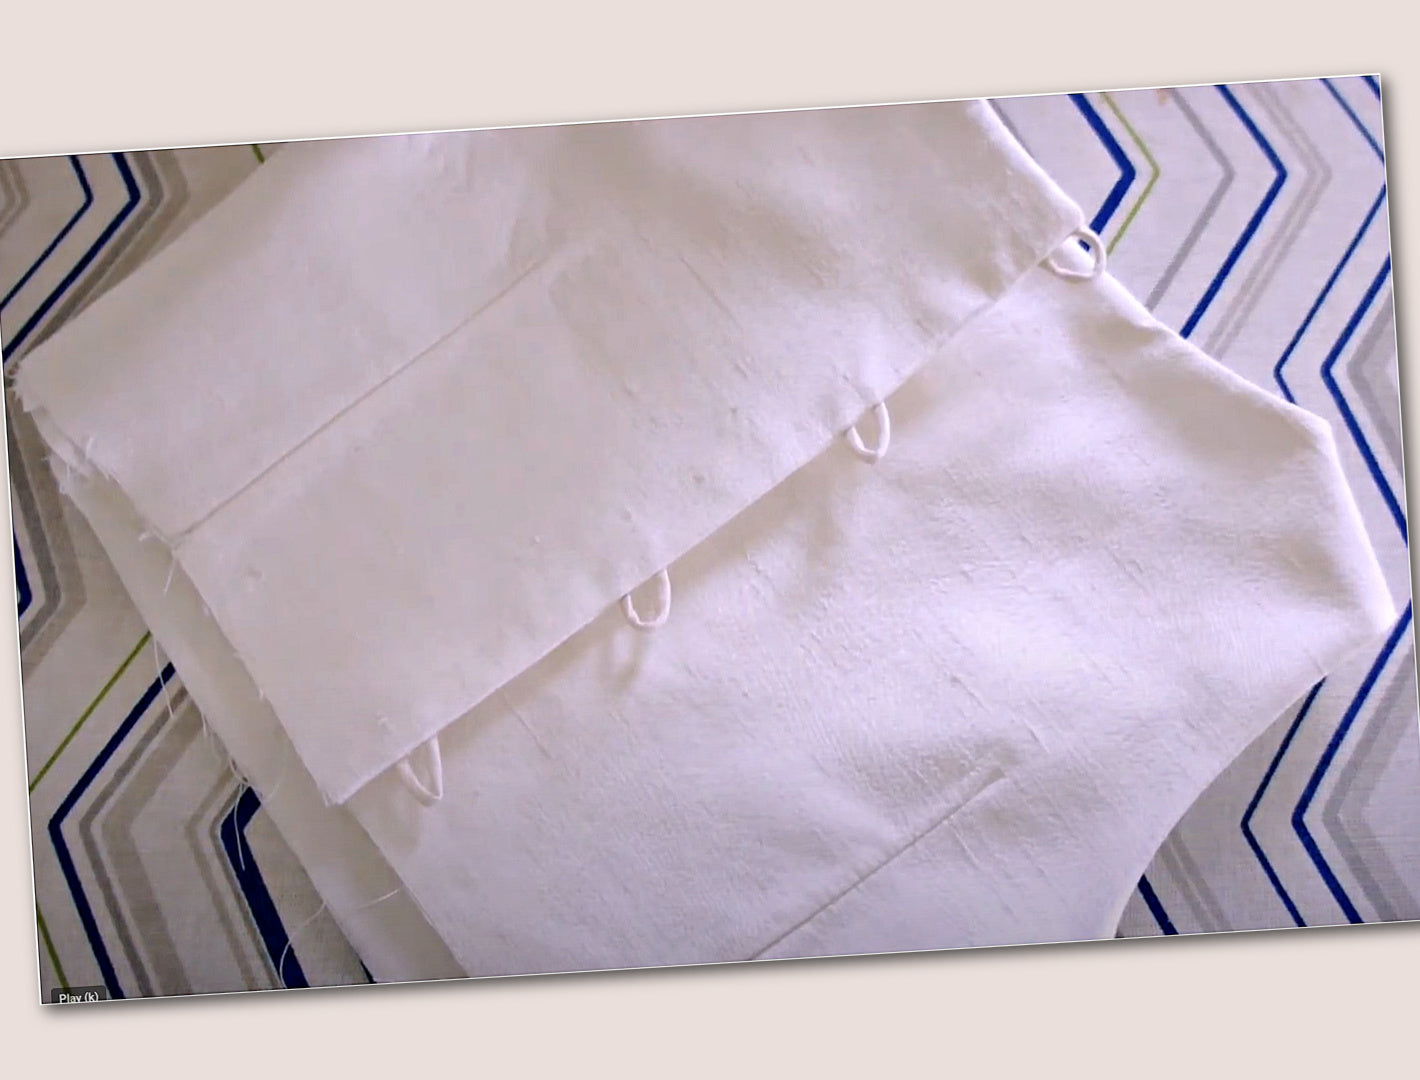
SCHLAUFENVERSCHLUß
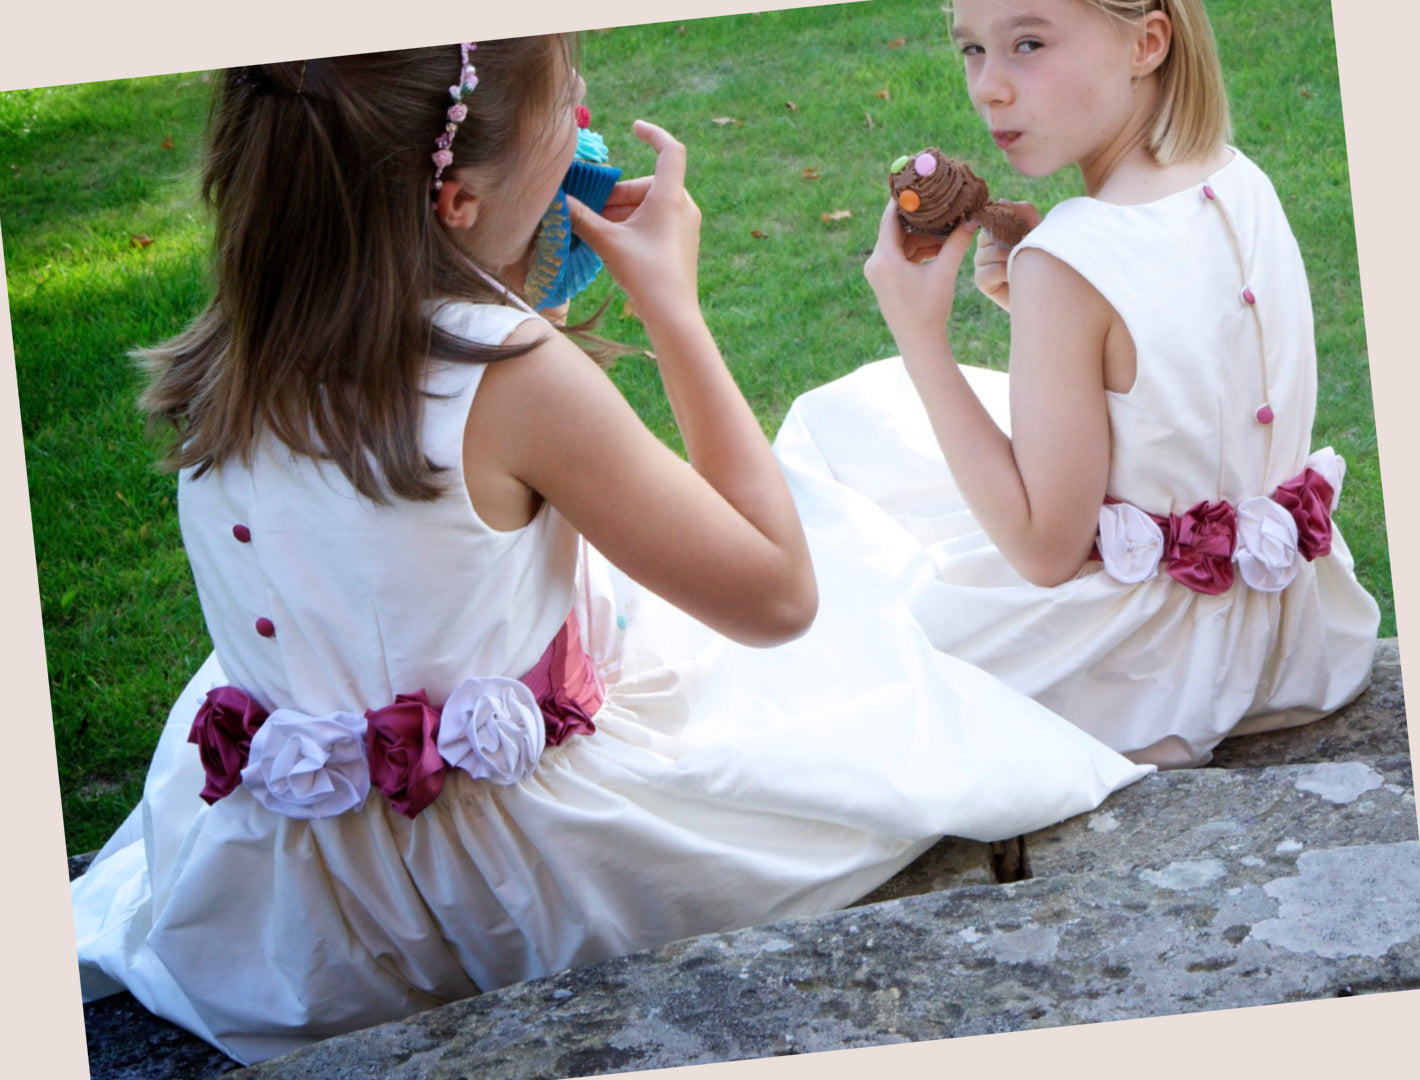
STOFFROSEN
SCHLEIFE NÄHEN