


FRANCES ROCK
FRANCES ROCK


Normaler Preis
€7,95 EUR
Normaler Preis
Verkaufspreis
€7,95 EUR
Grundpreis
pro
Verfügbarkeit für Abholungen konnte nicht geladen werden
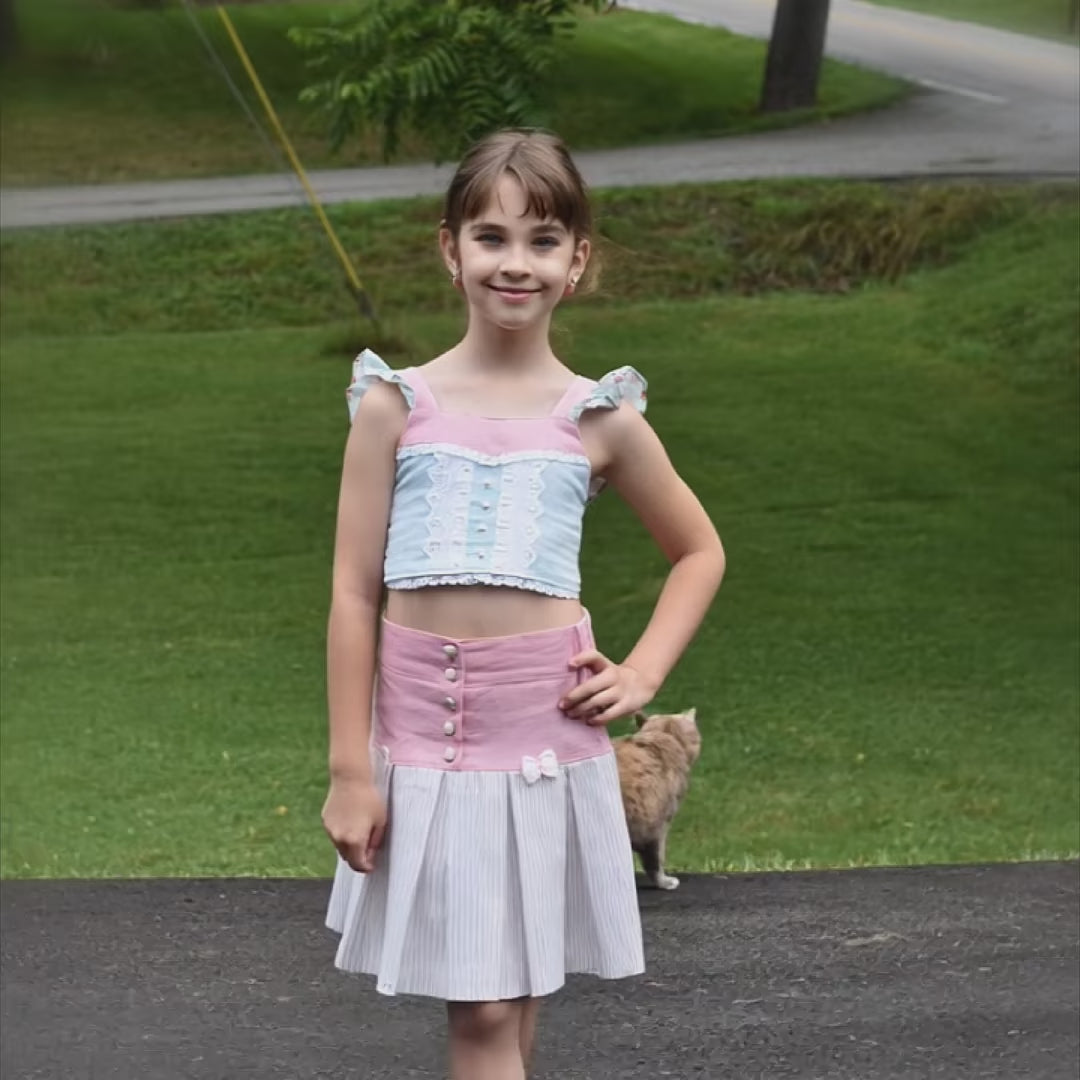
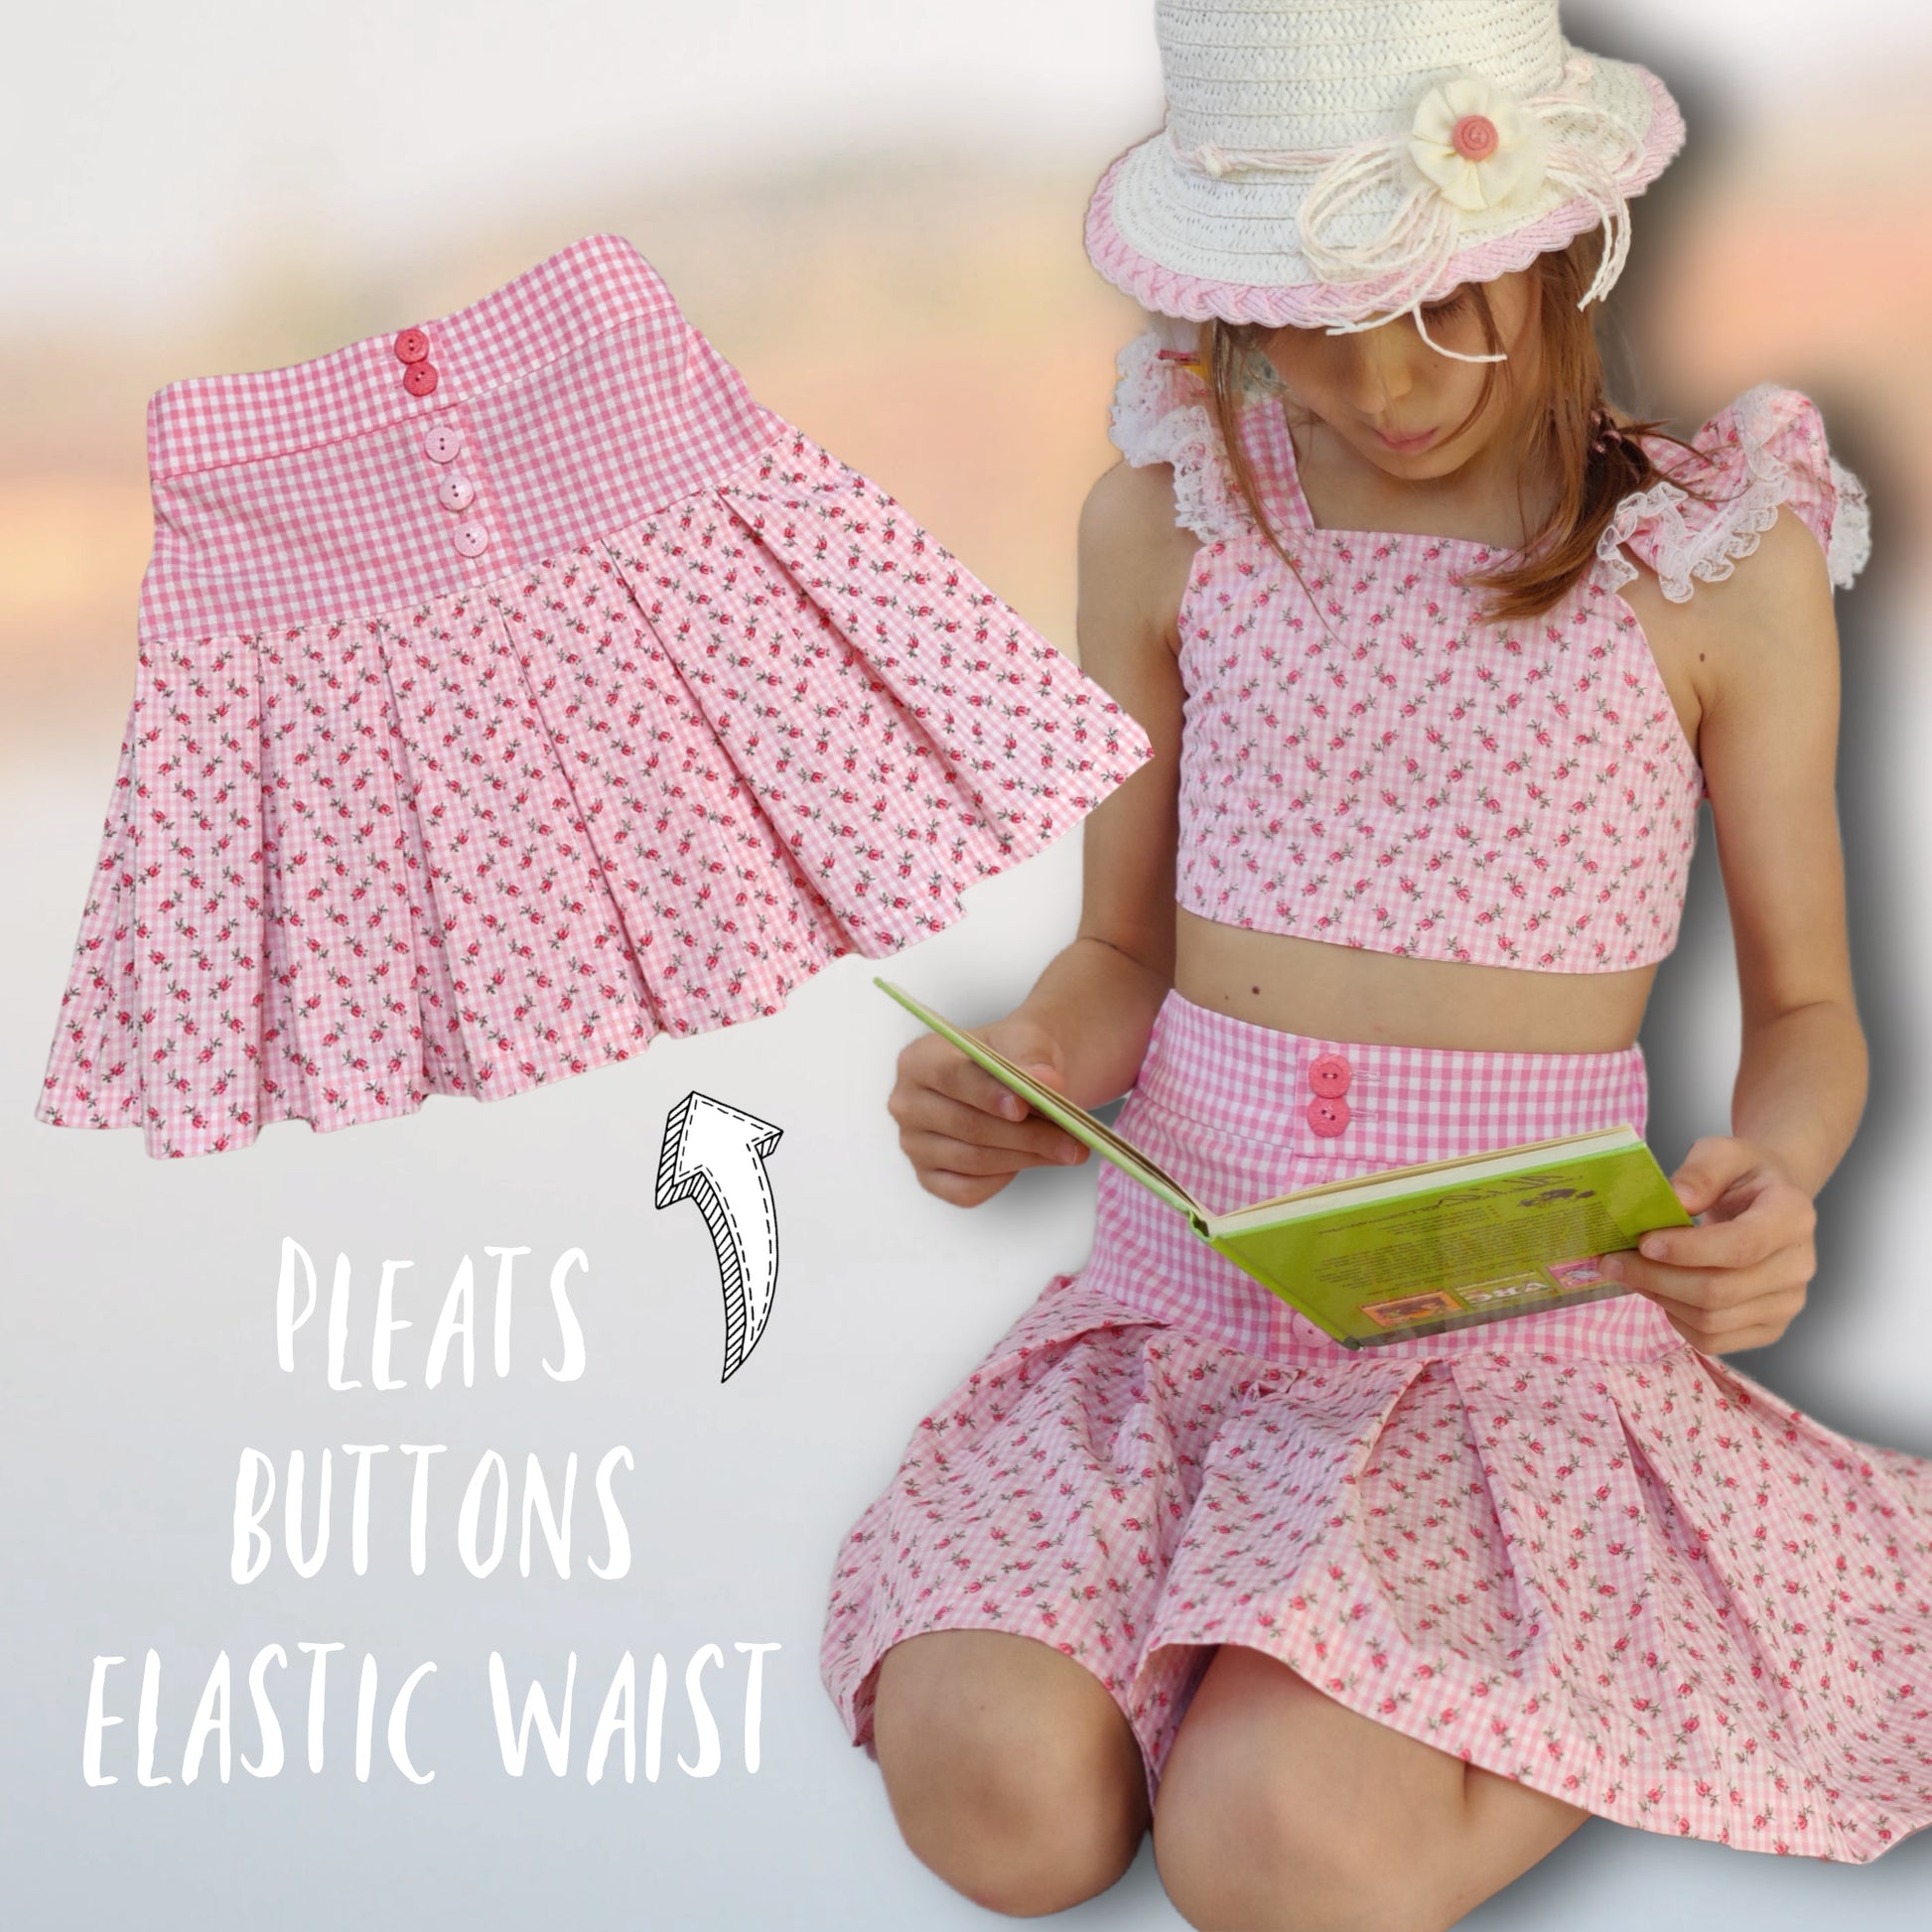
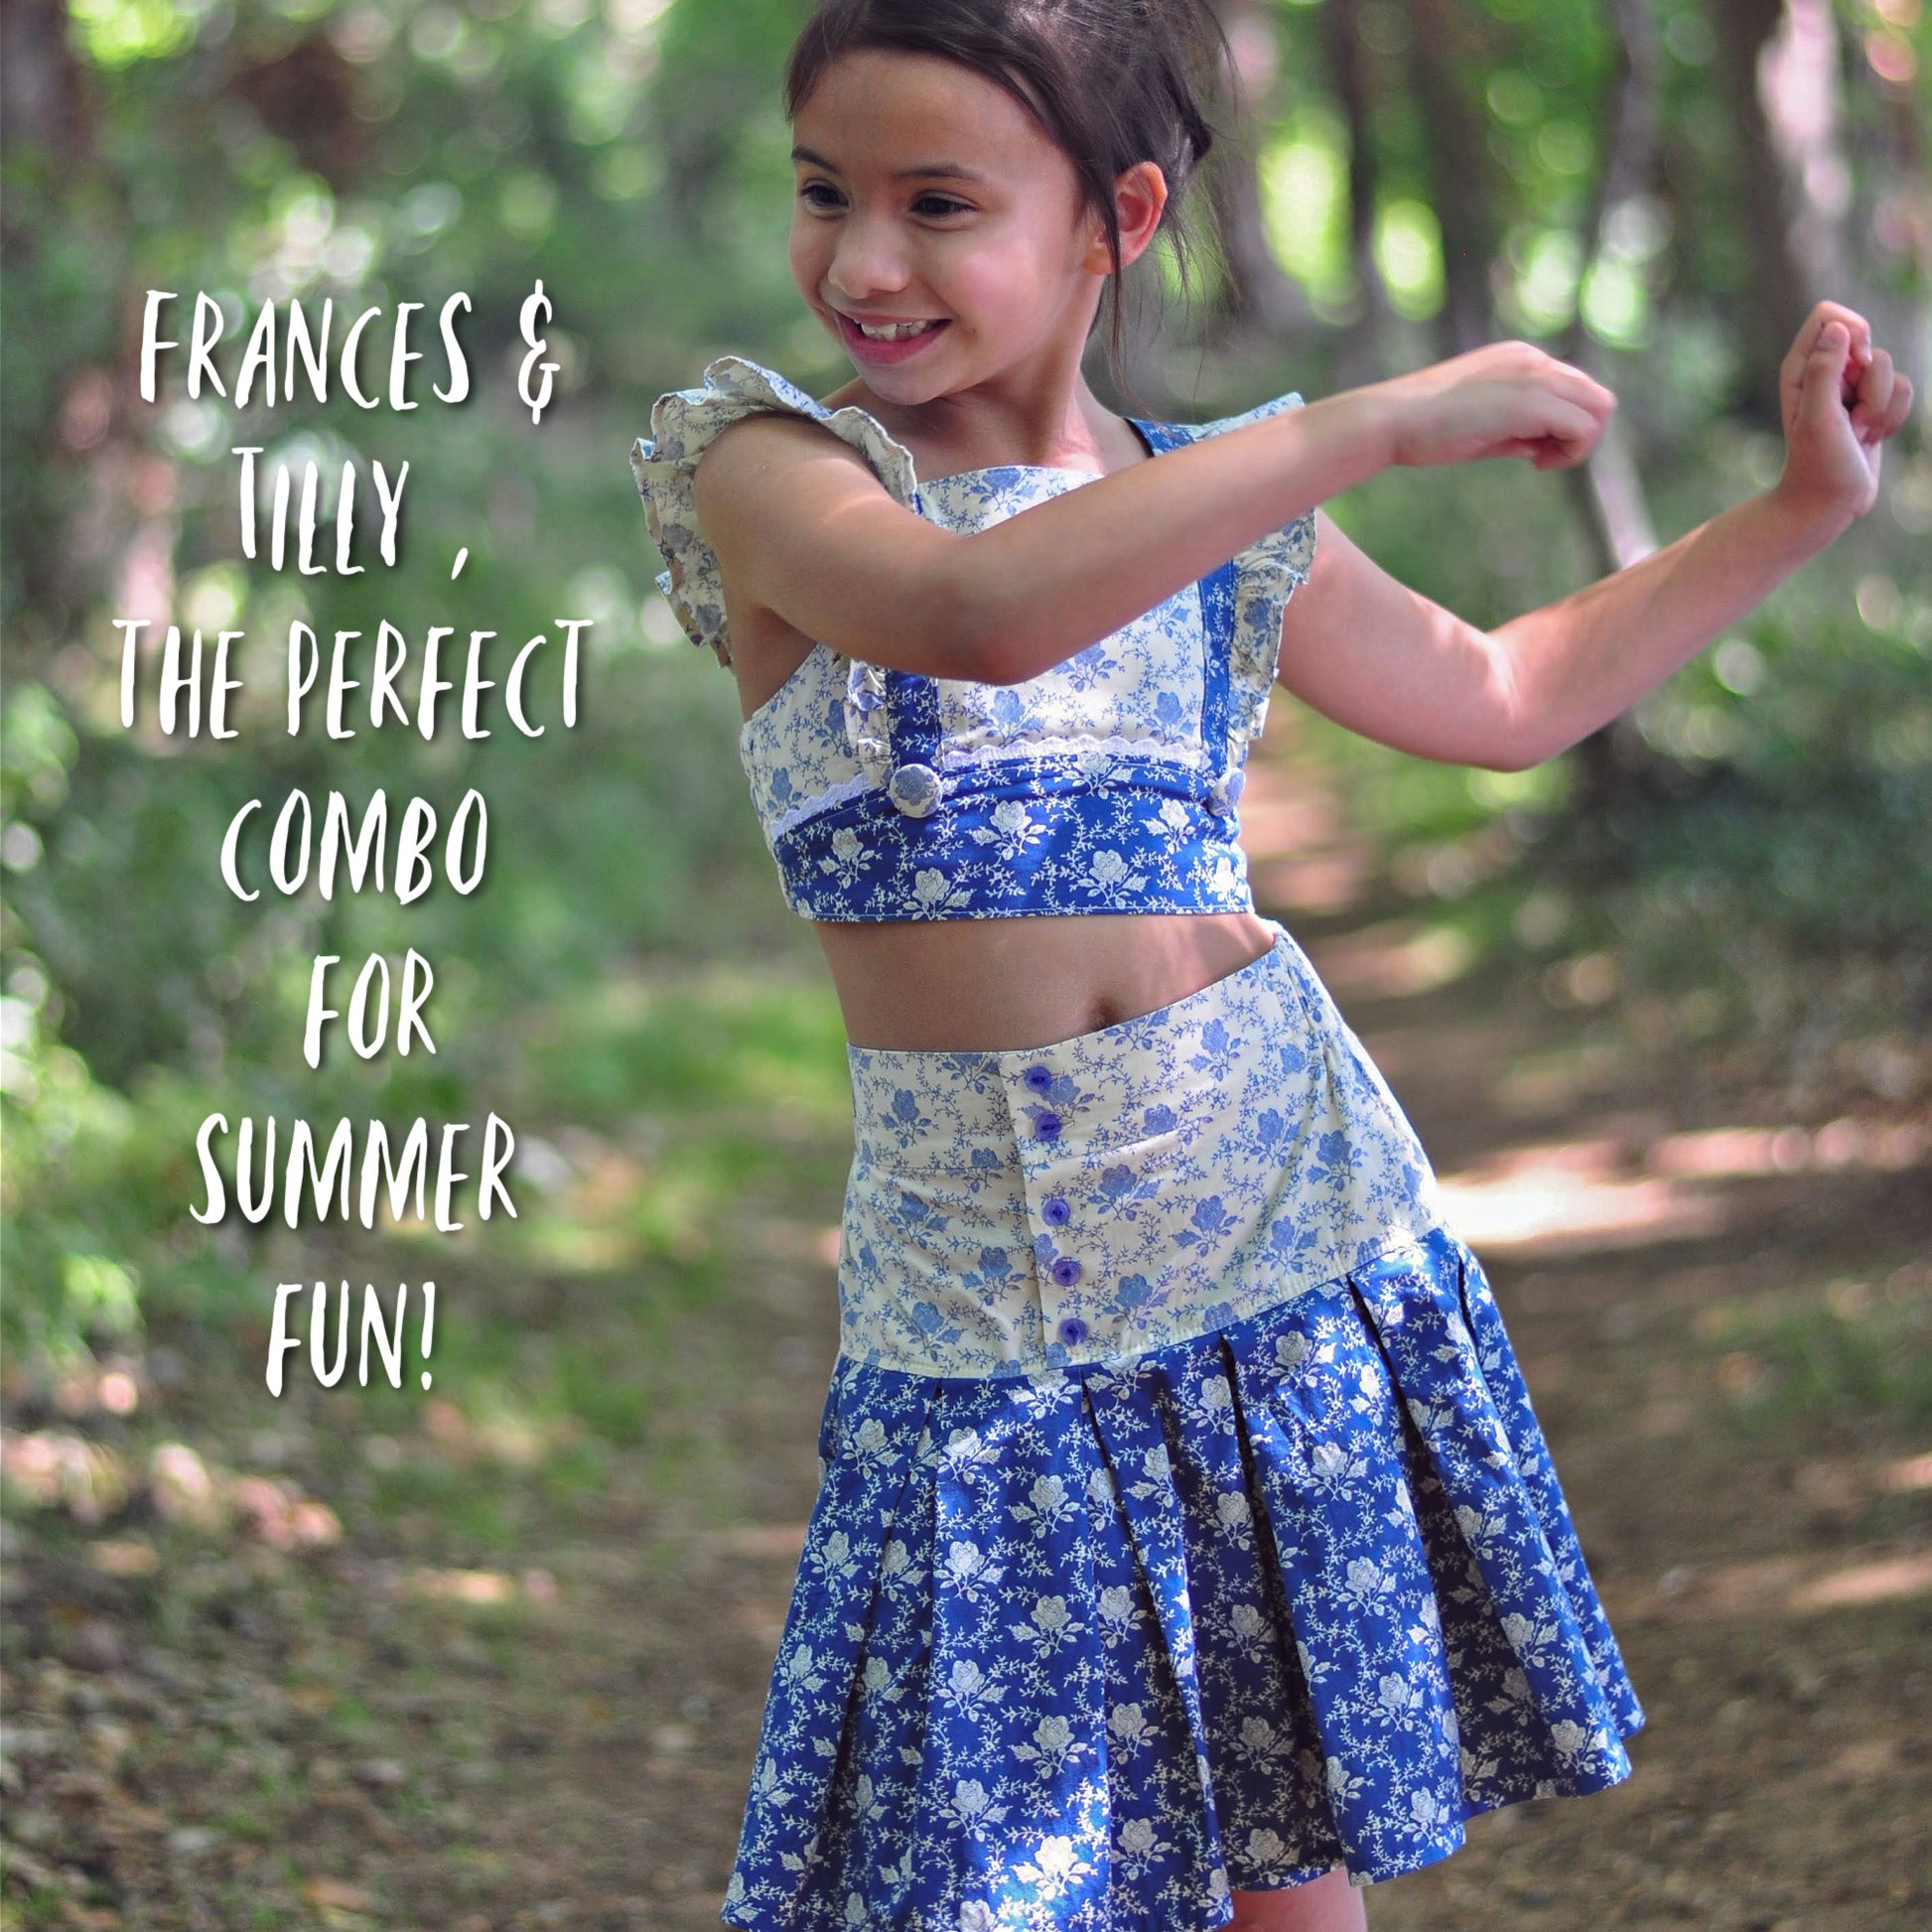
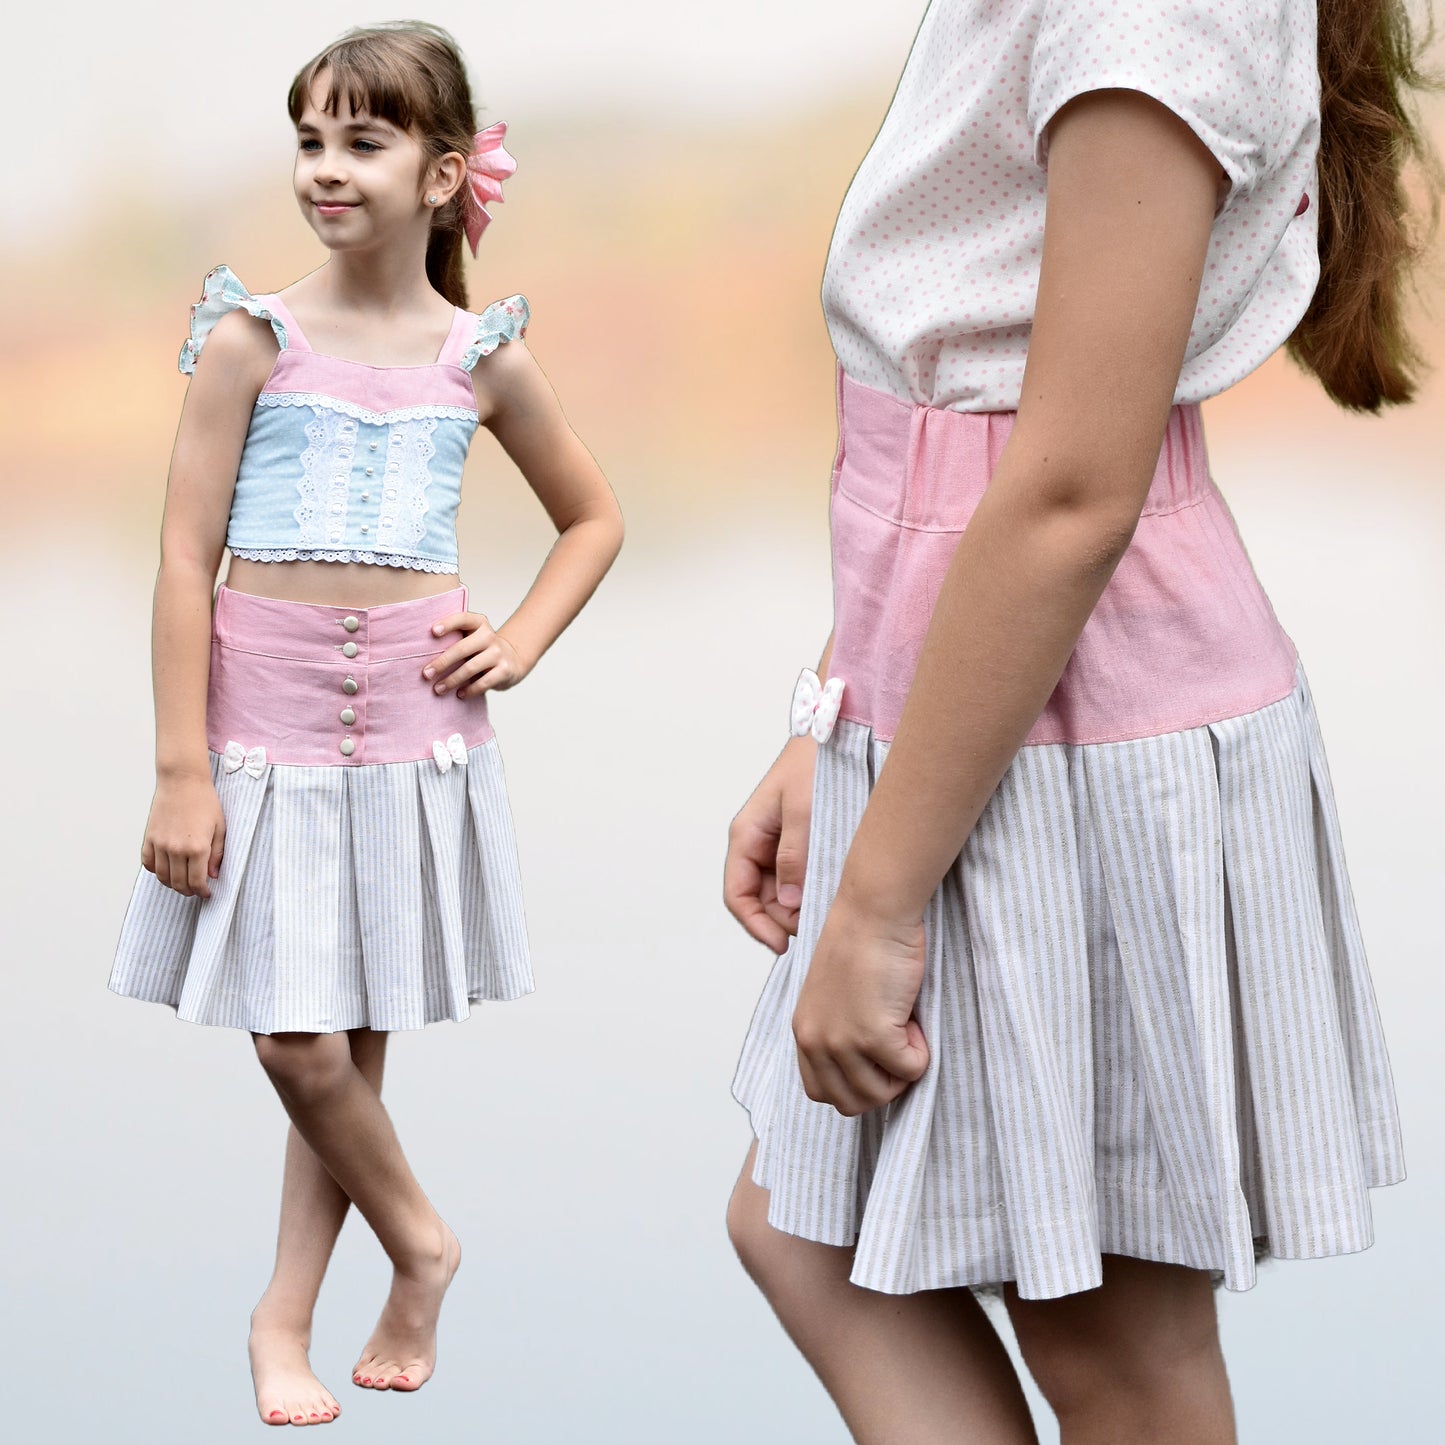
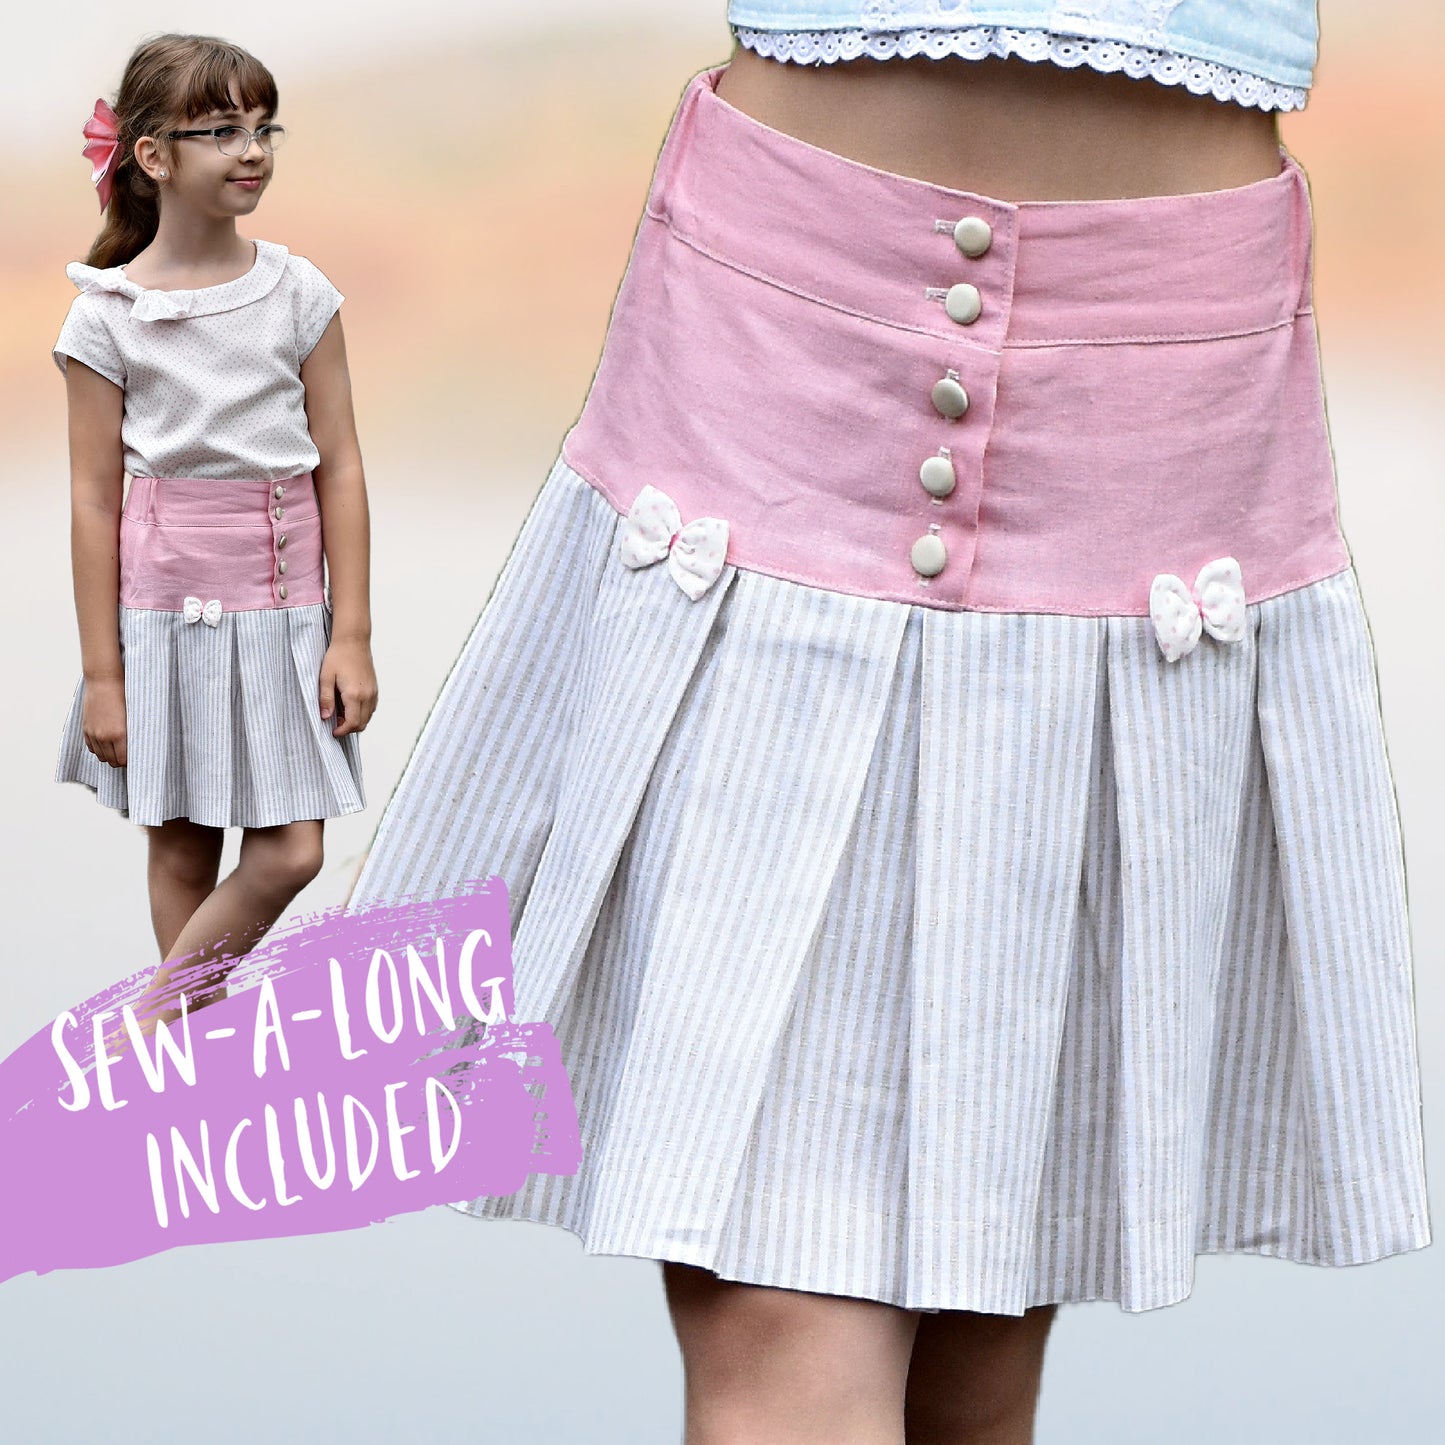
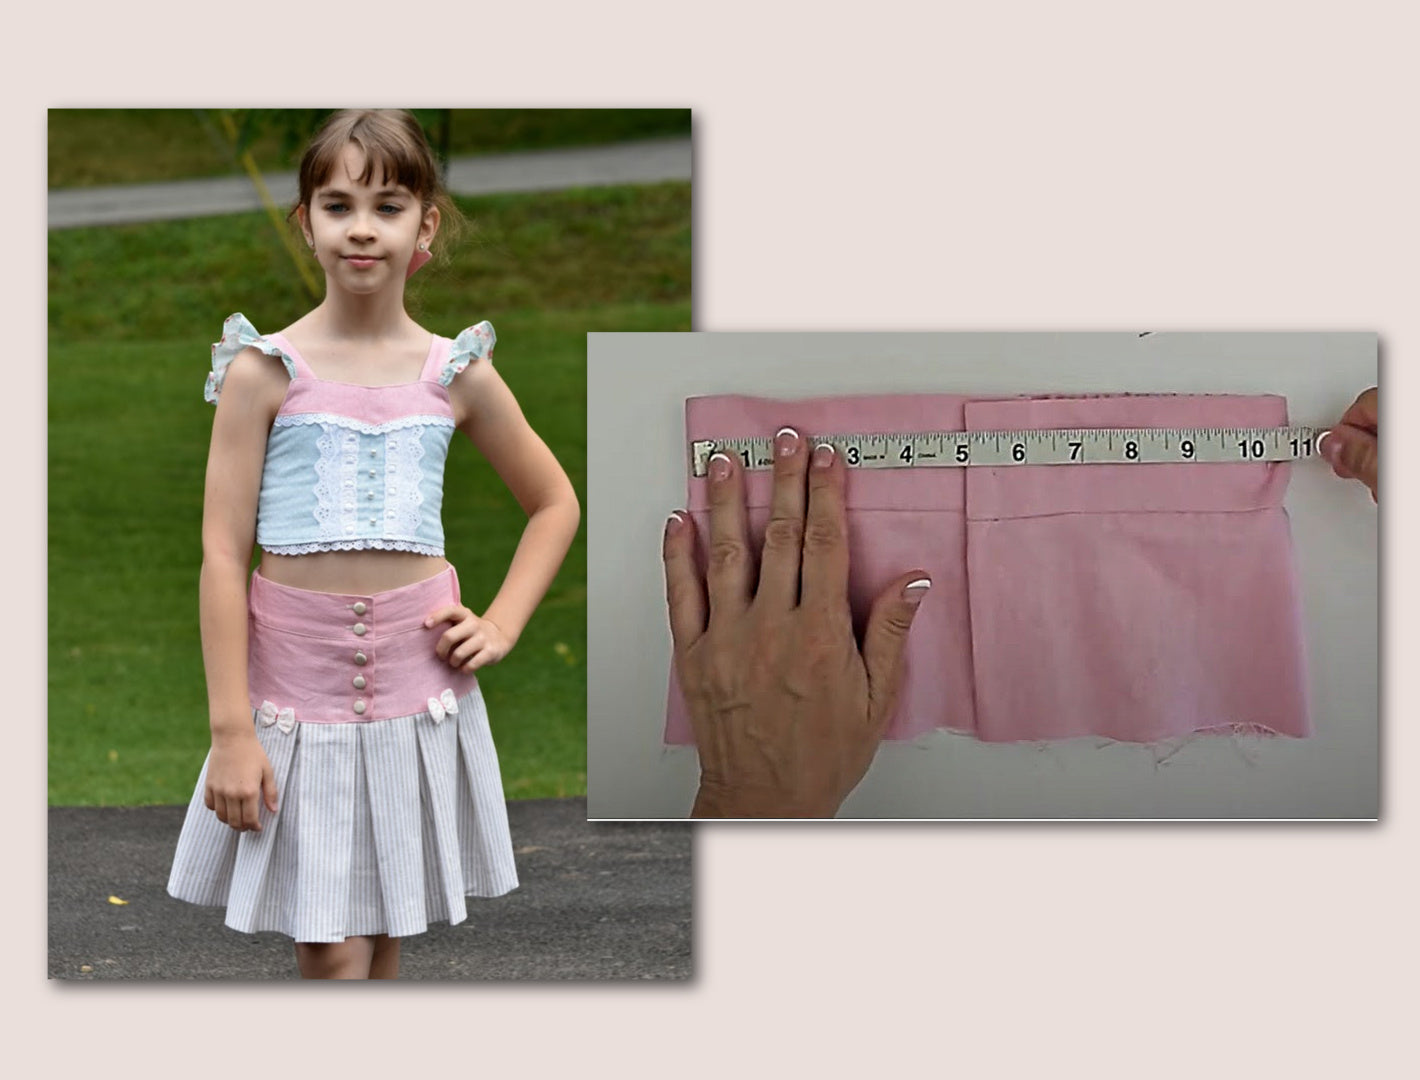
Frances ist ein vintage-inspirierter Faltenrock mit Passe und Faltenrock und bequemem Gummibund. Dieses Rock Schnittmuster eignet sich perfekt für Nähanfänger und ist ideal für Schule, Spiel und Alltag.
Wie immer bei Frocks & Frolics erklärt dir Marina in ihren ausführlichen Video Tutorials jeden Schritt. Einfach nach unten scrollen und loslegen.
Was ist beim Schnittmuster dabei?
Was ist beim Schnittmuster dabei?
Design
Design
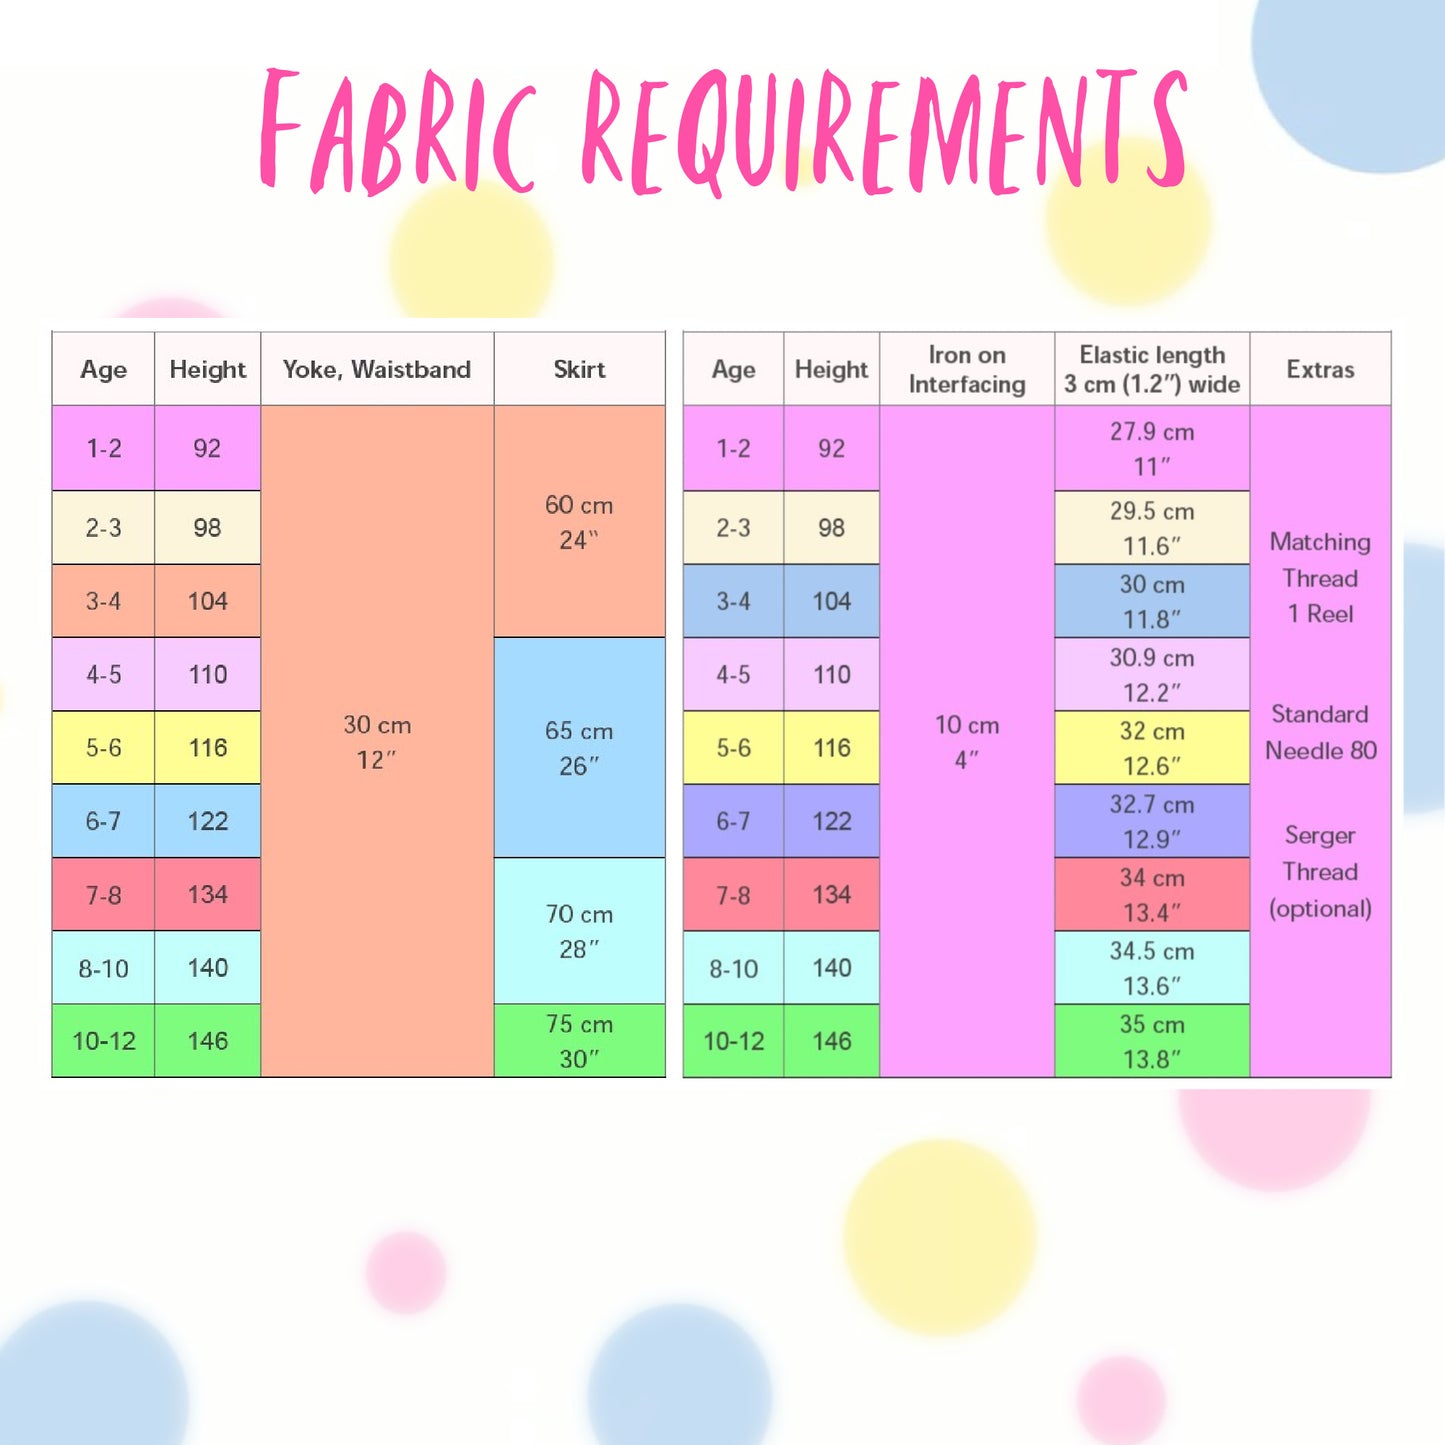
Stoffverbrauch
Stoffverbrauch
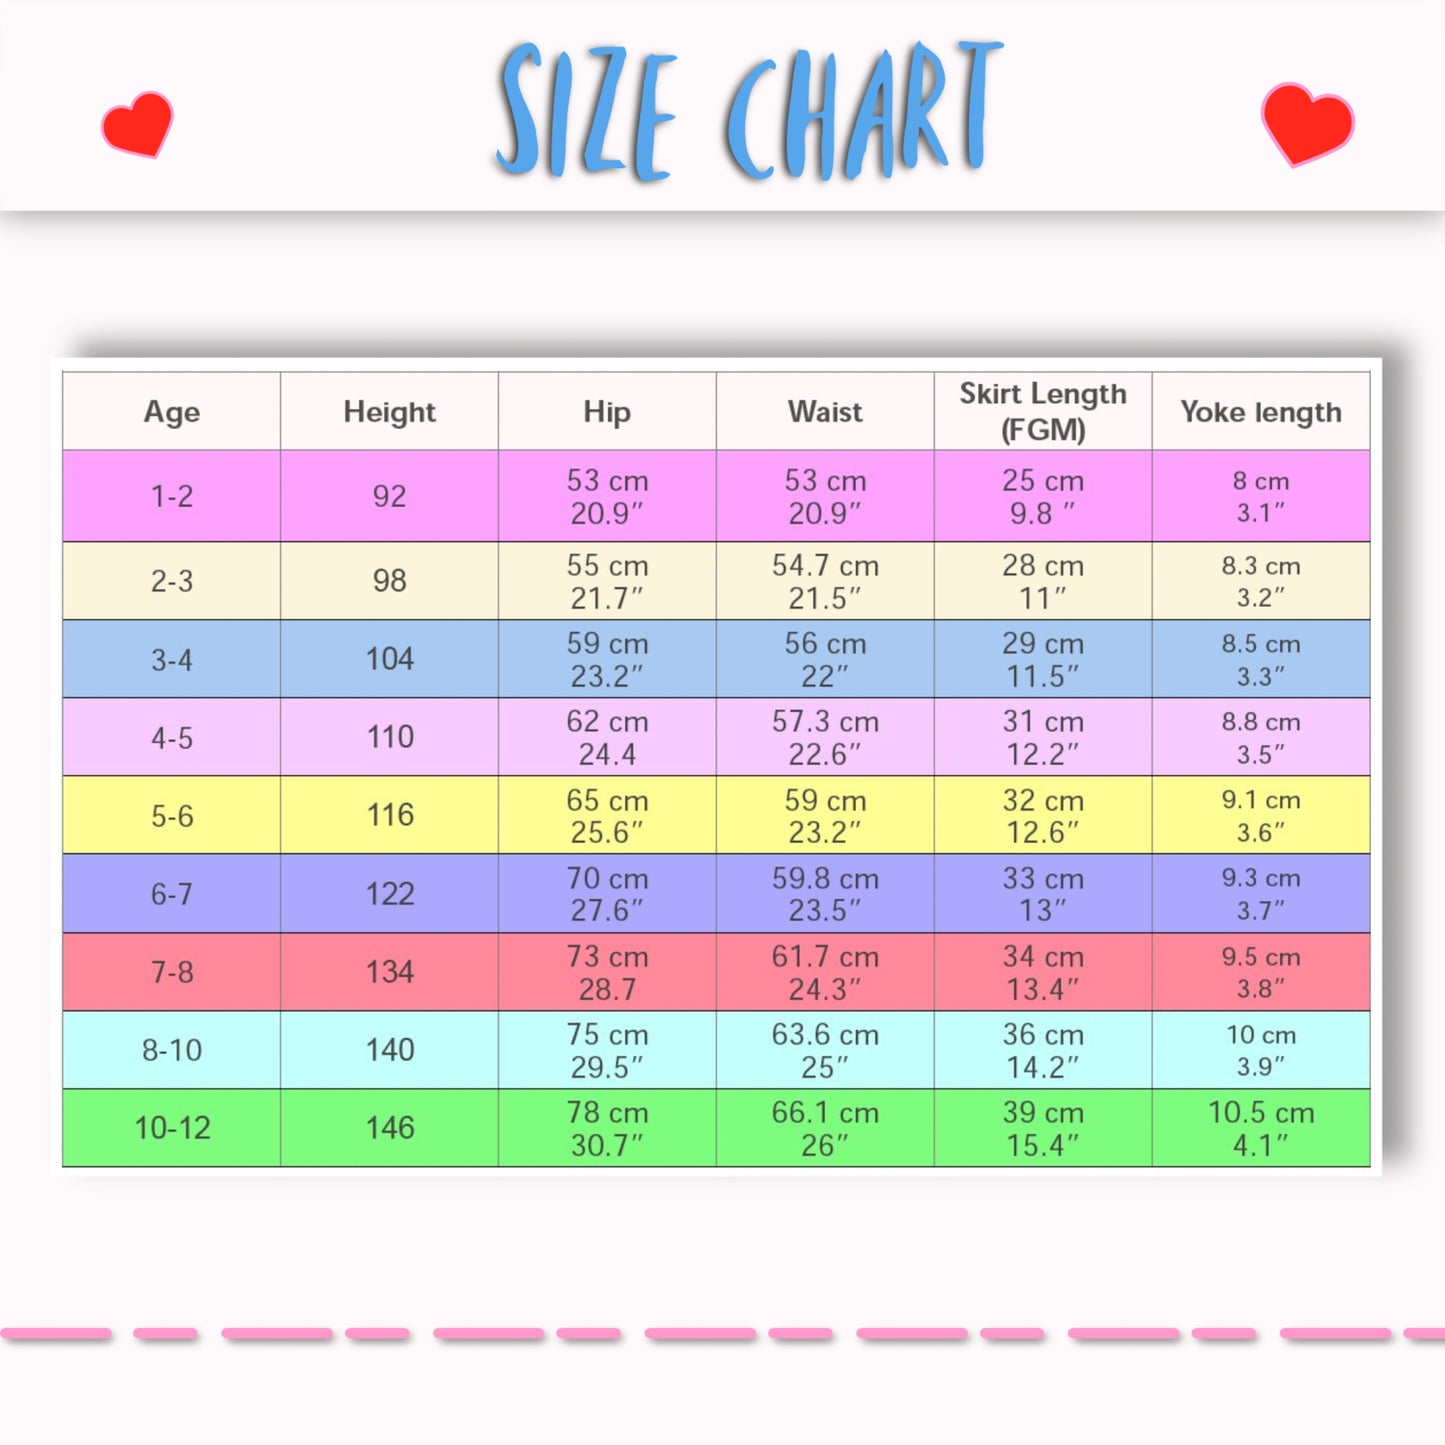
Verfügbare Größen
Verfügbare Größen
Bitte beachten
Bitte beachten


SCHRITT-FÜR-SCHRITT ANLEITUNG
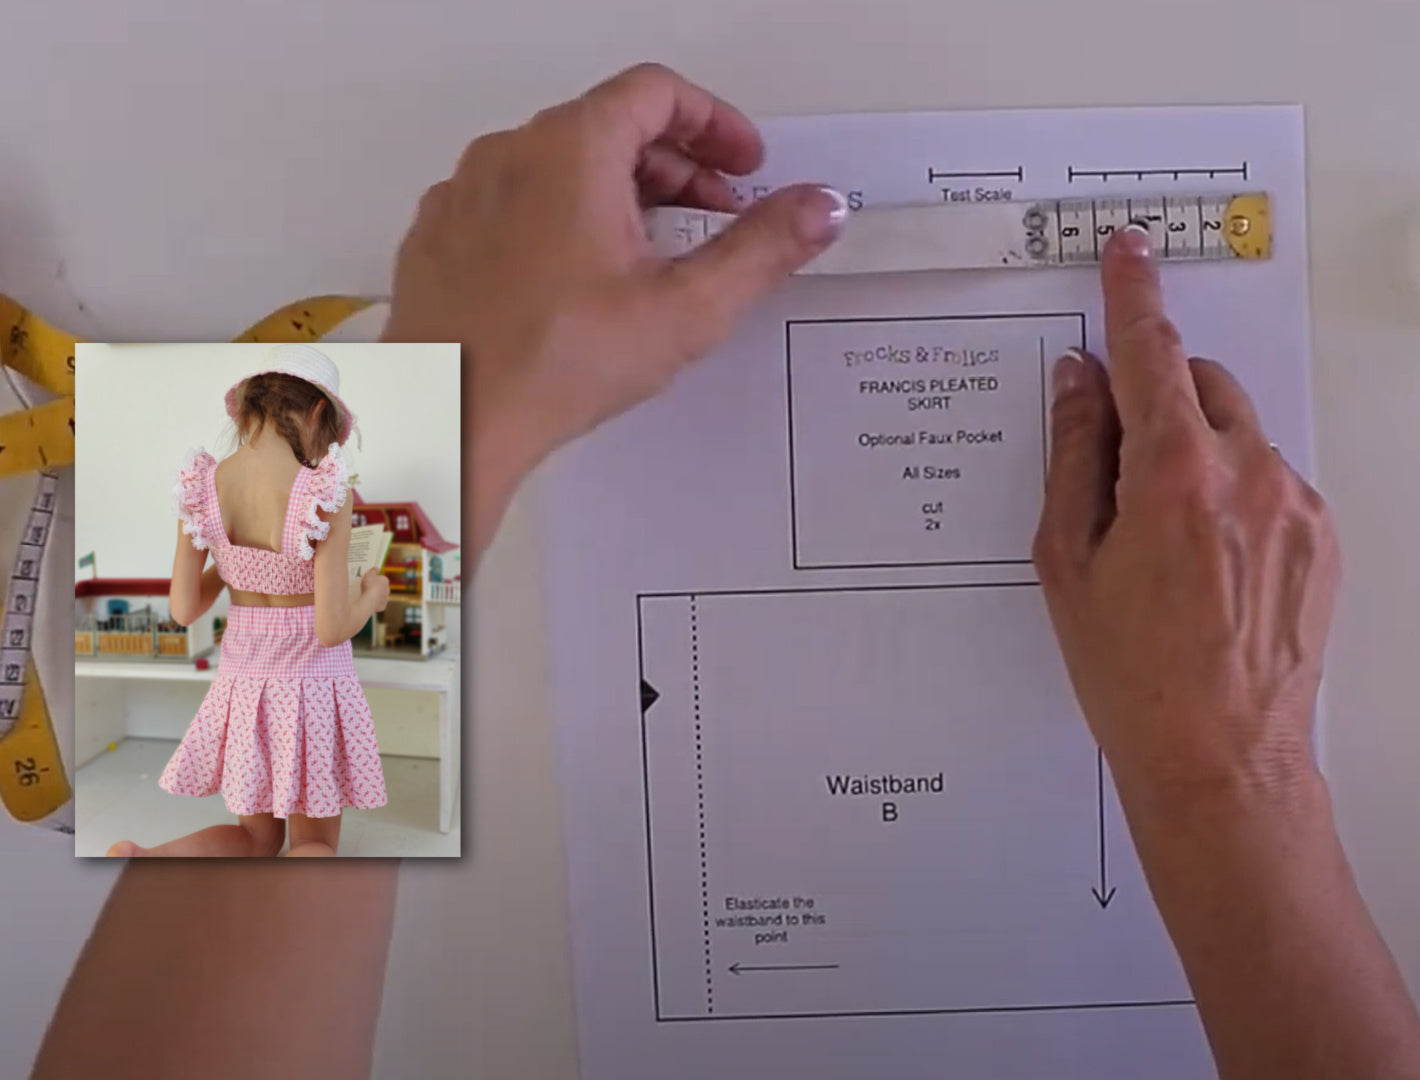
DAS SCHNITTMUSTER
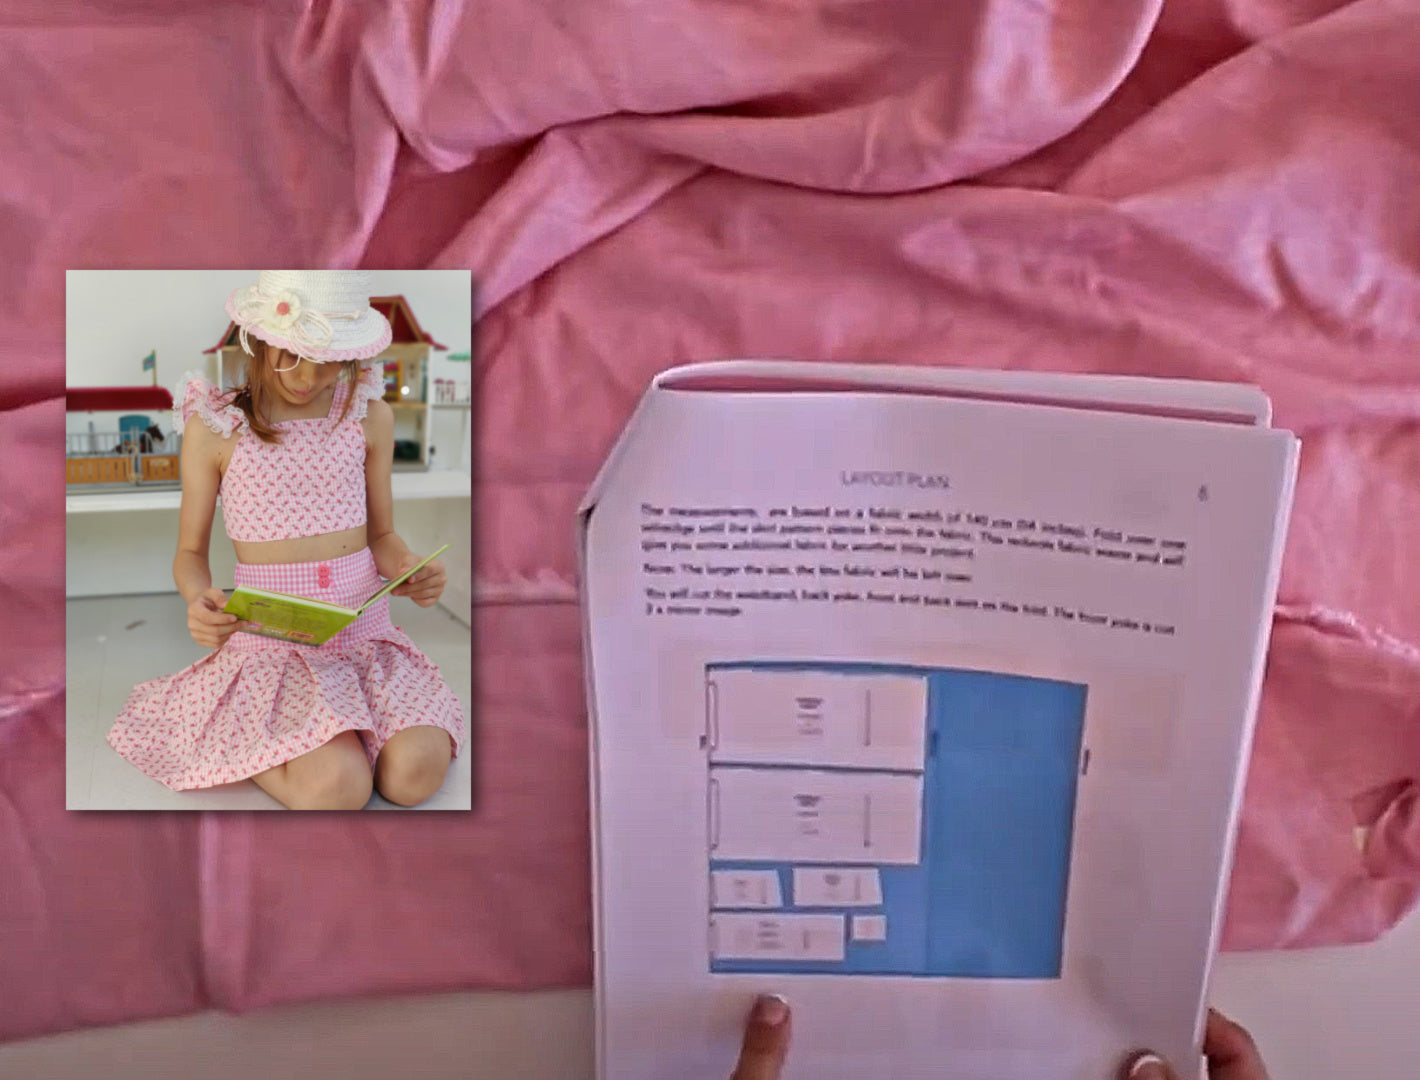
ZUSCHNITT
PASSE & BÜNDCHEN
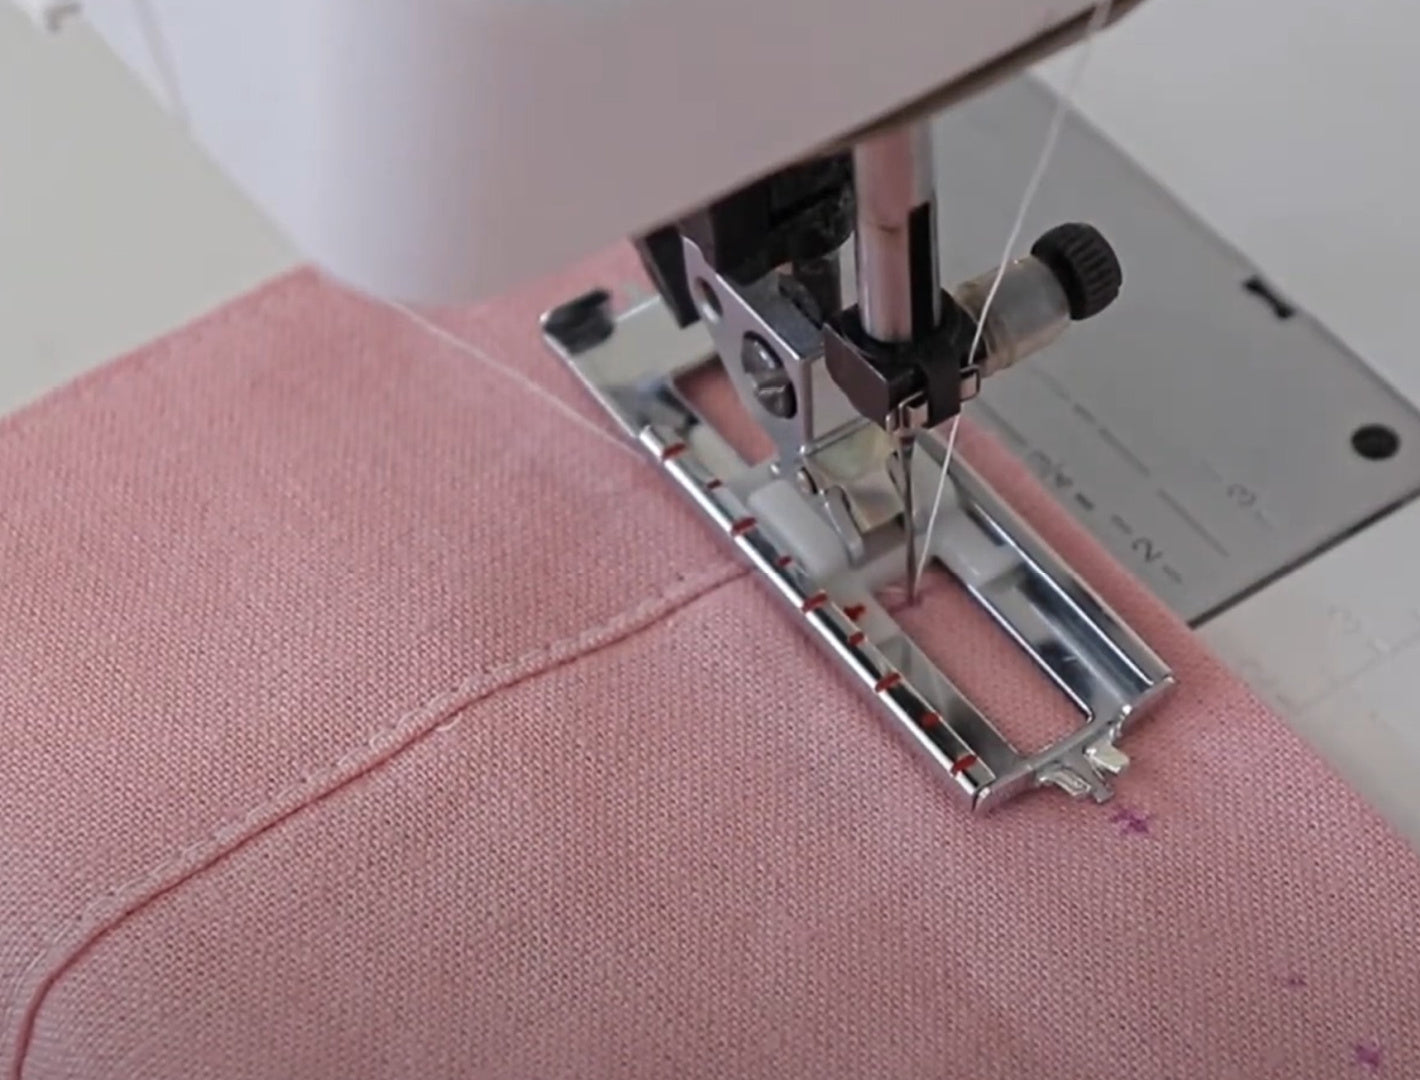
KNOPFLOCH
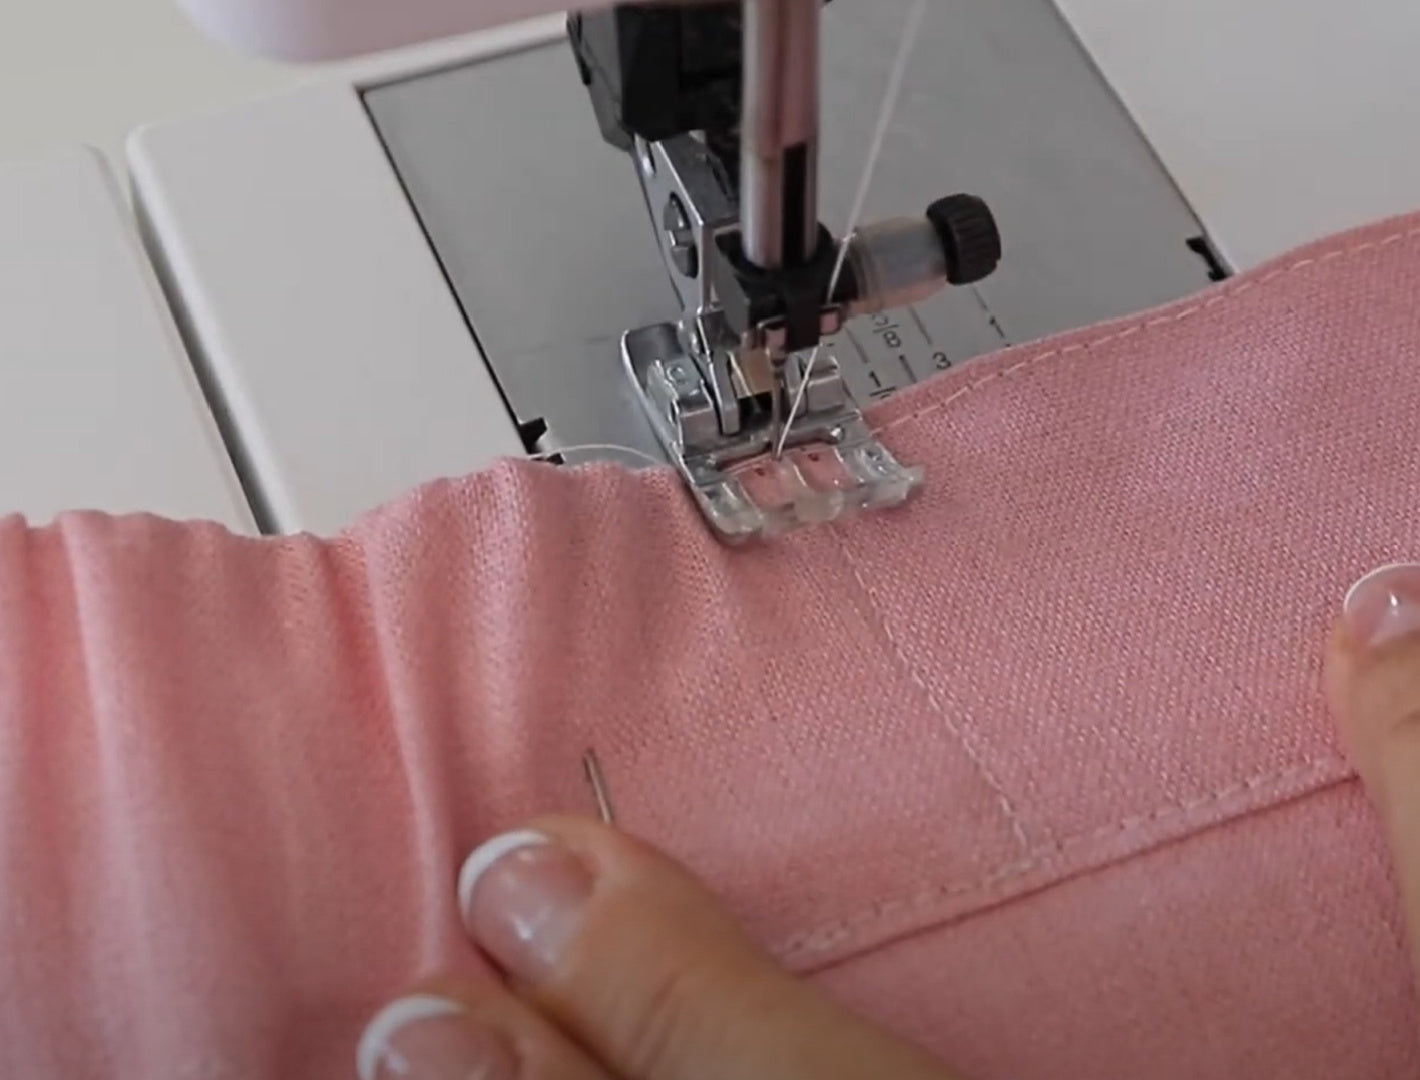
DAS GUMMIBAND EINZIEHEN

DER ROCK