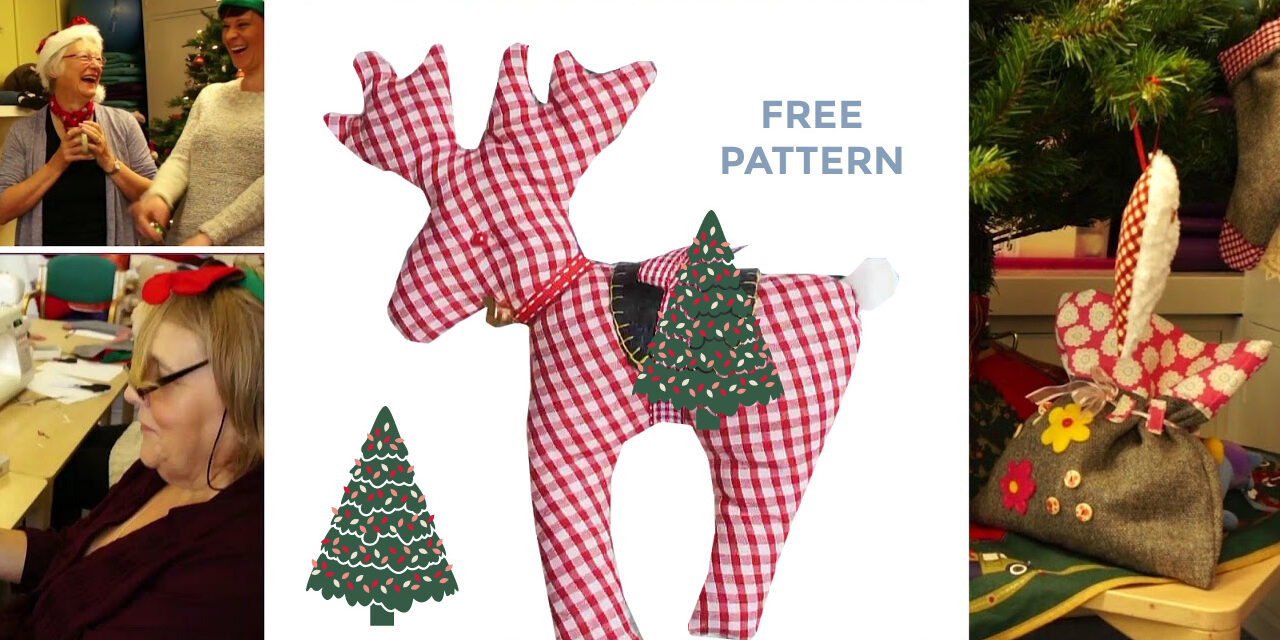
Welcome to the second part of our ‘Handmade Christmas’ videos and patterns. This is is the second in a series of three blog posts. here I will show you how to sew a reindeer. You can download the patterns from the Academy, best of all they are free so you can get a head start and create your own fabulous Handmade Christmas.
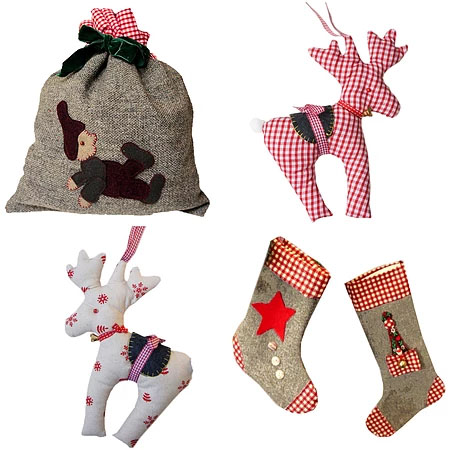
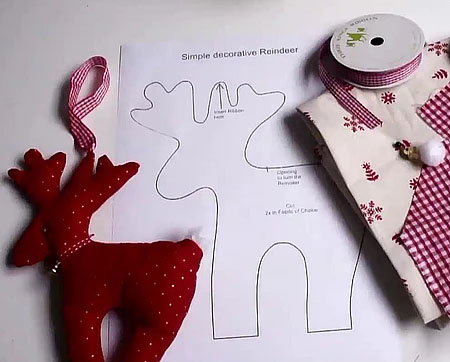
Let’s start with our gorgeous reindeer. All you need are a few scraps of fabric and a little time.
You will need:
-
A slim ribbon and a mini bell (scrap)
-
Wider ribbon to hang the reindeer on your tree/tie around the saddle (90 cm/1 yard)
-
Fluff for the tail
-
2 beads for the eyes
-
30 cm/12 inches of fabric for the body
-
Tiny scrap of felt for the saddle
You can use two different fabrics or the same throughout. First cut out the template. Place two pieces of fabric, with the right sides facing, on top of each other. Add the template and pin (it doesn’t have to be with any grain line). Sew around the entire template leaving a turning in gap, where the saddle is going to sit and also at the top of the antler.
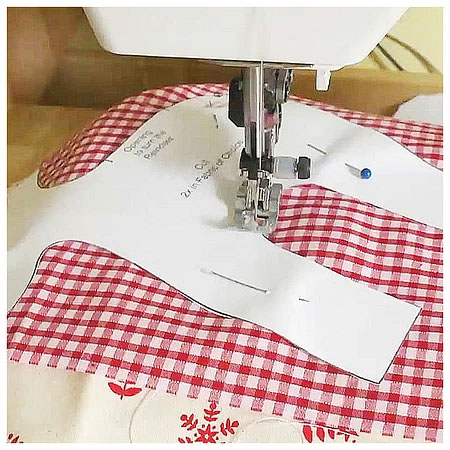
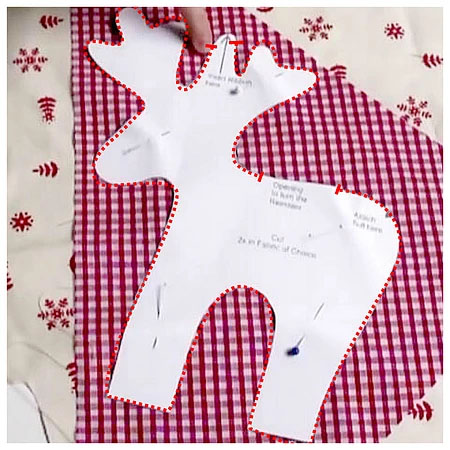

Make sure you use a very small stitch length like 1-1.5 so the edges will not fray when they are smartly trimmed! Trim the edges back smartly.
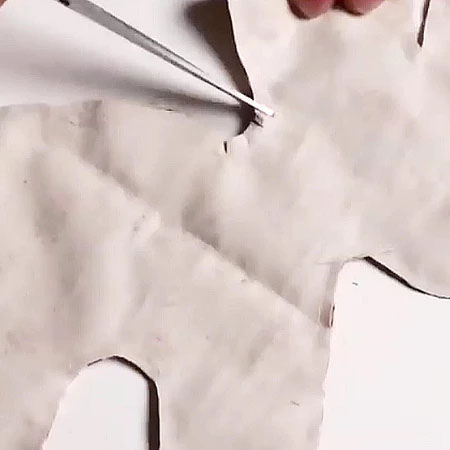
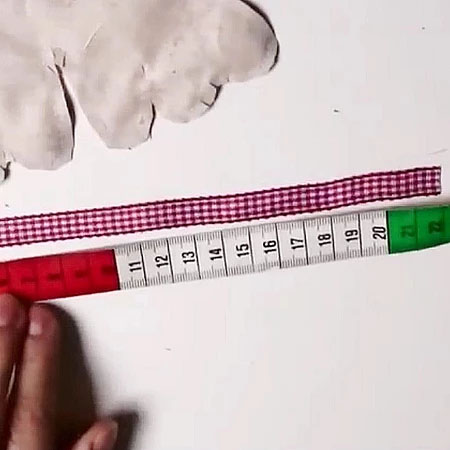
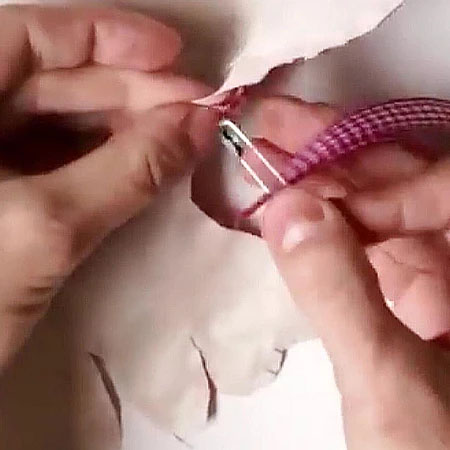
Trim the edges back smartly. Snip all your curves, so that there is no tension when you turn the reindeer. Cut the wider ribbon to 20 cm/ 8 inches and then create a loop by placing the ends on top of each other.
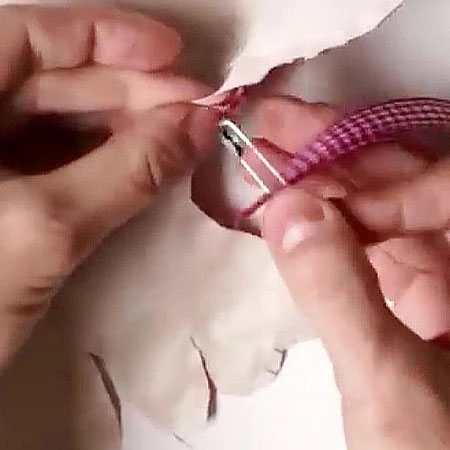
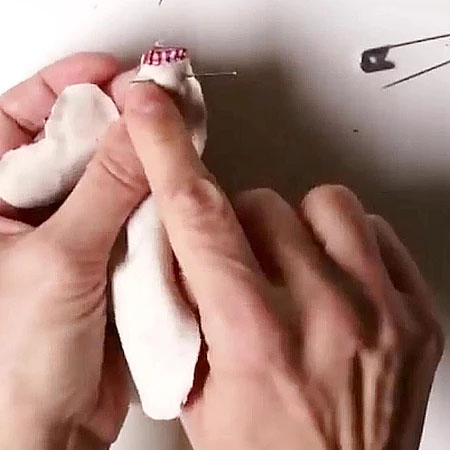
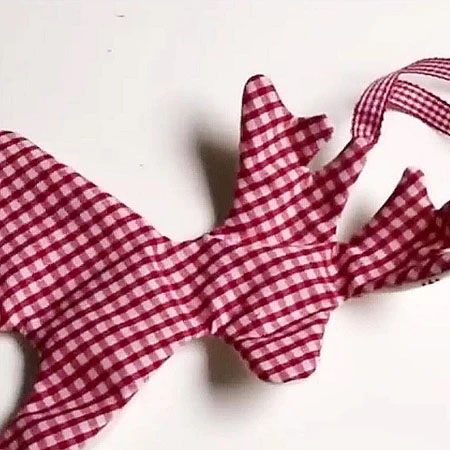
Put a safety pin into the end and thread through the turning gap, coming out at the antler. Secure by stitching the gap we left shout, across the top of the antler. Turn the reindeer through the gap we left on its back.
Stuff the reindeer with filling. Make sure you start putting a little bit in at first to fill the antlers. Once they are filled out you can stuff the legs and then finally the rest of the little reindeer.
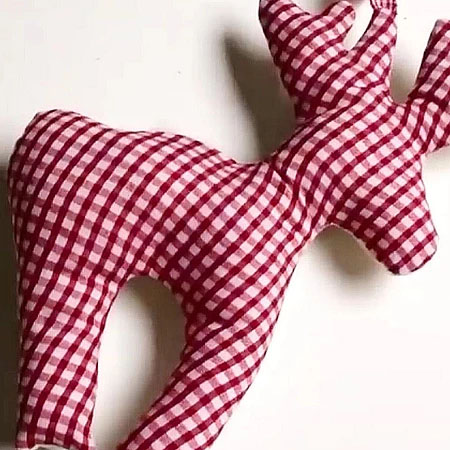
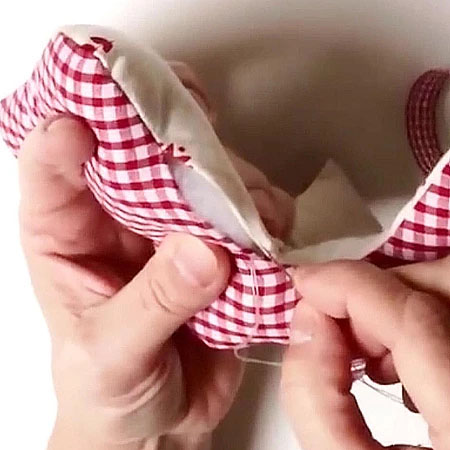
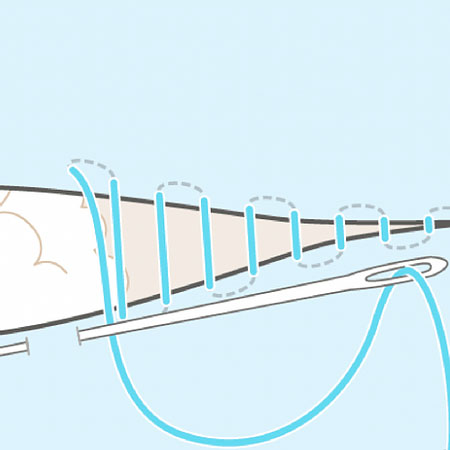
Isn’t this just the cutest? Let’s move on to closing the turning gap with a slip stitch.
This is really easy to do, just let the needle go through a tiny bit of the crease on one side, come out and start exactly opposite again. So you are going from side to side without exposing any thread. I used to call in ‘tunneling’ as an apprentice. It describes it best.
Some people call it a ladder-stitch, because that is exactly what it looks like. When you pull the thread it will look exactly like a sewing machine seam.
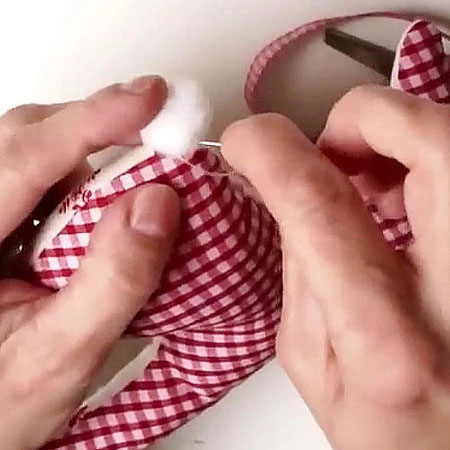
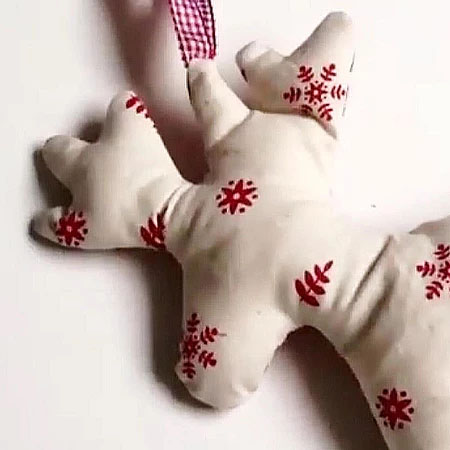
I sewed a little fluff ball to the tail. You can get these in any craft shop and they are usually sold by the packet.
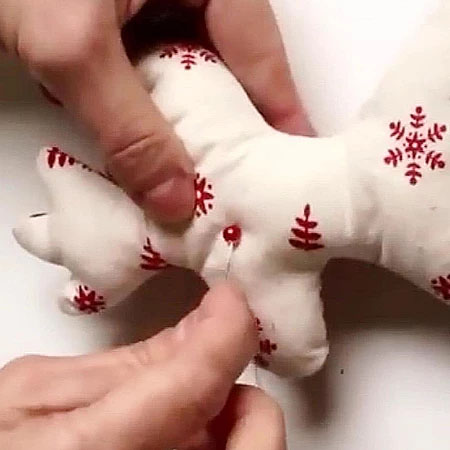
Time for the cute little eyes. I used beads for it. This is a great project for using up small rest from other projects. Use a double thread and place a bead on either side.
Really pull tight so the eyes sink into the stuffing. Secure your thread.
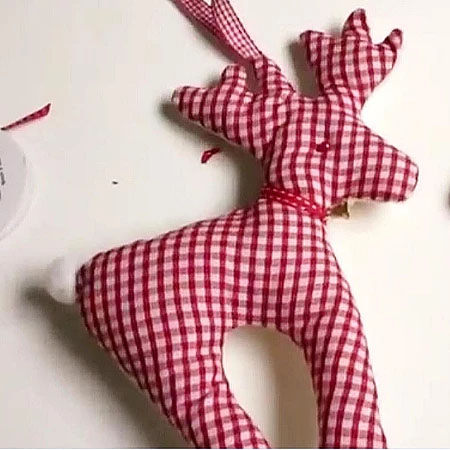
That is it really. You could hang him up right now. I went a step further and added a saddle.
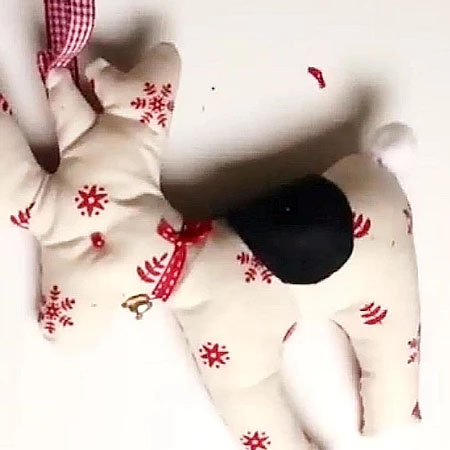
Pin the saddle into place. I used a really thick scrap of wool felt for it. It is important to have a fairly stiff bit of felt.
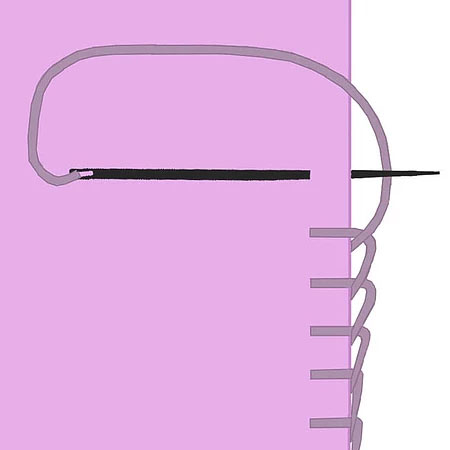
Blanket stitch all the way around the saddle.
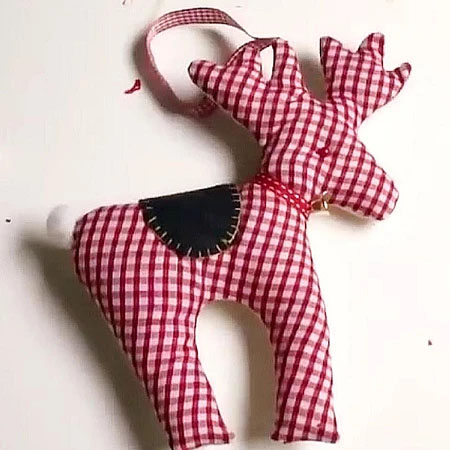
I would suggest using embroidery or button hole yarn for this task. I used a double thread which got caught and knotted all the time.
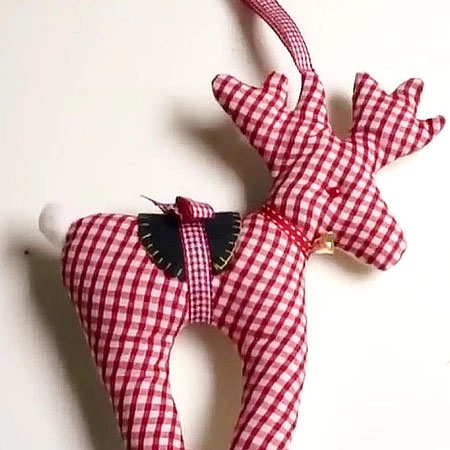
Finally add another ribbon the the reindeer and tie a knot on the saddle. DONE!
Here’s a video of the instructions too if you prefer it! Enjoy!
Here is a little sneak peak into making the tree skirt.


Don’t miss out on the template for the tree skirt. Appliqué is such a great way to decorate your ‘handmade Christmas’ items. Not just for decor, just look at this fun circle skirt created with the ‘Tree Skirt’ sewing pattern.
The tree skirt has many small bits, ideal for settling down with a nice cup of tea and a fifties Christmas movie! At least that is it for me.
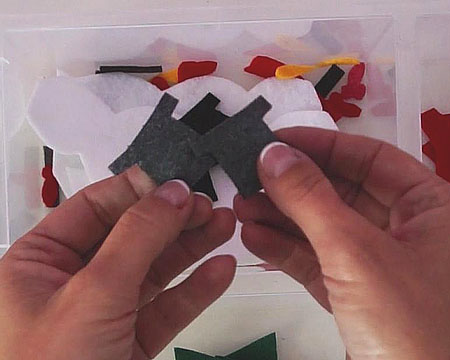
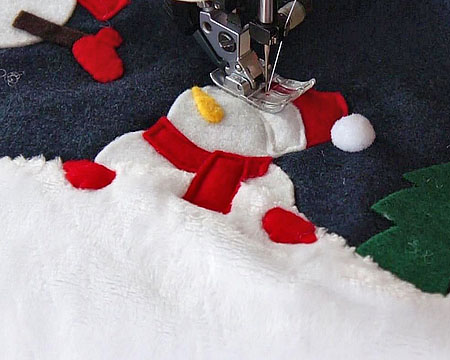
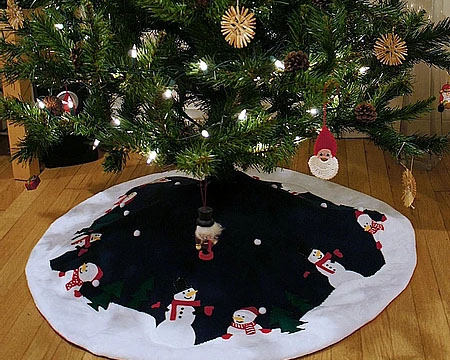
Have fun sewing all those bits on and really practice sewing appliqué. I also did a lot of hand sewing, again while watching an old flick on the television. Those moments are so precious and when at last you are done everyone will love the new tree skirt!
I want to go further though and challenge you to make a half apron Christmas style or add templates to the wrap skirt Jutta! Are you ready for an all matching handmade Christmas? I sure am. Our sew-a-long starts on the 15th of November in our Facebook Group. So get your half apron pattern and fabric ready for our handmade Christmas sew along and your Christmas baking!
Well ok, that is a bit over the top, but yes I am exited!!!!
GET THE TREE SKIRT SEWING COURSE FREE HERE!
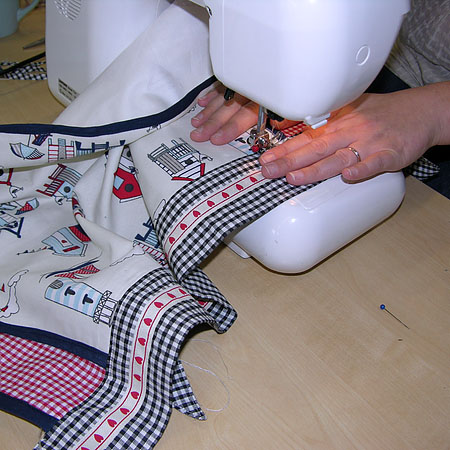
The sew along starts in our Facebook Group on the 15th of November 2019! You can watch the entire content now at any time.
#video #Christmas #freepatterns #sewingtutorial #easy #pattern #pdf #beginners #handmadeChristmas #treeornaments #Christmascraftideas #Craftideas #freesewingcourse #ideas #howto #pdfpattern #freetemplate #reindeerstuffdtoy #stuffedtoy #reindeer #frocksfrolics
Views: 3159




Recent Comments