Yesterday I uploaded my blog post about Bias Binding a Neckline, in this post we are going to learn to bias bind the Manhattan top neckline. You can check there if you need to brush up on that. In this post we are going to learn Bias Binding the Manhattan top neckline. If you scroll down you can also find the video for the top. Prepare the bias binding, closing the neckline bias creating a continous loop.

You are going to learn how to Bias Bind a Neckline like a total professional!
Step 1:
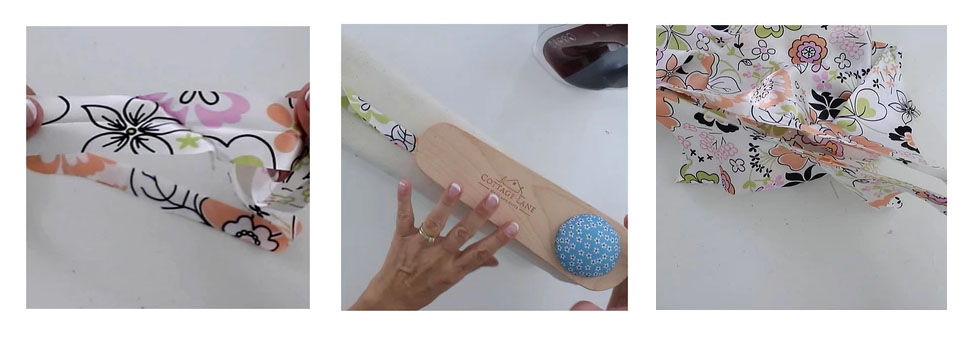
We iron the strip lengthways in half, creating one edge with a neat fold and one with the rough edges. I always use my tailor’s clapper to weigh down the folded edge so that it becomes very sharp. This will help you out if you are working with fabrics which don’t crease easily. Here they may need a little help. You can purchase your own fabulous clapper with pincushion from my Amazon shop.
This is different……
You bet! This is the technique most manufacturers use and for good reason. Less chance or error, a clean look and you don’t have to get up again to go to the ironing board. Quarter your neckline and the bias and you are ready.
Step 2:
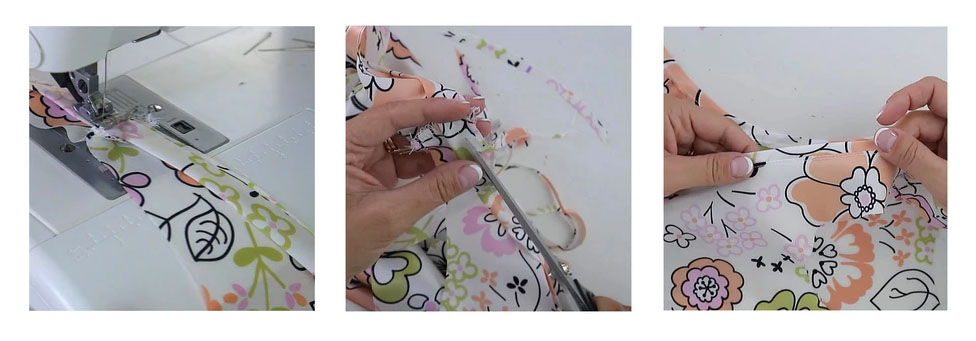
You can sew the bias tape to the right or the wrong side of the fabric, depending on the look you want to achieve. Here, I wanted the bias to show, so I had to sew it to the fabric underside first. Stretch the bias as needed. Once the bias is sewn to the neckline you can cut back the seam allowance and then go on to understitching. Below you can see what it should look like.
Step 3:
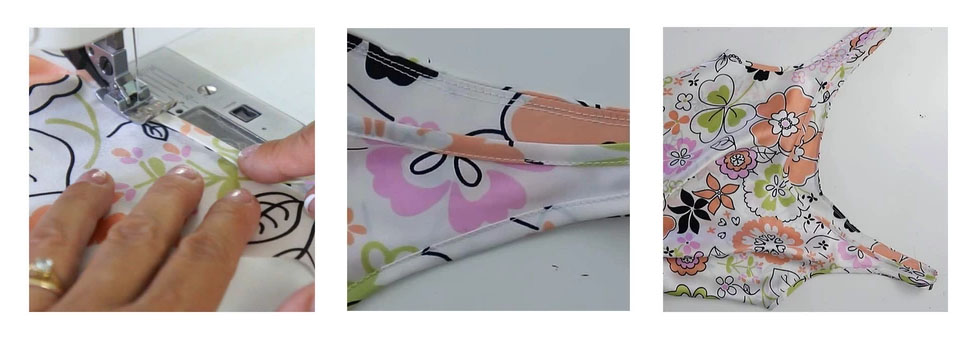
Understitch the bias binding. In this case it means, sewing the seam allowance to the top. This ensures that the underside never rolls out and looks ugly. Then roll the bias to the upper side of the top.

Step 4:
Topstitch the bias binding to the topside of the neckline. Make sure you cover the rough edge of the cut back seam allowance. Iron the edge with lots of steam and you are done. Fabulouslessness!
Have a look at the video right here:
Views: 224




Recent Comments