Hello, cuteness overload!
The last few months have just flown by! Although my project box is full of completed clothes for my 18-inch dolls, the release had to be spread out. You may say its only doll clothes but by the time I have finished an eBook and filmed and edited a video, it does take almost as long as a regular pattern. Thankfully, there is only one size.
When I started, I thought I could just use the existing instructions. It quickly became clear that that really wasn’t an option at all! Doll clothes are meant to be simpler than the full-on girl’s version, not a headache. My patterns tend to be more intricate and quite a challenge for beginners, even with a video. So, I had to re-think that approach and basically start from scratch!
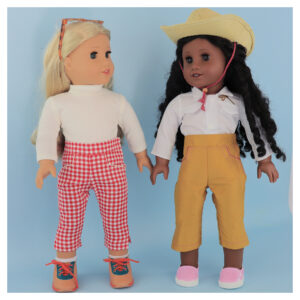
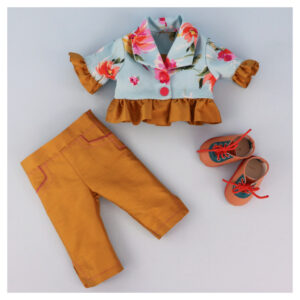
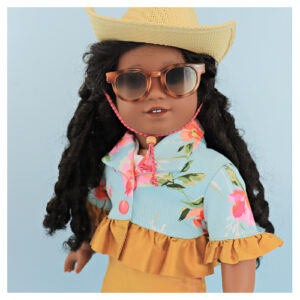
Try new sewing Methods
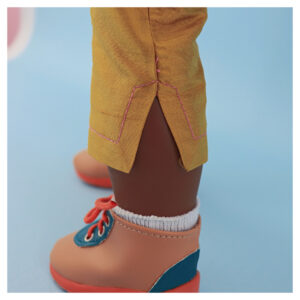
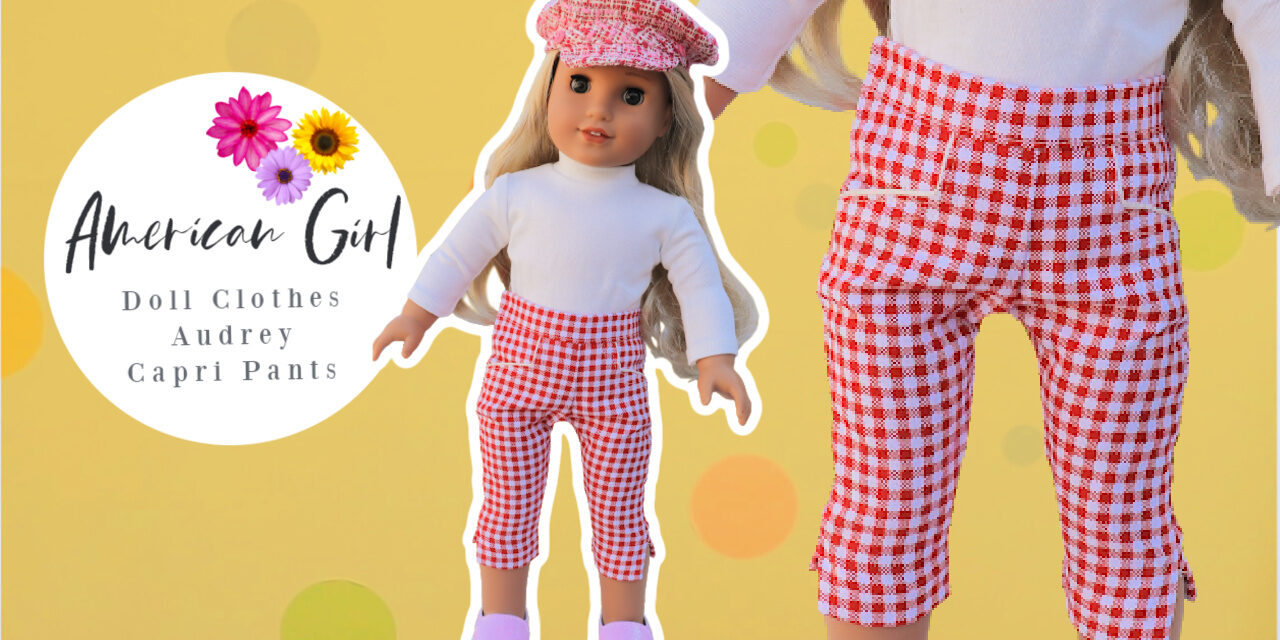
On the Audrey Capri pants I had to rethink what I usually do and although the solution is always simple, once you know how, it wasn’t obvious to me that legs must stay open to sew the vents. Once you get your head around how to do that its easy. You do end up with a finished hem before you join the legs and that can look a little unsightly on full size clothes, so don’t use that method, here it’s fine. The video shows you how to pull those gather threads away, to create a neat finish.
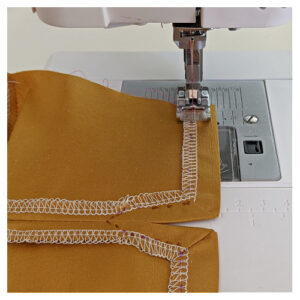
Easy Fastening Methods
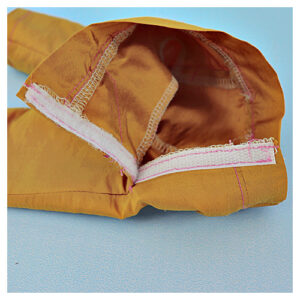
The waistband also benefits from leaving the sides open and simply attaching the waistband to the top edge without finishing the edges off. The hook and loop tape does that for you. It’s another fantastic add to any doll sewing skill set. The tape is simply sewn to the edge. One side is turned in and then topstitched. So simple. If you are wondering if you can sew this, YES YOU CAN!
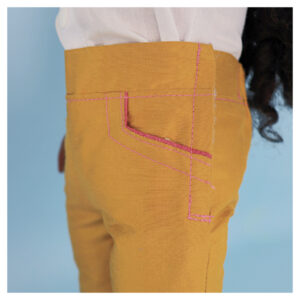
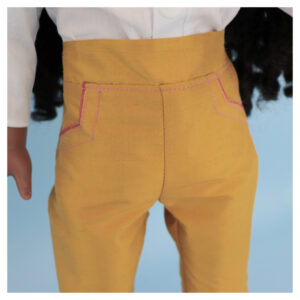
Another difference to the girl’s pants is the pocket method. Dolls can’t put their hands into the pockets, so why sew them as the full-size pockets? Unless you want to have a practice run, you can sew the pocket shut. Those little pockets have faux piping, all of which is explained in your eBook and video
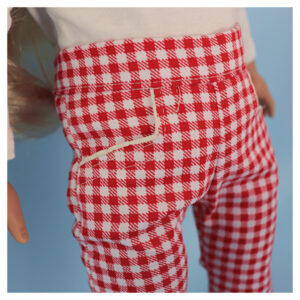
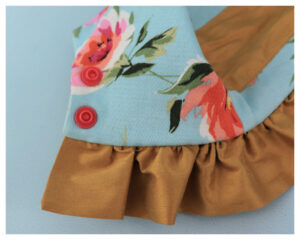
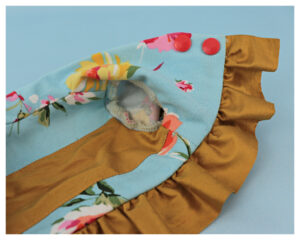
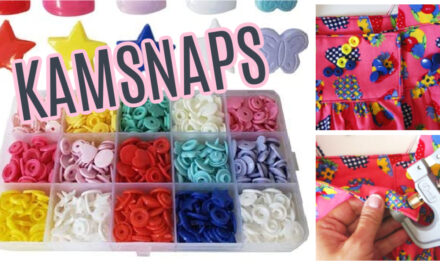
The bolero jacket is a little more challenging, but you have the advantage of small distances, which makes the shawl collar a breeze to sew. I would encourage you to experiment too. Insert a little ruffle into the seam, all around the collar. I can’t wait to try that myself. The KamSnaps are again super easy, so no worries there. When it got to lining the bodice, I was initially a little stuck. Again, the key is to avoid small spaces to sew and so I had to attach the ruffle to the sleeve first and then close the sleeve seam.
Find new Ways to do Things
Then you have the lining loose inside, quite different to the ‘full size’ girl’s jacket. In the end I found it easiest to simply snip all around the lining of the armhole, turn in the seam allowance and slip stitch the lining to the armhole. It looks genuinely nice and makes it all much easier. Lining the sleeve is only for those that don’t mind fiddling around a bit! I don’t. Not my thing but in case its yours, I added the specific video from the girl’s bolero to the course.
So, without further ado, check out the videos I made for this bundle. Simple all in one video tutorials take you from start to finish. I am sure you are going to love it.
More detail in the courses:
-
How to sew a welt buttonhole
-
How to insert inner and outer sleeves separately, without binding or overlocking
-
How to create a fantastic ruffle hem for the sleeves
-
How to hand stitch lining
-
How to cover a button
Sign up to our mailing list here to get notified when more tips & tricks come out!
Views: 411




Recent Comments